Well oslevel says 4.3.3.0, but you get the idea.
You’ll need to have the ethernet driver handy, or better loaded. Since I had disabled the NIC on install it’s not loaded. And since I’m still using a cellphone for internet I extracted the file somewhere else and copied in some patches. I’ve managed to reproduce this twice now, so I guess it’s good to go. Apparently, this just works in later versions, but this is very touchy.
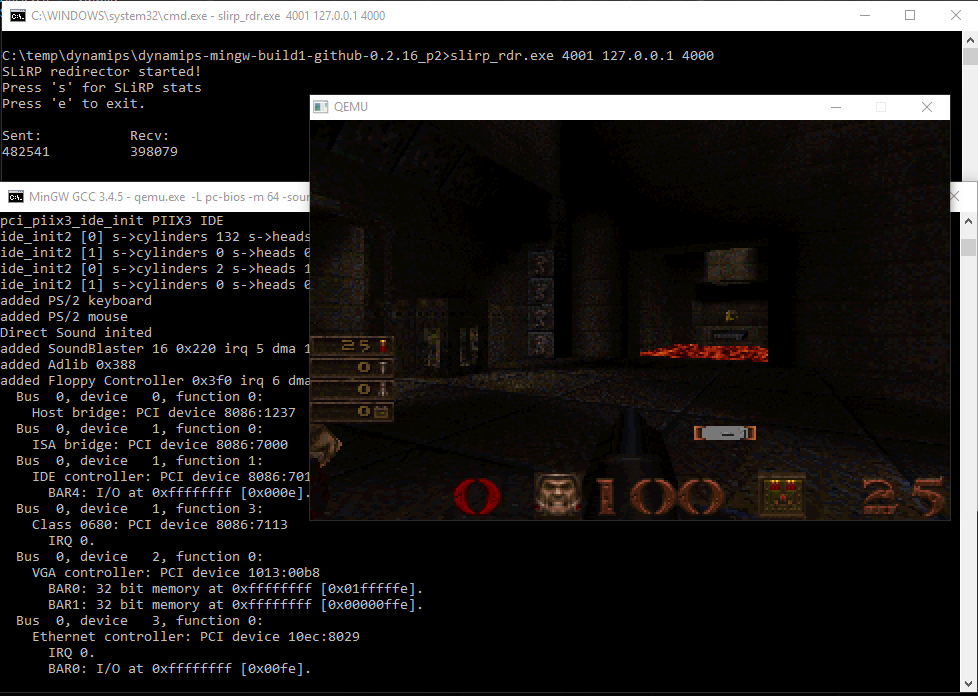
To start how I’m running qemu:
./qemu-build/ppc-softmmu/qemu-system-ppc -M 40p -bios q40pofw-serial.rom -serial telnet::4441,server -hda disk0.vmdk-post-install -vga none -nographic -net none -device pcnet,netdev=ne -netdev user,id=ne,hostfwd=tcp::42323-:23 -cdrom /mnt/c/temp/pcnet-aix.iso
With aix booted, extract the tar file from the cdrom:
mkdir /cdrom
mount -V cdrfs -o ro /dev/cd0 /cdrom
mkdir /pcnet
cd pcnet
tar -xvf /cdrom/pci.tar
Fix your terminal up… if needed (it probably is)
export TERM=vt100
stty erase ^?
export LIBPATH=$LIBPATH:/usr/lib
export PATH=/usr/local/bin:$PATH
Now run smitty -> devices -> after ipl
Change the directory to /pcnet , and let it run It will give errors but thats okay. All being well it won’t crash AIX, otherwise you’ll want to restore your hardisk. You did make a backup beforehand right?!
I don’t think it matters but I run this afterwards:
odmchange -o CuAt -q "name=ent0 and attribute=busio" /cdrom/lance_ch.asc
odmget -q "name=ent0 and attribute=busio" CuAt
shutdown -h now
As tempting as it is to kill the emulator, wait for it to complete. Otherwise you may have to do the whole thing agian.
For me the value attribute was never preserved, so we get to do it again on reboot/restart:
odmget -q "name=ent0 and attribute=busio" CuAt
mount -V cdrfs -o ro /dev/cd0 /cdrom
odmchange -o CuAt -q "name=ent0 and attribute=busio" /cdrom/lance_ch.asc
rmdev -l ent0
mkdev -l ent0
ifconfig en0 10.0.2.15
ping -c 1 10.0.2.2
If everything went well this time you should get a ping reply! Great! Now to configure the system for real.
smitty -> communication -> tcpip -> minimum -> en0
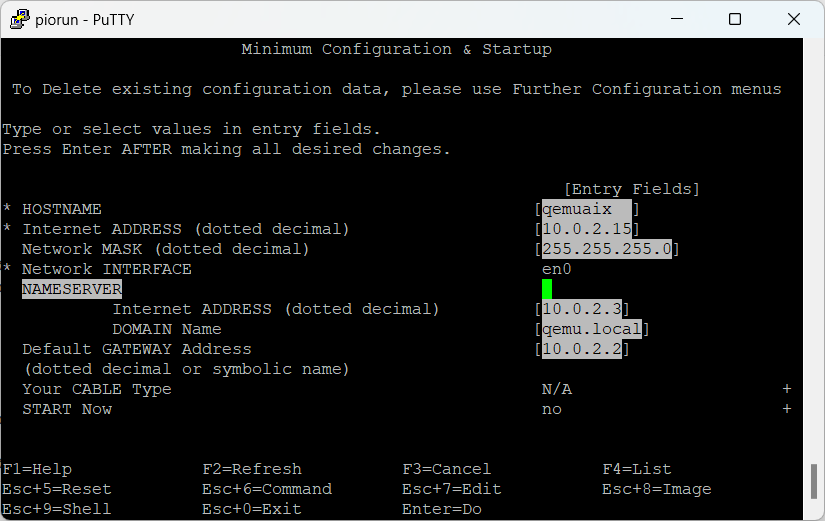
As always I configure my system for slirp. We’re almost there! Now to pad the DNS records for slirp:
cat >> /etc/hosts
10.0.2.2 slirp
10.0.2.3 slirpdns
^D
And now you can reboot!
If everything goes well, you will have a patched up pcnet driver that works (well mine does)
The big test is to of course reboot. Then you’ll know for sure.
I have tried this a few times, and yeah it can crash when adding the drivers, so I had to restore a few times. I would say 1/3 times worked flawlessly. So be patient. And backup!