(This is a guest post by Antoni Sawicki)
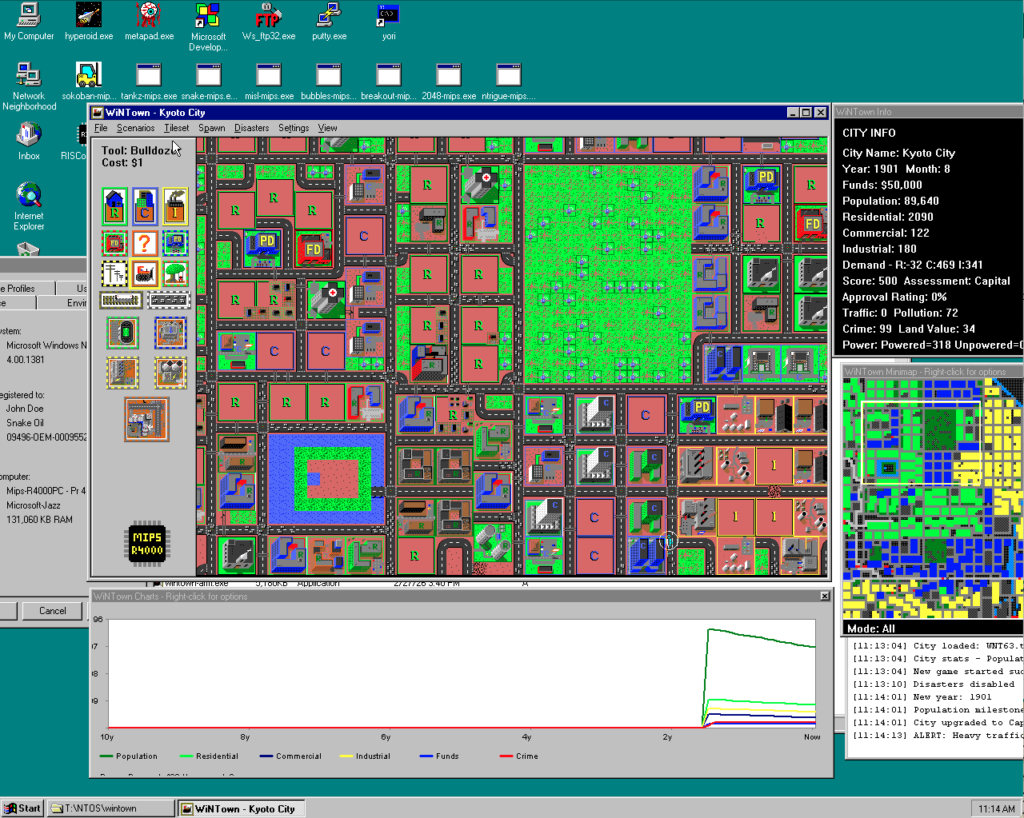
In the past I did some and some more work on SimCity/Micropolis to bring it to vintage computing. This old DUX SimCity / Micropolis works remarkably well, but because of the TCL/TK and X11 UI, platform availability is quite limited. I have previously also ported Micropolish to Windows NT (RISC) as WinTown.
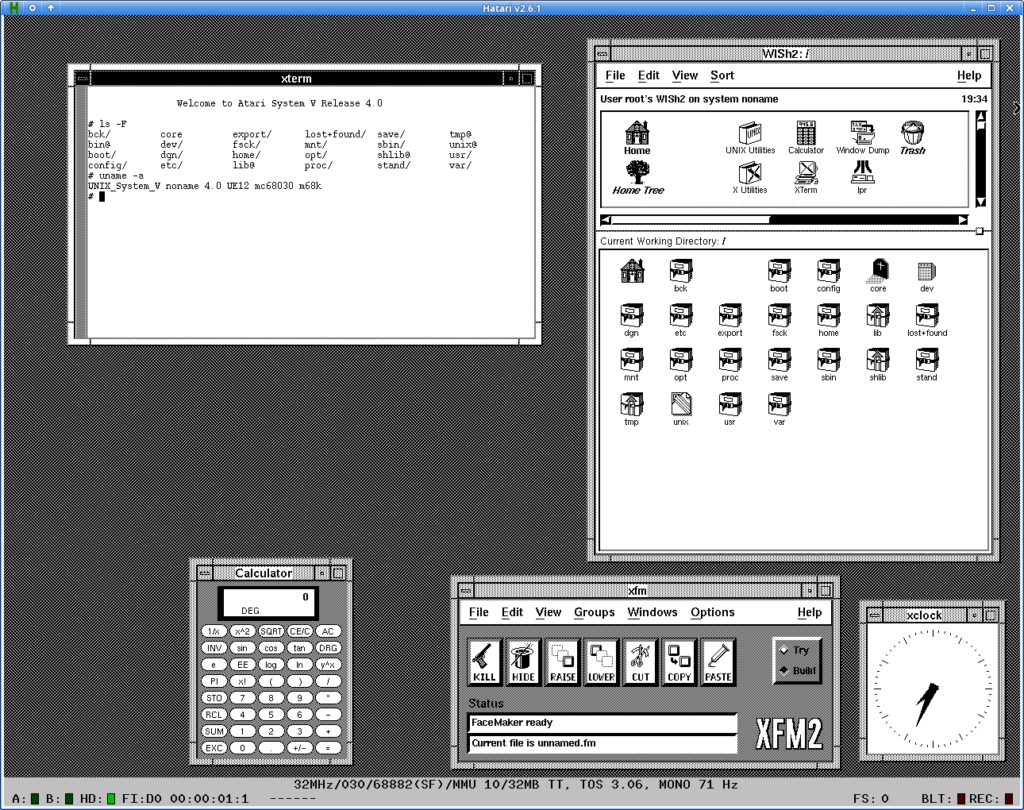
But thats not enough! I wanted to run SimCity on vintage Unix without dependency on X11 and TCL/TK. The game graphics (basically a map) is quite simplistic and structured. I was wondering if text mode rendering would work. Quite a while ago I winged up a quick ncurses based map/city viewer and it was quite promising! Fast forward to today… Behold TTY City!
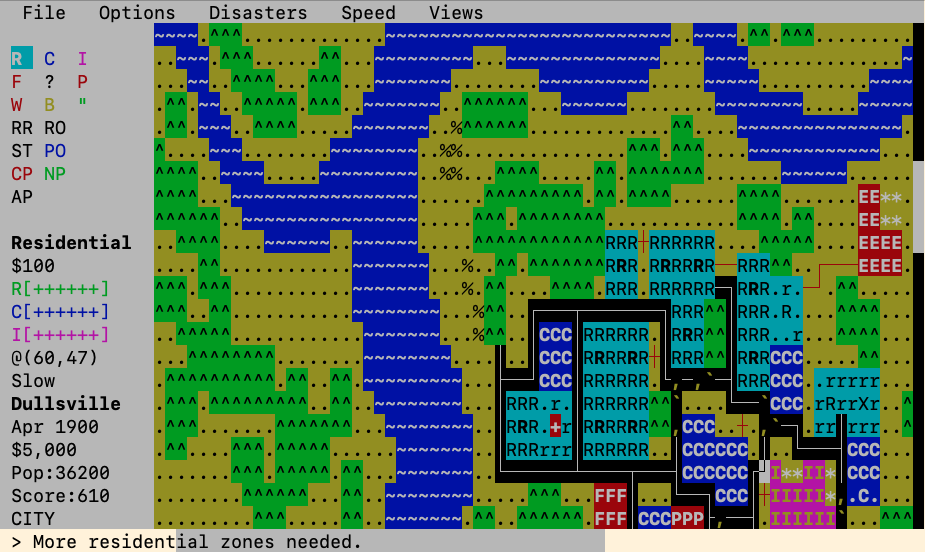
The game is quite usable and playable. In a modern terminal it even supports mouse with panig and simple animations. Earthquakes look pretty cool!
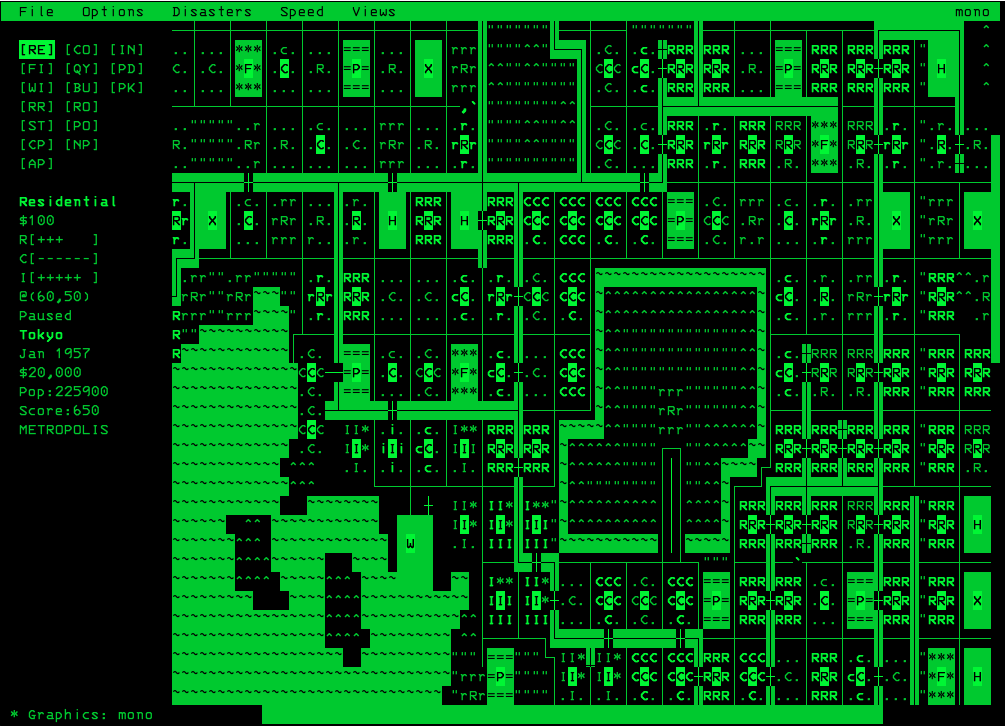
The monochrome terminals are little more difficult, but I’d say is playable.
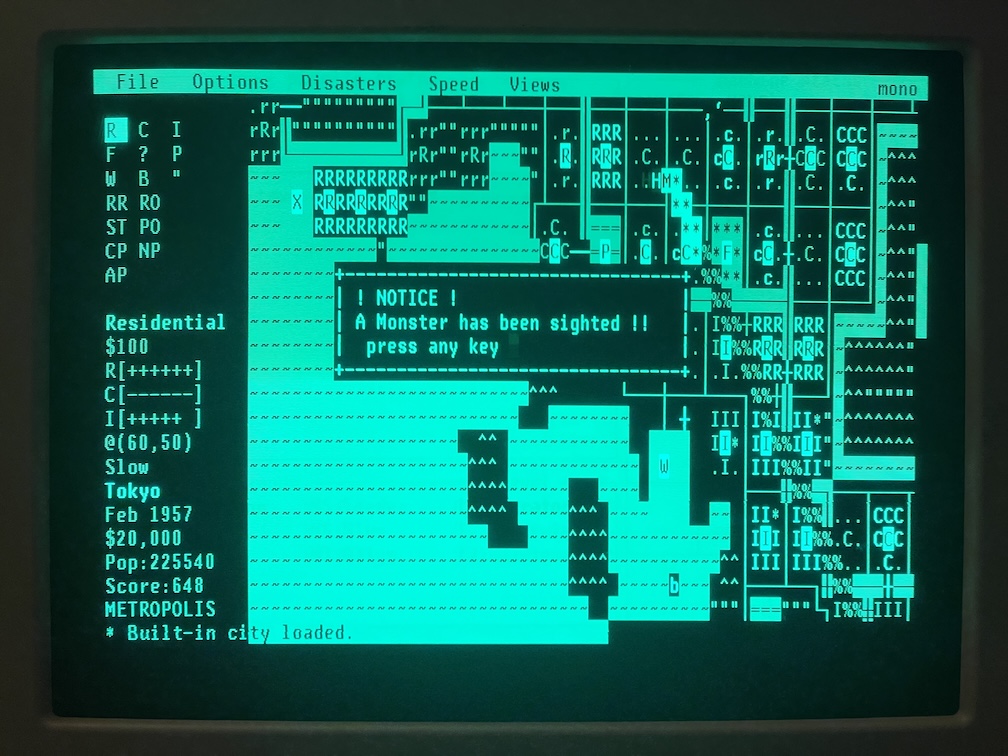
Here is a picture from an actual DEC VT420! Not bad!
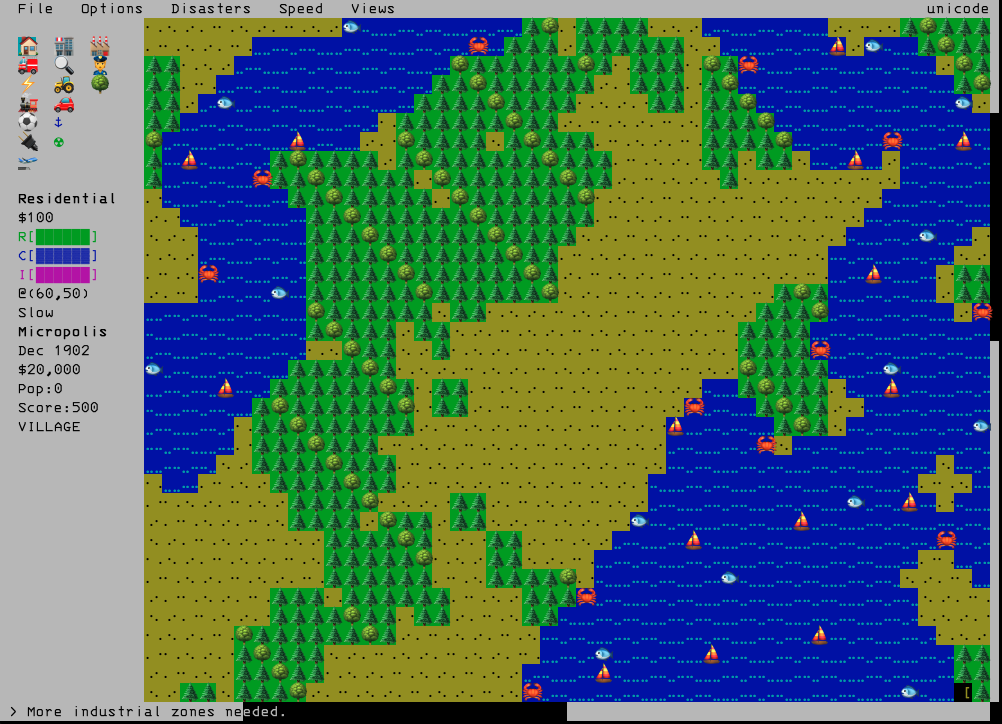
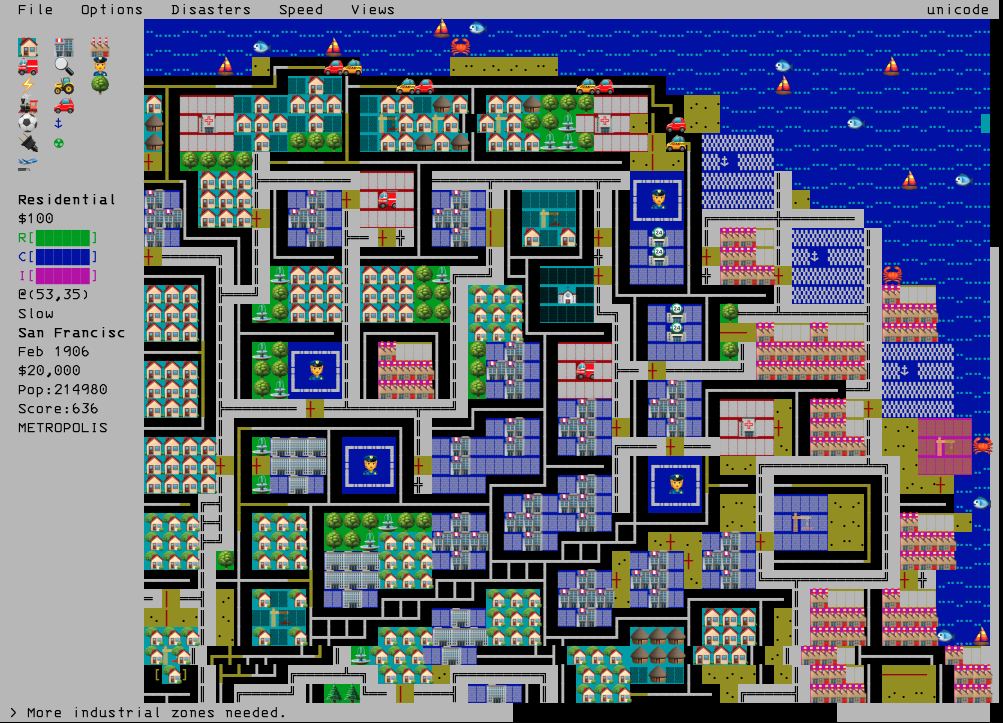
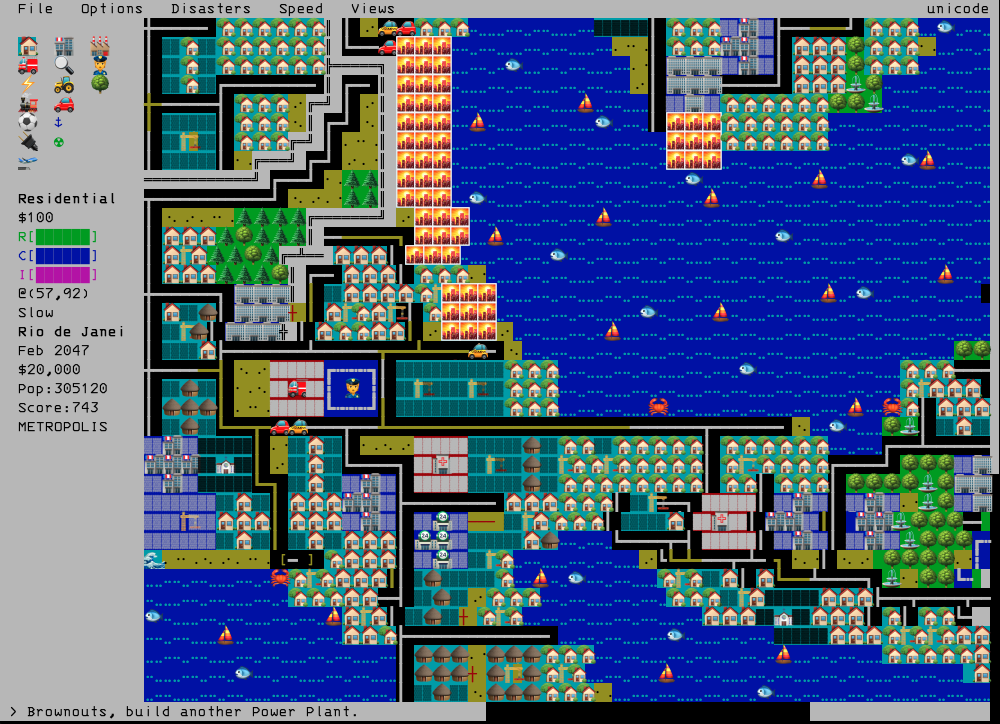
When perfecting the letters and characters, I had this idea… what if modern terminal amenities could be used… like Unicode Emojis perhaps? After all you can have these 🌲🌳🌴🌵 and these 🏠🏡🏢🏭 in rendered in a terminal❗
Behold Unicode Emoji Terminal SimCIty!
Available from: https://github.com/tenox7/ttycity – there are no releases or packages yet, as it’s work in progress but expect it to be available for most modern and vintage operating systems!
PRs welcome!
Have fun with Virtualization!