This honestly should have been much easier.
Or maybe I’ve just forgotten how absolutely hostile early OS X could be.
The mistake begins
It started, as these things always do, with someone mentioning the PowerBook G4 Titanium. One quick eBay search later and, well £30 later I owned one.
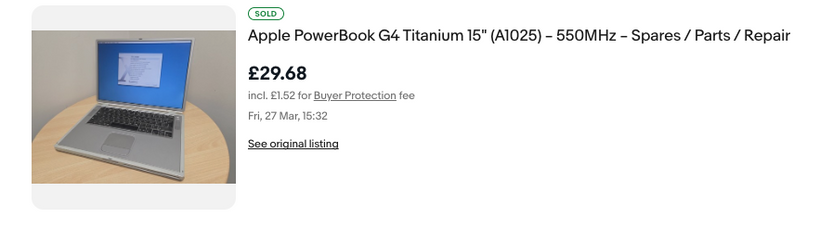
It showed up absurdly fast (Sunday delivery? really?), in surprisingly good condition, and I already had a charger. So naturally, the sensible thing to do was…
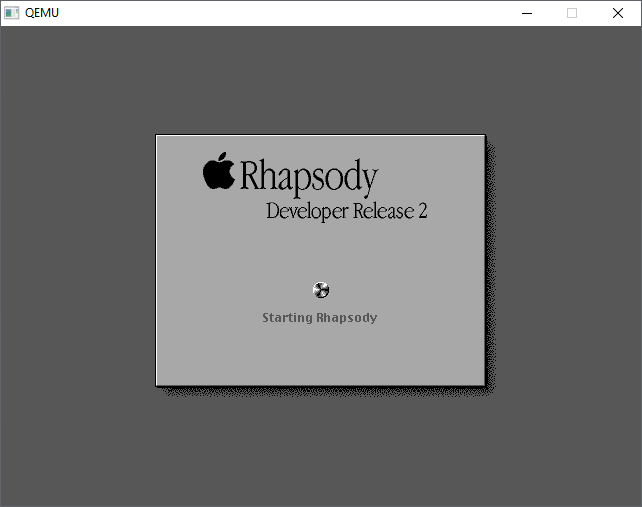
Install Tiger.
Which worked. Immediately. Of course it did.
But that wasn’t good enough
Tiger is fine. Great, even.
But it’s not Jaguar.
10.2 was always my favorite early OS X, that weird in-between era where it still felt experimental but usable. And according to basically everything online, early Titanium PowerBooks should run it.
So I grabbed a cheap “reproduction” 10.2 CD set.
And this is where everything went wrong.
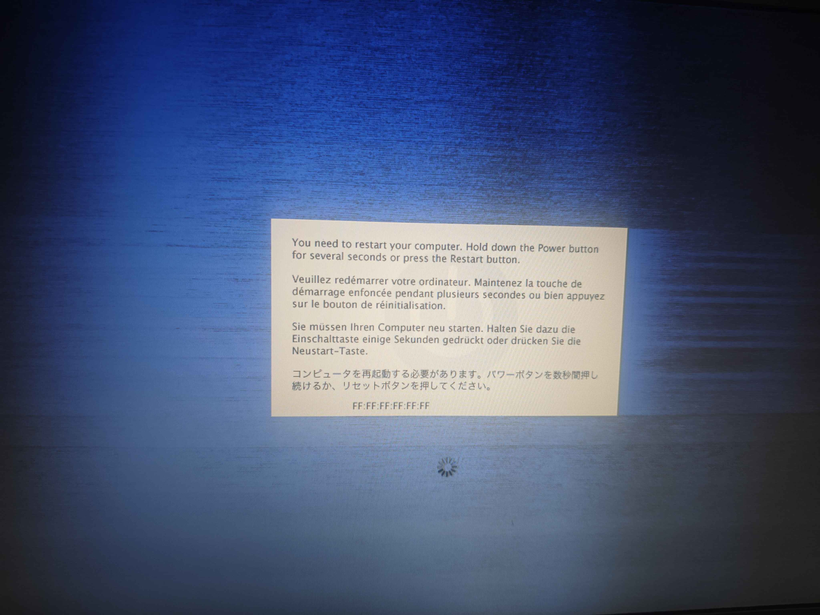
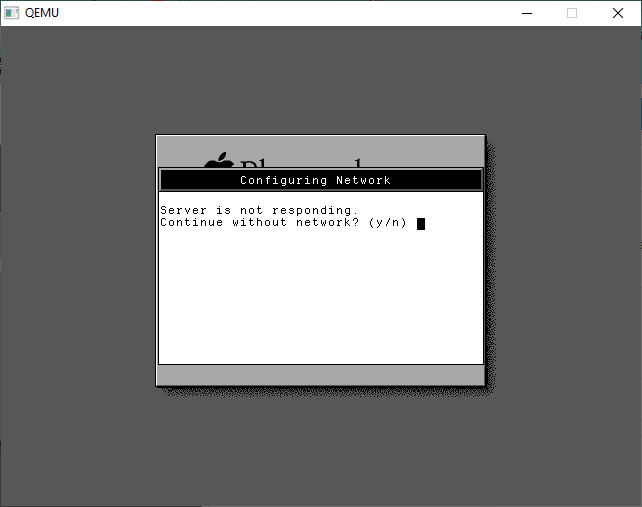
Not a great start.
At first glance it looks like some kind of network address corruption, but in reality it’s just the kernel screaming because something is very wrong at a hardware level.
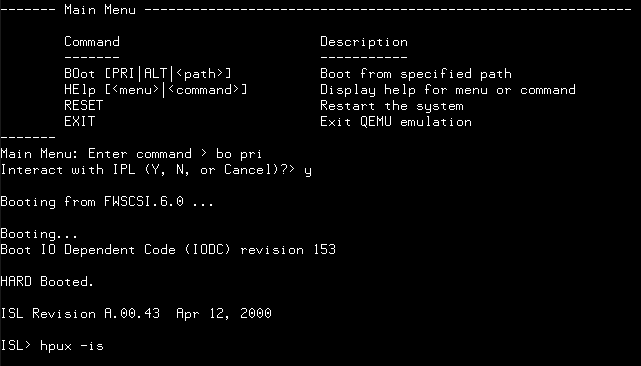
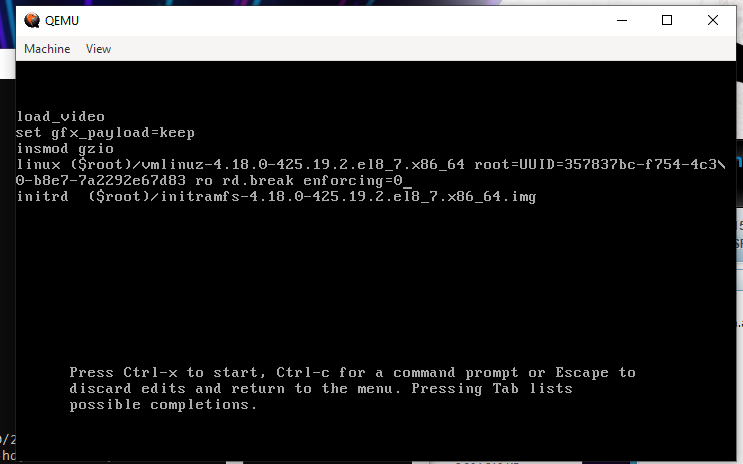
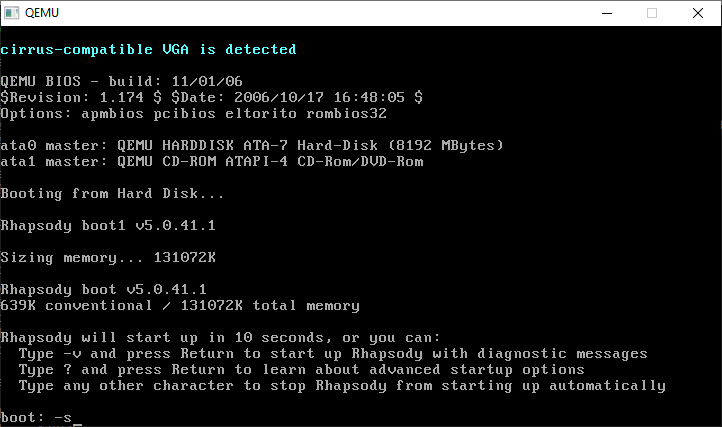
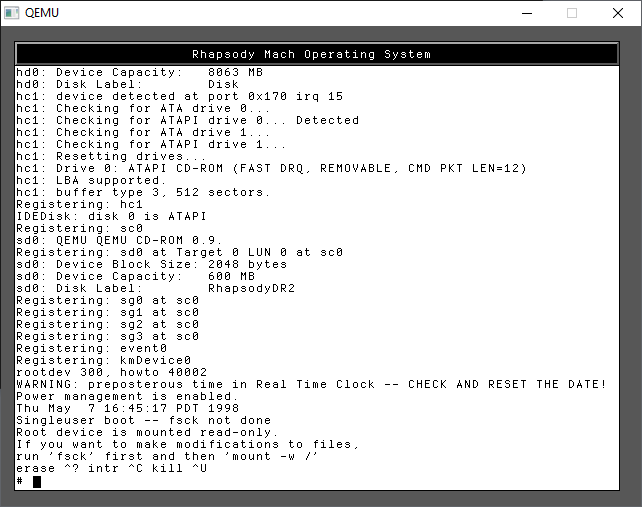
Time to go verbose.
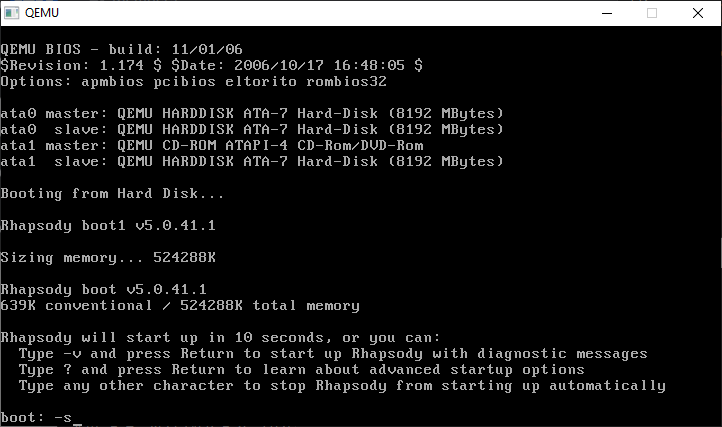
Welcome back to Open Firmware
You can’t just hold C and Cmd+V like a normal person.
No, this is 2002.
So into Open Firmware we go:
boot cd:,\\:tbxi -v
Now we get actual output… and a much clearer failure.

FireWire: the red herring
The panic traces back to:
com.apple.driver.AppleFWOHCI
Ah yes — FireWire.
Because of course it is.
So the obvious thing to do is disable it from Open Firmware:
dev /pci@f4000000/firewire
" disabled" encode-string " status" property
And… it works.
Kind of.
The system gets further. No panic. Progress!

And then: the stop sign
Instead of a crash, we now get a 🚫
The classic “this OS is not supported on this Mac” symbol.
Which is when it finally clicks:
This machine is a PowerBook3,5 (867MHz)
And 10.2.0 predates it
So no, this was never going to work.
The FireWire panic wasn’t the root problem; it was just the first thing new enough hardware broke.
At this point, a normal person would stop
I did not stop.
If Apple won’t build it, we will
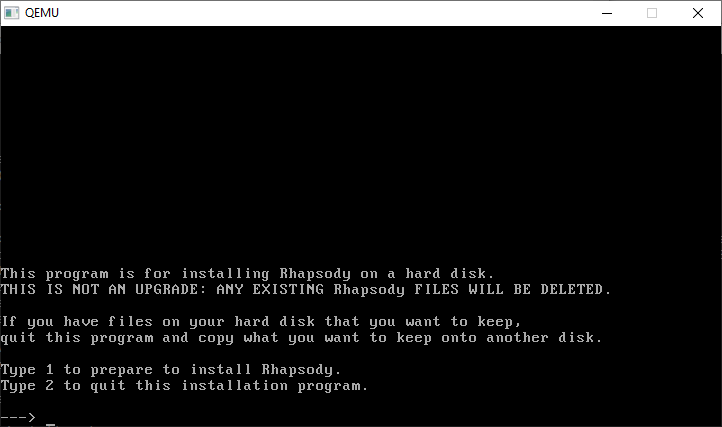
If 10.2.0 won’t run, then clearly the answer is:
- build a 10.2.8 install manually
- using QEMU
- on a completely different machine
- then sneak it onto the laptop
Perfectly reasonable.
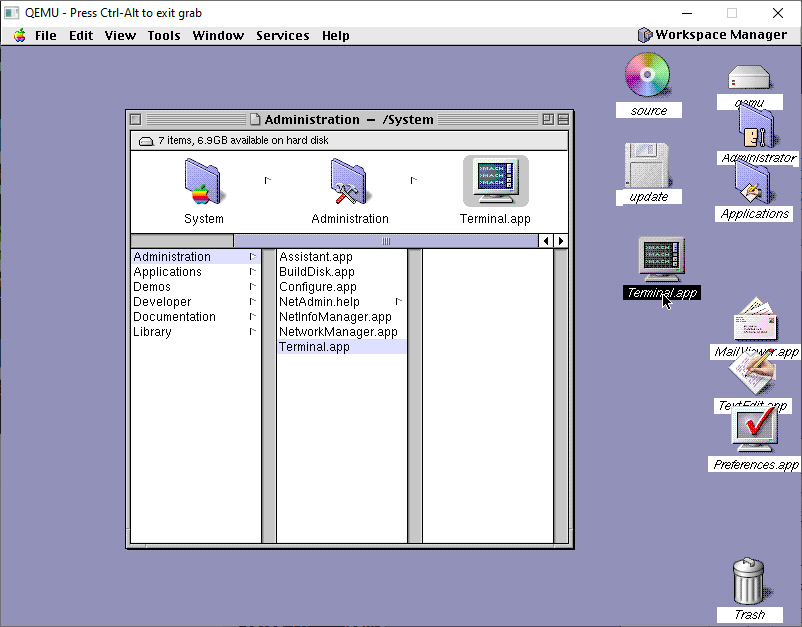
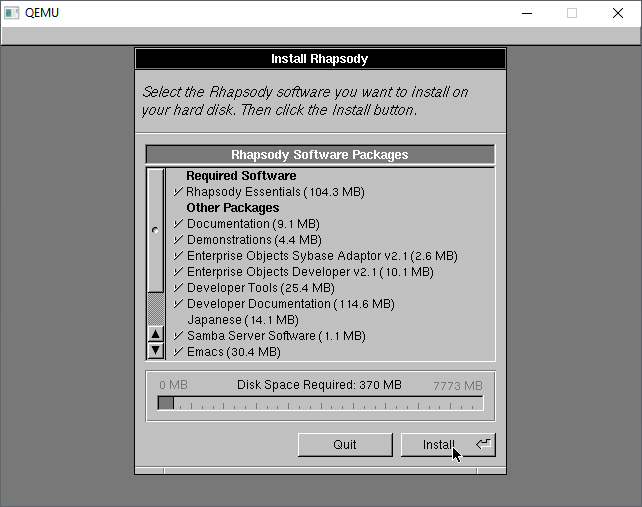
Building Jaguar in exile
QEMU can emulate a G4 well enough to:
- Install Tiger
- Install Jaguar
- Update Jaguar → 10.2.8
Something like:
qemu-system-ppc \
  -M mac99 \
  -cpu G4 \
  -m 512 \
  -drive file=macosx_6gb.vmdk \
  -boot c
From there:
- swap disks around
- update Jaguar
- boot back into Tiger
- use Disk Utility to create a compressed image
Eventually producing:
osx-10.2.8.dmg
Of course it’s not that easy!
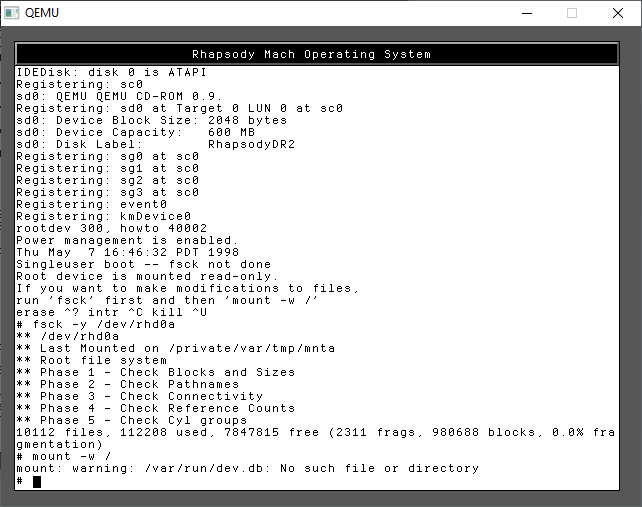
First off is to get ISO images. I actually started this process with the Tiger I already have in hand. To grab an ISO under macOS 26 it’s a simple command:
hdiutil convert /dev/disk4 -format UDTO -o OSX_Tiger_10.5.iso
And about 20 minutes of the DVD drive spinning around I got my ISO image.
 % file OSX_Tiger_10.5.iso
OSX_Tiger_10.5.iso: Apple Driver Map, blocksize 512, blockcount 5531738, devtype 0, devid 0, driver count 1, contains[@0x200]: Apple Partition Map, map block count 4, start block 1, block count 63, name Apple, type Apple_partition_map, valid, allocated, contains[@0x400]: Apple Partition Map, map block count 4, start block 64, block count 8, name Macintosh, type Apple_Driver_ATAPI, boot arguments DMMY, valid, allocated, real driver, chain driver, contains[@0x600]: Apple Partition Map, map block count 4, start block 72, block count 5531656, name Mac_OS_X, type Apple_HFS, boot arguments goon, valid, allocated, readable, writable, mount at startup, contains[@0x800]: Apple Partition Map, map block count 4, start block 5531728, block count 10, type Apple_Free
Now to run it under qemu:
qemu-system-ppc \
    -L pc-bios \
    -M mac99,via=pmu \
    -cpu G4 \
    -m 512 \
    -prom-env 'auto-boot?=true' \
    -prom-env 'boot-args=-v' \
    -drive file=tiger.iso,media=cdrom,format=raw \
    -drive file=macosx_6gb.vmdk,format=vmdk,cache=unsafe \
    -boot d \
    -net none \
    -no-reboot
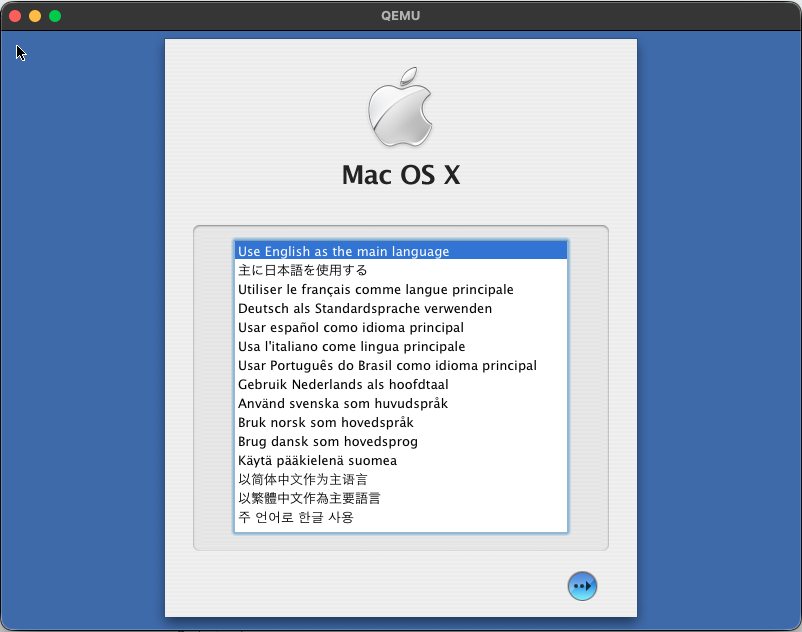
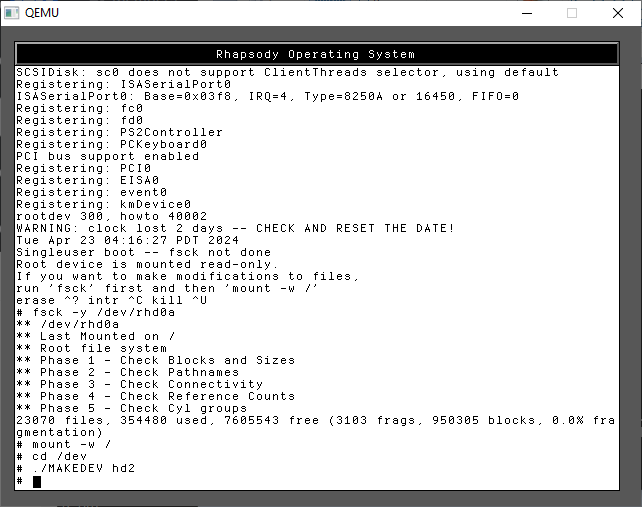
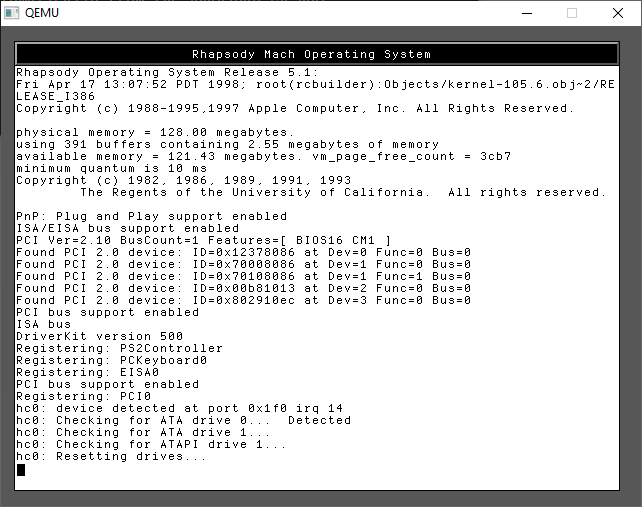
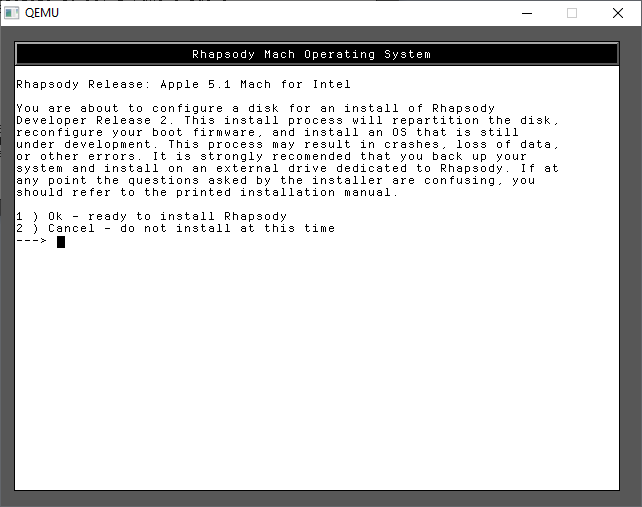
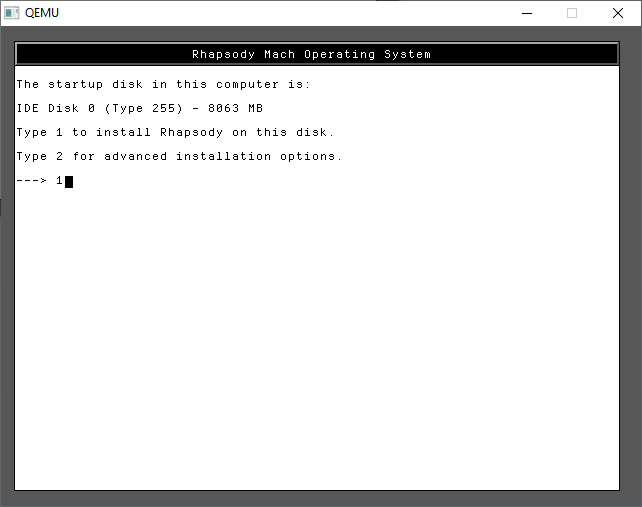
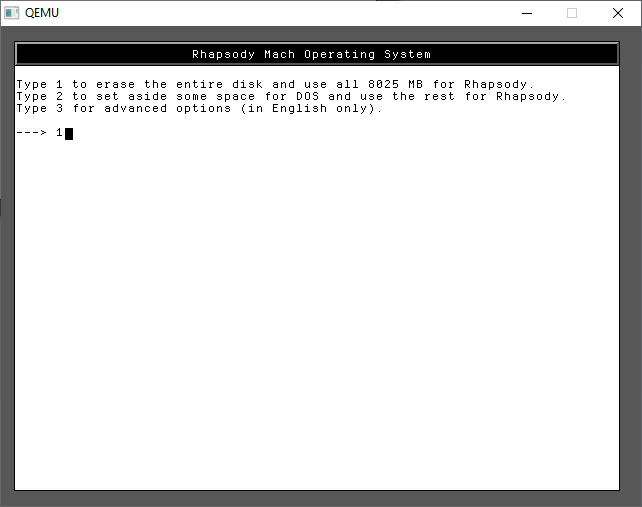
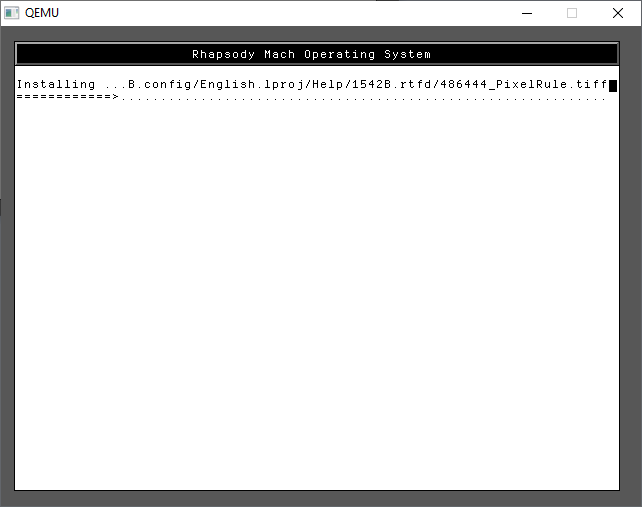
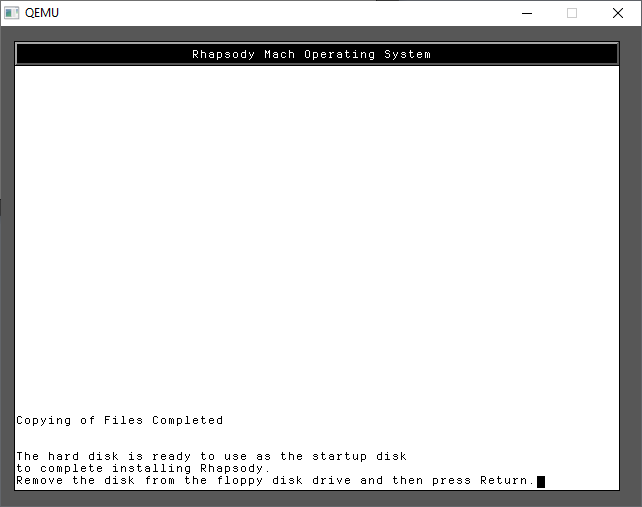
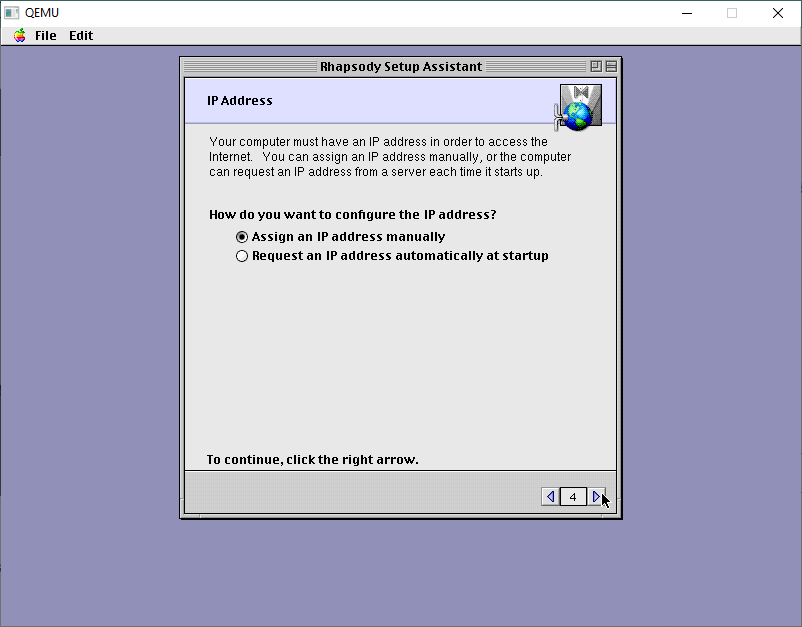
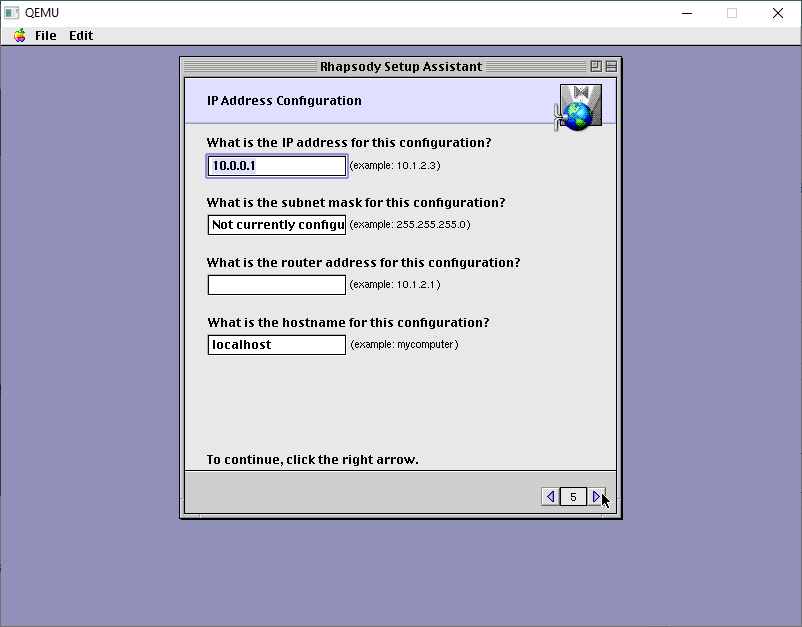
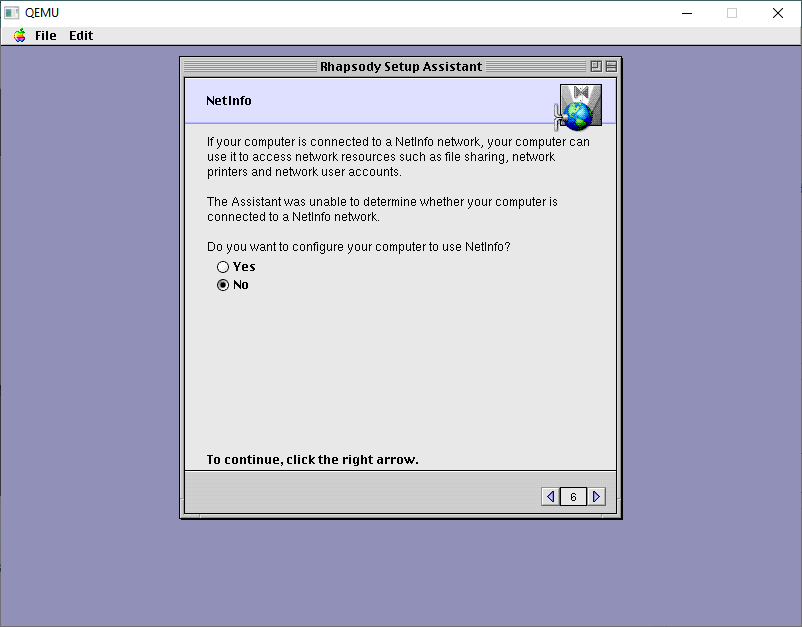
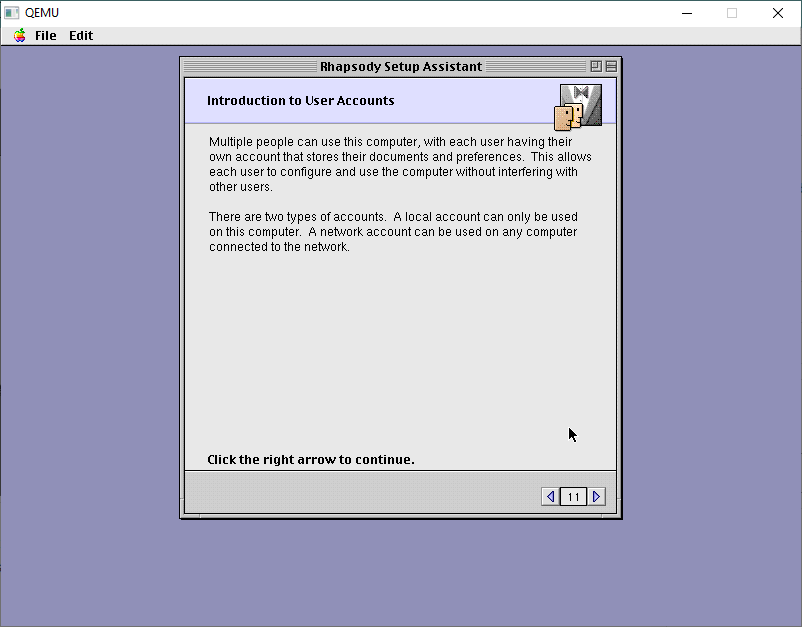
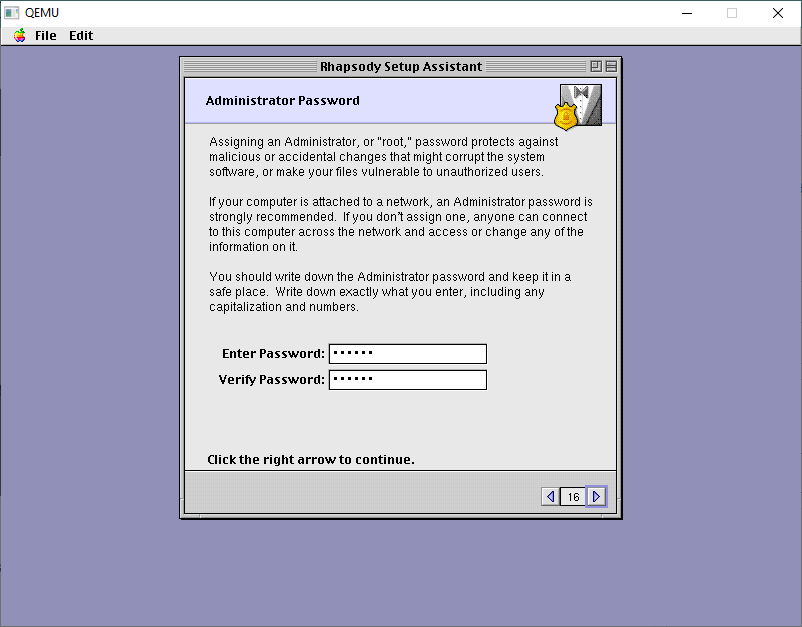
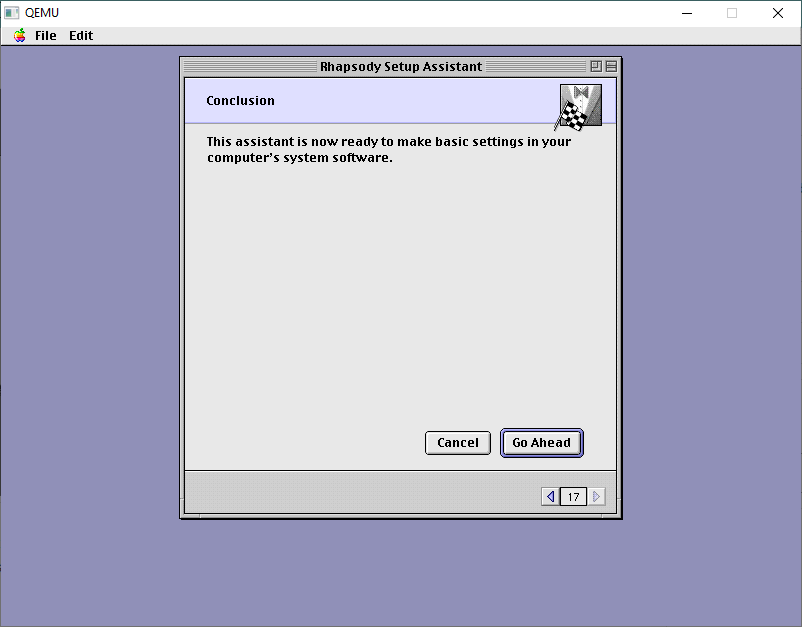
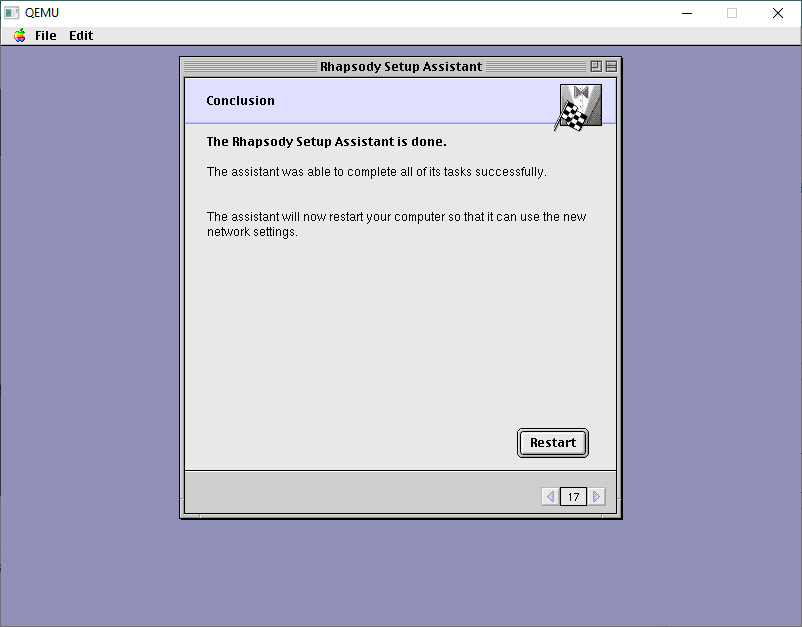
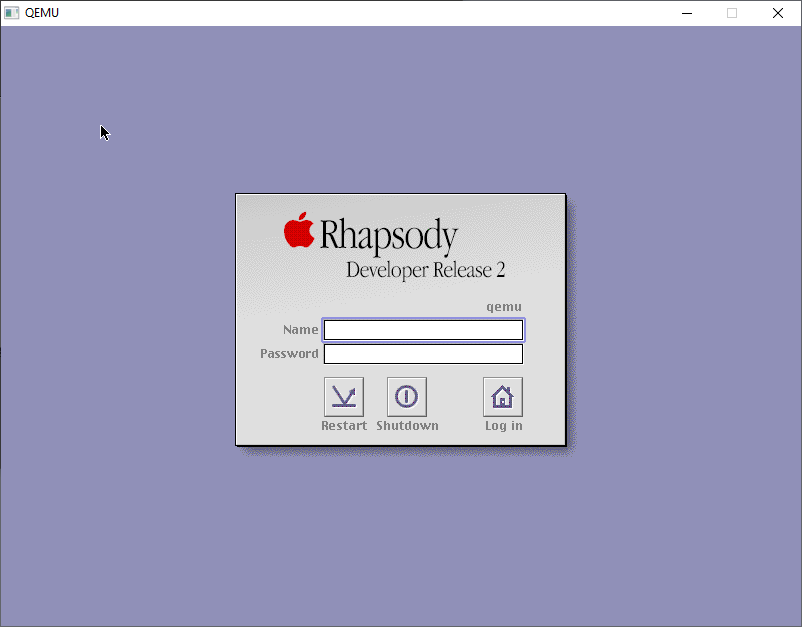
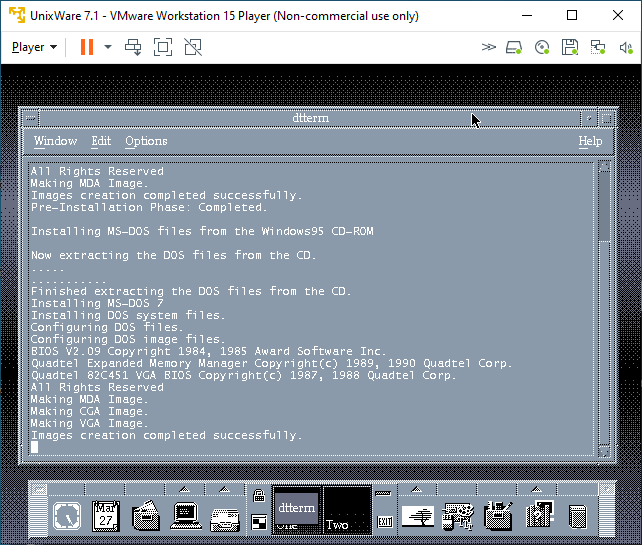
And in a minute or so on my mac mini running “QEMU emulator version 10.1.2” from homebrew I was up and running. yay. I don’t need or care about audio/networking as this is just to get a PowerPC OS up and running, using the media I have in hand. Bring up the disk util, partition the VMDK, the install the OS. You’ve probably seen/done it a dozen times so nothing to really see here.
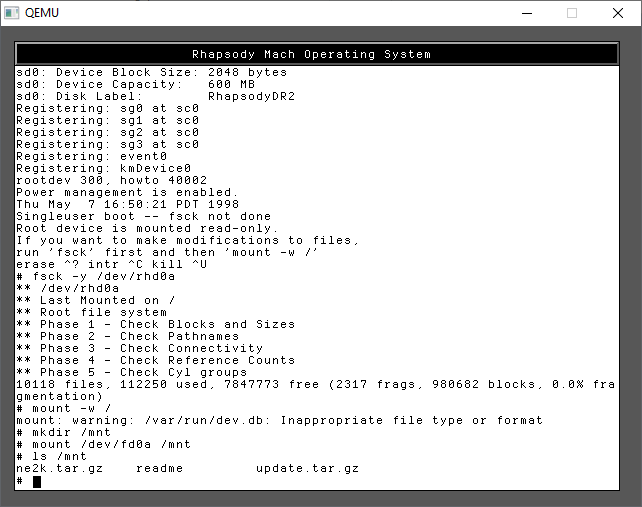
Once my 10.2 reproduction media arrive, I went through the hardware boot to only find out that 10.2.0 just won’t run on my PowerBook G4. This is where we use the emulation route. Could I simply grab an ISO using hdiutil?
NO
Of course not. Why would it work? It comes down to the older versions of OS X being very MacOS 9 style disks, which hdiutil simply will not grab. You end up with meaningless data. What about ‘dd’ on /dev/disk4? /dev/rdisk4? did you set bs=2048? YES YES YES… none worked.
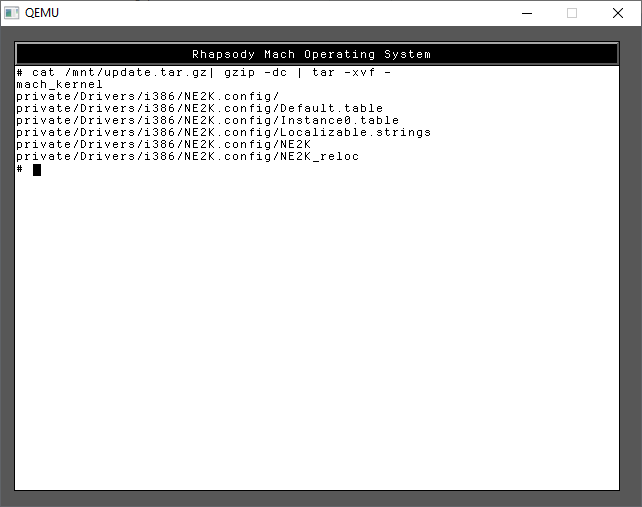
So back in homebrew I got the cdrutils from Joerg Schilling which gives me the readcd command, which finally let me grab the ISO’s
% file OSX_Jaguar_10.2-disc1.iso
OSX_Jaguar_10.2-disc1.iso: Apple Driver Map, blocksize 2048, blockcount 331264, devtype 1, devid 1, driver count 4, contains[@0x200]: Apple Partition Map, map block count 10, start block 1, block count 63, name Apple, type Apple_partition_map, valid, allocated, in use, readable, contains[@0x400]: Apple Partition Map, map block count 10, start block 64, block count 56, name Macintosh, type Apple_Driver43, boot arguments ptDR, valid, allocated, in use, has boot info, readable, writable, pic boot code, real driver, chain driver, contains[@0x600]: Apple Partition Map, map block count 10, start block 120, block count 140, name Macintosh, type Apple_Driver43_CD, boot arguments CDrv, valid, allocated, in use, has boot info, readable, writable, pic boot code, real driver, chain driver, contains[@0x800]: Apple Partition Map, map block count 10, start block 0, block count 0, type Apple_Void, contains[@0xA00]: Apple Partition Map, map block count 10, start block 260, block count 56, name Macintosh, type Apple_Driver_ATAPI, boot arguments ptDR, valid, allocated, in use, has boot info, readable, writable, pic boot code, real driver, chain driver, contains[@0xC00]: Apple Partition Map, map block count 10, start block 316, block count 140, name Macintosh, type Apple_Driver_ATAPI, boot arguments ATPI, valid, allocated, in use, has boot info, readable, writable, pic boot code, real driver, chain driver, contains[@0xE00]: Apple Partition Map, map block count 10, start block 456, block count 512, name Patch Partition, type Apple_Patches, valid, contains[@0x1000]: Apple Partition Map, map block count 10, start block 0, block count 0, type Apple_Void
As you can see it’s a lot of partitions, and various bits that it’s expecting. Kind of annoying that the system utils cannot grab these kinds of images, but in the end we got there.
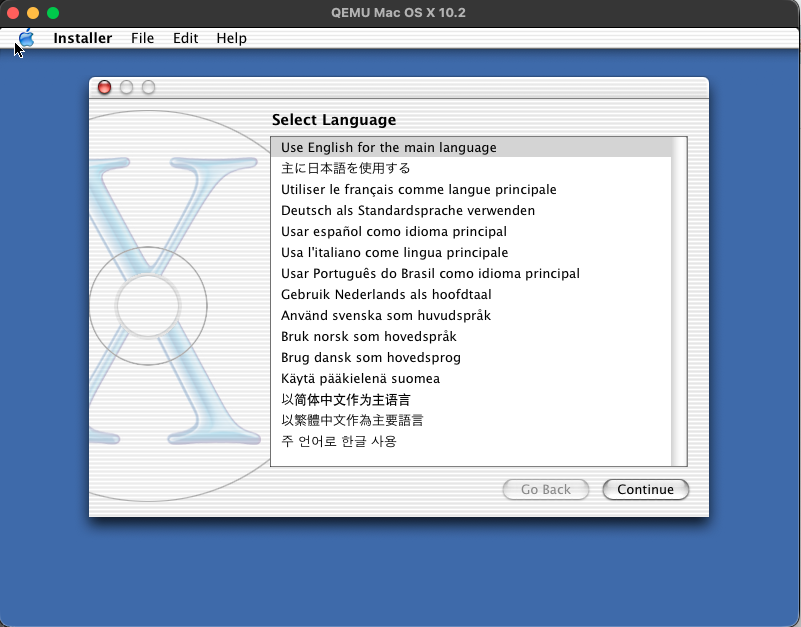
Naturally, Jaguar has to be run differently as it’s just more tied to older hardware:
qemu-system-ppc \
-machine mac99 \
-cpu G4 -m 1G \
-name "Mac OS X 10.2" \
-hda "macosx_6gb.vmdk" \
-cdrom "OSX_Jaguar_10.2-disc1.iso" \
-device pci-ohci,id=usb1 \
-device usb-mouse,bus=usb1.0 \
-device usb-kbd,bus=usb-bus.0 \
-device usb-audio,bus=usb1.0,audiodev=audio \
-audiodev id=audio,driver=coreaudio \
-device sungem,netdev=network \
-netdev id=network,type=user \
-no-reboot \
-accel tcg \
-boot d
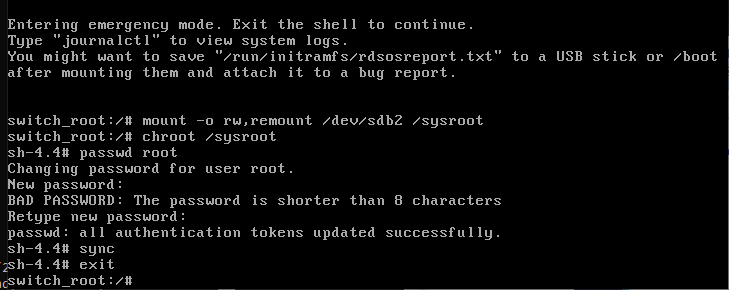
The next catch is that the diskutil just hangs partitioning the hard disk. I’ve no idea why.
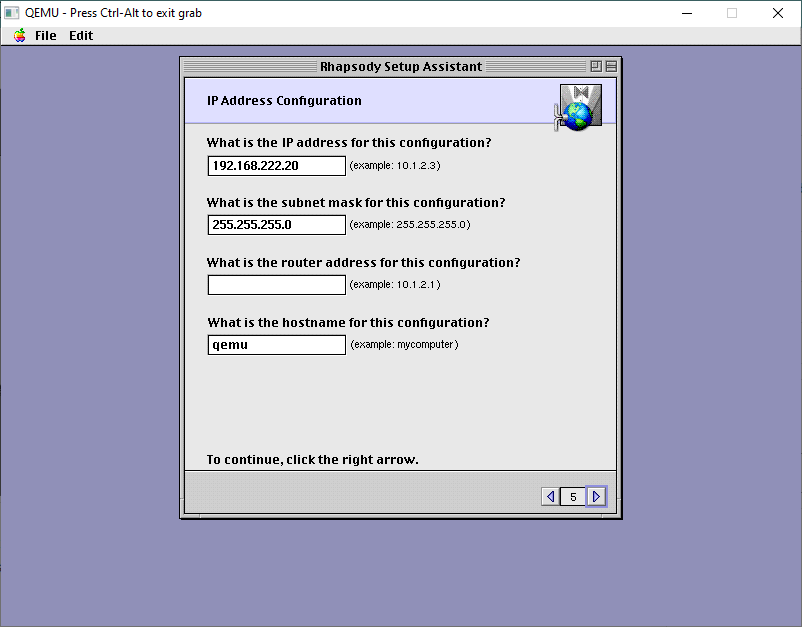
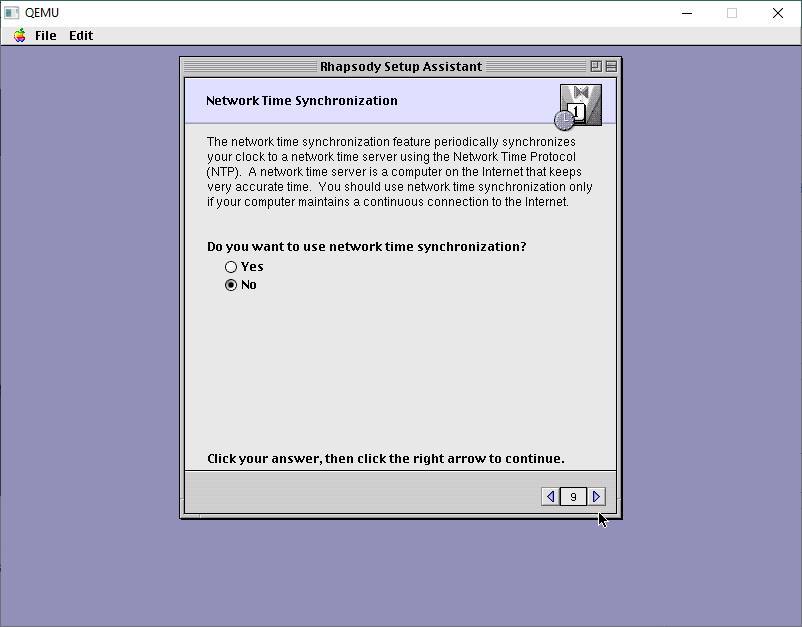
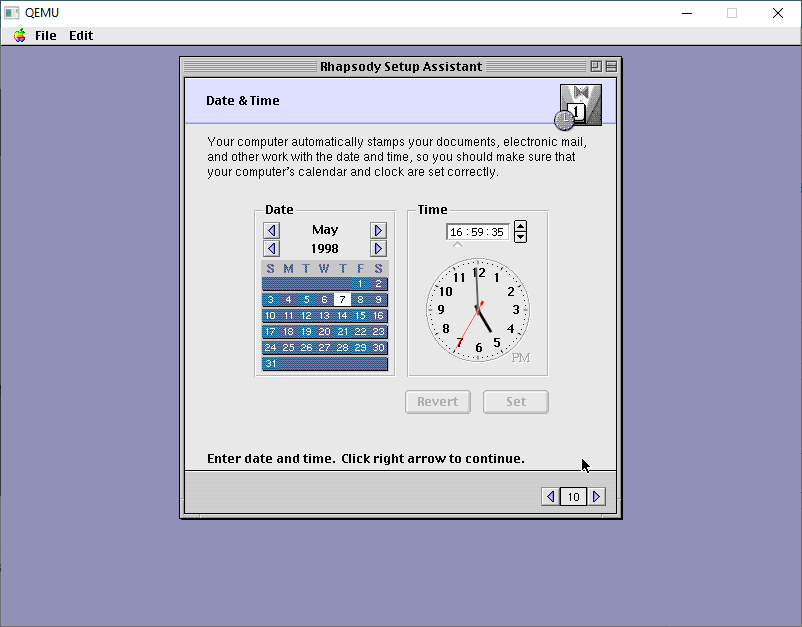
So, the solution is to boot back into Tiger, add a second disk, partition it there, and then use that disk in the Jaguar boot. After that it installs just fine. I enabled the sound and network just to setup NTP so at least my image isn’t too stuck in 2002.
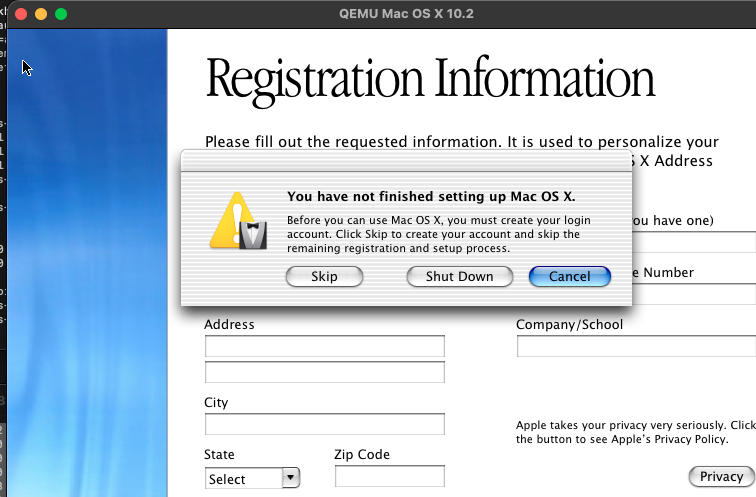
Oh, one trick I found out decades too late, is that you can cloverQ the named registration, so you don’t have to make up bogus phone numbers and a semi valid mailing address. I didn’t know is that, it’ll just kick you to the account creation screen, and you are good to go!
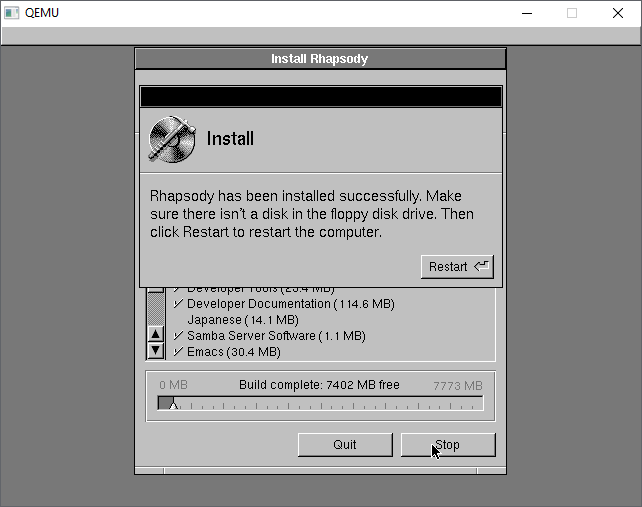
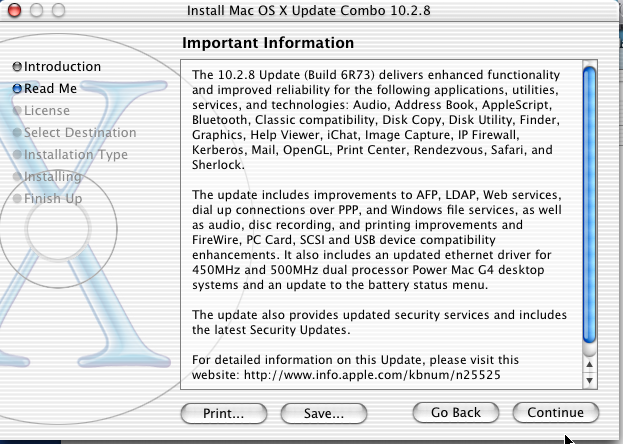
After that it’s just a matter of running the 10.2.8 combination patch, to bring the VM up to 10.2.8
From there the final hurdel is to create a RAW disk image to transfer the Tiger diskutil ‘disk image’ to. This way you can easily mount the RAW image by renaming the extension to .dmg and OS X (thankfully) still supprots HFS+ so you can simply use finder or ‘cp’ to copy off the compressed disk image onto a USB drive, and now we are ready to image the PowerBook using our updated OS X Jaguar!
The USB betrayal
Naturally, the Tiger installer refused to mount USB.
Because of course it did.
The final workaround
So instead:
- Repartition internal disk
- small staging partition (~4GB)
- main target partition (remainder of the disk)
- Install Tiger (again)
- Copy
10.2.8.dmgto staging partition - Boot Tiger installer
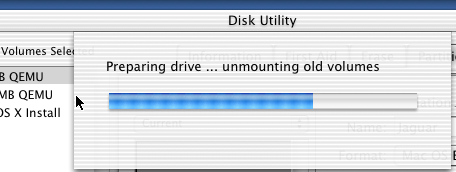
- Use Disk Utility → Restore image onto main partition
And finally…
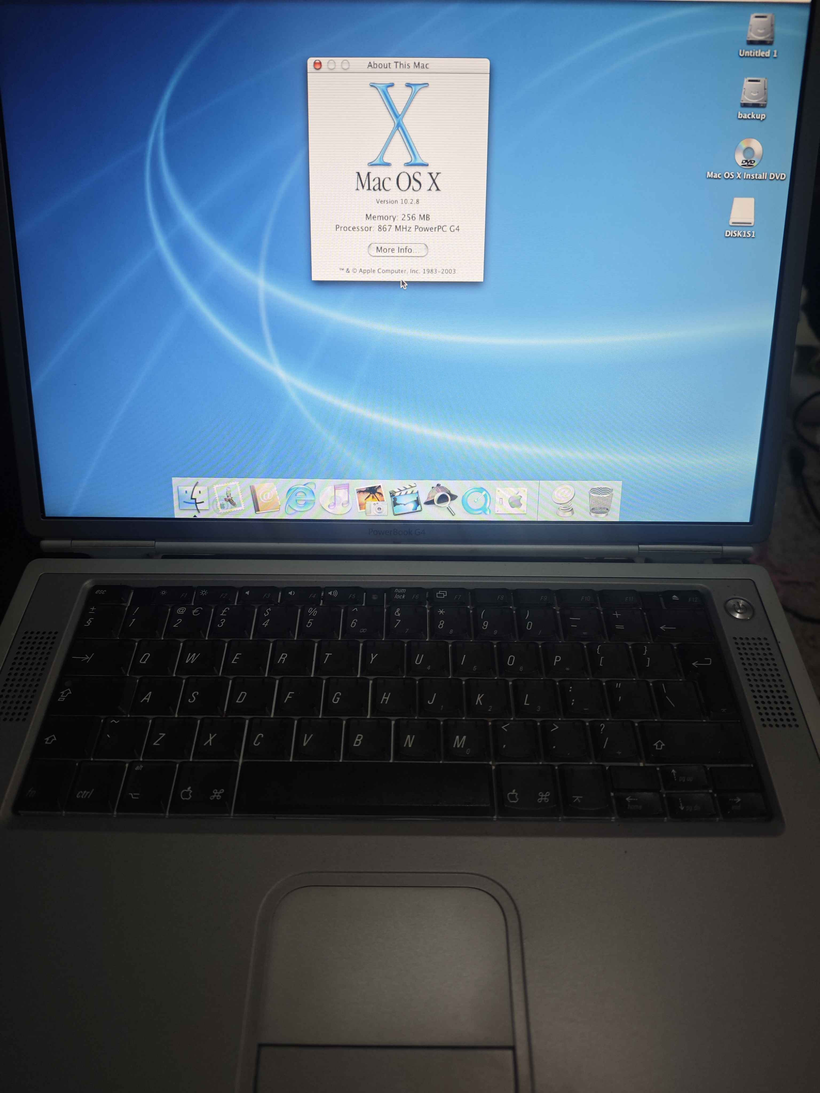
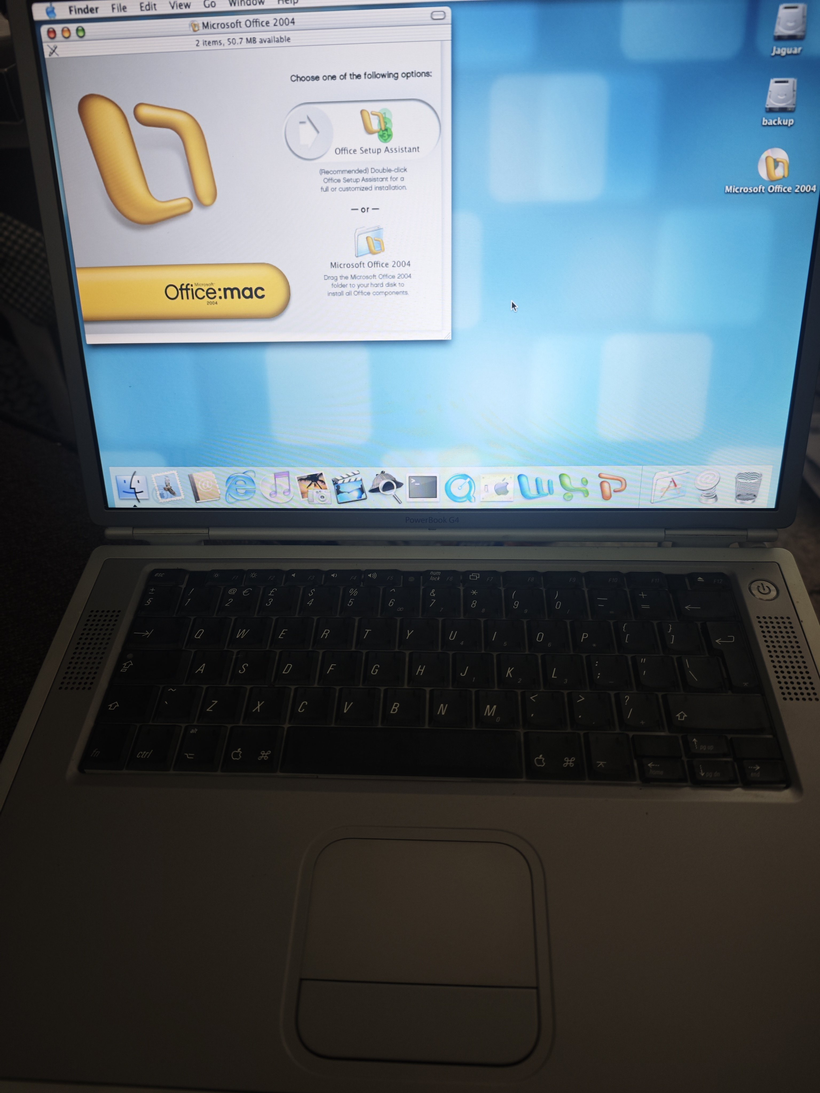
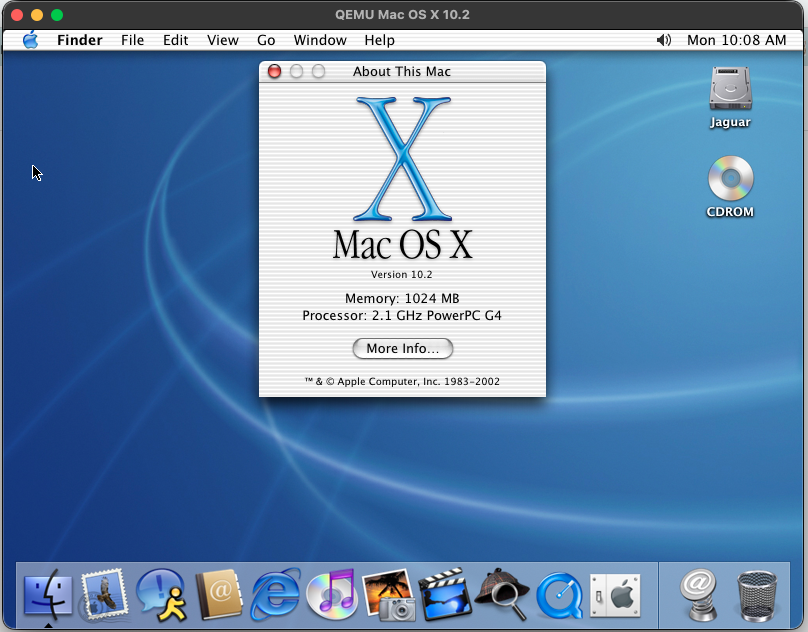
Success
Jaguar 10.2.8.
On a machine that absolutely refused to run 10.2.0.
With Office 2004, because why not.
Lessons learned
- Early OS X is tightly hardware-bound, not just “older”
- Kernel panics are often symptoms, not causes
- FireWire was innocent (this time)
- USB support in installers was… optimistic
And most importantly:
Just because you can reconstruct a historically accurate install pipeline via emulation and disk imaging…
doesn’t mean you should.
The obvious solution (that I ignored)
A single FireWire cable.
Target Disk Mode.
Done in 20 minutes, by using my B&W G3 PowerMac that is currently running Windows NT, but it wouldn’t matter as I could just hold option and select the FireWire target disk to boot to/from as it’ll happily boot/install 10.2.0 without a hitch. It being a G3 makes no difference as the same kernel works on G3/G4 processors.
But where’s the fun in that?
For those brave enough to get to the end of the post, I uploaded all my Jaguar images onto archive.org. I’m sure it’s been preserved before, but since I was in the mood, I also uploaded Office 2004.