Cisco routers are born to do TCP/IP. Â And looking at the networking world today, it is pretty safe to say that you will be on a TCP/IP network. Â Luckily configuring TCP/IP on the router is pretty easy. Â IP addresses are assigned per interface, as a typical router will have many ip addresses.
As always it does help to have a ‘plan’ for what ip addresses will go where in your network.
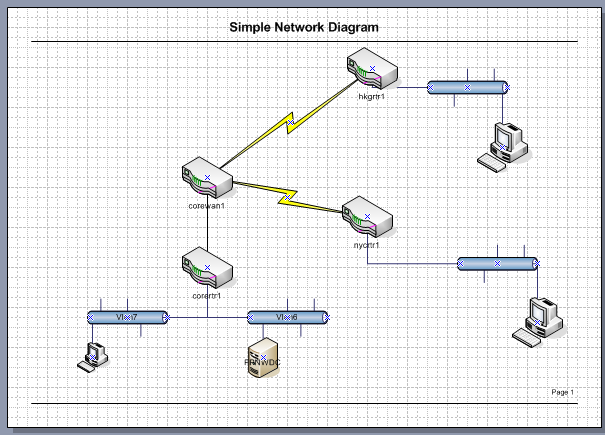
I’m using the network that I described earlier, here.
From my corertr1 router I’m going to setup 3 networks, a server network, a user network, and finally a network to connect to my WAN router. Â The IP networks that I’m going to use are the following:
WAN 138.1.0.0/24
SERVER 138.1.1.0/24
USER 138.1.10.0/24
The first thing I want to do is examine the existing configuration of the FastEthernet 0/0 port which will be my ‘wan’ network port.
corertr1#sho run int fa0/0
Building configuration…
Current configuration : 83 bytes
!
interface FastEthernet0/0
no ip address
shutdown
duplex auto
speed auto
end
As you can see it is shut down, and has no ip address assigned. Â We can also check the ethernet’s status with a show interface fa0/0
corertr1#sho interfaces fastEthernet 0/0
FastEthernet0/0 is administratively down, line protocol is down
Hardware is i82543 (Livengood), address is ca00.383b.0008 (bia ca00.383b.0008)
MTU 1500 bytes, BW 100000 Kbit, DLY 100 usec,
reliability 255/255, txload 1/255, rxload 1/255
Encapsulation ARPA, loopback not set
Keepalive set (10 sec)
Full-duplex, 100Mb/s, 100BaseTX/FX
ARP type: ARPA, ARP Timeout 04:00:00
Last input 00:02:30, output 00:01:40, output hang never
Last clearing of “show interface” counters 00:00:01
Input queue: 0/75/0/0 (size/max/drops/flushes); Total output drops: 0
Queueing strategy: fifo
Output queue: 0/40 (size/max)
5 minute input rate 0 bits/sec, 0 packets/sec
5 minute output rate 0 bits/sec, 0 packets/sec
0 packets input, 0 bytes
Received 0 broadcasts, 0 runts, 0 giants, 0 throttles
0 input errors, 0 CRC, 0 frame, 0 overrun, 0 ignored
0 watchdog
0 input packets with dribble condition detected
0 packets output, 0 bytes, 0 underruns
0 output errors, 0 collisions, 0 interface resets
0 babbles, 0 late collision, 0 deferred
0 lost carrier, 0 no carrier
0 output buffer failures, 0 output buffers swapped out
The important part here is this line:
FastEthernet0/0 is administratively down, line protocol is down
First the interface is ‘administratively down’ meaning that it is configured this way. In cisco speak this interface is ‘down, down’. This is different from a ‘up/down’ interface that is configured to be ‘up’ or operational, but is not working.  That will appear like this:
FastEthernet0/0 is administratively up, line protocol is down
Which indicates that there is a hardware problem.
The first thing we are going to do is turn the interface ‘on’.
corertr1#config t
Enter configuration commands, one per line. End with CNTL/Z.
corertr1(config)#interface fastEthernet 0/0
corertr1(config-if)#no shut
corertr1(config-if)#exit
corertr1(config)#exit
corertr1#
16:41:01: %LINK-3-UPDOWN: Interface FastEthernet0/0, changed state to up
16:41:01: %SYS-5-CONFIG_I: Configured from console by console
16:41:02: %LINEPROTO-5-UPDOWN: Line protocol on Interface FastEthernet0/0, changed state to up
corertr1#
Notice that when we type in “interface fastEthernet 0/0” the prompt changes to (config-if) meaning that we are now configuring an interface. Â Type in the question mark, and you can see all the possible options you have on this interface. Â The physical interface is where you select things like speed, duplex, line encapsulation. Â If the interface doesn’t have any ‘virtual’ members like 802.1Q, or frame relay as a few examples, you can put an ip address on the interface. Â Also take note that when I typed in the first ‘exit’ the prompt changed back to (config) meaning we are no longer configuring the fastEthernet 0/0 interface. Â The next exit then takes us out of the config mode all together.
The next thing that happens is that the router turns the interface on, and then generates a syslog event which is followed by a console message letting us know that that fastEthernet interface is now operational as its state is now up.
Now I’m going to go back into the configuration mode, and setup the IP address
corertr1#config t
Enter configuration commands, one per line. End with CNTL/Z.
corertr1(config)#interface fastEthernet 0/0
corertr1(config-if)# description WAN network
corertr1(config-if)# ip address 138.1.0.5 255.255.255.0
corertr1(config-if)#exit
corertr1(config)#exit
corertr1#
Notice that I also set a description on the interface. Â This makes it easier to remember what goes where. Â Always if possible put in descriptions! Now if we check the interface configuration we will now see:
corertr1#sho run interface fastEthernet 0/0
Building configuration…
Current configuration : 119 bytes
!
interface FastEthernet0/0
description WAN network
ip address 138.1.0.5 255.255.255.0
duplex auto
speed auto
end
Which looks fine.
Another GREAT feature of the cisco routers is the CDP protocol, or cisco discovery protocol. Â CDP will broadcast on every interface a special packet that other cisco devices will pick up on, to let you know that who/what you are plugged into. Â To take a look simply run the command show cdp neigh
corertr1#sho cdp neigh
Capability Codes: R – Router, T – Trans Bridge, B – Source Route Bridge
S – Switch, H – Host, I – IGMP, r – Repeater
Device ID Local Intrfce Holdtme Capability Platform Port ID
corewan1 Fas 0/0 134 R 7206VXR Fas 0/0
This tells us that our Fast ethernet 0/0 is connected to a 7206VXR called corewan1 on it’s Fast ethernet 0/0. Â You can get even more information with the command ‘show cdp neighbors detail’
corertr1#show cdp neighbors detail
————————-
Device ID: corewan1
Entry address(es):
Platform: cisco 7206VXR, Capabilities: Router
Interface: FastEthernet0/0, Port ID (outgoing port): FastEthernet0/0
Holdtime : 129 sec
Version :
Cisco Internetwork Operating System Software
IOS ™ 7200 Software (C7200-JS-M), Version 12.2(31), RELEASE SOFTWARE (fc2)
Technical Support: http://www.cisco.com/techsupport
Copyright (c) 1986-2005 by cisco Systems, Inc.
Compiled Thu 11-Aug-05 15:57 by tinhuang
advertisement version: 2
Duplex: full
As you can see this even tells us what version of software our neighbour is running. Sometimes you don’t want to tell people (like 3rd parties) what you are running so you can turn off CDP on the router, or just the interface that is connected to the 3rd party.
So with our first interface configured, I’m going to go and setup the rest of my interfaces, then I’m going to show an overview with the ‘sho ip interface brief’ command like this:
corertr1#sho ip interface brief
Interface IP-Address OK? Method Status Protocol
FastEthernet0/0 138.1.0.5 YES manual up up
FastEthernet0/1 unassigned YES NVRAM administratively down down
Ethernet1/0 138.1.1.1 YES NVRAM up up
Ethernet1/1 138.1.10.1 YES NVRAM up up
Ethernet1/2 unassigned YES NVRAM administratively down down
Ethernet1/3 unassigned YES NVRAM administratively down down
Ethernet1/4 unassigned YES NVRAM administratively down down
Ethernet1/5 unassigned YES NVRAM administratively down down
Ethernet1/6 unassigned YES NVRAM administratively down down
Ethernet1/7 unassigned YES NVRAM administratively down down
As you see this shows the interfaces that are capable of having an ip address, and which ones do have an ip address.  Now let’s configure the ‘WAN’ router with an IP address so we can do a ping. From dynagen bring up the corewan1 console:
=> console corewan1
You will probably want to setup the router much like how we did in the prior page.
corewan1#config t
Enter configuration commands, one per line. End with CNTL/Z.
corewan1(config)#int fa0/0
corewan1(config-if)#desc WAN network
corewan1(config-if)#ip address 138.1.0.6 255.255.255.0
corewan1(config-if)#exit
corewan1(config)#exit
Notice that I gave it .6 not .5 as that would be a duplicate ip address! Â CDP updates every 60 seconds by default, so after a minute this is what we now see from corertr1:
corertr1#show cdp neighbors detail
————————-
Device ID: corewan1
Entry address(es):
IP address: 138.1.0.6
Platform: cisco 7206VXR, Capabilities: Router
Interface: FastEthernet0/0, Port ID (outgoing port): FastEthernet0/0
Holdtime : 124 sec
Version :
Cisco Internetwork Operating System Software
IOS ™ 7200 Software (C7200-JS-M), Version 12.2(31), RELEASE SOFTWARE (fc2)
Technical Support: http://www.cisco.com/techsupport
Copyright (c) 1986-2005 by cisco Systems, Inc.
Compiled Thu 11-Aug-05 15:57 by tinhuang
advertisement version: 2
Duplex: full
Notice we now see the peer ip addres! Â Now we can ping.
corertr1#ping 138.1.0.6
Type escape sequence to abort.
Sending 5, 100-byte ICMP Echos to 138.1.0.6, timeout is 2 seconds:
!!!!!
Success rate is 100 percent (5/5), round-trip min/avg/max = 20/21/24 ms
Although it may not be important now, but ping has an incredible featureset on cisco routers. Â Simply type in ping this time, and be amazed. Â Google will lead you to what all these options mean for now, but just be aware this is one of the reason people buy cisco routers.
corertr1#ping
Protocol [ip]:
Target IP address: 138.1.0.6
Repeat count [5]:
Datagram size [100]: 1000
Timeout in seconds [2]: 3
Extended commands [n]: y
Source address or interface: 138.1.0.5
Type of service [0]:
Set DF bit in IP header? [no]: y
Validate reply data? [no]: y
Data pattern [0xABCD]:
Loose, Strict, Record, Timestamp, Verbose[none]:
Sweep range of sizes [n]: y
Sweep min size [36]: 500
Sweep max size [18024]: 600
Sweep interval [1]:
Type escape sequence to abort.
Sending 505, [500..600]-byte ICMP Echos to 138.1.0.6, timeout is 3 seconds:
Packet sent with a source address of 138.1.0.5
Packet sent with the DF bit set
Reply data will be validated
!!!!!!!!!!!!!!!!!!!!!!!!!!!!!!!!!!!!!!!!!!!!!!!!!!!!!!!!!!!!!!!!!!!!!!
!!!!!!!!!!!!!!!!!!!!!!!!!!!!!!!!!!!!!!!!!!!!!!!!!!!!!!!!!!!!!!!!!!!!!!
!!!!!!!!!!!!!!!!!!!!!!!!!!!!!!!!!!!!!!!!!!!!!!!!!!!!!!!!!!!!!!!!!!!!!!
!!!!!!!!!!!!!!!!!!!!!!!!!!!!!!!!!!!!!!!!!!!!!!!!!!!!!!!!!!!!!!!!!!!!!!
!!!!!!!!!!!!!!!!!!!!!!!!!!!!!!!!!!!!!!!!!!!!!!!!!!!!!!!!!!!!!!!!!!!!!!
!!!!!!!!!!!!!!!!!!!!!!!!!!!!!!!!!!!!!!!!!!!!!!!!!!!!!!!!!!!!!!!!!!!!!!
!!!!!!!!!!!!!!!!!!!!!!!!!!!!!!!!!!!!!!!!!!!!!!!!!!!!!!!!!!!!!!!!!!!!!!
!!!!!!!!!!!!!!!
Success rate is 100 percent (505/505), round-trip min/avg/max = 16/21/44 ms
corertr1#
Now that we can ping, we can even telnet to the wan router from the core router.
corertr1#138.1.0.6
Trying 138.1.0.6 … Open
|\ _,,,—,,_
/,`.-‘`’ -. ;-;;,_
|,4- ) )-,_..;\ ( `’-‘
‘—”(_/–‘ `-‘\_) Welcome to the corewan1
Authorized users ONLY!!!!
User Access Verification
Password:
We can even check to see who is ‘on’ the router with the who command.
corewan1>who
Line User Host(s) Idle Location
0 con 0 idle 00:00:17
* 2 vty 0 idle 00:00:00 138.1.0.5
Interface User Mode Idle Peer Address
corewan1>q
Wasn’t that simple?

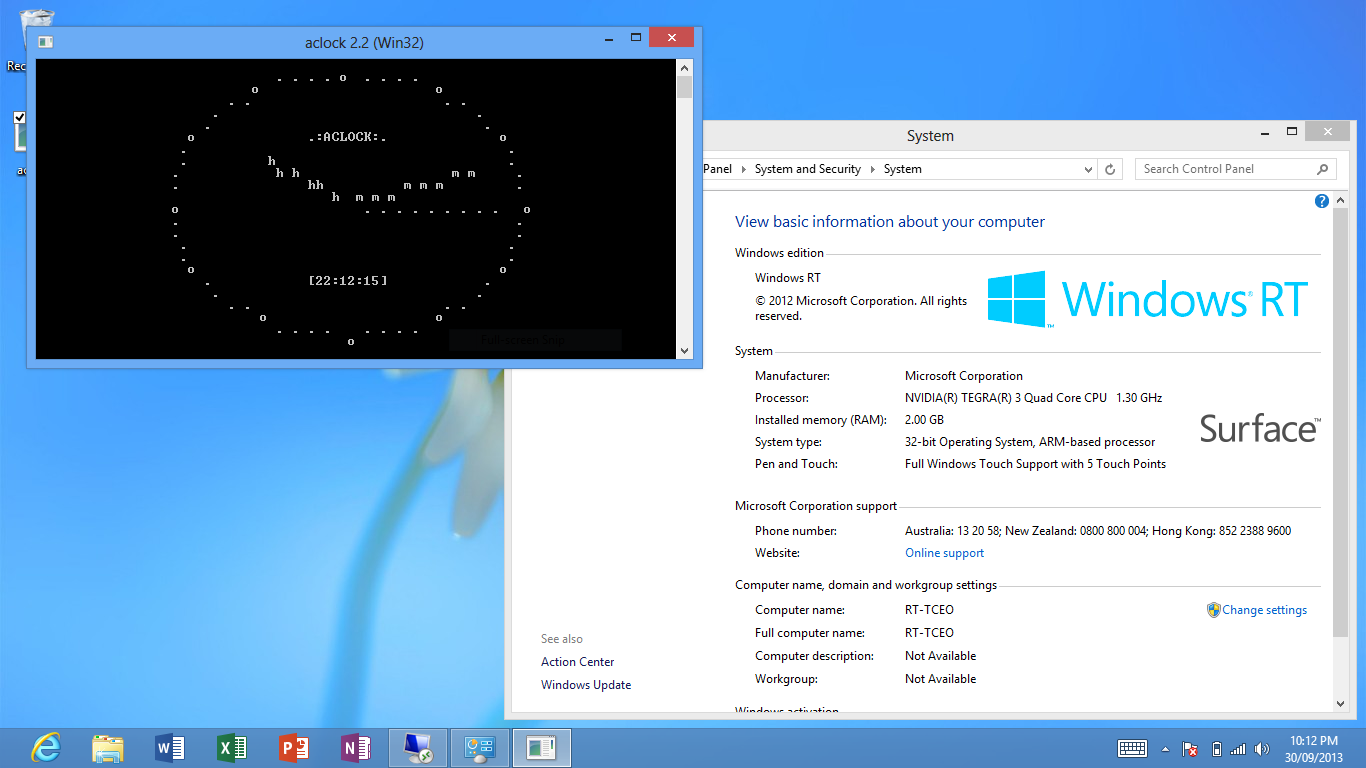 #197 – Aclock ARM Windows RT by Peter Godwin
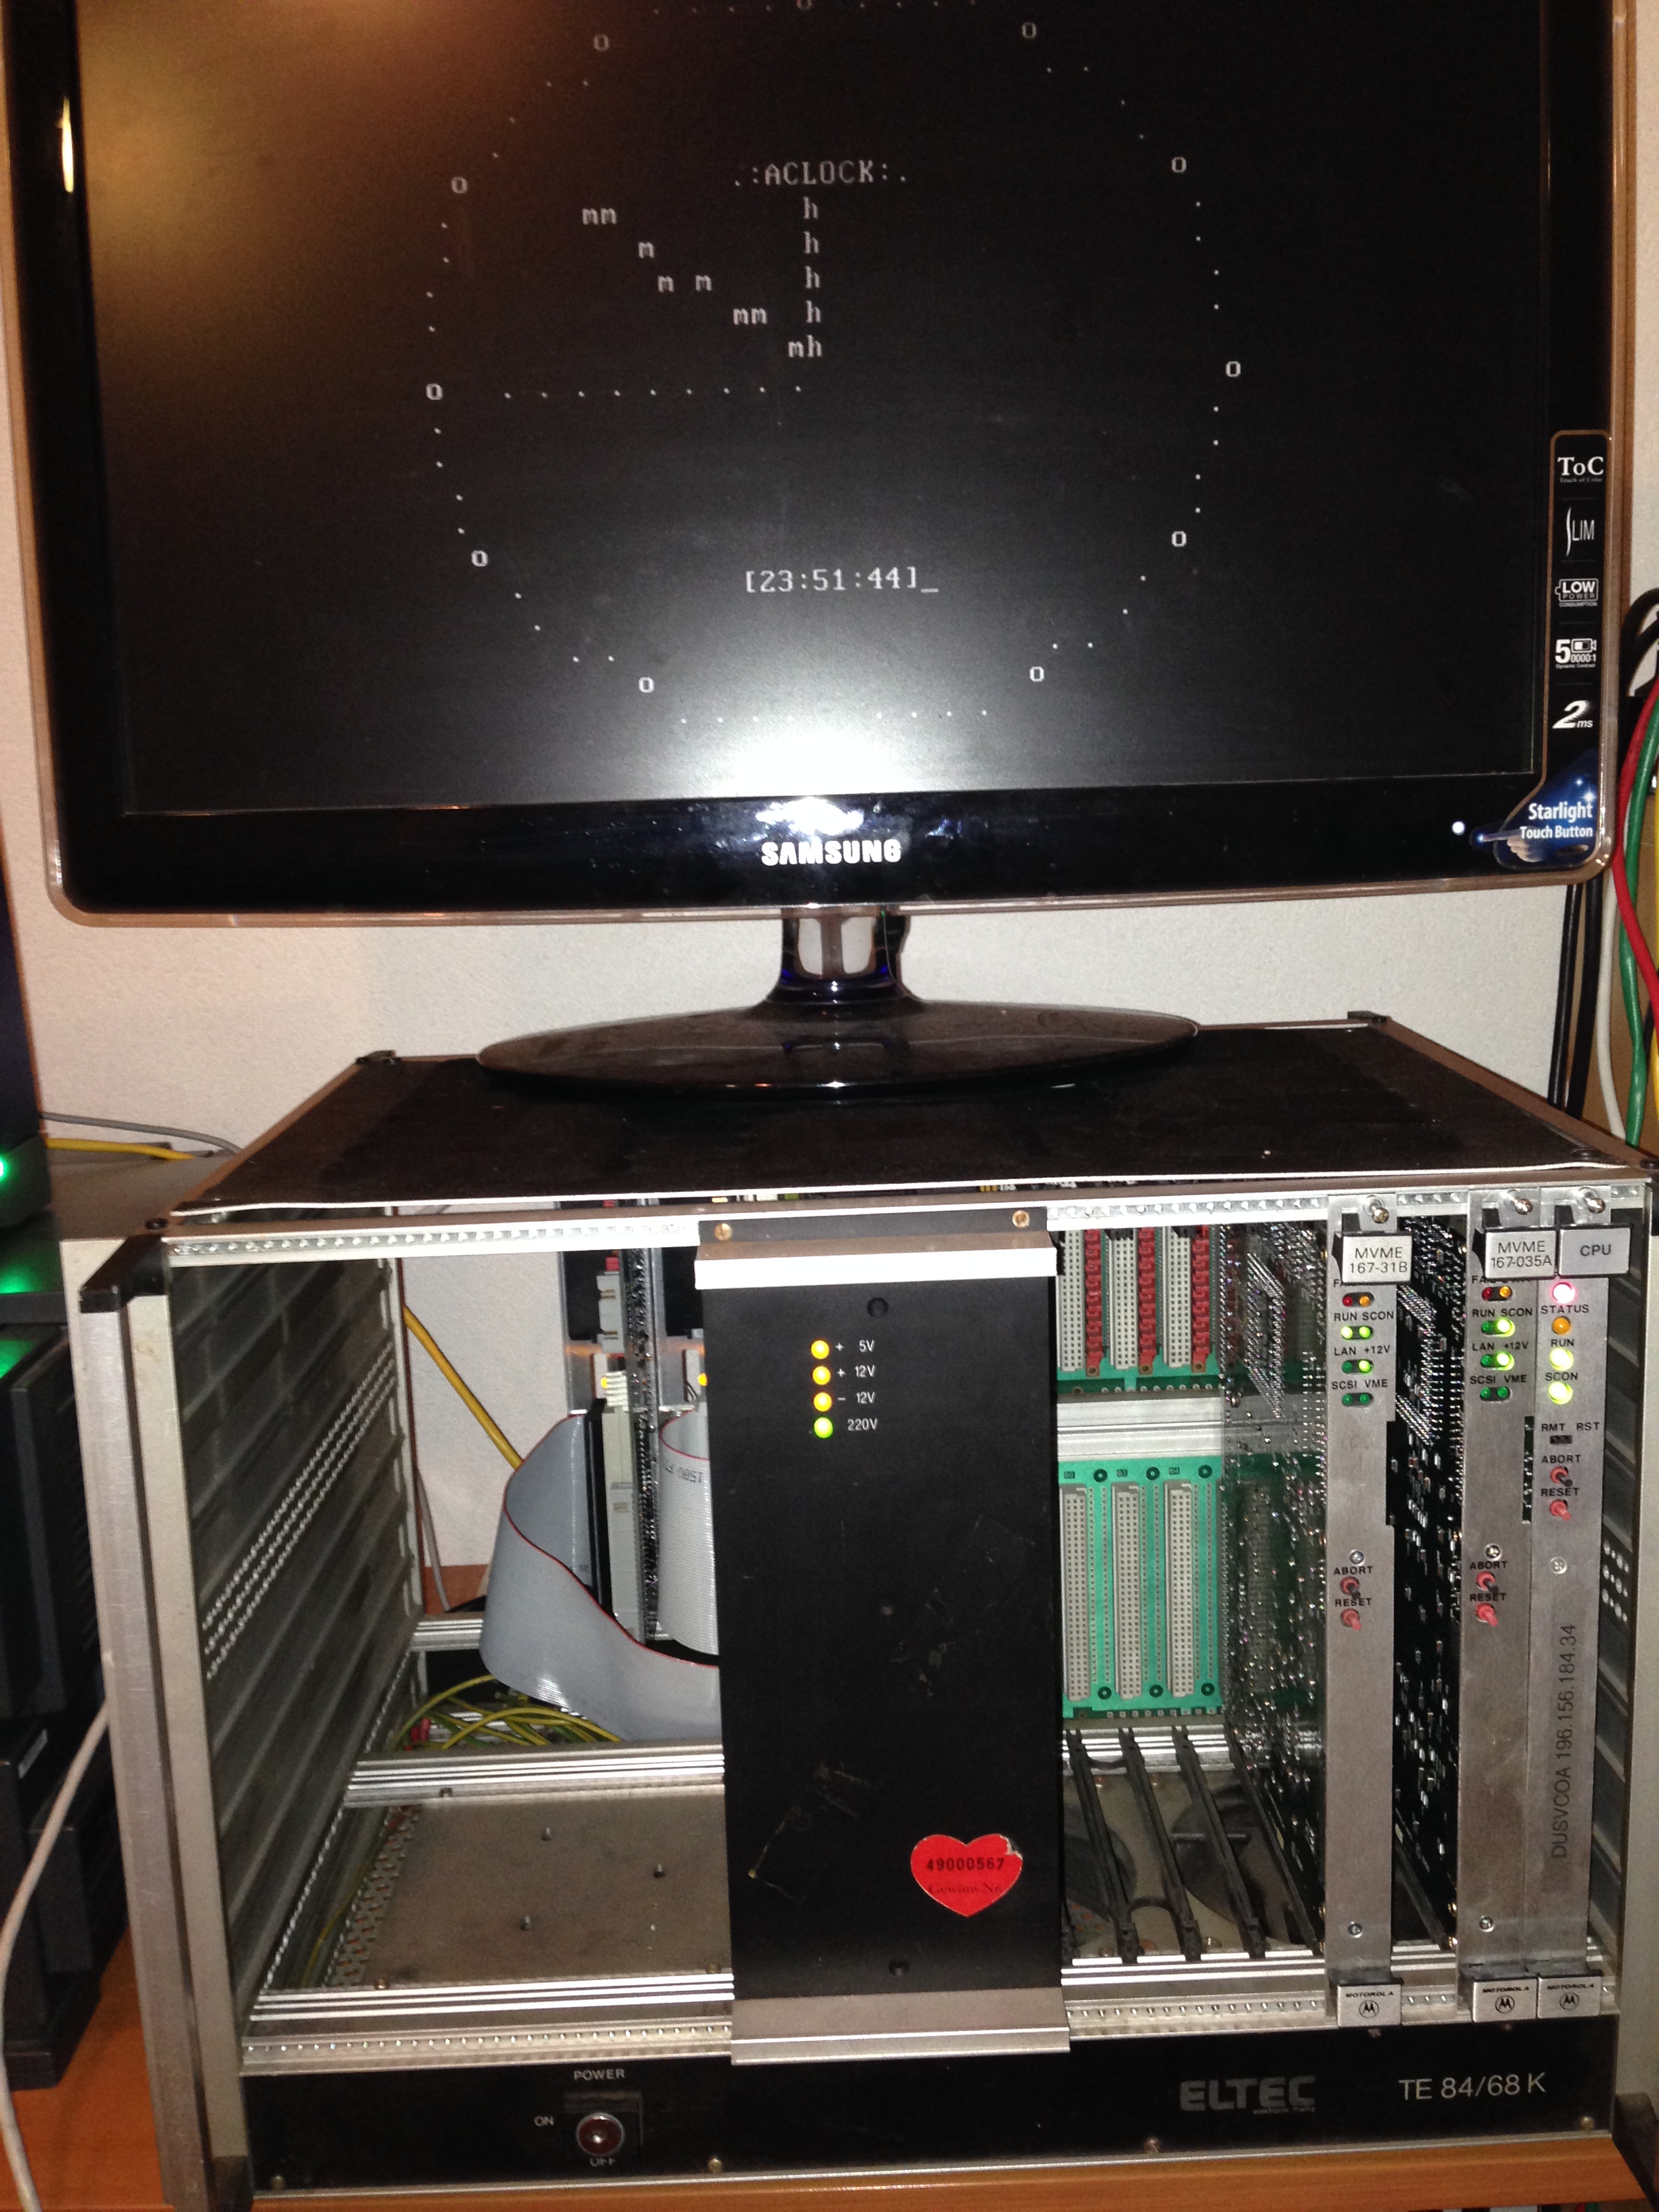 #198 – Alock M68K LynxOS by Plamen Mihaylov
 #199 – Aclock PDP11 DEMOS by Dima Naumov
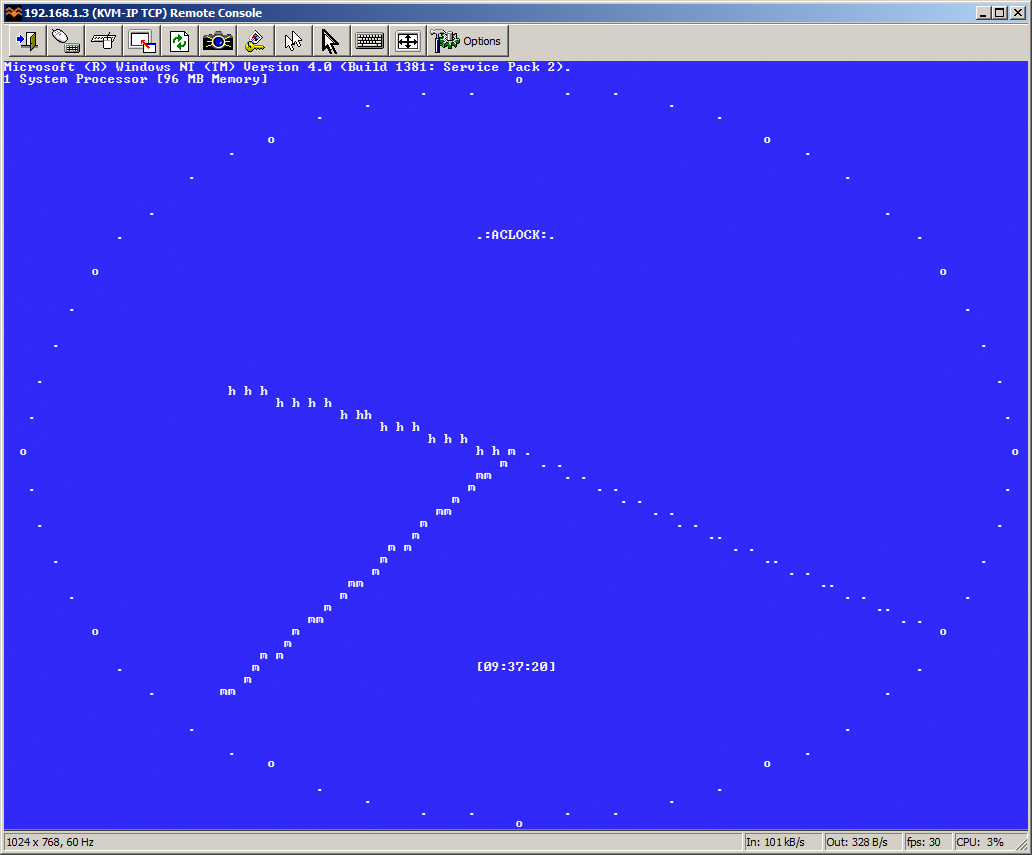 #200 – Aclock PowerPC WindowsNT HAL Driver by myself