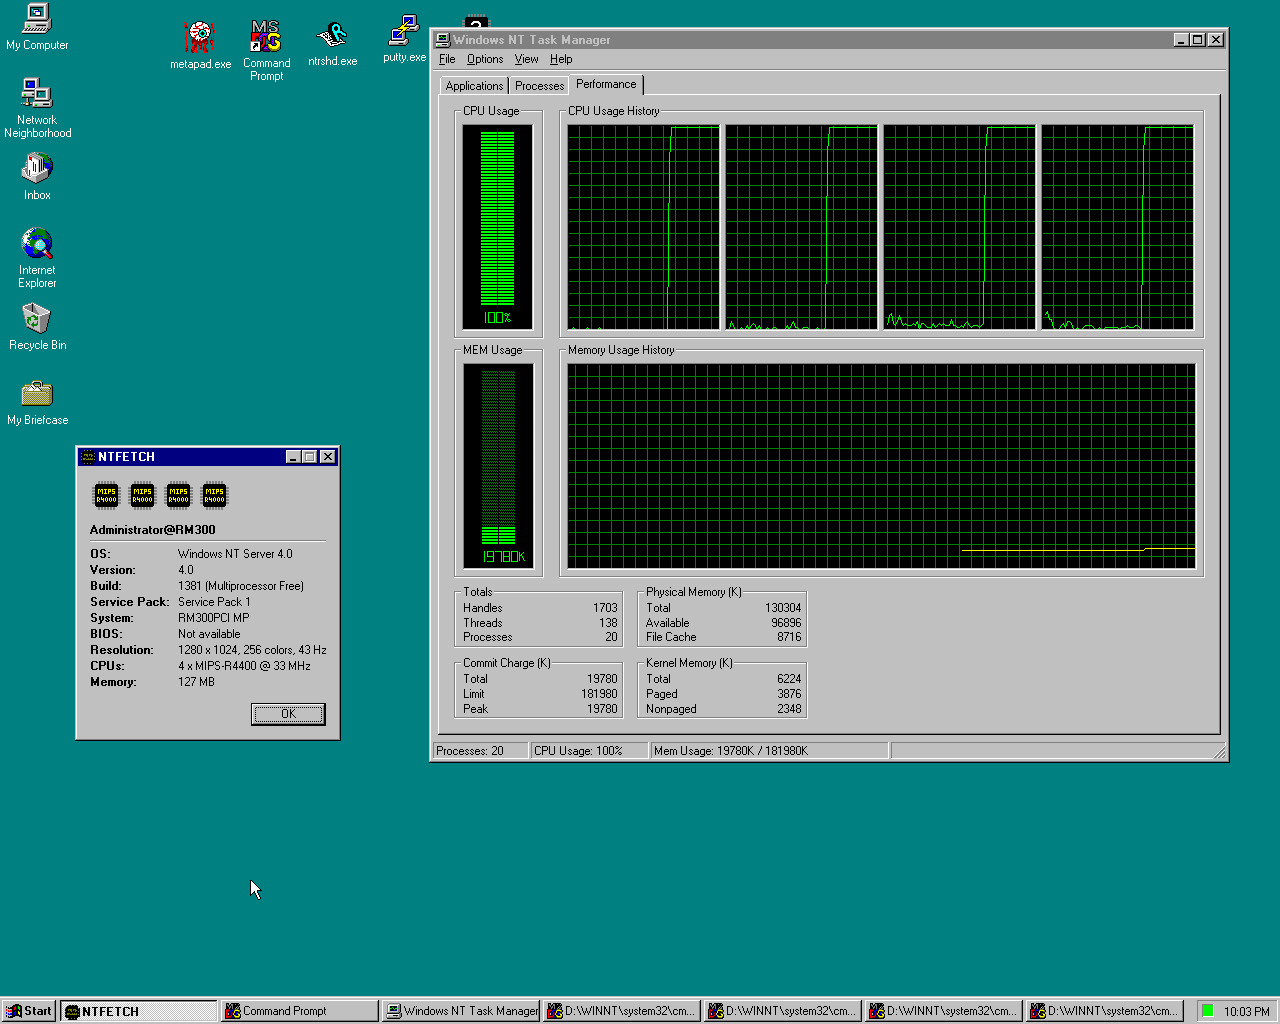
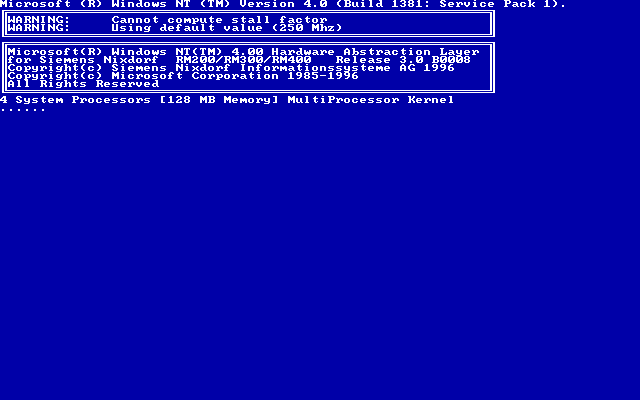
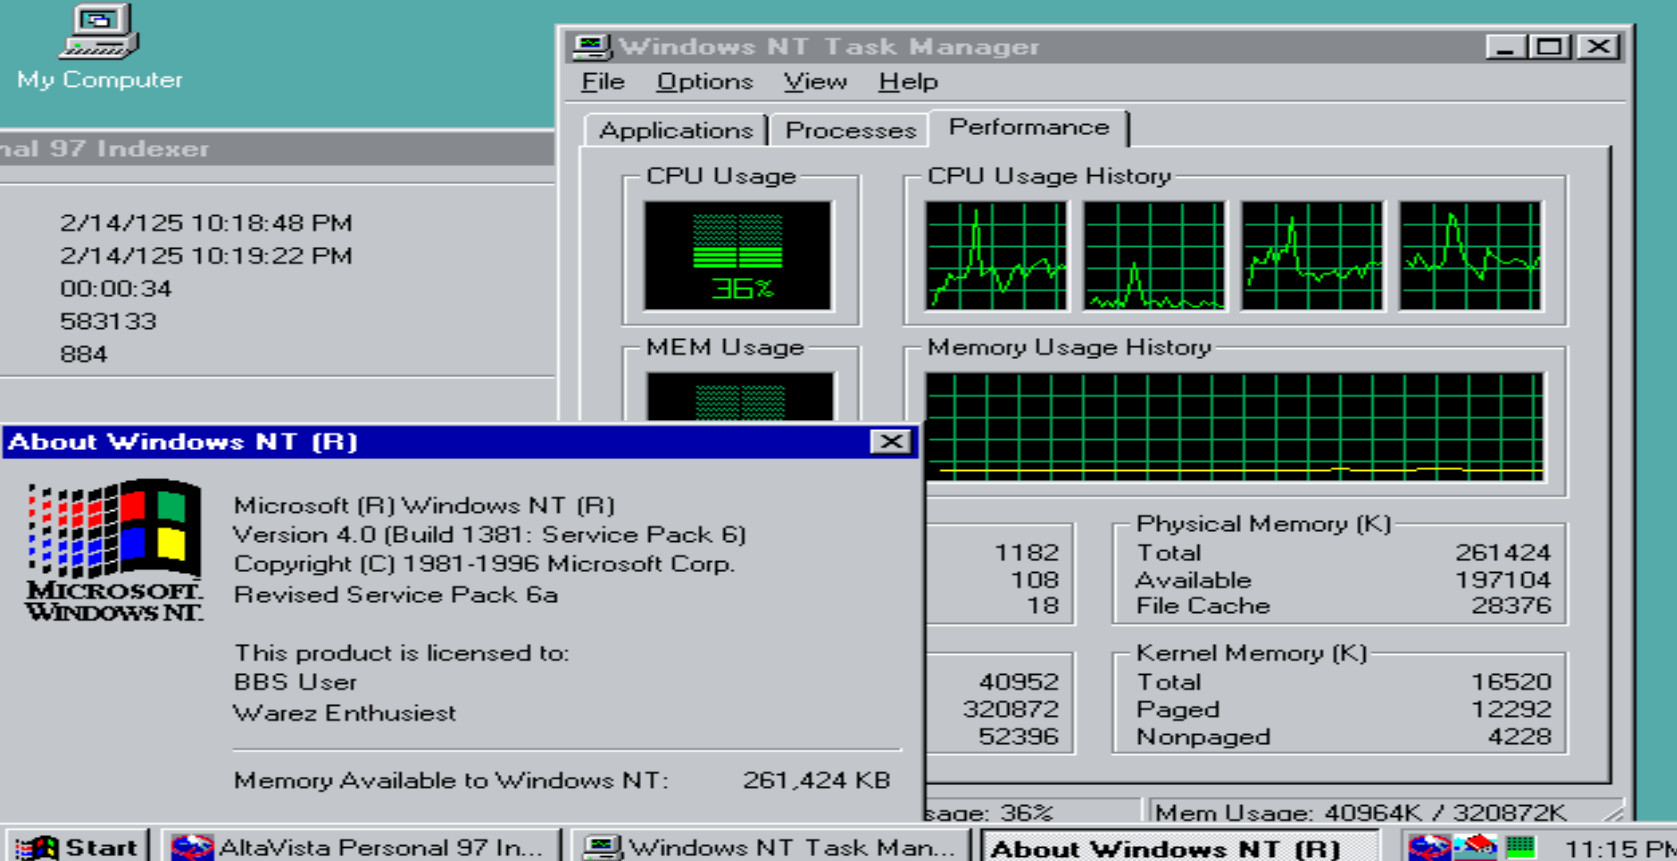
Each guest CPU runs on its own separate host core. Real R4400 boards had at most 2 CPUs, but the firmware and the NT HAL handle 4 just fine. It has to be Windows Server, as Workstation only supports 2 CPUs.
CPU idle detection! NT’s idle loop just spins. LEMU detects it and halts the CPU instead. On my Mac the idle VM uses ~10% of one host core. Without it the same idle desktop burns 3 full cores!
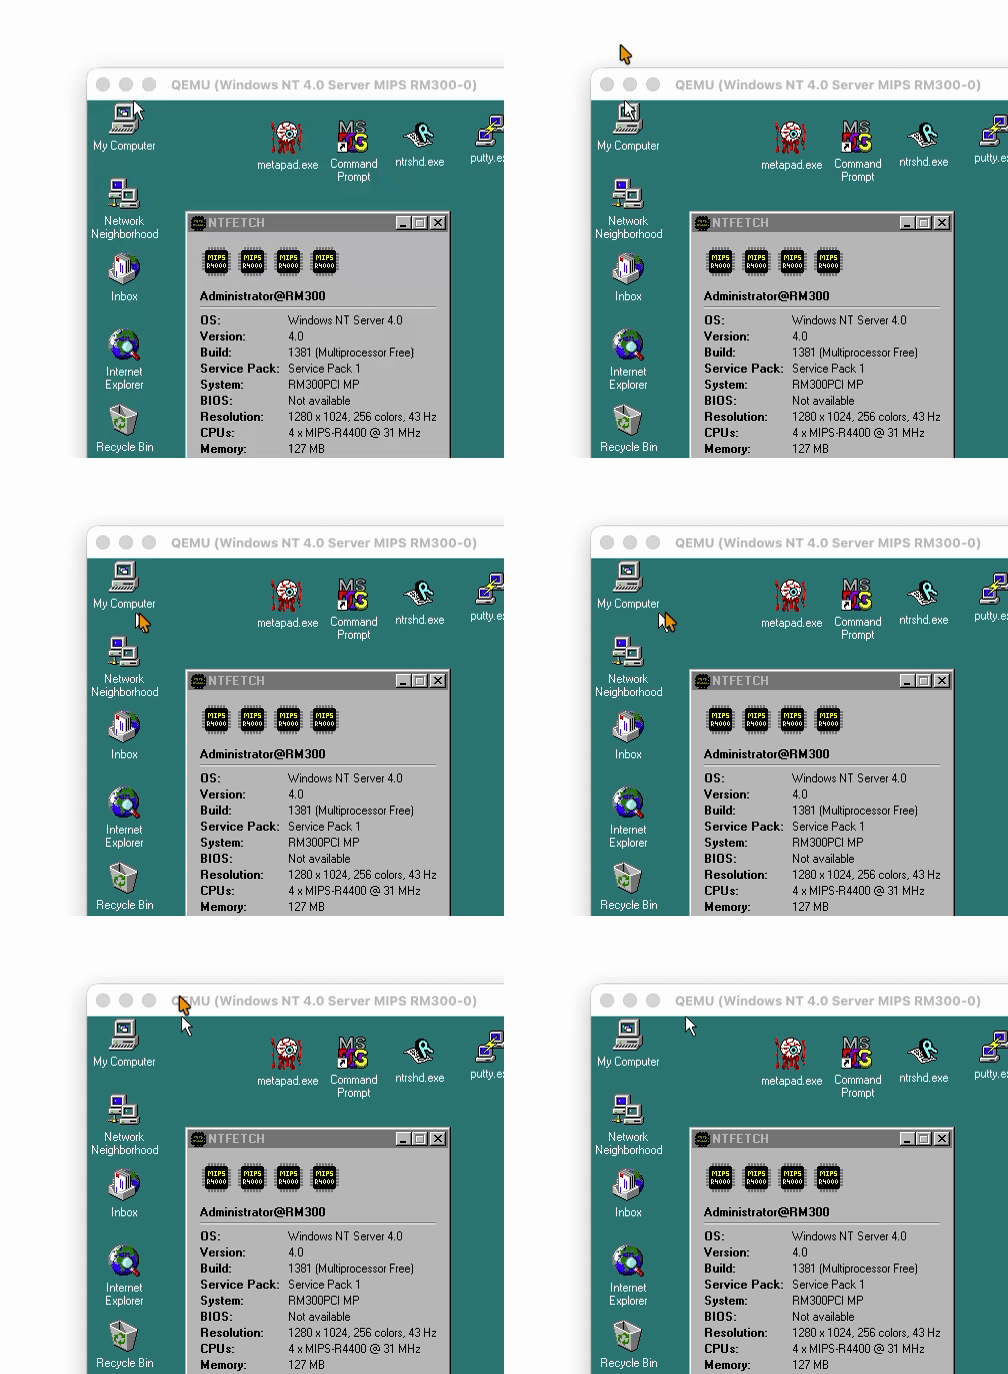
Seamless mouse! Remember the mouse issues from the Jazz post? All solved now thanks to the vmmouse driver. No more mouse grab, the pointer just moves in and out of the window, and the scroll wheel works!
Look ma, no mouse grab!
Ready to run portable image for macOS (Apple Silicon), Linux x64 and Windows x64. Unpack and run run.sh or run.cmd. At “Hit any key to continue” press Enter twice. NT logs on by itself as Administrator / password.
(This is a guest post by Antoni Sawicki aka Tenox)
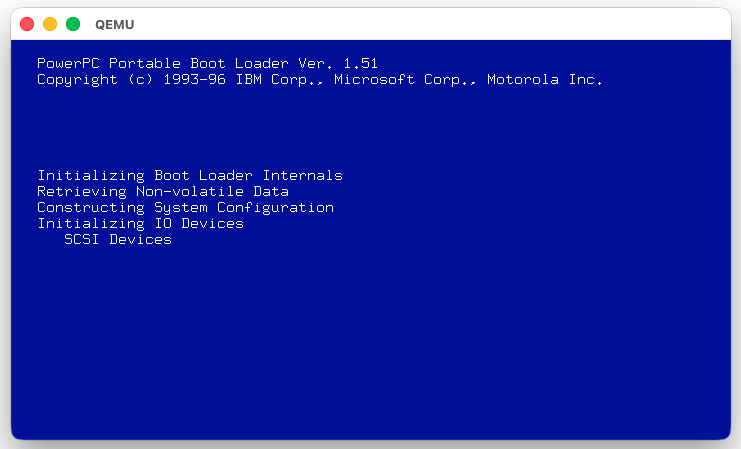
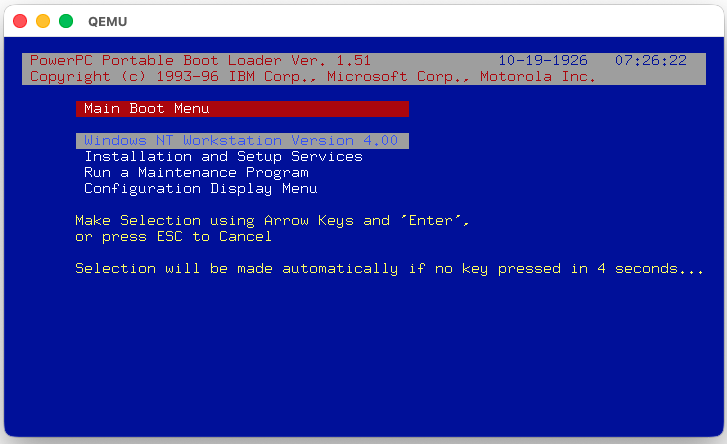
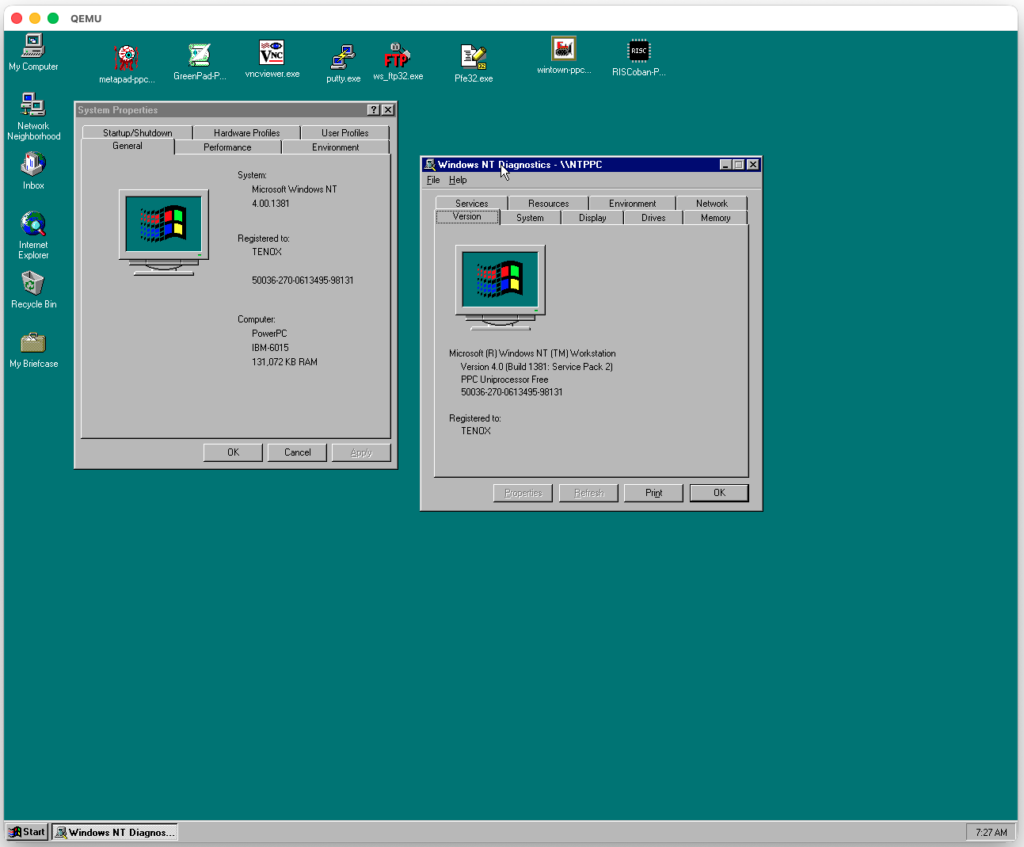
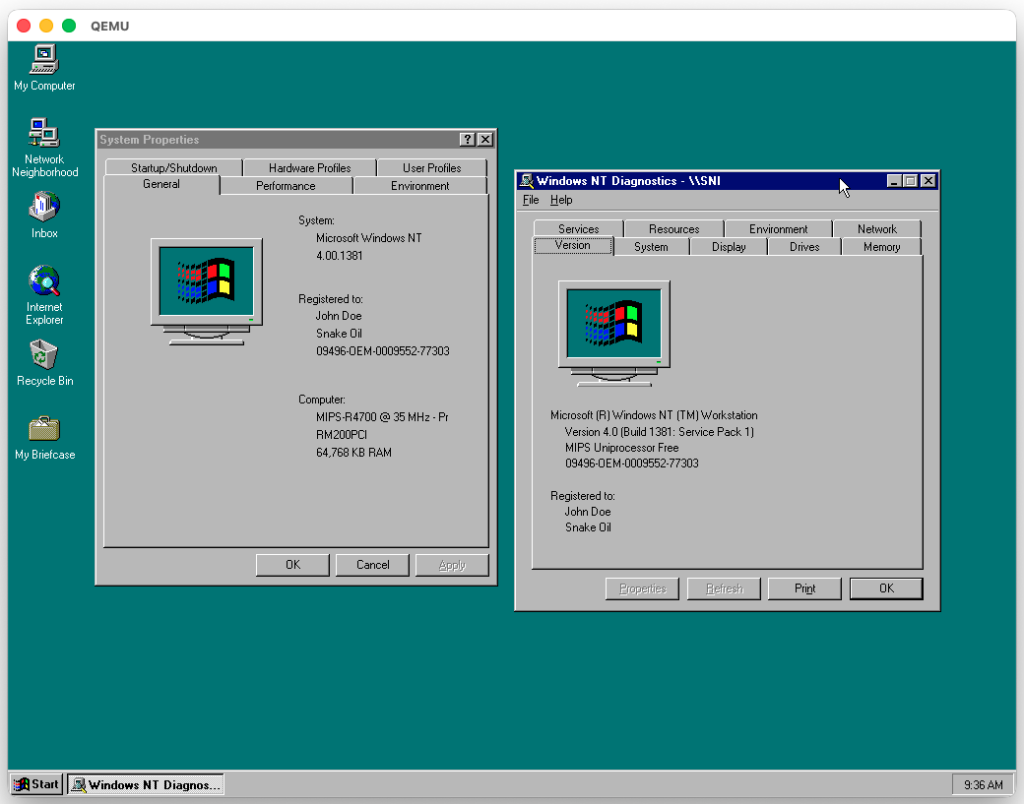
Another day another NT QEMU post. This time we have stock Windows NT 4.0 PowerPC running on QEMU, with complete emulation of the BIOS / Firmware and everything. Networking and 1280×1024 resolution.
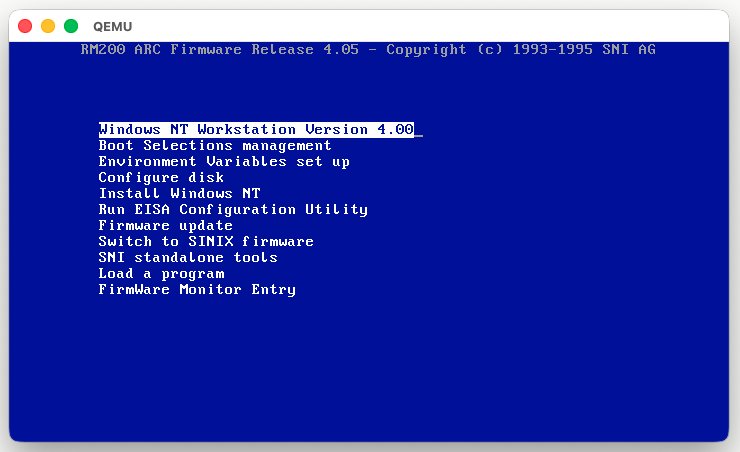
Since I did some work on RM-200 QEMU and this system is also capable of running Windows NT MIPS in Lite Endian mode (the CPU can switch endianness) I decided to also get it working:
I have previously covered NT on MIPS QEMU Jazz emulated machine. This is not that much different and fundamentally very close. Just a different machine with different firmware and peripherals. Also much newer QEMU version.
(This is a guest post by Antoni Sawicki aka Tenox)
It appears that up until just now we did not have archived copy of MS Word 6.0 for PPC. There were copies floating for Alpha and MIPS, for example https://archive.org/details/ms-word60-nt. However PPC version was nowhere to be found…
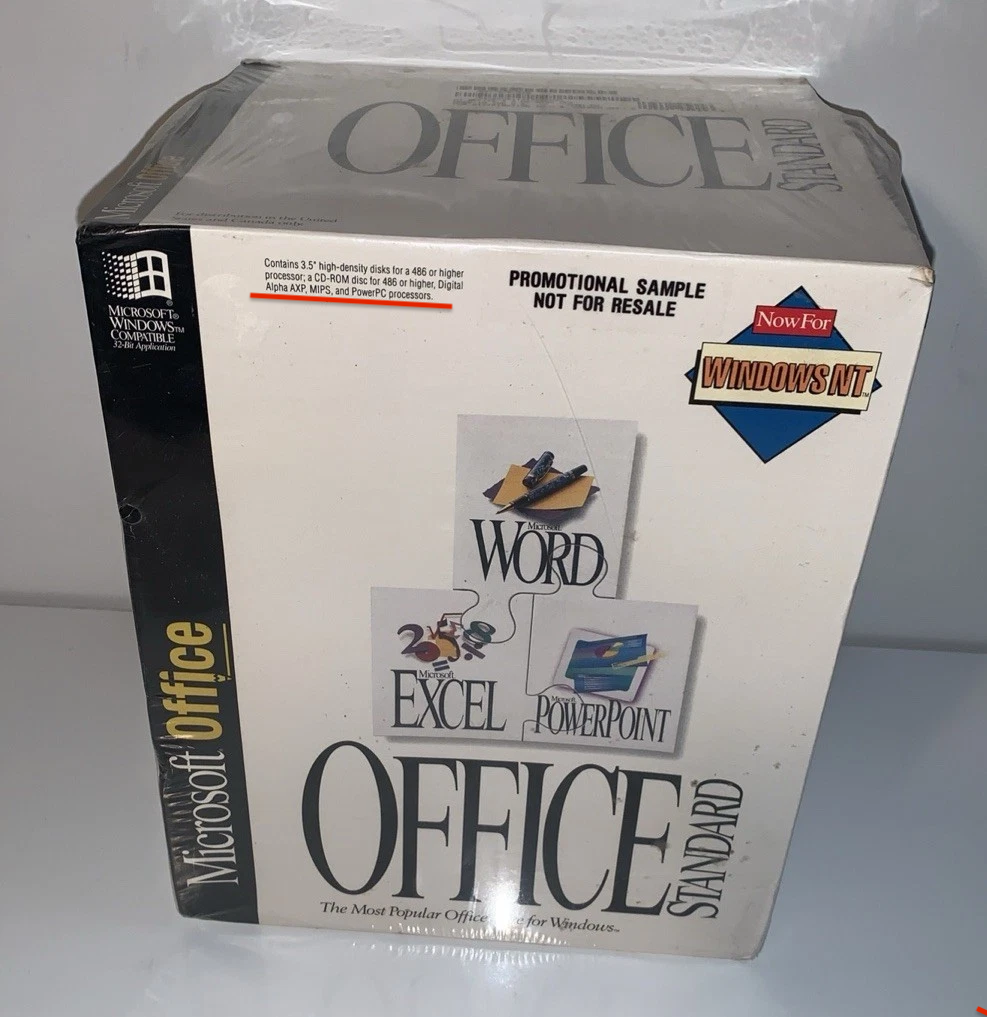
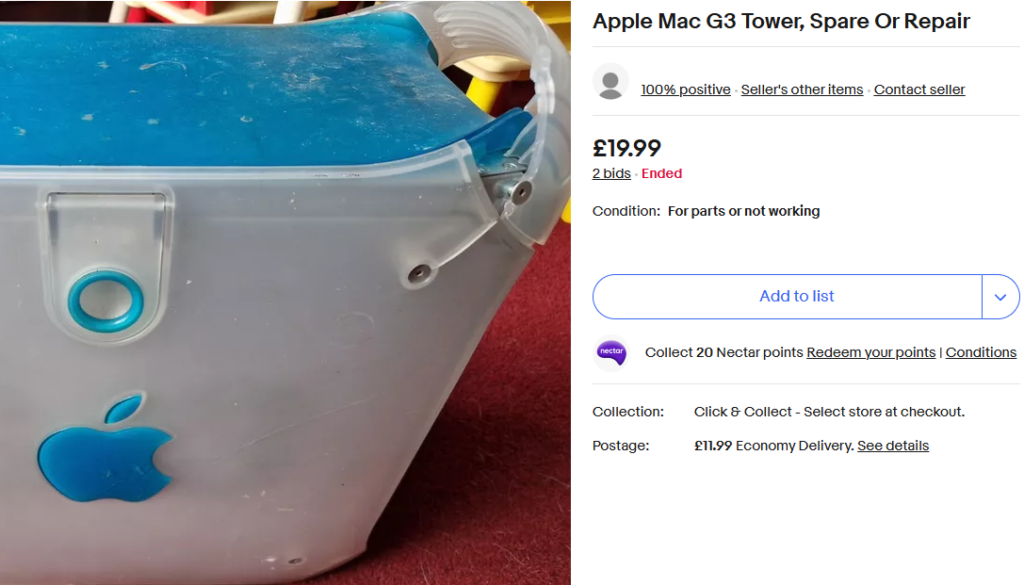
Until Term24 pointed me to this eBay auction:
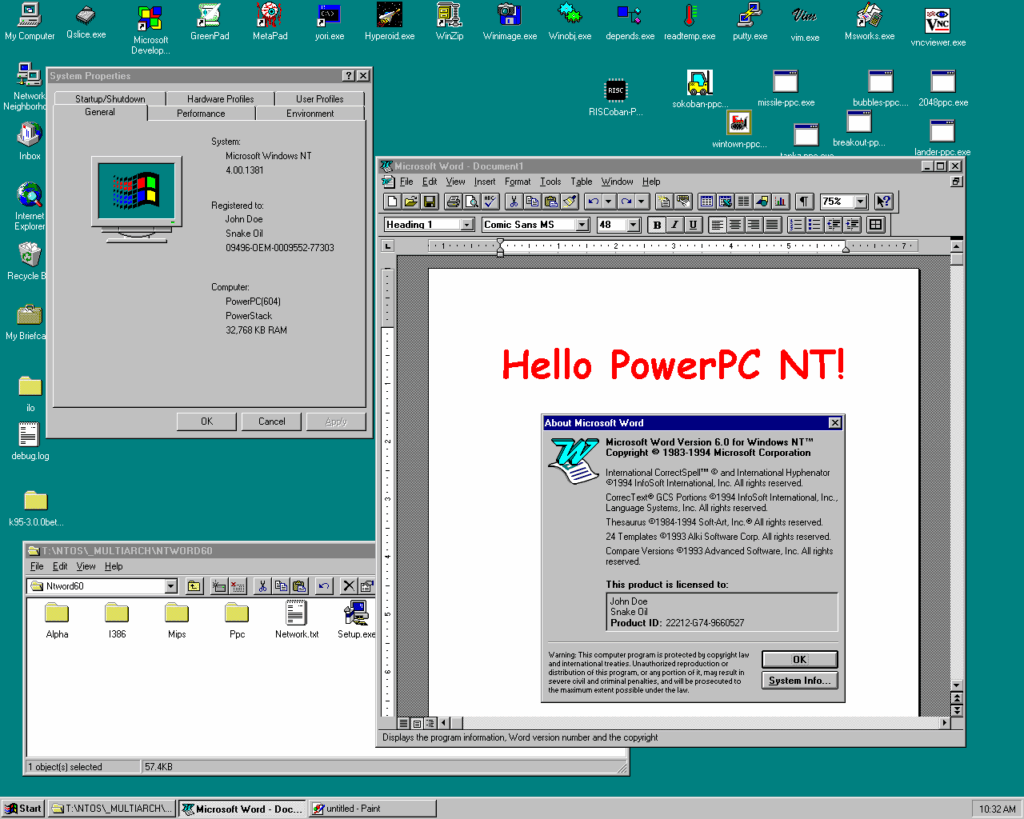
Since it clearly said PowerPC on the box I got it… and here it is:
MS Word 6.0 on Windows NT 4.0 PowerPC / PPC
Now thanks to Rairii you can enjoy it on a PowerMac or WII!
While trying to index a massive dataset, I found that the whole AltaVista process was kind of slow. And what better way to hope to speed it up, than to add some more processors. The catch is that the indexer only works on the Workstation SKU, and as such it’ll limit you to two processors. But what if one of those ‘one simple trick’ tricks actually can unlock all your cores?
load the registry hive setupreg.hiv from i386 folder
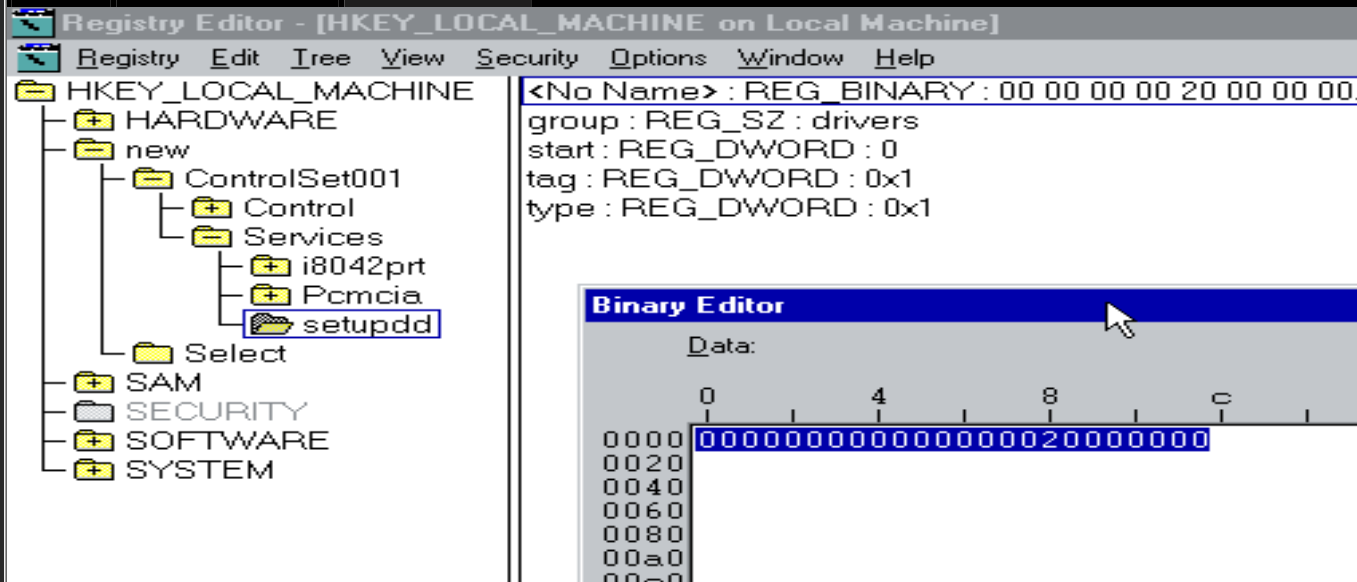
in ControlSet001\Services\setupdd
default registry value
at offset 8, replace the value thats there (probably 00) with 20, ie decimal 32
then when reinstalling it should set up the registry to allow 32 cpus
ControlSet001-Services-setupdd
I didn’t want to bother trying to make a ‘correct’ NT 4 CD, so I just did the dos bootable disk image thing, and the old school “winnt /b” setup from within DOS on VMWare Workstation 17, and yeah behold!
NT 4.0 Workstation on VMware Workstation Pro 17
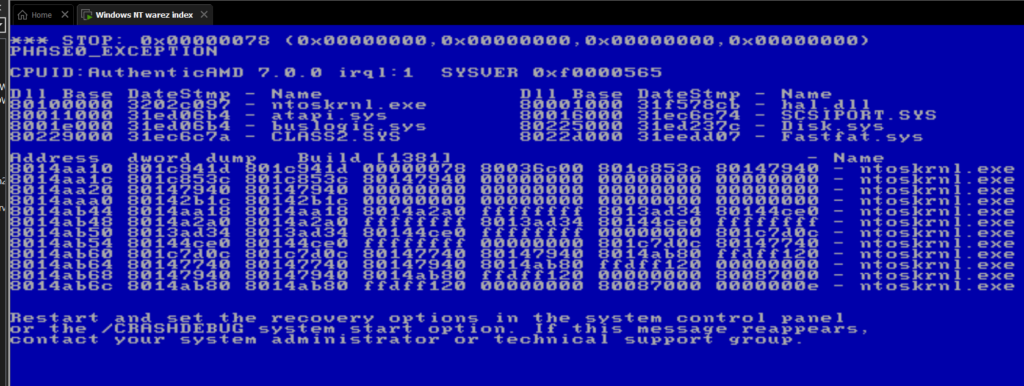
Although I should add that it’s not all sunshine and rainbows, it fails to boot about 50% of the time with a stop 0x00000078 PHASE0_EXCEPTION. I don’t know what is up with that, if it’s my AMD processor, something with VMware…
PHASE0_EXCEPTION
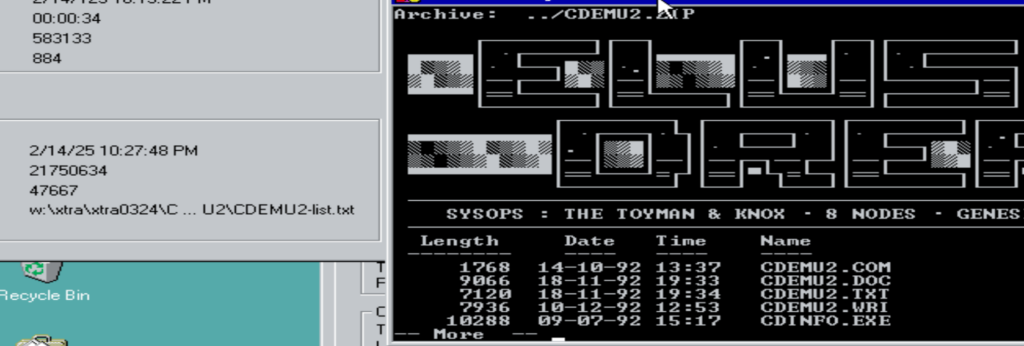
Sadly, for anyone wondering, it didn’t help my use case. The fundamental issue being that AltaVista tries to actually use filters to interpret the data, and Microsoft Word documents with the .txt extension, or anything with 90’s L337 ascii art just straight up trip up the indexer halting all progress.
ASCII ART BAD!!
Obviously, this is building up to something else, something I think is kind of exciting, but even as a ‘distraction’ adding more cores to NT 4.0 Workstation is always a good thing!
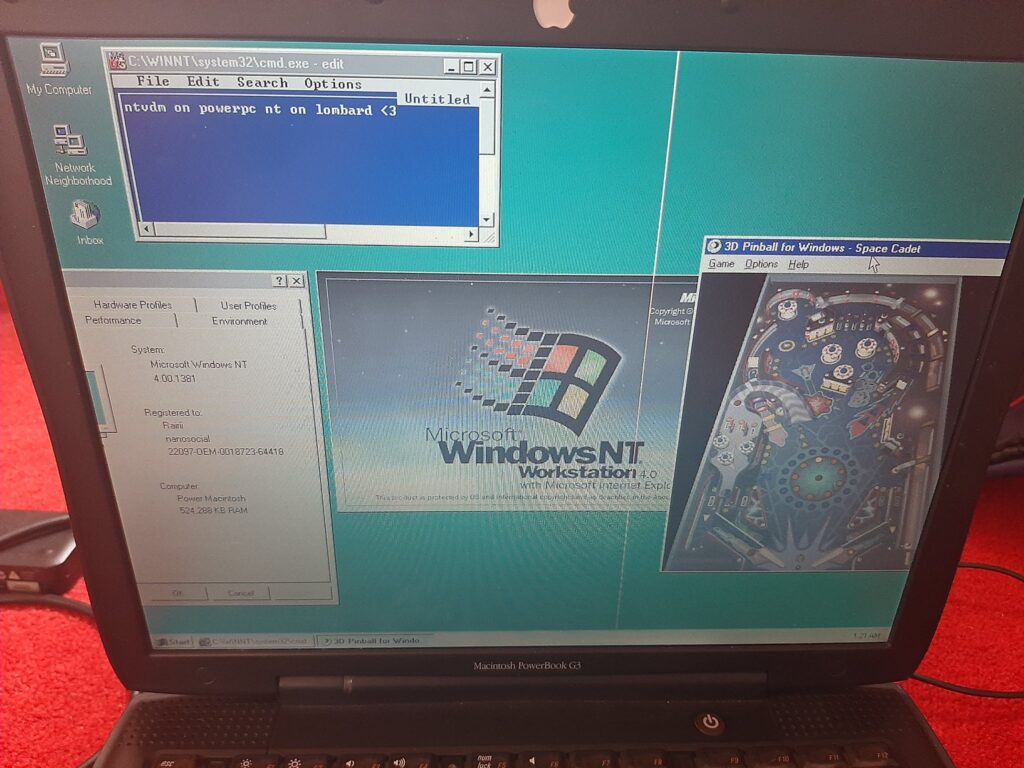
The biggest gotcha seems to be that the MSDE/Visual C++ 4.0 studio crashes. And pinball doesn’t work. Very possible some issue with the dingus PowerMac emulator.
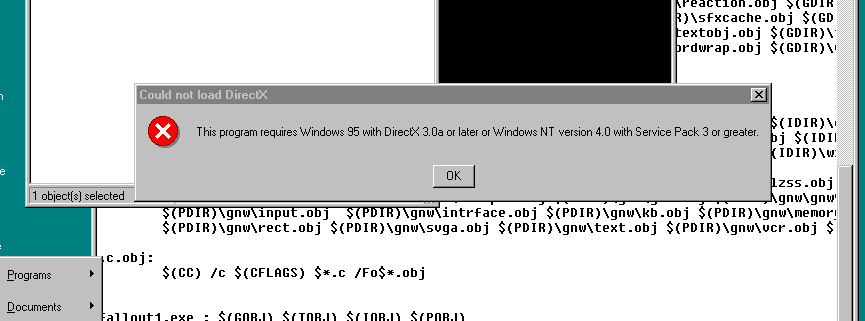
I’ve tried to port MAME 0.36 & Fallout1-RE, but both I’m having some DirectX issues. I’m honestly surprised MAME links. It’s getting harder and harder to find those old win32 update packages for MAME. Not sure anyone saved them?
Windows NT 3.51
And as a bonus, for those wanting 3.51, I’ve also setup a CD-ROM with SP5:
With all the excitement of PowerPC NT being runnable under emulation, I thought I’d try to do something fun, and port Alexander Batalov‘s fallout1-re, to Visual C++ 4.0.
The ‘problem’ is that it’s written using a more modern C that allows C++ style variables in the code. In traditional C, the declaration of variables has to be at the start of each function, however C++ allows you to place them wherever you want in the code.
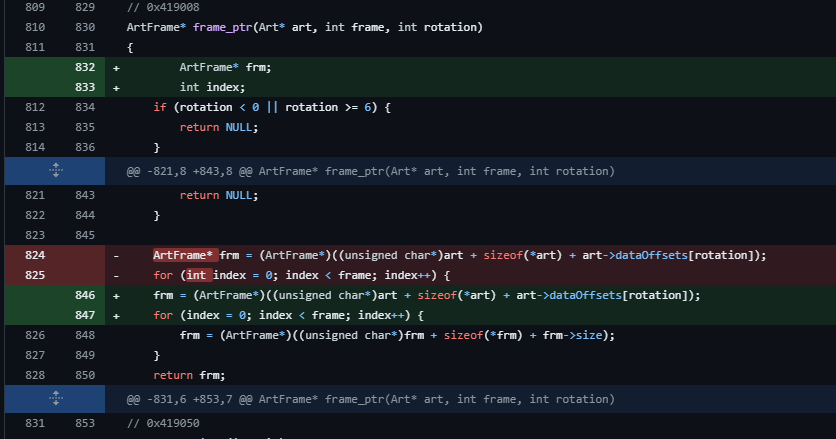
the frame_ptr function from art.c
The ‘fix’ is quite simple, you just have to separate the creation of variables in the code, and place them on top, as simple as!
You can see in this case the deletions in red, and the additions in green.
115 changed files with 21,455 additions and 4,437 deletions.
It was a LOT of changes. It took me 3 days to go through the code. But with a lot of work I was able to get it to compile first with Visual C++ 2003. I then created a Makefile allowing me to compile with Visual C++ 4.0
I have to admit, I was kind of surprised that it actually compiled for the PowerPC. And instantly saddened that it doesn’t actually work. Maybe some code amputations may get around the running part, but that’s just speculation right now.
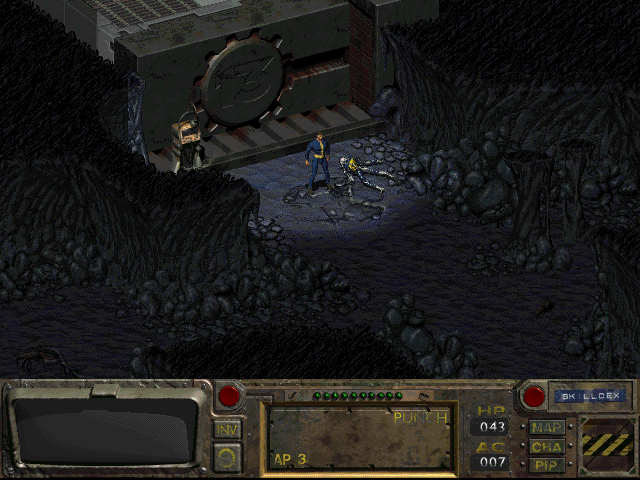
Shockingly the opening animations play fine, the menus load, however you get about one frame in the game, and it goes unresponsive.
As far as it gets
I don’t know why but Visual C++ 2003 won’t debug it correctly. I’m not sure why it won’t set the working directory correctly. Attaching to the process seems to produce different results, where it’s stuck in some loop that I can’t peg down.
Obviously, I did screw something up, the ‘solution’ is to install a newer version of Visual Studio and ‘blend’ the files, to try to rule out where or what went wrong.
The annoying thing is that even if I go through the required steps to get the VC4 version working, it won’t matter as at best this would only be relevant for the currently unemulated Dec Alpha.
This has been a rush of excitement! Rairii published their port of the ARC & Drivers needed to get NT 4.0 working on commodity PowerMac hardware over on github. And what about running it under emulation? Once more again Rairii provided a custom fork of dingusppc, again over on github!
A custom CD-ROM worked best (for me?!) for installation, combining the ARC & Drivers, along with a copy of Windows NT Workstation onto a single disc. Rairii provided the magical recipie for creating the ISO:
# ext.  xlate  creator  type    comment
.hqx    Ascii  'BnHx'   'TEXT'  "BinHex file"
.sit    Raw    'SIT!'   'SITD'  "StuffIT Expander"
.mov    Raw    'TVOD'   'MooV'  "QuickTime Movie"
.deb    Raw    'Debn'   'bina'  "Debian package"
.bin    Raw    'ddsk'   'DDim'  "Floppy or ramdisk image"
.img    Raw    'ddsk'   'DDim'  "Floppy or ramdisk image"
.b      Raw    'UNIX'   'tbxi'  "bootstrap"
BootX   Raw    'UNIX'   'tbxi'  "bootstrap"
yaboot  Raw    'UNIX'   'boot'  "bootstrap"
vmlinux Raw    'UNIX'   'boot'  "bootstrap"
.conf   Raw    'UNIX'   'conf'  "bootstrap"
*       Ascii  '????'   '????'  "Text file"
I went ahead and made the image, and added in Service Pack 2, Internet Explorer 3 and IIS3 onto the same CD-ROM to make things easier for me to deal with. It’s on archive.org.
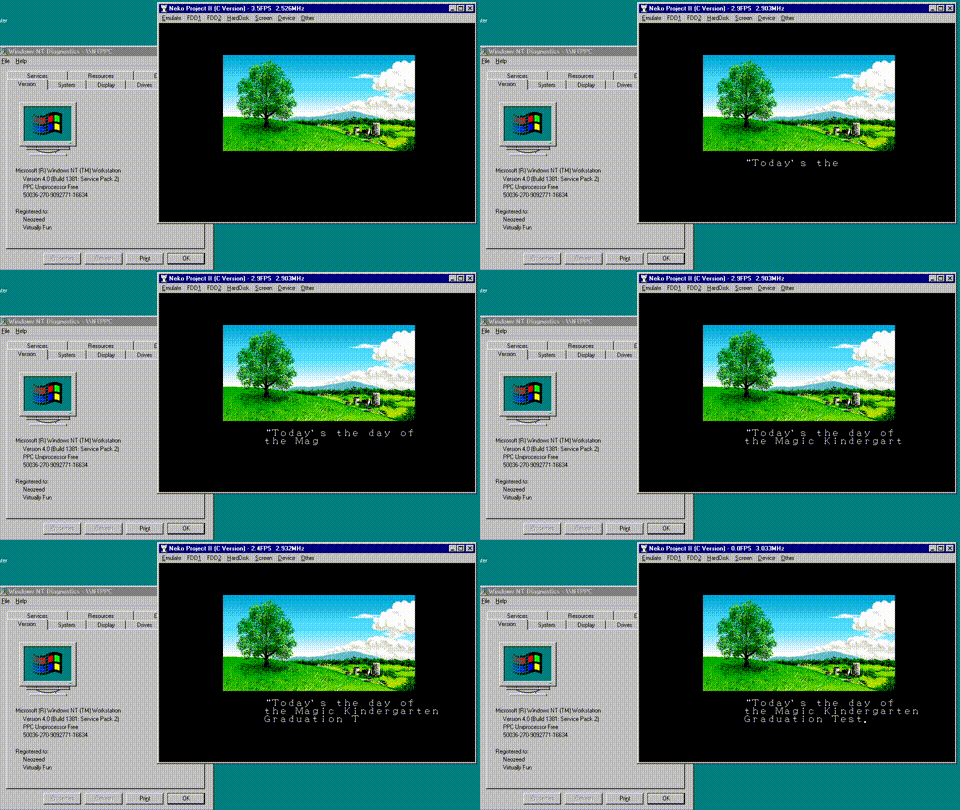
On Discord and impromptu porting session broke, out and we got NP21 up and running!
NP21
Unfortunately, it is very slow. I have no idea how it performs on real hardware, it’s entirely possible that it really is unplayable. It’s still pretty amazing that the OS booted up and I could actually compile something!
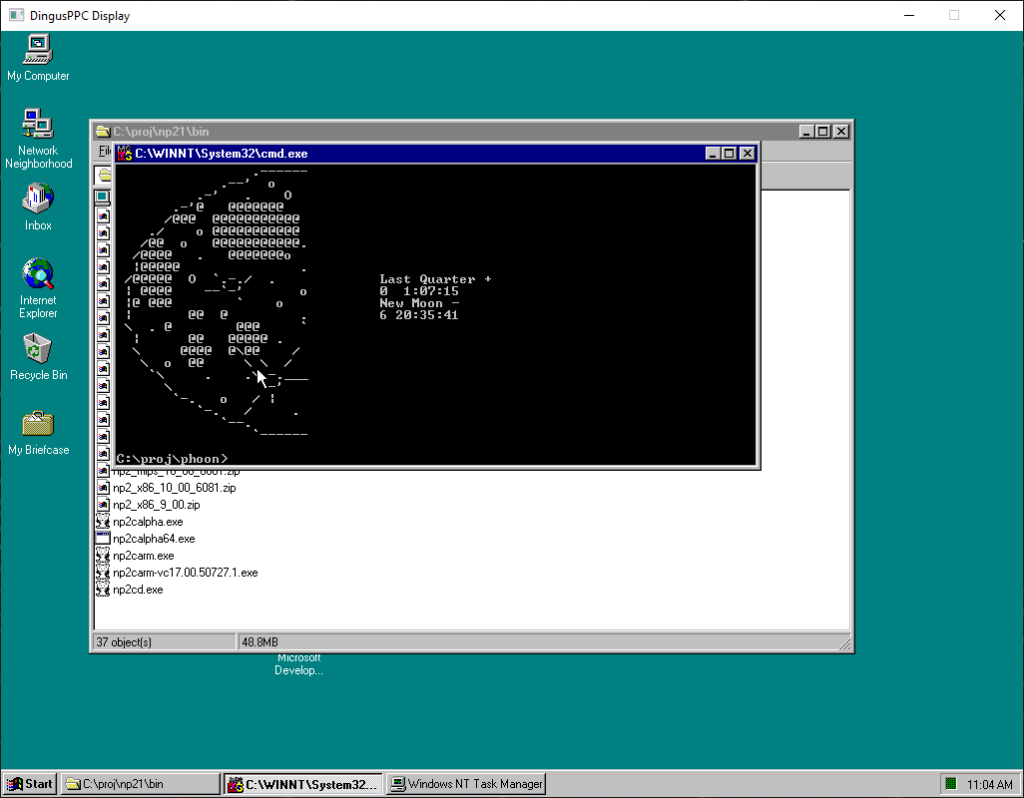
Even the usual fun text mode stuff from Phoon, Infocom’87, F2C, compiled!
Phoon!
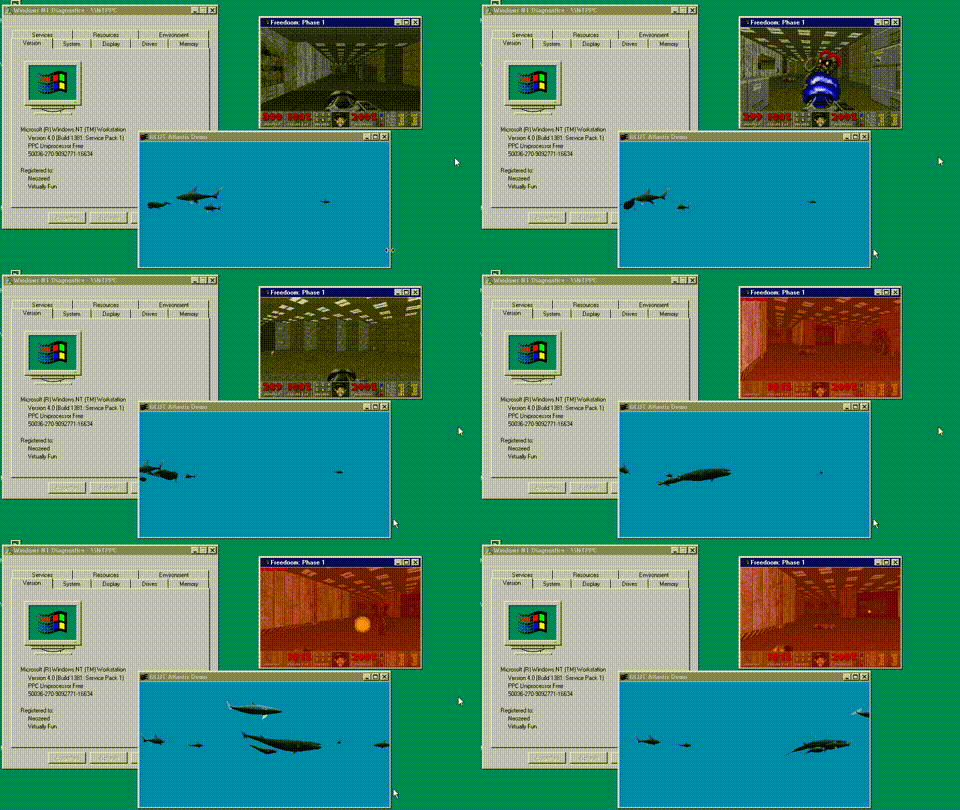
But will it run DooM?
DooM & Atlantis
Of course, it runs! I’m using the 32bit C code from Sydney (ChatGPT), which runs just great.
Into 3D space
I was able to compile GLuT on the way to try to build ssystem but there is two textured OpenGL calls missing, meaning that the more fun OpenGL stuff simply will not work.
Setting expectations
As a matter of fact, lots of weird stuff doesn’t work, the install is very touchy so don’t expect a rock-solid experience, but instead it was incredibly fun to try to get a bunch of stuff up and running.
Thanks again to @Rairii for all their hard work! This is beyond amazing!
— it’s 3am and I’m exhausted, but I had to share this out some how some way!
When the AXP64 build tools for Windows 2000 were discovered back in May 2023, there was a crucial problem. Not only was it difficult to test the compiled applications since you needed an exotic and rare DEC Alpha machine running a leaked version of Windows, it was also difficult to even compile the programs, since you needed the same DEC Alpha machine to run the compiler; there was no cross-compiler.
As a result, I began writing a program conceptually similar to WOW64 on Itanium (or WX86, or FX-32), only in reverse, to allow RISC Win32 programs to run on x86.
The PE/COFF file format is surprisingly simple once you get the hang of it, so loading a basic Win32 EXE that I assembled with NASM was pretty simple – just map the appropriate sections to the appropriate areas, fix up import tables, and start executing.
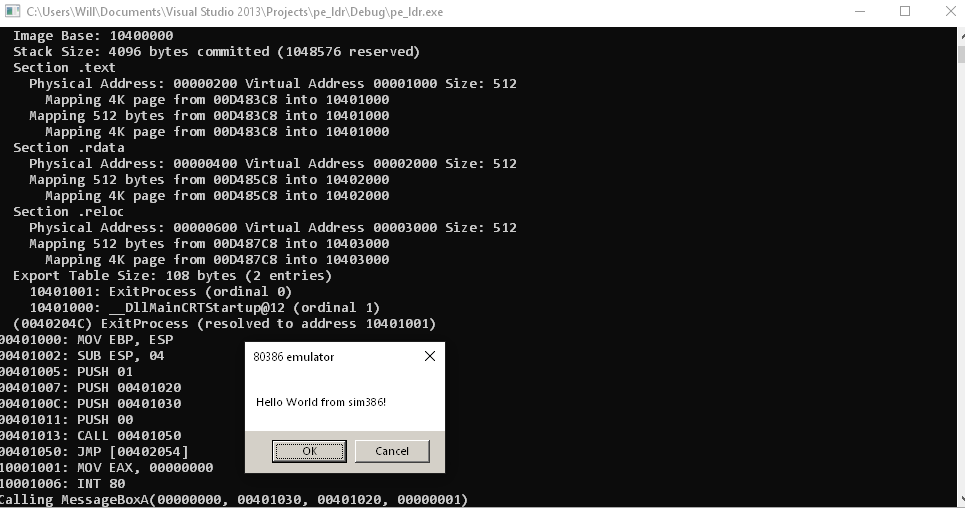
To start, I wrote a basic 386 emulator core. To complement it, I wrote my own set of Windows NT system DLLs (USER32, KERNEL32, GDI32) that execute inside of the emulator and then use an interrupt to signal a system call which is trapped by the emulator and thunked up to execute the API call on the host.
For example, up above, you can see that the emulated app calls MessageBoxA inside of the emulated USER32, which puts 0 in EAX (the API call number for MessageBoxA) and then does the syscall interrupt (int 0x80 in my case), which causes the emulator to grab the arguments off of the stack and call MessageBoxA.
To ease communication between the host’s Win32 environment and the emulated Win32 environment, I ran the emulated CPU inside of the host’s memory space, which means that to run applications written for a 32-bit version of Windows NT, you need a 32-bit version of win32emu (or a 64-bit version with /LARGEADDRESSAWARE:NO passed to the linker) to avoid pointer truncation issues, to prevent Windows from mapping memory addresses inaccessible by the emulated CPU.
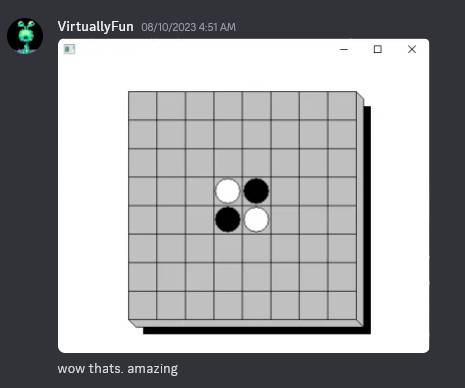
To get “real” apps working, a lot of single-stepping through the CRT was required, but eventually I did get Reversi – one of the basic Win32 SDK samples – to work, albeit with some bugs at first. Calling a window procedure essentially requires a thunk in reverse, so I inserted a thunk window procedure on the host side that calls the emulated window procedure and returns the result.
It’s amazing, it’s reversi!
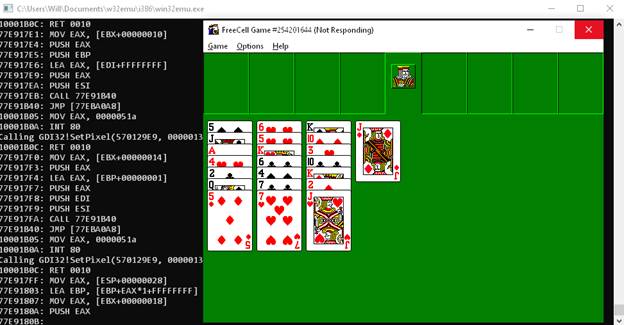
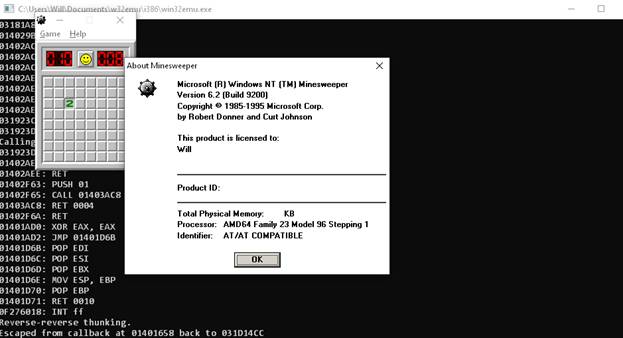
After this, I got to work on getting more complicated applications to work. Several failed due to lack of floating-point support, some failed due to unsupported DLLs, but I was able to get FreeCell and WinMine to work (with some bugs) after adding SHELL32. I was able to run the real SHELL32.DLL from Windows NT 3.51 under this environment.
FreecellMinesweeper
One might wonder why I put all this work into running x86 programs on x86, but the reason is that there’s the most information about, and I’m most proficient with, Windows on the 386. Not only does Windows on other CPUs use other CPUs, but also there’s different calling conventions and a lot of other stuff I didn’t want to mess with at first. But this was at least a proof-of-concept to build a framework where I could swap the CPU core for an emulator for MIPS or PPC or Alpha or whatever I wanted and get stuff running.
Astute readers might be wondering why I didn’t take the approach taken by WOW64. For those who don’t know, most system DLLs on WOW64 are the same as those in 32-bit Windows, the only ones that are different are ones with system call stubs that call down to the kernel (NTDLL, GDI32, and USER32, the first of which calls to NTOSKRNL and the latter two calling to WIN32K.SYS). WOW64 instead calls a function with a system call dispatch number, which does essentially the same thing. The reason for this is that the system call numbers are undocumented and change between versions of Windows. WOW64, being an integrated component of Windows, can stay up to date. If I took this approach, I’d either have to stay locked to one emulated set of DLLs (i.e. from NT 4.0) and use their system call numbers on the emulated side, or write my own emulated DLLs and stick to a fixed set of numbers, but either way I’d somehow have to map them to whatever syscall numbers are being used on the host.
As I went on, I should probably also mention that what I said earlier about loading Win32 apps being easy was wrong. Loading a PE image is pretty straightforward, but once you get into populating the TEB and PEB (many of whose fields are undocumented), it quickly gets gnarly, and my PEB emulation is incomplete.
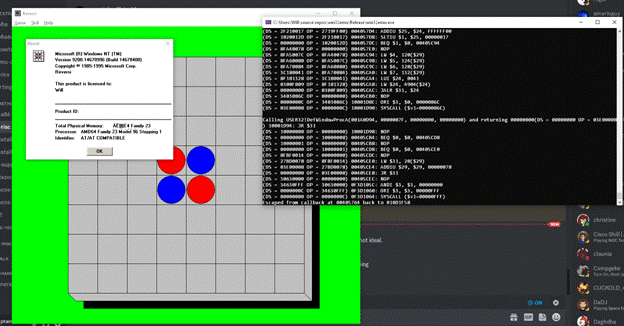
Adding MIPS support wasn’t too much of a hassle, since the MIPS ISA (ignoring delay slots, which gave me no shortage of trouble) is pretty clean and writing an emulator wasn’t difficult. The VirtuallyFun Discord pointed me to Embedded Visual C++ 4.0, which was invaluable to me during development, since it included a MIPS assembler and disassembler, which I haven’t seen elsewhere. After writing a set of MIPS thunk DLLs and doing some more debugging, I finally got Reversi working.
There’s still some DLL relocation/rebasing issues, but Reversi is finally working in this homebrewed WOW!
I’d encourage someone to write a CPU module for the DEC Alpha AXP (or even PowerPC if anyone for some reason wants that). The API isn’t too complicated, and the i386 emulator is available for reference to see how the CPU emulator interfaces with the Win32 thunking side. An Alpha backend for the thunk compiler can definitely be written without too much trouble. Obviously, the AXP presents the challenge that fewer people are familiar with its instruction set than MIPS or 386, but this approach does free one from having to emulate all of the intricate hardware connections in actual Alpha applications while still running applications designed for it, and I’ve heard the Alpha is actually quite nice and clean. MAME’s Digital Alpha core could be a good place to start, but it’ll need some adaptation to work in this codebase. Remember that while being a 64-bit CPU with 64-bit registers and operations, the Alpha still runs Windows with 32-bit pointers, so it should run in a 32-bit address space (i.e. pass /LARGEADDRESSAWARE:NO to the linker).
Theoretically, recompiling the application to support the full address space should enable emulation of AXP64 applications, since the Alpha’s 64-bit pointers will allow it to address the host’s 64-bit address space, but I’m not sure if my emulator is totally 64-bit clean, or if the AXP64’s calling convention is materially different from that on the AXP32 in such a way that would require substantial changes. In either case, most of the code should still be transferable.
I also want to get more “useful” applications running, like development tools (i.e. the MSVC command line utilities – CL, MAKE, LINK, etc.) and CMD. Most of that probably involves implementing more thunks and potentially fixing CPU bugs.
This project is obviously still in a quite early stage, but I’m hoping to see it grow and become something useful for those in the hobby.
(This is a guest post by Antoni Sawicki aka Tenox)
Preparing for Windows NT RISC Exhibition for VCFW 2023, I wanted to have Windows NT running on an IBM RS/6000. This was previously covered in this excellent article by Shoutmon as well in this a video by NCommander. However both are missing some crucial information that I had to go through and learn myself the hard way. I hope it will help someone in the future.
Firstly there are “IBM PC” Power Series. Yes IBM PC but with PowerPC CPU, and not to be confused with RS/6000 which is a different IBM product. However the IBM Power Series have equivalent RS/6000 “counterpart” models. WTF IBM.
IBM PC Power Series 440 6015 == IBM RS/6000 Model 7020 40P
IBM PC Power Series 830 6050 == IBM RS/6000 Model 7248 43P
IBM PC Power Series 850 6070 == IBM RS/6000 Model 7248 43P
There are also other models mentioned by Windows NT 4.0 HCL, namely E20, E30 and F30, and PowerPC ThinkPads. To summarize here is a more definitive list of IBM RS/6000 models supported by Windows NT 4.0:
Model 7020 40P Model 7248 43P Model 7043 43P-140 (with a big asterisk) Model 7024 E20 and E30 Model 7025 F30 ThinkPad 820, 850 ThinkPad 860 (with a big asterisk)
⚠️ Important: 7043 43P-150 is CHRP and will NOT run NT! 43P-140 = PREP NT OK 43P-150 = CHRP NO NT
If you could pick any RS/6000 machine, the 40P would probably be the most recommended. 40P can also run OS/2 PowerPC, if you are in to this thing.
Unfortunately all I had on hand was 43P-140, which is PReP, but it’s not Power Series based and not supported by NT out of the box. WTF IBM. Also WTF is 7248-43P and 7043-43P. Chances are that you will run in to this as well as 7043 43P-140 are way more popular and easier to acquire than any other hardware listed above. 43P-140 semi regularly pop up on eBay for decent prices.
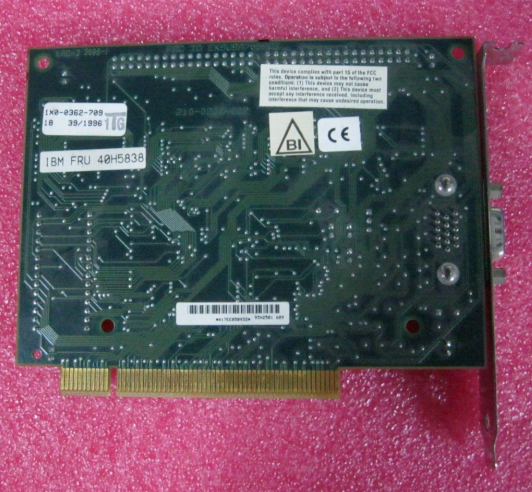
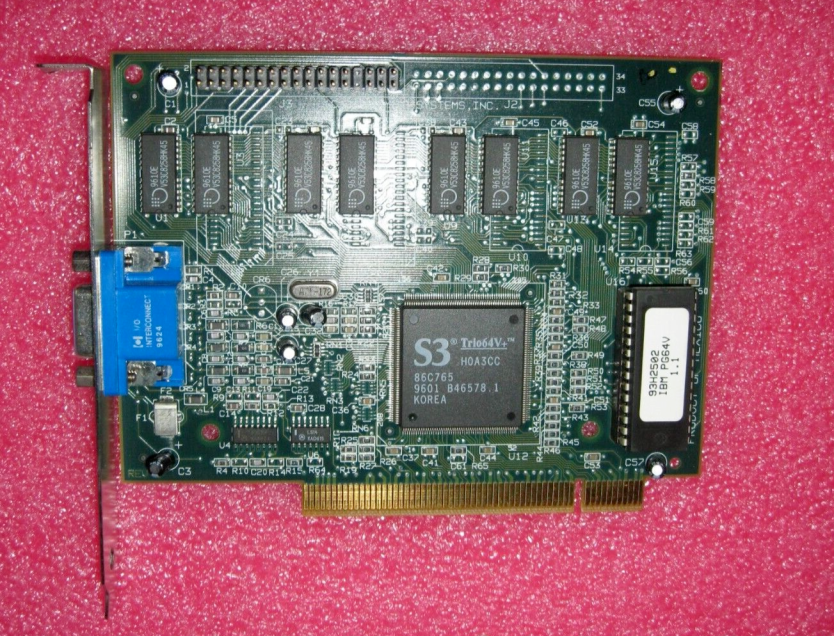
The main trouble with 43P-140 is that the onboard GPU and NIC will not work with ARC and NT. Yes, you can hack in some generic S3 card. It will work in ARC/NT but not for PROM and AIX. I wasn’t happy. Upon some collaboration with Shoutmon and NCcommander and my own research, I was able to find the one and only graphics card that will work in both the RS/6000 PROM as well as ARC BIOS, AIX and Windows NT. The lucky winner is:
IBM FRU 40H5838 aka GTX110P
Update: It’s been tried, tested and verified to use IBM ROM with a regular/stock S3 Trio64V+. You can download it here and program yourself. It will work with both AIX and NT.
Also I have came across FRU 93H7983 for GTX110P. Not verified.
As for the NIC, there are way more options as it’s not used by PROM, ARC or AIX, just NT. In my case I opted for a standard Etherlink III card.
Windows NT Installation
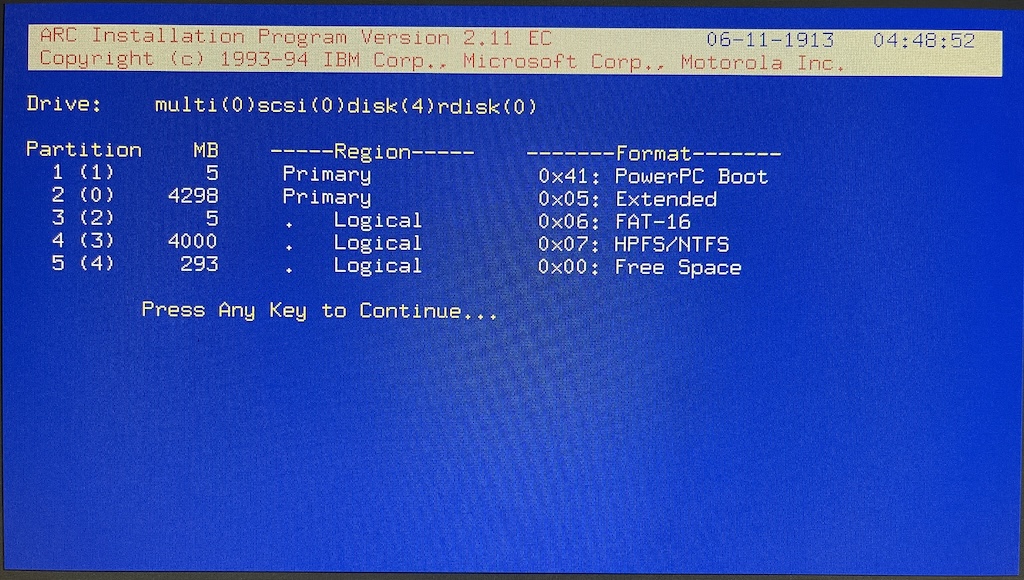
Once you have the correct hardware bits, NT installation is pretty straightforward with some caveats. You start by booting the ARC 1.51 floppy disk. Then you need to go to Installation and Setup Services, Advanced Installation and then Disk Partition Management Services.
There are 3 types of partitions. Confusing, skipping on creating or trying to merge them in to one partition will not get you far.
Boot (ARC) Partition – aka PowerPC Boot partition. This is where ARC loader will be copied from the floppy, so you can boot ARC directly from HDD without the floppy disk. Has nothing to do with Windows NT.
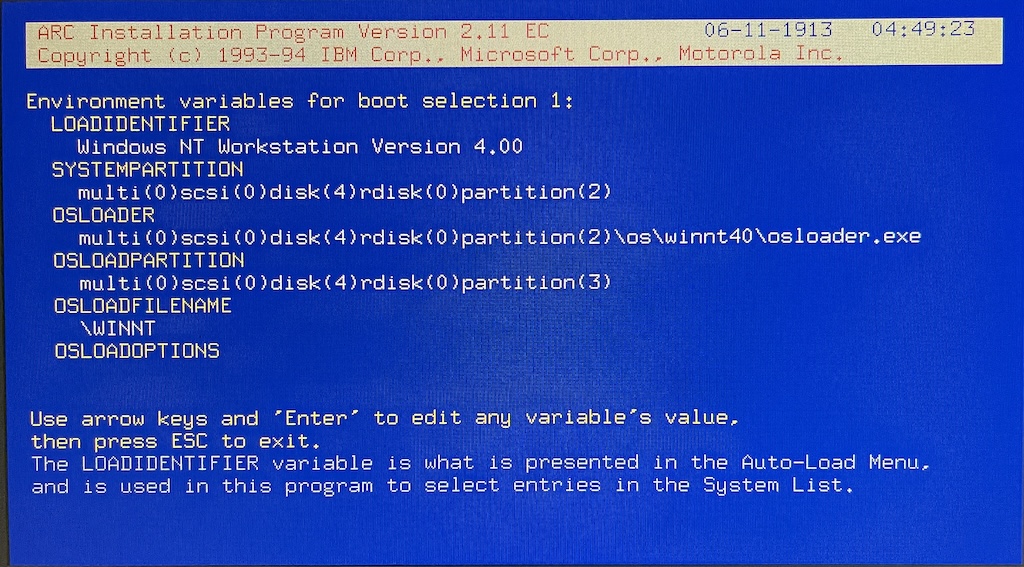
System Partition is a small FAT partition where \os\winnt\osloader.exe will reside.
OS Partition is a large FAT or NTFS partition that will have \WINNT folder.
First you create the Boot (ARC) Partition and copy data from ARC floppy disk to the ARC Partition on the hard disk. This will allow booting ARC firmware directly from HDD. At this point you may want to remove the floppy disk, reboot, get to SMS and change boot device to HDD.
Secondly go to FAT Data or System Partition. Make it small like 5MB, then answer Yes to System Partition. This will create the partition for osloader.exe. This is an equivalent of arcinst.exe on Alpha and MIPS. Arcinst is not present on PPC.
Note that OSLOADER is on SYSTEMPARTITION. The OSLOADPARTITION is where \WINNT folder is located.
Or you can just select Standard Setup which will do everything for you.
Lastly go back to the main menu and select Run Maintenance Program. Then type cd:\ppc\setupldr. Once Windows NT setup boots, you will have an unpartitioned space left. create the Windows NT partition, preferably as NTFS and continue with install as normal.