No, not that time machine, this one is a rehash of the old local Wikipeida mirror.
So sadly I didn’t keep the source files as I thought they were evergreen, and yeah turns out they are NOT. But thankfully there is a 2011 set on archive.org listed as enwiki-20110620-item-1-of-2 and enwiki-20110620-item-2-of-2. Sadly there isn’t any torrents of these files, and it seems as of today the internet archive torrent servers are dead so a direct download is needed.
Getting started
You are going to need a LOT of disk space. It’s about 10GB for the downloaded compressed data, and with the pages blown out to a database it’s ~60GB. Yes it’s massive. Also enough space for a Debian 7 VM, or a lot of your time trying to decode ancient perl. Yes it really is a write only language. I didn’t bother trying to figure out why it doesn’t work instead I used netcat and a Debian 7 VM.
Thanks to trn he suggested aria2c which did a great job of downloading stuff, although one URL at a time, but that’s fine.
aria2c -x 16 -s 16 -j 16 <<URL>>I downloaded the following files:
- enwiki-20110620-all-titles-in-ns0.gz
- enwiki-20110620-category.sql.gz
- enwiki-20110620-categorylinks.sql.gz
- enwiki-20110620-externallinks.sql.gz
- enwiki-20110620-flaggedpages.sql.gz
- enwiki-20110620-flaggedrevs.sql.gz
- enwiki-20110620-image.sql.gz
- enwiki-20110620-imagelinks.sql.gz
- enwiki-20110620-interwiki.sql.gz
- enwiki-20110620-iwlinks.sql.gz
- enwiki-20110620-langlinks.sql.gz
- enwiki-20110620-oldimage.sql.gz
- enwiki-20110620-page.sql.gz
- enwiki-20110620-pagelinks.sql.gz
- enwiki-20110620-pages-articles.xml.bz2
- enwiki-20110620-pages-logging.xml.gz
- enwiki-20110620-page_props.sql.gz
- enwiki-20110620-page_restrictions.sql.gz
- enwiki-20110620-protected_titles.sql.gz
- enwiki-20110620-redirect.sql.gz
- enwiki-20110620-site_stats.sql.gz
- enwiki-20110620-templatelinks.sql.gz
- enwiki-20110620-user_groups.sql.gz
although the bulk of what you want as a single file is enwiki-20110620-pages-articles.xml.bz2, which is 7.5 GB, downloading the rest of the files is another 10GB rouding this out to 17.5GB of files to download. Yikes!
MySQL on WSLv2
I’m using Ubuntu 20.04 LTS on Windows 11, so adding MySQL is done via the MariaDB version with a simple apt-get install:
apt-get install mariadb-server mariadb-common mariadb-client mariadb-commonInstalling MySQL is kind of easy although it will need to be setup to assign the pid file to the right place and set so it can write to it:
mkdir -p /var/run/mysqld
chown mysql:mysql /var/run/mysqld
Otherwise you’ll get this:
[ERROR] mysqld: Can't create/write to file '/var/run/mysqld/mysqld.pid' (Errcode: 2 "No such file or directory")
Additionally you’ll need to tell it to bind to 0.0.0.0 instead of 127.0.0.1 as we’ll want this on the network. I’m on an isolated LAN so it’s fine by me, but of course your millage may vary. For me a simple diff of the config directory is this:
diff -ruN etc/mysql/mariadb.conf.d/50-server.cnf /etc/mysql/mariadb.conf.d/50-server.cnf
--- etc/mysql/mariadb.conf.d/50-server.cnf      2021-11-21 08:22:31.000000000 +0800
+++ /etc/mysql/mariadb.conf.d/50-server.cnf     2022-03-11 10:01:45.369272200 +0800
@@ -27,7 +27,7 @@

 # Instead of skip-networking the default is now to listen only on
 # localhost which is more compatible and is not less secure.
-bind-address            = 127.0.0.1
+bind-address            = 0.0.0.0

 #
 # * Fine Tuning
@@ -43,6 +43,11 @@
 #max_connections        = 100
 #table_cache            = 64

+key_buffer_size = 1G
+max_allowed_packet = 1G
+query_cache_limit = 18M
+query_cache_size = 128M
+
 #
 # * Logging and Replication
 #
As far as I know MySQL doesn’t run on WSLv1. So people with that restriction are kind of SOL. At the same time for me, Debian 7 doesn’t run on Hyper-V so I had to run VMware Player. And well if you can’t run Hyper-V/WSLv2 then you can run it all on Debian 7 which is probably eaiser. Although you’ll probably hit some performance issues in the import that either my machine is fast enough I don’t care or the newer stuff is pre-configured for machines larger than an ISA/PCI gen1 Pentium 60.

I run mysqld manually in a window as I am only doing this adhoc not as a service. Although on a Windows 10 machine to reproduce and test this, mysqld wont run interactively, instead I had to do the ‘service mysql start’ to get it running. So I guess you’ll have to find out the hard way.
Next, be sure to create the database and a user to so this will work:
create database wikidb;
create user 'wikiuser'@'%' IDENTIFIED BY 'password';
GRANT ALL PRIVILEGES ON wikidb.* TO 'wikiuser'@'%' WITH GRANT OPTION;
show grants for 'wikiuser'@'%';
Something like this works well. Yes the password is password but it’s all internal so who cares. If you don’t like it, change it as needed.
With the database & user created you’ll want to make sure that you can connect from the Debian 7 machine with something like this:
mysql -h 192.168.6.10 -uwikiuser -ppassword wikidbAs I don’t think PHP 7 or whatever is modern will run the ancient MediaWiki version 1.15.5 (which I’m using).
This is my setup as I’m writing this so bear with me.
Prepping Apache
Since I have that Debian 7 VM, I used that for setting up MediaWiki. Looking at my apt-cache I believe I loaded the following modules:
- mysql-client
- mysql-common
- apache2
- apache2.2-bin
- apache2.2-common
- apache2-mpm-prefork
- apache2-mpm-worker
- apache2-utils
- libapache2-mod-php5
- php5-cli
- php5-common
- php5-mysql
- lua5.1
- liblua5.1
On the Apache side I have the following extension enabled:
alias authz_default authz_user deflate mime reqtimeout
auth_basic authz_groupfile autoindex dir negotiation setenvif
authn_file authz_host cgi env php5 status
Which I think is pretty generic.
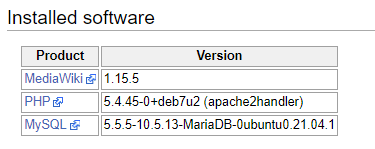
I used mediawiki-1.15.5 as the basis mostly because I had started with an incomplete 2010 dump, but after finding this 2011 dump I probably should have gone with 1.16.5 or 1.17.5.. Oh well. When connecting from Debian 7 to my ‘modern’ MariaDB there is one table that needs to be updated, otherwise it’ll fail. A simple diff that needs to be applied (that was with the least amount of effort spent by me!) is this:
--- maintenance/tables.sql      2009-03-20 19:20:39.000000000 +0800
+++ /var/www/maintenance/tables.sql     2022-03-07 14:21:25.580318700 +0800
@@ -1099,7 +1099,7 @@

 CREATE TABLE /*_*/trackbacks (
   tb_id int PRIMARY KEY AUTO_INCREMENT,
-  tb_page int REFERENCES /*_*/page(page_id) ON DELETE CASCADE,
+  tb_page int,
   tb_title varchar(255) NOT NULL,
   tb_url blob NOT NULL,
   tb_ex text,
All being well and patched you can do the install! I just do a super basic install, nothing exciting. In my setup the MySQL server is on 192.168.6.10. I don’t think I changed much of anything?
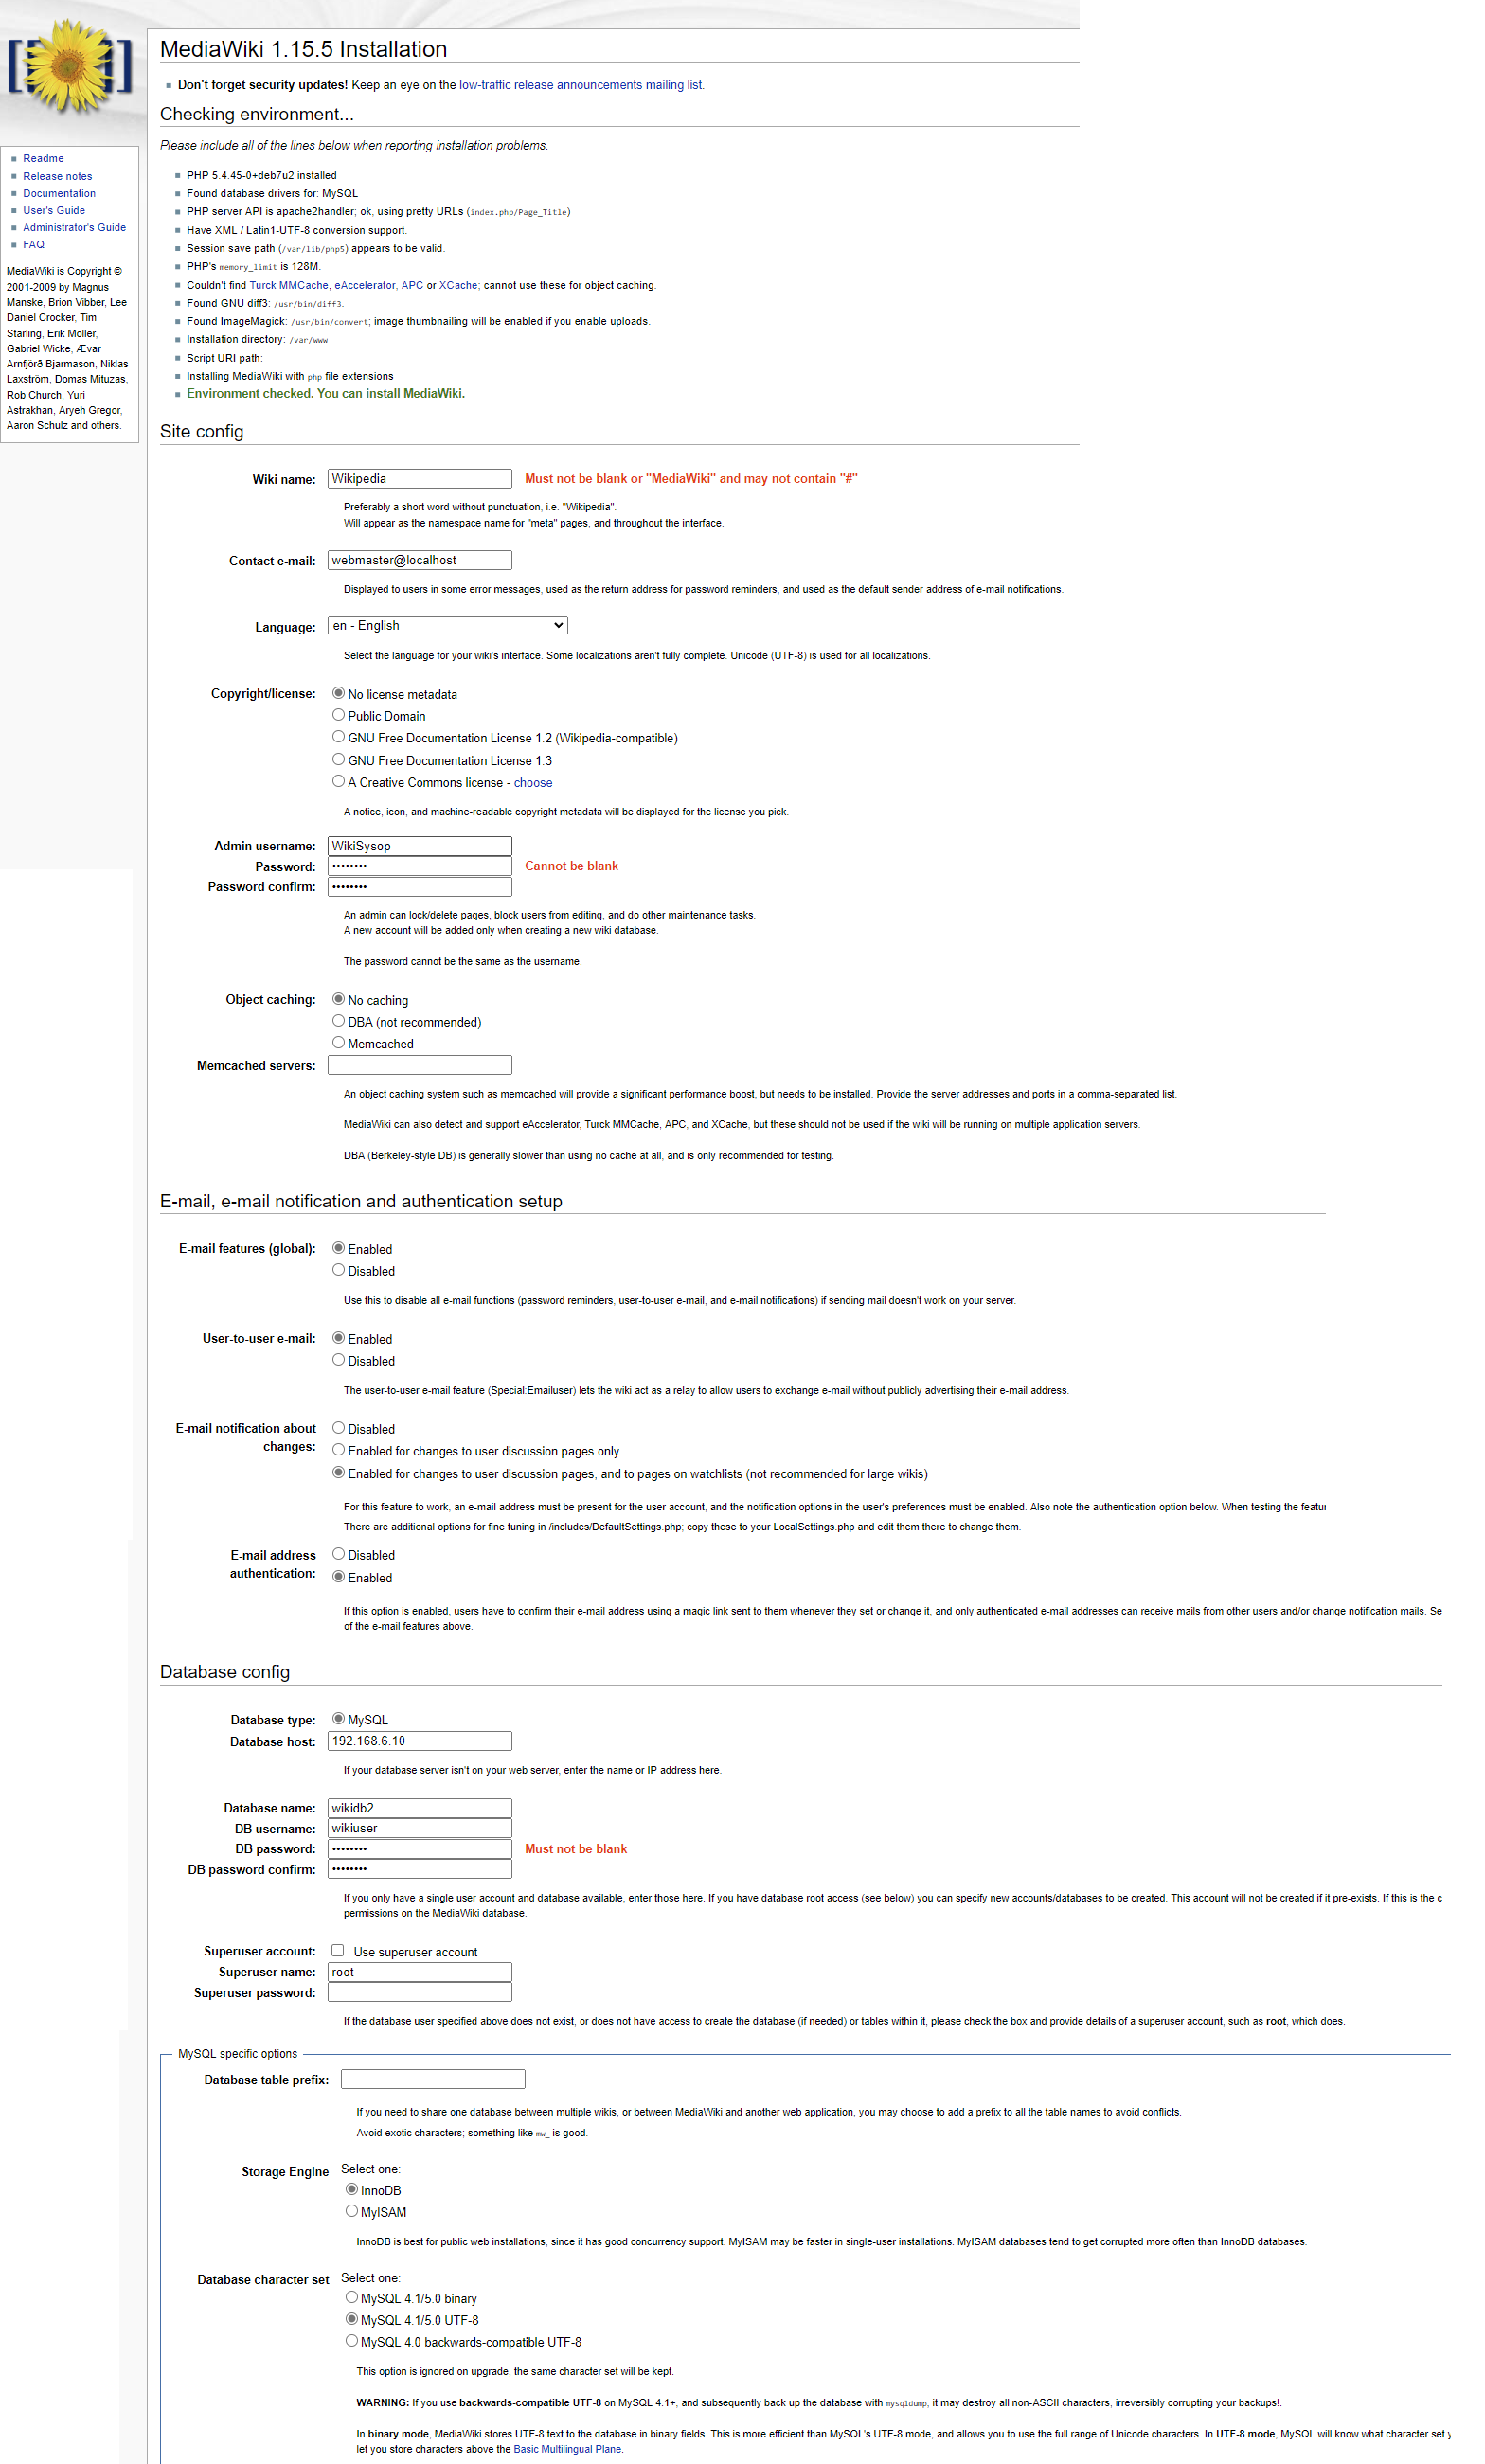
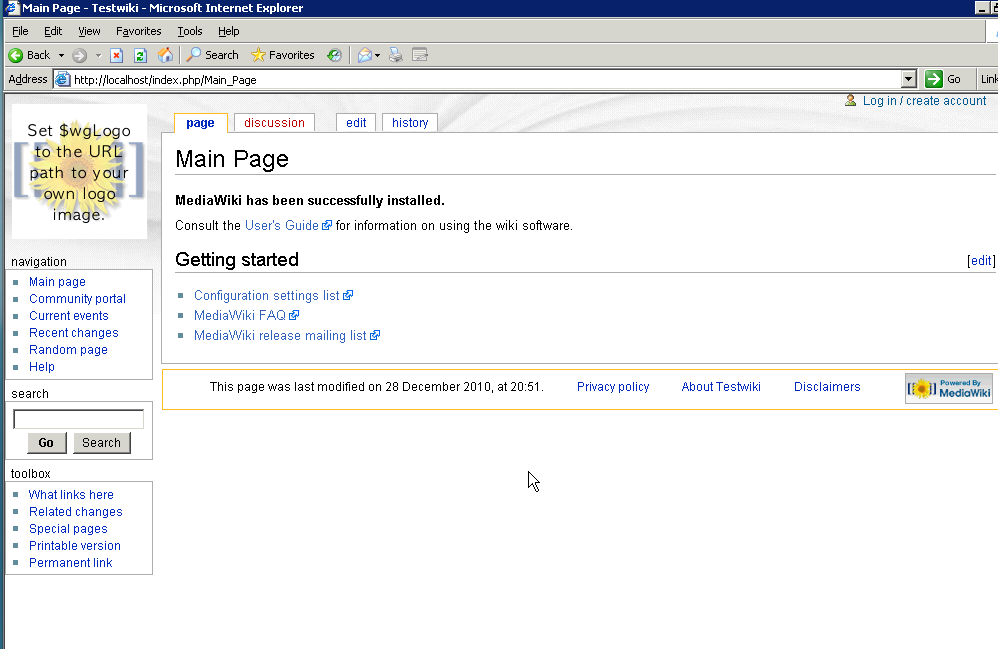
And with that done if all goes well you’ll get the install completed!

If you get anything else, drop the database (the permission grants stay, because MySQL doesn’t actually drop thing associated with databases.. :shrug:.
Next in the extensions folder I grabbed Scribunto-REL1_35-04b897f.tar.gz, which is still on the extensions site. This required Lua 5.1 and the following to be appended to the LocalSetings.php
#
$wgScribuntoEngineConf['luastandalone']['luaPath'] = '/usr/bin/lua5.1';

$wgScribuntoUseGeSHi = true;
$wgScribuntoUseCodeEditor = true;
#
Keep in mind the original extensions I used are not, and appear to not have been archived, so yeah.
Doing the pages.xml import
You can find the version 0.5 media wiki import script on archive.org. Obviously check the first 5-10 lines of the decompressed bz2 file to see what version you have if you are deviating and look around IA to time travel to see if there is a matching one. I have no idea about modern ones as this is hard enough trying to reproduce an old experiment.
First you need to make some files to setup the pre-post conditions of the insert. It’s about 11,124,050 pages, give or take.
pre.sql
SET autocommit=0;
SET unique_checks=0;
SET foreign_key_checks=0;
BEGIN;
post.sql
COMMIT;
SET autocommit=1;
SET unique_checks=1;
SET foreign_key_checks=1;
Running the actual import
I’m assuming that 192.168.6.33 is the Debian 7 machine, 192.168.6.10 is the Windows 11 machine.
On the machine with the data:
netcat 192.168.6.33 9909 < enwiki-latest-pages-articles.xml.bz2On the machine that can run the mwimport script:
netcat -l -p 9909 | bzip2 -dc | ./mwimport-0.5.pl | netcat 192.168.6.10 9906And finally on the MySQL machine:
(cat pre.sql; netcat -l -p 9906 ; cat post.sql) | mysql -f --default-character-set=utf8 wikidbSince I’m using WSLv2 the Windows firewall may screw stuff up so add a rule with netsh (as Administrator CMD prompt)
netsh interface portproxy add v4tov4 listenaddress=192.168.6.10 listenport=3306 connectaddress=172.24.167.66 connectport=3306
netsh interface portproxy add v4tov4 listenaddress=192.168.6.10 listenport=9906 connectaddress=172.24.167.66 connectport=9906
On my setup it takes about 2.5 hours to load the database, which will be about 51GB.
11340000 pages (1231.805/s), 11340000 revisions (1231.805/s) in 9206 seconds
The savvy among you may notice the -f flag to the mysql parser. And yes that is because there *will* be errors during the process.
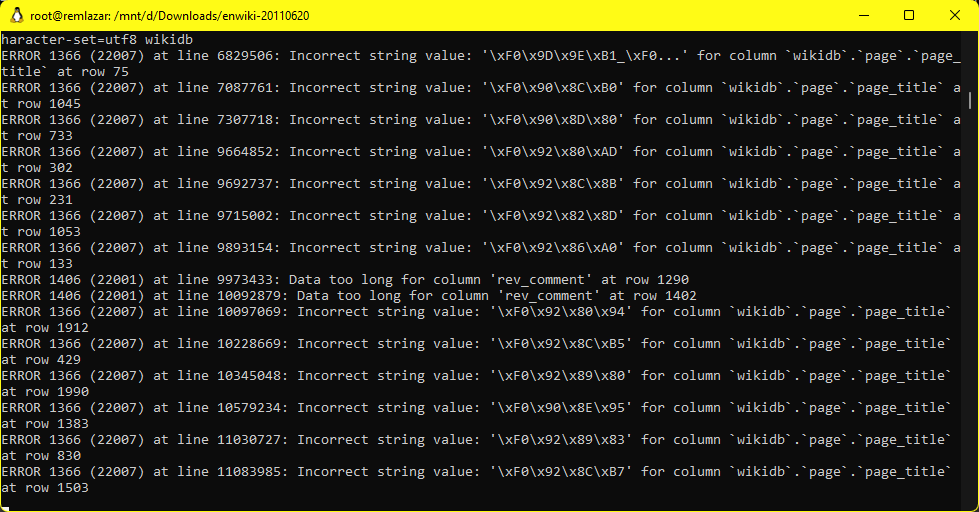
I’m not sure what how or what to do about it, but without the -f (force) flag the process will stop around the 2 million row mark. Doing it forced allows the process to continue.
With that done I get the following tallies…
MariaDB [(none)]> SELECT table_name, table_rows FROM INFORMATION_SCHEMA.TABLES WHERE TABLE_SCHEMA = 'wikidb' and
table_rows > 0;
+---------------+------------+
| table_name | table_rows |
+---------------+------------+
| interwiki | 85 |
| objectcache | 10 |
| page | 10839464 |
| revision | 11357659 |
| text | 14491759 |
| user_groups | 2 |
+---------------+------------+
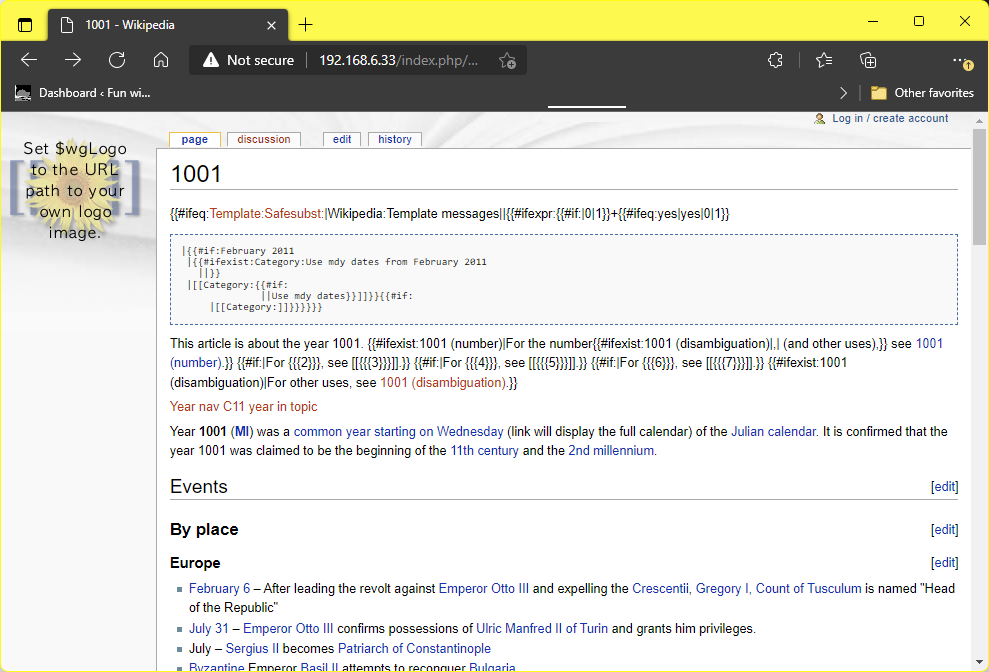
9 rows in set (0.002 sec)If all of this worked (amazing!) then search for something like 1001 and be greeted with:
MySQL disappointments
So with this in place, having some 51GB laying around just seemed lame. Using WSLv2 I setup a compressed folder on NTFS and moved the data directory into there and it gets it down to a somewhat more manageable 20GB. Since the data doesn’t change I had a better idea, SquashFS. Well it compresses down to 12GB, HOWEVER for the life of me I can’t find anything concrete on using a read only backing store to MySQL. Even general mediawiki stuff seems to want to write to all the tables, I guess it’s index searching?! Insane! And it appears MySQL can only use single file storage units per table? Yeah this isn’t MSSQL with stuff like a database from CD-ROM with the log on a floppy. I tried doing a union overlay filesytem but it makes a 100% copy of a file that changes. That’s not good. I guess using qemu-img for a compressed qcow2 with a writable diff file could hide the read only compressed backing store, but I’ve already lost interest.
Maybe it’s just me, but it seems like there should be a way to write logs/updates/scratch to a RW place, and keep the majority of the data read-only (and highly compressed).
Why doesn’t stuff format correctly
There seems to be a lot of formatting nonsense going on, I probably should step up to mediawiki 1.17. And I’ll add in loading the other SQL tables since they are straight up inserts. Also the extensions I know I loaded don’t seem to exist in any form anymore, and the images I snapshotted of the install are all long gone. It’ll require more diving around.