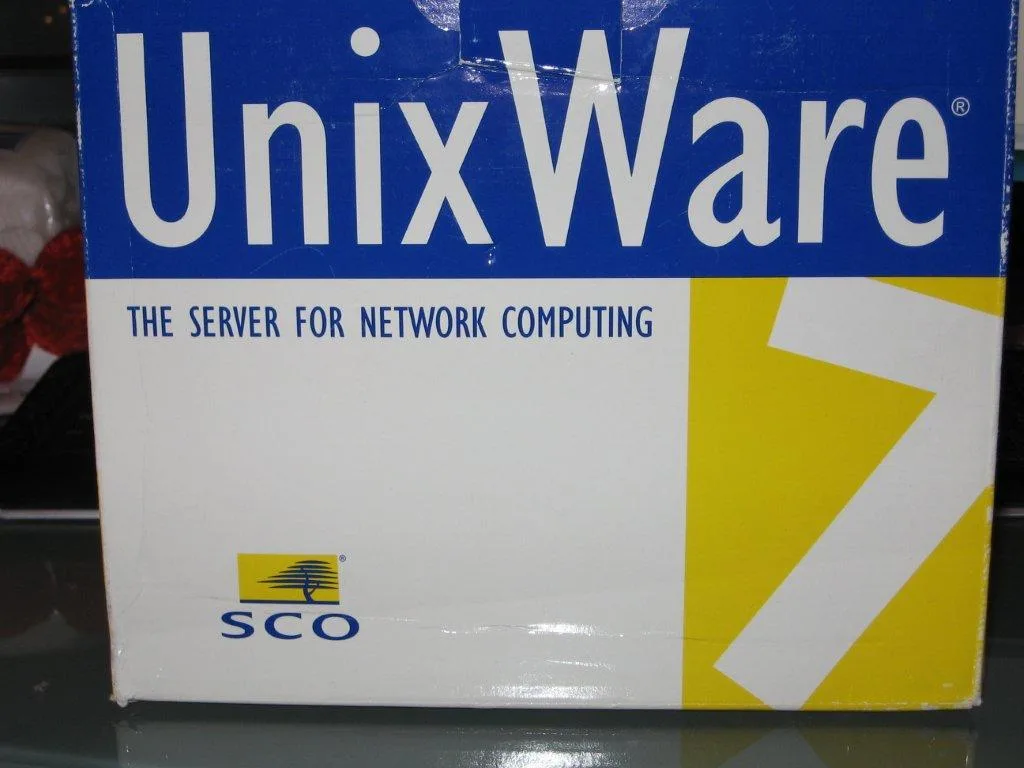
While doom scrolling on eBay I always seem to stop and look at the upgrade version of Windows 3.1. It has to be the most clearly marked “why bother upgrading” version of Windows, and at the same time the ugliest. Fitting for the season’s ugly sweater theme!
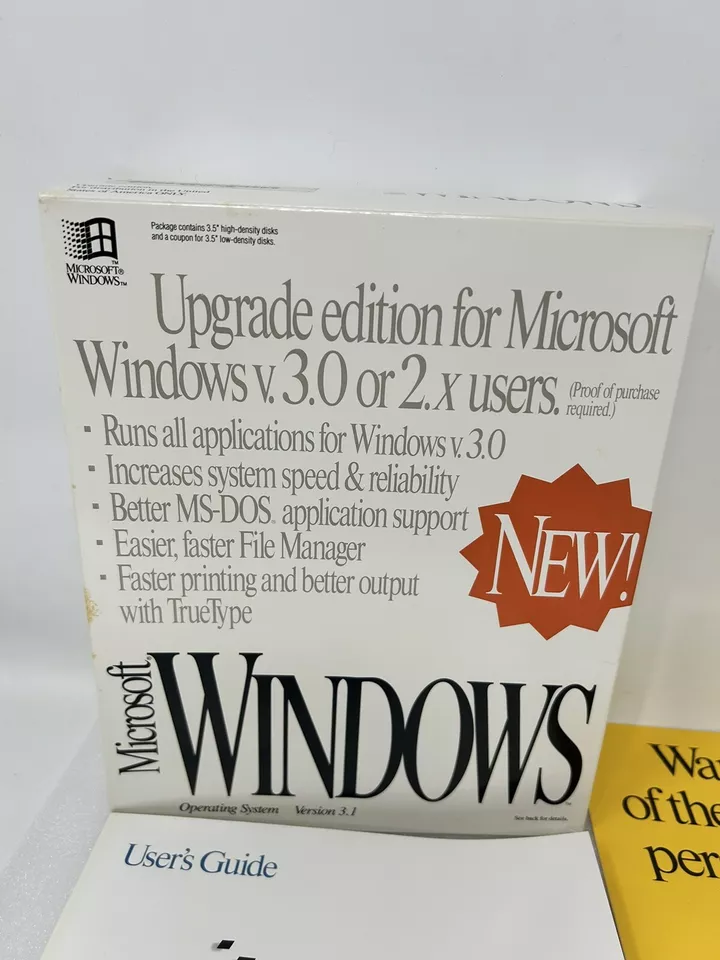
It’s amazing how terrible this thing has always looked to me. As far as ‘proof’ I remember being able to fake it out by doing a ‘copy con win.com ^Z’ type thing to create a fake windows directory with win.com & kernel286.exe … I think. But back when this was a NEW! product, I had to install Windows 3.0 anyways to get the CGA driver.
I don’t know how I used Windows with CGA either.
Speaking of impossible, back in the dark ages of Windows/286 2.1 this thing snuck out:

One day I’d love to get this Italian Windows 2.1 and frame it? I don’t know who snuck in the Buone Fest onto the box art, but I’d like to think it was subversive, as I hadn’t seen anything like that on any of the other retail Operating System packaging?
It’s been a real struggle this year from the relocation, losing just about everything that I’d tried to do, then losing my job, that brief absolute terror of being unemployed with zero callbacks trying to job hunt to now spending nearly every waking hour at work.
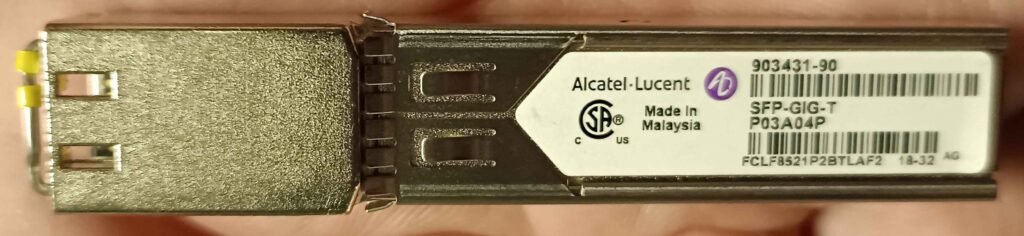
Speaking of stress, I haven’t had to build a physical network in ages, and this was news to me that all the SFP connectors are now vendor locked. Thinking I could just buy some cheap SFP DAC cables and plug away and I was greeted with the fact that neither the Dell, nor Cisco switches would recognize them. Oddly enough, Linux/Windows didn’t care at all. I had ordered some RJ45 10 gig SFPs to run across the data centre, and found out as well that I’d ordered Cisco keyed generic ones, and yes of course they don’t work in the Fortigate firewalls, nor the Dell switches. Those needed their own special ones. Luckily for me I had been pulling out all the old SFPs from decommissioned equipment as I had figured that the single mode fiber optics may be useful if I ever need anything, and there was a couple of these Alcatel-Lucent SFP-GIG-T (1gig) modules that at least saved the day in that I could connect stuff, while waiting for the trial and error of needing 2 weeks to get the appropriate 10 gig interfaces.
Also with mentioning is that Dell switches configure in cluster groups and the 25 gig clusters have to be configured down to 10gig mode to recognize and work with 10/1gig modules.
port-group 1/1/5
 mode Eth 25g-4x
!
port-group 1/1/6
 mode Eth 10g-4x
For example.
Speaking of, setting up a LACP bundle on the Dell switch was a snap! Just remember your port-groups!
interface ethernet1/1/1
 description "WIN-HVN-100 port 0"
 no shutdown
 channel-group 1 mode active
 no switchport
 flowcontrol receive off
There isn’t all that much to do in the individual ethernet ports, but you get the idea. Since I’m short on cables, I’ve only got the first two ports populated, but I’m aiming for 4×25 per server!
interface port-channel1
 description WIN-HVN-100
 no shutdown
 switchport mode trunk
 switchport trunk allowed vlan 50,75-78,150,875,901-902
I did find that by explicitly allowing the VLANs onto the port helped a lot. And by default, the switches do LACP so there isn’t all that much to do.
And checking the LACP status is a snap as well:
hyperv-lan-core-01# show interface port-channel 1 summary
LAG     Mode      Status    Uptime              Ports
1       L2-HYBRID up        1 day 21:45:26      Eth 1/1/1 (Up)
                                                Eth 1/1/2 (Up)
                                                Eth 1/1/3 (Down)
                                                Eth 1/1/4 (Down)
Needless to say, I was happy as ‘it just worked’!
Speaking of which, I deployed Hyper-V 2019 Server. Shame VMware had to go get Broadcomm’ed as there won’t be any more free Hyper-V servers, but for now it’s fine.
I had meant to write more on setting up Hyper-V as doing it through PowerShell is a bit daunting at first.
First setup your load balancing network team. In this case I’m using a 4 port 25gig card:
New-NetlbfoTeam -Name "Converged Network Team" -TeamMembers "Integrated NIC 1 Port 1-1","Integrated NIC 1 Port 2-1","Integrated NIC 1 Port 3-1","Integrated NIC 1 Port 4-1" -TeamingMode lacp
The port names are 100% system dependent, but you can get the idea. And setting the LACP was surprisingly easy.
The next step is to create a virtual switch
New-VMSwitch -Name "Converged Network Switch" -NetAdapterName "Converged Network Team"
I just load everything onto the same switch as I’m old, and trust my VLANs. And the servers are 1u so they don’t exactly have a lot of NIC’s for splitting stuff out but as always do what works for you.
The next step is to add the virtual network card onto my management VLAN in this case it’s 75
add-vmnetworkadapter -switchname "Converged Network Switch" -name Management -managementos
set-vmnetworkadaptervlan -managementos -vmnetworkadaptername "Management" -vlanid 75 -access
From there you can now use the ‘sconfig’ and setup your management IP address, load up Windows patches, load more drivers, and manage the server using the remote RSAT tools. Be sure to enable the remote desktop, unless you really love to type.
I went ahead and installed these services to get my servers onto an existing Hyper-V cluster. I’m sure some can be removed, but YMMV as always:
Install-WindowsFeature -Name FileAndStorage-Services
Install-WindowsFeature -Name File-Services
Install-WindowsFeature -Name FS-FileServer
Install-WindowsFeature -Name Storage-Services
Install-WindowsFeature -Name Hyper-V
Install-WindowsFeature -Name NET-Framework-45-Core
Install-WindowsFeature -Name NET-Framework-45-Features
Install-WindowsFeature -Name NET-WCF-Services45
Install-WindowsFeature -Name NET-WCF-TCP-PortSharing45
Install-WindowsFeature -Name Failover-Clustering
Install-WindowsFeature -Name Multipath-IO
Install-WindowsFeature -Name RSAT
Install-WindowsFeature -Name RSAT-Feature-Tools
Install-WindowsFeature -Name RSAT-Clustering
Install-WindowsFeature -Name RSAT-Clustering-PowerShell
Install-WindowsFeature -Name SNMP-Service
Install-WindowsFeature -Name Windows-Defender
Install-WindowsFeature -Name PowerShellRoot
Install-WindowsFeature -Name PowerShell
Install-WindowsFeature -Name WoW64-Support
Interestingly enough, on 2019 the option is there for the Linux Subsystem. I didn’t install it, but that’d be an interesting thing to share out.
I did have some weird issue with remoting and explicitly enabled it with a
Enable-PSRemoting -Force
It’s probably me, but it worked for me.
Then it’s a matter of adding all the other virtual networks Hyper-V seems to love:
add-vmnetworkadapter -switchname "Converged Network Switch" -name Backup -managementos
add-vmnetworkadapter -switchname "Converged Network Switch" -name "Live Migration" -managementos
add-vmnetworkadapter -switchname "Converged Network Switch" -name Cluster -managementos
set-vmnetworkadaptervlan -managementos -vmnetworkadaptername "Backup" -vlanid 76 -access
set-vmnetworkadaptervlan -managementos -vmnetworkadaptername "Live Migration" -vlanid 77 -access
set-vmnetworkadaptervlan -managementos -vmnetworkadaptername "Cluster" -vlanid 78 -access
And of course, don’t forget your shared storage, in this case my servers have that 4x25gig card, and a smaller custom 2×25 gig card that I used to storage A/B. Fun times!
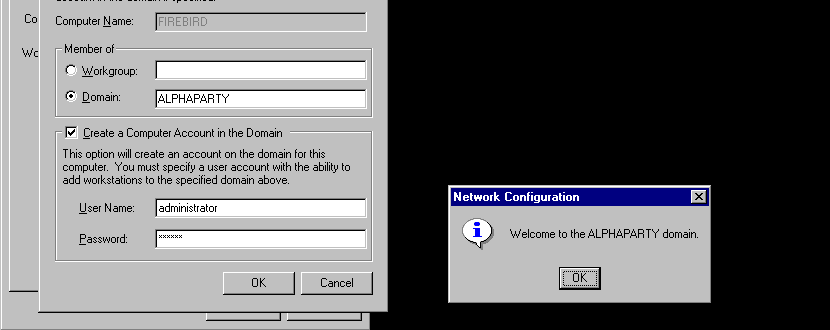
From there I could use sconfig to join my machines to the domain, and then finally add them into the cluster, and start moving my workload over to the new servers, which is what I’ll be doing throughout the Christmas break.
Speaking of work:
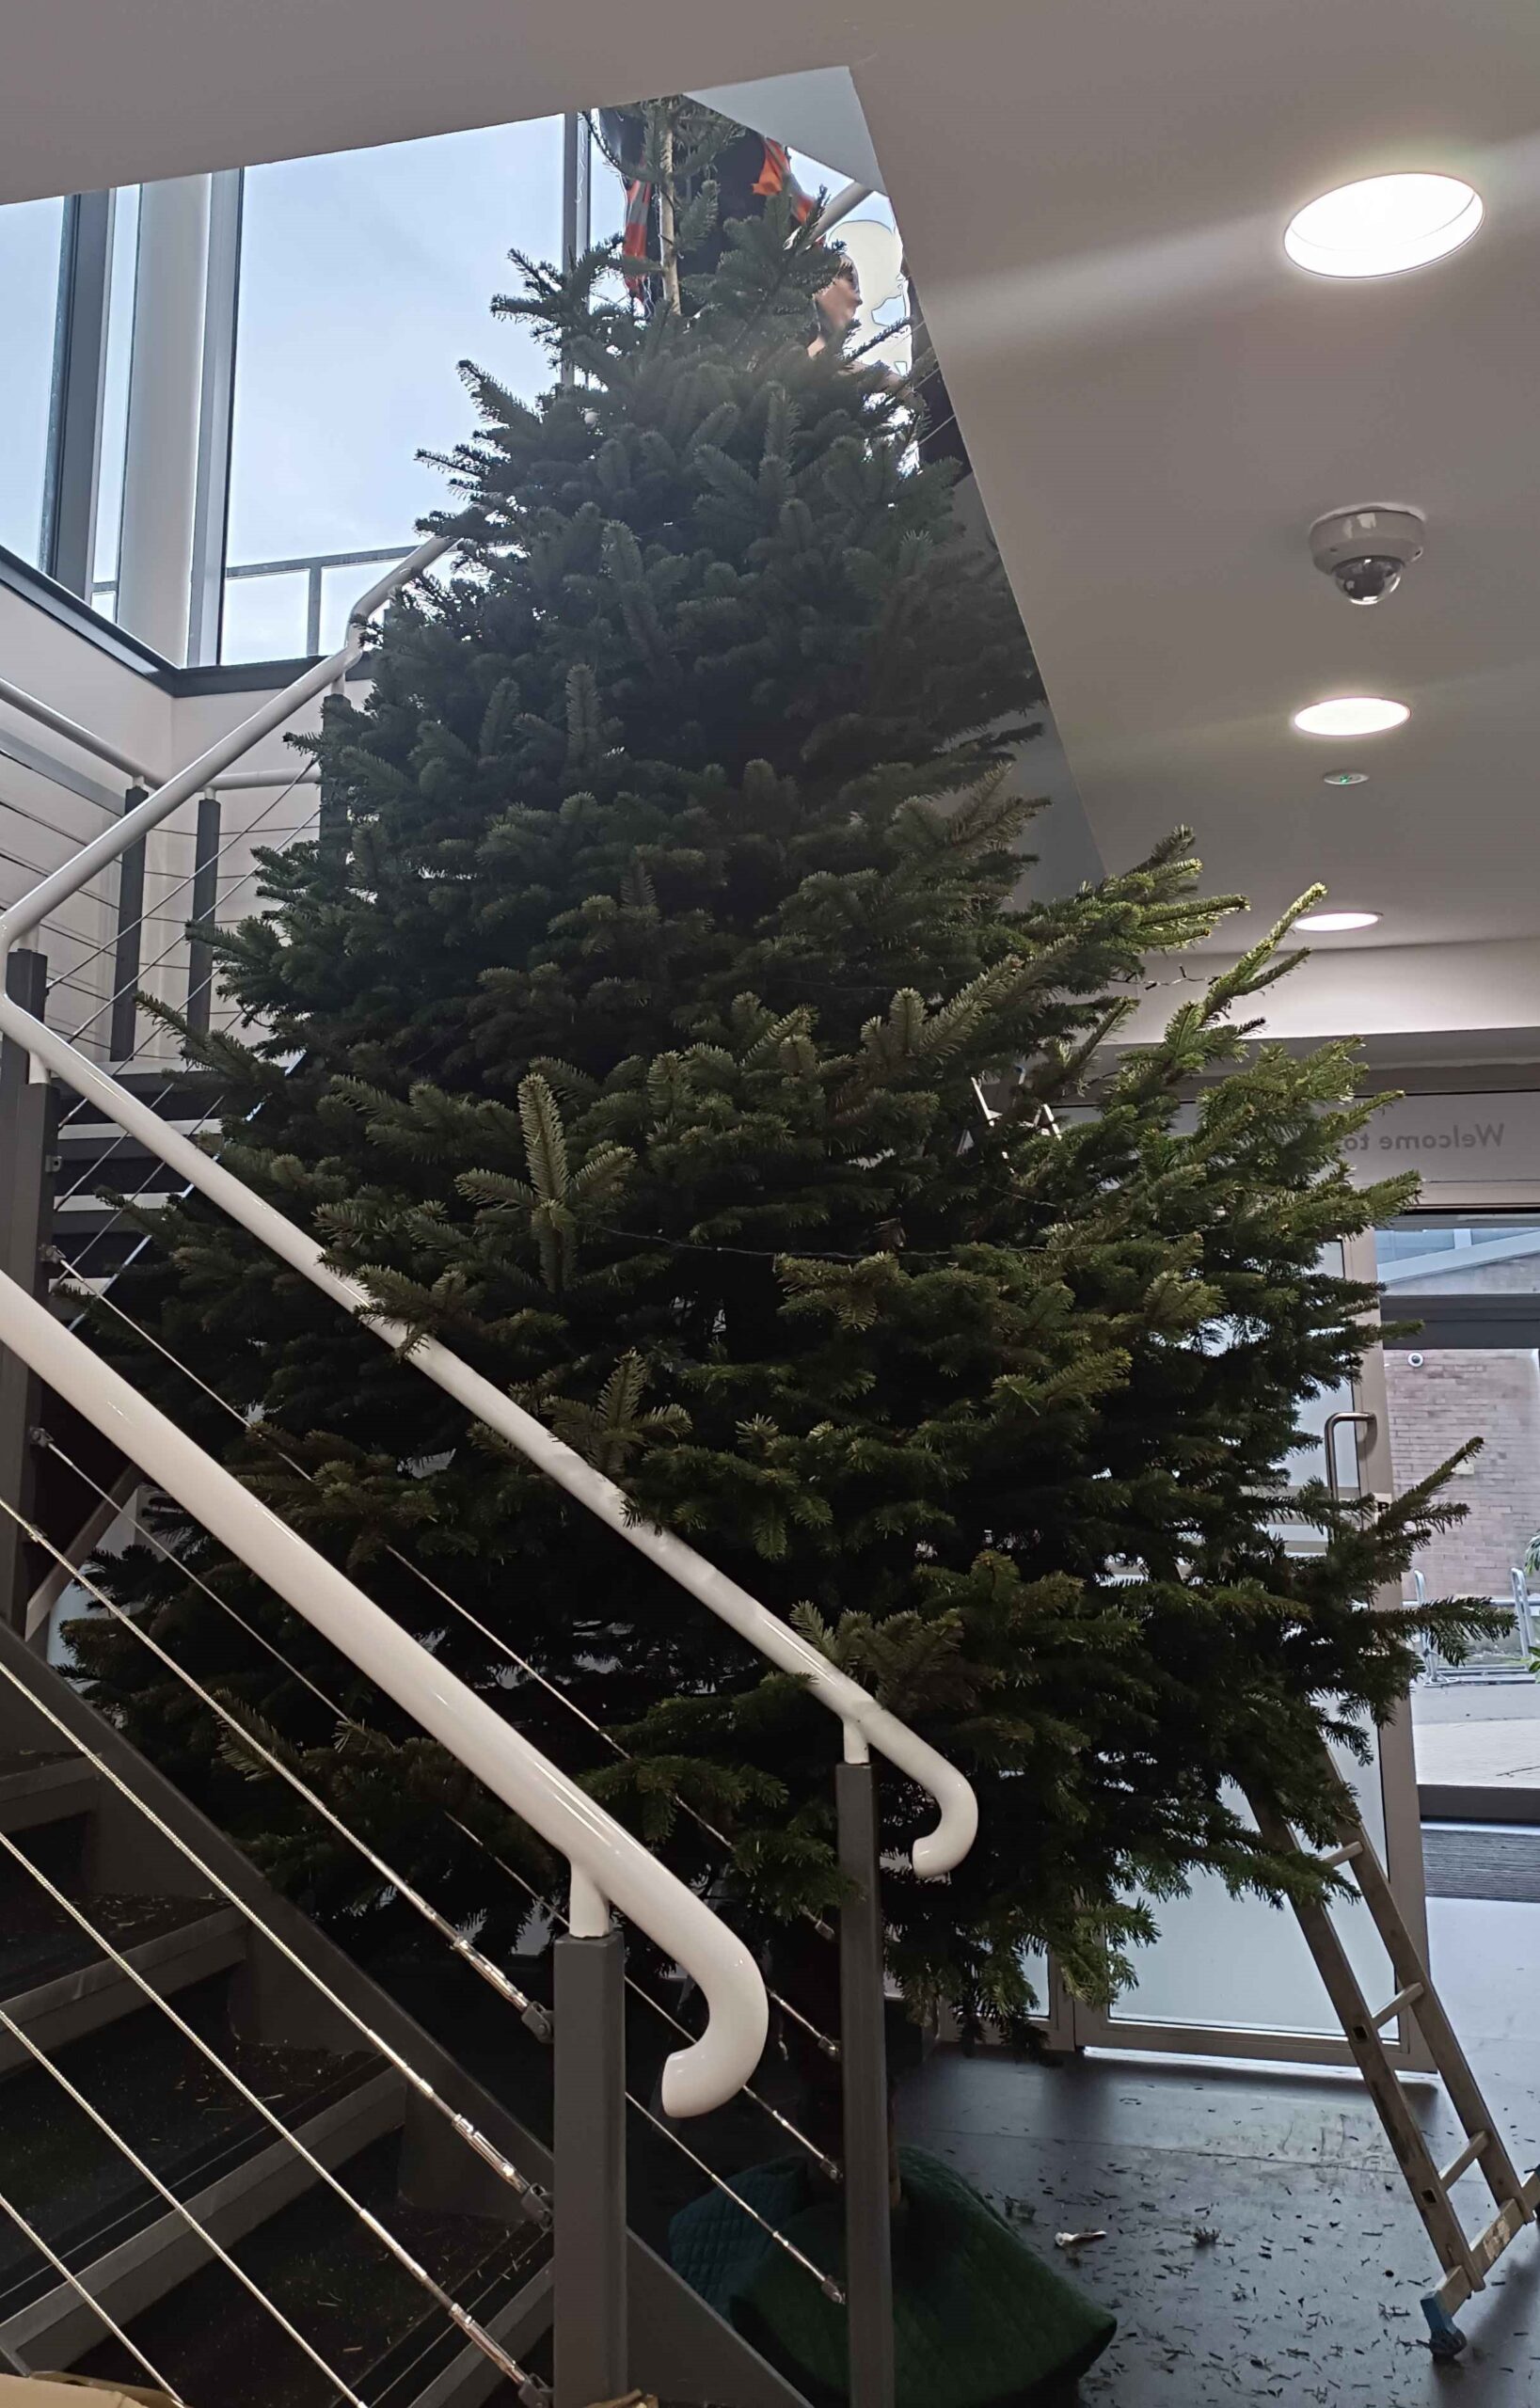
They ordered this very Clark Griswald like Christmas tree. They had to cut it down to get the base to fit the lobby area with it reaching into the 2nd floor. It’d been so long since I’d seen something like this at work. But thats me working remotely for nearly 20 years.
Something awe inspiring about it.

Which reminds me of this Snoopy I saw on twitter. As terrible as life feels from time to time, there is a bit of hope, and fun here and there as my muse is always quick to point out when I’m feeling down.
And sometimes it’s better to just get it out, as who knows, maybe this could be useful in the future somehow.
Thanks for everyone’s ongoing support over on Patron and here. It really means the world to me.


![[ ]](/wp-content/uploads/2024/03/tar.gif)