Migrating Windows 2003 servers to Proxmox/VE

So I’ve had this Microsoft Virtual Server 2005 install that has been chugging along since.. Well 2005. On hardware we scrounged around at work from 2000. So as you can gather, it’s getting OLD. Real old.

So now after a panic, we are finally at the crossroads of what to do from here.

Now most people would expect us to just “migrate” the server to Hyper-V but there is some major shortfalls I’ve had with Hyper-V. First you can’t remotely manage it very easily. God help you if you are on the road, on a notebook, or even… On your parents computer. The idea that you must be on a domain, and install some 300MB+++ file is totally insane, and completely unacceptable.

The other catastrophic issue we’ve had is that running the x64 version of OpenBSD has been met with failure so that enterprise is virtually over.

So, let’s revisit Proxmox VE.

Now to start small, I’m going to migrate the 2003 domain controller. Luckily it’s configured for IDE disks (phew!) and basically doesn’t do anything else other then act as a DC. The steps to do this in a quick and easy manner is something like this:

1 Remove those blasted MS extensions! You can ONLY do this while you are under MS Virtual Server. Really. I expect this also holds true for Hyper-V.

2 Next run the mergeide.reg, file which will tell 2003 (probably 2000 and above…) to enable all the IDE controller types on boot, so you don’t get locked out…

3 Next download and install this GREAT program, selfimage (sorry for the lame download thing), and go ahead and run it.

Make sure you set the source to being a WHOLE DISK, not a partition… Start with the C drive. (I always try to get the OS going before going after data drives & whatnot….).

Next you can set the target to NBD and point it to your proxmox server, and set the port to 1024.

I didn’t know this, but NBD is a network block device! So instead of playing with intermediate disks, formats, and all this other painful crap, we can instead basically dd from one disk to another over the network, with little effort. I would imagine for the WindowsPE crowd this would be a massive win, to say image disks out of other servers, or even LIVE servers.. Although if it were SQL I sure would shut down the database server at this time.

On the proxmox server go ahead and create a ‘destination’ VM, that you will copy the VM into. It’s recommended you make the destination disk larger then the source disk, so there isn’t any nasty rounding errors.

Now putty into the proxmox machine, and then you have to launch the nbd server. The syntax is something like this:

qemu-nbd -t /var/lib/vz/images/xxx/vm-xxx-disk.qcow2

The filename may be slightly different, so don’t sweat it too much, but basically you are telling qemu-nbd to ‘serve’ this virtual disk.

With all of this in place, you can now hit the start button on the SelfImage application and it’ll start to block copy!

I have a slow network where I’m doing this so it took me about an hour to do 32GB.

Once it is done, you can terminate qemu-nbd with a Control+C, then try to start up the VM on Proxmox.

Two things I ran into:

Some error about processor.sys, and a 0x000000CE error code. For me the easy way out of this is to shut down the VM, and re-configure it to disable KVM. In this mode it will be SLOW. But once booted up, you can issue the following from a command prompt:

sc config processor start= disabled

Shut down the VM, turn on KVM, and start it up again. Also the start= isn’t a typo, it really is entered that way.

The other error I had was a INTERNAL_POWER_ERROR blue screen. I tried playing with the ACPI, and some other stuff to no avail. The only way to seemingly ‘fix’ it was booting up again with KVM disabled, and when I tried to login, windows immediately started to shutdown.. Re-enabling the KVM option then let me boot normally. I’m still a little lost as to what this was all about.

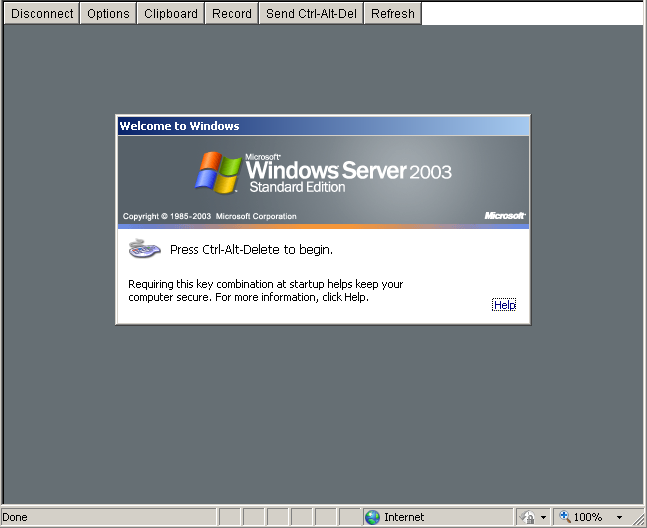
So with all the little stops here & there, my VM is now running on Proxmox VE.

Neko x64!

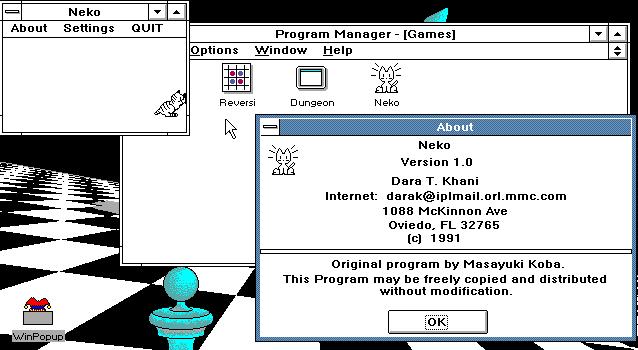
For no real reason today I remmeber that there used to be this cool program back in the Windows 3.0 days called Neko. I was trying to explain it to my girlfriend about this cat that would chase your mouse!  Click the picture above to play with neko in jdosbox.

I recall that Neko even made it to OS/2 as it was more interesting than the mouse trails alternative from Microsoft.

At any rate, I was wondering if there ever was a 32bit version of Neko… And much to my amazement I found there was a Neko95, and a Neko98! And they even ran on my x64 version of Windows… So after googling around, I found the source code to Neko 98!

So, I did the next best thing, which is download the source, fix a single casting ‘error’ in some square root function and I got it building under Visual C++ 2008. Then I figured, what the hell, added a target for the x64, and built… a 64 bit version of neko!

You can download the x64 binaries, and the source directory that I used here.

You may need some VC runtimes if your system is an old x64… At this moment it can be found here:

Or by searching for Microsoft Visual C++ 2008 SP1 Redistributable Package (x64)

Oh well at any rate, it’s cool to see Neko still kicking!

PS When I get back, I’ll have to see about an i386, MIPS, Dec Alpha and Itanium build… wink wink!

—edit

Neko98’s source code has been rescued, all saved here. and on github.

—years later

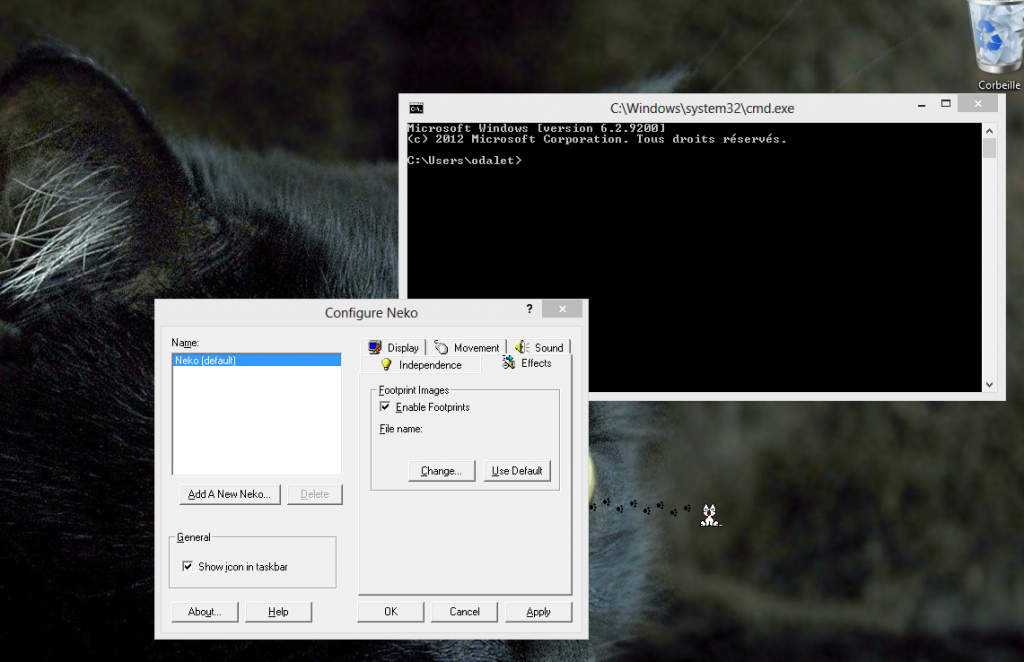
I just received this screen shot of Neko x64 rocking it on Windows 8 (Desktop mode)

Neko on Windows 8

Running Windows 2003 r2 x64 on Qemu 0.9.0

This took me a LOT longer then it should have to figure out. So for anyone else wanting to run the 64bit versions of Windows on Qemu (I havent tested Vista/2008/7 yet) Only version 0.9.0 will work.

Because sourceforge is still giving me errors I’ll provide direct links…

Anyways to buidl Qemu you’ll need a MinGW/MSYS enviroment. The new stuff works on Vista x64 so that’s good to me, as it’ll run natively.

You’ll need the following files:

MinGW-5.1.4.exe
MSYS-1.0.11-rc-1.exe
msysDTK-1.0.1.exe
w32api-3.13-mingw32-dev.tar.gz
mingwrt-3.15.2-mingw32-dev.tar.gz

First, install MinGW by choosing the ‘current’ version, then check the following options:

*MinGW Base tools
*G++ compiler
*MinGW make

Allow it to instal into c:\MinGW

Next install MSYS with the default options. Then it’ll ask you the following, respond as I have:

Do you wish to continue with the post install? [yn ] y

Do you have MinGW installed? [yn ] y

Please answer the following in the form of c:/foo/bar.
Where is your MinGW installation? c:/mingw

Install msysDTK with the default options.

Now you should be able to run the msys CLI
Start -> run -> mingw -> msys -> msys

Let’s expand out the win32api & mingw32 dev updates:

cd /mingw
tar -zxvf /c/install/qemu-build/w32api-3.13-mingw32-dev.tar.gz
tar -zxvf /c/install/qemu-build/mingwrt-3.15.2-mingw32-dev.tar.gz

Now your ‘gcc -v’ should return something like this:

Reading specs from c:/mingw/bin/../lib/gcc/mingw32/3.4.5/specs
Configured with: ../gcc-3.4.5-20060117-3/configure –with-gcc –with-gnu-ld –wi
th-gnu-as –host=mingw32 –target=mingw32 –prefix=/mingw –enable-threads –dis
able-nls –enable-languages=c,c++,f77,ada,objc,java –disable-win32-registry –d
isable-shared –enable-sjlj-exceptions –enable-libgcj –disable-java-awt –with
out-x –enable-java-gc=boehm –disable-libgcj-debug –enable-interpreter –enabl
e-hash-synchronization –enable-libstdcxx-debug
Thread model: win32
gcc version 3.4.5 (mingw-vista special r3)

Ok, now let’s build the prerequisits, zlib & SDL.

zlib-1.2.3.tar.gz

cd /
mkdir -p /usr/src
cd /usr/src
tar -zxvf /c/install/qemu-build/zlib-1.2.3.tar.gz
./configure
make
make install

Now SDL.

SDL-1.2.13.tar.gz

tar -zxvf /c/install/qemu-build/SDL-1.2.13.tar.gz
cd SDL-1.2.13
./configure
make
make install

Now we need to tweak some things that MinGW seems to have issues finding in the /usr/local path.. I’m sure there is a better ‘fix’ but hell, this is quick & cheap!

cd /mingw/include
ln -s /usr/local/include/zconf.h .
ln -s /usr/local/include/zlib.h .
ln -s /usr/local/include/SDL .
cd /mingw/lib
ln -s /usr/local/lib/libSDL.a .
ln -s /usr/local/lib/libz.a .
cd /bin
ln -s true.exe texi2html.exe
ln -s true.exe pod2man.exe

Ok, now we just need the source to Qemu 0.9.0…. It’s becoming something RARE which is weird considering just how compatable this version is… So I’d recommend keeping a copy in email or something.

qemu-0.9.0.tar.gz

cd /usr/src
tar -zxvf /c/install/qemu-build/qemu-0.9.0.tar.gz
cd qemu-0.9.0
./configure –target-list=x86_64-softmmu
make

Now instead of the usual Qemu 32bit x86 emulator, you’ll get qemu-system-x86_64.exe in the x86_64-softmmu directory. Running it is just like the regular Qemu. So first I’m going to create a 16GB disk to boot from like this:

qemu-img create -f qcow win64.disk 16G

*NOTE if you have any issues where it just doesn’t work, use the qemu-img from here. I’ve had issues with the one that I’ve built, but the emulator works…. go figure.

Now let’s boot from the disc:

$ x86_64-softmmu/qemu-system-x86_64.exe -m 1024 -L pc-bios/ -hda win64.disk -cdrom en_win_srv_2003_r2_enterprise_x64_cd1.iso -net nic,model=rtl8139 -net user -boot d

Now if you don’t have the ISO files, and have physical discs don’t fret! It’s easy to have Qemu point to them… Let’s say your CD-ROM (DVD/BR disk) is D: then it’s just a matter of running:

$ x86_64-softmmu/qemu-system-x86_64.exe -m 1024 -L pc-bios/ -hda win64.disk -cdrom \\.\d: -net nic,model=rtl8139 -net user -boot d

Easy, right? Remember the -m flag for memory, otherwise your VM will run in a TINY 128mb of ram.. And it’ll be insanely SLOW.

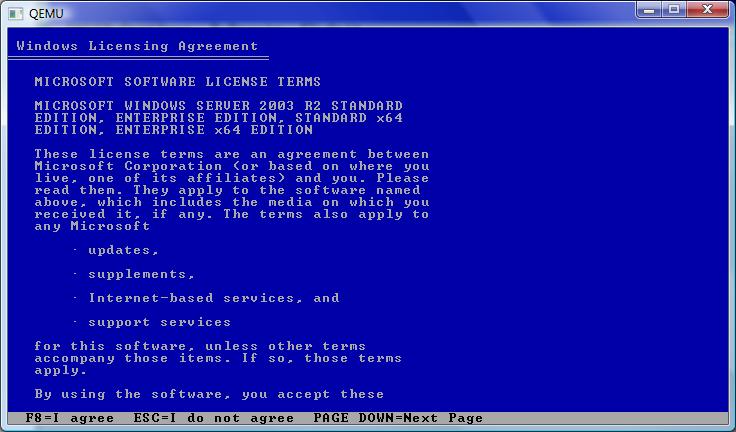
And then you’ll get this!

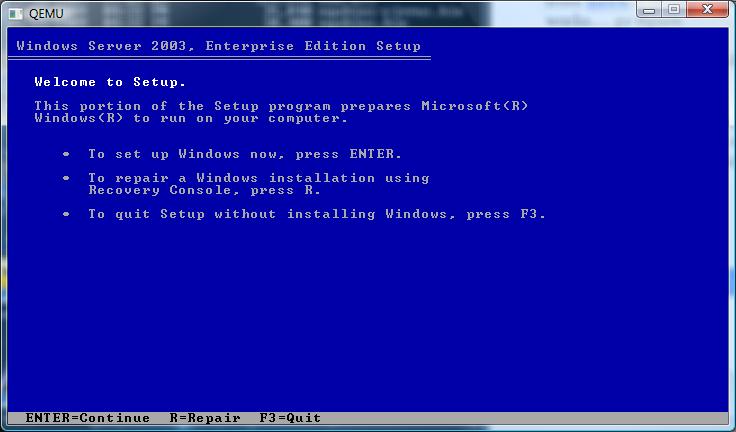
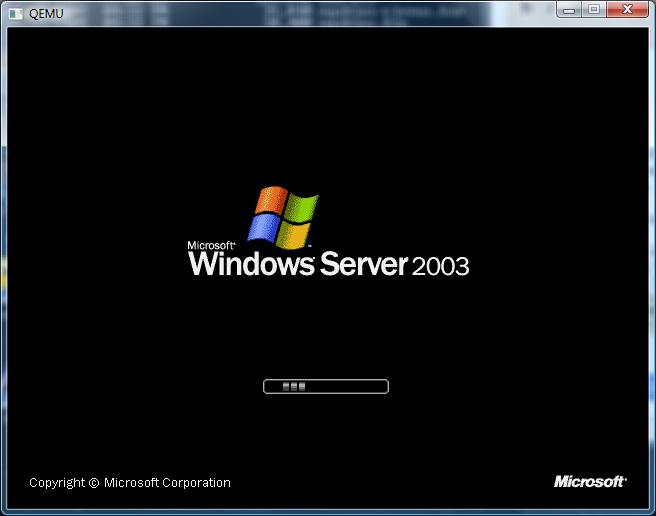
The first screen.. It doesn’t sound all that 64 bit does it?


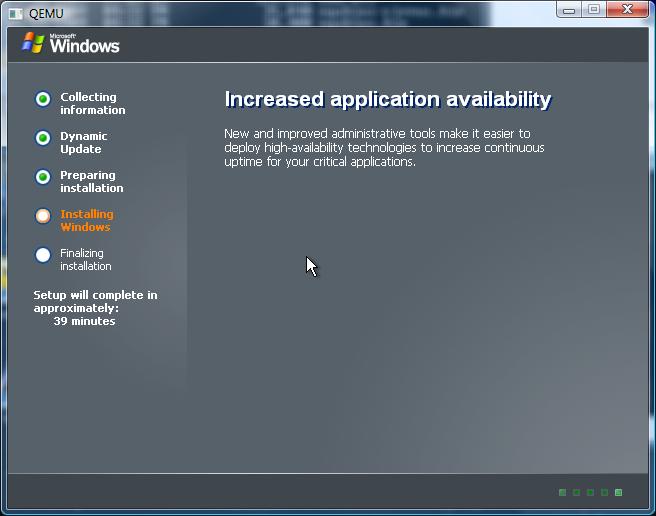
Now we are talking! It certainly is the 64 bit version… It reminds me of the PowerPC/MIPS/Alpha builds where once the Kernel has loaded, it’s all Windows NT..


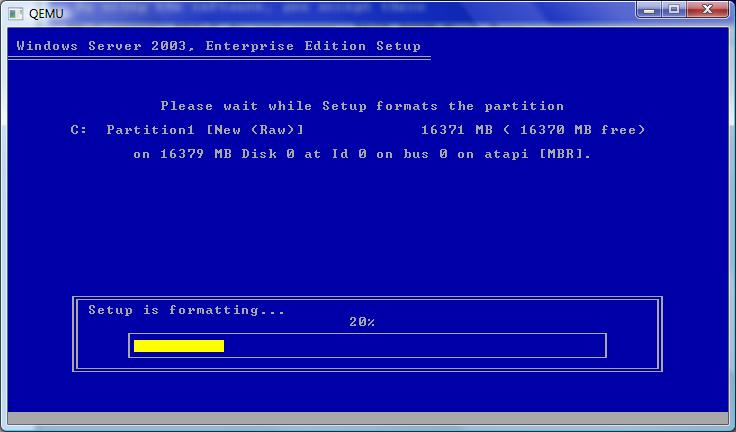
Select your partition, and let’s format away!


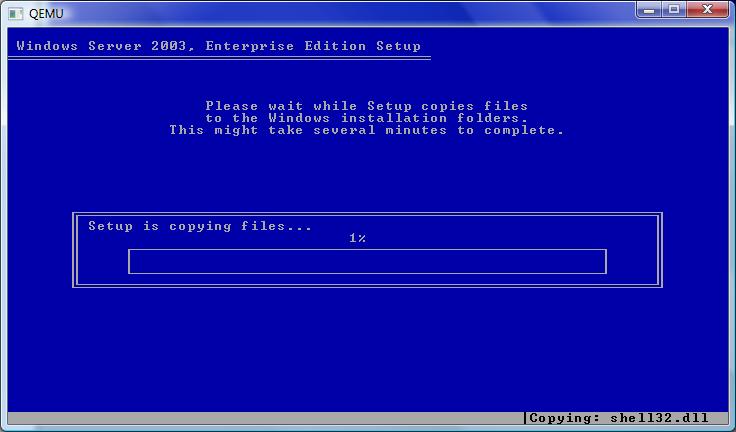
Time for the file copy… This will take a while.


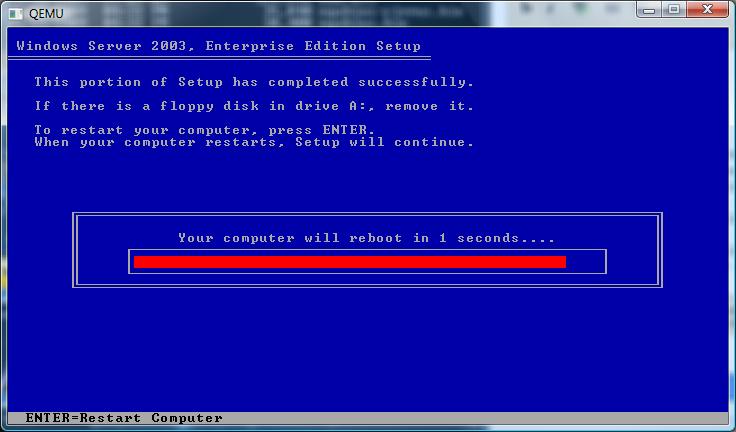
Finally!

Then it’ll reboot, and you’ll get the happy bootloader!


Bootloader in action..


I haven’t timed it, but I suspect it’ll be longer then 39 minutes.

As you can see with the right version of Qemu it’s trivial to get Windows 2003 r2 x64 running… It’s good for doing some .net 32/64 bit testing… Which reminds me of another tidbit..

Some things in .net land will NOT work on IIS running in 64 bit mode. You’ll have to throw the switch to get a 32bit .net on IIS. The good news though is that this can take advantage of 2GB for a normal exe, and if you tag it, 3GB to under 4GB of ram.. So the 64bit version is not without waste.

%SystemRoot%\Microsoft.NET\Framework\v2.0.50727\aspnet_regiis -i -enable
iisreset
CScript “%SystemDrive%\InetPub\AdminScripts\adsutil.vbs” set w3svc/AppPools/Enable32bitAppOnWin64 1
iisreset

I did verify that this would get sharepoint to run on 2003 x64.. As I always feel better trashing a VM then real iron…

And don’t forget the flexibility of the -redir command on Qemu to allow you to redirect ports into the VM…

Say you want to use terminal server into your VM, you can redirect say port 1000 into the vm by adding:

-redir tcp:10000:10.0.2.15:3389

Then it’s a simple matter of using a terminal server client to localhost:10000

I hope this clears up how easy it is to build your own Qemu, and of course how to run something other then the ‘normal’ 32bit version of Qemu.