What is a VLAN (part 5)

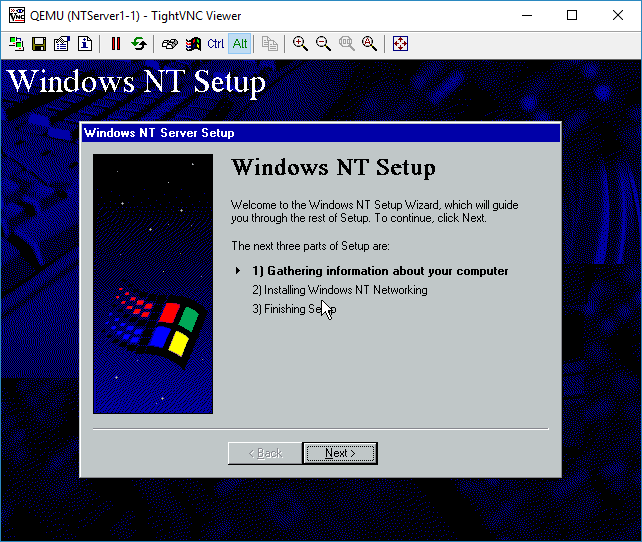
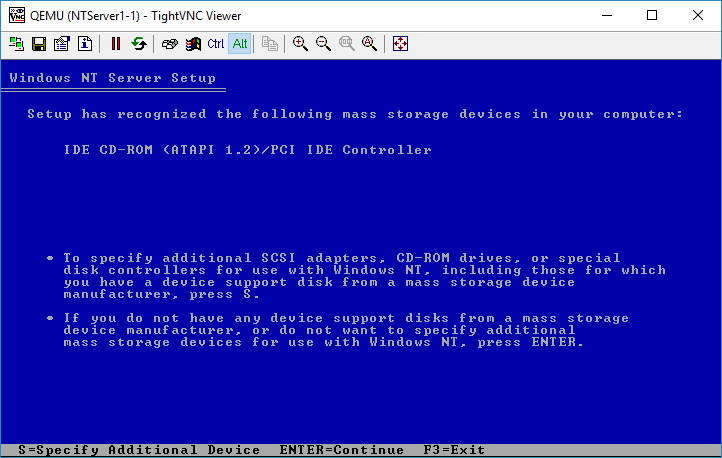
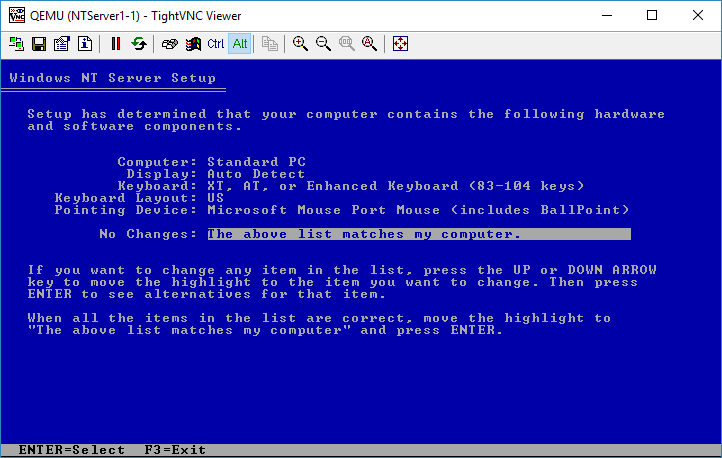
With the textmode setup complete, it’s time to do the graphical setup of Windows NT 4.0
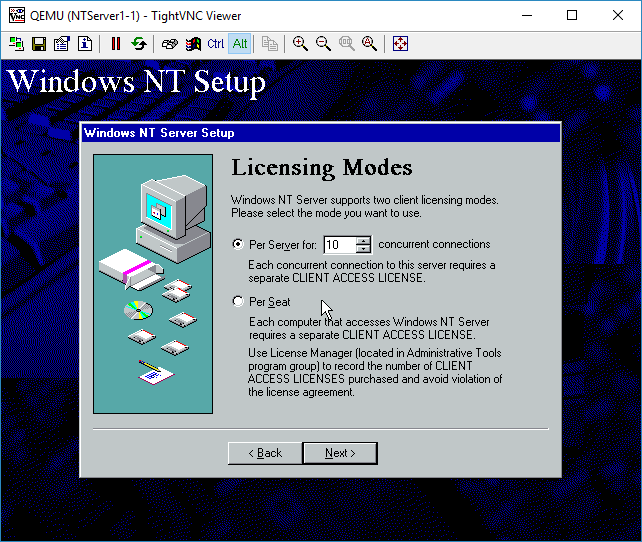
Next

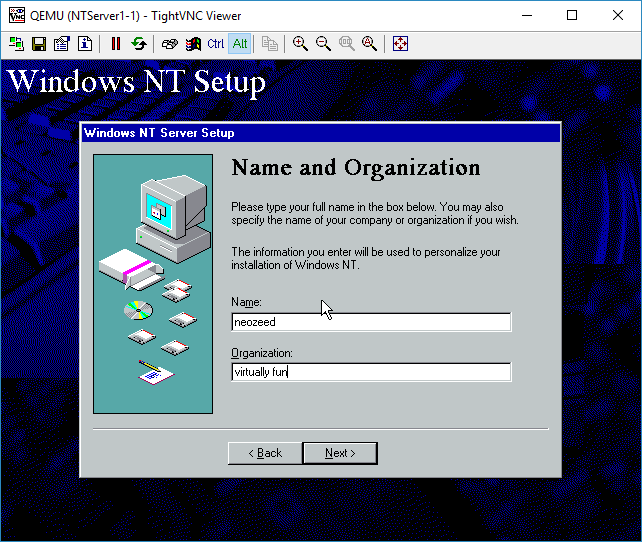
You can use any name/org

Select how many licenses you have for your NT Server.
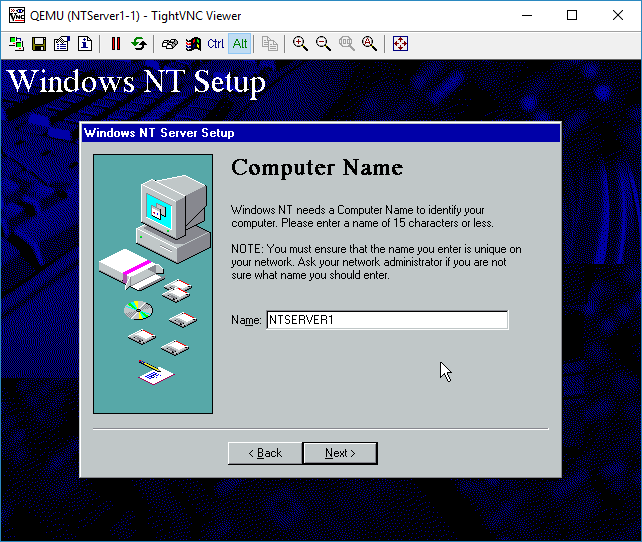
Give the server a name

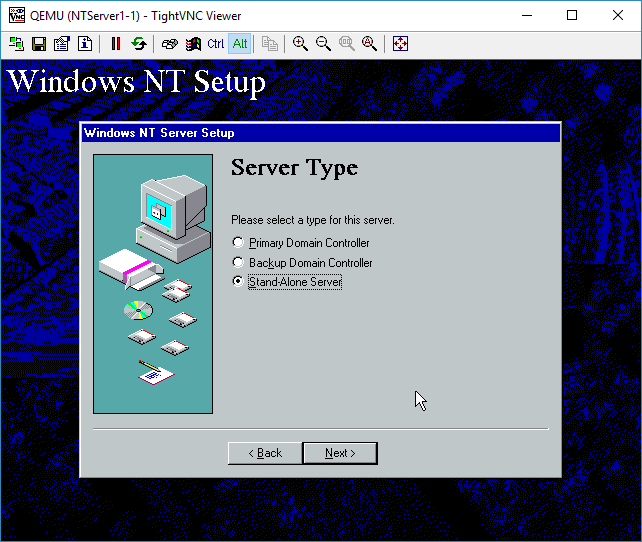
I’m not going to build a domain, so a stand alone server is fine.
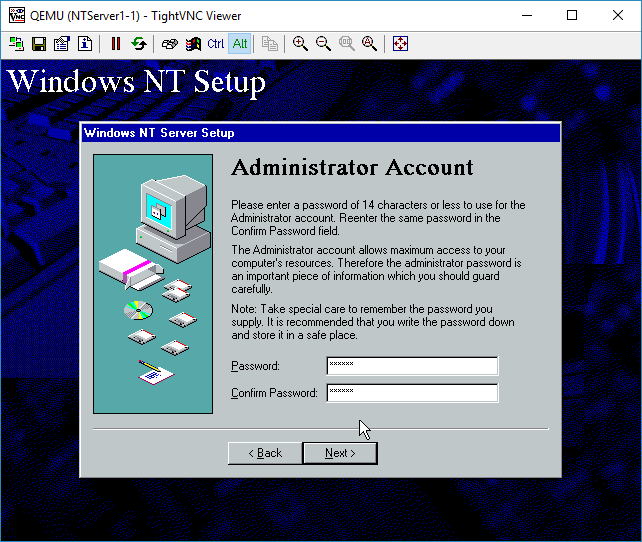
You can give the Administrator account a password if you so desire.
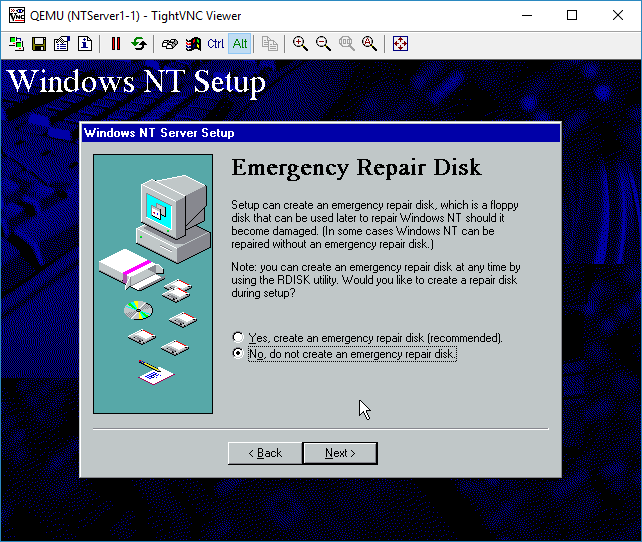
I don’t need any emergency repair disk, as this server is the epitome of disposable.
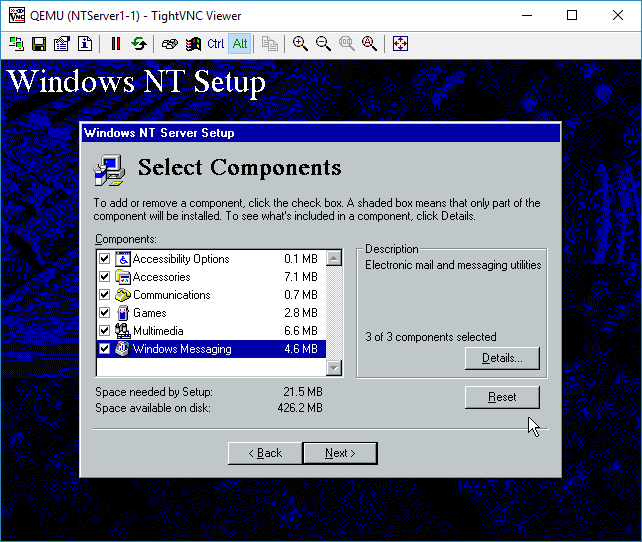
I added all the components.  Again for this test it really doesn’t matter.

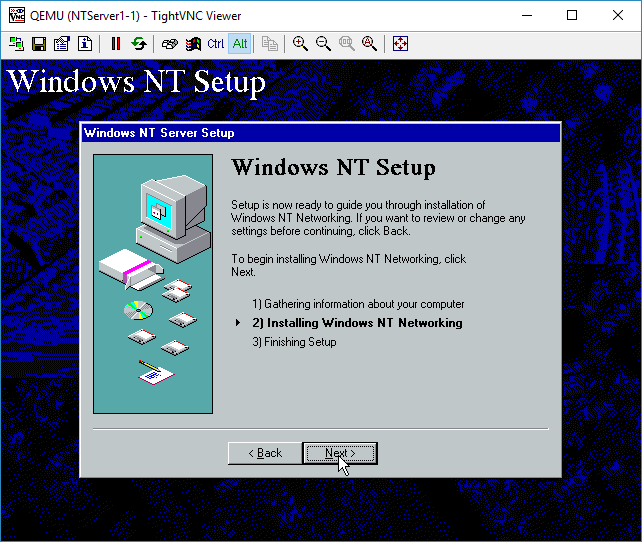
Configure the networking

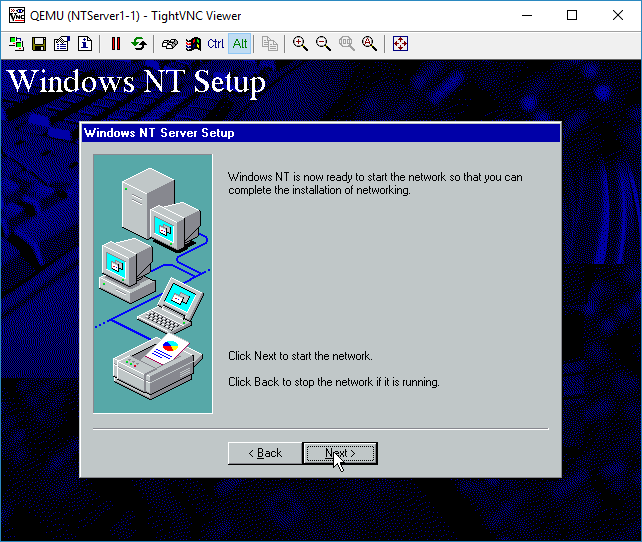
Now for the fun part, we are going to configure the networking.
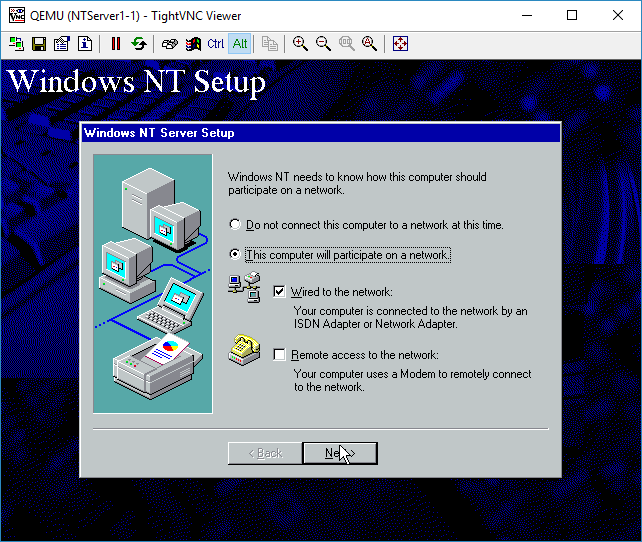
I’m sticking to ‘wired’ networking.  I’ll save RAS for another lifetime.
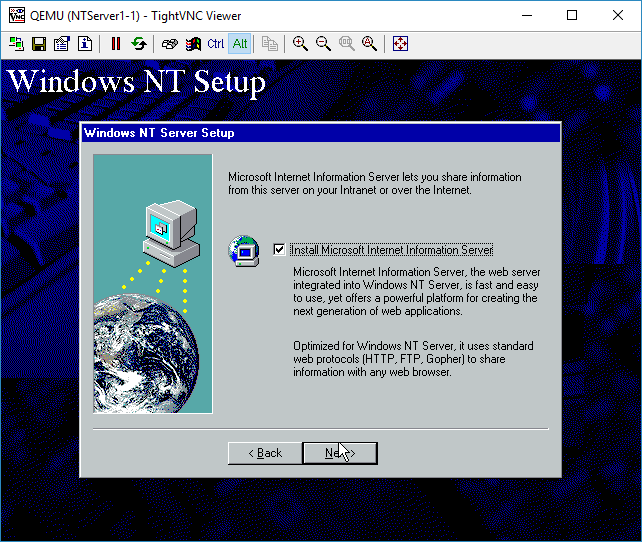
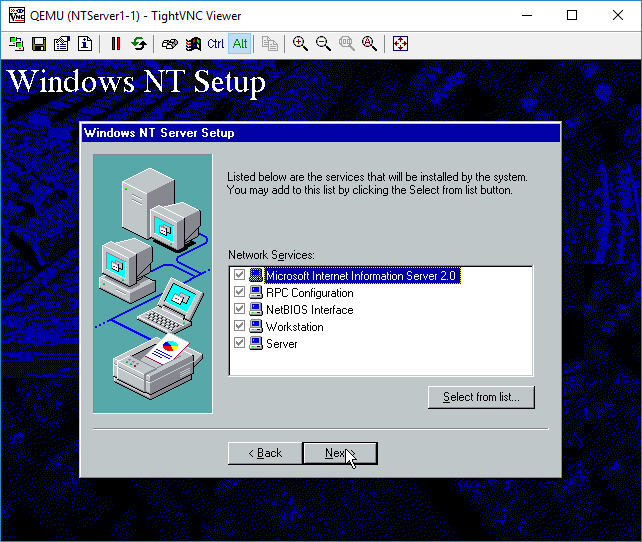
Everyone wants to be a webserver.  Sure why not.
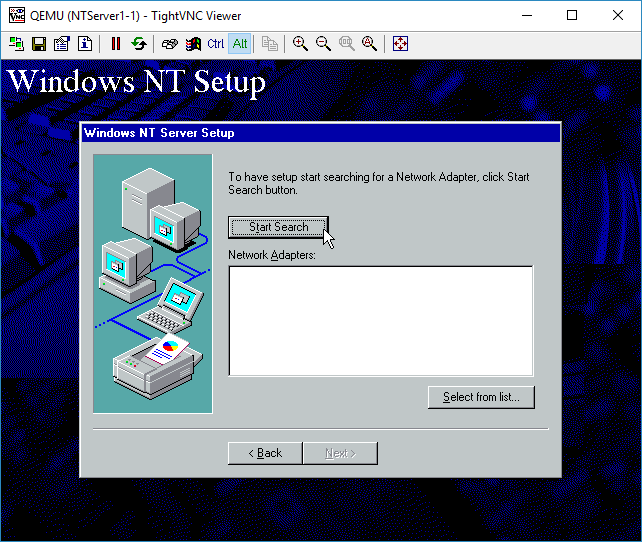
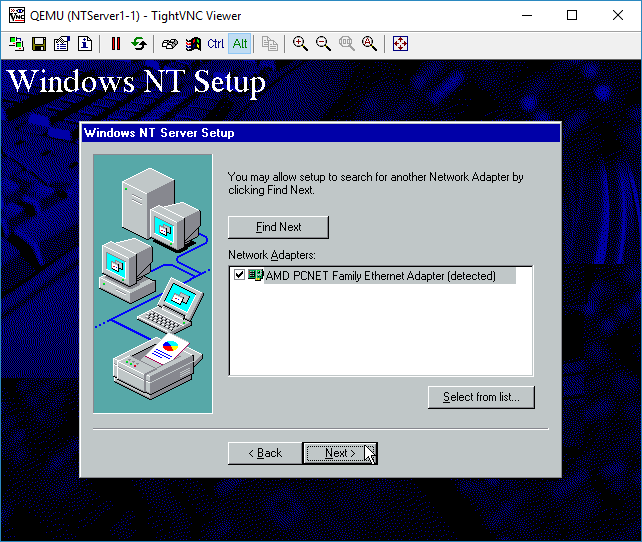
You can either manually select a NIC, or just let it auto-detect.  We are going to auto-detect it though.

And it’ll correctly identify the AMD PCNet card.
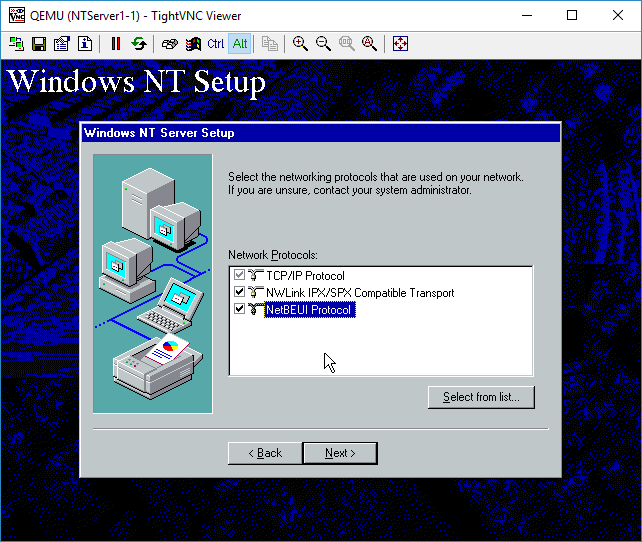
I selected all the protocols available.  I didn’t bother adding other ones like AppleTalk.
Next..

Next

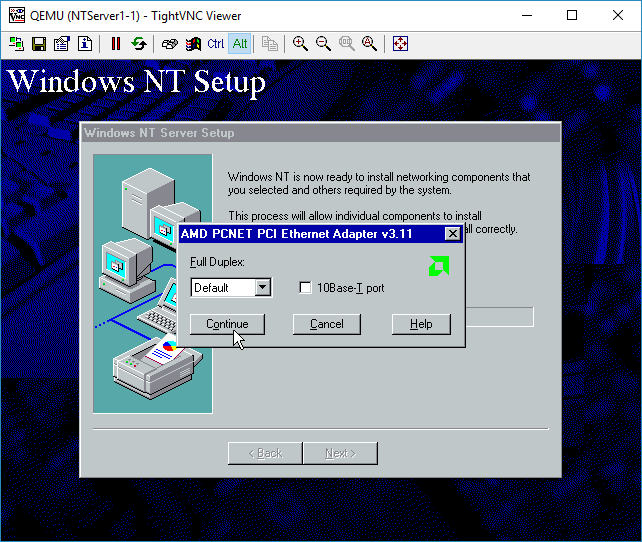
It’ll prompt for the media type and duplex.  The card isn’t real and it’ll work fine no matter what.  I just leave the options alone.
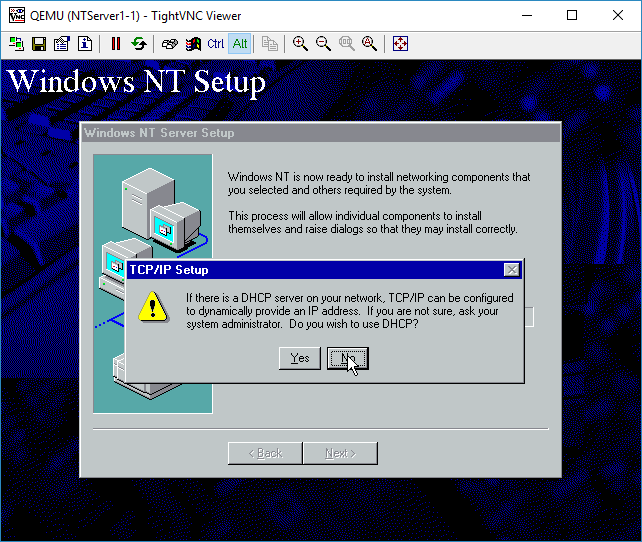
Our network doesn’t have any DHCP server.  Since we are plugged into a simple hub.  DHCP requests will fail.  Let’s give it a static address.  For Advanced people, yes you could wireshark on the wire to observe the DHCP.  We will touch on how to do that later, as I just want to get NT installed .
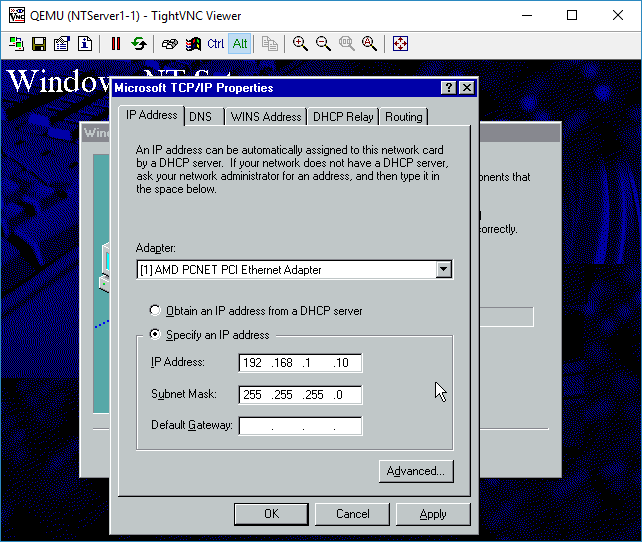
There is no need for a gateway.

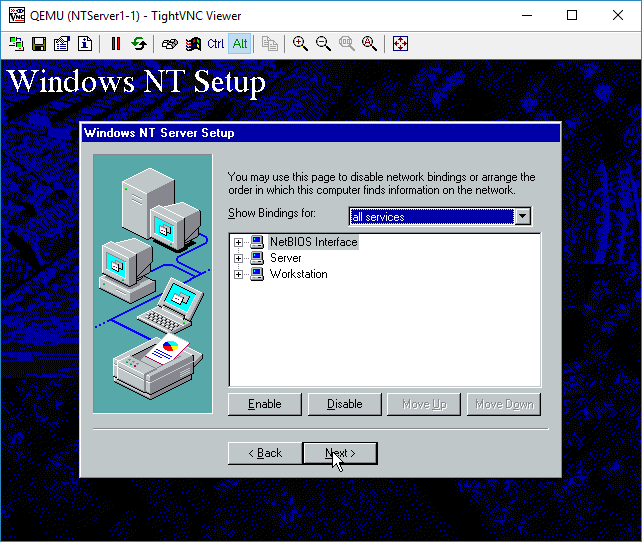
We don’t have any bindings that need adjusting, so you can just hit Next
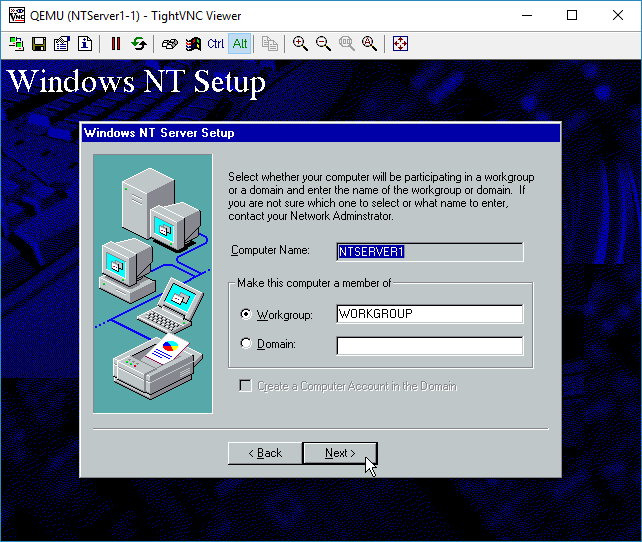
And Next again

Again, no domain, so run in workgroup mode.
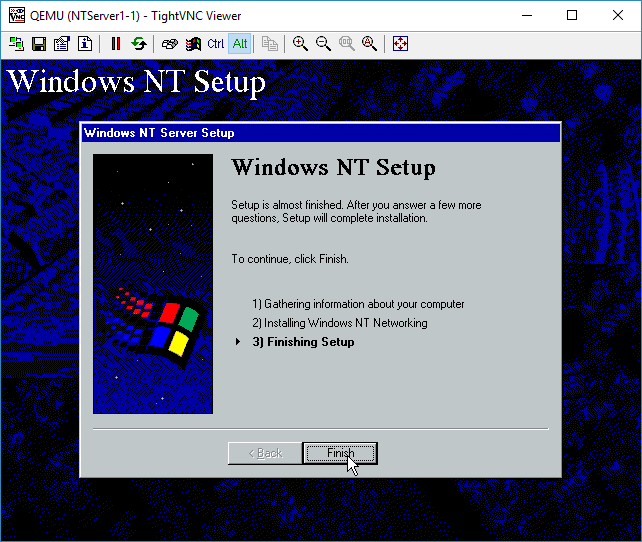
Finish, although it’s far from over.

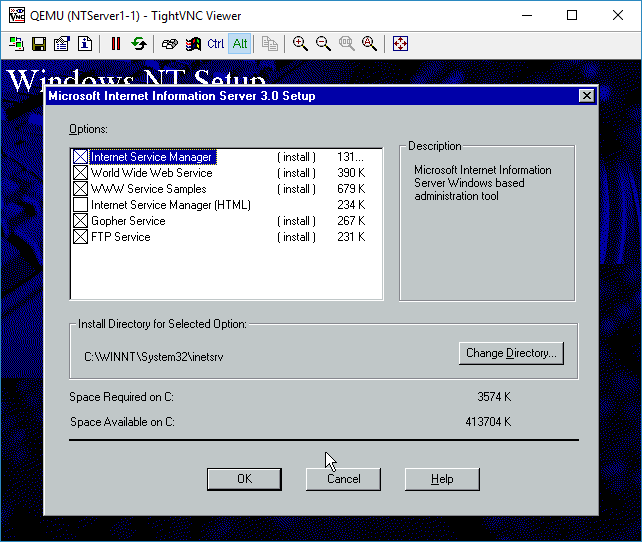
IIS components to install.  I just hit OK for the defaults.
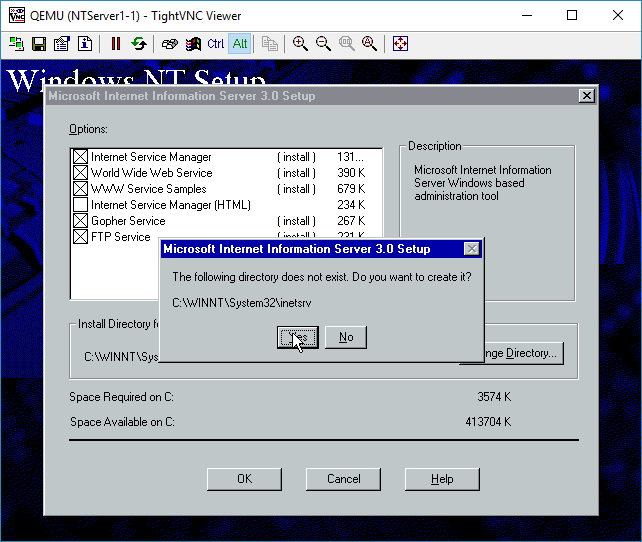
Confirm the creation of the directory

And the child directories

And creating the IIS child directories
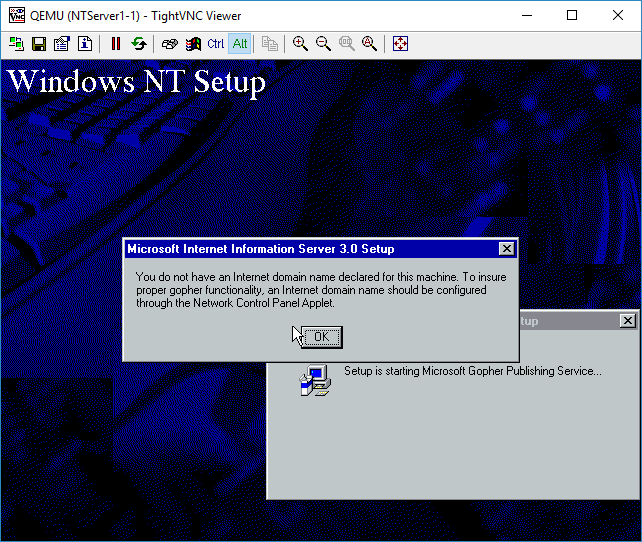
Gopher isn’t happy without a domain name, but I don’t care.

Select your timezone.  Or don’t.  This is from 1996, so many of the timezones are no-longer correct.  Just as DST has changed so many times.  But it really doesn’t matter yet again.
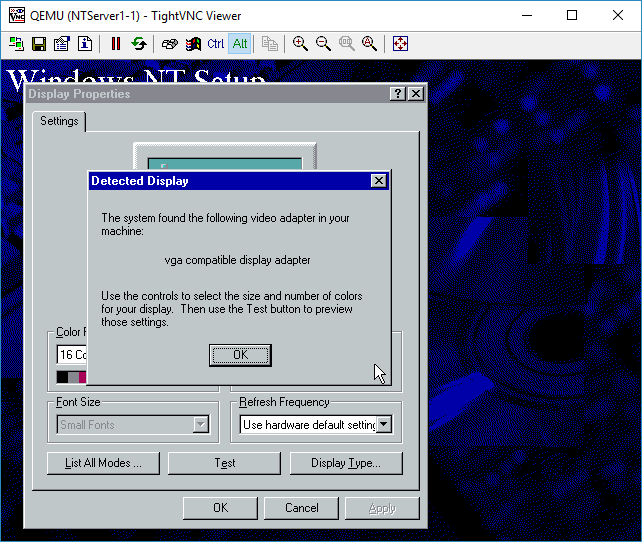
The display adapter is SVGA compatible.

Move the resolution slider to 800×600

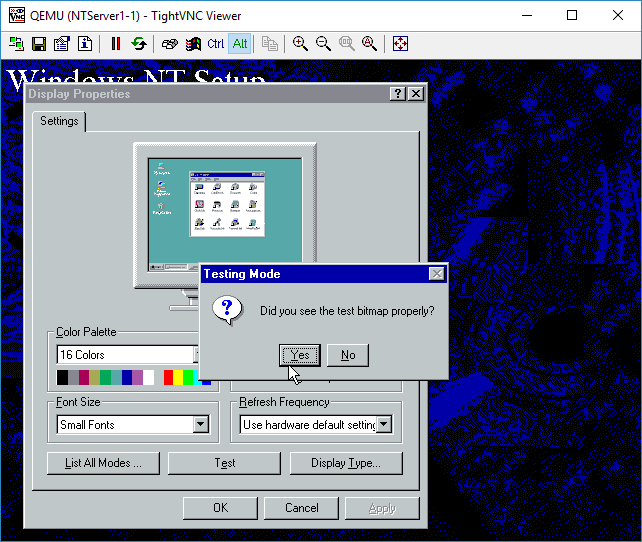
Then hit OK.  It’ll want to test the resolution
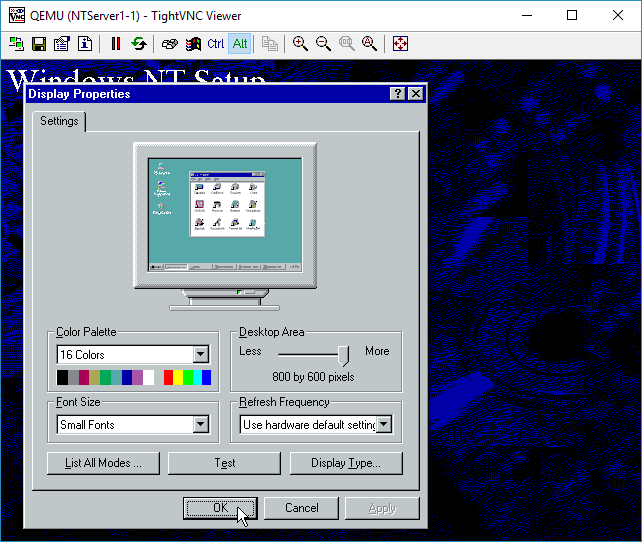
Everything looks good

YES I saw the bitmap

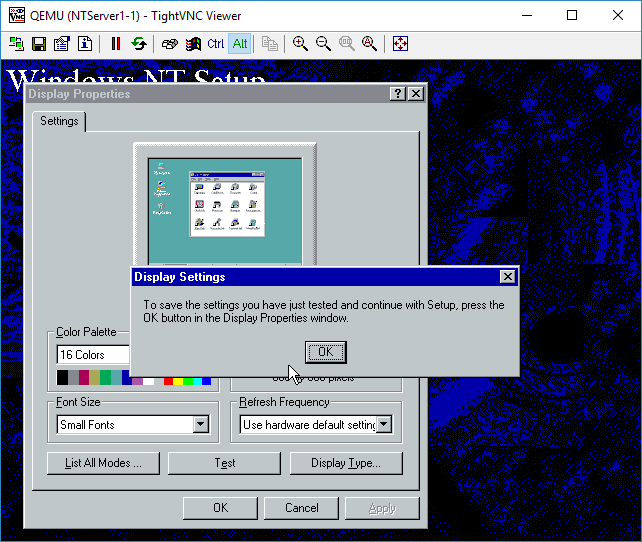
OK

OK to accept the display at 800×600

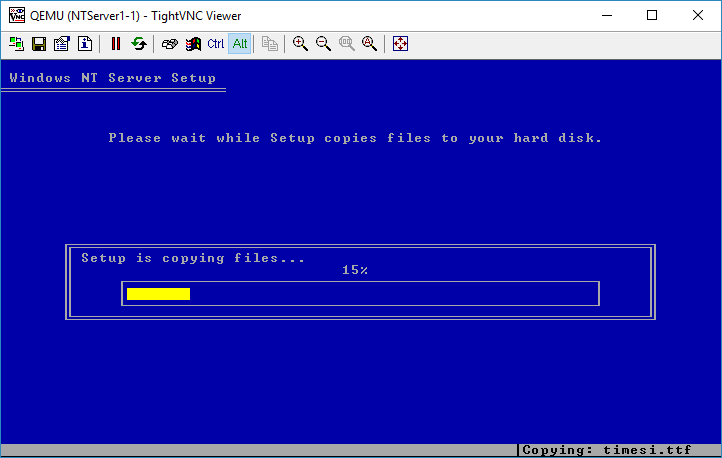
Files will finally start to copy

And now we can finally restart are computer.
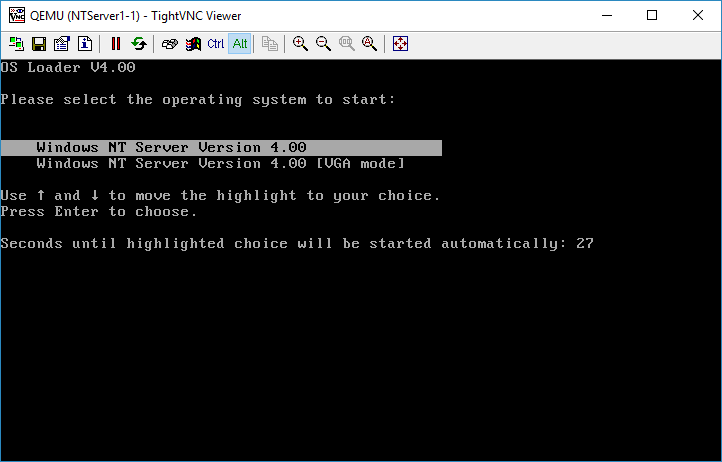
By default the NT Loader will wait for 30 seconds.  You can hit enter to get it to load right away or wait.

But we have now completed installing Windows NT, so we can now move on to capturing some traffic, aka part 6..

What is a VLAN (part 4)

In this post we are going to install Windows NT 4.0 Server into our VM.

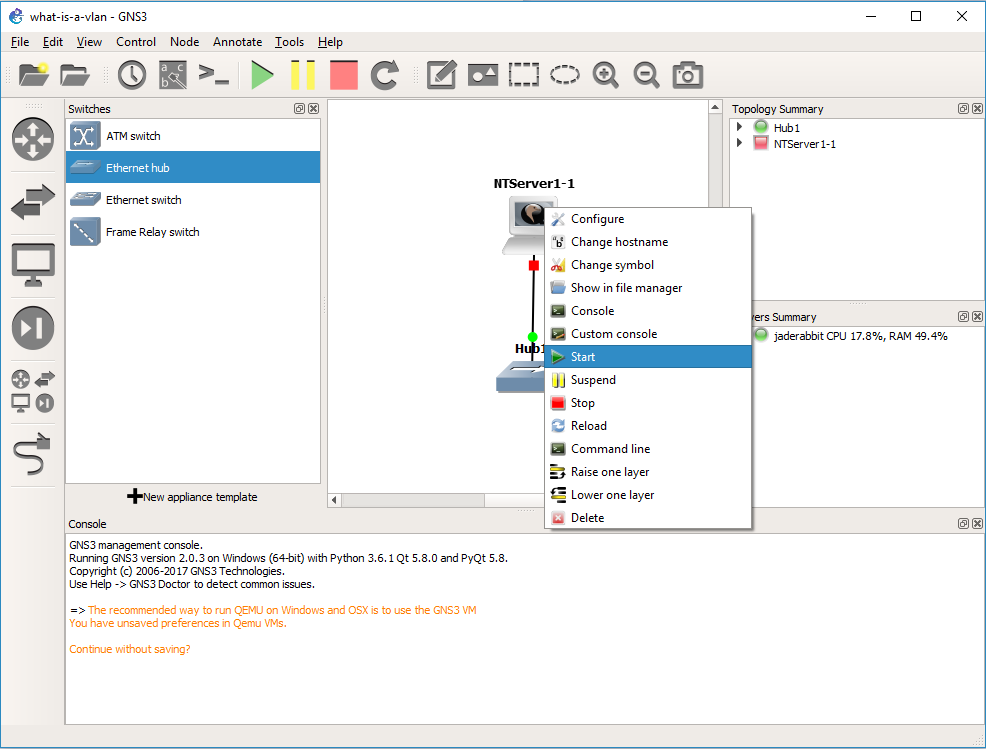
The first step is to turn the VM on.  Simply right click on the VM, and choose Start. The red dot will then turn green.  Although it may appear that nothing is happening we just can’t see it yet.

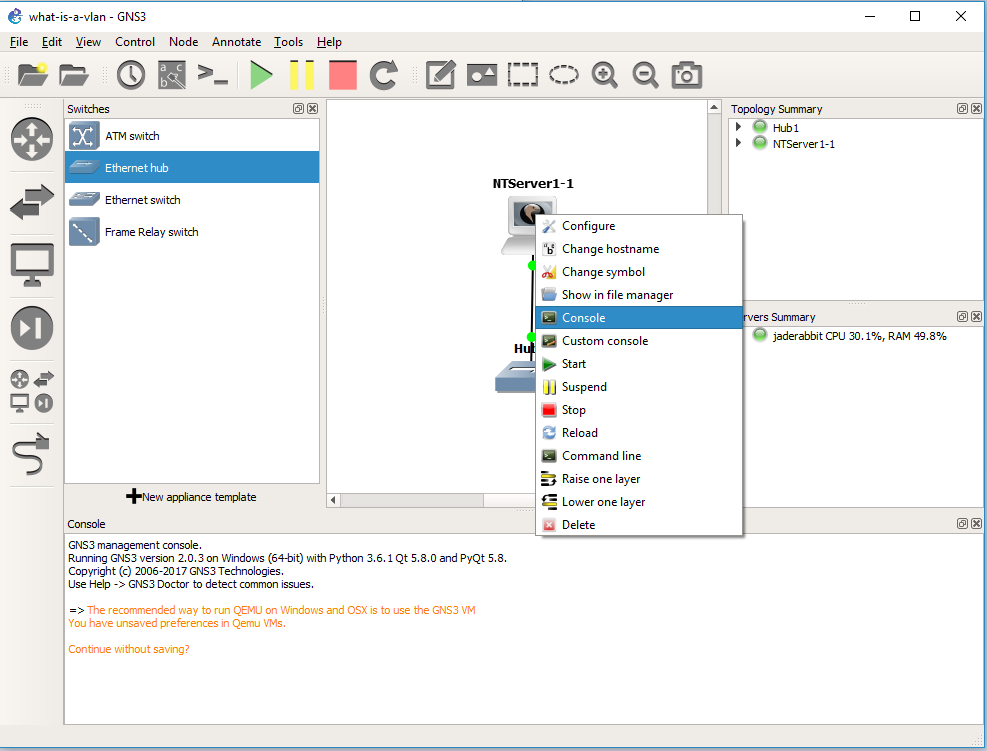
Right click again, and choose the console, and VNC will then connect to the Qemu VM, and we can now interact with it.
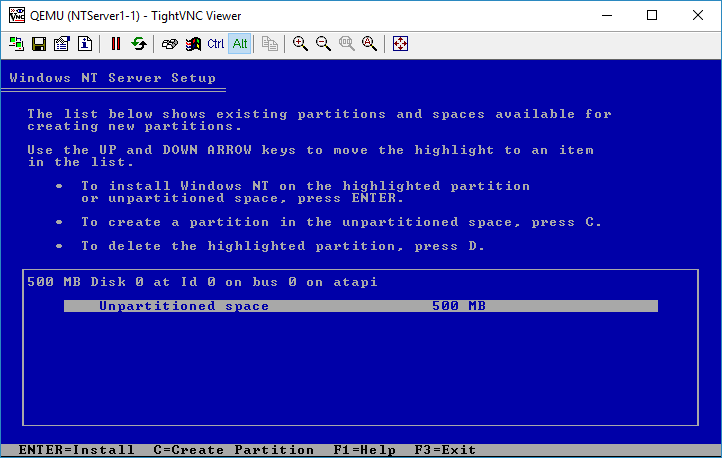
And here is where we start installing Windows NT 4.0.  I’ll just put the keys in parenthesis of what I’m doing. In this case just hit:

(enter)

(enter)

(c)

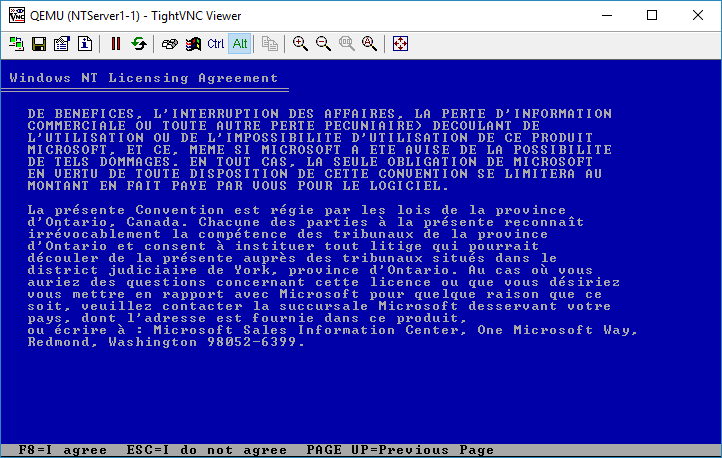
(page down) until you get to the end, then hit (f8) to agree to the license

The default options are OK.  (enter)

(c)

(enter)

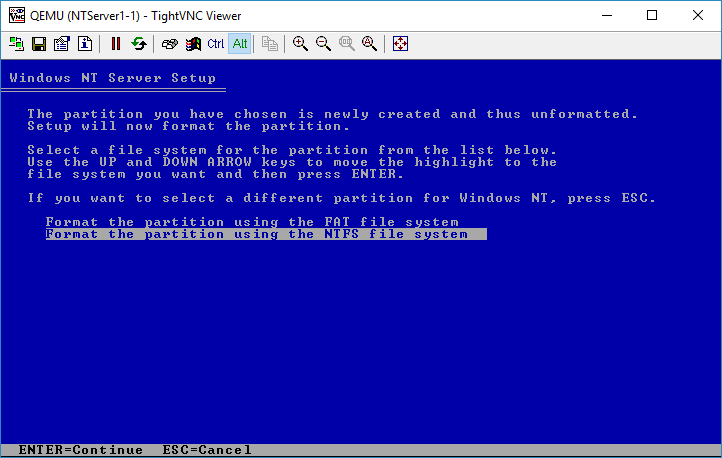
I chose NTFS for my server.  Although I’m not interested in creating a domain, so FAT will work too.  It really doesn’t matter.

(enter)

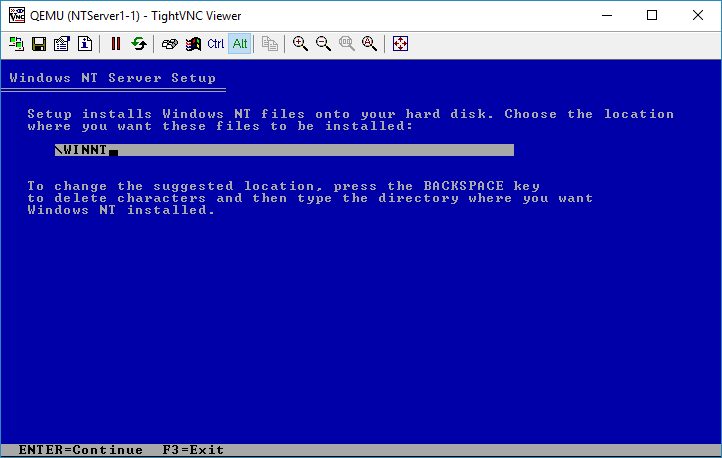
(enter)

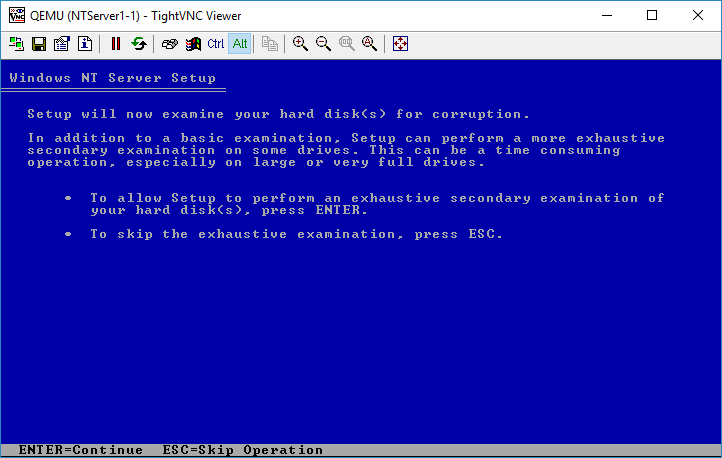
(enter)

Waiting for the files to copy

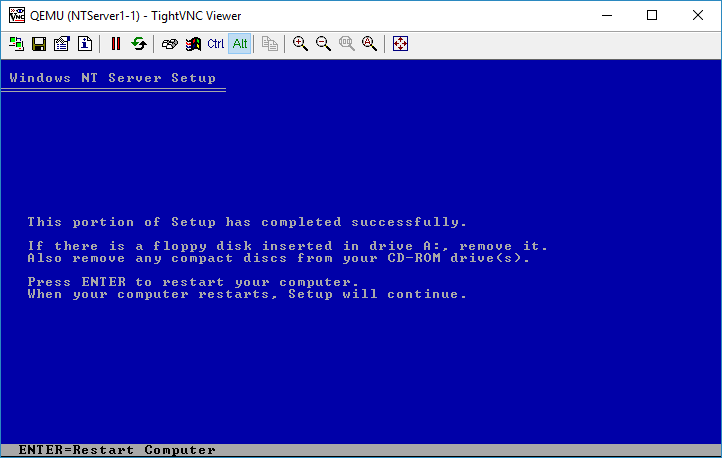
(enter)

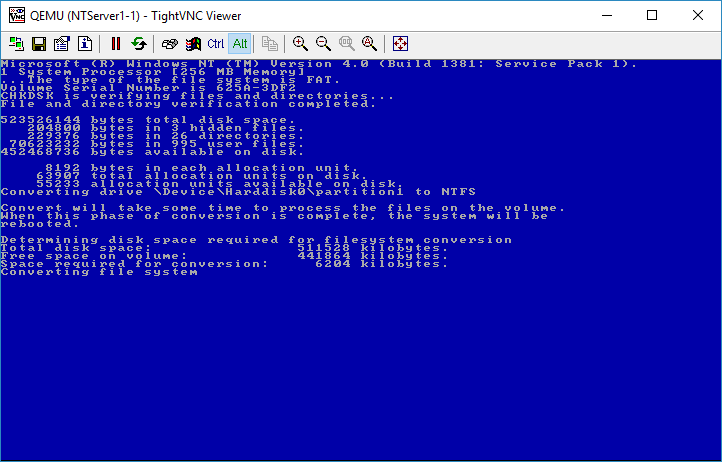
On reboot if you have selected NTFS it’ll convert the filesystem like this:

converting FAT to NTFS

After the conversion, NT will reboot again, then it’ll continue the setup process.

Otherwise you’ll just reboot directly into the graphical setup of Windows NT, and we can continue in part 5.

What is a VLAN (part 3)

In our previous post, we configured a Qemu template for Windows NT.

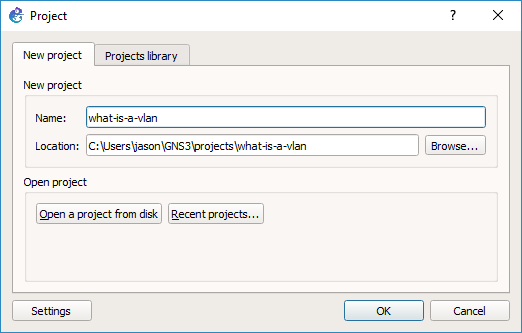
With the NT template ready we will be prompted to give this project a name.

So I called this one ‘what-is-a-vlan’ sticking with the theme.

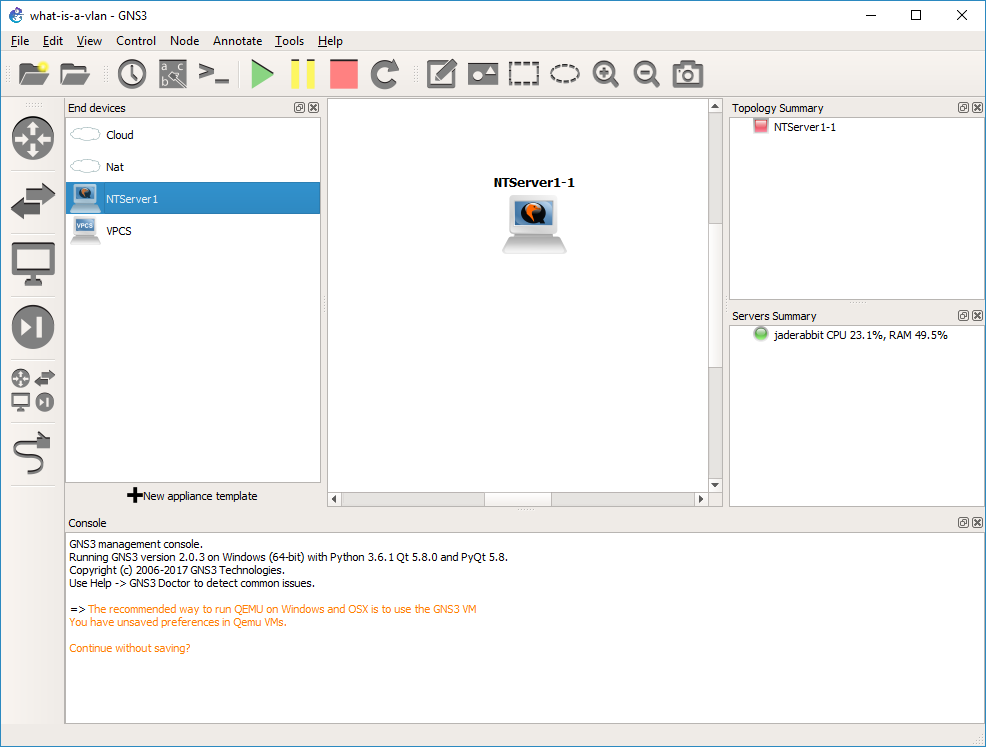
Now we can drag components out.  I selected the NT template that I’ve created, and dragged it out to the design pane.  Now we have a computer!
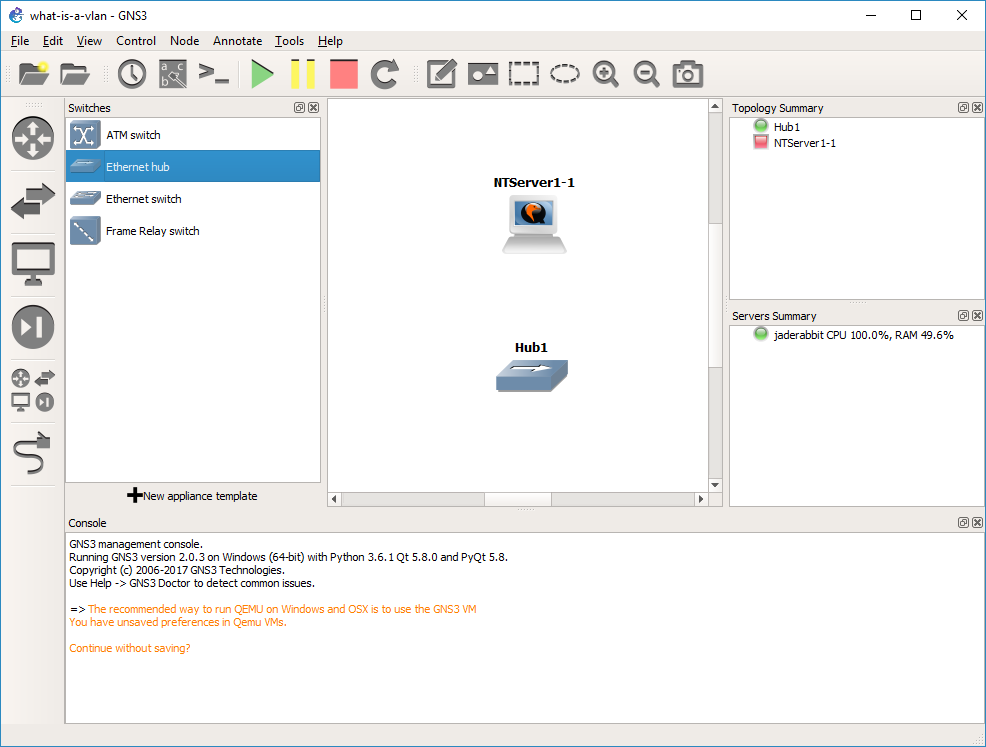
I then selected a simple Ethernet hub, to begin verifying that our configuration is working.  Just drag it out to the toplogy pane.

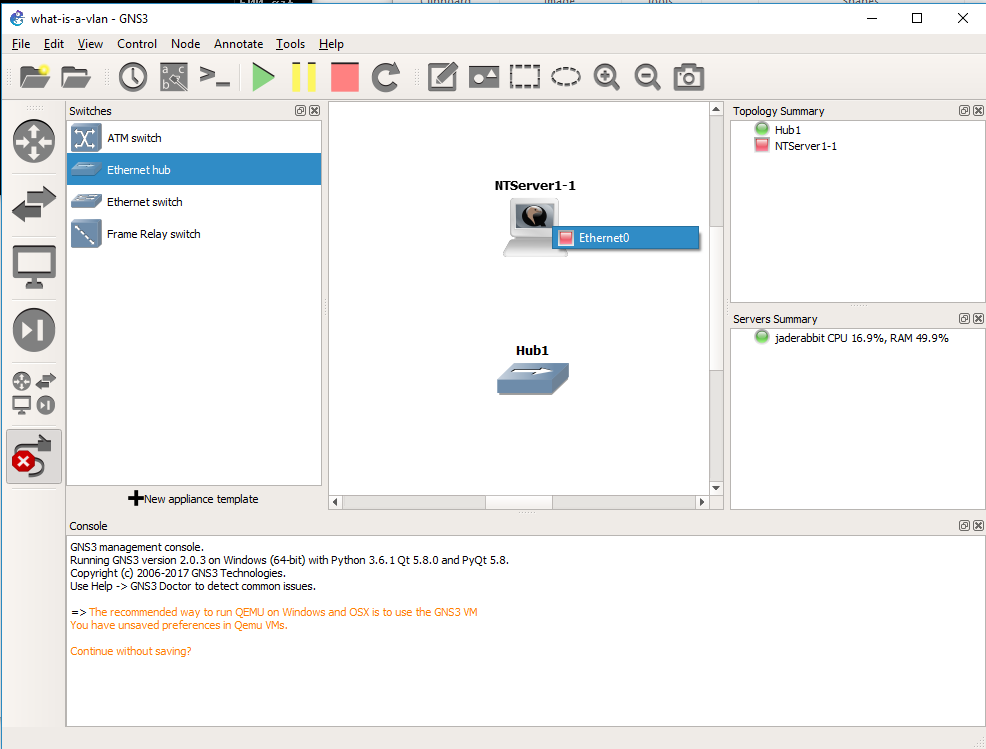
Now for the fun part, we are going to connect the Windows NT VM to the Hub.  Right click on the Qemu VM, and it’s available Ethernet interfaces will pop up.  It only has one, so select Ethernet 0.

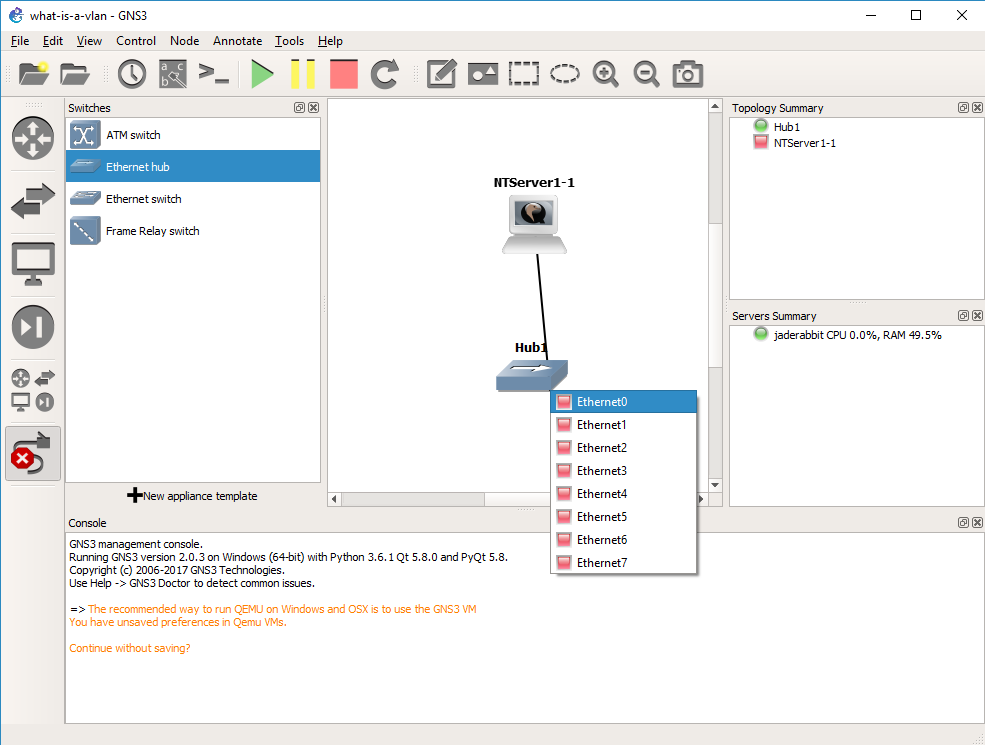
Now you can select the Hub to complete the connection.  Hubs repeat every packet they receive, and don’t change anything.  They offer zero intelligence, and have no way to save you from yourself, if you do anything stupid (see creating a loop).  Every packet that comes into a hub is sent to every port going out.  They don’t care about protocols, or anything they just simply repeat.


So this will be our simple network.  The next thing to do is to turn on our PC, and install Windows NT 4.0.  I’ll save that for the next step which you can follow here.  If you don’t care about installing Windows, then you can skip to the following step where we will do a simple packet capture of the NT machine connected to the hub so we can observe how it’s packets look.

What is a VLAN (part 2)

In the last post, we quickly went over the default install of GNS3.

We are now going to configure a QEMU template for Windows NT.  I’m going with Windows NT as its pretty resource low, has TCP/IP and other protocols like IPX/SPX which can be routed and NetBEUI which has to be bridged.

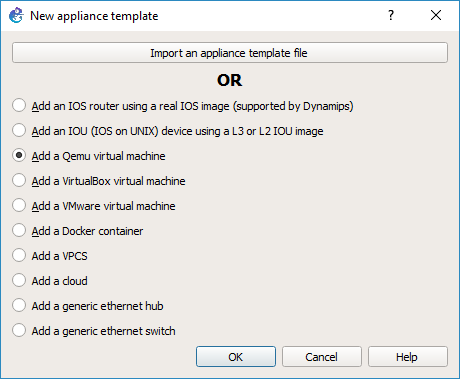
We are going to use the Qemu option

Although we do get this warning, it really doesn’t matter.  NT runs fine.

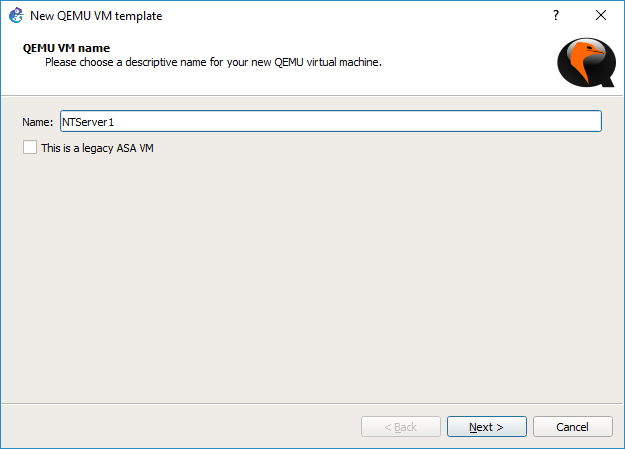
Give the machine a name

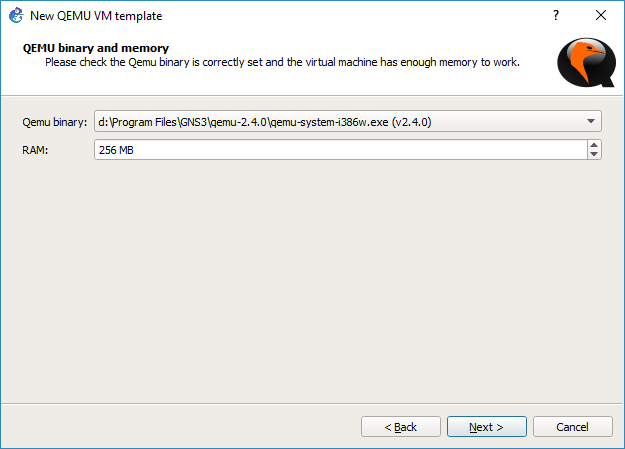
The default 256MB of RAM is more than enough.

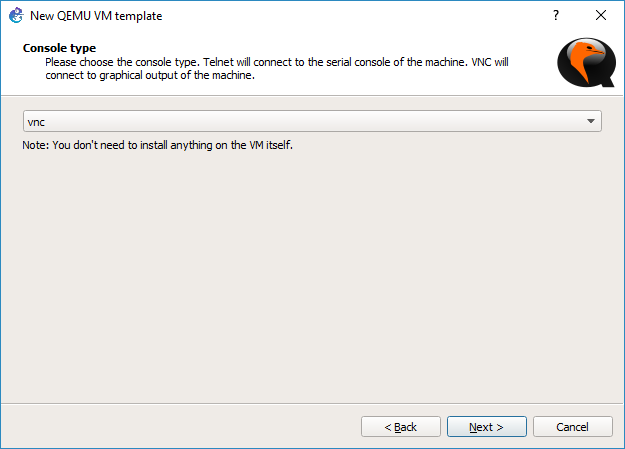
Set the console to VNC, as NT is graphical

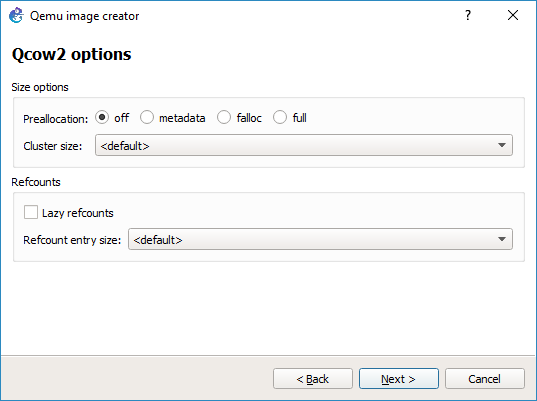
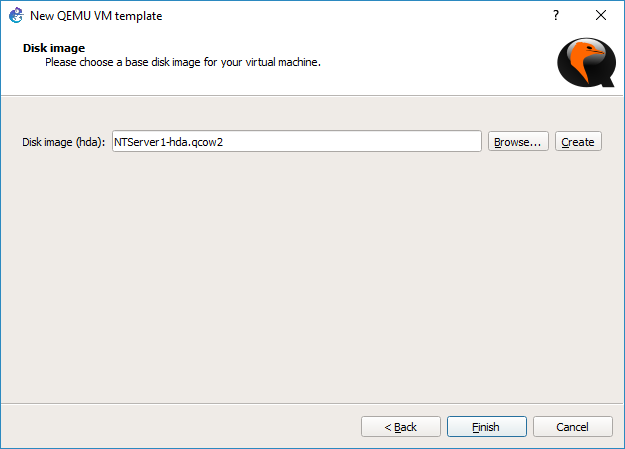
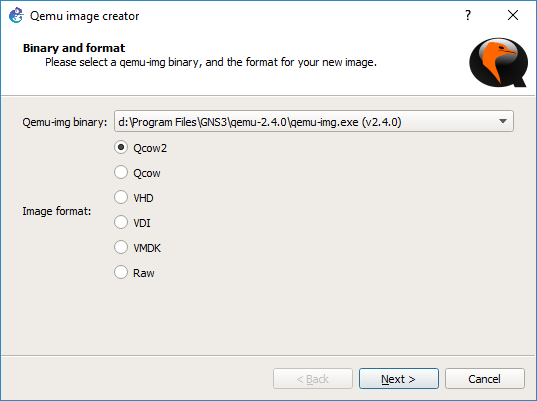
I set it to use the included qemu-2.4.0’s Qcow2 image format for the virtual hard disk

The default options are fine.

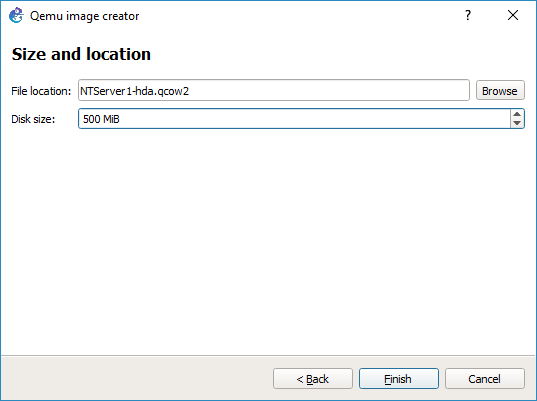
I’m not going to try to build anything that sophisticated, so 500MB is more than enough for NT 4.0 .  If you do want something more involved 2GB is the effective limit for a boot disk for NT 4.0 SP1

The default name is fine too.

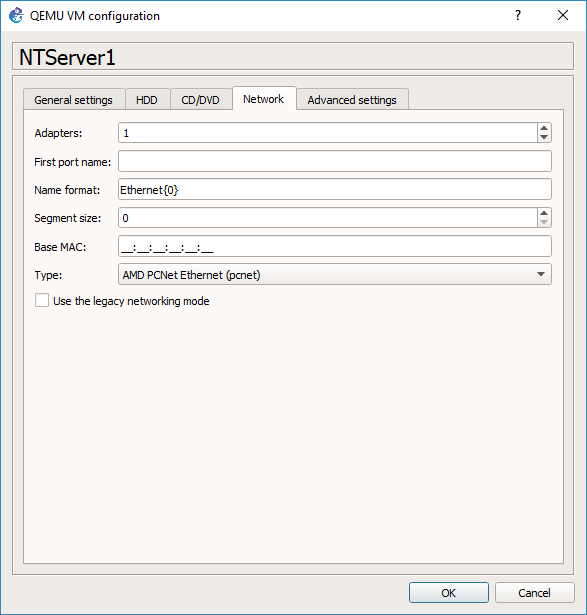
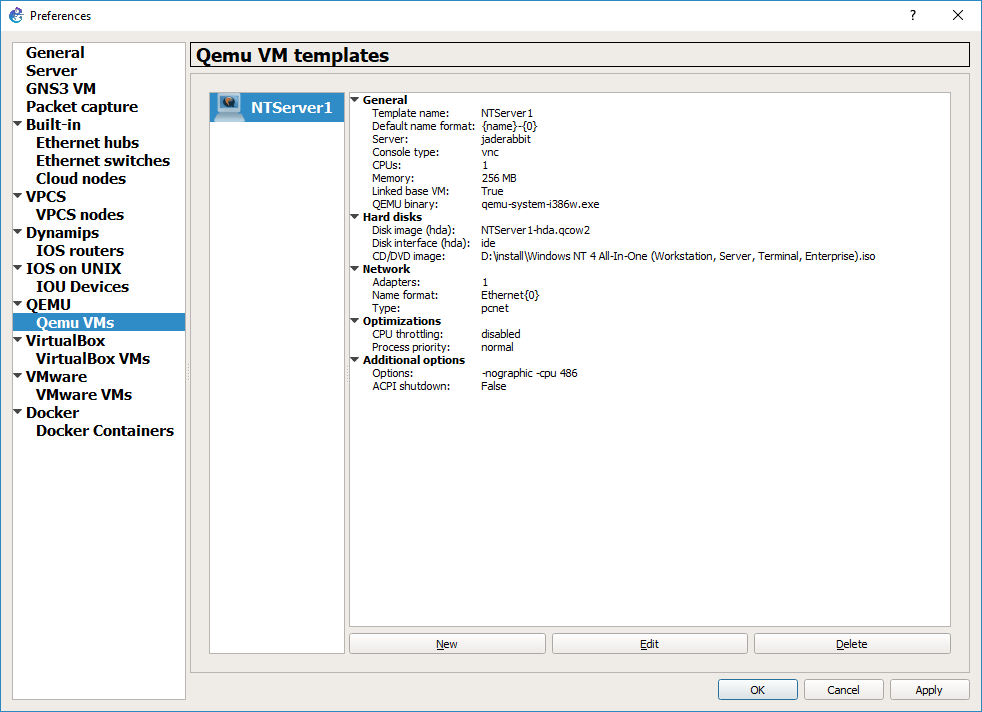
We do however need to make some changes.  The network card needs to be the AMD PCnet version, and we need to add an additional flag to Qemu to restrict the CPU functionality to a 486 so that NT will install without any issues.

So the networking tab will let you change the type.  AMD PCNet is the one that is supported out of the box, and verified working!

On the Advanced settings tab, is where you can add the -cpu 486 flag, as indicated above.

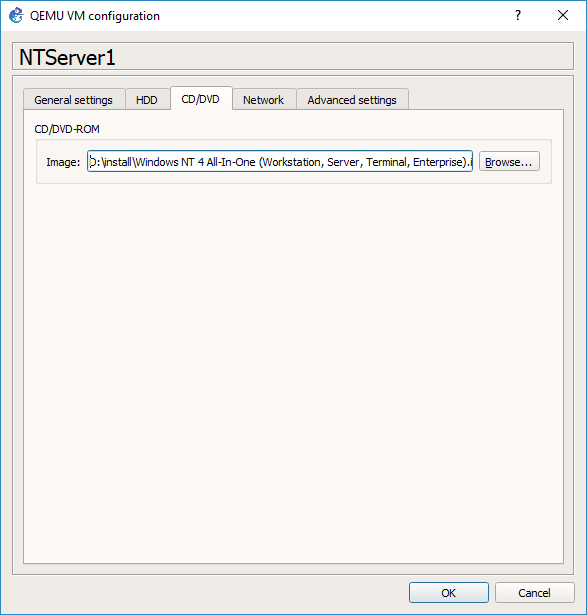
On the CD/DVD tab, you will want to point it to an ISO of Windows NT.  It doesn’t matter if it’s Workstation, Server, Enterprise, Terminal Server.  They all install the same.

It will prompt you if you want to copy the ISO into the default images directory.  It really doesn’t matter one way or the other.

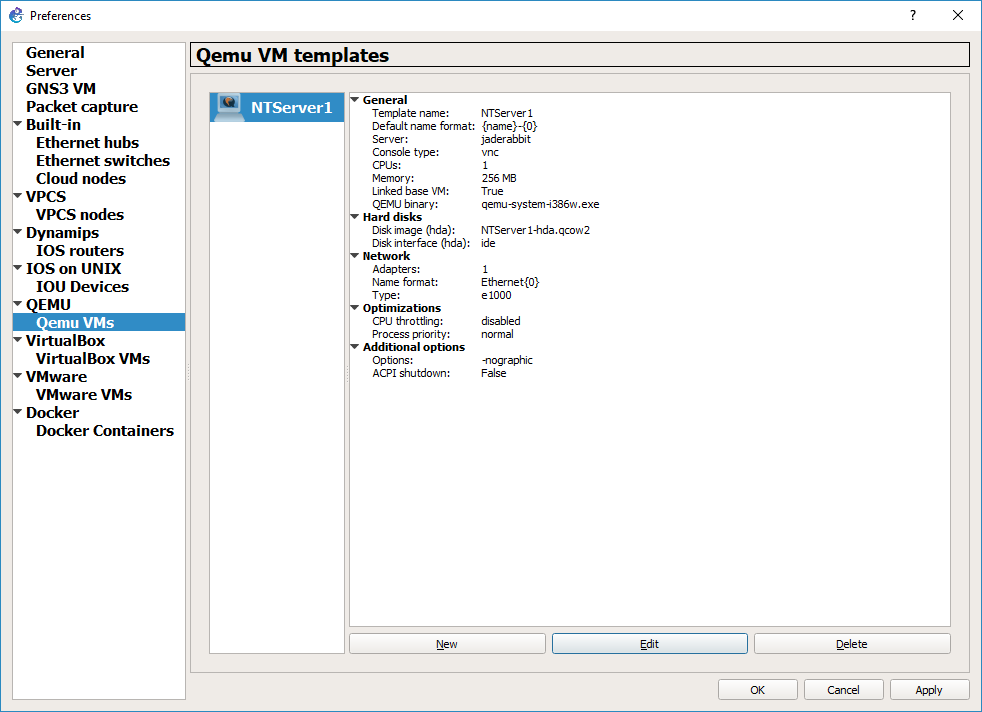
Qemu image configured for NT

Now the image is configured for NT.

Now we can continue to building our first topology (AKA Part 3).


26th anniversary of Linux!

As the joke goes:

Happy 25th birthday, Linux! Here’s your f-ing cake, go ahead and compile it yourself.

So it’s always a fun time for me to push my old project Ancient Linux on Windows.  And what makes this so special?  Well it’s a cross compiler for the ancient Linux kernels, along with source to the kernels so you can easily edit, compile and run early Linux from Windows!

As always the kernels I have built and done super basic testing on are:

  • linux-0.10
  • linux-0.11
  • linux-0.12
  • linux-0.95c+
  • linux-0.96c
  • linux-0.97.6
  • linux-0.98.6

All of these are a.out kernels, like things were back in the old days.  You can edit stuff in notepad if you so wish, or any other editor.  A MSYS environment is included, so you can just type in ‘make’ and a kernel can be built, and it also can be tested in the included Qemu.  I’ve updated a few things, first with better environment variables, and only tested on Windows 10.  Although building a standalone linux EXE still requires a bit of work, it isn’t my goal here as this whole thing is instead geared around building kernels from source.  I included bison in this build, so more of GCC is generated on the host.  Not that I think it matters too much, although it ended up being an issue doing DooM on GCC 1.39.

So for people who want to relive the good old bad days of Linux, and want to do so from the comfort of Windows, this is your chance!


Download Ancient Linux on Windows

New ‘redir’ / ‘hostfwd’ syntax for Qemu

it’s mandatory now in 2.9 so where we go.

Instead of:

-redir tcp::42323:23

which listens on all ip’s and redirects host port 42323 to port 23 on the default guest IP address of 10.0.2.15 we now have to use

-net user,hostfwd=tcp::42323-:23

as you could tell from this ‘easy’ syntax.

-netdev user,id=mynet0,hostfwd=hostip:hostport-guestip:guestport

Right?

Manually adding ncurses & VDE support to the Linux Qemu build

For some reason I had issues for this to automatically pick up building Qemu 2.8.0 on Ubuntu 16.10 (Which is really Debian)…

Anyways, be sure to have the needed dev components installed.  If you have a FRESH system, natrually you’ll need a lot more.

apt-get install libvdeplug-dev
apt-get install libvde-dev
apt-get install ncurses-dev

editing the file config-host.mak, I found I needed to add the following to turn on ncurses & VDE:

CONFIG_CURSES=y
CONFIG_VDE=y

And lastly add in the following libs to the libs_softmmu, to ensure it’ll link

-lncurses -lvdeplug

And now I’m good!

From my notes on flags needed to run Qemu the old fashioned way:

-net none -device pcnet,mac=00:0a:21:df:df:01,netdev=qemu-lan -netdev vde,id=qemu-lan,sock=/tmp/local/

This will join it to the VDE listening in /tmp/local

Obviously I have something more interesting and more evil going on….

Cross compiled Linux 1.0.9!

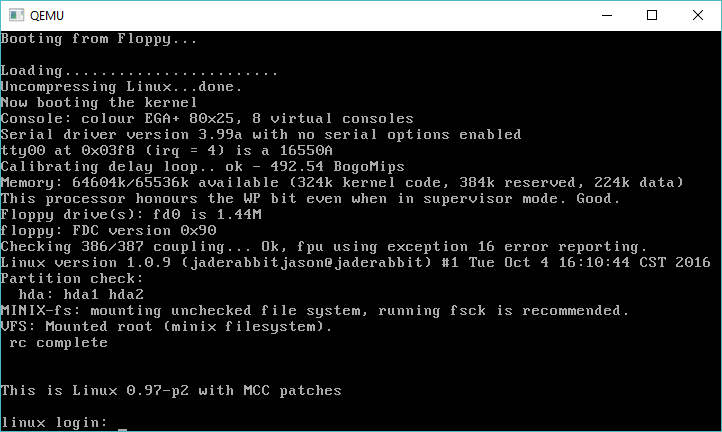
Linux 1.0.9 running!

Linux 1.0.9 running!

After getting Linux 0.98 to compile, I thought I’d take a stab at Linux 1.0.  I vaugely recall when it was released, and I just remember a much larger push to 1.1.  So I guess it really comes as no surprise that in the Linux kernel archives, there is simply the 1.0 tar, and 9 patch files.

I went ahead, and patched up the release, and then tried to build with GCC 2.3.3.  This however proved not to be up to the task, as 2.3.3 has issues with some of the assembly macros, so delving into the readme shows that you need to use GCC 2.4.5 or higher.  Since I wanted to keep at least the tools on par, I went ahead and build 2.4.5, and once more again used the gcc driver from 2.6.3.  I further ended up relying on headers, and checking tool versions from Debian 0.91, which also revealed that they were still using GAS 1.38 back then.

One interesting note while building piggback, which takes the compressed system object, and wraps it in an object file, is that it directly uses the magic “0x00640107”, which is for a later “Linux/i386 impure executable (OMAGIC)” filetype.  But because my binutils is so ancient, I needed to change it to “0x00000107” so that the linker would recognize it as a “386 executable not stripped” file.  As always when having no idea what I was doing, it was easier to have it make an empty object file, set the type for 12345678 and look for where it occurs in the data stream, and just match it with a known object file.  As you can see, it worked.

I don’t know if it is of any interest, but the kernel source, along with a binary is available to download linux-1.0.9.7z, and the same goes for GCC gcc-2.4.5.7z.

And of course, you’ll want the latest download, which includes the pre-built tools, qemu, and build environment to get you started.

Torbjörn Granlund’s Excellent resource on running free OS’s on Qemu

Ever get tired of x86 on x86?  yeah me too.

How to solve that problem?

Simple, grab QEMU, and jump off into all those cool RISC processors of the 1990’s that were going to save us all from the WINTEL hegemony!

Lots of instructions, samples, images, and hints here:

https://gmplib.org/~tege/qemu.html

It’s really more comprehensive than I’ve sat down to do, so yeah it’s awesome!

Supported platforms include:

mips32,mips64,sparc32,sparc64,ppc32,ppc64,arm32,arm64,s390x,alpha

NetBSD 1.0 i386

It had just hit me that I’d never actually installed NetBSD 1.0

So here we go!  For whatever reason Qemu and NetBSD 1.0 see the floppy as a 1.2 MB, so I had to make 1.2 MB images.  For anyone feeling like shuffling a whole lot of floppies here you go!

For everyone else, here is a pre-installed VMDK + Qemu all set to run (for Windows).

I’ve setup the networking, so you can telnet into the VM, and of course access outside, but remember with SLiRP, things like FTP & NFS aren’t going to work.

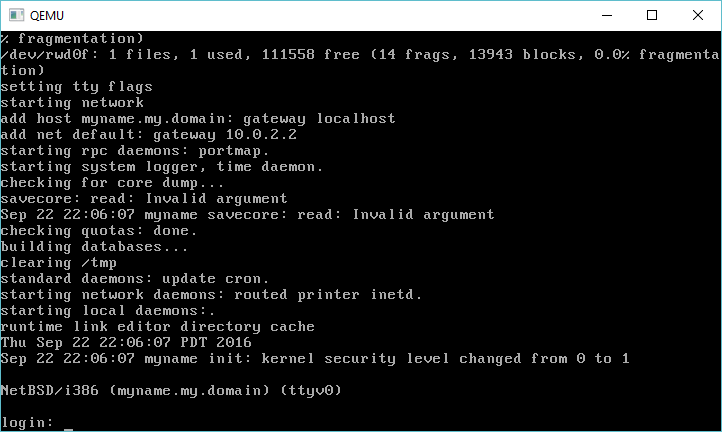
NetBSD 1.0 on Qemu

NetBSD 1.0 on Qemu