
In the last post, we quickly went over the default install of GNS3.
We are now going to configure a QEMU template for Windows NT. I’m going with Windows NT as its pretty resource low, has TCP/IP and other protocols like IPX/SPX which can be routed and NetBEUI which has to be bridged.
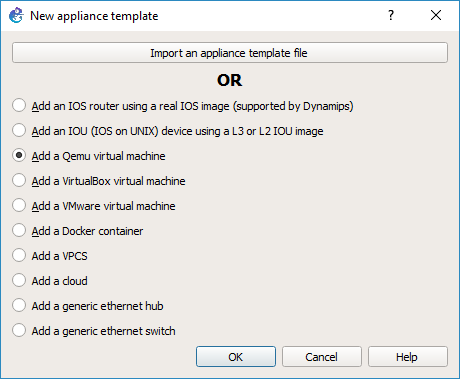 We are going to use the Qemu option
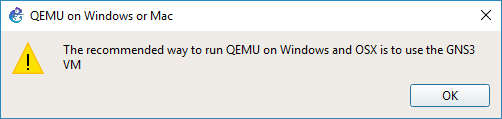 Although we do get this warning, it really doesn’t matter. NT runs fine.
 Give the machine a name
 The default 256MB of RAM is more than enough.
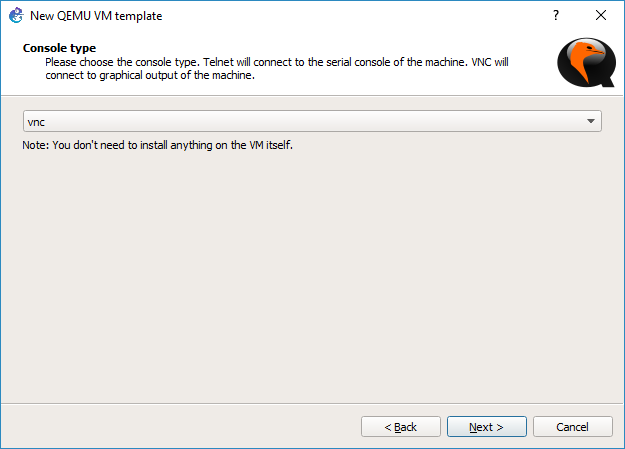 Set the console to VNC, as NT is graphical
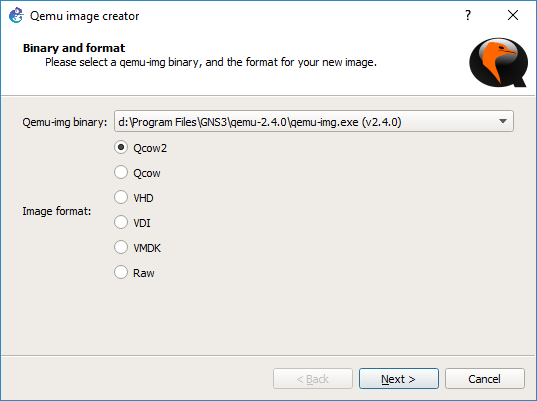
I set it to use the included qemu-2.4.0’s Qcow2 image format for the virtual hard disk
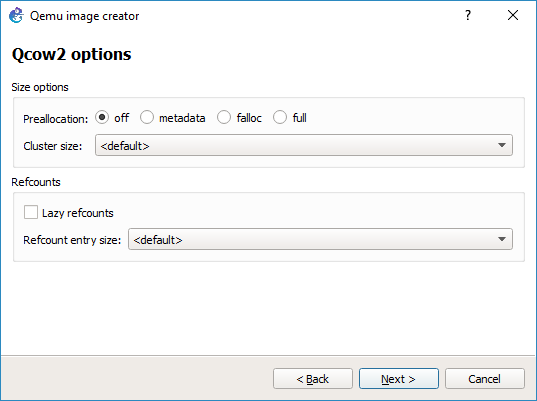 The default options are fine.
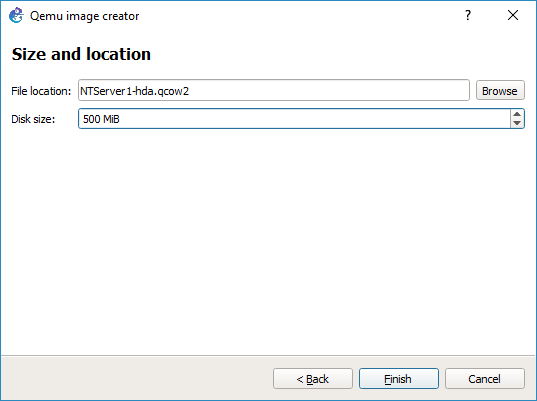 I’m not going to try to build anything that sophisticated, so 500MB is more than enough for NT 4.0 . If you do want something more involved 2GB is the effective limit for a boot disk for NT 4.0 SP1
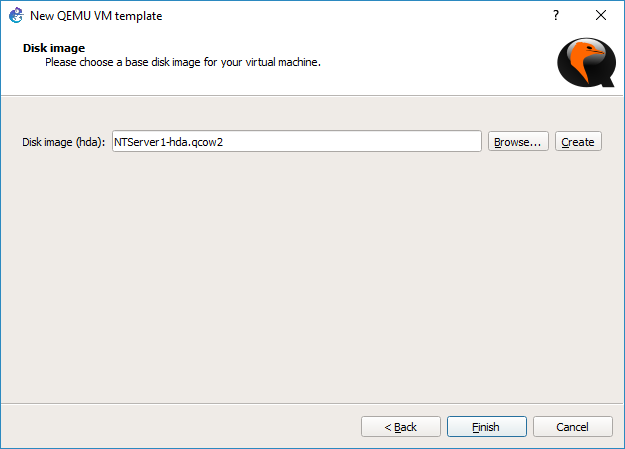 The default name is fine too.
 We do however need to make some changes. The network card needs to be the AMD PCnet version, and we need to add an additional flag to Qemu to restrict the CPU functionality to a 486 so that NT will install without any issues.
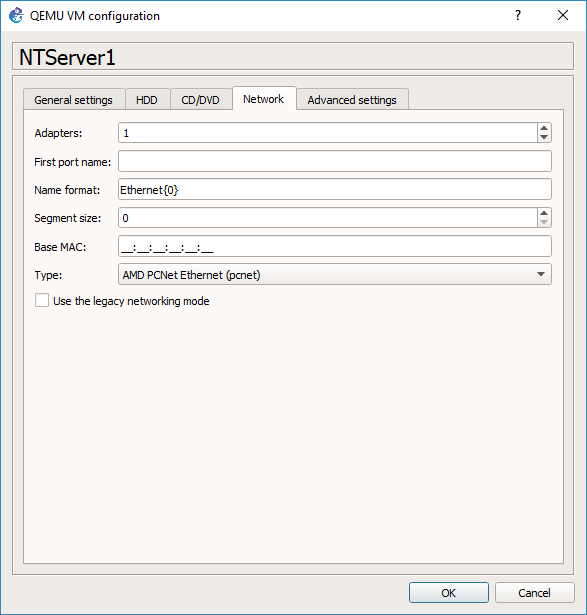 So the networking tab will let you change the type. AMD PCNet is the one that is supported out of the box, and verified working!
 On the Advanced settings tab, is where you can add the -cpu 486 flag, as indicated above.
 On the CD/DVD tab, you will want to point it to an ISO of Windows NT. It doesn’t matter if it’s Workstation, Server, Enterprise, Terminal Server. They all install the same.
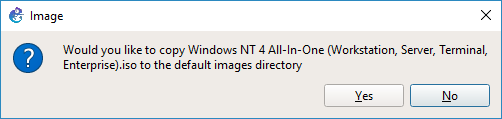 It will prompt you if you want to copy the ISO into the default images directory. It really doesn’t matter one way or the other.
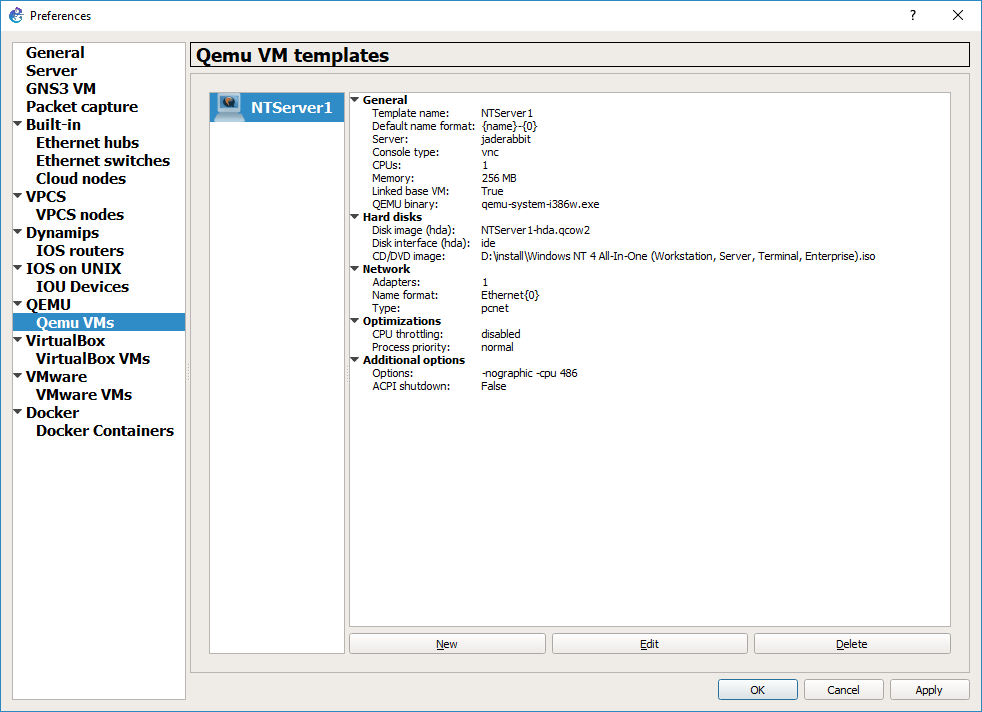
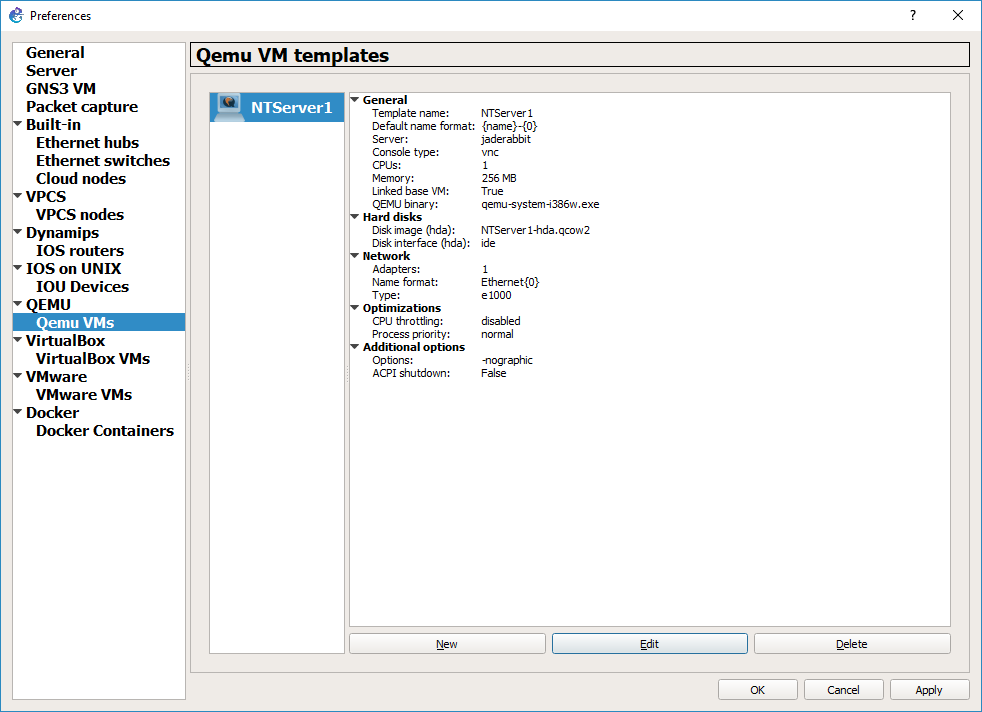
Qemu image configured for NT
Now the image is configured for NT.
Now we can continue to building our first topology (AKA Part 3).