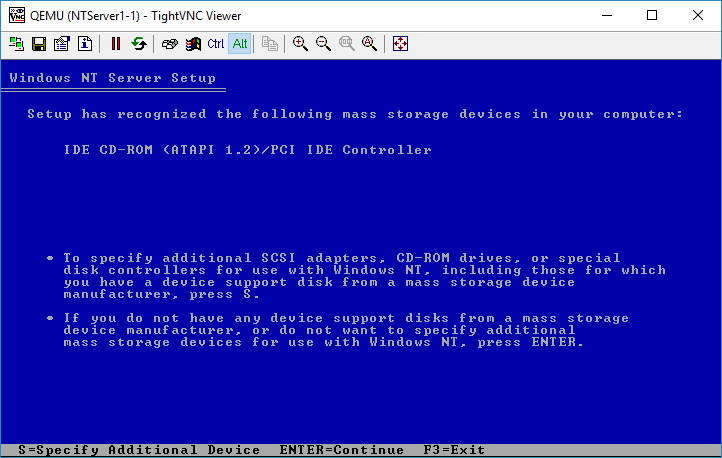
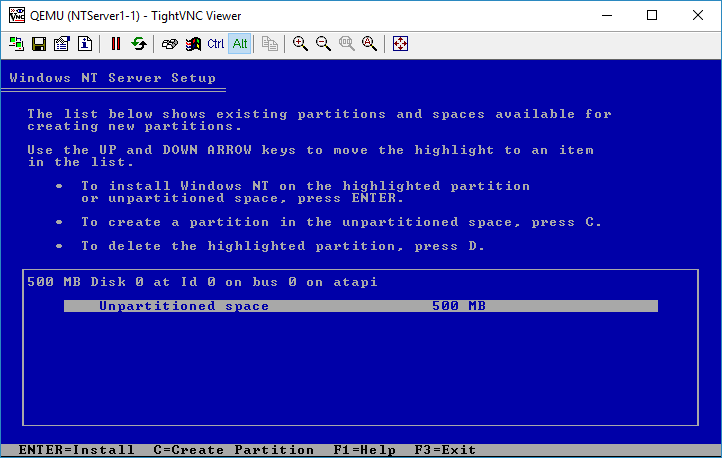
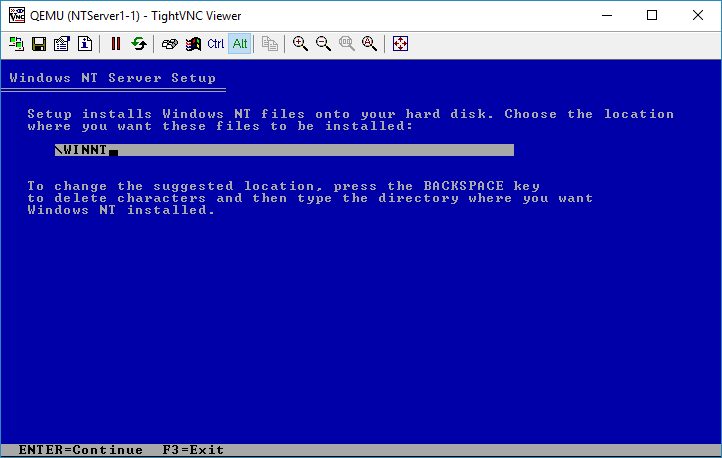
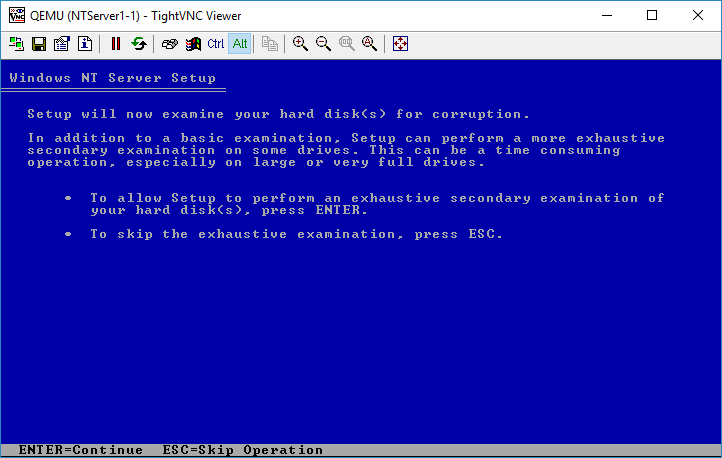
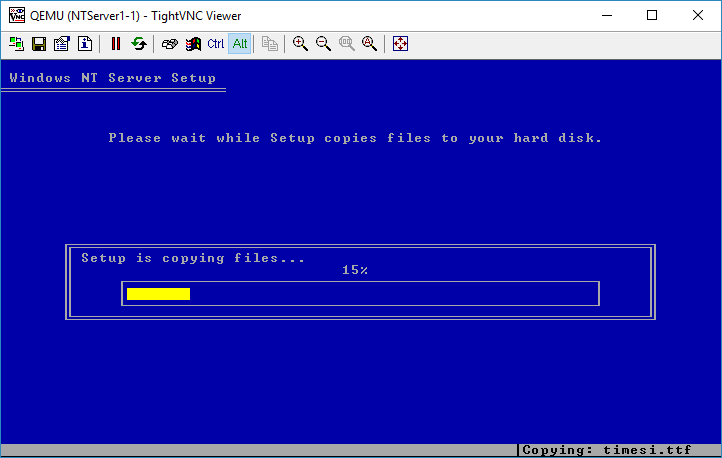
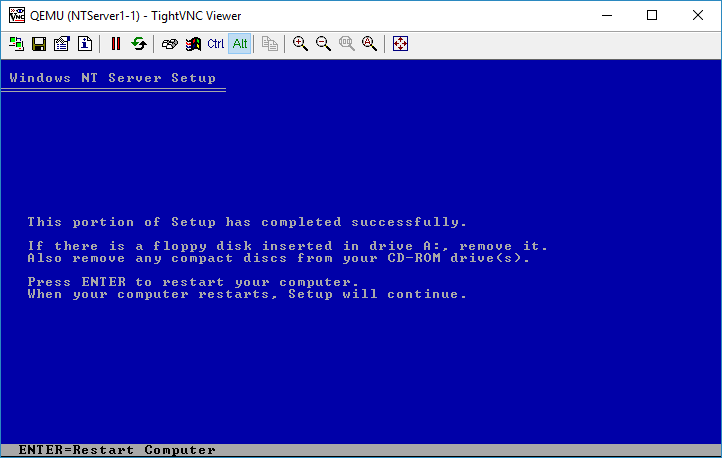
In this post we are going to install Windows NT 4.0 Server into our VM.
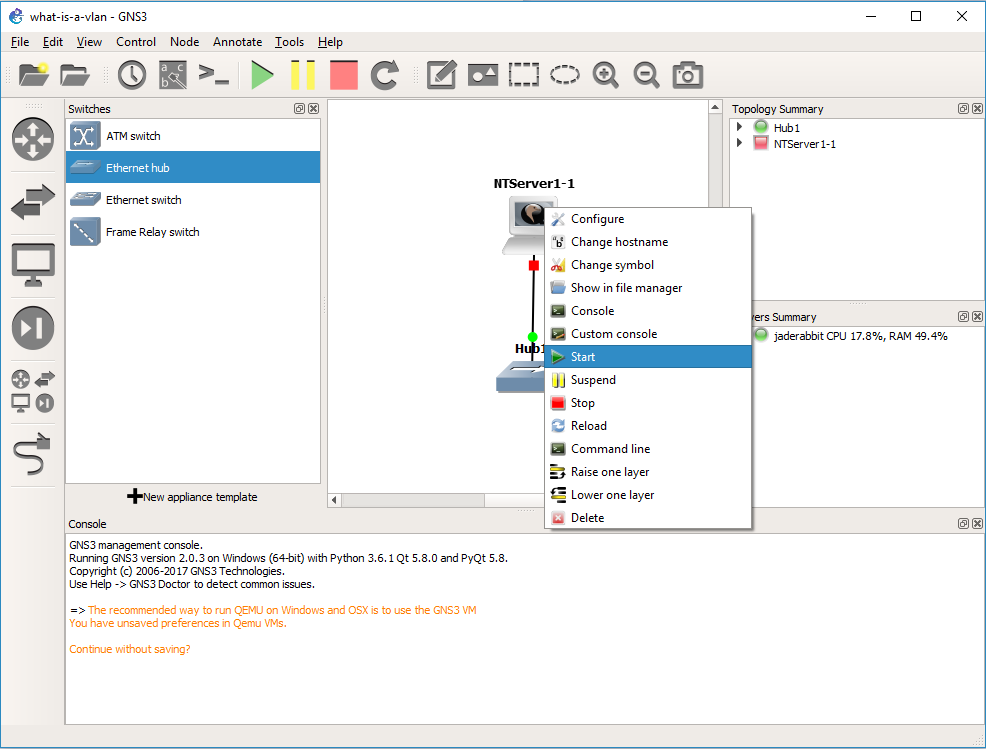 The first step is to turn the VM on. Simply right click on the VM, and choose Start. The red dot will then turn green. Although it may appear that nothing is happening we just can’t see it yet.
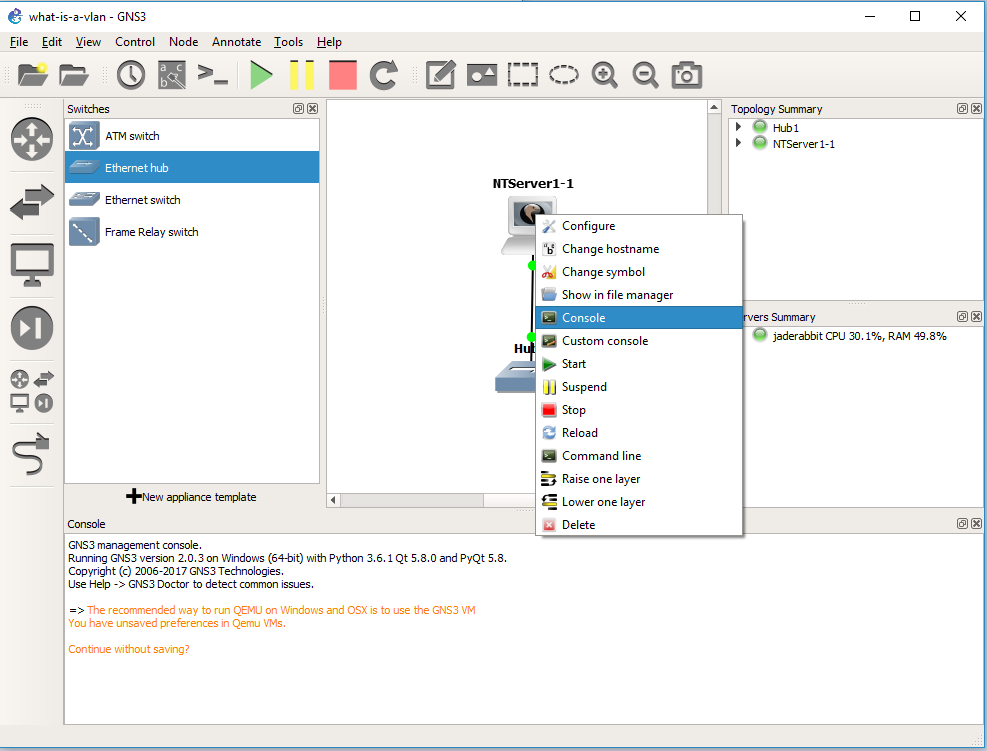 Right click again, and choose the console, and VNC will then connect to the Qemu VM, and we can now interact with it.
 And here is where we start installing Windows NT 4.0. I’ll just put the keys in parenthesis of what I’m doing. In this case just hit:
(enter)
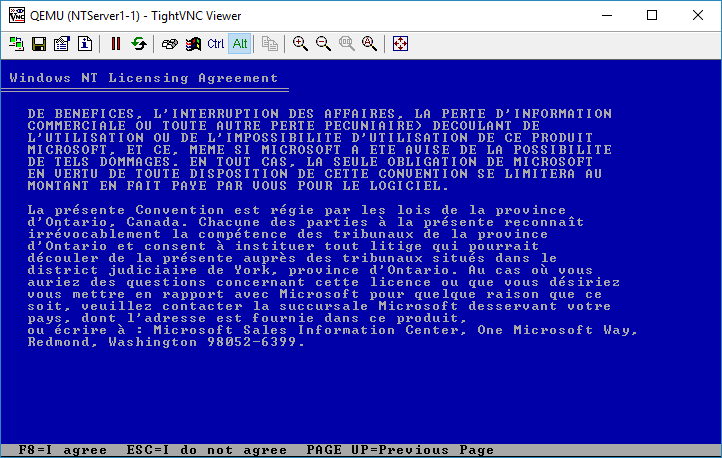 (page down) until you get to the end, then hit (f8) to agree to the license
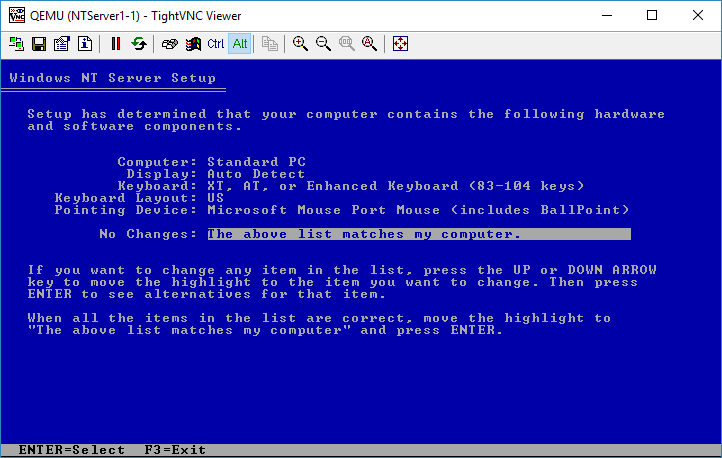 The default options are OK.  (enter)
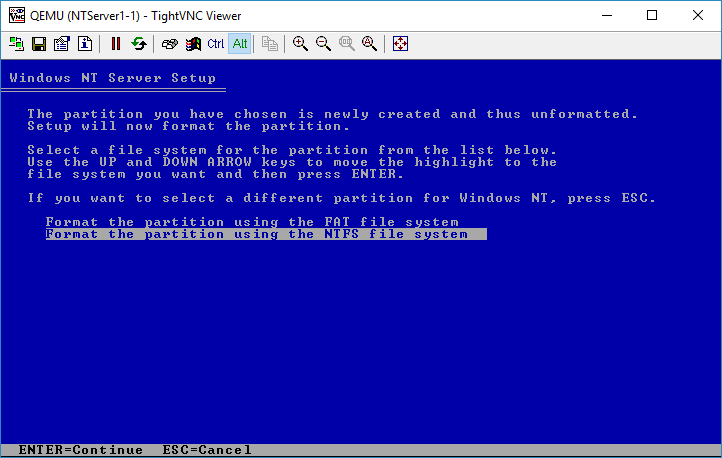 I chose NTFS for my server. Although I’m not interested in creating a domain, so FAT will work too. It really doesn’t matter.
(enter)
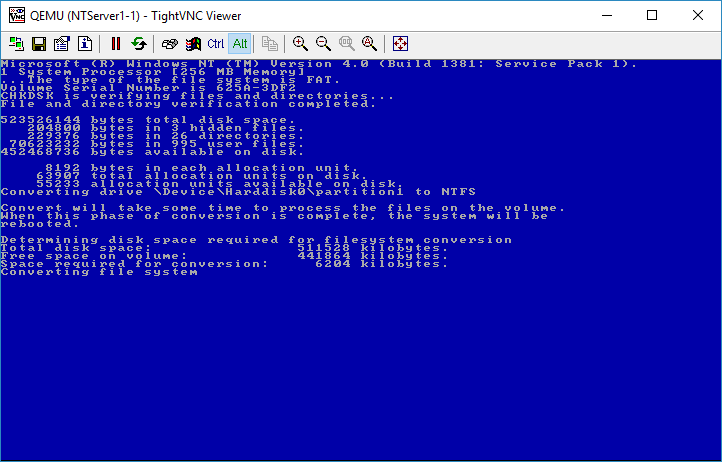
On reboot if you have selected NTFS it’ll convert the filesystem like this:
After the conversion, NT will reboot again, then it’ll continue the setup process.
Otherwise you’ll just reboot directly into the graphical setup of Windows NT, and we can continue in part 5.

