This is a guest post from spaztron64
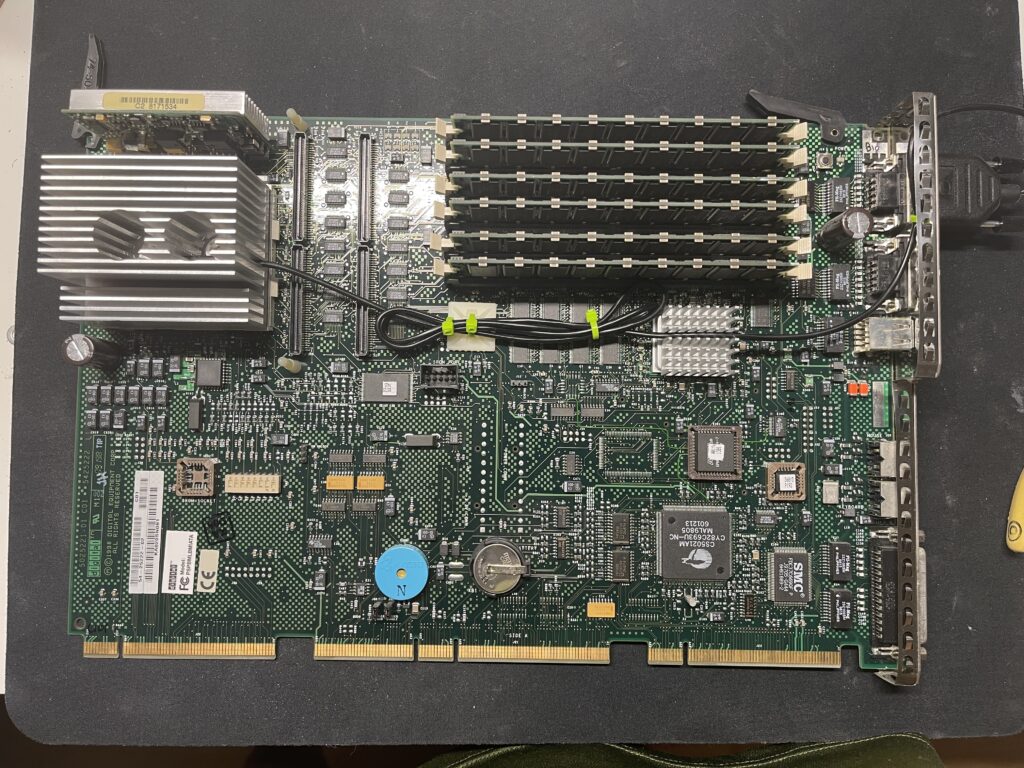
Sometime in June 2023, I came across a Twitter post by kuma_neko24 where he detailed his struggles in getting Policenauts to work on his PC-9821 V166. As I own the exact same machine, I figured I should give it a shot myself and report the results.
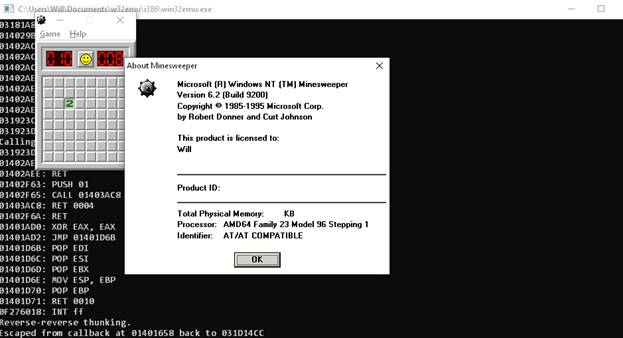
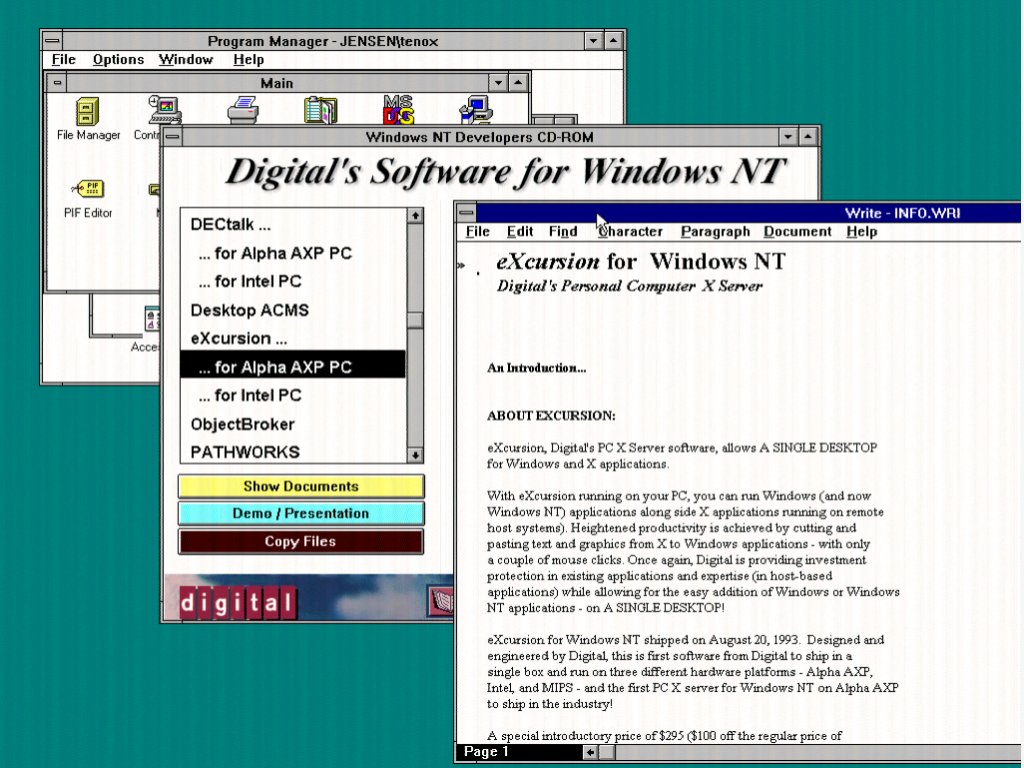
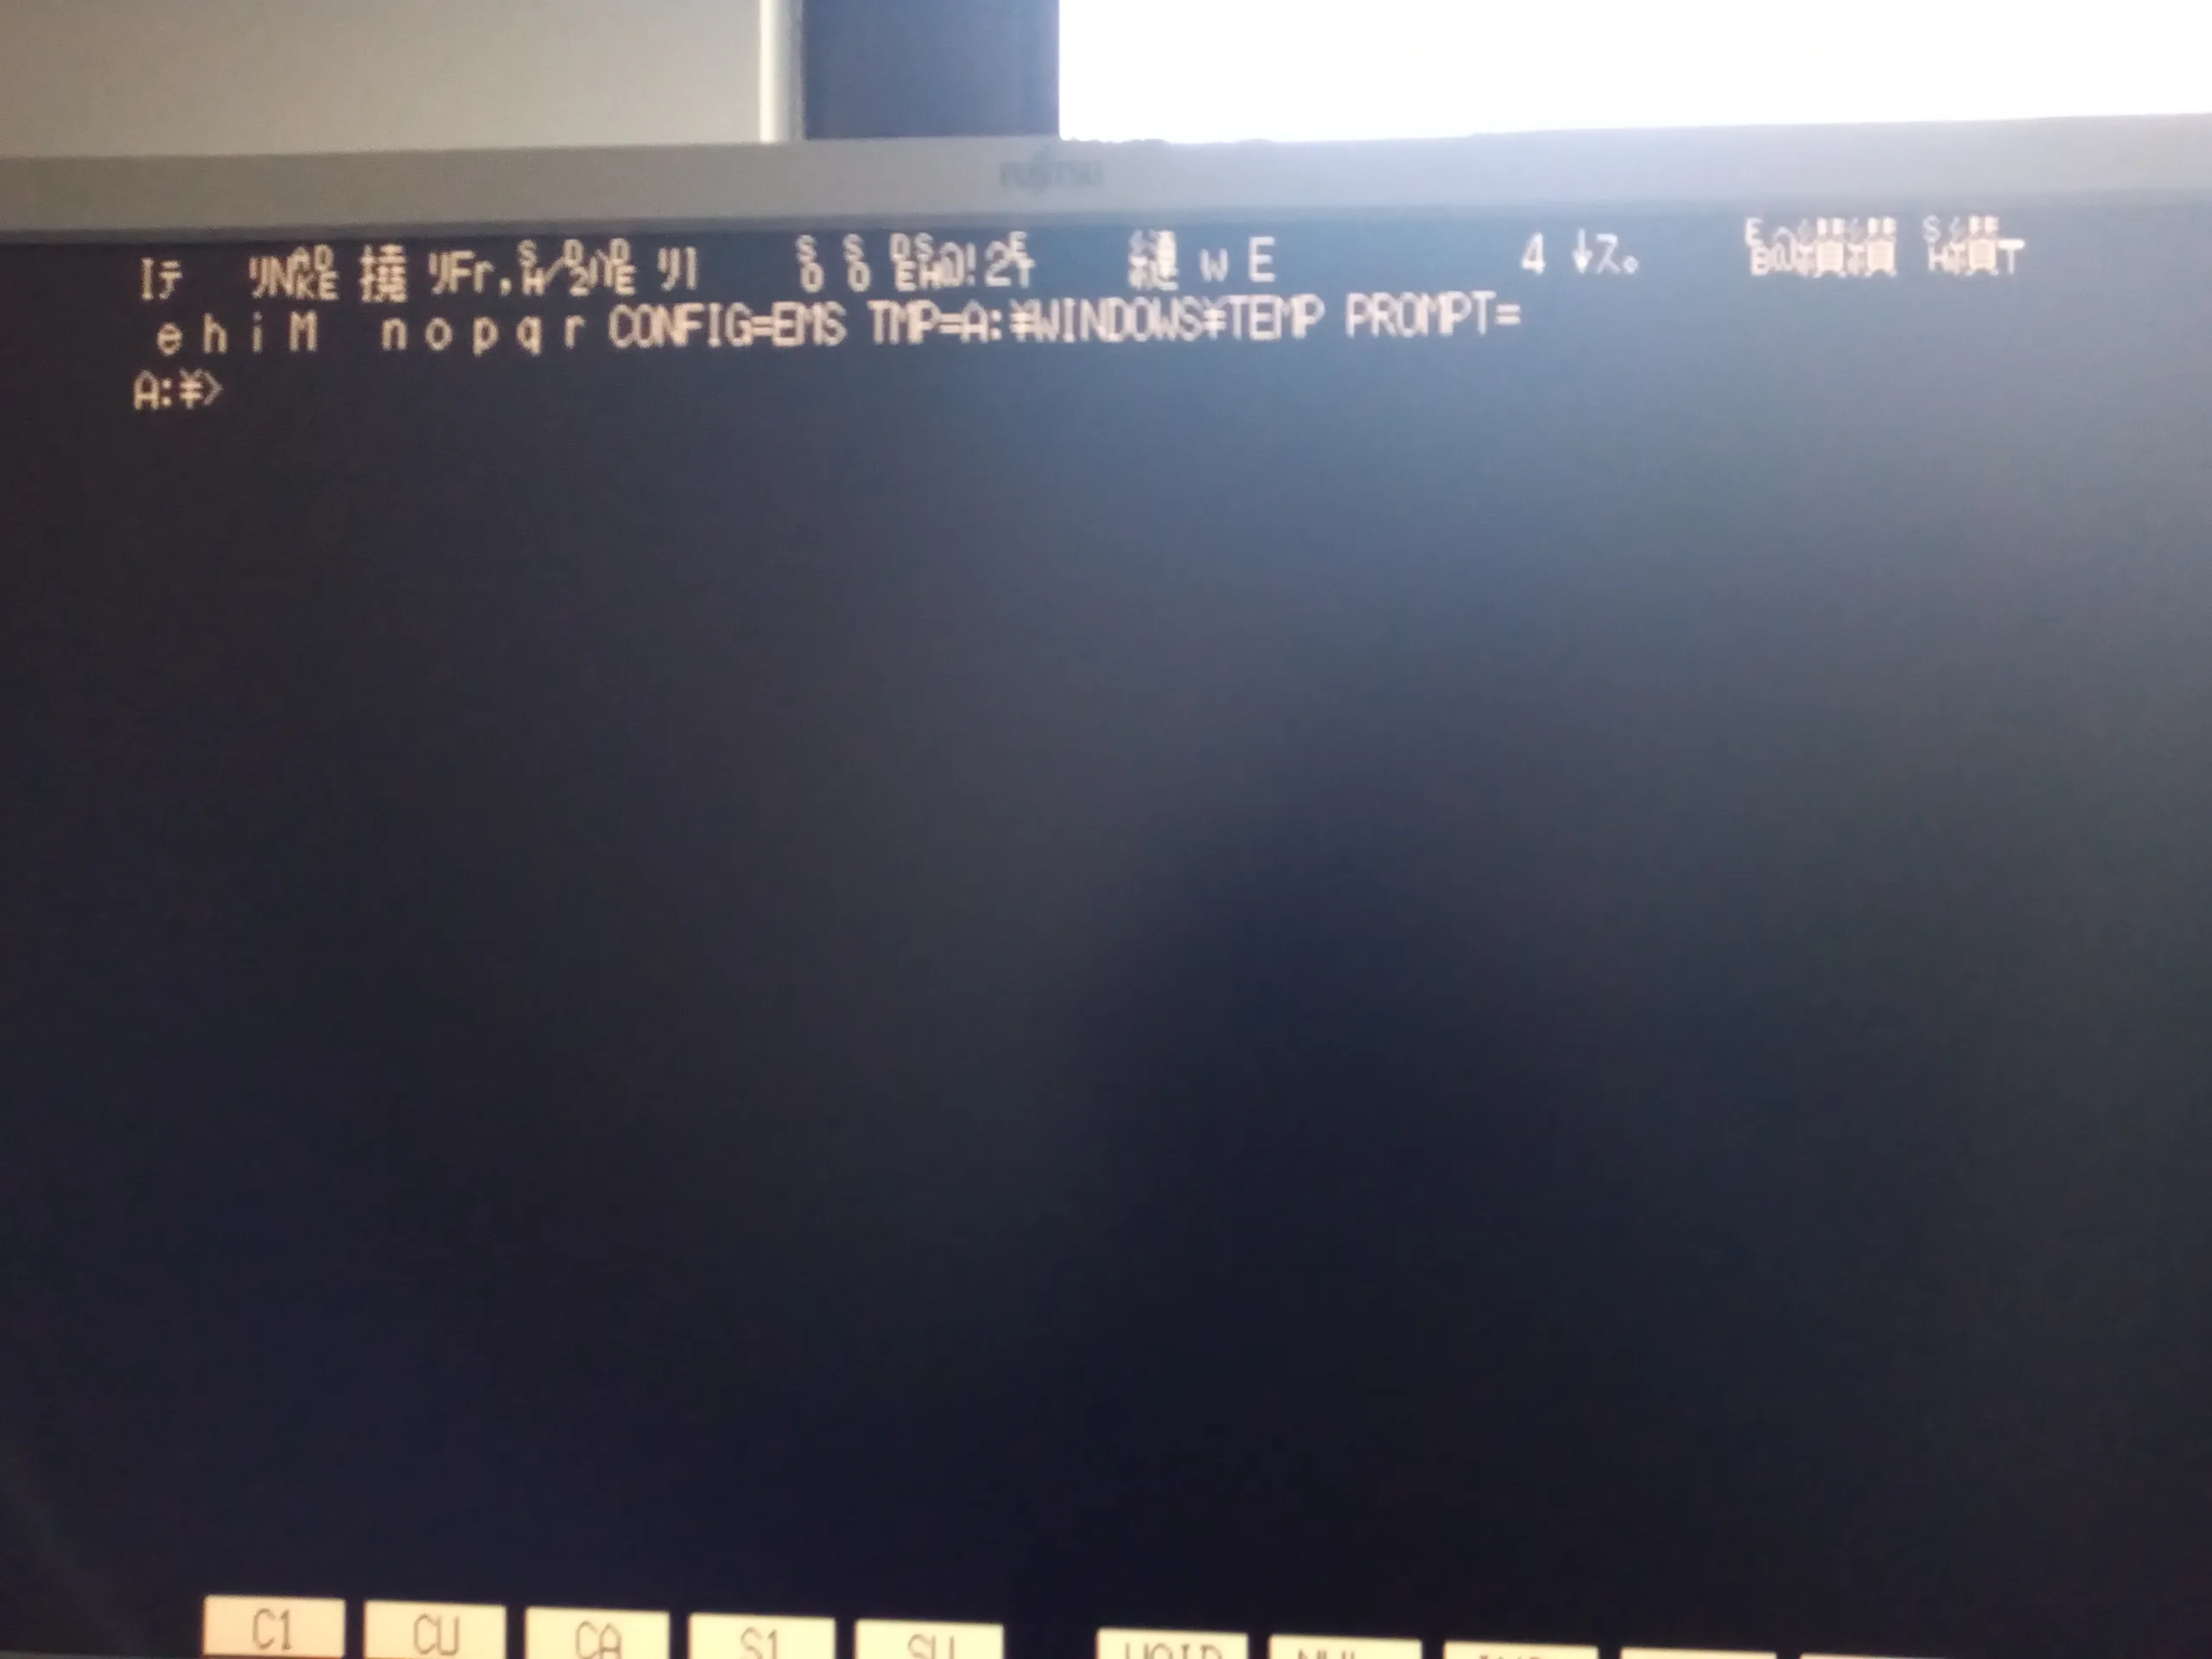
Unfortunately, while I was experimenting, I had hit a strange situation where certain executable files would randomly corrupt themselves and become unusable:
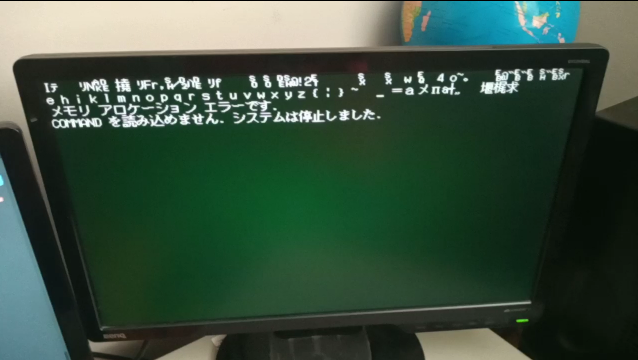
I figured the game might’ve been the culprit, but after restoring the most recent backup, the same thing happened not long after, without even trying to play the game. I’ve done Memtests of the SDRAM, as well as block level diagnosis of the CF card, and they were fine, so I attributed it to a corrupt filesystem.
I then restored a much older backup, and moved over all the known good files from the recent backup. Things seemed fine for a while, but then the exact same situation happened again. I decided to look into the issue in more detail, and I’ve noticed that affected files like WIN.COM and KRNL386.EXE were 3KB larger…. as we’ll see later, this should’ve been an immediate red flag, but I yet again brushed it off as a bad filesystem or CF card.
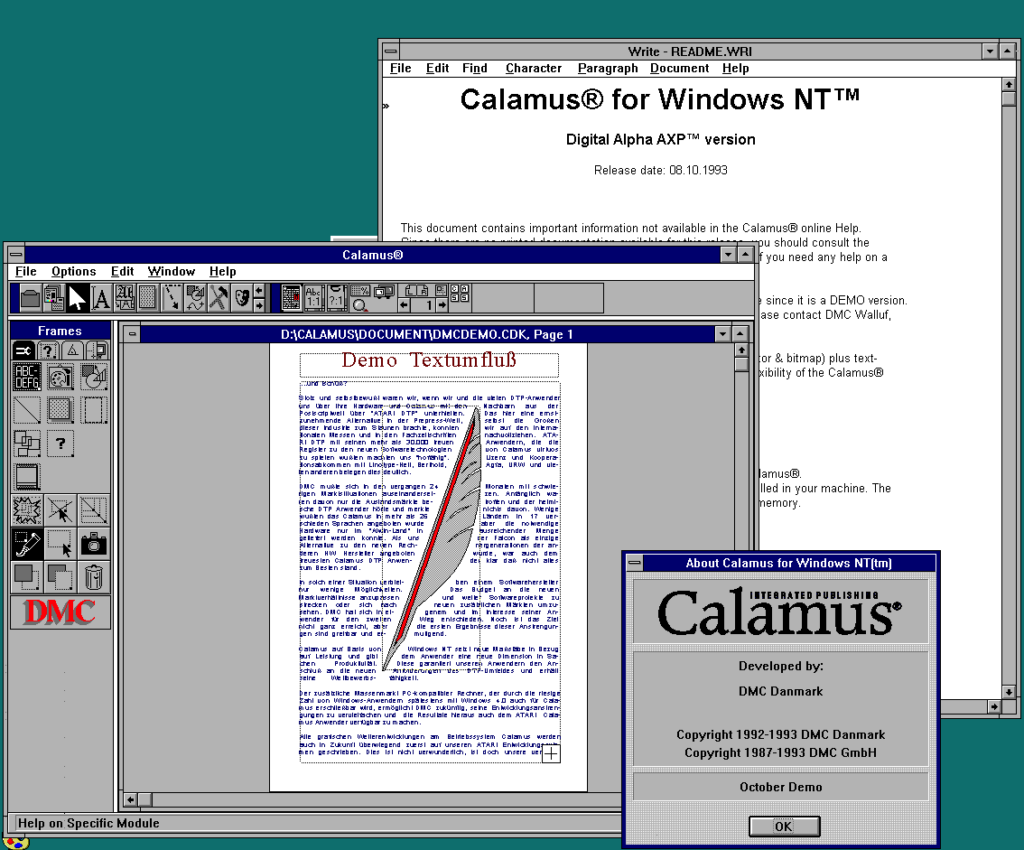
Fast forward to March 2024, and I got myself a set of new CompactFlash cards. I had once again restored the last known good backup, and for about a day everything seemed alright, until….
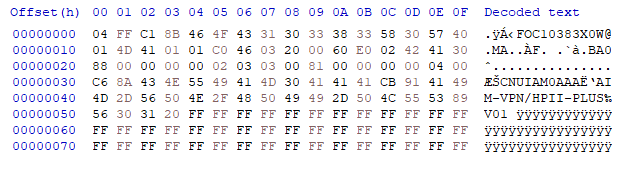
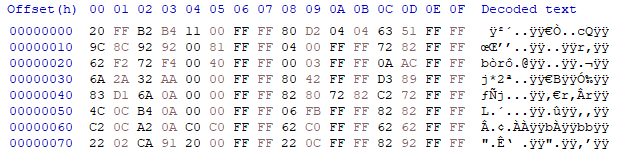
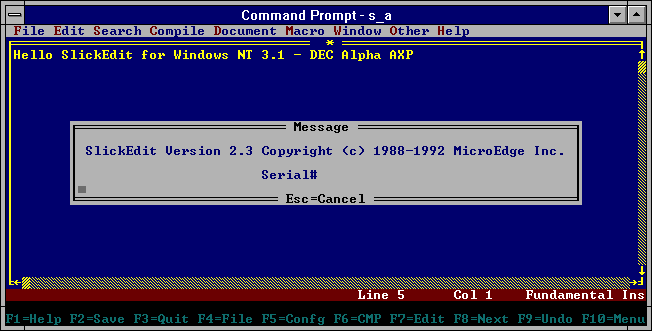
Needless to say, all my previous hypotheses turned out to be wrong. As such, I investigated yet again into the corrupted files, and used windiff to take a closer look into what actually changed. Let’s take a look at WIN.COM, SCANREG.EXE and KRNL386.EXE:
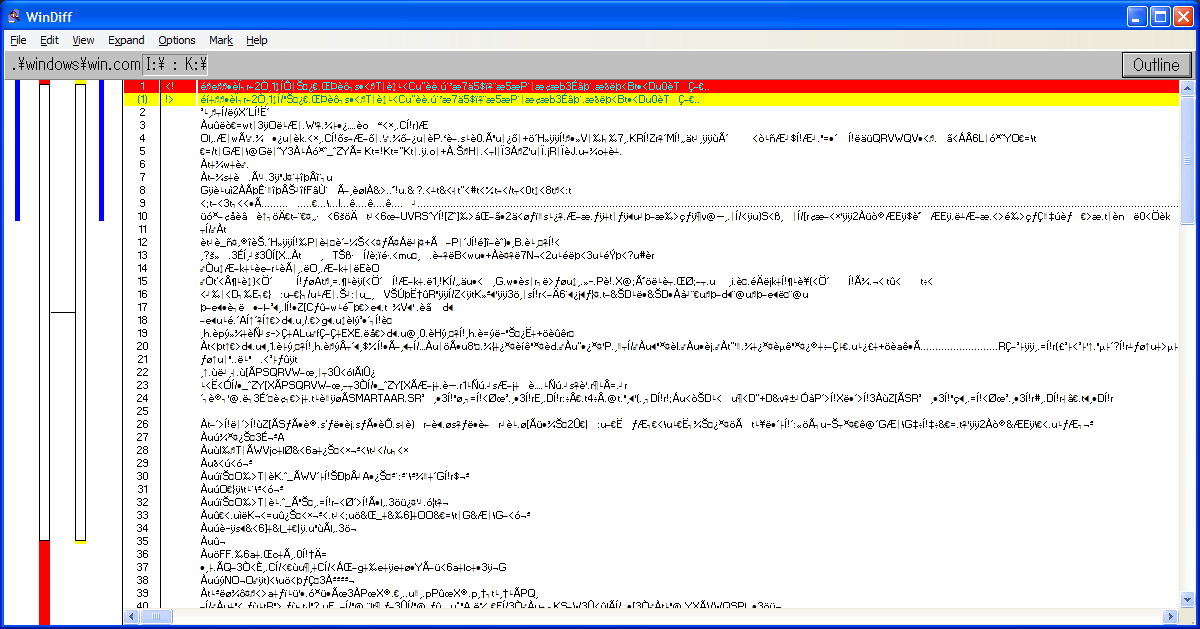
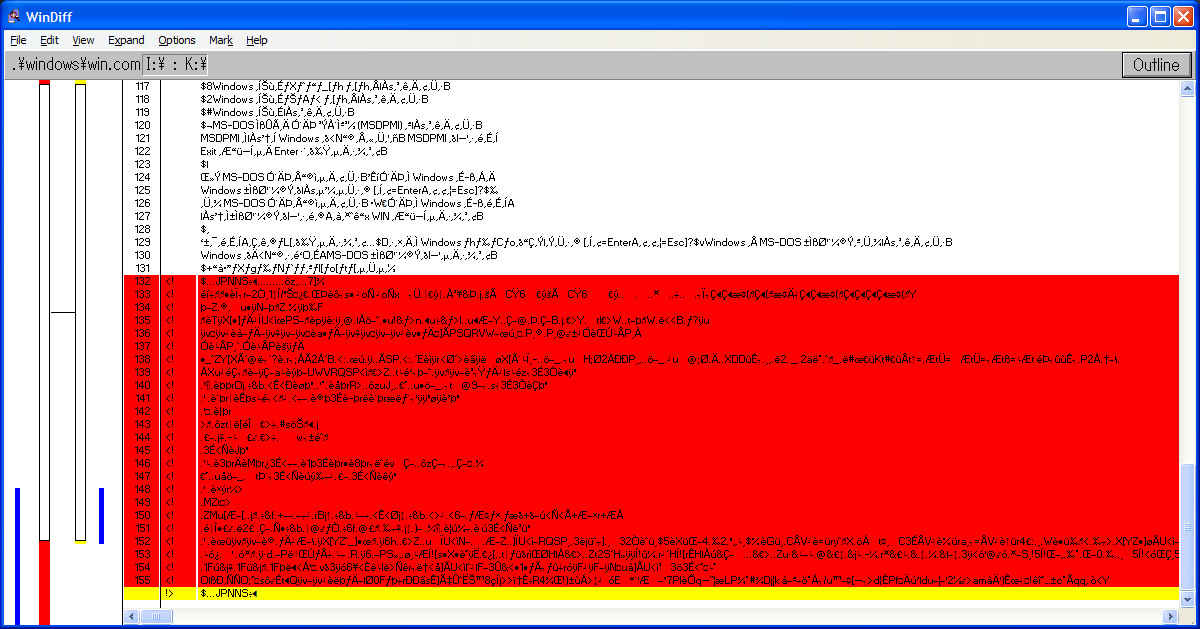
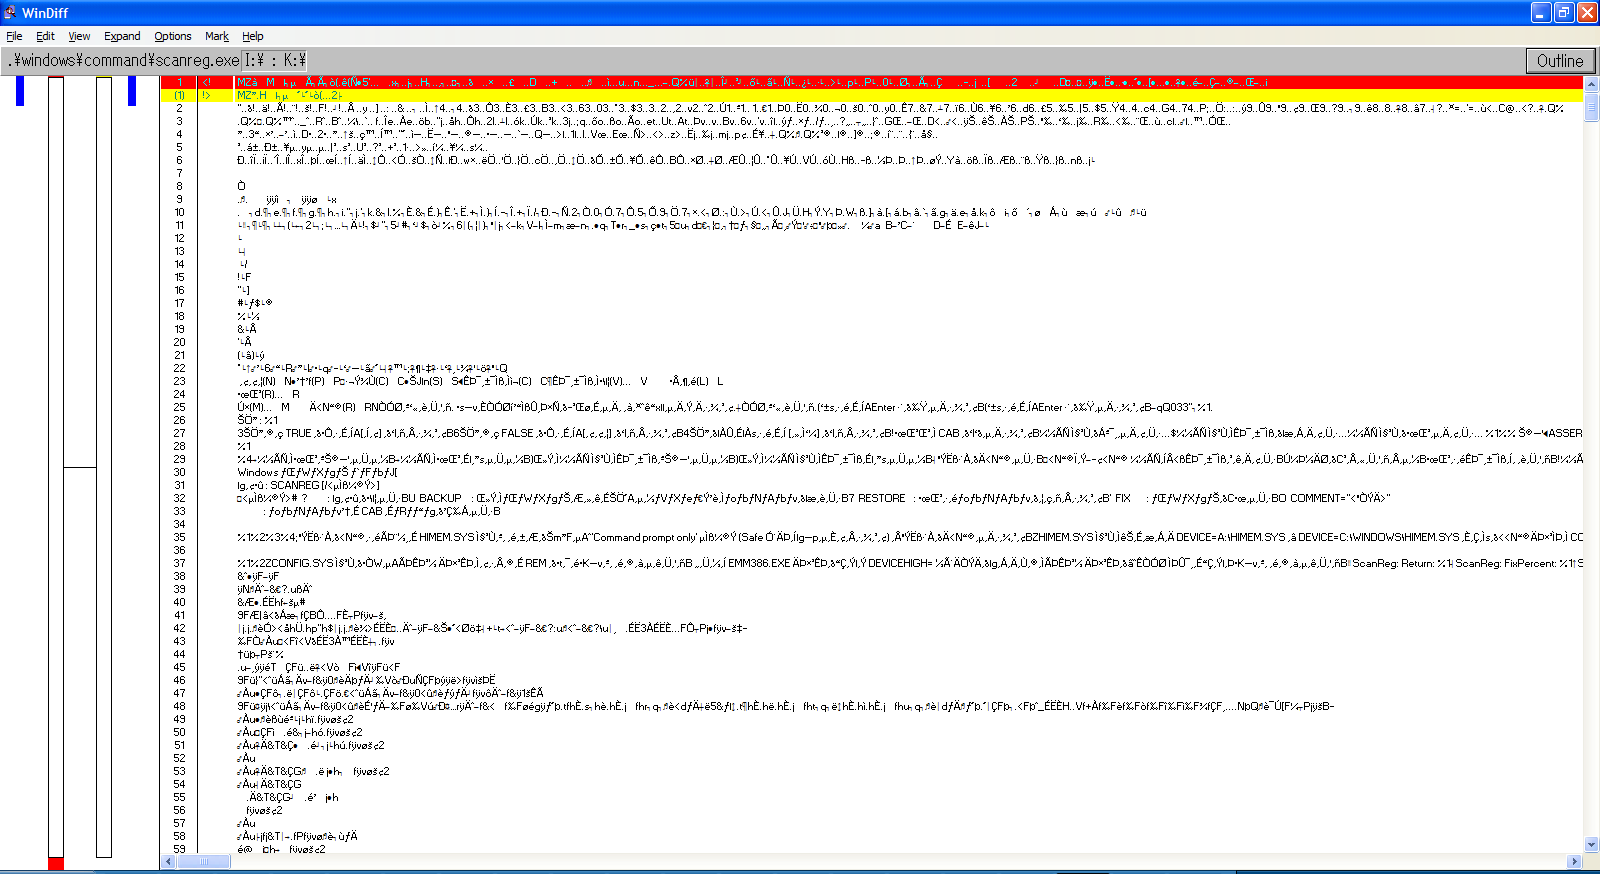
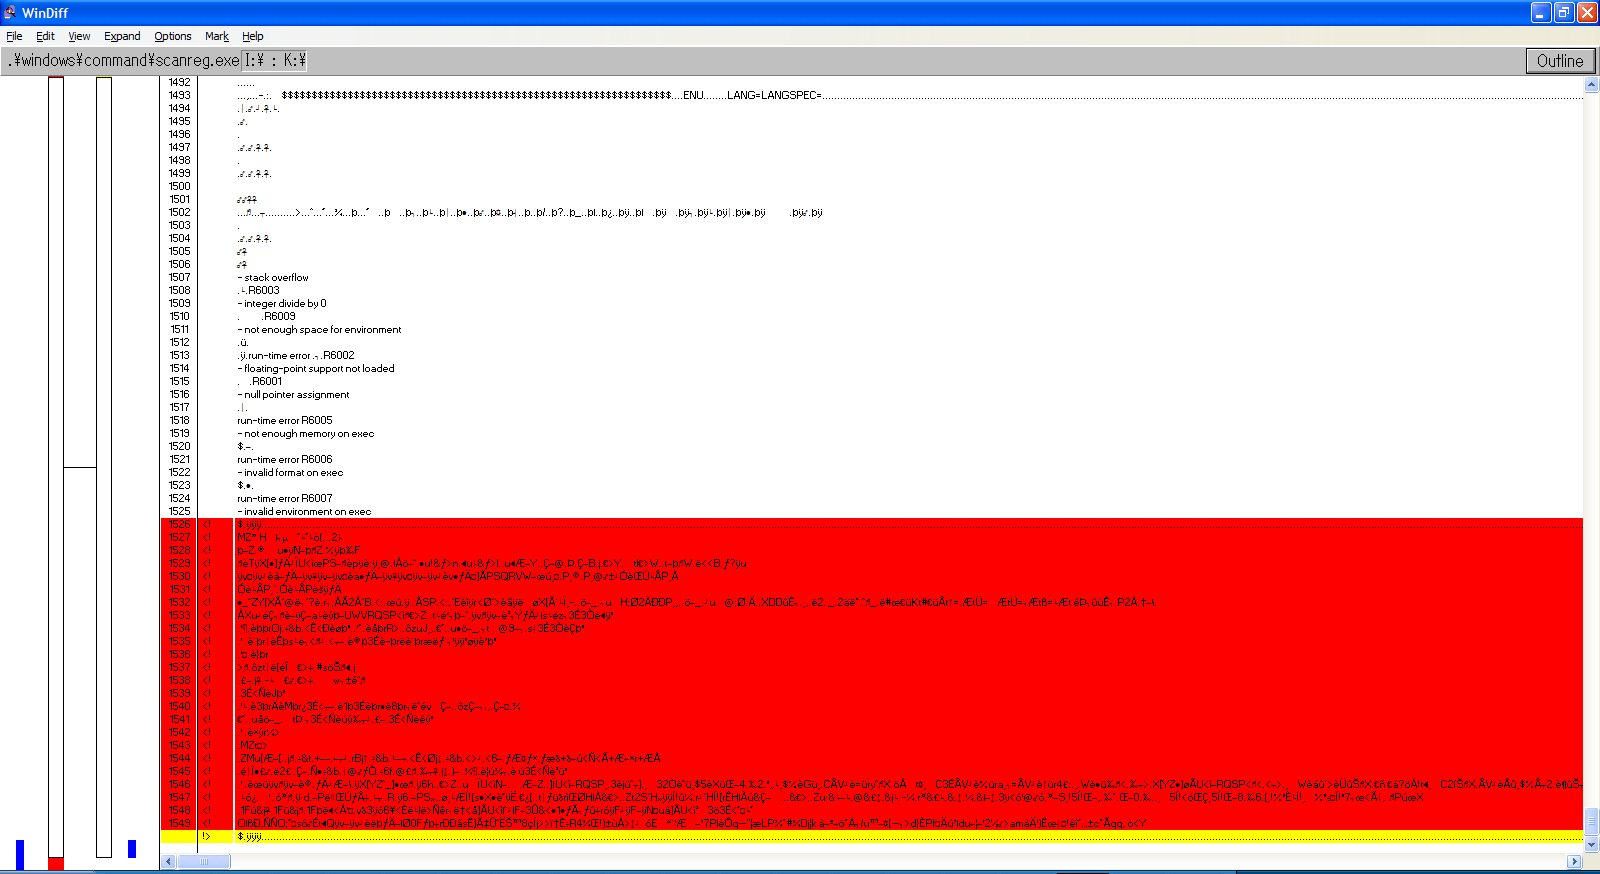

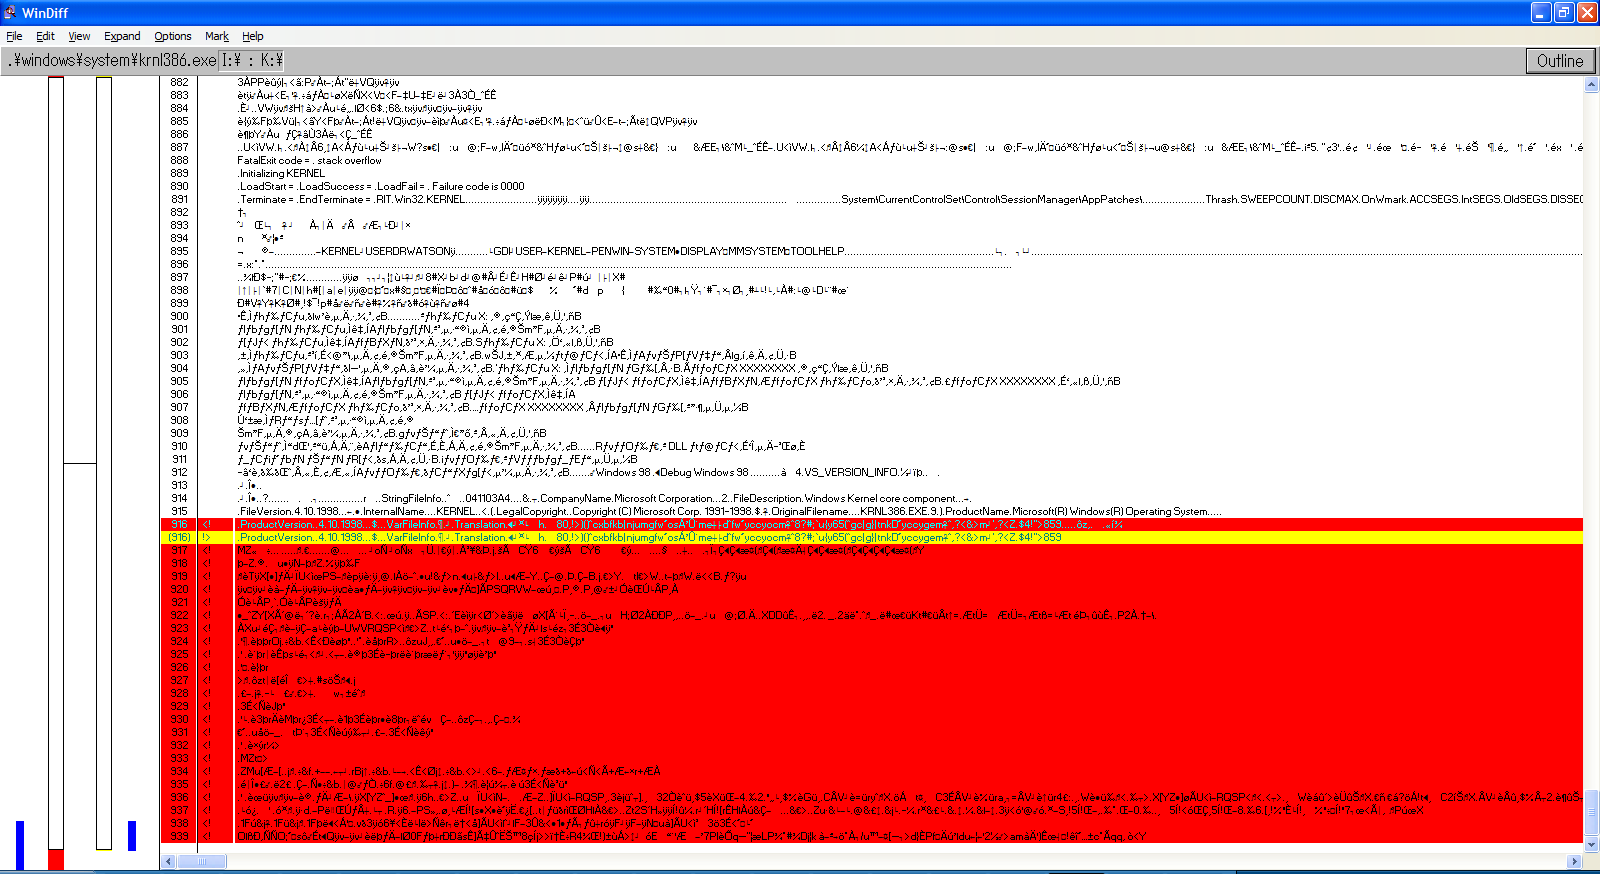
We can observe the following pattern:
- The files always grow in size
- windiff shows that the header is modified and that a bunch of garbage is added at EOF
- It’s always the same exact garbage
- Additional examinations show that MEM.EXE also has these modifications
- MZ headers are present, so it’s certainly executable code
By every metric, this isn’t a set of accidental corruptions, these are deliberate infections.
I then proceeded to take a sample of the suspiciously added code, did a byte scan of every file on the card, and isolated the following programs as infected:
- A:\WINDOWS\WIN.COM
- A:\WINDOWS\COMMAND\MEM.EXE
- A:\WINDOWS\COMMAND\SCANREG.EXE
- A:\WINDOWS\SYSTEM\KRNL386.EXE
- B:\RECYCLED\DB51.EXE
- B:\WIN31\WIN.COM
- B:\WIN31\SYSTEM\DOSX.EXE
- B:\SBVGM\VGMPlay.exe
- B:\GAMES\FIGHTING\DGA\DGP.EXE
Most of these are self-explanatory, apart from the last two.
VGMPlay is a program by Scali that allows playback of OPN(A) and OPL3 VGM files even on PC-98s without a SoundBlaster 16/98. I know this program is not the culprit, since the original program I got is clean.
DGP, on the other hand, is a different story, and it needs a bit of a foreword.
Duelists and queens!
DGP is a shorthand for “Duelist Gaiden Plus”, which refers to the game “Queen of Duelist Gaiden Alpha Plus”.
The original Queen of Duelist is a rubbish game not worth anybody’s time or any further mentions.
Queen of Duelist Gaiden Alpha is the 1994 sequel, which is a significantly better game, and arguably one of the best fighters for any personal computer at the time, featuring:
- 10 fully voiced characters
- Adjustable game speed
- Dual PWM sampling over the integrated PC beeper speaker
- Decent performance on a 286, and more
At the end of 1994, Agumix released an upgrade for the game called “Queen of Duelist Gaiden Alpha+”, which introduces some quality of life improvements. This update requires the original Gaiden Alpha to already be installed, although it doesn’t do any differential patching, it just replaces existing files with newer variants, and adds the DGP.EXE executable to be used instead of DGA.EXE. Shockingly, all of my older backups containing the patch, as well as the dump of the disk itself (available on Neo Kobe PC-9801) contain the suspicious code.
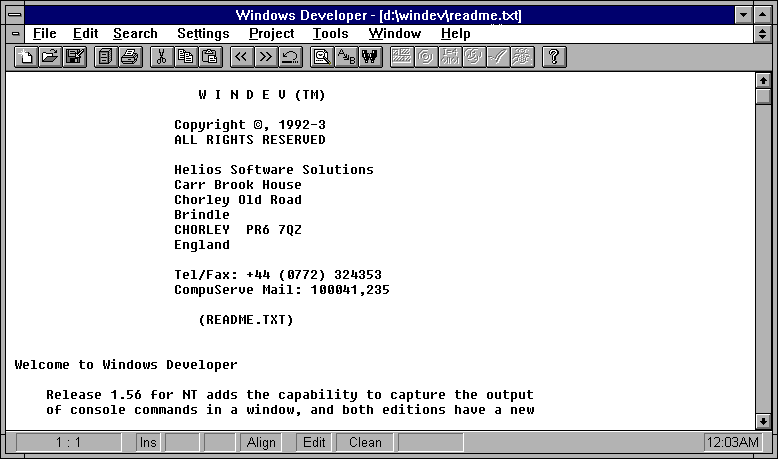
I didn’t expect it to return any results at first, but I uploaded DGP.EXE to VirusTotal for scanning, and well…
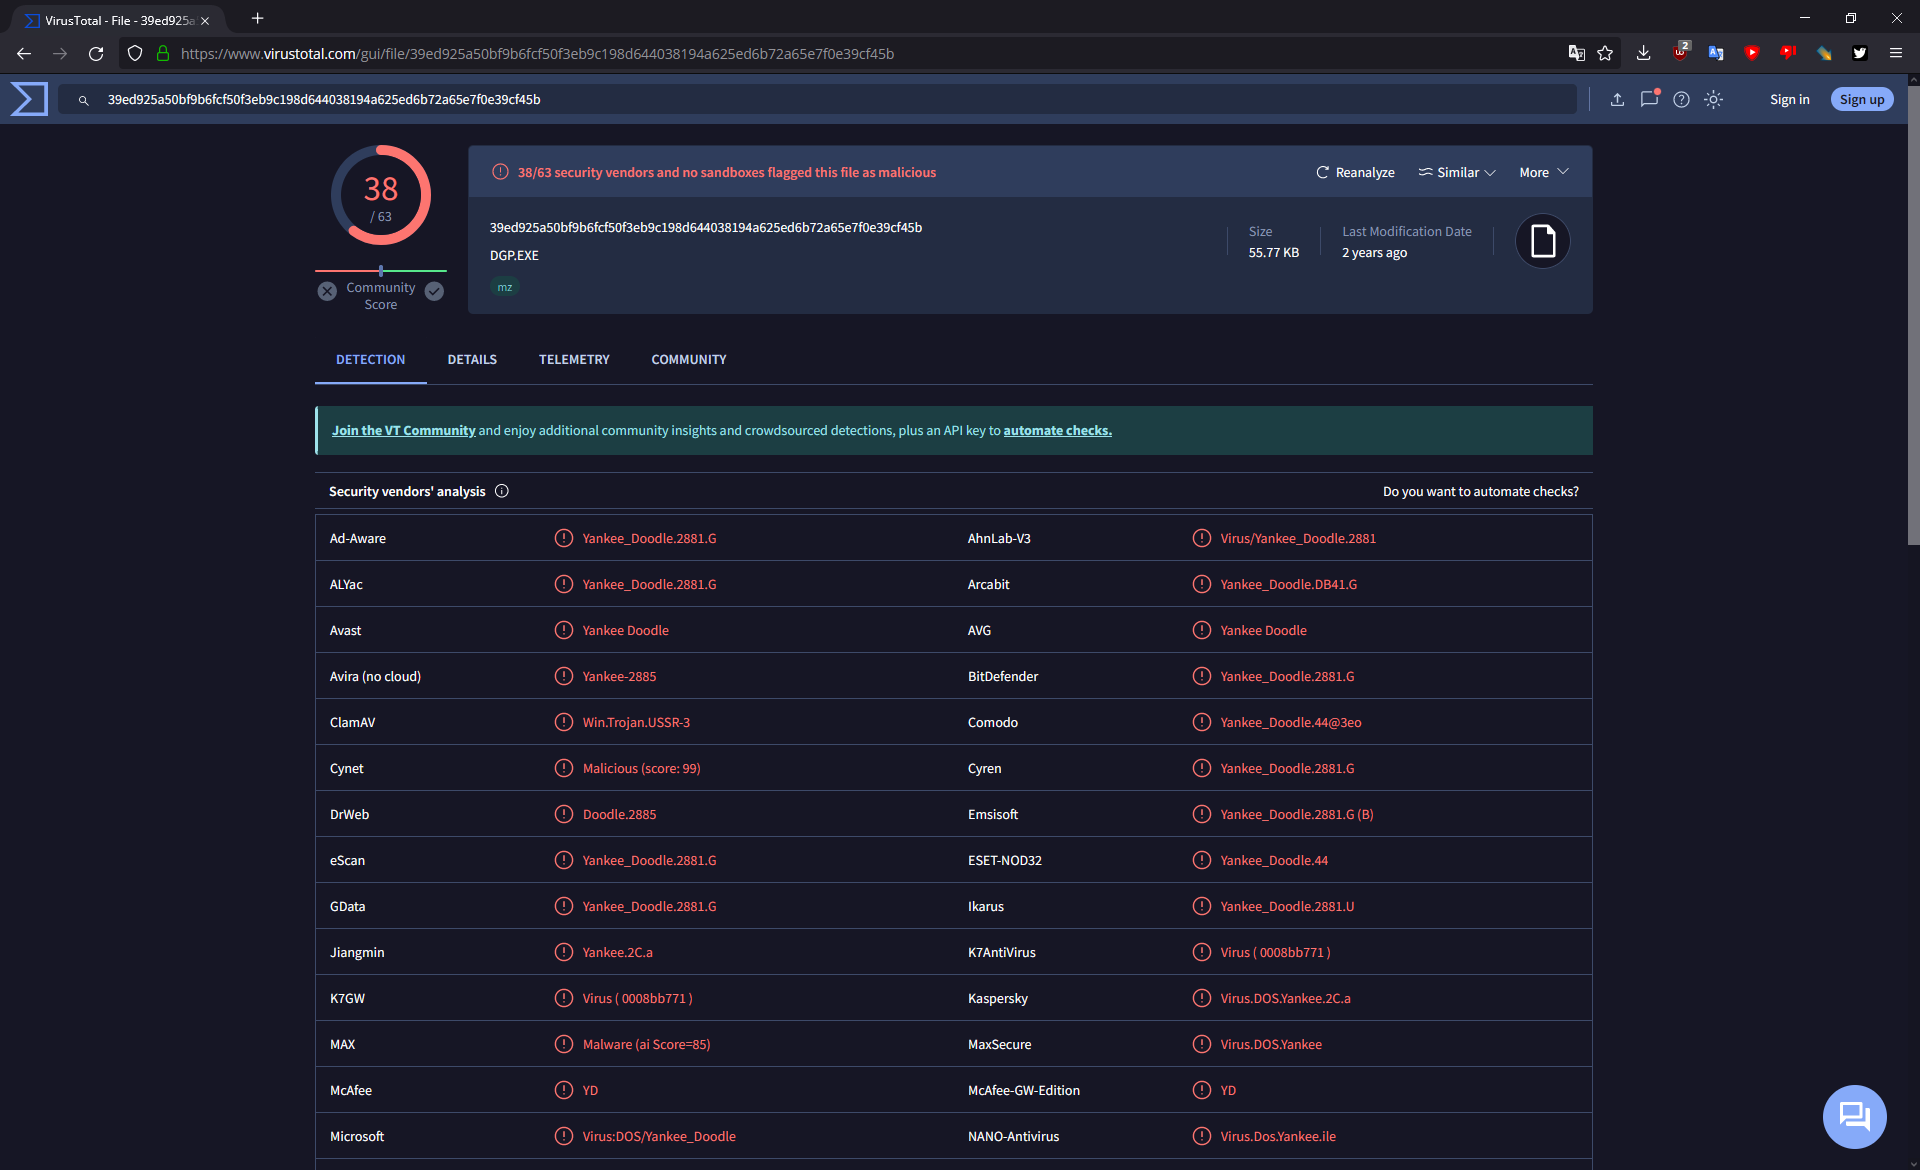
Who would’ve thought, the update was distributed with a copy of the Yankee Doodle virus embedded within!
Yankee Doodle is a very simple COM and EXE self-injecting virus from 1989. When executed, it resides in memory and infects COM and EXE files that use certain INT 21h DOS API calls, which include the files in the above list. It’s payload is normally supposed to play the Yankee Doodle tune through the PC speaker at 17h every day, but on PC-98 what it does instead is catastrophically fail and crash the entire system. It’s infection routines, however, do work.
A thing worth pointing out is that the infection routine is not automated. It will only engage when executing other programs from DOS manually. This should never be possible after starting the game, since there’s no way to return to the DOS command line without a full system reboot…
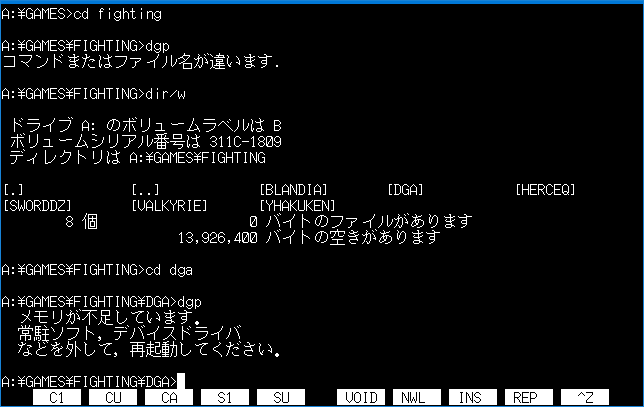
… unless you tried to start the game with not enough free memory, after which the game will dump you back to DOS. Pretty much every DOS user would, in situations like this, start MEM (preferrably with the /C and /P flags) to check what uses so much memory and how little remains free.
Sadly, for us, Yankee Doodle remains memory resident in this case, and it infects MEM as soon as it’s run, which explains how it got infected. Now every time you check your memory, the virus will be waiting to spread further.
Well, now what?
No known clean copy of the Plus version is known to be in circulation, and the only available source currently is the compromised disk image on Neo Kobe.
Additionally, nobody knows if the game was originally distributed with the infection, or if the person sharing a dump of the game around through P2P back in the 1990s had infected his copy.
As such, unless an original physical copy is found on auction, dumped, and confirmed clean, the only solution is to patch out the infectious payload from the game. Until then, do not play Queen of Duelist Gaiden Alpha Plus on your PC-98 machine!
EDIT 2024-03-31:
Fortunately it appears that the “Alt 1” dump available on Neo Kobe has a clean copy of DGP.EXE.
DrNyquist has also confirmed that this torrent also has a clean dump.
Conclusion: steer clear of the primary dump on Neo Kobe, use the others mentioned above.