Filesystem      Size  Used Avail Use% Mounted on
/dev/vda1        29G   27G  2.1G  93% /
It’s a problem that we will all face sooner or later in shared environments, running out of disk space. Back in the old days we would just run stacker and be done with it, but what on earth can we do in this modern age?
Well, there is squashfs which is great at creating ultra-compressed read-only filesystems! Well, that is great, but it is READ-ONLY after all, so that is going to suck right? Well thanks to the magic of file system overlays, we can compress our website, and get the much-needed COW (Copy on Write) to another directory giving us the best of both worlds. It’s a common thing in many live CD’s or any seemingly appliance-based OS where you have a hardened read-only OS core that a user cannot delete/infect but gives the appearance of allowing you to update files. Well, that’s all nice but how do you do it manually?
The first thing I did was shut down Apache so I could get a clean compress of my web document root: mksquashfs is pretty easy to use, and in a few minutes of downtime I was able to create a read-only version of my blog’s filesystem. (NOTE that this doesn’t include the database! so anyone wanting to quick & easily archive WordPress, remember there is always more than just the files!).
root@ukweb:/srv/www/blog# mksquashfs . /usr/local/blog.sqshfs
Parallel mksquashfs: Using 1 processor
Creating 4.0 filesystem on /usr/local/blog.sqshfs, block size 131072.
[===================================================================================================-] 67497/67497 100%

Exportable Squashfs 4.0 filesystem, gzip compressed, data block size 131072
        compressed data, compressed metadata, compressed fragments,
        compressed xattrs, compressed ids
        duplicates are removed
Filesystem size 4604333.36 Kbytes (4496.42 Mbytes)
        82.78% of uncompressed filesystem size (5562424.58 Kbytes)
Inode table size 480413 bytes (469.15 Kbytes)
        33.86% of uncompressed inode table size (1418977 bytes)
Directory table size 430607 bytes (420.51 Kbytes)
        32.31% of uncompressed directory table size (1332573 bytes)
Number of duplicate files found 519
Number of inodes 38856
Number of files 32640
Number of fragments 7872
Number of symbolic links 0
Number of device nodes 0
Number of fifo nodes 0
Number of socket nodes 0
Number of directories 6216
Number of ids (unique uids + gids) 2
Number of uids 2
        www-data (33)
        root (0)
Number of gids 2
        www-data (33)
        root (0)
Before compression the blog sat at 5.6GB worth of space. After compressing, it now sits at 4.4GB. Not that awesome, but not that bad either! the blog.sqshfs file can be easily mounted on the command-line like this:
mount -o loop /usr/local/blog.sqshfs /srv/www/blogAnd it mounted up just fine, and astonishingly the blog worked. Although it being a read-only filesystem means that I cannot upload new content so all the media would be frozen in time, just as I would no-longer be able to make any updates to the pluggins or the software.
Enter the overlayfs, which lets you specify an ‘upper’ and ‘lower’ level for your filesystem where you can have a read-only lower level, and a read-write upper level. Perfect!
I moved the blog read-only mount to /srv/www/blog-ro created a blog-tmp & blog-rw directories as well and mounted up in overlay mode like this:
mount -t overlay -o lowerdir=/srv/www/blog-ro,upperdir=/srv/www/blog-rw,workdir=/srv/www/blog-tmp overlay /srv/www/blogYou’ll notice that despite all the documentation mentioning overlayfs, along with all the posts, as of Linux 5.15 it’s now called overlay.
root@ukweb:/lib/modules/5.15.0-101-generic/kernel/fs/overlayfs# ls
overlay.ko
At least that was easy enough to find.
But you might say, THATS ALL MANUAL! How on earth are you going to deal with a reboot? rc.local?!
Well, you could but /etc/fstab is much easier!
/usr/local/blog.sqshfs /srv/www/blog-ro squashfs ro,defaults 0 0
overlay /srv/www/blog overlay defaults,lowerdir=/srv/www/blog-ro,upperdir=/srv/www/blog-rw,workdir=/srv/www/blog-tmp 0 2
And just like that, I now have a read-only version of the blog data, in a single easy to backup file, along with writes going to a much more manageable directory for updates.
I guess I should add that for sites that use caching, you’ll want to purge the wp-content/cache directory as it’ll become stale, and there really is no point having a read only version of the chache.
If you can see this, then clearly the site is working!
**UPDATE
So I do have a qemu image piggy-backing on my VPS that runs the Apache on NT 3.1 (superglobalmegacorp.com) site. It’s not very complicated, just NT 3.1 with my terrible apache site. Content doesn’t change, it’s a “just because I can” thing.
So you can happily shut down the VM, and in this case I’m using VMDK’s but it really doesn’t matter, I just like having a more neutral container if I want to move stuff around. Just squash the VMDK by itself into a new squash fs file:
# mksquashfs nt31as.vmdk /usr/local/vmdk/NT31_AdvancedServer.vmdk.squashfs
Parallel mksquashfs: Using 1 processor
Creating 4.0 filesystem on /usr/local/vmdk/NT31_AdvancedServer.vmdk.squashfs, block size 131072.
[=====================================================================================================-] 1390/1390 100%

Exportable Squashfs 4.0 filesystem, gzip compressed, data block size 131072
        compressed data, compressed metadata, compressed fragments,
        compressed xattrs, compressed ids
        duplicates are removed
Filesystem size 72383.38 Kbytes (70.69 Mbytes)
        40.68% of uncompressed filesystem size (177925.66 Kbytes)
Inode table size 3918 bytes (3.83 Kbytes)
        69.64% of uncompressed inode table size (5626 bytes)
Directory table size 31 bytes (0.03 Kbytes)
        93.94% of uncompressed directory table size (33 bytes)
Number of duplicate files found 0
Number of inodes 2
Number of files 1
Number of fragments 0
Number of symbolic links 0
Number of device nodes 0
Number of fifo nodes 0
Number of socket nodes 0
Number of directories 1
Number of ids (unique uids + gids) 1
Number of uids 1
        root (0)
Number of gids 1
        root (0)
The disk image went from 174MB to 71MB. Not bad!
Next, setup a mount point in /etc/fstab
/usr/local/sqshfs/NT31_AdvancedServer.vmdk.squashfs /usr/local/vmdk/NT31_AdvancedServer squashfs ro,defaults 0 0Now we create the backing file to point to the original VMDK where all write operations will take place. And of course this means that the site can be reverted very quickly if something goes wrong.
qemu-img create -f vmdk -b /usr/local/vmdk/NT31_AdvancedServer/nt31as.vmdk -F vmdk nt31as.vmdk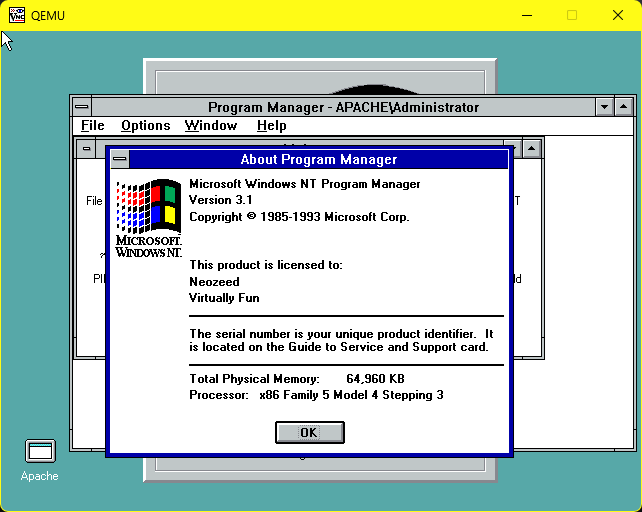
And just like that, we’ve now up and running!