So I picked up this old 386 multitasker on amazon called.. VM/386. I remember seeing ads on how awesome it was back in the day.
VM/386 diskettes
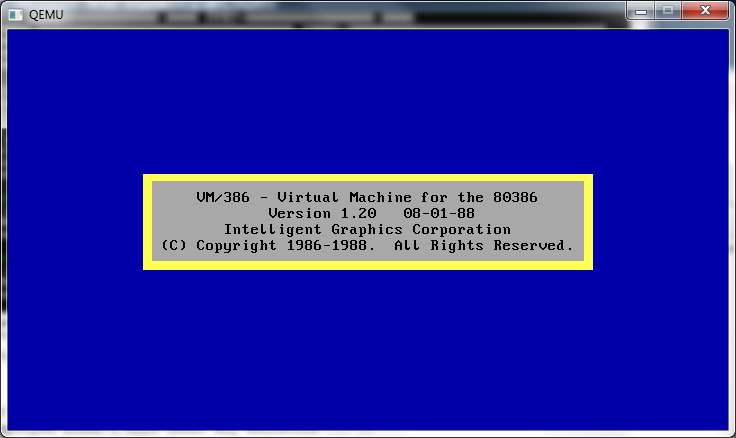
VM/386 1.2 splash screen
So much to my luck, I not only got 1.2 but 1.22! Even luckier all the disks read! However what ever magic they employed doesn’t work under any emulation … 😐
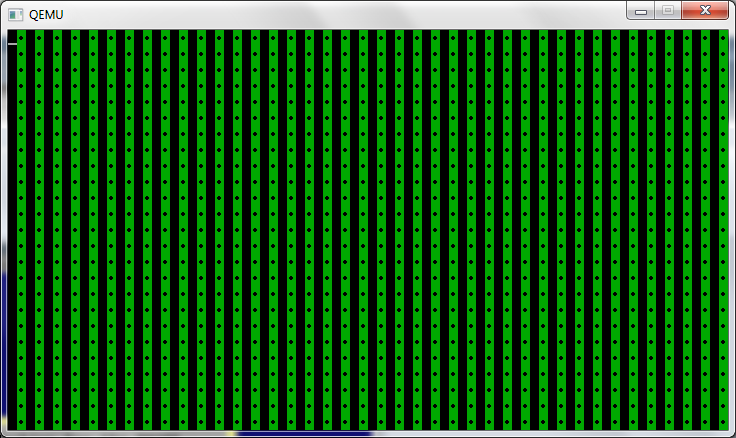
Sure it’ll load up, and let you do some options.. But this is all I get.
VM/386 in action
I’ve tried it on various Qemu levels, I’ve even used a real cirrus logic video ROM (from an ISA board, I’ll have to find a PCI cirrus logic ROM…) VMware, Virtual PC, and Virtual BOX.
Has anyone ever used this thing? I was under the impression it was multiuser as well as multitasking but it seems from what little I’ve been able to use that it’s only multi tasking…
Oh well I guess another sem-interesting update in MS-DOS multi-taskers.
— edit
And… I just got word of a copy of 2.0 and it’s being shipped.. 5 user version too!
This builds the single file for all 3 machine types of OS X..
For anyone that cares, this is my quad core box..
$ ./dhrystone Dhrystone(1.1) time for 500000000 passes = 83 This machine benchmarks at 6024096 dhrystones/second
Ok, now let’s pull out the PowerPC executable, and run that….
$ lipo -extract ppc7400 dhrystone -output dpc $ file dpc dpc: Mach-O universal binary with 1 architecture dpc (for architecture ppc7400): Mach-O executable ppc $ $ ./dpc Dhrystone(1.1) time for 500000000 passes = 214 This machine benchmarks at 2336448 dhrystones/second $
Which isn’t too bad, seeing the emulator runs at 1/3rd speed of the native exe.. It’s no wonder that IBM bought transitive, and shut them down. This kind of technology would make it far too easy for everyone to move away from expensive CPUs…!
Now let’s extract the 32bit i386 exe.
$ lipo -extract i386 dhrystone -output di3
Nothing to really see here.
And for the final part, let’s combine the extracted PPC & i386 executables.
And there we have it.. Using this I guess I can try to find versions of Qemu that will hopefully cross build on my machine that I can stitch together so that some platforms (PPC) have *SOMETHING* to run at least…..
Or maybe it’ll help someone at least make a stub ‘we are sorry, nothing to see here’ vs an exe error.
(This is a guest post from Antoni Sawicki aka Tenox)
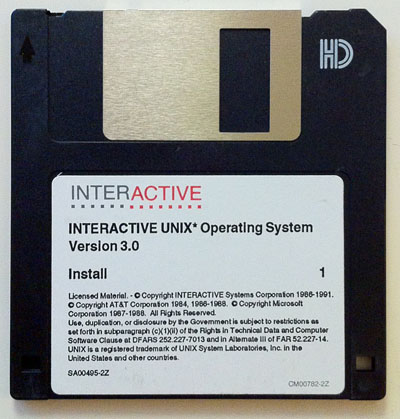
I’ve been hunting for a complete set of INTERACTIVE UNIX System for quite some time. While I had the “basic set” of it, the real stuff Visix Looking Glass graphical environment was nowhere to be found. Recently I got my hands on a box containing a massive set of 5.25″ floppy disks. Without further delay this is how the famous 386 UNIX GUI looks like:
The os has a long and convoluted history. It started as PC/IX for the IBM XT created by Interactive Systems Corporation. Later updated to 386/ix and renamed as INTERACTIVE UNIX System V/386. The company was acquired by Kodak and the OS was later sold to Sun Microsystems.
Sun has reportedly used the OS to help port SunOS/Solaris to x86 platform. However they also sold and supported it as a stand alone product. The system was widely used as part of Reuters Terminal and other embedded applications. It briefly survived Oracle acquisition making the os Oracle INTERACTIVE UNIX?
This article specifically covers version 3.0 released by ISC around 1991. The installation is pretty straightforward except for swapping 50 disk images and later configuration of NIC, TCP/IP and VGA/X11. The floppy images are available here. I have spent quite a lot of time to get TCP/IP working and VGA at half decent resolution.
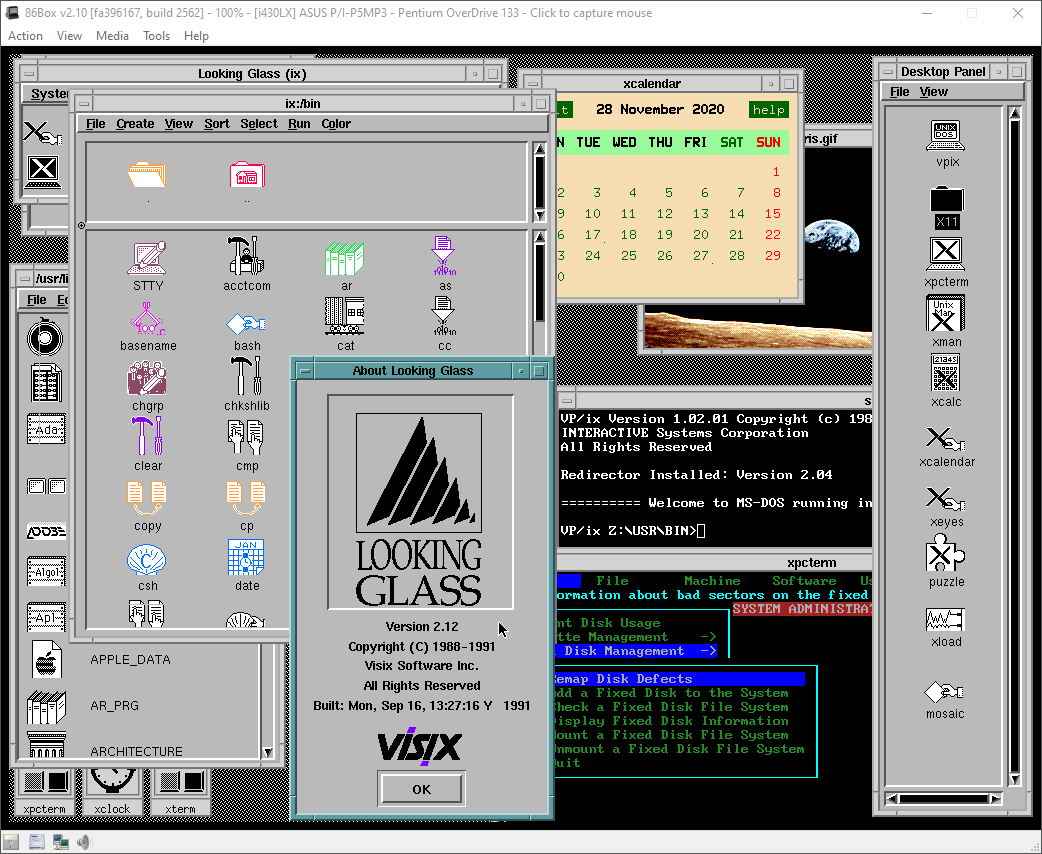
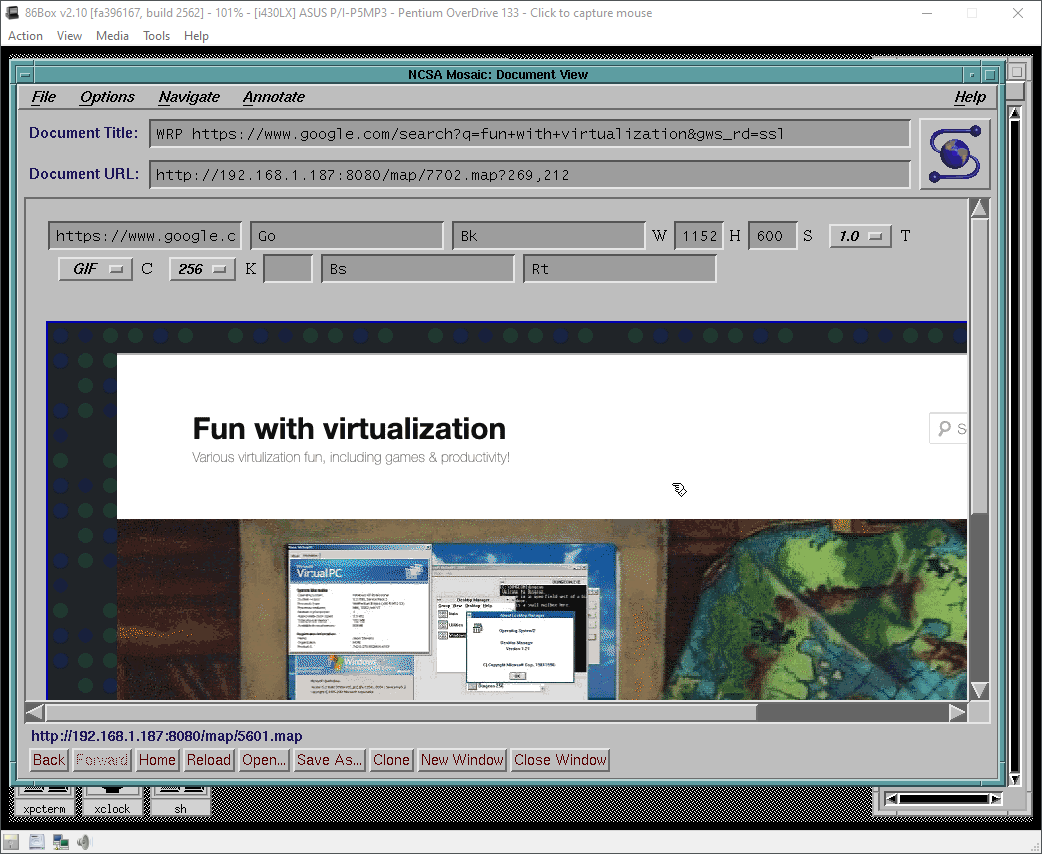
Fortunately thanks to 86Box you can enjoy a fully working OS in a “high-res” (1024×768) mode, 256 colors and working TCP/IP. You can even pretend to browse the web using early version of Mosaic and WRP:
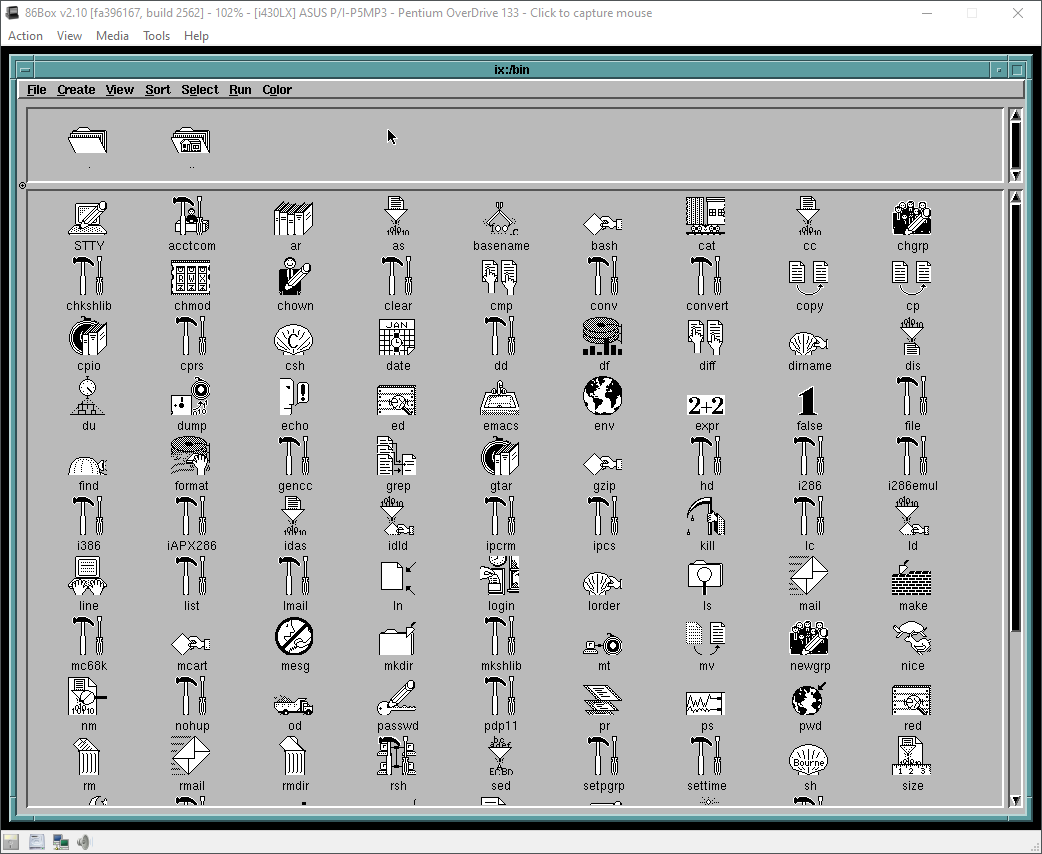
Looking Glass comes with a file manager and funky icons for pretty much every utility in the system:
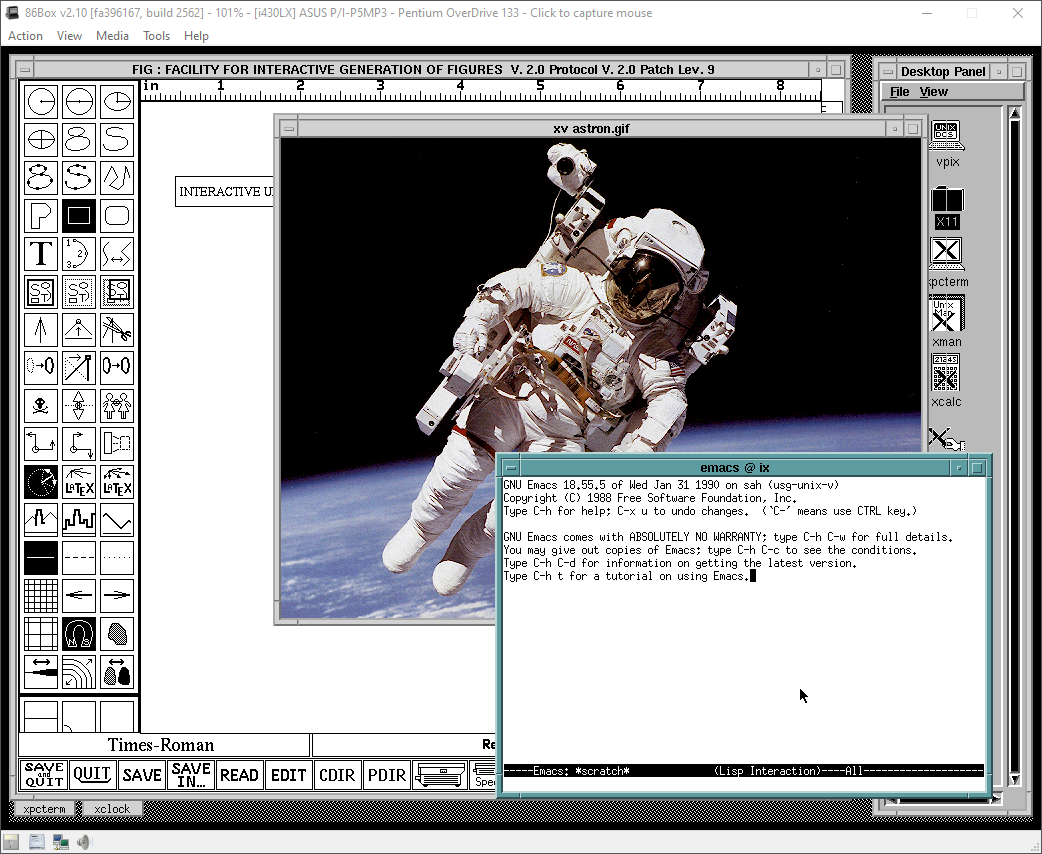
The OS has a bunch of GNU apps and I even found a super early version of xv:
Finally this is how you manage the system with a “sysadm” utility and “kconfig” kernel configurator:
On a text console side, the OS has virtual consoles switchable via SYSRQ + F key. Console is on F8.
One should probably appreciate that PC had such a cool Unix version before Linux was even born. Unfortunately this stuff was all prohibitively expensive and mortals could not afford it to run on their 386s.
You can download 86Box version here. Make sure to look at readme for some last minute updates. Especially around configuring TCP/IP and Looking Glass licensing. There also is a VirtualBox OVA, however it only works in 800×600 and no networking/tcpip. Additional software can be downloaded from funet ftp. Install disks are here.
Also you may be interested in a follow up article covering VP/ix DOS hypervisor included with the OS.
I know for most people using mkisofs is second nature, but I needed to get a machine running MS-DOS without floppies… and it had to be on the bare metal.. Oh joy.
Now I’ve kind of done this before but I’ve never gotten it to preserve the directory structure. It seems that it’s important to specify some output…
The ‘fun’ thing is that I was able to use virtual pc to build the boot diskette with IDE cdrom drivers, and make sure it works in that it mounted the CD and set the path there…
So I have extracted my MS-DOS install from the floppies into a directory on my pc and I keep the file dos622_1.img in the same directory so mkisofs can place it in the image. Then it’s just a matter of running:
This moves the SoundBlaster to IRQ 7, and incorporates a bus fix & busmouse addition. Remember to remove the parallel port for this to work correctly. Tested with NeXTSTEP 3.3
Why all the patches, you may ask? Well for some reason NeXTSTEP is unable to correctly drive the mouse in Qemu. Nobody has tracked it down, but I suspect it’s some weird issue with the BUS… Anyways I found this busmouse patch ages ago, and I’ve just been finagling it for ages so that it will keep on working. I know that there are a hand full of enthusiasts left, but I figure that for all interested they would appreciate this.
Neither Bochs nor Qemu can boot the Xenix floppy diskettes all the way. Virtual PC & VMWare seemed to have no luck when the kernel transitions to protected mode. While on the way to work I had an idea. What if you had an old hard disk and a machine capapble of installing? Simply imaging the hard disk may be enough, since after that point you don’t need any floppy disks!
So this is what I have to show for the work today:
Freaking awesome, if I do say so myself.
OK, now how to do it? First you need an existing system running Xenix. If you have any plans on migrating an existing installation take note! This will preserve your install, just don’t format! On the Xenix boot screen take note of the geometry of the disk. We will need the geometry for later. Although I did a test boot without it, its a good thing to preserve it.
For virgin users, you will need a small disk to install on. I had a 2.5 GB disk that was too big, and 132MB disk that worked fine. I used a dell pc with 2 ide controllers for this. The longest task honestly was installing Xenix. I think that ran about 20 minutes. Once I was done, shutdown xenix, and put the disk in a machine running Windows (Linux fans can put it in their box, and just dd the Xenix disk into an image). Us poor Windows users don’t have dd. Anyways take not of what disk # it is, as Windows of course will not assign it a drive letter since it does not understand Xenix’s filesystem.
As you can see it’s disk #2 in this computer. Ok now we need to read the disk and write it into a disk image. I couldn’t find a util offhand to do it, so I wrote one real quick. Here is the source code, you’ll need a C compiler on your PC to compile it. I guess I could ‘neaten it up’ some, but for now here you go:
Yes I know its horrible, and blogger does a wonderfull job of formatting my program. Anyways compile it & run it. Now you’ll have a disk image of your hard disk!
Now for the fun part, running Xenix! We simply specifiy the hard disk geometry that we got earlier, and pass it the disk image that we created! I’m using an Quantum Pro drive ELS with the following geometry:


")