Since this will no doubt come up, let’s make this a separate post. I’ve put the files up on archive.org (arc programmed/bare programmed) but here are the steps to program your own flash, just like you’ve gotten a fresh machine!
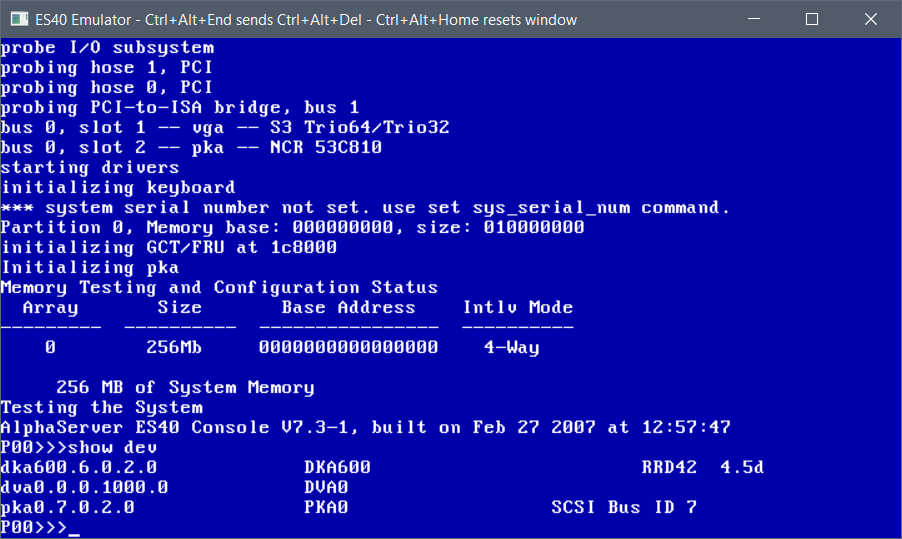
First up, you need the ‘v73.iso’ and not much else. VGA is fun to make it all graphical. First look for your CD-ROM drive, the RRD42 in this case, I’ve put mine on SCSI id 6, so it’s the DKA600
So, it’s a simple ‘boot dka600’ to get the process started
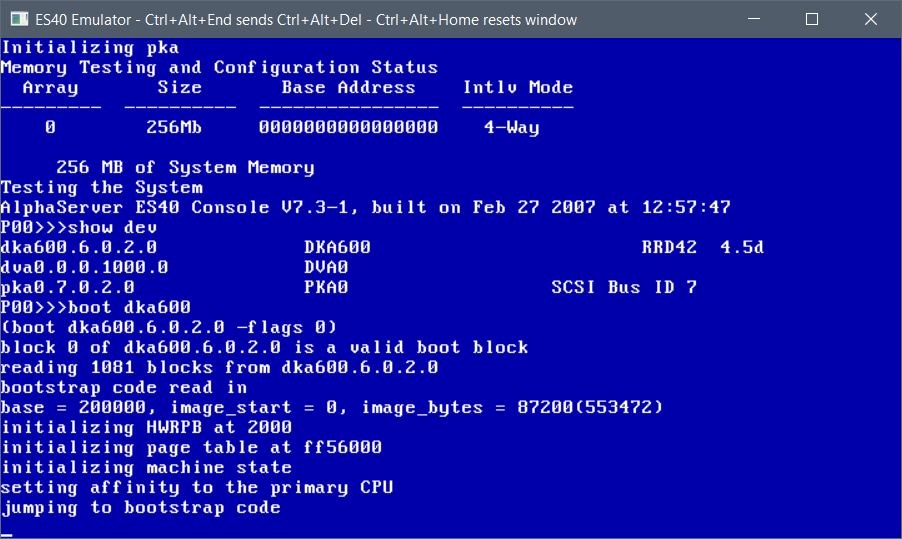
It’ll take a few seconds to boot up to the menu
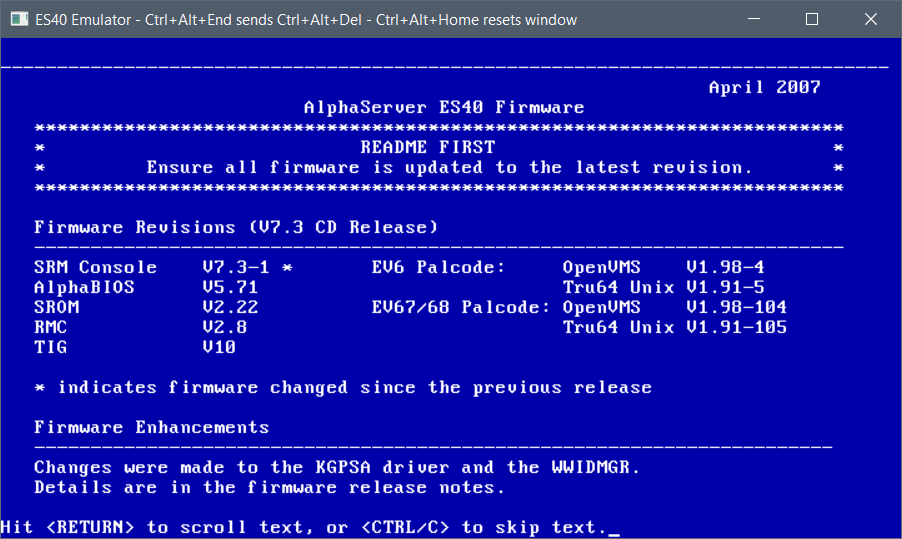
hit control+c and you’ll get the menu
It’ll detect our machine, so you can hit enter to boot the default option
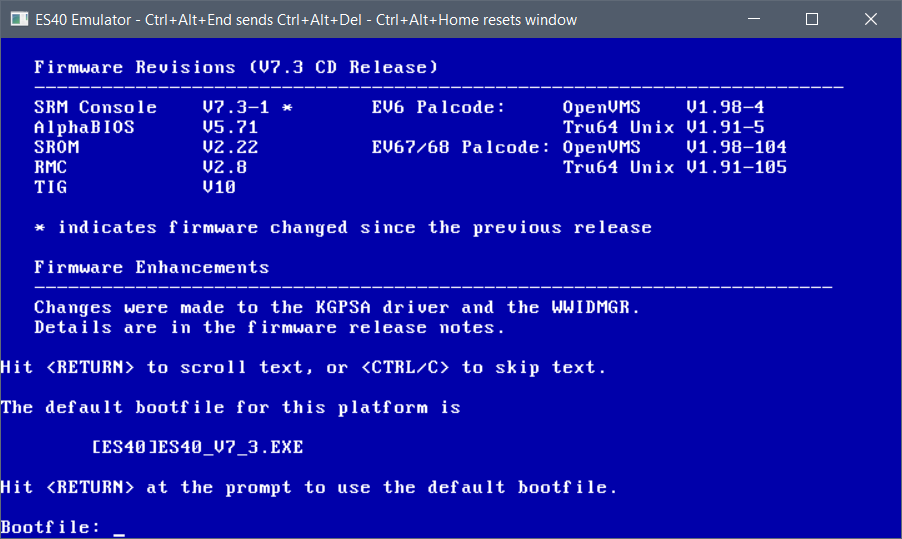
This will take a hot minute as the SRM likes to re-load itself between things
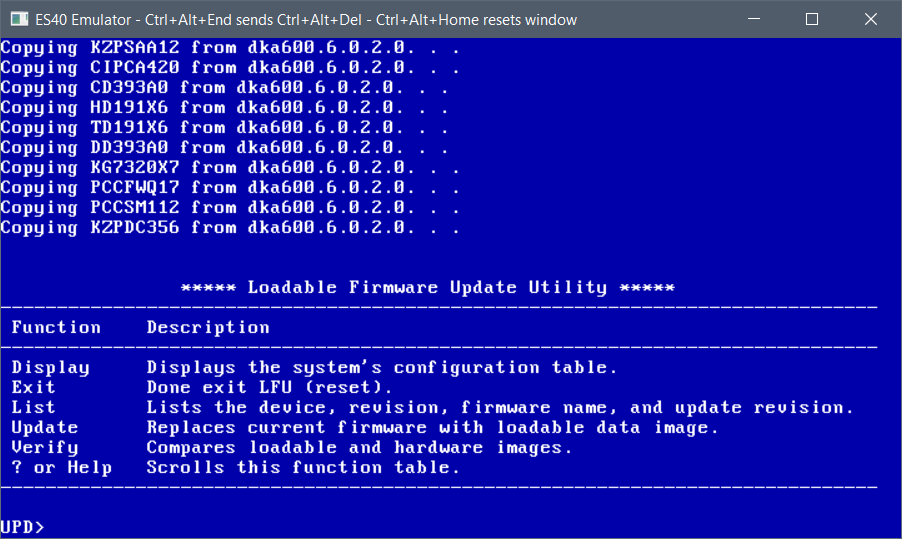
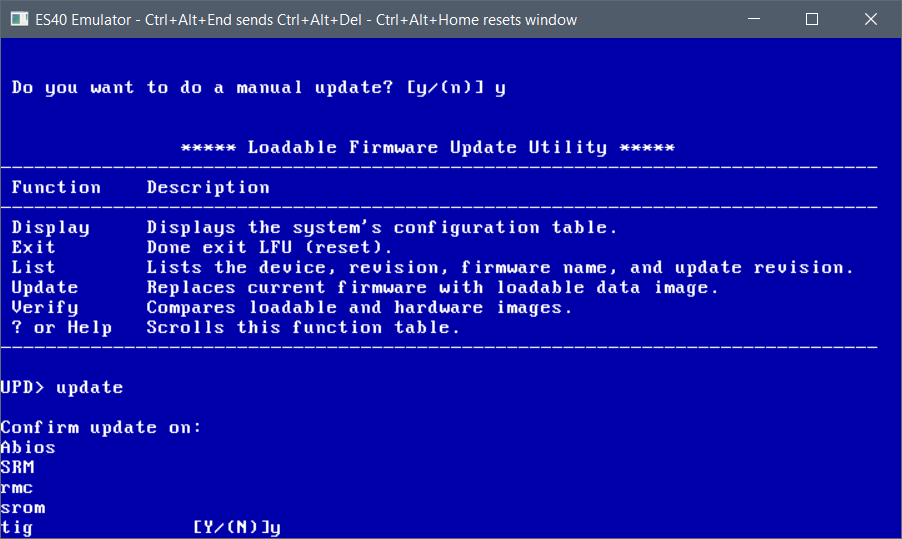
Now I know you think we would just go ahead and hit update, but oddly enough it won’t program the TIG, so we exit from here:
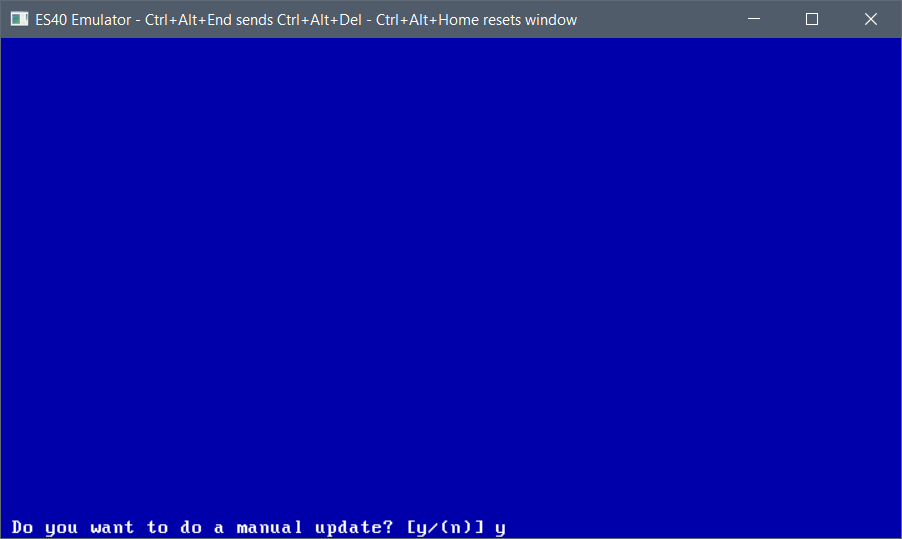
and choose the manual update process
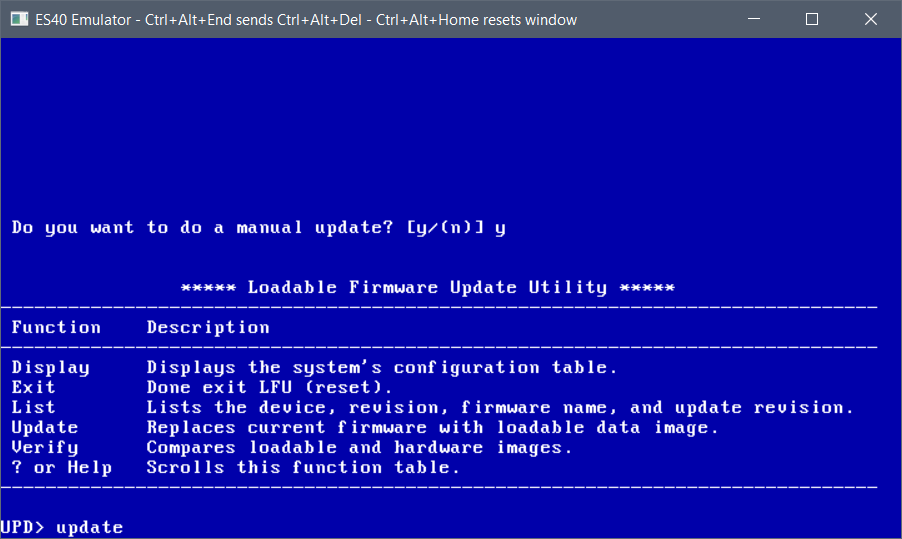
And now we can run the update.
Basically we update them all!
And keep going. For all us Windows NT on Alpha fans, the ABIOS has to be programmed in. It’s a compressed image, so the machine will still boot SRM then we have to load ARC. It’s just the way the ES40 is.
This will take a few minutes, just hang in there.
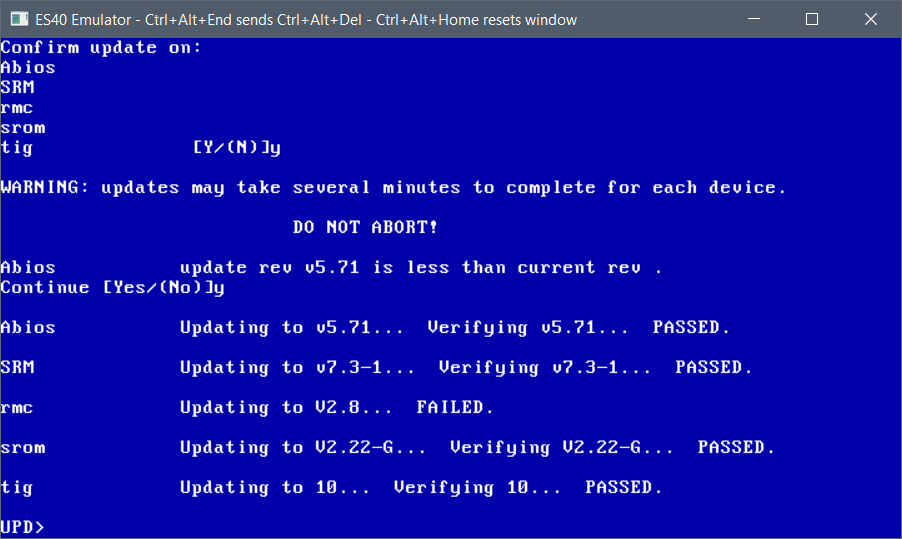
rmc always fails for me but it’s fine.
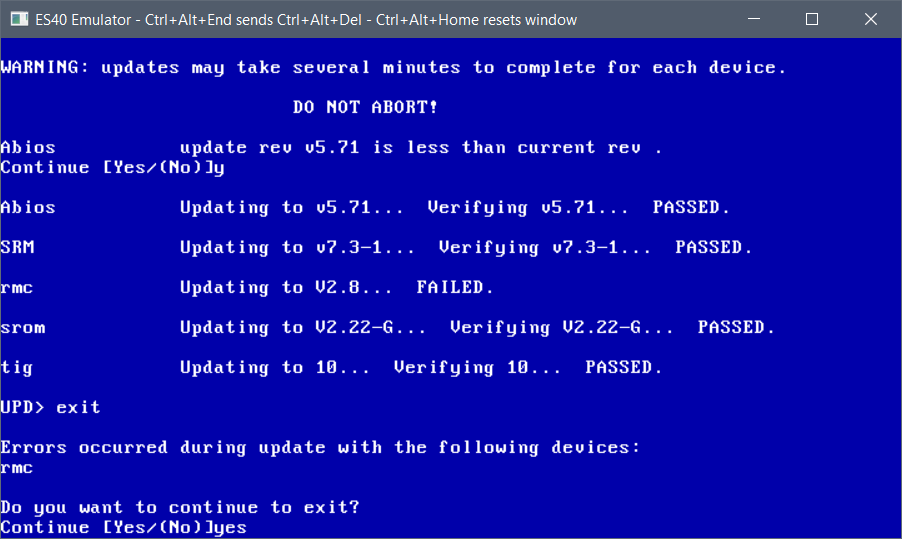
at this point we can exit, and we’ve programmed our flash.
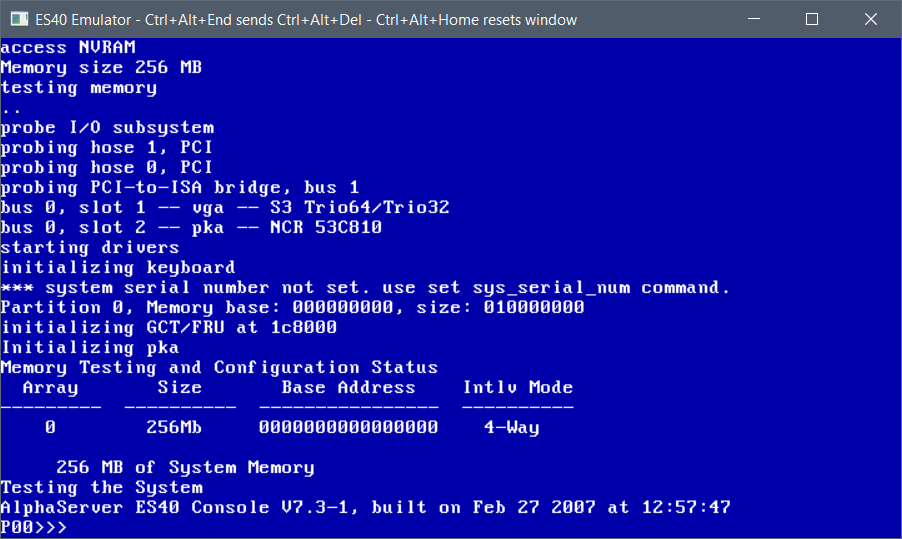
The emulator will reboot, and we will be sent back to the SRM prompt.
For those of us who want to run Windows NT we can now edit the NVRAM so it always auto-starts ARC, so it doesn’t require manual intervention.
simply type in:
edit nvram
10 show dev
20 arc
Then you can exit this mode with a Control+Z (some machines/emulators require Alt+Z)
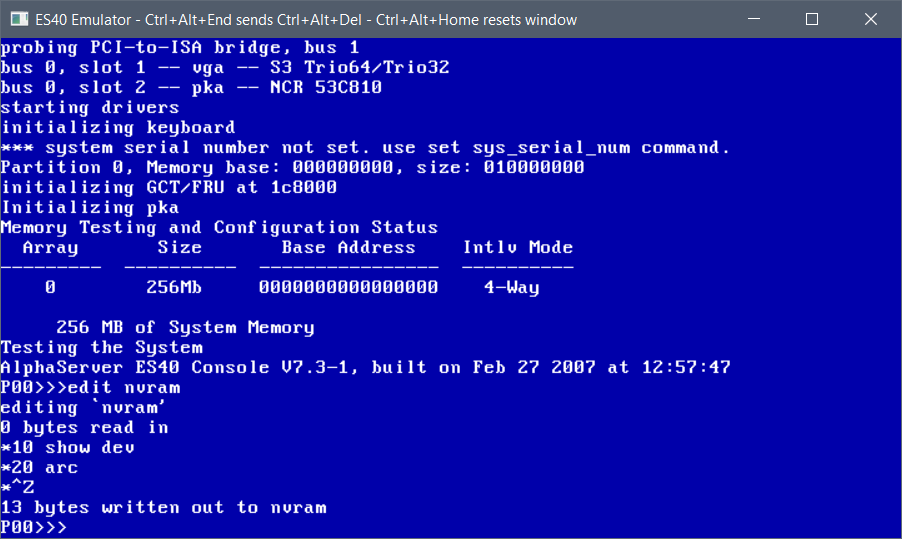
now it’ll show the devices and auto-start arc.
You can test-drive ARC now by simply typing in ‘arc’
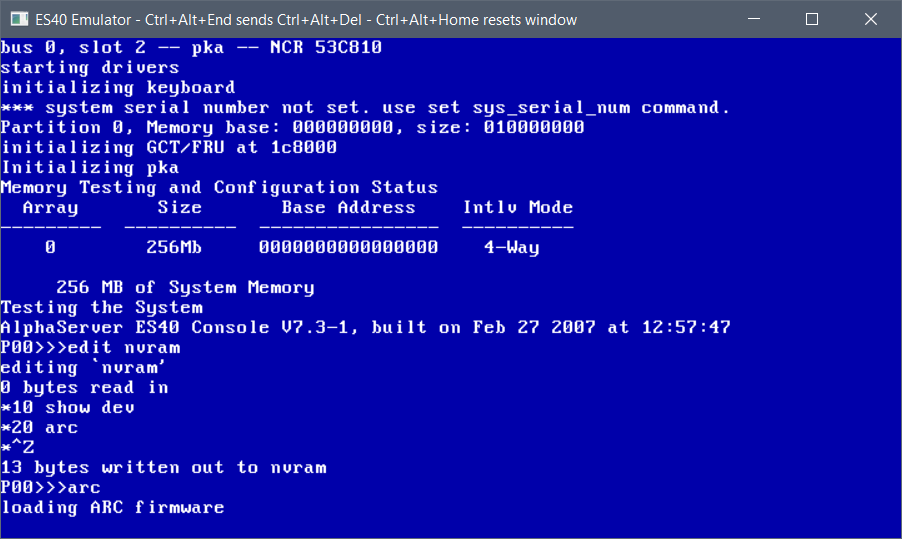
And this will load up ARC.
You’ll see the VGA bios re-initialized, and then the boot logo
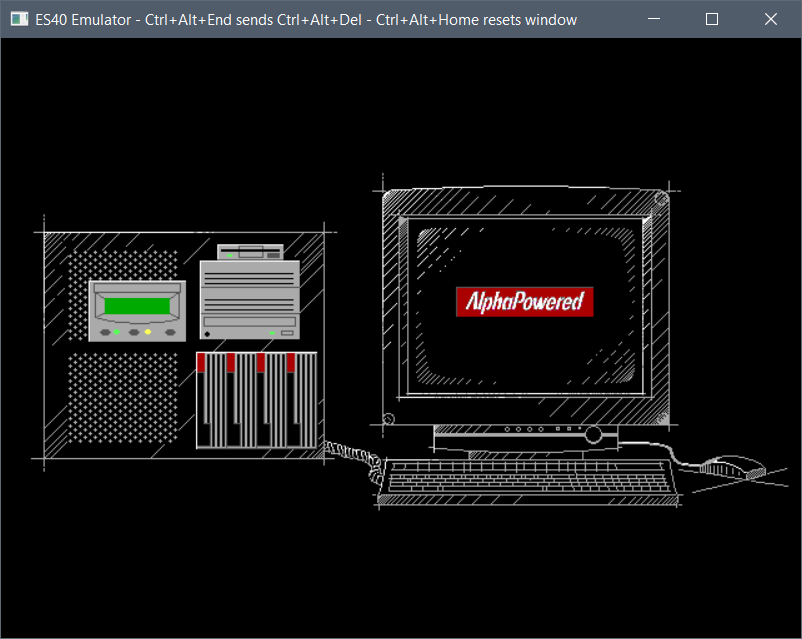
as of yet, the memory test wipes out the video ram so it’ll blank the screen. this is normal.
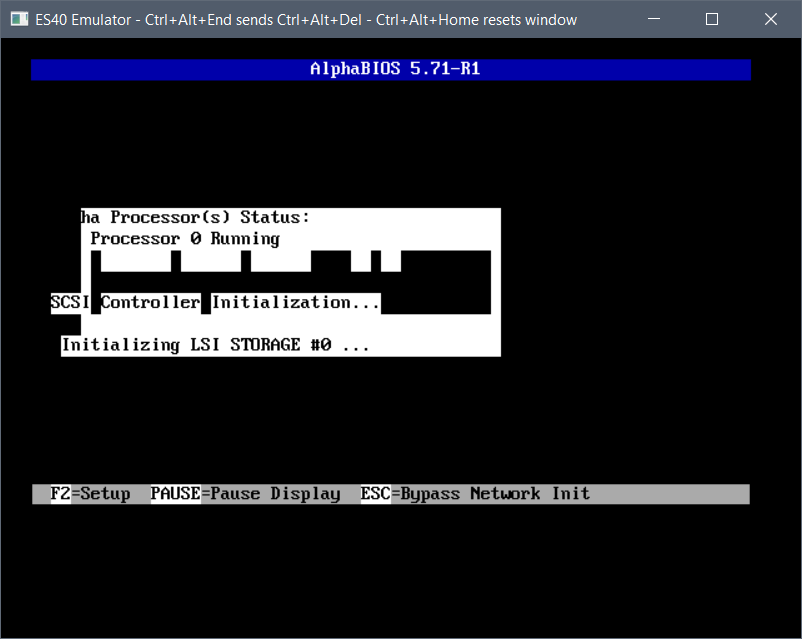
Hit the space bar to exit the memory test
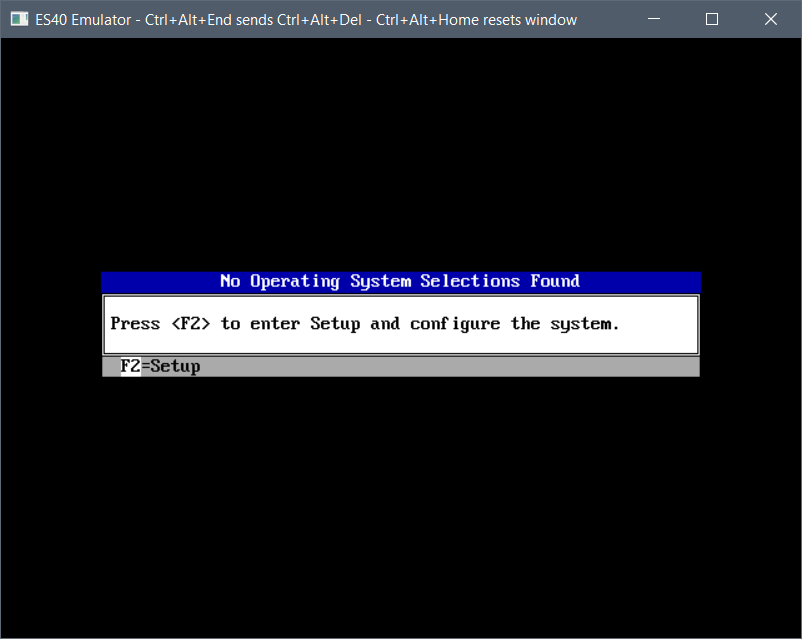
Then press F2 to enter setup. This will take a minute or so.
it really does take a few minutes the first time.
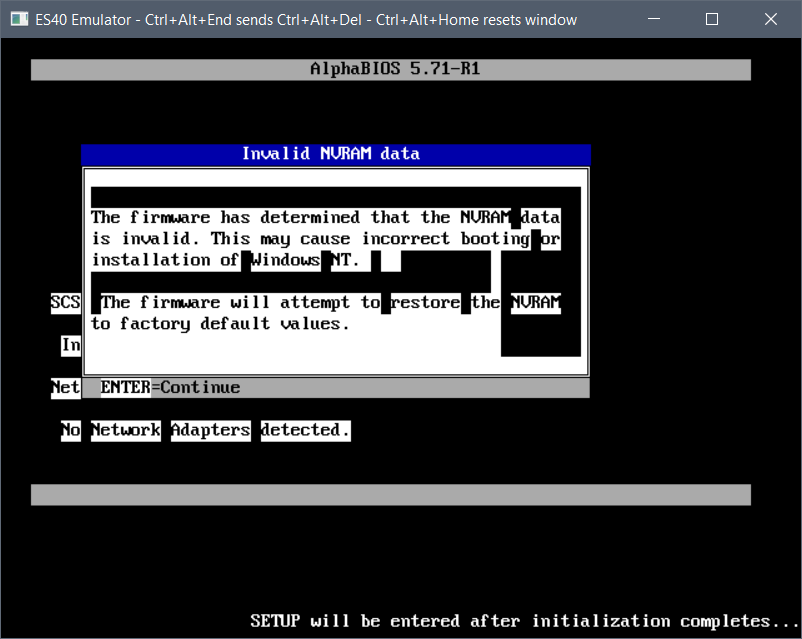
Because the nvram is fresh it’ll reboot. so hit space again to skip the memory test and f2 to enter setup
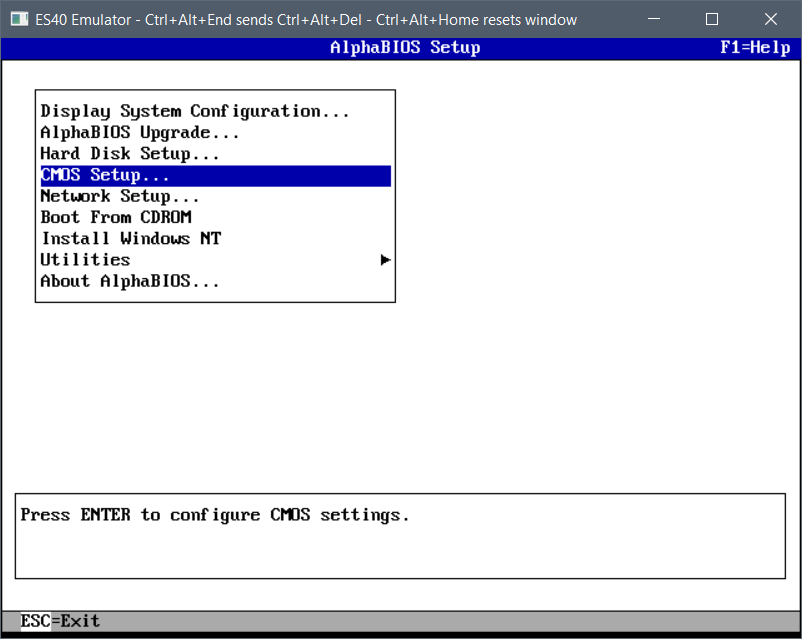
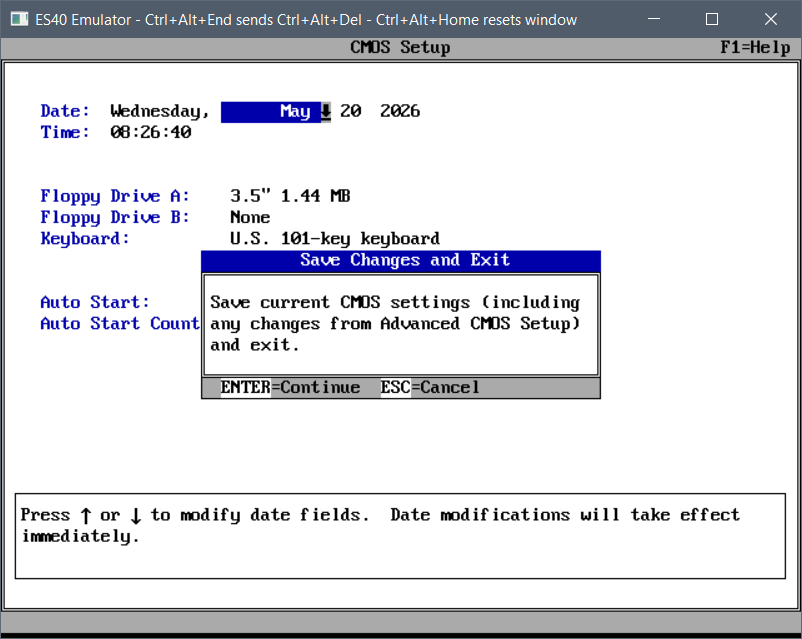
arrow key down to the CMOS setup
and F6 to enter advanced setup
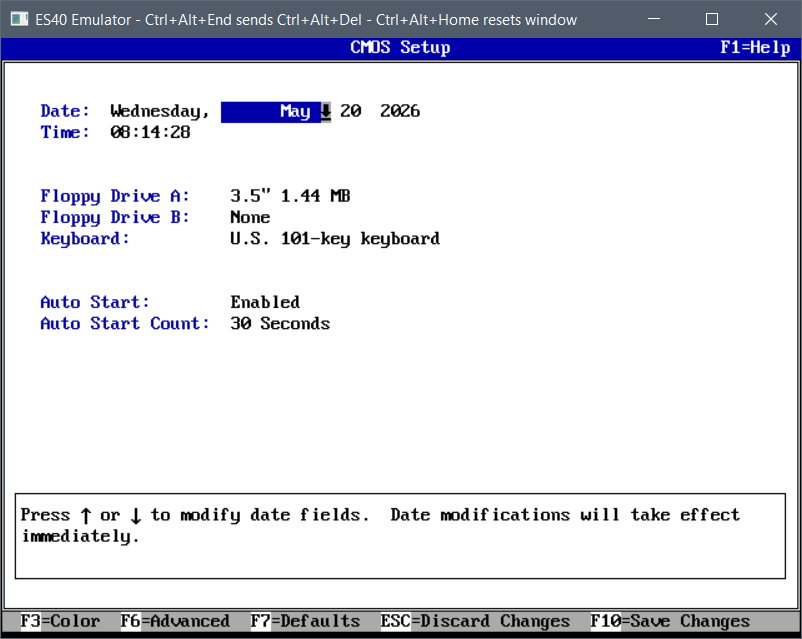
In the advanced menu, hit tab to advance to a selection and arrow keys to change them
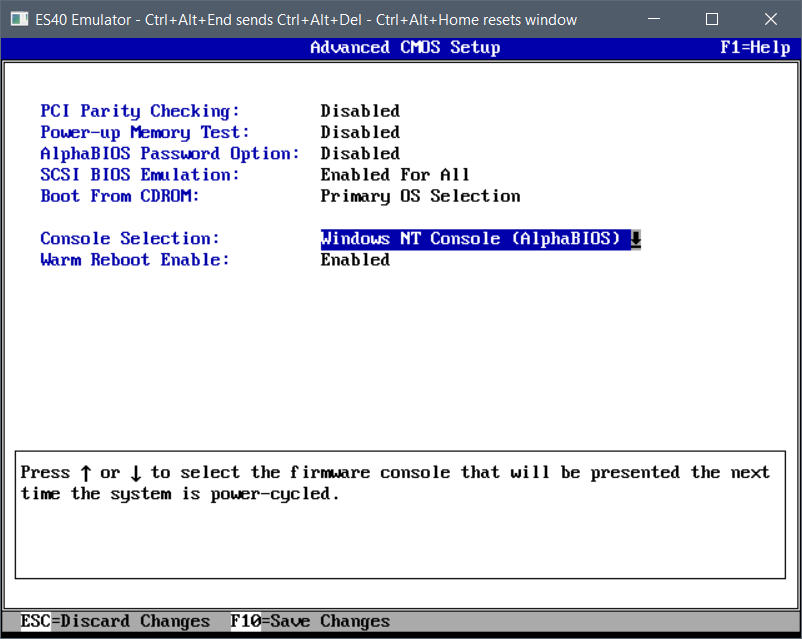
And then Press F10 to save the changes.
Now we’ve fully programmed the flash and set ARC to autoboot!