Cross compiling to the Atari ST

This was a lot harder than it should have been. And not because of gcc or surprisingly ancient binutils.

I didn’t have much to go on, as ancient threads like this, or this end up unanswered or without any good conclusion. I guess it’s not surprising that all the attention is to MiNT & MINIX rather than the native platform. But I was not deterred.

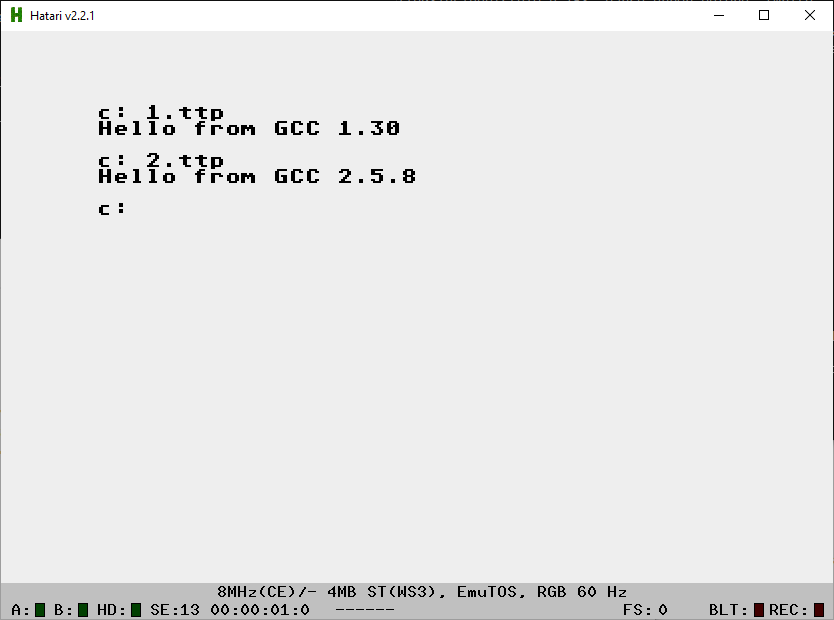
The reason why this was so freaking hard was how so much of key parts of gcc for the ST have been purged and what remains being scattered to the winds. Amazingly the hardest thing to source is the include files. There is a GCC 1.30 file on all the usual GNU mirrors but to save a few kb it has no headers, instead it wants you to reuse the ones from the 1.25 binary distribution. Which is gone. There survives a pl95 binary and source package, but again no includes. Instead I got lucky with all three for pl98. Which has a lot of GCC2 hooks so I cheated on getting the 1.30 hello world by using the 2.5.8 pre-processor.

It’s kind of annoying how all these seemingly tiny files get purged to save a few kb. Just as I can’t for the life of me find the old original GNU libc.

Speaking of files, ZOO has to be the worst compressor ever. Not only is it just overall worse than ZIP, but there are 2 incompatible compression methods, like the introduction of LZD, which any of the good versions of UNZOO can’t deal with. And sure there is zoo210.tar.Z but despite being able to build it on multiple platforms it never does anything useful. All these ancient fileformats sure don’t help anything. And sure there is a MS-DOS version that the MS-DOS Player can run, but get ready for 8.3 filename renaming.

The one good thing that came out of this experience is that since I am building form i386 to 68000 I found that this setup uses the G++ linker which has endian swapping. So maybe I can complete the chain for Mint and MachTen.
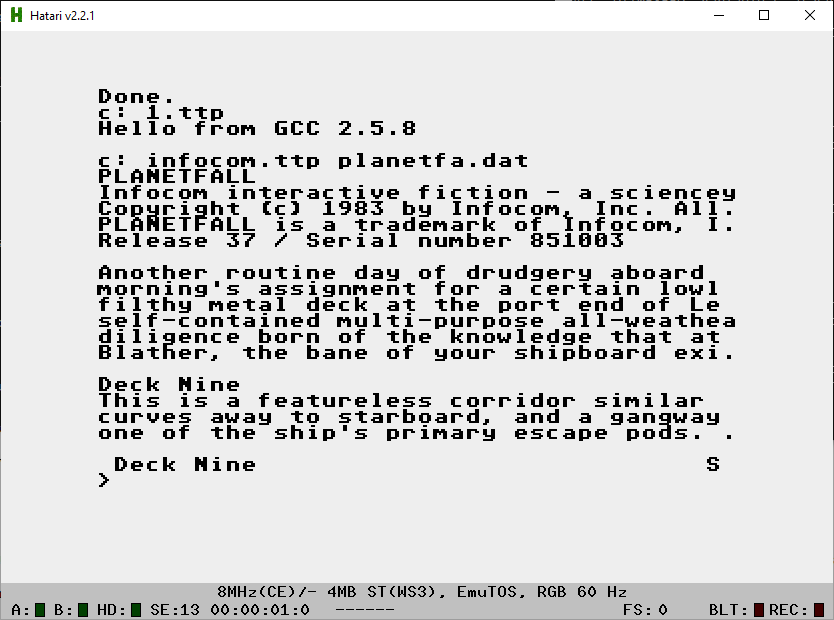
I even got the 1987 Infocom interpreter running. Although I don’t know what the deal is, it seems the larger the GCC based program is the higher chance it’ll just crash on exit or force the next program to crash. Building anything native under emulation was an impossibility.

In the same effort, I’ve had the same luck with sozobon. It took way too long to find a working dlibs. I don’t know why people couldn’t either package them together or at least in the same directory. It took far longer just to find the libs… But it was still fun to get that one running as well.

It’s a far more manual process to compile as I have to invoke each stage manually, but at least I’m finally able to get things going.
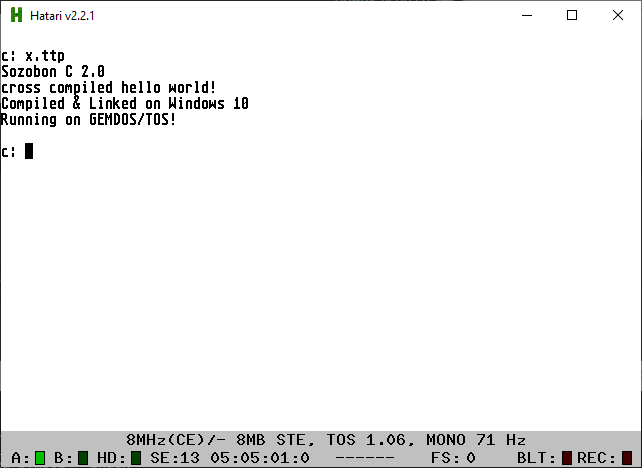
One of the bigger issues is that I would always find libraries in this olb file format, that the linker from Sozobon wouldn’t recognize. And almost every attempt of trying to build the G++ linker would also fail on. It wasn’t until I was able to get the pl98 include files that I could finally get a linker to actually recognize this … seemingly different for no apparent reason format to actually link. After then I managed to finally find a build of this dlibs that would actually link with Sozobon, which naturally didn’t use olb at all.

So yeah that was an adventure.

I haven’t cleaned it up at all, and really wouldn’t expect anyone else to care, but all my mashed together work (source & binaries!) is here: MinGW-AtariTOS.7z

UPDATE

I started browsing more cd.textfiles.com and amazingly found a ‘home made CD-ROM set’ of Atari software, and buried in the gigabytes of stuff was 4 of the 5 disks of the original GCC-1.23! Namely the source & includes to the first GCC library. I didn’t think this article was going to get any traction, let alone downloads. So many people downloaded the above download.

Anyways I started to put together a better package on sourceforge since it’ll do the multiple GIT’s and nicer downloads.

Download crossAtariST

The default download set is for GCC-1.30, with the headers & lib, along with source. It’s crazy small which just goes for how this old stuff is, and how impact full for losing a few kb.

Also the shell that you use apparently makes a BIG difference. The shell that I was using EmuCON doesn’t show any output from the GCC 1.x libs. However other shells most certainly do. I’ll have to do another update regarding shells/emulation.

Playing old 68000 tracks via sc68

First thing, what makes these tracks from sc68 & sndh unique is that it’s not simple music notes, like MIDI, but rather each track actually includes the native 68000 program to play the track, and it interfaces directly to the hardware. This means that sc68 actually has to emulate enough of the Atari ST & Commodore Amiga to play music. I’ve got to say, it’s pretty impressive!

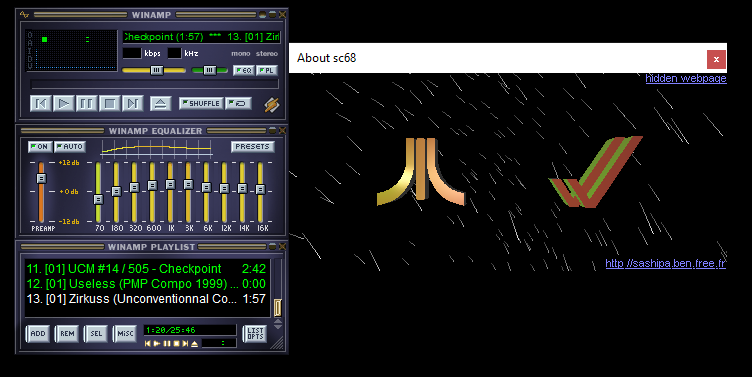
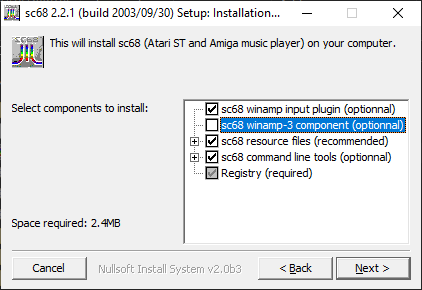
I’m using WinAmp to act as the player, so this way I just need to download the plugin from sourceforge at the moment the latest is sc68-2.2.1.exe.

On install I un-selected the winamp-3 component. I’ve tested it with 2.24 and 5.8, both working just fine.

With the plugin installed, you are good to go!

Now where to get music?

As it turns out, the sc68 project has a ‘massive’ 25MB file, sc68files_20031118.tar.gz containing some 1,775 files!

Likewise the SNDH project has downloads on their page
http://sndh.atari.org/download.php that currently sits at 75MB, and has 4,925 files!

sc68 plugin doing it’s thing

If you look at the code, you can find that it does in fact emulate a 68000 along with peripheral chips and music chips. Just as the SNDH format is 68000 ASM.

So there we go, an obscure music format that actually involves emulation!

Wasting some cycles on FrontVM

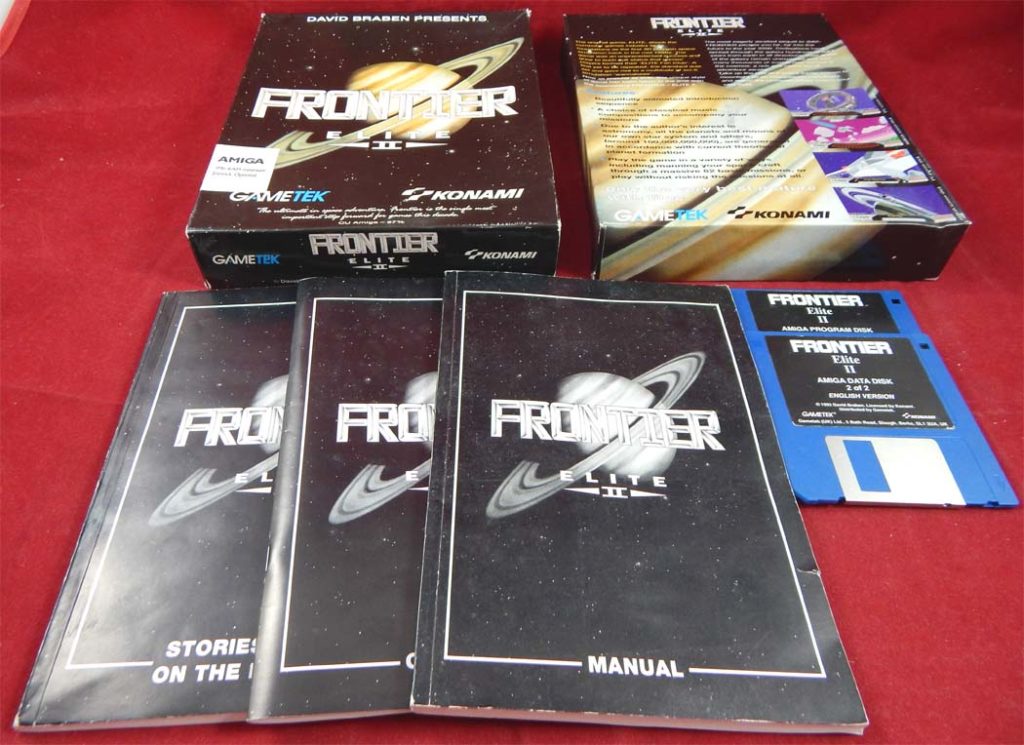
Frontier!

A while ago I had chased FrontVM to moretom.net and found 2 links. One from 2003 which is a dead link, and the 2004 version which was archived by the wayback machine!

It was an interesting build, as it still used 68000 emulation from Hatari/UAE this pre-dates the 68000 to C or i386 ASM. However since it ran (mostly) the original code, it was more ‘feature complete’, although loading save games is broken for some reason (I think the decryption was not disassembled correctly). It was actually a stupid file mode setting. I just updated the source & put out a new binary, testing save games between Linux &Windows.

Anyways, it originally built on Cygwin, so I filled in the missing bits, and have it building on both MinGW & Visual C++

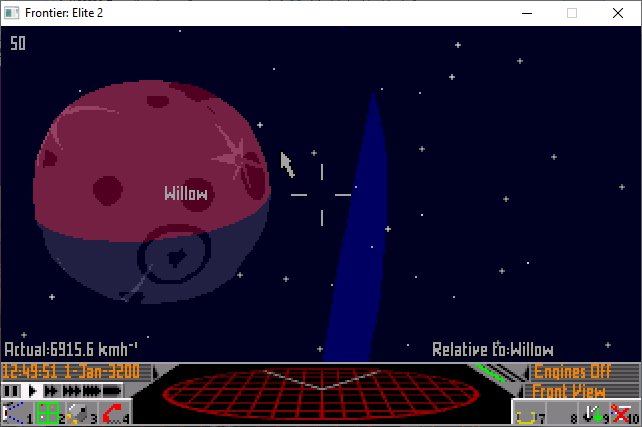
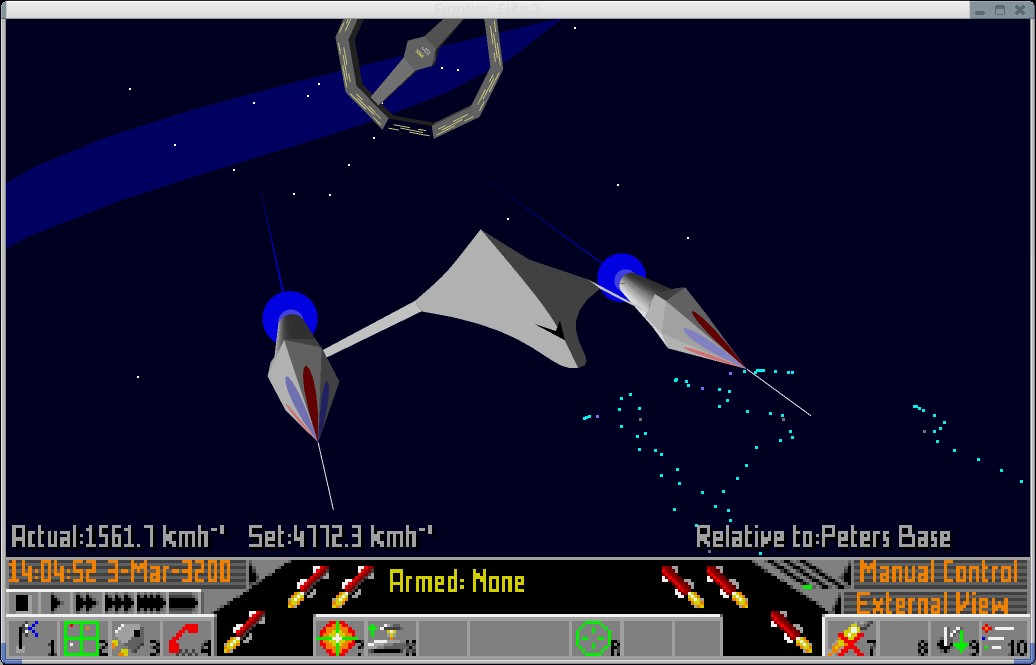
Parked outside Willow in the Ross 154 system

So yeah, it’s Frontier, for the AtariST with the OS & Hardware calls abstracted, still running the 68000 code under emulation. I think it’s an interesting thing, but that’s me.

I put it and the other original versions I found over on sourceforge.net

Download Frontvm

Oddly enough it’s already been downloaded, so go figure.

Atari System V UNIX Saga – Part III – SCSI Disk Replacement

(note this is a guest post by Tenox)

In previous posts from ASV series I have explained why I got hooked on Atari System V UNIX and what I had to do to get a decent resolution out of Atari TT. Having built the VGA monitor adapter, the next challenge was to replace the internal SCSI hard disk with a flash storage of some sort. I really don’t like spinning hard disks and especial the old ones.

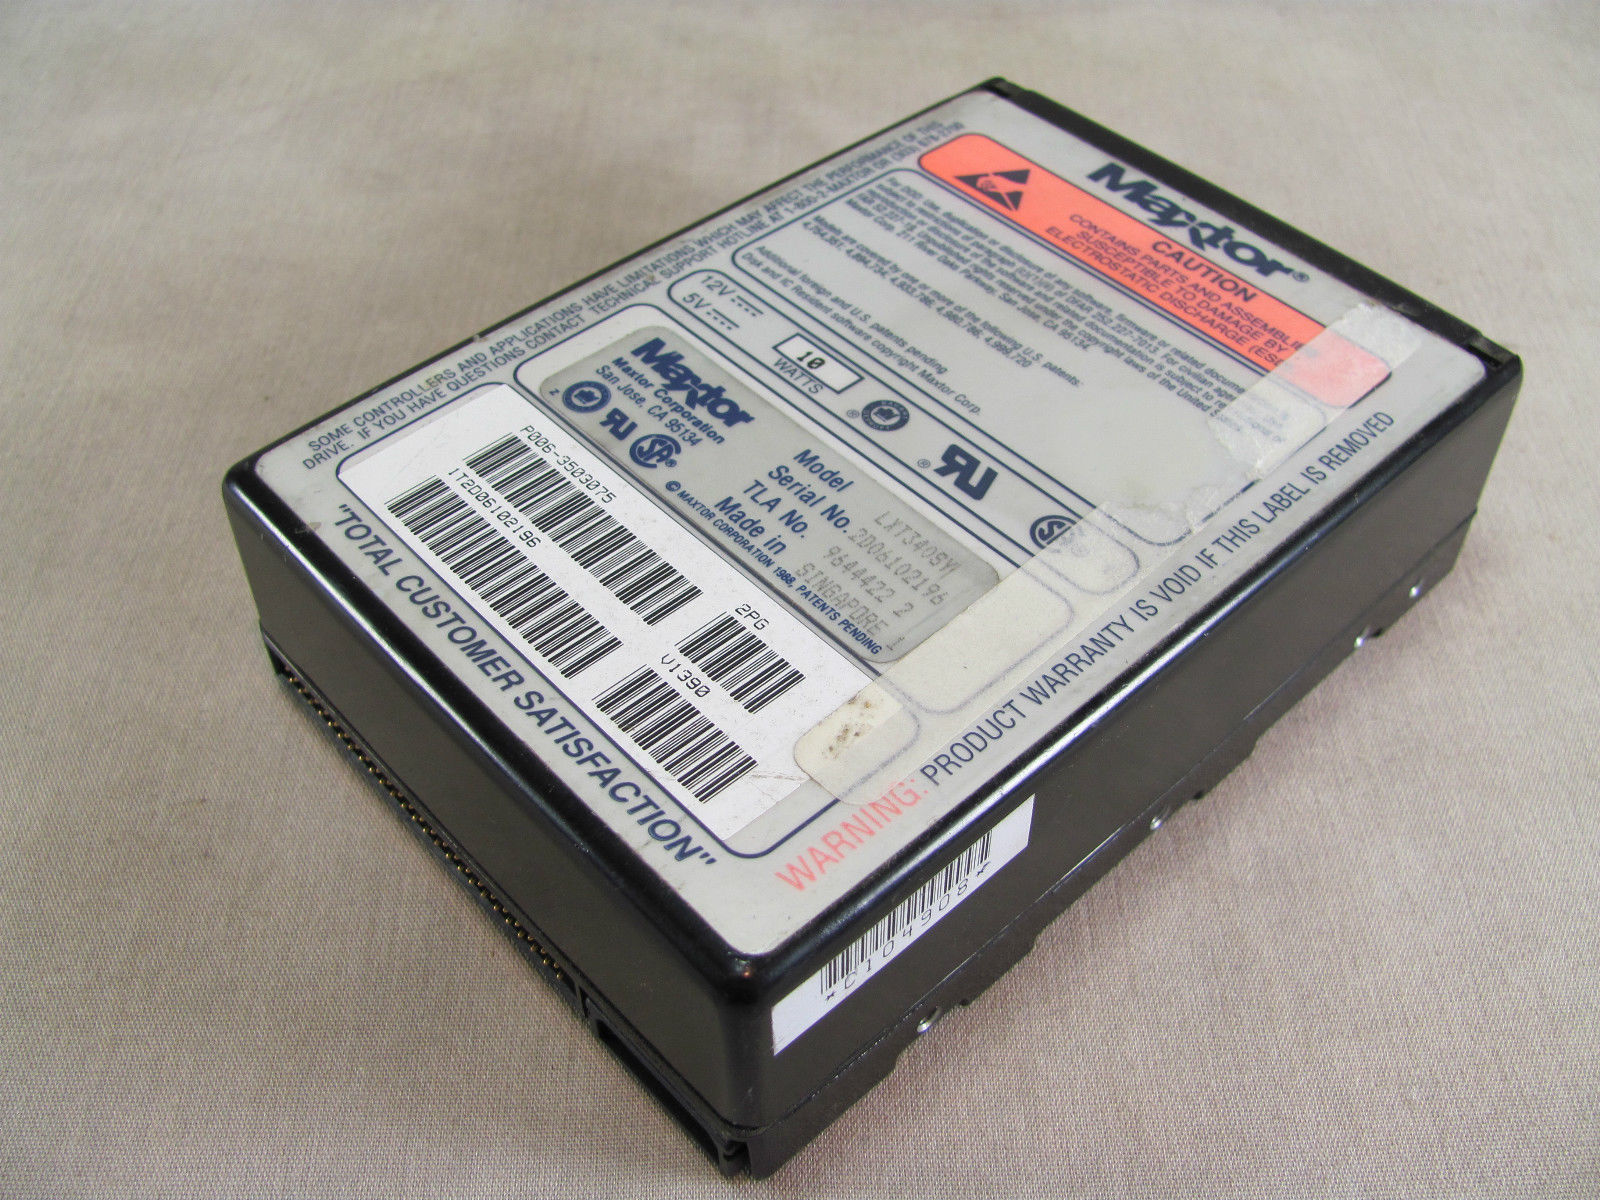
I have mentioned that there are two surviving ASV disk images. The better one was made out of a rather large old, loud and obnoxious Maxtor. I’m definitely not having this monstrosity inside of my beloved Atari!

Maxtor LXT340SY

Maxtor LXT340SY


So how can you replace an old SCSI hard disk with a modern flash device? There actually are several different ways.

If you have the money you can go industrial route, which is a SCSI disk replacement for various machinery and embedded systems produced by ReactiveData. You can buy one of these for a little over $1000 USD. The good part is that they substitute a specific real hard disk model and are exceptionally good in quality of emulation. However, spending a lot of money on my TT and TenoxVGA already, this really wasn’t an option without getting a divorce.

Another approach is to use SCSI to IDE bridge combined with IDE to CF adapter or possibly SCSI to SATA bridge and SATA SSD disk. These are widely used by Atari / Amiga / Mac 68k community. The most popular bridge come from a company called Acard. I actually had one of these at hand, AEC-7220U which I used for TOS/GEM work.

acard front

acard front


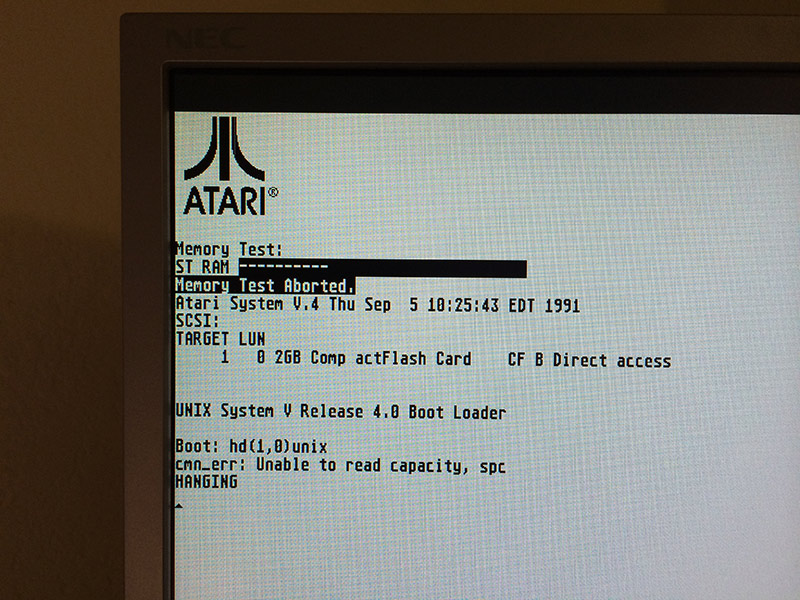
Did it work? As you can guess – of course it didn’t! The initial boot loader errors out unable to read disk capacity.

Atari SYS V failed to boot

Atari SYS V failed to boot


Atari ST/TT, somewhat similarly to 68k Macs require a hard disk driver, present on the hard disk itself. There are several 3rd party implementations, some of them, like HDDRIVER maintained up to present date. Unfortunately these drivers are TOS specific and obviously don’t work with Atari Unix. The system comes with it’s own hard disk driver which seems to be obsolete and with limited hardware support.

The next step was to research and try out some other SCSI to IDE bridges in hope one would just work. And surprisingly there are several to choose from.

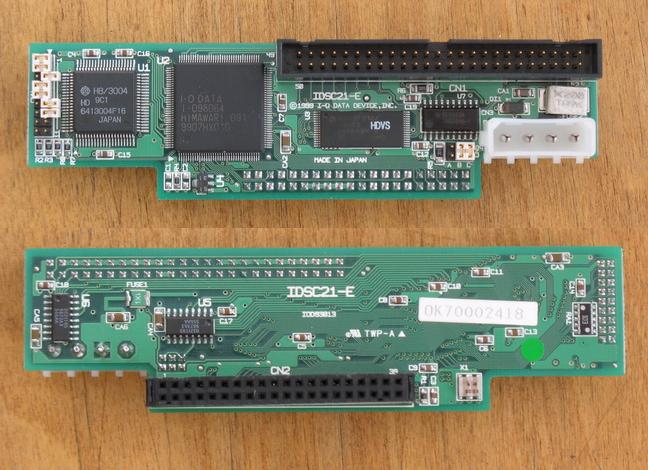
The second on the line was I-O Data R-IDSC21-E/R. No longer produced and supported, however still fairly popular. Usually regarded as the ultimate bridge with most fancy options bells and whistles. It has most jumpers and modes of all tested devices. For instance ATA PIO and DMA modes.  Unfortunately this didn’t help at all and same error was observed.

idsc21e

idsc21e


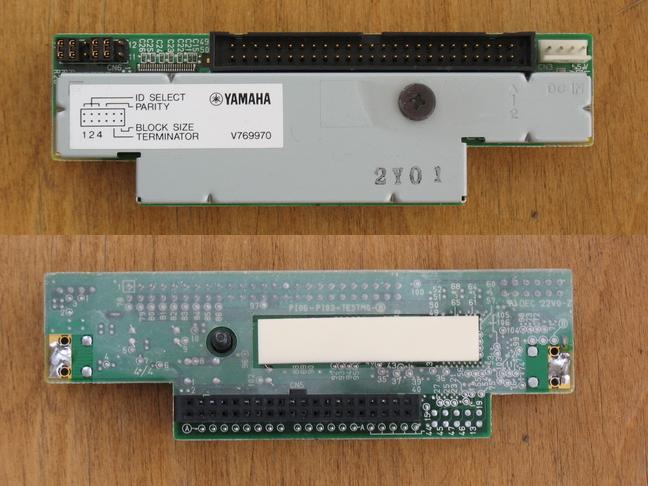
Another device tried was Yamaha v769970. This bridge was conceived to allow use IDE CDROM and Hard Disks with Yamaha samplers. No longer produced and obsolete, it’s somewhat most easy to set up, robust and stable. It’s actually my favorite bridge for day to day use, except for ASV where it just doesn’t work.

v769970

v769970


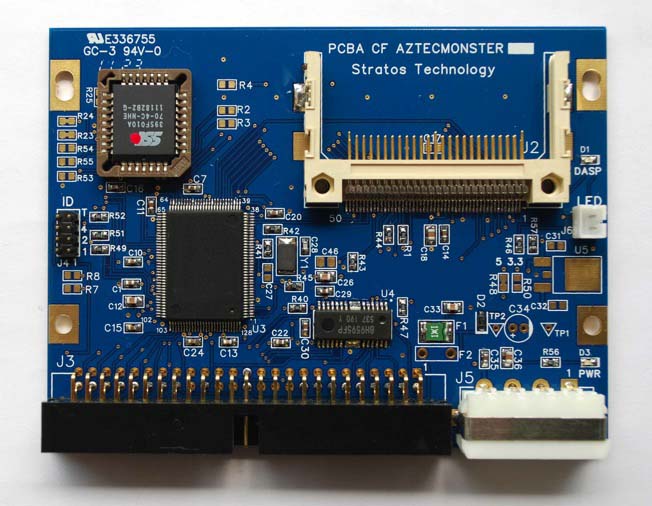
More recent kid on the block is an integrated SCSI2IDE + IDE2CF in one device called Aztec Monster. Recently designed and currently produced in Japan (you can buy one on eBay) is a fairly decent choice, which I recommend to every one. I had a lot of luck with these, except for ASV of course…

CF_AM_r1_1

CF_AM_r1_1


I also looked in to SCSI to SATA bridges, like this one, but they have additional issues, like need to convert LVD to SE on one end and SATA to IDE to CF on the other. Little bit too complex for what I wanted.

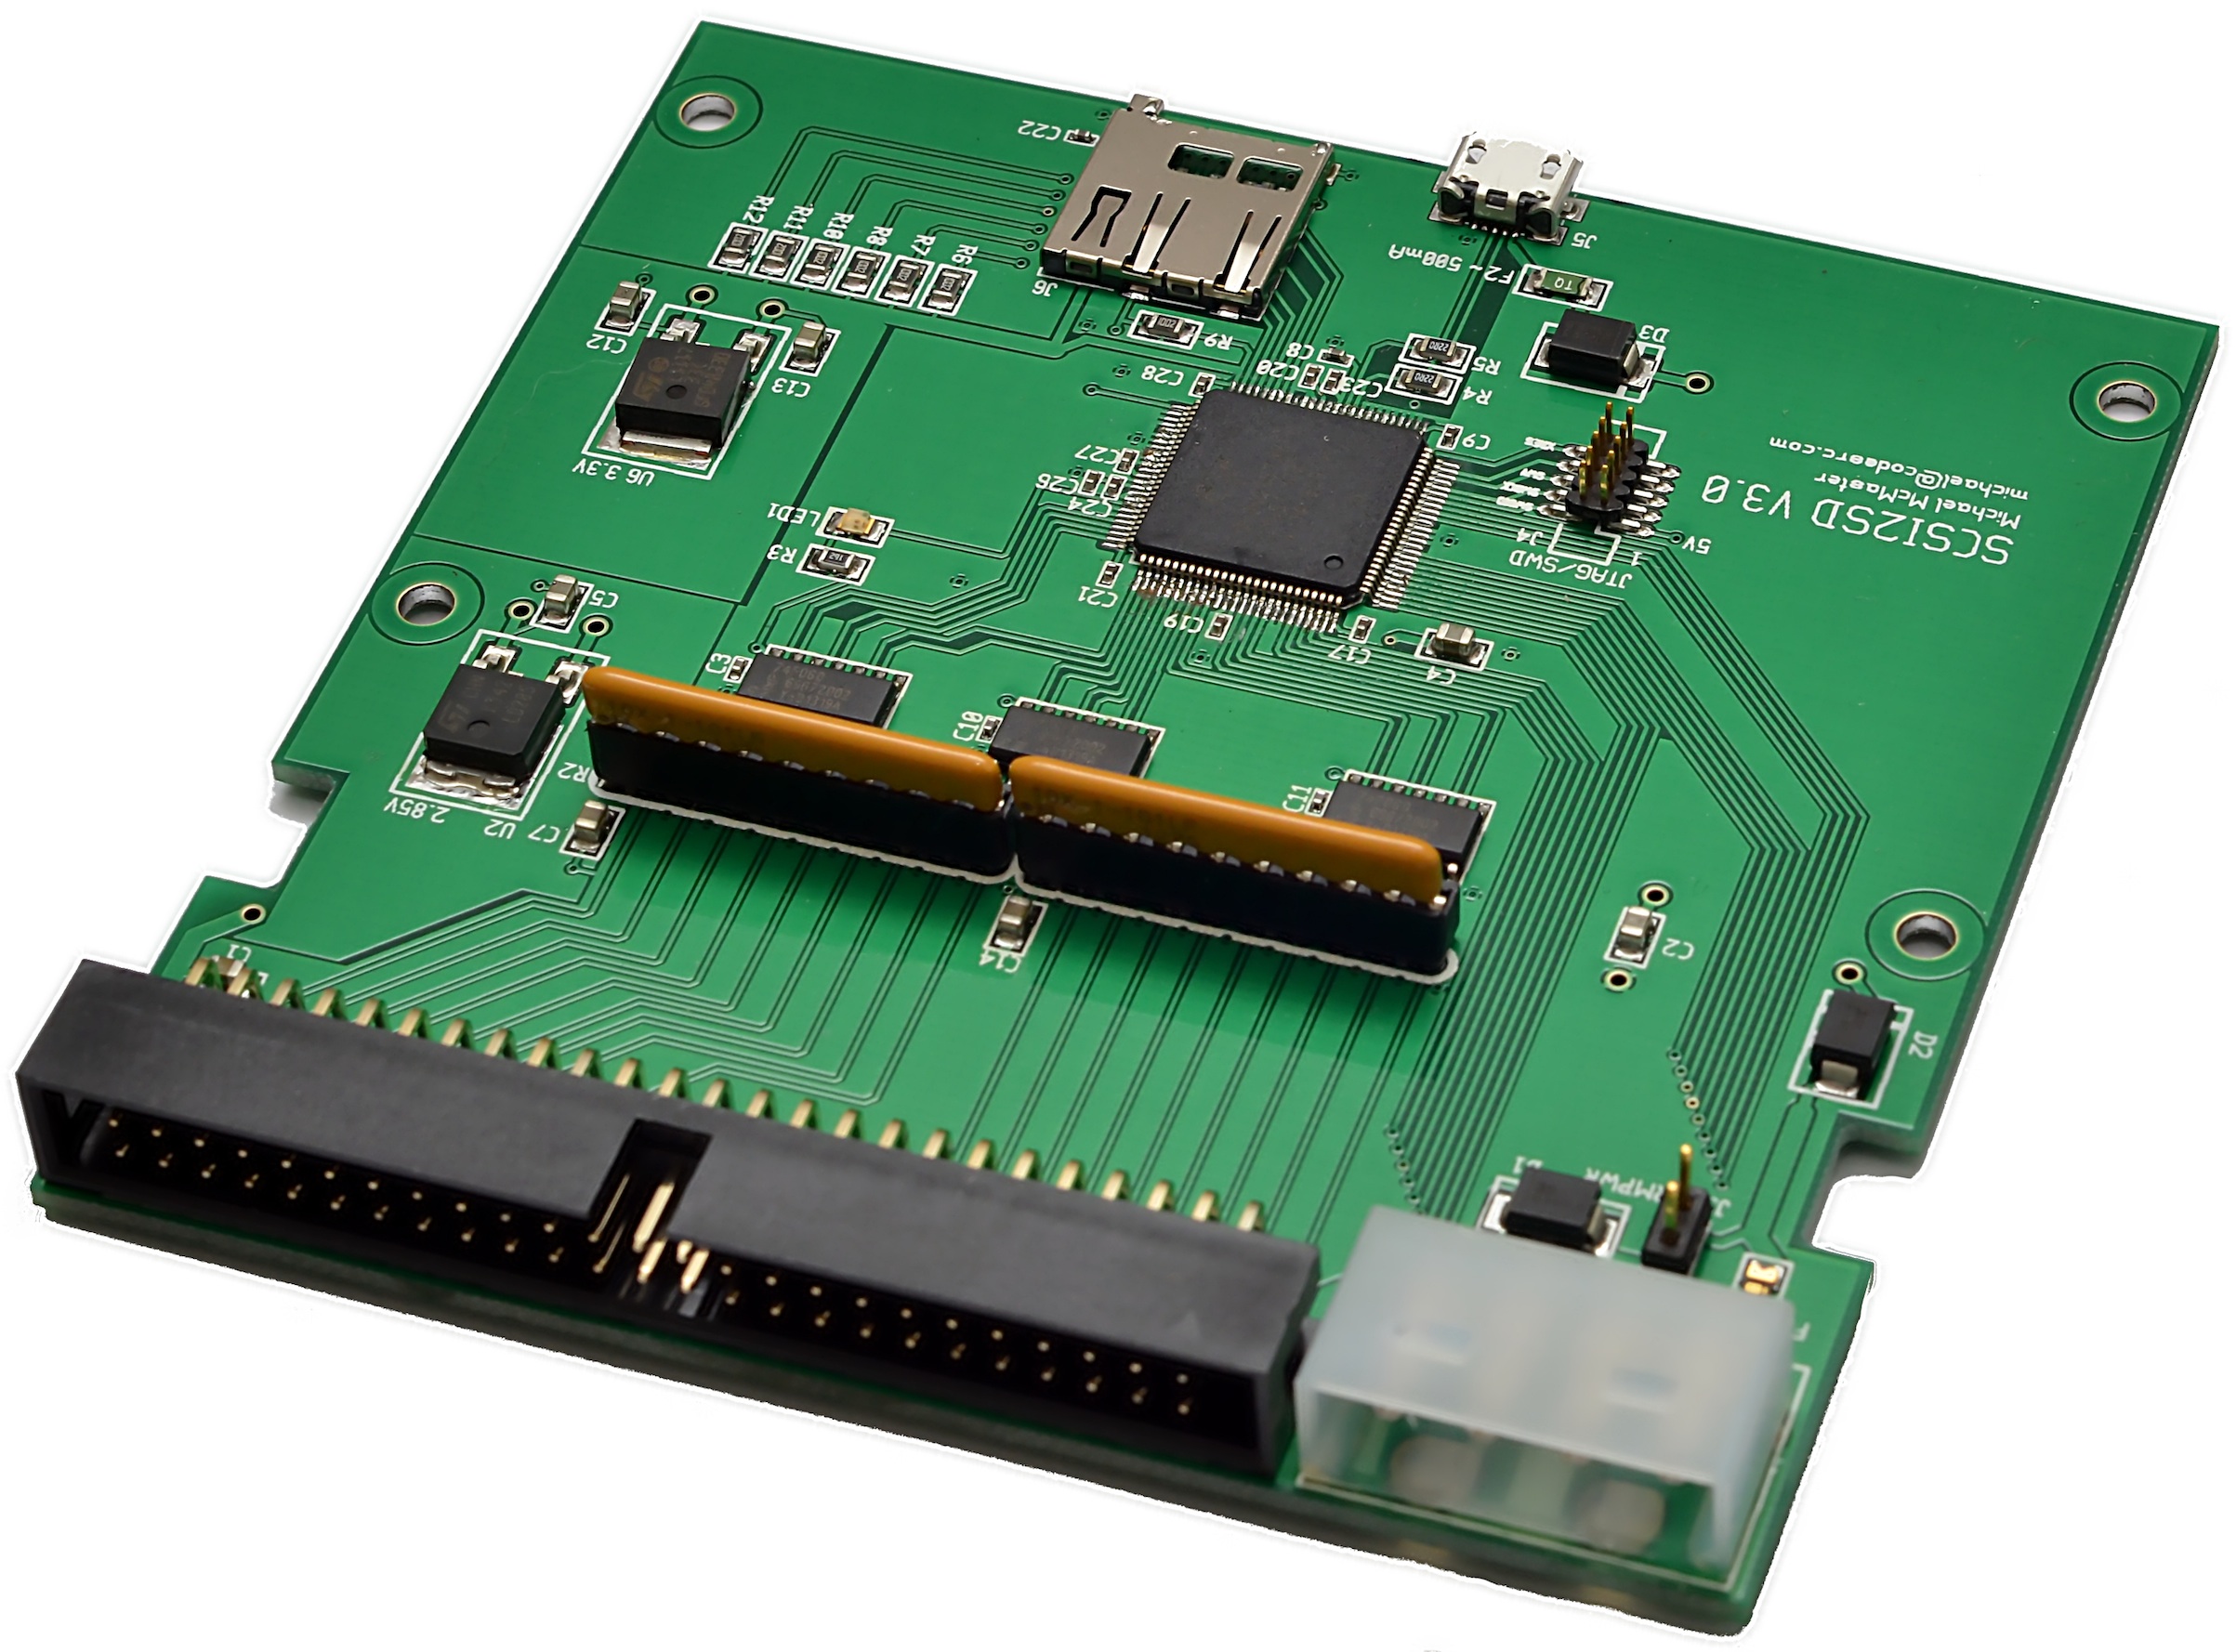
Being out of luck I started researching if it would be possible to build an open source version, which can be easily diagnosed and fixed. Doing so I found out that there in fact is one open source SCSI adapter called SCSI2SD.

SCSI2SD_V3.0_plain

SCSI2SD_V3.0_plain


I was bit skeptical in the beginning but then I though that being open source it can be debugged and fixed if it needs to be. So I immediately ordered one.

Once it arrived, I plugged it in, applied the image to the card and BAM! It worked! The system booted fully and worked flawlessly!

Atari Unix System V – Boot Sequence from Antoni Sawicki on Vimeo.


Over time SCSI2SD proven stable and flawless. One feature that Mac users will appreciate:

--apple Set the vendor, product ID and revision fields to simulate an
        apple-suppled disk. Provides support for the Apple Drive Setup
        utility.

In the next article I will write about my first steps in the system post boot and then bringing it to a more or less usable state. Stay tuned!

Atari System V UNIX Saga “Part II“ TenoxVGA

(this is a guest post from Tenox)

In the previous article I explained how I got hooked up on Atari UNIX and brief efforts in the hardware department. TL;DR I got stuck on lack of a specialized Atari high resolution 1280—960 CRT monitor, which operates using ECL rather than VGA signaling.

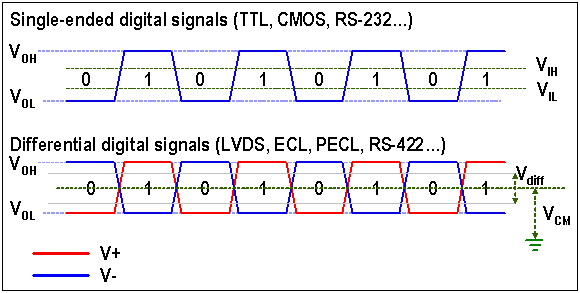
So what is ECL signal? Without going to too much in to the details ECL is a differential signal much like LVD SCSI. These are basically more interference resistant and therefore allow higher bandwidths.

07c0be30313

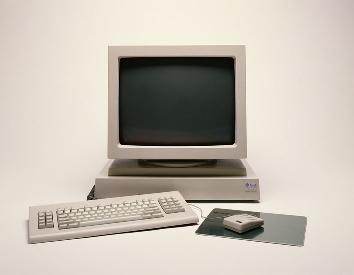
ECL signaling was used for high resolution monochrome monitors for Sun, SGI, DEC, HP, NeXT, etc. before VGA got it’s high resolution modes via VESA extensions.

sun3-60-small

During the research phase I came across a device made by Extron, which basically converts ECL to VGA signal. These were made to allow SUN/SGI/HP/NeXT workstations to be hooked up to a VGA projector.

rgb202xi-lg

Despite hours spent attempting to get these working by myself and other Atari users alike, this just didn’t work.

At this time the only viable approach would be to make such adapter from scratch and specifically for the Atari TT. I have rather limited experience in electronic circuit design. I was not the first to come up with such an idea. Over last 20 years or so adapters like that were made and tried before by much more experienced people, but still with rather crappy results. It was obvious I needed a professional help. Fortunately for last several years I have been living in the Silicon Valley, which is abundant with required skills.

I have found a helpful company with an extensive expertise in video signal processing, described the problem, they understood, gave me a reasonable quote, I delivered my Atari computer and waited patiently. After a few weeks I’ve got an email that I can come in ad see a preliminary results. They have made this device:

1a

And Atari TT was operating in the monochrome 1280-960 mode on an LCD panel! Well nearly there

3a

The signal was shifted a little bit, and the board was operating from a lab bench power supply. Not a big deal. After a few days they have added a small bread board with a circuit to shift the horizontal sync and a voltage converter to obtain -5V needed for ECL components. Everything was just perfect.

4a

I have ordered qty 25 of the unit to be made and knowing the final price went to look for more serious commitments from Atari users who previously expressed interest. Being out of touch with Atari for quite a long time I realized that most of the interested users are musicians who still use TT for Cubase, and would like to have a larger and more modern LCD screen. They were delighted so see this:

6a

Also in the mean time I started testing more and more LCD panels and realized a rather big issue. TT High mode is 1280-960 where as most LCD panels operate in 1280-1024 mode. This is a 64 pixels difference vertically and also 4:3 to 5:4 aspect change. I have assumed this would work just fine if monitor was set to so called 1:1 mode or expansion/scaling off. Unfortunately to my utter surprise almost zero monitors out there had this mode! Only the newer, larger Dell monitors had it. But who would want to waste a 24 monitor to run such a small resolution on, with large black border. I went through endless monitors, new and used, user manuals, specs, computer junkyards like HSC and WeirdStuff, etc. Nothing seemed to work. Everything was getting anti aliased and blurred. And then someone has recommended me a NEC 1990 LCD panel:

7a

It did have 1:1 mode as well as custom aspect ratios and most advanced display settings known to an LCD panel. Worked like a dream. The screen was 100% perfectly sharp like you were looking on Atari ST emulator on a PC or Mac. The black bars on top and bottom are the lacking 64 pixels, but they are almost not noticeable. Fortunately, the NEC monitor goes for $50 USD on eBay and matches Atari TT in case color. It’s a perfect TTM 19x replacement. Most users who bough the adapter would also invest $50 and get the same monitor to avoid anti aliasing and have a perfect image display. I also became an instant fan of NEC 1990 and now see it as THE LCD panel for all my retro computing activities.

Back to Atari, one problem solved, I was hit with another disaster. The finally assembled converter units were producing rather crappy picture. The picture was oscillating and there were a lot of nasty artifacts and imperfections on the screen. The NEC LCD panel couldn’t even auto adjusting to the signal.  Long story short, once components from the bread board were incorporated on to a much smaller PCB they started interfering with now un-differentiated and unshielded video signal. Also some of the ICs were overheating and changing properties after a while. The investigation and problem solving went over budget rather quickly. The company stopped charging me at some point and worked in spare time to solve the problem. Unfortunately it took several months to finish. This is mainly because each try requires a new PCB reprint, at low cost / priority which is of course made in China. So about 1 month for 1 try just to see if it’s any better. From a time perspective now I can understand why all previous attempts to construct such a device failed miserably. It required a LOT of patience and professional expertise to finish it.

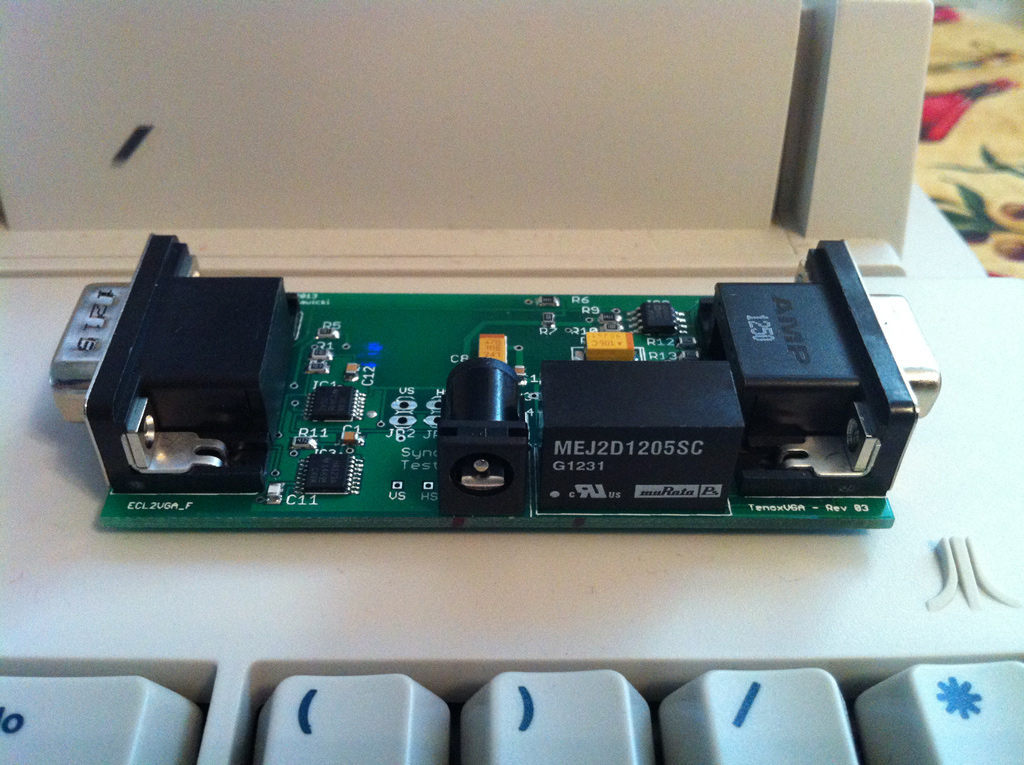
This is how a final version of TenoxVGA looks like:

onkeyboard1

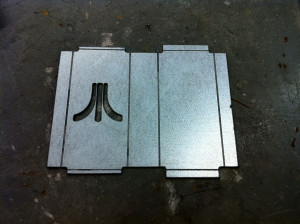
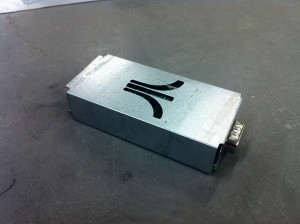
In the mean time I had some time to come up with a case for it. I have experimented with a water jet cutter:

c2c3

but finally settled for a 3d printed version. It’s much cheaper and easier to produce than cutting and bending a sheet metal:

cable

Once I have received a shipment of 25 units and got appropriate power supplies and cables I have winged a website with paypal payment and started selling to the happy Cubase users.

tt-big

Having fixed the 20 year old video problem I was now ready to install Atari System V UNIX

…continued in this post!

Atari System V UNIX Saga – Part I – Intro

(note this is a guest post from tenox)

SONY DSCA long long ago, my father had a printing business. An emerging technology called Desktop Publishing (DTP) was just taking to the mainstream. I have been involved in migration from Linotronic typesetting machines (see above) to more modern and GUI driven Atari TT with Calamus. Those were fun times. Long story short, I became an avid fan of Atari. Unfortunately as time progressed, Ataris got in turn obsoleted by Macs with Quark Xpress and Photoshop. I myself started exploring world of Unix and ended up selling my Atari to be able to run Linux. Bit of shame from time perspective as there were plenty of Unix flavors for the Atari: Minix, Linux, NetBSD and MiNT. Unfortunately they were released after I parted with the platform.

Atari System V on Cebit

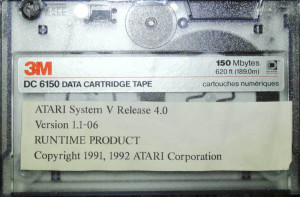
Fast forward 20 years, Atari own UNIX version surfaced the earth. It was originally released in mid 1992 but died shortly after, no one ever heard about it. It has been lost to humanity. Only two good souls had working versions of the system and under pressure of the community finally made disk images of their installations. Some time after a documentation set has been found and digitized. Now I’m in process of trying to restore last existing set of damaged installation tapes. You can find little bit more history of the efforts on this thread.

RUNTIME_PRODUCT-QIC

Out of nostalgia and the fact that Atari TT has been designed as a Unix Workstation, but never got a chance to play with it in this role, I decided to purchase one for myself. I have turned to Best Electronics who is a local Atari dealer around the corner. They sell Ataris like brand new, assembled from spare or reconditioned parts. I paid a small fortune for it, but I got myself a brand spanking new Atari TT, factory sealed and smelling like new after 20 years. It was fitted with latest motherboard revision, TOS, 1.44 MB FDD, 4 MB ST RAM and 16 MB TT RAM.

tt

I was told to just hook it up to a VGA monitor and viola, it will work. Which it did… except to my utter shock in a whopping resolution of 640×480. It looked absolutely horrible stretched on a 19″ LCD panel. I don’t have any pictures but it looked like this. For games maybe OK but not for Unix or any sensible applications.

Using TTs professionally in DTP I certainly didn’t remember them suffering in the resolution department. So what was I doing wrong? Aha! In the old days we used to use special high resolution VME graphic cards.  So I went to search for one on eBay and Atari Forums. These obviously proven to be impossible to find… obviously. Additionally I learned that Atari UNIX does not support any of these as they required special TOS/NVDI drivers. In order to run ASV X11 with a decent resolution, one needs a special high resolution monitor called either TTM 194 or 195. These were “professional” 19″ monitors specifically for DTP work. They worked with the built-in graphics card in a special black and white mode at 1280×960, which is actually decent even in modern standards. In a fact we did have these monitors at the printing shop.

Unfortunately these are very old, bulky CRTs and weight 50 lbs. My wife would kill me if I brought one home and even if she didn’t I would hate having one of these on my desk. So why won’t the “TT High” mode work on a standard VGA LCD which normally supports 1280×1024? Well back in a day VGA standard didn’t support such resolutions and Atari had to make the monochrome monitors using ECL signal similar to old SUN/3 and HP monitors. Higher resolution modes were only added later by VESA BIOS extensions.

Researching the topic a lot of people were actually looking for an ECL to VGA signal converter but one did not exist. Some managed to use old EIZO CRTs with ECL support and with decent results, but still these are 50 lbs CRTs and I wanted to run ASV on a LCD panel. An adapter to convert ECL signal to a real VGA has actually been tried before but with rather awful results. Something had to be done!

TenoxVGA was born. And this will be covered in the next post… 😉

Aranym, Atari 68040/mmu emulator!

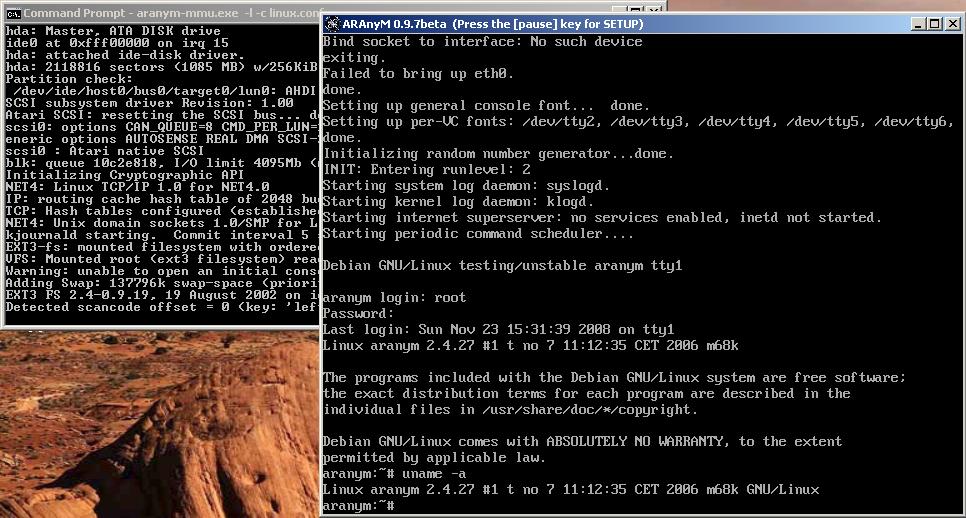
Well it was the weekend, and I was playing with FORTRAN (Language systems fotran to be exact, all 30lb of it!) and anyways to check to FPU & crash issues I though I’d check it out on an actual m68k Macintosh. So as I was using Basilisk II for some stuff, I was wondering if anyone ever did upgrade the CPU emulation to 68040/mmu emulation. And it turns out that the Basilisk II emulation is taken from UAE, which in turn has been used in a few other emulators including aranym.Aranym is “Atari runs on any machine”, and what these guys have done, is fleshed out the UAE 68000 emulation enough to where it will run m68k linux!

Both a windows version and the source can be found here.

Now for the fun part!

You can download a patched kernel here that supports the virtual Ethernet, or just run a stock kernel (no networking though!)

Next you’ll want some kind of root filesystem, I would recommend the ‘etch’ disk which can be downloaded here.

Naturally, you’ll need a config, here is what I’m using..

—8<——8<——8<—

[GLOBAL]
FastRAM = 256
Floppy =
TOS =
EmuTOS =
AutoGrabMouse = No

[LILO]
Kernel = ./vmlinux
Args = root=/dev/hda1 video=atafb:vga16 stram_swap=0
debug=par
Ramdisk =

[ETH0]
Type = bridge
Tunnel = tap0

[STARTUP]
GrabMouse = No Debugger = No

[IDE0]
Present = Yes
IsCDROM = No
ByteSwap = No
ReadOnly = No
Path = etch.img
Cylinders = 2102
Heads = 16 SectorsPerTrack = 63
ModelName = Master

—8<——8<——8<—

Then finally run it like this:

aranym-mmu.exe -l -c linux.conf

I’ll have to play some with the networking to get it going, it seemed straight forward the FAQ here, however I had no luck.

Anyways, it’s no A/UX, but it’s a *NIX like thing on the m68k. Now we just have to beg the Mac people to flesh out the hardware on their emulators to support Linux, OpenBSD, NetBSD & A/UX….

Linux on Aranym

Linux on Aranym


GLFrontier

Frontier Elite

GLFrontier

While on the topic of Frontier Elite this week, I was wondering if they by any chance ever released the source code… It appears not, however there were largely two versions the original being in 68000 assembly then a port to 80286 real mode ASM.
But then I found this:
Tom Morton has taken the Atari ST version of Frontier, and removed the hardware access from the assembly, then tweaked a m68k assembler to either output in C or i386 asm… So he’s basically reversed a copy of Frontier to allow it to run natively!
And he’s added OpenGL support to some degree! It’s VERY cool!
At a minimum I bet there are people out there that would LOVE this guys programs to convert m68k assembly listings into either C or i386 asm. Or a chance to hack the ‘source’ like crazy.
I’ve also come across this great site http://www.jongware.com/galaxy1.html which goes over various algorithms from the game.