(note this is a guest post by Tenox)
In previous posts from ASV series I have explained why I got hooked on Atari System V UNIX and what I had to do to get a decent resolution out of Atari TT. Having built the VGA monitor adapter, the next challenge was to replace the internal SCSI hard disk with a flash storage of some sort. I really don’t like spinning hard disks and especial the old ones.
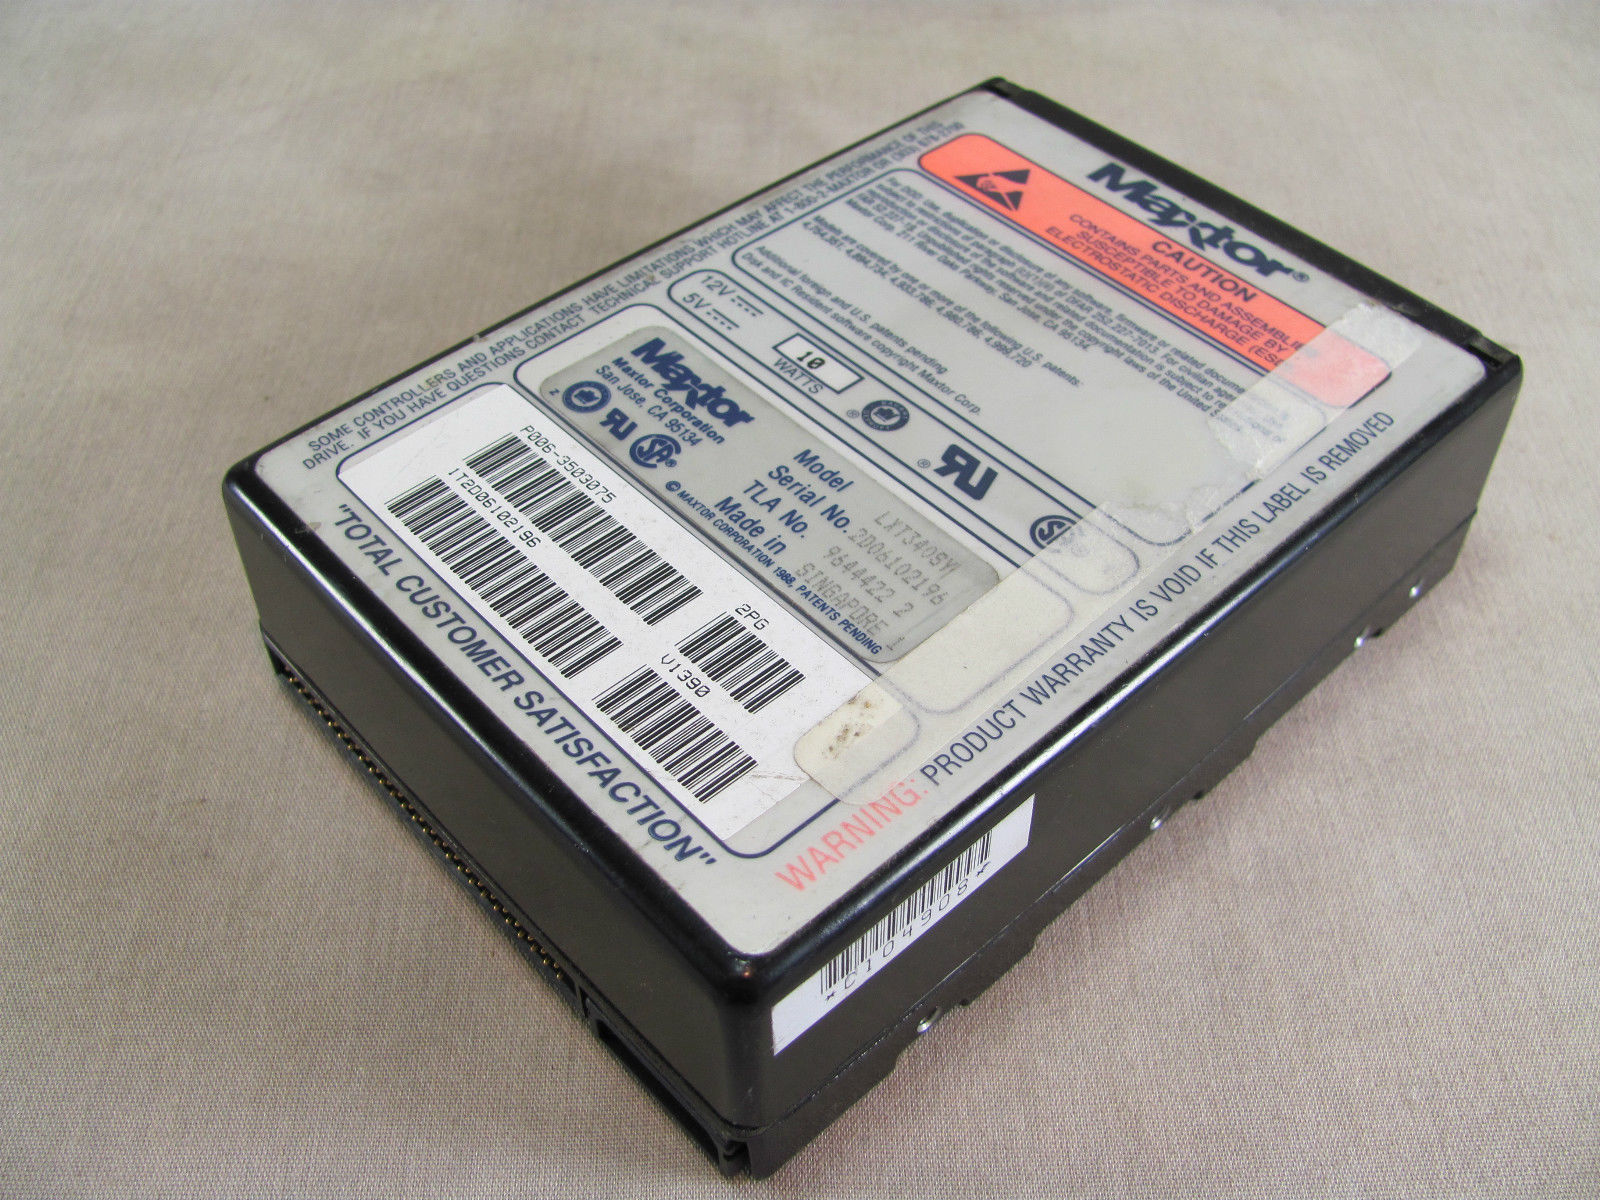
I have mentioned that there are two surviving ASV disk images. The better one was made out of a rather large old, loud and obnoxious Maxtor. I’m definitely not having this monstrosity inside of my beloved Atari!
So how can you replace an old SCSI hard disk with a modern flash device? There actually are several different ways.
If you have the money you can go industrial route, which is a SCSI disk replacement for various machinery and embedded systems produced by ReactiveData. You can buy one of these for a little over $1000 USD. The good part is that they substitute a specific real hard disk model and are exceptionally good in quality of emulation. However, spending a lot of money on my TT and TenoxVGA already, this really wasn’t an option without getting a divorce.
Another approach is to use SCSI to IDE bridge combined with IDE to CF adapter or possibly SCSI to SATA bridge and SATA SSD disk. These are widely used by Atari / Amiga / Mac 68k community. The most popular bridge come from a company called Acard. I actually had one of these at hand, AEC-7220U which I used for TOS/GEM work.
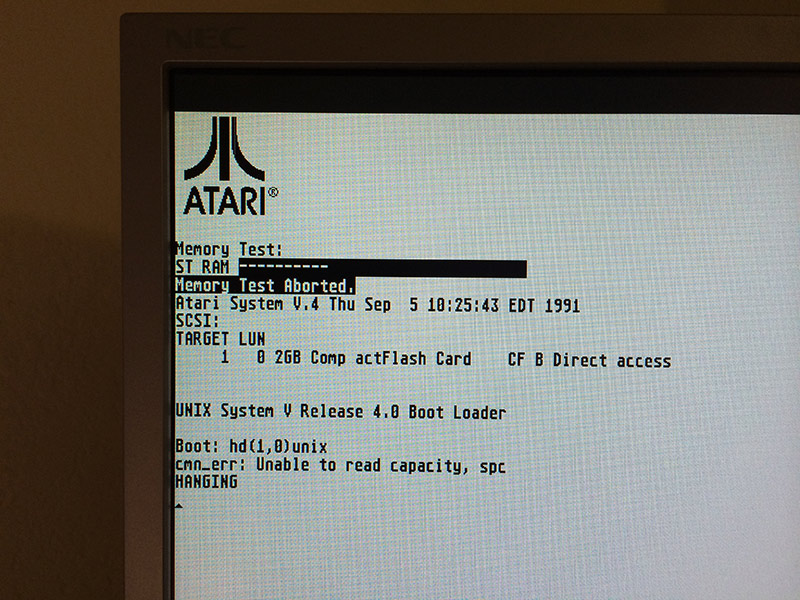
Did it work? As you can guess – of course it didn’t! The initial boot loader errors out unable to read disk capacity.
Atari ST/TT, somewhat similarly to 68k Macs require a hard disk driver, present on the hard disk itself. There are several 3rd party implementations, some of them, like HDDRIVER maintained up to present date. Unfortunately these drivers are TOS specific and obviously don’t work with Atari Unix. The system comes with it’s own hard disk driver which seems to be obsolete and with limited hardware support.
The next step was to research and try out some other SCSI to IDE bridges in hope one would just work. And surprisingly there are several to choose from.
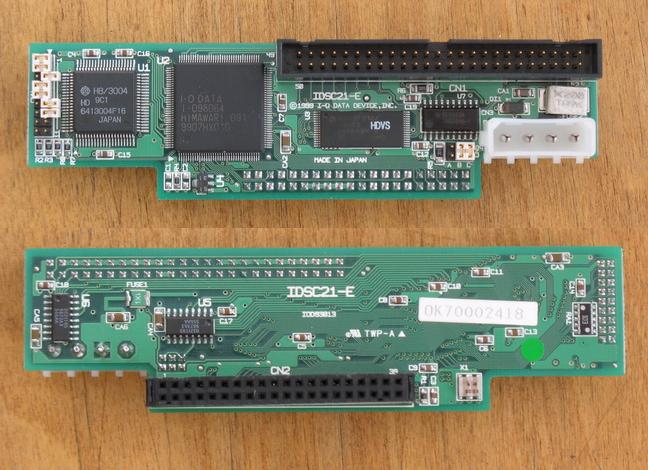
The second on the line was I-O Data R-IDSC21-E/R. No longer produced and supported, however still fairly popular. Usually regarded as the ultimate bridge with most fancy options bells and whistles. It has most jumpers and modes of all tested devices. For instance ATA PIO and DMA modes. Unfortunately this didn’t help at all and same error was observed.
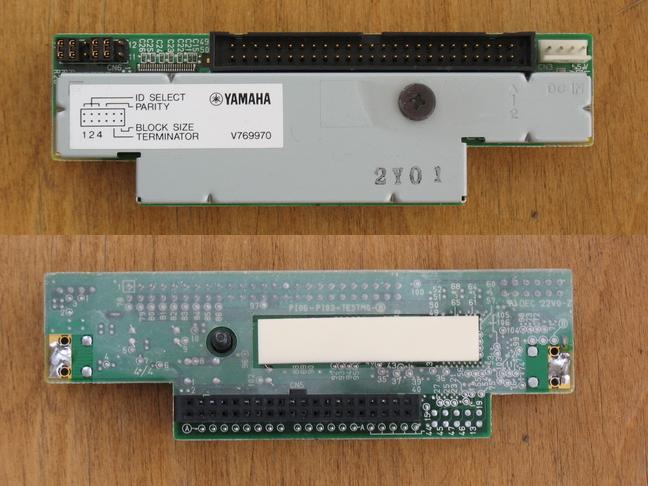
Another device tried was Yamaha v769970. This bridge was conceived to allow use IDE CDROM and Hard Disks with Yamaha samplers. No longer produced and obsolete, it’s somewhat most easy to set up, robust and stable. It’s actually my favorite bridge for day to day use, except for ASV where it just doesn’t work.
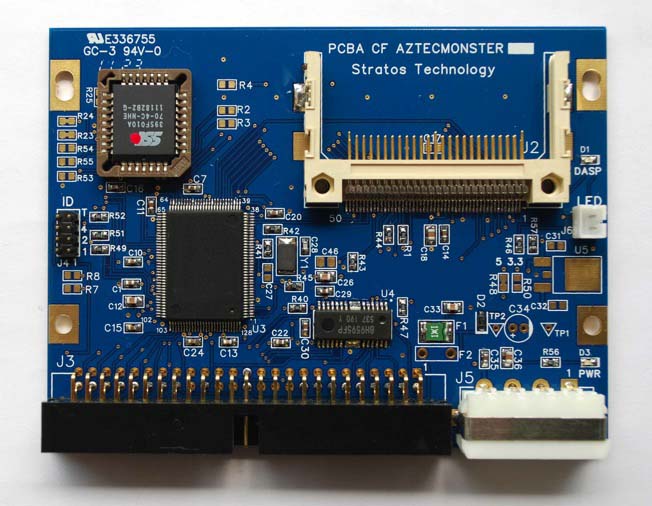
More recent kid on the block is an integrated SCSI2IDE + IDE2CF in one device called Aztec Monster. Recently designed and currently produced in Japan (you can buy one on eBay) is a fairly decent choice, which I recommend to every one. I had a lot of luck with these, except for ASV of course…
I also looked in to SCSI to SATA bridges, like this one, but they have additional issues, like need to convert LVD to SE on one end and SATA to IDE to CF on the other. Little bit too complex for what I wanted.
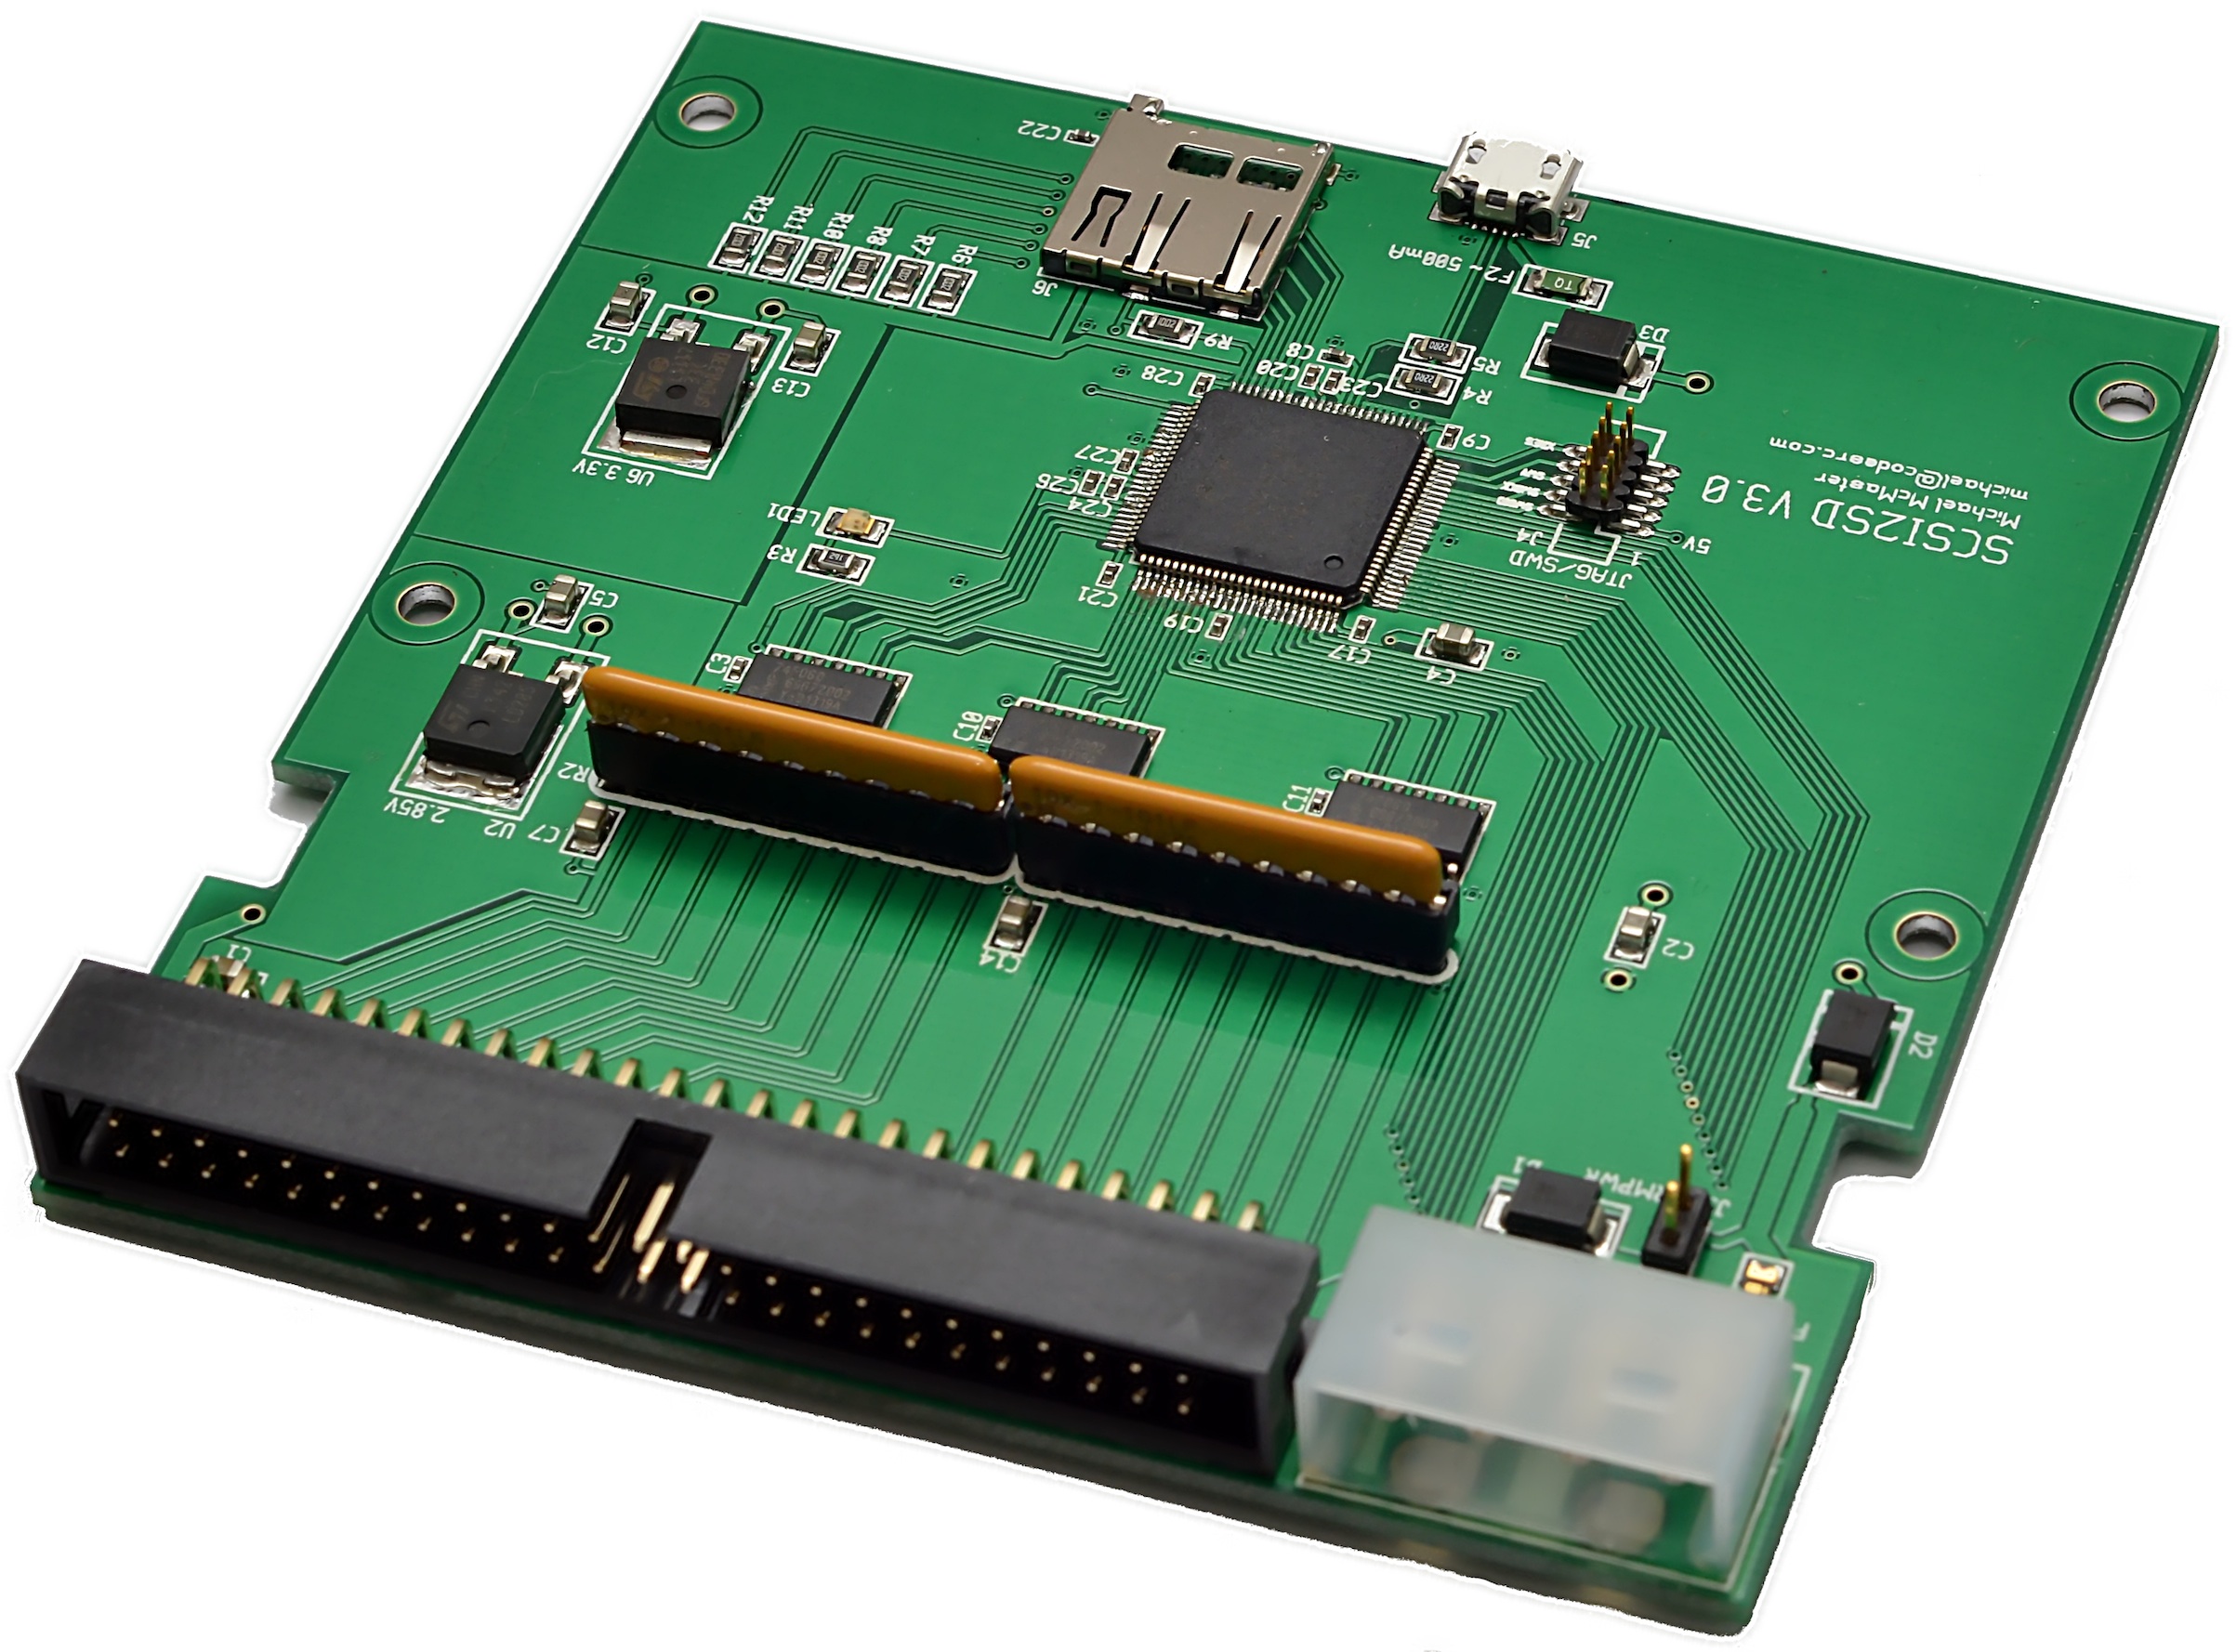
Being out of luck I started researching if it would be possible to build an open source version, which can be easily diagnosed and fixed. Doing so I found out that there in fact is one open source SCSI adapter called SCSI2SD.
I was bit skeptical in the beginning but then I though that being open source it can be debugged and fixed if it needs to be. So I immediately ordered one.
Once it arrived, I plugged it in, applied the image to the card and BAM! It worked! The system booted fully and worked flawlessly!
Atari Unix System V – Boot Sequence from Antoni Sawicki on Vimeo.
Over time SCSI2SD proven stable and flawless. One feature that Mac users will appreciate:
--apple Set the vendor, product ID and revision fields to simulate an
        apple-suppled disk. Provides support for the Apple Drive Setup
        utility.
In the next article I will write about my first steps in the system post boot and then bringing it to a more or less usable state. Stay tuned!


As soon as I saw the title I was going to mention SCSI2SD – but luckily I kept reading! Planning on putting a couple in my Macs soon!
Awesome! I’m really happy with it so far. When you put it in a Mac can you give A/UX a try on it? I would love to see if it works. I’m actually just lazy myself because I have IIci under my desk and I could probably do it myself quite easily 😉
Sadly I don’t have any AU/X capable Macs – yet! Classic Macs are a bit thin on the ground in Australia.
Shoebill will (kind of) run A/UX! … It’s not 100% but its enough to boot to the UI and run common stuff.
Sadly no networking just yet.
I can give you my IIci for free if you pay for shipment from the US.
Could you please re-host the pictures from atari-forum? They don’t show up for me since I don’t have an account there
I don’t have one either.. But I uh managed to re-host all the images.
Damn! They don’t auto load?
no. I fixed them all.
The SCSI2SD seems to work very well with picky SCSI controllers. I have read reports that it even works with the RamFAST SCSI card for the Apple II line (weird card, doesn’t assign itself a SCSI ID on the bus). I had gotten a surplus 2.5″ Adtron S25CF SCSI to CF adapter off ebay that it won’t see. Macs seem to have no problem with it though so it will likely see the inside of a Powerbook 180c soon.
Hi – Good news to see that SCSI2SD works fine with the TT.
I’ve myself ordered and received few months ago an SCSI2SD in the idea to fit it in a MegaSTE and replace my dead ST-157A. Since now, I’ve never had time to play with it. Do you have any special remarks or details to allow me to make this smoothly and easilly ?
The installation should be fairly easy if you use standoffs instead of bracket (see http://en.wikipedia.org/wiki/Standoff_(separator) ) get 4 x 10 mm high with m3 or 6-32 thread. You can see them here http://en.wikipedia.org/wiki/Computer_case_screws. Then unscrew the Atari HDD bracket from the plastic cover and screw in SCSI2SD directly to the atari bracket using standoffs. Then screw Atari bracket back to the plastic cover. This is the easiest way. I can post some pictures.
>>In the next article I will write about my first steps in the system post boot and then bringing it to a more or less usable state. Stay tuned!
Any news?
I just know that Tenox has been busy with personal issues the last while.
Tenox,
Question. Are your VGA adapters still around/for sale? I am soon getting bacy my old TT from a buddy who has held onto it for me for the past 20 years. I am looking to use her with System V once I get her back. So few resources on the web (it seems) for the TT.
Thanks for the post! Any info out there on the TT is most helpful.
Regards,
Eric – Richmond VA-USA