(this is a guest post from Tenox)
Archive.org is now hosting 900+ arcade games that run under JavaScript port of MESS.
Game on!

(this is a guest post from Tenox)
Archive.org is now hosting 900+ arcade games that run under JavaScript port of MESS.
Game on!
(this is a guest post by Tenox)
I recently needed to install Windows XP. Because I don’t do that very often nowadays I decided to document the “pro way” of doing it.
First you should consider getting a volume license copy of Windows XP CD because it doesn’t require activation over the internet. The process below will work with any version, but it will require activation.
Then you need to download and install nLite which lets you add SATA/AHCI, network, display, audio, drivers and customize a fully unattended installation, including the product keys, and some tweaks like autologin, themes or show extensions/hidden files in explorer. Create your own bootable XP .iso file. You should probably test it in VMware/Vbox/Qemu first to see that all the settings are to your liking and the setup prompt screens are gone.
Second you need WSUS Offline Update, version 9.2.1 (which is the LAST version supporting Windows XP). It will let you roll out your own Service Pack 4 for Windows XP, including all the updates and goodies like .NET framework, Silverlight and DirectX updates. Create your own SP4 .iso file.
Booting Windows XP from a regular USB pen drive is notoriously difficult, so this is where ISOSTICK comes handy. Put both of the iso files on to the stick, insert to the PC and watch the magic happen.
It’s quite easy to integrate the SP4 in to the boot cd itself, but then it outgrows size of a physical CD, which is not a big deal with ISOSTICK, but I don’t mind installing the updates in a second step.
Finally if you need to install apps automatically you can consider something like Ninite.
Enjoy!
(note this is a guest post by Tenox)
In previous posts from ASV series I have explained why I got hooked on Atari System V UNIX and what I had to do to get a decent resolution out of Atari TT. Having built the VGA monitor adapter, the next challenge was to replace the internal SCSI hard disk with a flash storage of some sort. I really don’t like spinning hard disks and especial the old ones.
I have mentioned that there are two surviving ASV disk images. The better one was made out of a rather large old, loud and obnoxious Maxtor. I’m definitely not having this monstrosity inside of my beloved Atari!
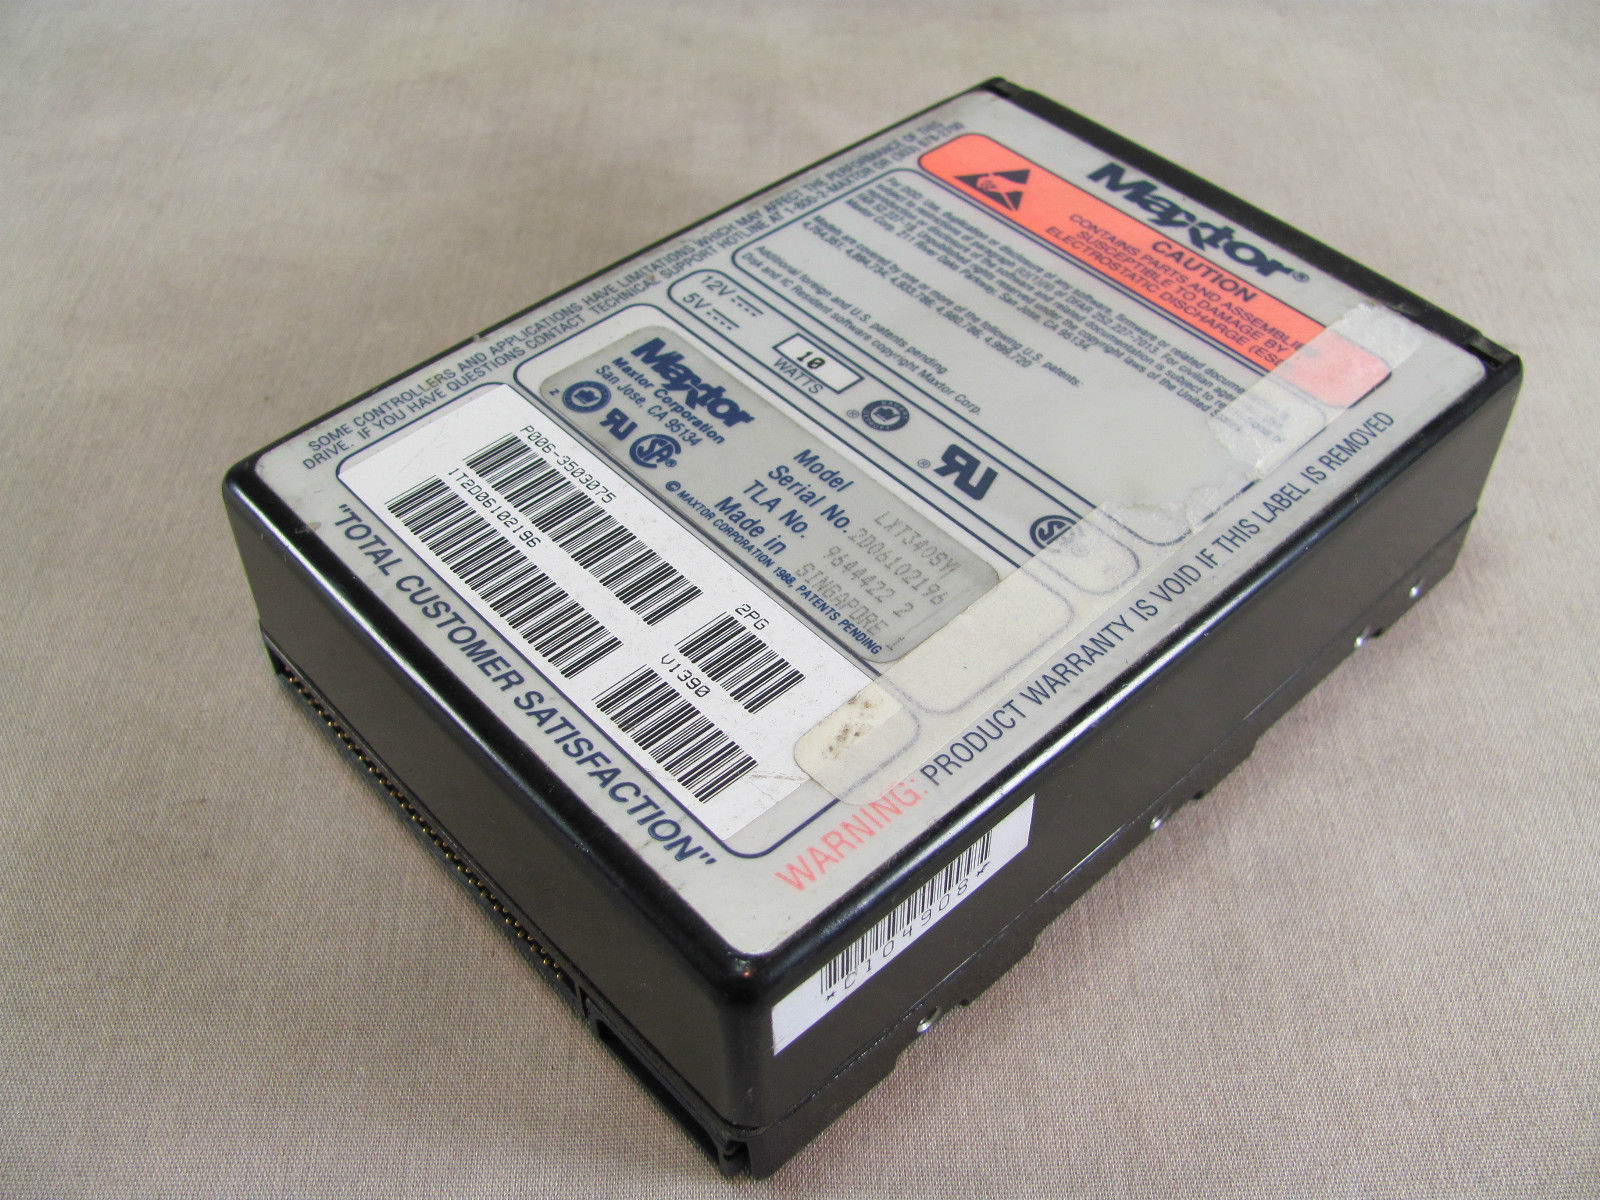
Maxtor LXT340SY
So how can you replace an old SCSI hard disk with a modern flash device? There actually are several different ways.
If you have the money you can go industrial route, which is a SCSI disk replacement for various machinery and embedded systems produced by ReactiveData. You can buy one of these for a little over $1000 USD. The good part is that they substitute a specific real hard disk model and are exceptionally good in quality of emulation. However, spending a lot of money on my TT and TenoxVGA already, this really wasn’t an option without getting a divorce.
Another approach is to use SCSI to IDE bridge combined with IDE to CF adapter or possibly SCSI to SATA bridge and SATA SSD disk. These are widely used by Atari / Amiga / Mac 68k community. The most popular bridge come from a company called Acard. I actually had one of these at hand, AEC-7220U which I used for TOS/GEM work.

acard front
Did it work? As you can guess – of course it didn’t! The initial boot loader errors out unable to read disk capacity.
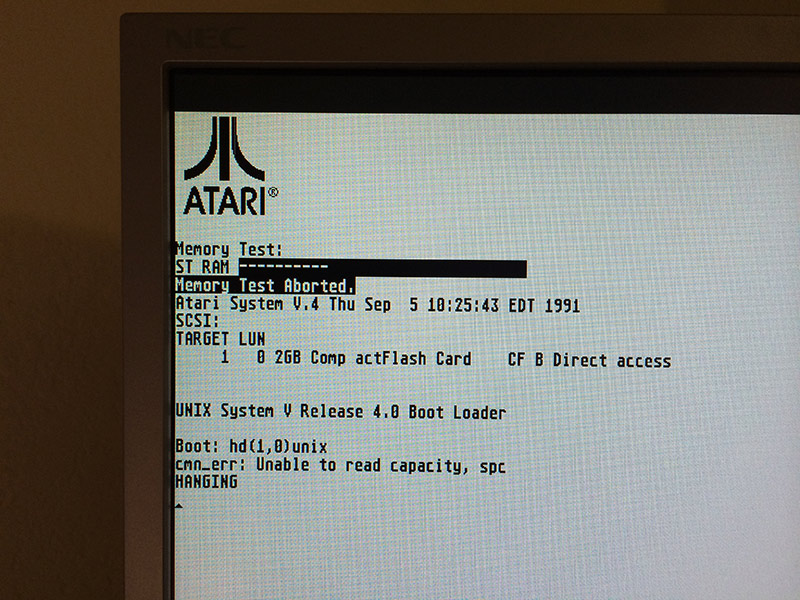
Atari SYS V failed to boot
Atari ST/TT, somewhat similarly to 68k Macs require a hard disk driver, present on the hard disk itself. There are several 3rd party implementations, some of them, like HDDRIVER maintained up to present date. Unfortunately these drivers are TOS specific and obviously don’t work with Atari Unix. The system comes with it’s own hard disk driver which seems to be obsolete and with limited hardware support.
The next step was to research and try out some other SCSI to IDE bridges in hope one would just work. And surprisingly there are several to choose from.
The second on the line was I-O Data R-IDSC21-E/R. No longer produced and supported, however still fairly popular. Usually regarded as the ultimate bridge with most fancy options bells and whistles. It has most jumpers and modes of all tested devices. For instance ATA PIO and DMA modes. Unfortunately this didn’t help at all and same error was observed.
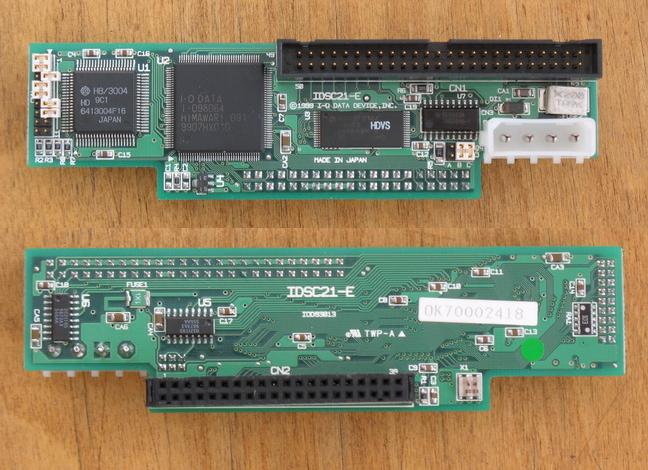
idsc21e
Another device tried was Yamaha v769970. This bridge was conceived to allow use IDE CDROM and Hard Disks with Yamaha samplers. No longer produced and obsolete, it’s somewhat most easy to set up, robust and stable. It’s actually my favorite bridge for day to day use, except for ASV where it just doesn’t work.
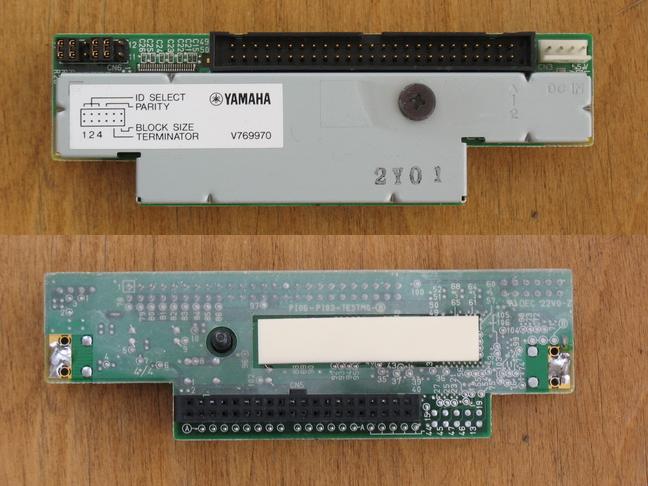
v769970
More recent kid on the block is an integrated SCSI2IDE + IDE2CF in one device called Aztec Monster. Recently designed and currently produced in Japan (you can buy one on eBay) is a fairly decent choice, which I recommend to every one. I had a lot of luck with these, except for ASV of course…
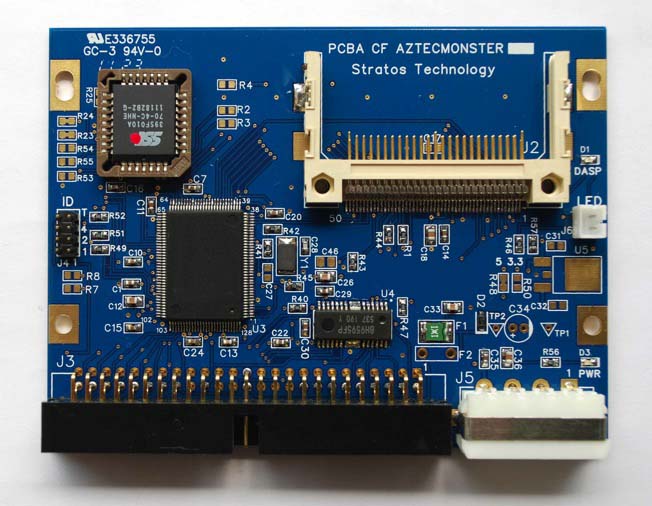
CF_AM_r1_1
I also looked in to SCSI to SATA bridges, like this one, but they have additional issues, like need to convert LVD to SE on one end and SATA to IDE to CF on the other. Little bit too complex for what I wanted.
Being out of luck I started researching if it would be possible to build an open source version, which can be easily diagnosed and fixed. Doing so I found out that there in fact is one open source SCSI adapter called SCSI2SD.
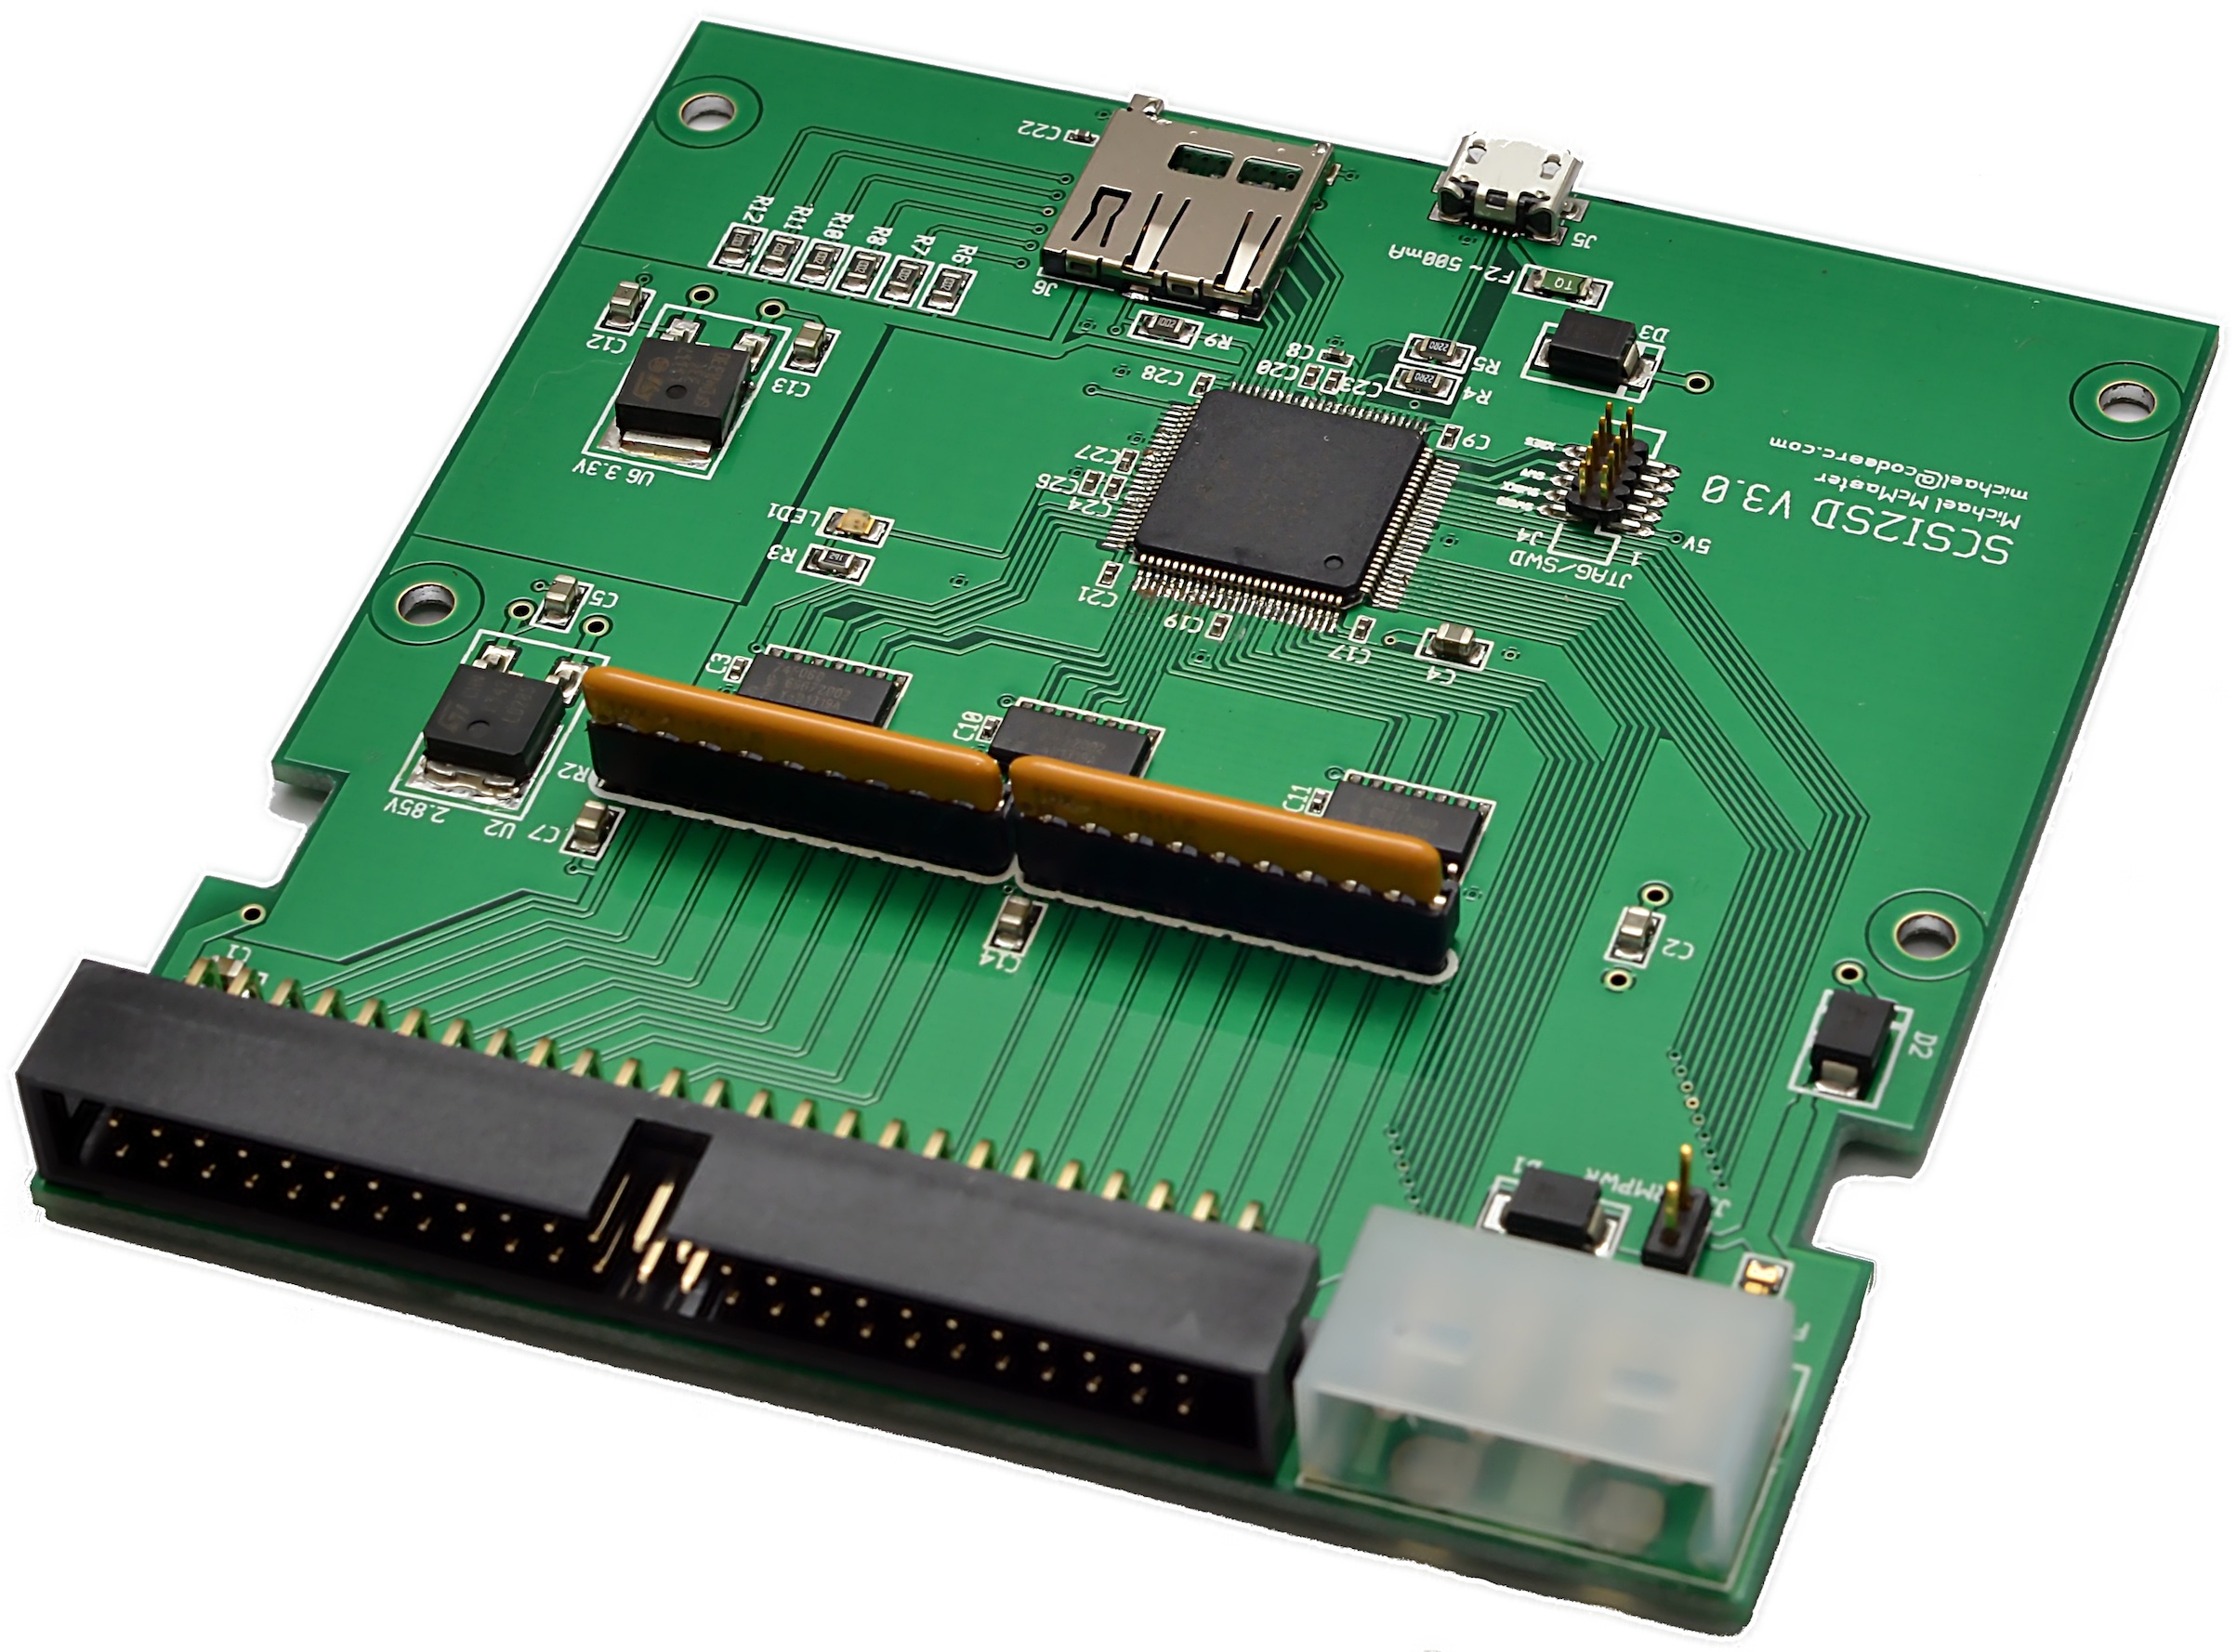
SCSI2SD_V3.0_plain
I was bit skeptical in the beginning but then I though that being open source it can be debugged and fixed if it needs to be. So I immediately ordered one.
Once it arrived, I plugged it in, applied the image to the card and BAM! It worked! The system booted fully and worked flawlessly!
Atari Unix System V – Boot Sequence from Antoni Sawicki on Vimeo.
Over time SCSI2SD proven stable and flawless. One feature that Mac users will appreciate:
--apple Set the vendor, product ID and revision fields to simulate an
        apple-suppled disk. Provides support for the Apple Drive Setup
        utility.
In the next article I will write about my first steps in the system post boot and then bringing it to a more or less usable state. Stay tuned!
(note this is a guest post from Tenox)
Another emulator in JavaScript (not Java!) – This time Mac OS 7 on MacPlus.
This actually is a port of PCE in JS, see more here.
For instance Windows 3.1 in JavaScript…
(this is a guest post by Tenox)
I’m pretty good at finding bugs in Windows and I get a new one every couple of weeks or so. Today I found out this unbelievable gem:
So there is this (cmd.exe) command called timeout. It works roughly similar to sleep(1) under Unix. It is supposed to stop execution of a batch script for a given period of time. Example:
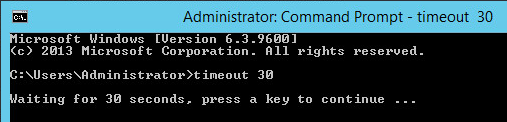 In reality just wishful thinking, because apparently this is not always the case. Sometimes it does and sometimes… it doesn’t.
Wait… what?
Sounds unbelievable but it appears the timeout command uses Real Time Clock for it’s sleep function. If you change the clock while timeout is running…
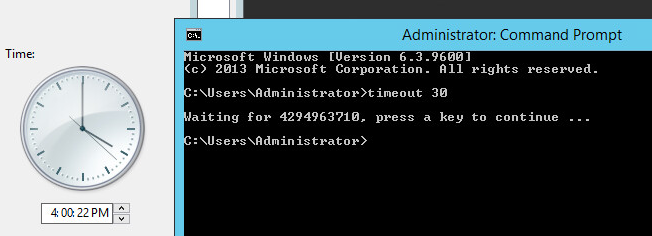 LOL 🙂
I found this because my batch scripts were stuck for rather long time when a machine would have time changed by NTP. If the change was negative the timeout command would wait x thousand seconds. When the change was positive the integer rolled and timeout stopped immediately causing avalanche of problems.
So beware to timeout eating your batch scripts…
(this is a guest post by tenox)
So here it is, Atari ST Emulator written in JavaScript and running in your browser. Note, this is JavaScript, not Java!
(Note this is a guest post by tenox)
I’ve just learned that after long an uncertain life under AOL, Winamp and SHOUTcast has been acquired by Radionomy. You can download it here. Long live Winamp!
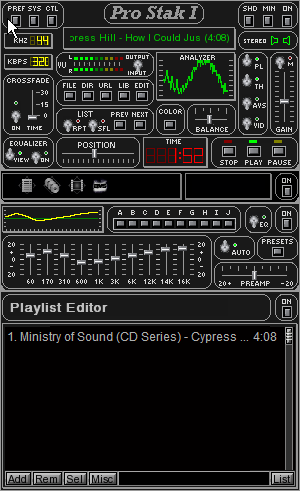 (sorry I couldn’t stop myself but this IS my favorite skin 🙂
(note this is a guest post from Tenox)
Due to a popular demand, a previously mentioned Web Rendering Proxy has been ported to QT-Webkit, which allows it to run on Linux, BSD and other operating systems.
QT doesn’t support writing GIF images so JPEG is being used instead. You may want to adjust the option for image quality versus size.
The installation of required components is straight forward, on Ubuntu:
apt-get install python-qt4 libqt4-webkit
Generaly you if you can get qt-webkit2png to run, WRP will also work. Note for Windows users, you will need a X11 display server like the one that comes with Cygwin.
The script is available here.
(note this is a guest post from Tenox)
Christmas came early this year. An emulator able to run Apple A/UX has been developed. It’s called Shoebill. See also Screenshots and Discussion. Hurray! I can finally get rid of my old Macs!
Also, A/UX documentation is available here.
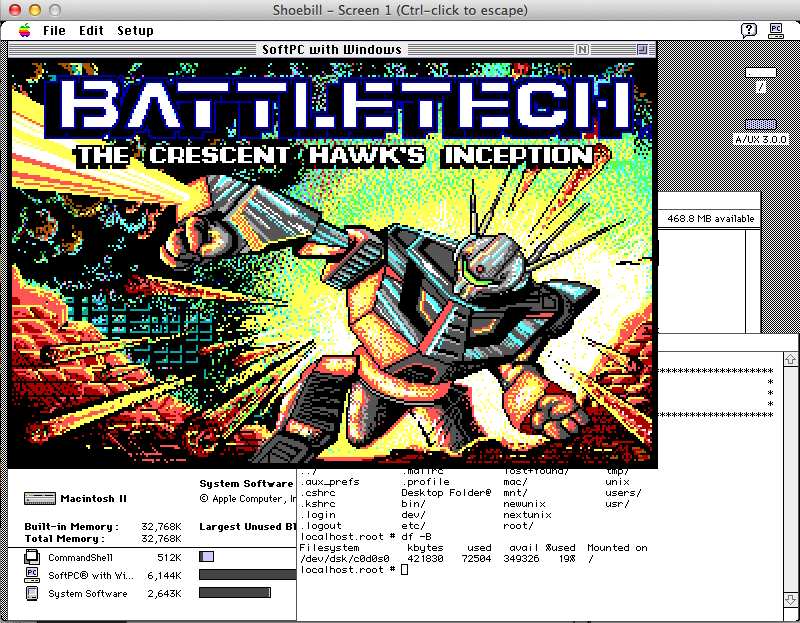
A/UX on OS X!
Update: latest dev snapshot runs A/UX 3.0

(this is a guest post from Tenox)
In the previous article I explained how I got hooked up on Atari UNIX and brief efforts in the hardware department. TL;DR I got stuck on lack of a specialized Atari high resolution 1280—960 CRT monitor, which operates using ECL rather than VGA signaling.
So what is ECL signal? Without going to too much in to the details ECL is a differential signal much like LVD SCSI. These are basically more interference resistant and therefore allow higher bandwidths.
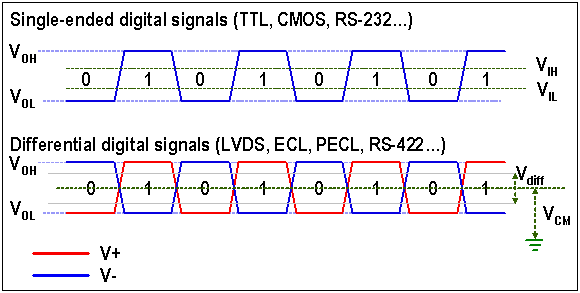
ECL signaling was used for high resolution monochrome monitors for Sun, SGI, DEC, HP, NeXT, etc. before VGA got it’s high resolution modes via VESA extensions.
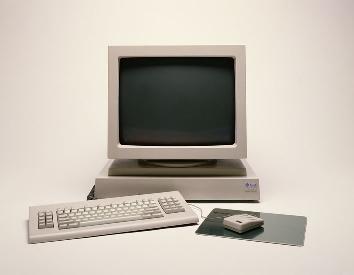
During the research phase I came across a device made by Extron, which basically converts ECL to VGA signal. These were made to allow SUN/SGI/HP/NeXT workstations to be hooked up to a VGA projector.

Despite hours spent attempting to get these working by myself and other Atari users alike, this just didn’t work.
At this time the only viable approach would be to make such adapter from scratch and specifically for the Atari TT. I have rather limited experience in electronic circuit design. I was not the first to come up with such an idea. Over last 20 years or so adapters like that were made and tried before by much more experienced people, but still with rather crappy results. It was obvious I needed a professional help. Fortunately for last several years I have been living in the Silicon Valley, which is abundant with required skills.
I have found a helpful company with an extensive expertise in video signal processing, described the problem, they understood, gave me a reasonable quote, I delivered my Atari computer and waited patiently. After a few weeks I’ve got an email that I can come in ad see a preliminary results. They have made this device:
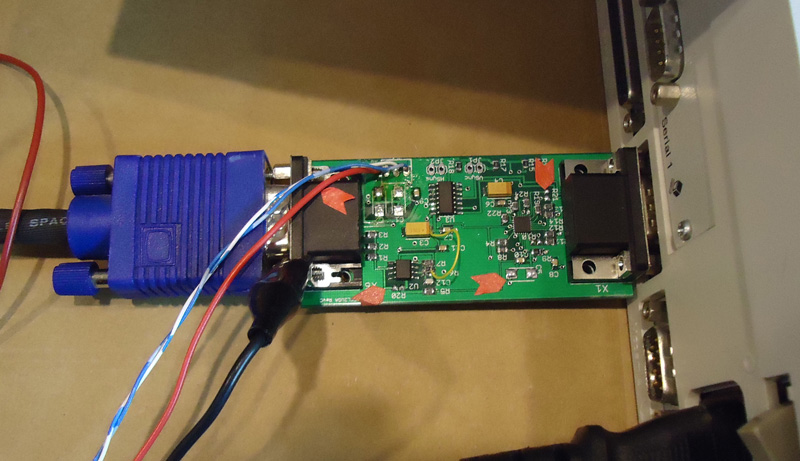
And Atari TT was operating in the monochrome 1280-960 mode on an LCD panel! Well nearly there
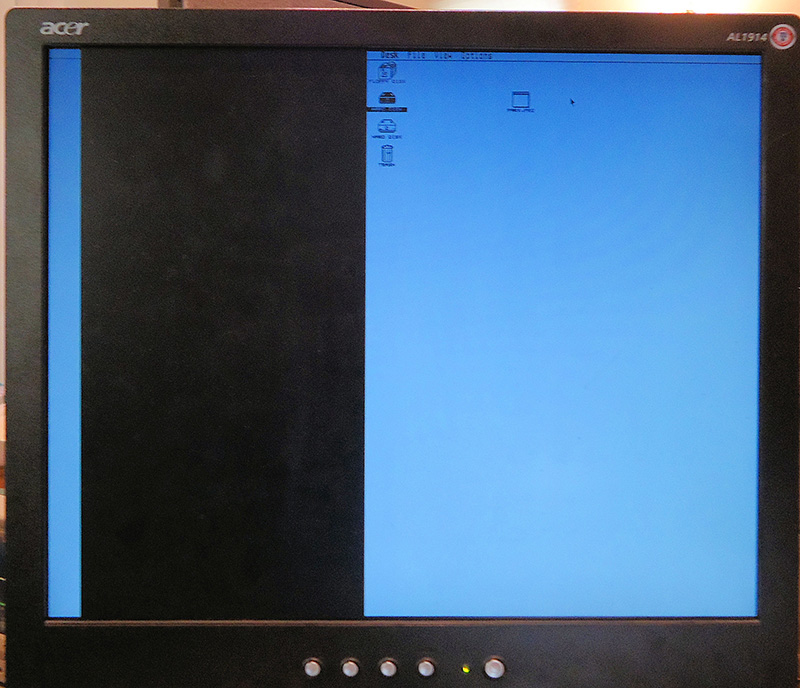
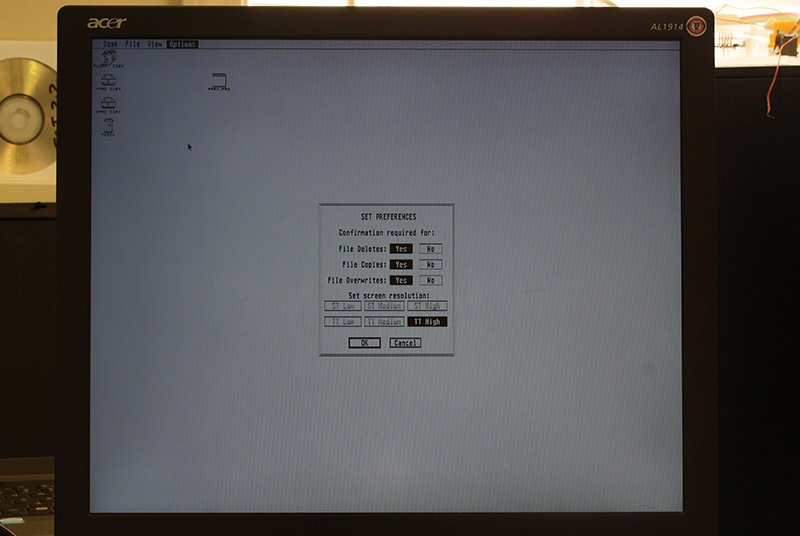
The signal was shifted a little bit, and the board was operating from a lab bench power supply. Not a big deal. After a few days they have added a small bread board with a circuit to shift the horizontal sync and a voltage converter to obtain -5V needed for ECL components. Everything was just perfect.
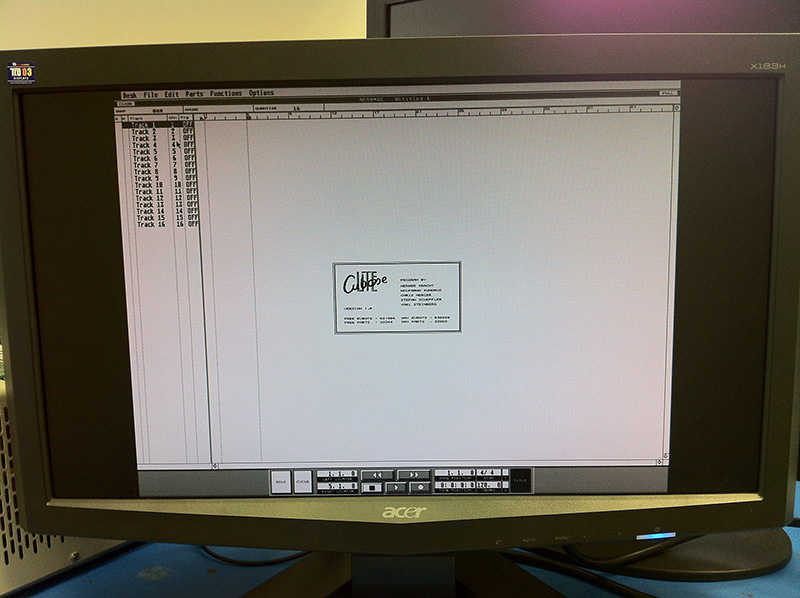
I have ordered qty 25 of the unit to be made and knowing the final price went to look for more serious commitments from Atari users who previously expressed interest. Being out of touch with Atari for quite a long time I realized that most of the interested users are musicians who still use TT for Cubase, and would like to have a larger and more modern LCD screen. They were delighted so see this:
Also in the mean time I started testing more and more LCD panels and realized a rather big issue. TT High mode is 1280-960 where as most LCD panels operate in 1280-1024 mode. This is a 64 pixels difference vertically and also 4:3 to 5:4 aspect change. I have assumed this would work just fine if monitor was set to so called 1:1 mode or expansion/scaling off. Unfortunately to my utter surprise almost zero monitors out there had this mode! Only the newer, larger Dell monitors had it. But who would want to waste a 24 monitor to run such a small resolution on, with large black border. I went through endless monitors, new and used, user manuals, specs, computer junkyards like HSC and WeirdStuff, etc. Nothing seemed to work. Everything was getting anti aliased and blurred. And then someone has recommended me a NEC 1990 LCD panel:
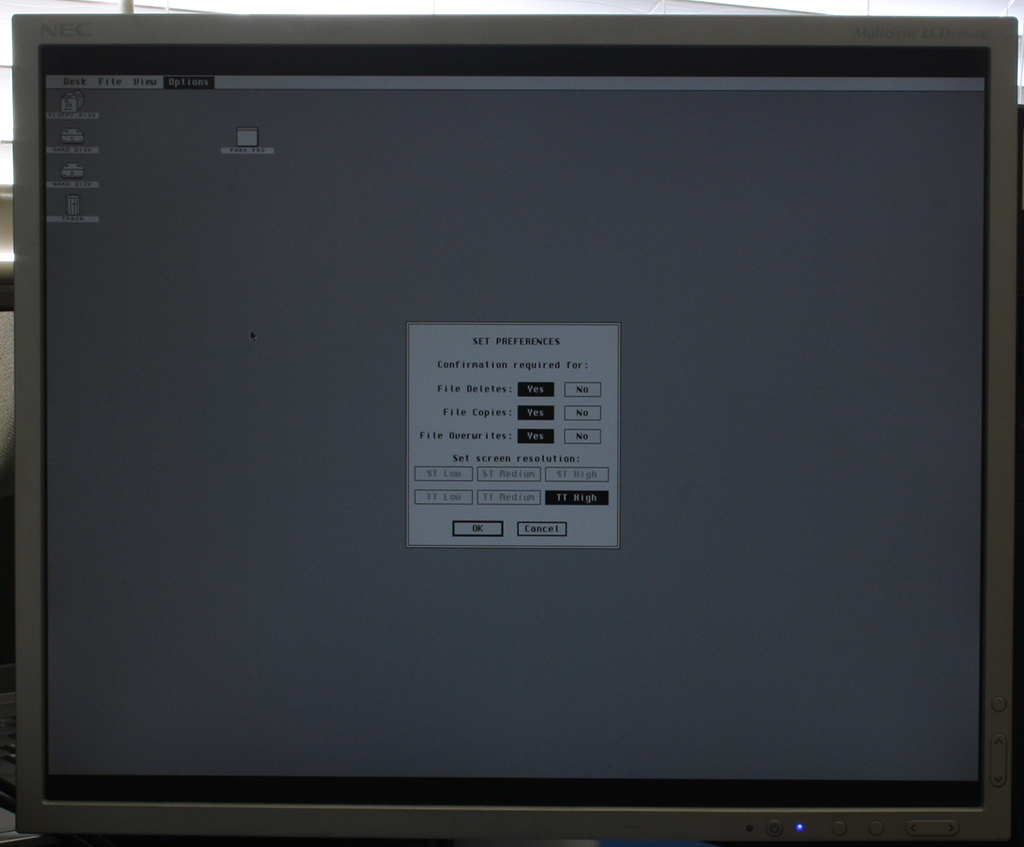
It did have 1:1 mode as well as custom aspect ratios and most advanced display settings known to an LCD panel. Worked like a dream. The screen was 100% perfectly sharp like you were looking on Atari ST emulator on a PC or Mac. The black bars on top and bottom are the lacking 64 pixels, but they are almost not noticeable. Fortunately, the NEC monitor goes for $50 USD on eBay and matches Atari TT in case color. It’s a perfect TTM 19x replacement. Most users who bough the adapter would also invest $50 and get the same monitor to avoid anti aliasing and have a perfect image display. I also became an instant fan of NEC 1990 and now see it as THE LCD panel for all my retro computing activities.
Back to Atari, one problem solved, I was hit with another disaster. The finally assembled converter units were producing rather crappy picture. The picture was oscillating and there were a lot of nasty artifacts and imperfections on the screen. The NEC LCD panel couldn’t even auto adjusting to the signal. Long story short, once components from the bread board were incorporated on to a much smaller PCB they started interfering with now un-differentiated and unshielded video signal. Also some of the ICs were overheating and changing properties after a while. The investigation and problem solving went over budget rather quickly. The company stopped charging me at some point and worked in spare time to solve the problem. Unfortunately it took several months to finish. This is mainly because each try requires a new PCB reprint, at low cost / priority which is of course made in China. So about 1 month for 1 try just to see if it’s any better. From a time perspective now I can understand why all previous attempts to construct such a device failed miserably. It required a LOT of patience and professional expertise to finish it.
This is how a final version of TenoxVGA looks like:
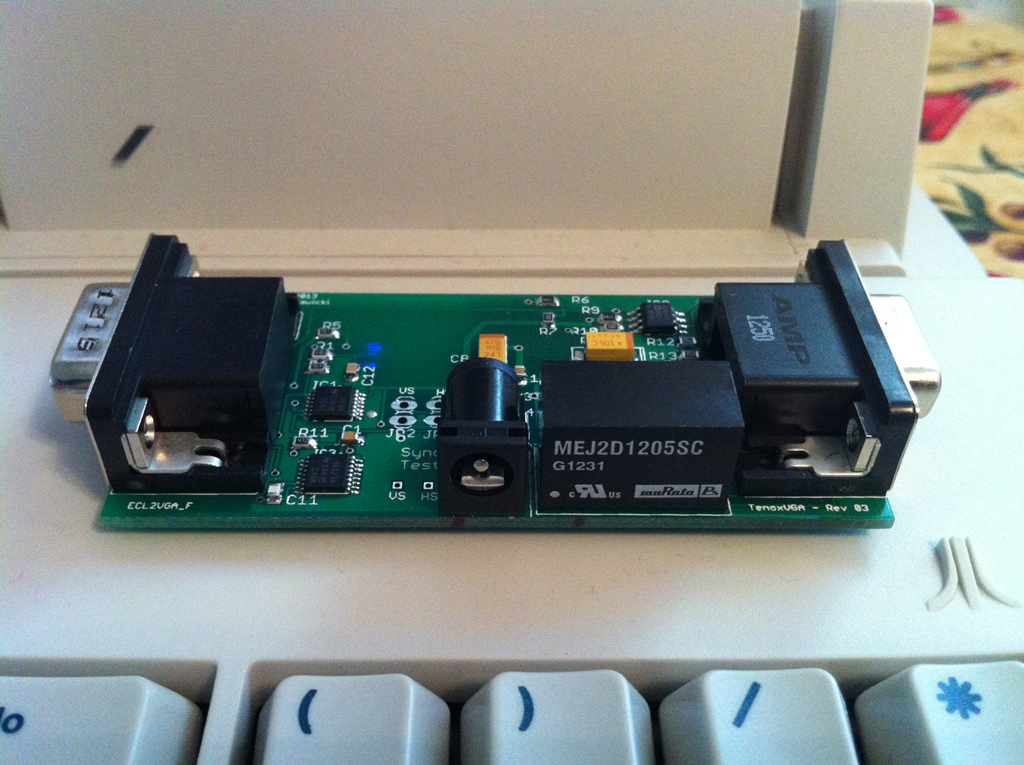
In the mean time I had some time to come up with a case for it. I have experimented with a water jet cutter:
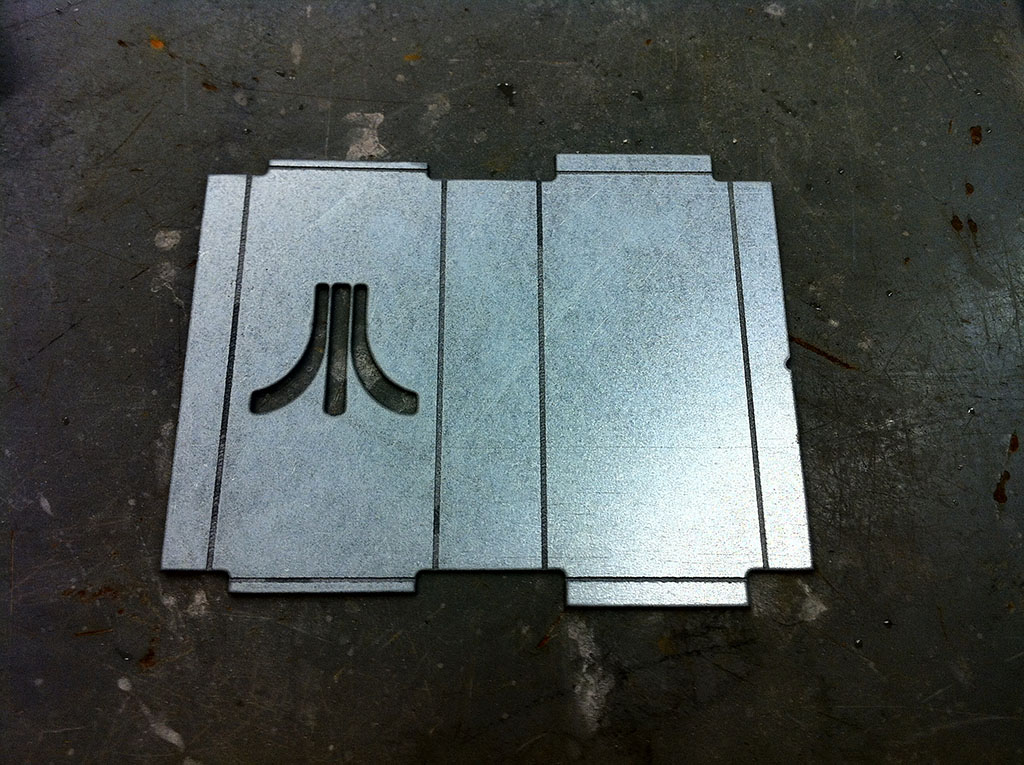
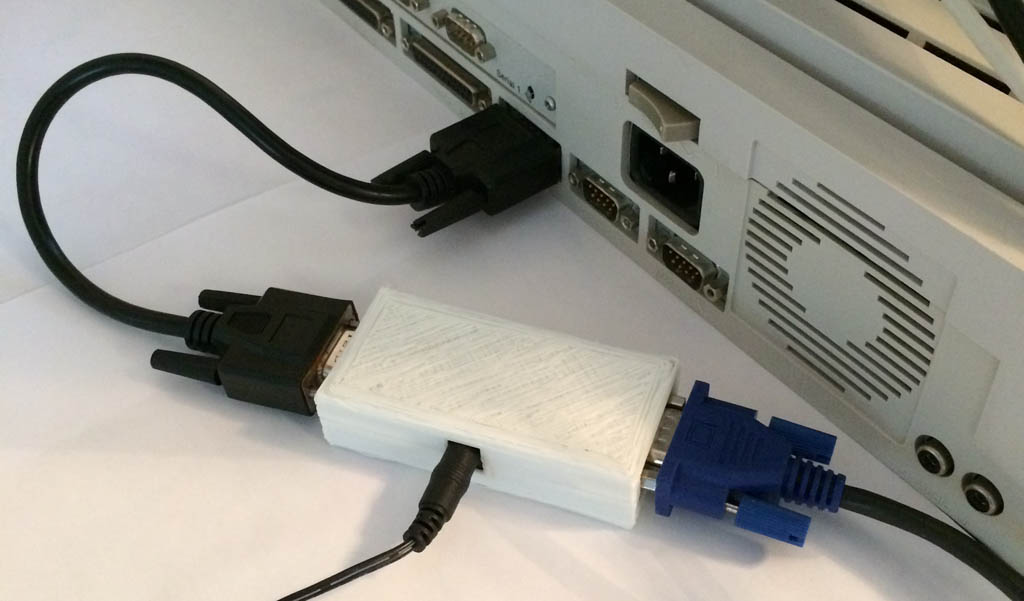
but finally settled for a 3d printed version. It’s much cheaper and easier to produce than cutting and bending a sheet metal:
Once I have received a shipment of 25 units and got appropriate power supplies and cables I have winged a website with paypal payment and started selling to the happy Cubase users.
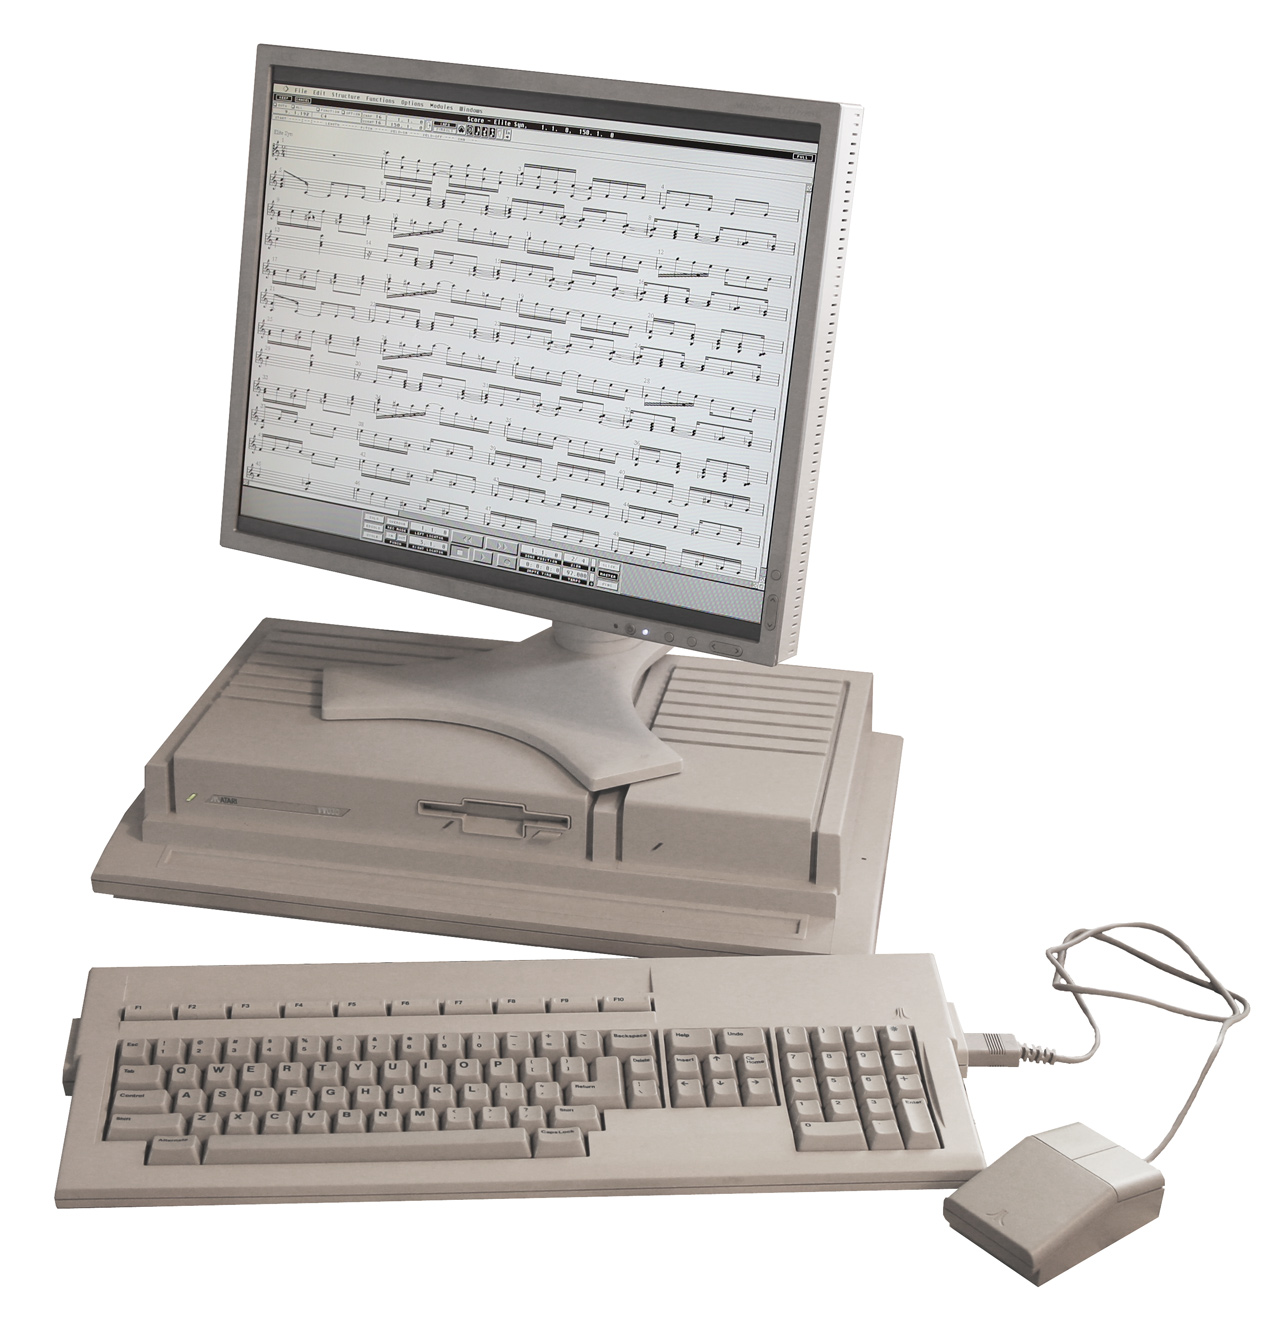
Having fixed the 20 year old video problem I was now ready to install Atari System V UNIX
…continued in this post!
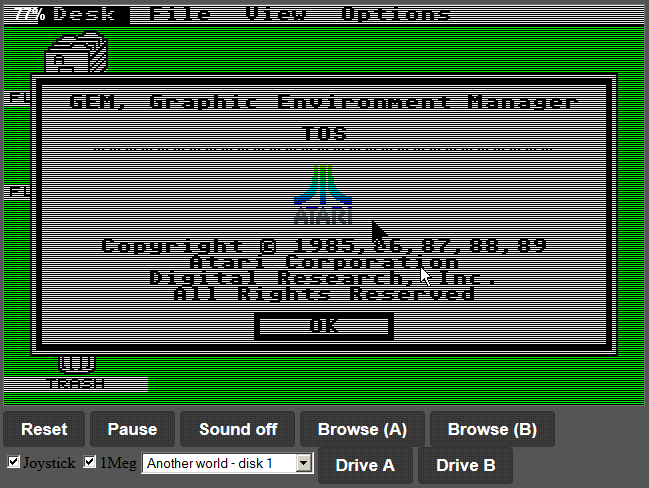 http://estyjs.azurewebsites.net/