Follow up on Visual C++ 2010

Ok, the machine I’m going to test this on, is a Vista x64 machine (I know I just couldn’t be bothered to upgrade it yet).

The CPU is an Intel Core2 Quad Q9300 running @ 2.50Ghz, with 8GB of ram.

The “Windows Experience Index” is 5.9 (It’s 5.9 across the board).

I’m using a redo of the SDL port of Quake 1 as a benchmark. You can download it here.

Unzip it somewhere, and I’ve tried to make this pretty easy to follow… There are precompiled EXE’s for various CPU’s and Visual C++ levels.

To build, setup your CLI with the VC environment variables, then simply cd into ‘ezquake\build’ and run:

nmake -f quake.mak

If you have Visual C++ 2.0 (I forget if I needed this for 4, and I just don’t feel like installing 5.0 right now) you may need a slight ‘hack’ to undefine some things that just don’t exist in the winmm.dll setup with the vc2.mak/b2.cmd .

And this should produce an EXE with the /O2 flags for a generically built maximum speed optimized EXE. If your make has issues, you can try the build.cmd file which just blindly compiles the thing one at a time…. It should work as well.

Then to test the exe, simply cd into the ‘ezquake\test’ and run:

..\build\quake -nomouse +timedemo demo1

Anyways, now for some interesting test results:

Visual C++ 2 x86 619.4 FPS
Visual C++ 4 x86 689.1 FPS
Visual C++ 6 x86 631.2 FPS
Visual C++ 2008 x64 375.7 FPS
Visual C++ 2008 x86 400.6 FPS
Visual C++ 2010 x86 772.2 FPS
Visual C++ 2010 x64 949.5 FPS

949 FPS in Quake1!

949 FPS in Quake1!

I’m blown away with just how fast this new version of Visual C++ is.

Visual Studio 2010 just shipped

So many editions!!… I’m already confused. I think this is the last version to support the Itanium, as that platform is basically cooked.

Considering how lackluster and scarce they were at the launch I guess it’s not surprising.

Anyways It’ll be nice to fire up the x64 CLI tools, and not be told that the ‘release’ is infarct a beta…

Anyways, there is some details over at the MSDN site.. And a demo/eval download.

On the ‘cheap’ front, the express editions are also updated to the 2010 level. I’d recommend getting the ‘offline’ ISO image… That way you’ve got all the bits in one shot.

On the UNIX front, I found that on OpenSolaris, that the SunStudio is a free download. This includes SUN’s C/C++/Fortran (77/90/95) compilers.

I took a quick look at the SUN F77 compiler, and it’s certainly the UNIX one from the days of v7 as it behaves the same way… I guess that’s not too surprising.

Other then that, not a heck of a lot going on.

More CDROM madness.

Well I found that one of the things that was preventing me from booting up this “Solaris 1.1.2” AKA SunOS 4.1.4 CD is that Qemu on Win32 using raw devices has issues with all these slices and whatnot.

Slices you say?

Yeah, back in the ISO9660 Rock Ridge days, CD-ROMS were basically given a common format for the “LCD” of the day. In that case MS-DOS. Naturally people like Unix vendors were not to keen on that, as they wanted file attributes, long file names, symbolic links etc… So a *LOT* of people started to split up their CD’s into partitions like hard disks, and slap down actual filesystems on the disks. NeXT just used one giant partition on the CD-ROM, but their exe format let them ‘bind’ all the CISC machines onto one CD, and all the RISC machines on another. Meanwhile SUN decided to make all these ‘boot’ partitions for various machines, a miniroot, then an I9660 partition for basic tar files of the OS…

Like this:

2,998,272 DEBUGGING
4,161,536 DEMO
3,219,456 GAMES
1,826,816 GRAPHICS
999,424 INSTALL
1,073,152 NETWORKING
7,815,168 OPENWINDOWS_DEMO
9,748,480 OPENWINDOWS_FONTS
23,756,800 OPENWINDOWS_PROGRAMMERS
34,316,288 OPENWINDOWS_USERS
925,696 RFS
327,680 SECURITY
1,409,024 SHLIB_CUSTOM
524,288 SUNVIEW_DEMO
1,884,160 SUNVIEW_PROGRAMMERS
2,727,936 SUNVIEW_USERS
4,104,192 SYSTEM_V
729,088 TEXT
49,152 TLI
7,872,512 USER_DIAG
29,638,656 USR
622,592 UUCP
6,103,040 VERSATEC

Which is kind of funny seeing how some BSD derived OS’s still keep some of these package names alive.

Anyways, the problem is that I tried to use \\.\d: for the cdrom, and booting didn’t work at all. I even tried reading an ISO from the CD, but all it ended up doing was skipping to the ISO9660 part, and dumping that, ignoring the slices, giving me this:

243,599,360 sol14.iso

So after googling around, trying to at least find a way to back up this CD (it was a souvenir from Japan!) I found someone mentioning to backup their Solaris CD, they had to use the “readcd” program.

Well, I’d never explored that much with the cdrtools, but behold there is a readcd program that’ll dump an entire CD out!

So running it with –scan-bus to find your CD drive…

readcd -scanbus
scsibus0:
0,0,0 0) *
0,1,0 1) ‘HL-DT-ST’ ‘BDDVDRW GBC-H20L’ ‘1.B8’ Removable CD-ROM
0,2,0 2) *

We can go on to dump a full image of the CD.

readcd -dev=0,1,0 f=sunos.iso

Which now gives us a much larger ISO image…

329,605,120 sunos.iso

Sadly it crashes on bootup… But on Win32 it’s a lot better then not reading *ANYTHING* at all!

ok boot disk1:d -vs
Boot device: /iommu/sbus/espdma@5,8400000/esp@5,8800000/sd@1,0:d File and args: -vs
Boot Release 4.1.4 (sun4m) #2: Fri Oct 14 11:07:52 PDT 1994
Copyright (c) 1983-1990, Sun Microsystems, Inc.
Boot: Romvec version 3.
root on /iommu@0,10000000/sbus@0,10001000/espdma@5,8400000/esp@5,8800000/sd@1,0:d fstype 4.2
Boot: vmunix
.Size: 868352…………………………………………………………………………………………………………………………………………………………………………………………………………………………………………………………………………………………………………………………………………………………+2319136+75288 bytes
Statistics:

–edit

I should also add that Qemu’s CDROM (like 99% in the world) are fixed block, while SUN (and other vendors) had these CD ROM’s that could change block size… So in Qemu you have to use the DISK driver vs the CDROM driver….

ie use -hdb sunos.iso instead of -cdrom sunos.iso

Qemu Sparc snapshot getting better!

Thanks to Artyom Tarasenko‘s tireless work on the Sparc MMU, DMA, SCSI It’s not possible to install some versions of Solaris, and boot others to single user mode!
Heck, even the NeXTSTEP 3.3 boot program goes ahead and loads up..

However this is all done without a graphical console, as the sparc rom’s dont understand the framebuffer that Qemu emulates…

qemu-system-sparc.exe -nographic -monitor null -serial mon:telnet:127.0.0.1:23,server -bios ..\ss5-170.bin -M SS-5 -m 256 -hda ..\solaris.disk -startdate “2009-12-13” -cdrom \temp\cd46.iso

Running it is something like this. The key here is the lines:

-nographic -monitor null -serial mon:telnet:127.0.0.1:23,server

Which setup a serial port console you can just telnet into (for us Windows users).

This gets around all the errors like this:

chardev: backend “stdio” not found
qemu: could not open serial device ‘mon:stdio’: Result too large

Sadly my SunOS cd doesn’t seem to want to boot, and I somehow saved a copy of Solaris 8, but not 6..? Sigh.

ok
ok boot cdrom -vb
Boot device: /iommu/sbus/espdma@5,8400000/esp@5,8800000/sd@6,0:d File and args:
-vb
Size: 259712+54162+47510 Bytes
SunOS Release 5.8 Version Generic_108528-13 32-bit
Copyright 1983-2001 Sun Microsystems, Inc. All rights reserved.
Ethernet address = 52:54:0:12:34:56
Using default device instance data
vac: enabled in write through mode
mem = 262144K (0x10000000)
avail mem = 258322432
root nexus = SUNW,SPARCstation-5
iommu0 at root: obio 0x10000000
sbus0 at iommu0: obio 0x10001000
dma0 at sbus0: SBus slot 5 0x8400000
dma0 is /iommu@0,10000000/sbus@0,10001000/espdma@5,8400000
/iommu@0,10000000/sbus@0,10001000/espdma@5,8400000/esp@5,8800000 (esp0):
esp-options=0x46
esp0 at dma0: SBus slot 5 0x8800000 sparc ipl 4
esp0 is /iommu@0,10000000/sbus@0,10001000/espdma@5,8400000/esp@5,8800000
sd6 at esp0: target 6 lun 0
sd6 is /iommu@0,10000000/sbus@0,10001000/espdma@5,8400000/esp@5,8800000/sd@6,0
root on /iommu@0,10000000/sbus@0,10001000/espdma@5,8400000/esp@5,8800000/sd@6,0:
b fstype ufs
obio0 at root
obio0 at obio0: obio 0x100000, sparc ipl 12
zs0 is /obio/zs@0,100000
obio1 at obio0: obio 0x0, sparc ipl 12
zs1 is /obio/zs@0,0
cpu0: FMI,MB86907 (mid 0 impl 0x0 ver 0x4 clock 1070 MHz)
# uname -a

SunOS 5.8 Generic_108528-13 sun4m sparc SUNW,SPARCstation-5
#

Which is all cool. And check the CPU, 1070Mhz! Don’t we all wish we had SPARC’s that fast!

I’ve even managed to install OpenBSD/Sparc! … But it crashed on booting.

Anyways it’s late, and thats it for now.

The real programmer’s Snoopy Calendar.

I was googling around last night waiting for this huge dataset to copy (lol more on that disaster later) when I came across this cute posting about real programmers.

And of course in there, every ‘real programmer’ has a Snoopy Calendar dated from 1969.

With a bit of googling, I come across this site that has the needed snpcal.for, snppic.for and snpcal.dat. Now granted this is from 1987, but hey, it’s as distant as even the original program from the 1960’s.

Now there is a lot of folklore about this program from the 1960’s along with an older version which can be found here, but sadly it wasn’t enough to keep the wikipedia page alive as they had no real sources backing it up prior to the 1980’s.

Anyways with a few minor tweaks, the code from the 1980’s will compiler on MS Powerstation Fortran, and that code will in turn compile via f2c!

So, for the few people that care about this kind of thing, or stumbled upon it, here it is:

Just take note that it’s made for a 132-column printer, which was a popular thing back in the day. Although I’m sure laser & various ‘jet’ printers can print this thing in portrait mode.

I’ve included the source that I changed, along with a win32 exe and the output (in MS-DOS text format) here.

If you want a more ‘modern’ version of the calendar, just edit the data file, you can easily find the star/stop portion in there (search for 1969!).

Next time I’m near a printer and nobody’s looking I’ll have to print one!

NetBSD 1.5.1 follow up

I figured I’d share what I had, and allow people to download my disk image, and for win32 users, it has all the bits to go…

Just extract THIS zip file, and then run the mips.cmd file, and you’ll be in NetBSD ARC/MIPS land in no time!

Other platforms will need to build Qemu 0.12.3 and use the mips 64bit little endian emulator to run the disk image…

NetBSD 1.5.1 – arc

Well… I was looking around for another OS that’d run on a MAGNUM (ie ARC MIPS in little endian mode), and I found that NetBSD supports the ARC Magnum, unlike OpenBSD.

Sadly it’s *VERY* touchy…. The current version 5.0.2 crashes when unpacking the distribution… However 1.5.1 runs! … kind of.

NetBSD 1.5.1 for the ARC has no install program… So I had to prepare a system partition with Windows NT, then boot that disk under the i386 qemu emulator with NetBSD 1.5.1, setup the disk, and unpack the distro.

From there it was a matter of rigging the ARC loader to boot up an ecoff kernel.

There were a few files in the /etc directory to ‘fix’ to allow normal booting (fstab/rc.conf) and to make sure there is no /netbsd in the root.. For some reason while extracting symbols for the ps tables and whatnot it CRASHES.

So far I’m having issues with the networking, but it is running!

I may have to do some more experimenting with this to see if later versions of NetBSD can get their networking going… The ‘big’ issue at the moment is the ethernet reports a MAC address of all zeros… While the same nvram file in Windows NT works just happily……..

Oh well, here is a screen shot!

NetBSD 1.5.1 ARC on Qemu 0.12.3

NetBSD 1.5.1 ARC on Qemu 0.12.3

I guess it’s worth mentioning that once it boots up, it’s been stable enough for me to rebuild a kernel.. And the kernel even booted! (but transferring it out was such a major ordeal…)

Dungeon for NetBSD little endian MIPS

Dungeon for NetBSD little endian MIPS

Oh, and of course it runs dungeon!

Neko x64!

For no real reason today I remmeber that there used to be this cool program back in the Windows 3.0 days called Neko. I was trying to explain it to my girlfriend about this cat that would chase your mouse!  Click the picture above to play with neko in jdosbox.

I recall that Neko even made it to OS/2 as it was more interesting than the mouse trails alternative from Microsoft.

At any rate, I was wondering if there ever was a 32bit version of Neko… And much to my amazement I found there was a Neko95, and a Neko98! And they even ran on my x64 version of Windows… So after googling around, I found the source code to Neko 98!

So, I did the next best thing, which is download the source, fix a single casting ‘error’ in some square root function and I got it building under Visual C++ 2008. Then I figured, what the hell, added a target for the x64, and built… a 64 bit version of neko!

You can download the x64 binaries, and the source directory that I used here.

You may need some VC runtimes if your system is an old x64… At this moment it can be found here:

Or by searching for Microsoft Visual C++ 2008 SP1 Redistributable Package (x64)

Oh well at any rate, it’s cool to see Neko still kicking!

PS When I get back, I’ll have to see about an i386, MIPS, Dec Alpha and Itanium build… wink wink!

—edit

Neko98’s source code has been rescued, all saved here. and on github.

—years later

I just received this screen shot of Neko x64 rocking it on Windows 8 (Desktop mode)

Neko on Windows 8

Fun with SLIP

Back before the advent of PPP there was SLIP. And the main difference between the two is that SLIP was configured statically. For people with static devices (routers) etc this worked fine. After all SLIP was point to point by nature. And of course it sat behind leased lines, and dialups that were maintained in a 1:1 fashion so you knew you were dialing, and where they were….

Then the internet went all consumer based, and that was out.. the world needed a ‘dynamic’ protocol, and they took SLIP and taught it to auto configure… the results were PPP.

Anyways if you ever find yourself with some kind of legacy device…. SLIP is as good as it gets.

And that is where the fun begins…..

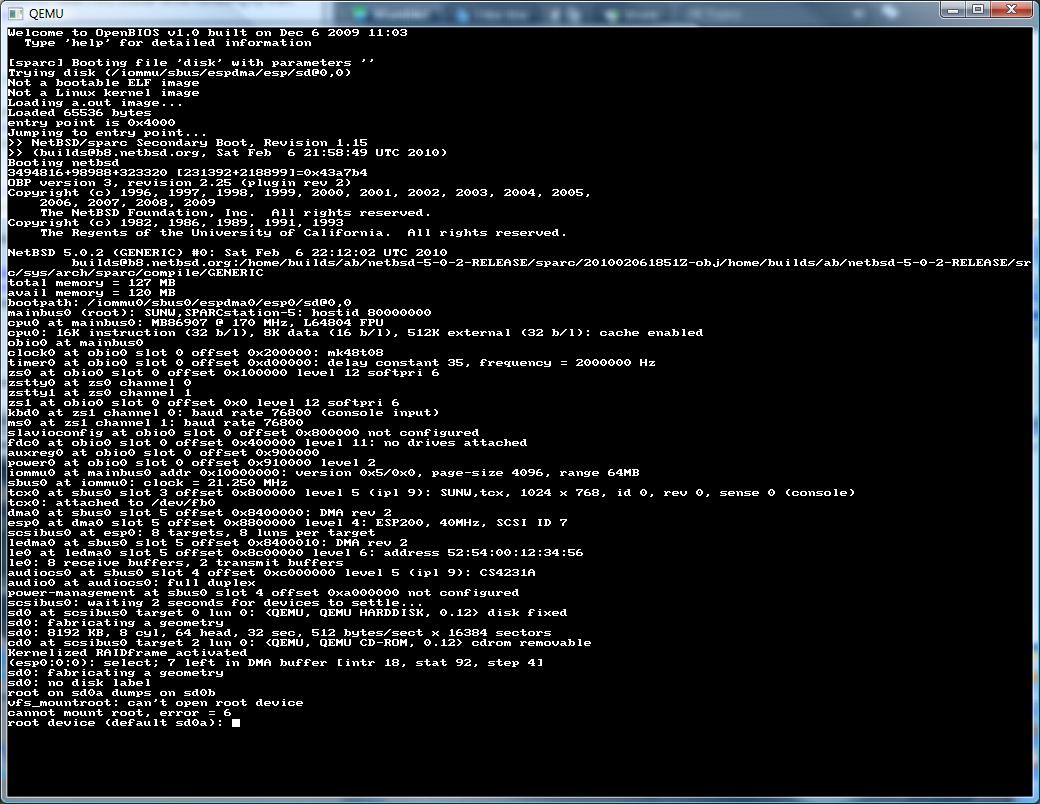
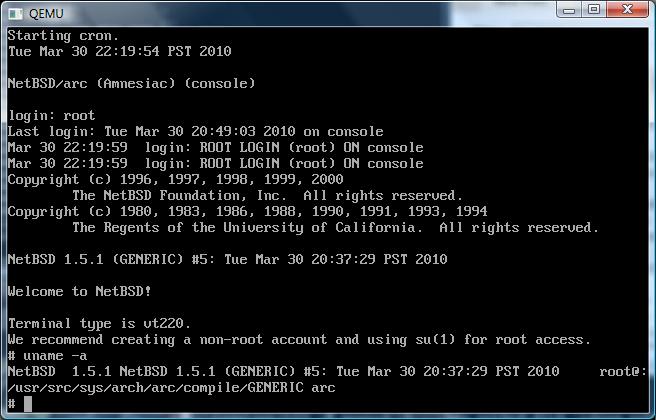
A friend of mine scored the tcp/ip kit for a certain venerable UNIX, and of course it being from the late 1980’s it only supports SLIP. Well thankfully it runs in Virtual PC 2007. So we can have some fun with it.

Windows 7, Vista, 2003 and XP have *NO* SLIP support… That means you’ll need a Windows NT 4.0 machine to make the magic work…

So first up install a copy of NT 4.0 . It wont matter if it’s workstation,server,enterprise or terminal server. While you are installing it, setup a single NIC, and then setup RAS on COM2 with any bogus modem you want… The next thing to do is make sure you have service pack 6… You may as well update it.

Once that is done, you’ll need to make a few registry changes. The first will enable unimodem support..

[HKEY_LOCAL_MACHINE\SOFTWARE\Microsoft\RAS\PROTOCOLS]
Make a DWORD key named “EnableUnimodem”, and set it to 1.

The next key to modify is
[HKEY_LOCAL_MACHINE\SYSTEM\CurrentControlSet\Services\RasArp\Parameters]
Make a DWORD key named “DisableOtherSrcPackets” and set it to 0.

Now with all that in place, reboot the NT 4.0 VM.

Next you’ll need the ‘new’ and improved driver for a nullmodem available here. thanks to Kevin Wells.

Now you can add the “RAS Serial Cable between 2PCs” on COM1, and set it up for dial out operations. While you are configuring it, be sure to uncheck all the flow control options, and all the header compression… Odds are your SLIP machine will be too old to support such stuff. While you are going thru your options, be sure to pick an ip address for your target & the NT machine…

Ok now with all that out of the way, then configure Virtual PC (or server) to use COM1 for some named pipes… \\.\pipe\slip1 works great.

Now what I do is I launch hyper terminal on the NT side, have it on COM1 running at 9600 baud (most old OS’s cannot safely do more then that because of issues with the originally 16550 UARTS). Then from the UNIX side, configure it’s COM1 on the same pipe, then try this from the UNIX side:

echo ‘a’ > /dev/tty1a

If you are lucky you’ll see an ‘a’ pop up on the serial program. If so GREAT!.. If not.. try turning off all the VM’s, and try it again…. Sometimes the pipe code for VPC/Vserver gets out of sync.

Assuming it worked, you can then initiate the ‘dialing’ part from the NT side, give it a phone number of 1 to satisfy the script and it’ll sit there waiting for *ANYTHING* on the serial port…

On the UNIX side I run this in a script…

echo ‘a’ > /dev/tty1a
slattach /dev/tty1A 10.0.1.1 10.0.1.2 255.255.255.0 9600
route add default 10.0.1.2 1

Then run the script, and NT 4.0 should beep and you should be in business!

Go ahead and ping and whatnot…

If that is working, then you can take the next step on your LAN and add some routing statements pointing the 10.0.1.1 towards the LAN ip of your NT machine, and it should route!

I’ve managed to get the box on the internet so it does work!!!!!