Dell UNIX Lives Again!

(please note that this is a guest post from Antoni Sawicki)

Dell UNIX is so ultra rare among rare Unix species that it doesn’t even have a Wikipedia entry. I have been hunting this elusive but important piece of computer history for well over 15 years now. Fortunately thanks to Charles H. Sauer and his excellent blog post I was finally able to lay my hands on disk and tape images and the restoration process begun.

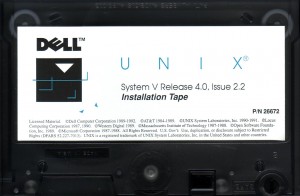
The install tape

The system can be installed from either a tape or network server (presumably NFS). Unfortunately no virtualization software can emulate a tape drive. Hopes for a network install are even slimmer since the required network support floppy disk has been lost and chances of suitable Ethernet driver working in Bochs or Qemu are equal to that of finding the lost floppy disk.

I have decided to try a hard disk image from a readily pre-installed system. The original Dell 486 workstation had a 1GB SCSI hard disk. Unfortunately neither Dell UNIX supports LBA mode nor Qemu/Bochs support the Adaptec 154x controller required by the OS.

As all normal install options have been exhausted, the only option left was to use a second hard disk image as source of cpio archive files. Booting from the two install floppies and attaching two disk images was a snap. The next step was to inject the tape “file” in to a right place on the disk, so it can be read by cpio command. A hard disk in Dell UNIX is pretty much unusable without a valid SysV partition and VTOC. Fortunately dellsetup command does it all for you. Once VTOC was put in place I’ve attached the transfer disk image as a loopback device in my host OS. In couple of iterations I was able to aim the host os dd if=file1 of=/dev/loop0 bs=512 seek=offset at the right place, which you work out using prtvtoc /dev/rdsk/1s0 command. Then cpio -ict < /dev/dsk/1s1 was able to list contents of the emulated tape… with errors…

In my infinite wisdom, for some unknown reason I’ve assumed that LBA addressing is required above 540MB. So to be on a safe side I have made the hard disk images 512 MB. What a mistake it was! I have lost several hours trying to figure out cpio header errors coming from the disk… By pure coincidence, while the tape archive was installing (with errors) I was researching for this very blog article and found that LBA starts at 504 MB… Recreating the hard disk images just few MB smaller took all tape and prior boot problems away!

Once the cpio archive was extracted I have made few final touches taken from the original tape install script. After a reboot Dell UNIX booted perfectly. You can experience this by using the firstboot image file. The final part of installation was injecting the second tape file containing System V PKG file to the transfer disk image and running pkgadd -d /dev/dsk/1s1. This is what’s included on allsoft.img.

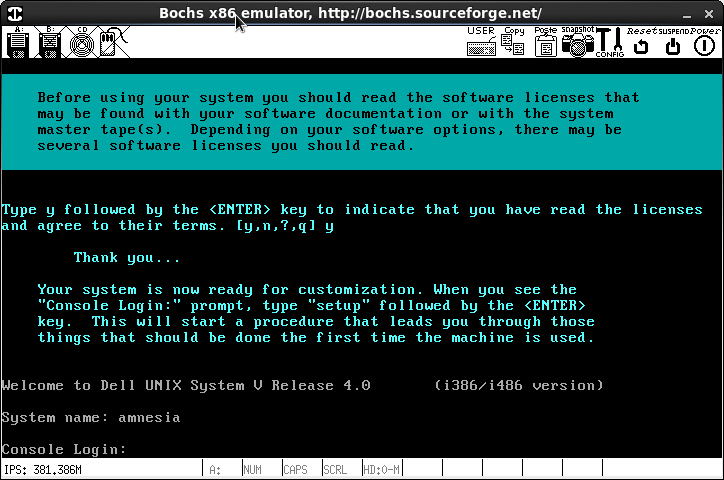
Dell Unix at First Boot

Some final notes on running the OS:

  • To enable mouse to work:
    • Qemu just add “-chardev msmouse,id=msmouse -device isa-serial,chardev=msmouse” to the launch arguments.
    • Bochs add to the config file:
      mouse: type=serial, enabled=1      
      com1: enabled=1, mode=mouse
      then you have to kill mousemgr process and prevent from starting by deleting /etc/rc2.d/S25mse
      then edit /usr/lib/X11/Xconfig:
      disable Xqueue      
      enable Microsoft Mouse
  • To enable keyboard to work correctly in VirtualBOX start with Num Lock OFF.
  • You can use qemu-img utility to convert the image to VMware vmdk to use in VirtualBox.
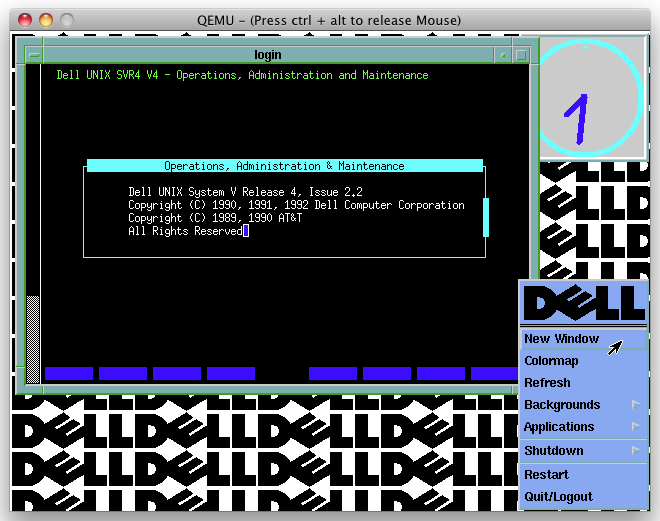
  • To run X window type startx

X11 and all its glory

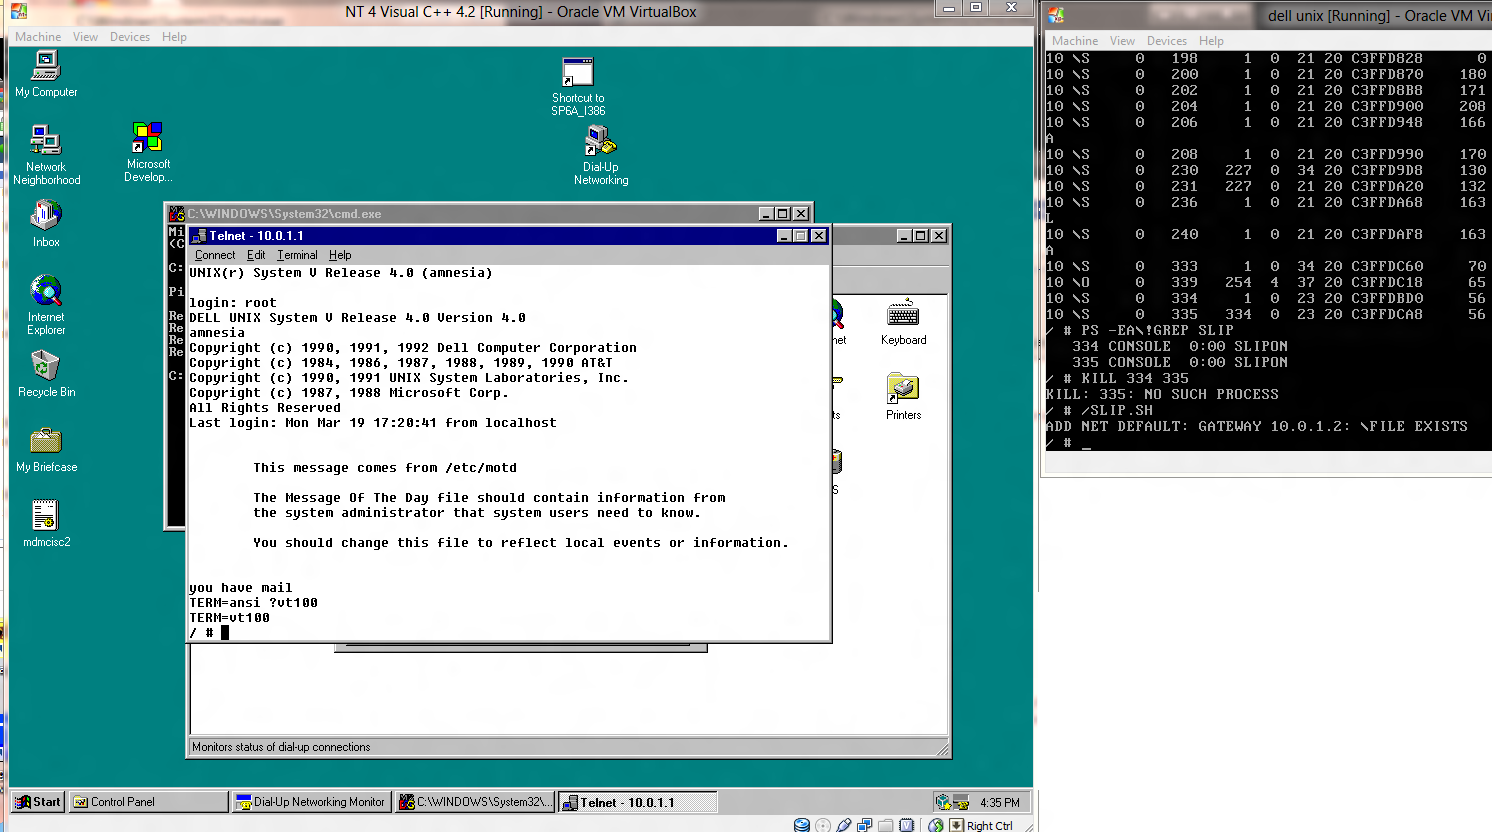
  • To attach it to internet use SLIP as there is no working Ethernet driver.  Contrary to most UNIXen of the time, the command is not slattach, but rather slipattach.  Thankfully it does work the same way.  I have found that running Dell Unix with VirtualBOX, along with Windows NT 4.0 I was able to connect into the Dell Unix VM, and get network access.  Just set the two VM’s up for a named pipe (\\.\pipe\dellunix) and make one of them a server, and start that VM 1st.  The steps to prepare Windows NT have been outlined before.

Telnet via SLIP

Legal disclaimer: Dell UNIX is a commercial software and should not be distributed without manufacturers permission. However as the operating system has been dead for 20 years and with a long tradition from Unix Heritage Society and Bitsavers I’m publishing this in good faith under abandonware category. If Dell or any other copyright holder wishes this software removed, please let me know.

Attached are:

  • firstboot image
  • all (pkg) software installed
  • setup instructions if you wish to install from scratch.

Download:

You may also be interested in my post about a sister System V operating system – Interactive UNIX:

Update: Dell Unix now runs on 86Box with higher resolution and proper networking.

Dungeon for the SHARP x68000 (on NetBSD)

Dungeon on the x68000

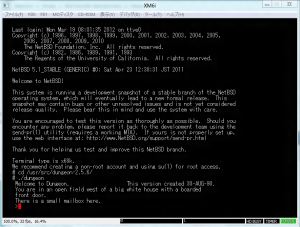
Its been a while since I’ve added a new port of Dungeon (zork!) so here we go!

Building f2c was a snap on the x68000, it just took a while..

Getting data into the VM was easy, just make an ISO image, and mount it.. Getting data out was.. a challenge, as the floppy doesn’t work under NetBSD, and it didn’t seem to want to see my other hard disks, just my root.  Well thankfully it’s virtual so I just did a:

tar -cvf /dev/sd0c dungeon.tar.gz

NEVER do that on a real machine kids!!!

Anyways here you go, for anyone who loves zork & the m68k!

XM6i

While checking out the NetBSD emulation page, I came across this interesting emulator, XM6i, which can run the x68000 NetBSD port.

Wasting no time, I downloaded it, and quickly found out it is all in Japanese… But hell that is what Google translate is for!  Just be forwarned that it’ll translate things like:

# memswitch -w boot.device=ROM; memswitch -w boot.romaddr=0xeac000

into

# Boot.Device Memswitch-w = ROM; Memswitch-w = 0Xeac000 Boot.Romaddr

I was able to get all the system bits, and get it to boot up the ROM!

Sharp boot logo

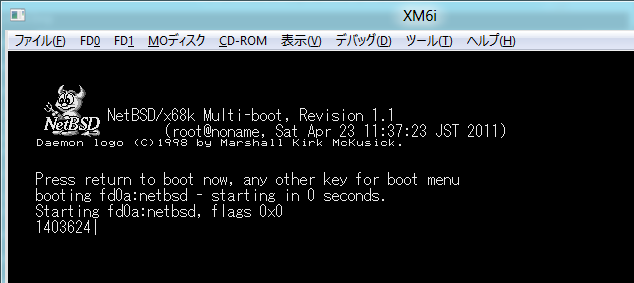
As you can see, I’m emulating a 68030 with MMU, running at a blazing 25Mhz with 12MB of ram! No doubt this is top of the line!  So I generated the boot floppies as described on the XM6i page, and booted NetBSD.  The boot loader on the x68000 looks kinda cool:

Boot with the daemon!

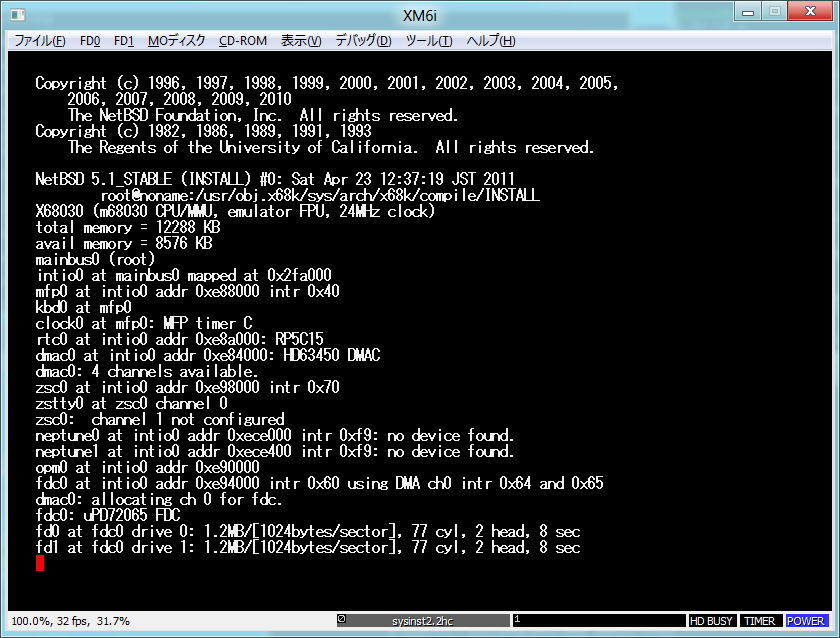
And after waiting for an eternity, like a real machine I booted up, swapped disks, read some more and then watched the kernel initalize:

NetBSD 5.1 68000

Installation is pretty straight forward, it is like any other NetBSD platform.  Although it is *SLOW*, even after I discovered the ‘turbo mode’ … As shown below:

Turbo mode!

Even in this mode, I’m running 220% faster than the real machine… I’m sure there are more tweaks to do, but my not being able to read Japanese isn’t helping any.

I figured for future’s sake, I’d just 7zip up what I have so far, maybe it’ll save some time for me later if I try this again.. Getting & generating the ROMS was kind of involved.

After an hour I had a base machine installed!

Of course it runs NetBSD!

All my work is here, and my NetBSD 5.1 install (to save yourself an hour+) is here.  Both files will blow out a 2GB disk image… FWIW.

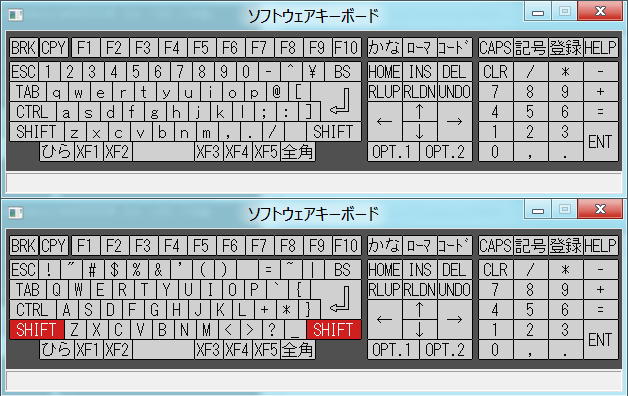
Also if you’ve never used a Japanese keyboard before, they aren’t quite QWERTY with symbol layouts… This cheat sheet will help!

If you don't know where the colon is, vi can be impossible to use.

Newer ‘fixed’ Qemu 1.0.1 binaries

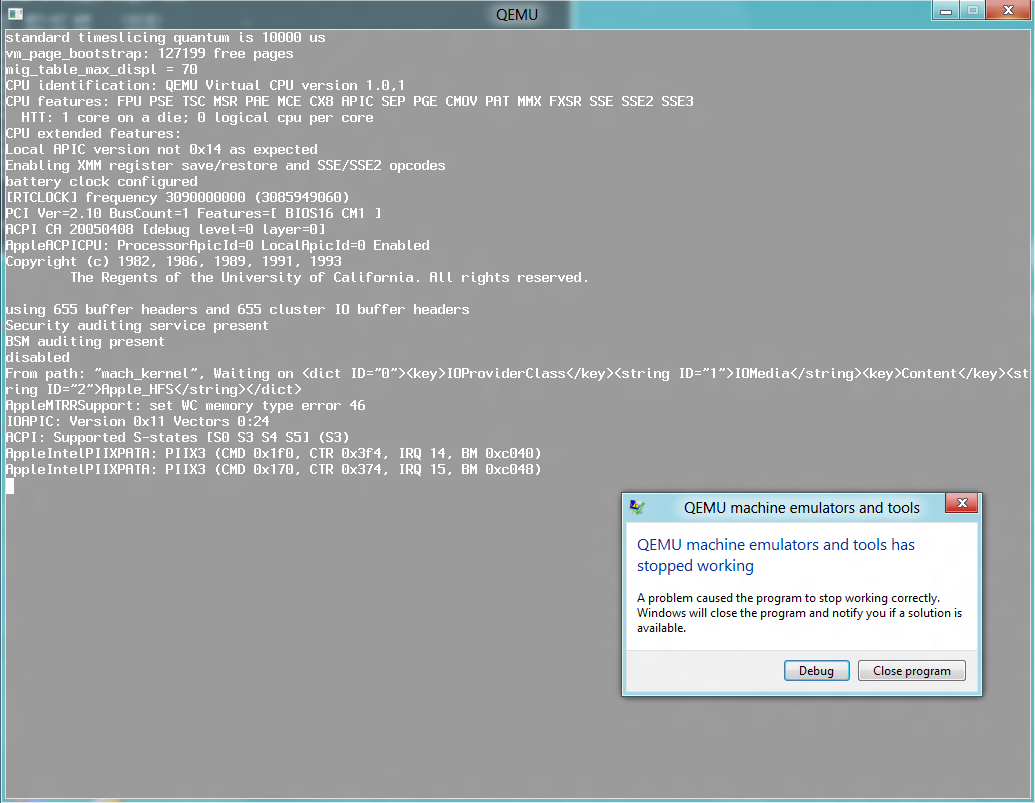
Well I booted my PC back up, and did a test with Darwin… I’d kind of given up on the newer Qemu because anything beyond MS-DOS & OS/2 would crash as soon as the disk was to be accessed from protected mode… Like this:

So as I had found out before from this post, I rebuilt coroutine-win32.c without any optimizations (-O0) and….

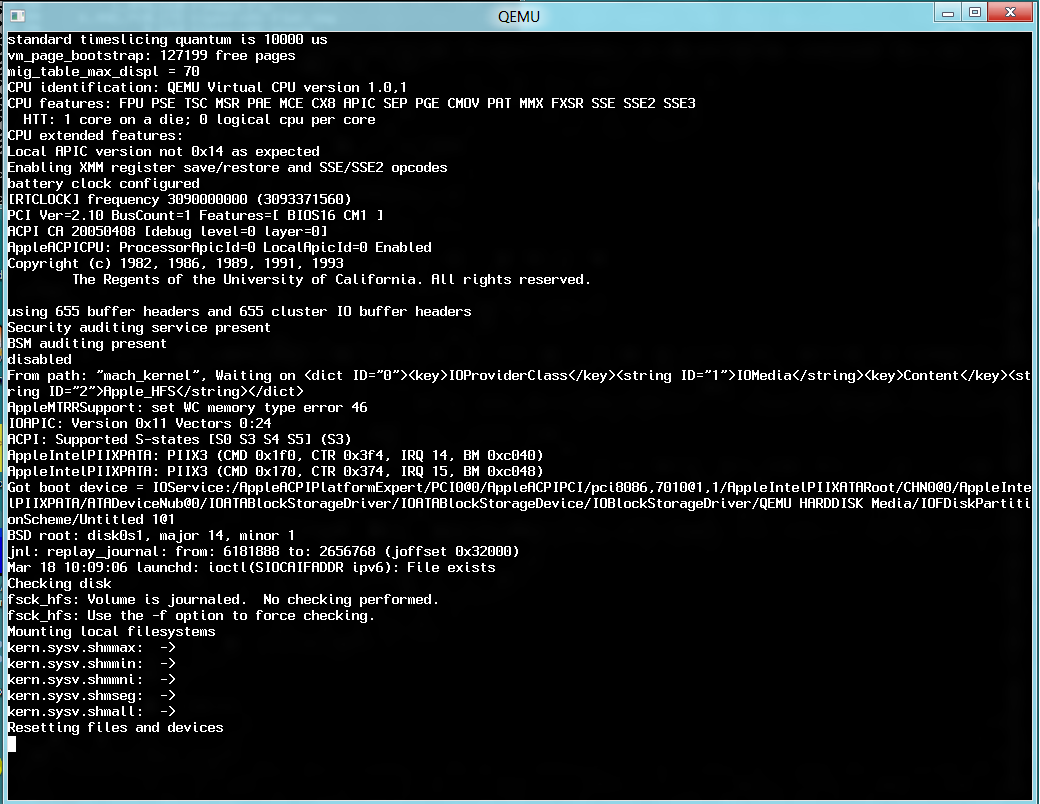
It works!

It booted up like it was expected!

I’ve relinked everything, and just uploaded it to the old package name, so anyone new that comes along that doesn’t hit this page first won’t get binaries that won’t work.  Naturally these have the NE2000 on Interrupt 10, port 0x320, the AdLib included and my shortcuts for control alt delete & reset (control+alt+d/control+alt+r) ..

Download it here.

Enjoy!

Slow VM disk access on Qemu/SIMH or other emulators running on Windows?

Turns out from an interesting thread on the SIMH mailing list, is that the Windows volume shadow copy service, and other ‘system’ protecting services may tag files like .dsk to be monitored, and to save a difference of every write to the file.

Yes that is right, on top of NTFS’s transaction log and rolls, you have the OS doing the same thing which in turn makes your disk access slower than hell.

The fix?

Quite simple, dont use TLA (three letter acronym) file extensions, or no extensions at all and suddenly you’ll find that your disk based emulation is significantly faster.

Speaking of Qemu 1.0.1 and instabilities

I came across this site, which drops this bomb:

February 29, 2012: updated for Qemu-1.0.1 – Still a “to be tested” version. See bug report win32: git rev 59f971d crashes when accessing disk (coroutine issue). In my version a workaround was to compile coroutine-win32.c without optimisation (-O0): contains qemu-system-arm.exe, qemu-system-i386.exe, qemu-system-ppc.exe, qemu-system-sparc.exe, qemu-system-x86_64.exe and the linux-0.2.img image

Well isn’t that amazing… I know I’d given up on it as as soon as some OS’s accessed the hard disk once they’ve initialized in protected mode it’d just lock up…

I may well have to revisit my Win32 builds of Qemu 1.0.1

Building Qemu 0.15.1 on OS X 10.5.8

End of the line for the PPC

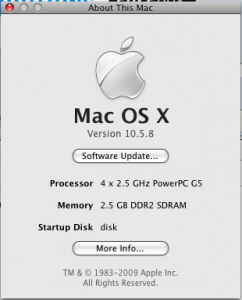
So I was wanting to build Qemu for my somewhat new G5.  After going through some hardware hell, of a bad hard disk, ram, and having to reseat the video card (should have figure it’d get shaken in the transit) and blowing out all the gunk, my G5 is now in action! … But silly me I wanted to play with OS/2 and while I do have Virtual PC for OS X (yeah MSDN) I wanted to play with Qemu.

I didn’t feel like dealing with 1.0.1, I thought I’d take a stab at the older stable branch, 0.15.1 .. And what a joy that was.

So first off I installed OS X 10.5 from the nicely provided install DVD.  That went fine with good RAM (shockingly with bad memory it gets corrupted and has all kinds of errors, if only the RAM test from the boot ROM was worth anything…. but it makes a nice chime noise).  So I found out much to my amazement after unpacking and going to build 10.15.1 that it requires.. glib-2.0 .  Well damn, this puts me in the same build hell that made Qemu 1.0+ in Win32.

But I figured OS X being a UNIX it may be somewhat easier to build… Somewhat.

So I started with glib-2.30.2, which of course dies because there is no pkg-config.  I download pkg-config-0.26 which won’t build because… yes, there is no glib-2.0 …. GRRRR!!!!  So I try pkg-config-0.18.1 and it actually builds!  One thing to keep in mind is that you *MUST* have the environment variable “PKG_CONFIG_PATH” set to something like this:

PKG_CONFIG_PATH=/usr/local/lib/pkgconfig
export PKG_CONFIG_PATH

or it won’t work. I tried to build glib again, and now it fails because there is no libffi.  I try libffi-3.0.10 and it won’t build with some weird error of:

$ make
MAKE powerpc-apple-darwin9.8.0 : 0 * all-all
make: *** [all-all] Error 1

And yes it still did it after I was able to build glib2 (spoiler!?)…

Thankfully, libffi-3.0.4 did build, and installed fine.  So I try to build glib2 again, and now I fail because it wants gettext, so I went ahead and was able to build and install gettext-0.18.1.1 .  I went to build glib-2 and was totally shocked when it not only configured, but actually compiled!

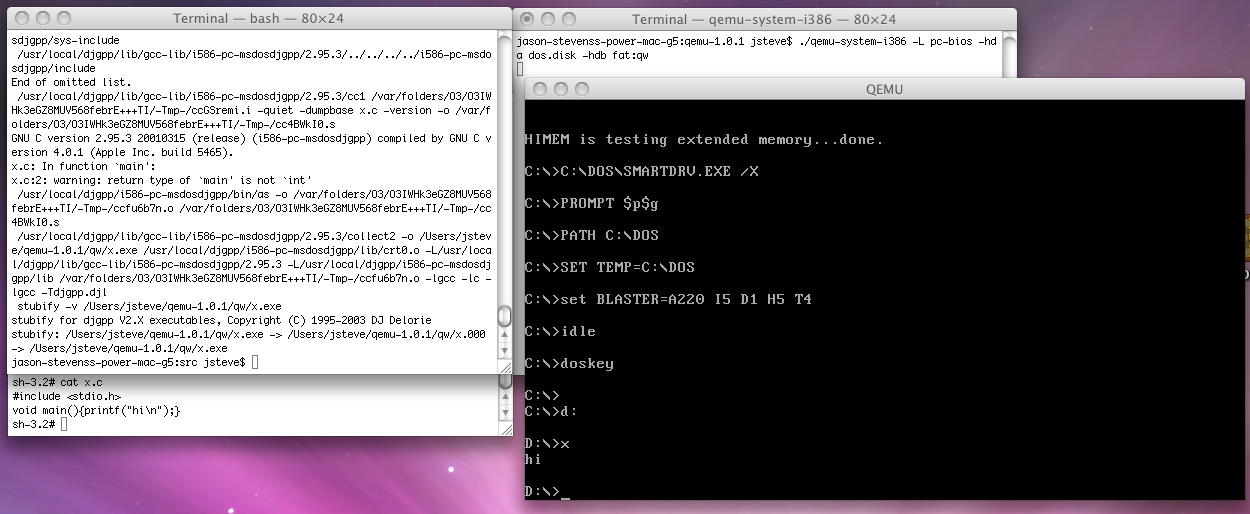
I installed it, and was able to build Qemu 0.15.1, I just did the i386-softmmu target with the NE2000 fixed to be 0x300,IRQ 10, and enabled the AdLib!  And it compiled!

Now I’m sure some of the things that I’m fighting is that I’m on a PowerPC (G5!) and needless to say this version has been pretty much abandoned by everyone. I’m also using the dev tools that came on the 10.5 DVD, gcc version 4.0.1 (Apple Inc. build 5465) Which is great because they don’t seem to let you download any of the old X-Code stuff anymore..

The good news is that I could boot up my OS/2 disk image, the TCP/IP worked, however the mouse was all screwed up, left clicking just jumps the mouse like crazy, but it seems to track correctly, it just doesn’t click correctly… However the sound works GREAT!

Doom 1.1 on OS/2 2.0 via Qemu 0.15.1 on OS X

I know it isn’t much to look at, but it actually runs!

So here, for my fellow PowerPC OS X refugees, here is Qemu 0.15.1, I just built it for the i386. Doom in OS/2 on it is quite playable, but I’ve got a 2.5Ghz G5 so…. Your millage may vary.  Greatly.

And for the real daring people, here is Qemu 1.0.1 for the PowerPC.  I haven’t done much of any testing outside of loading up OS/2 2.0 from an image I had on my Windows 8 PC, connecting to the internet, and then loading up the shareware version of Doom 1.1

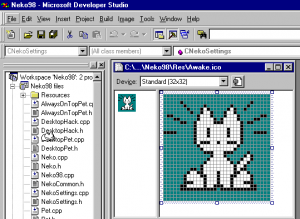
Horror of Horrors, Neko98 nearly lost!

Building Neko

It came to my attention that the site in.sert.co.in no longer exists! And worse, that the files on the page are long gone.  Thankfully the internet archive did snag A page from there, but the downloads are all gone!

Thankfully I have a 1TB disk (lol so small now!) and I downloaded the source code, so all is not lost.  I don’t know why I didn’t mirror it before but there you go.  For all the diehard neko fans download the source, and keep hold of it….!

And of course, an upload to a project page on github.com.

So that being said, I fired up Visual Studio 97 (I knew buying that was a good idea!) and built an i386 Win32 version…  I also rescued the cat sounds, but no luck on the rest of the files.

So once more again, neko has been saved!

VirtualBox 4.1.10 released!

VirtualBox splash

Well what a surprise, a new version of VirtualBox this AM.  The good news is that it works with Windows 8 preview.  Even better all my machine save states work fine.  phew.

Apparently a maintenance update, but it brings apparent stability to Windows 8, and brings python support to OS X Lion…
I haven’t even looked at what to do on my G5 PowerMac….
Anyways you can download it from here.