Apout on Windows

I read somewhere that kids these days are interested in games where you can modify how the game operates with sub programs written in their own languages etc.

Hello from Unix v7

Hello

So while this does sound interesting, it does remind me of that good old fashioned syscall emulation, where you emulate the CPU, load an executable, but any system calls that are made, are handled by the simulator, little if any hardware is actually emulated. Yes Basilisk II is an example of this, but so is Wine, WOW, NTVDM, i386 code on x64 platforms, and various others. The major advantage is that they typically can access your native file system so you don’t have to mess with virtual disks. Of course it all depends on the implementation.

I did remember this old simulator, Apout, which could run UNIX v6, 7 along with BSD 2.9 stuff on modern Unix. The emulation layer here being LIBC, and how pretty much the basics of how UNIX operates hasn’t changed since those ancient days in the 1970’s.

So I thought I’d try to see how much of this works on Win32 using Microsoft Visual C++ 5. And surprisingly I didn’t have to glue in that much, the biggest thing I had to do was trying to detect if a file about to be opened was ASCII or BINARY as the UNIX platform doesn’t distinguish these two but Win32 with it’s MS-DOS legacy does. As you can see I did get the banner program running, some of the games work ok, although I had to comment out the sgtty functions as there is no immediate equivalent on Windows, and I didn’t think there would be that much of a demand for such a thing anyways. I can even run the login program. Which brings me to the issue which is that it’ll spawn new programs fine, but when an exit is called Apout just exits. Even on Linux it’ll just do this. I tried doing something with setjmp/longjmp but it crashes shortly afterwards… No doubt some stack unwinding fun. As such trying to compile things just bomb out. I went ahead and took the source code to cc and made a native Win32 version that then calls apout for the various parts and that almost worked except I then found out that the assembler on the PDP-11 is a 2 pass assembler, written in assembly. And yes, when as calls as2, and unwinds all hell breaks loose. Which is another problem that UNIX likes to share file descriptors among itself and children, but children like to close things when they die. I guess the solution is to give each child it’s own descriptor table as everyone likes to close stdin/stdout/stderr and even #4, which the simulator uses for logging. it’s very annoying so I just prevented it from closing handles under 4.

But running each of the phases manually does get me an executable but it doesn’t seem to do anything, the only syscalls are closing all the file handles and exiting.

So close!

I don’t think anyone will care, but here is my source/binary along with Unix v7. It’s hard coded to dump stuff into c:\temp for temporary files, the Unix v7 must be in c:\v7 … ugh.

Hunt the wumpus on NT

Hunt the wumpus on NT

But yeah, you can play that thrilling game from 1979, hunt the wumpus!

Dungeon on A/UX

Dungeon on A/UX

Dungeon on A/UX

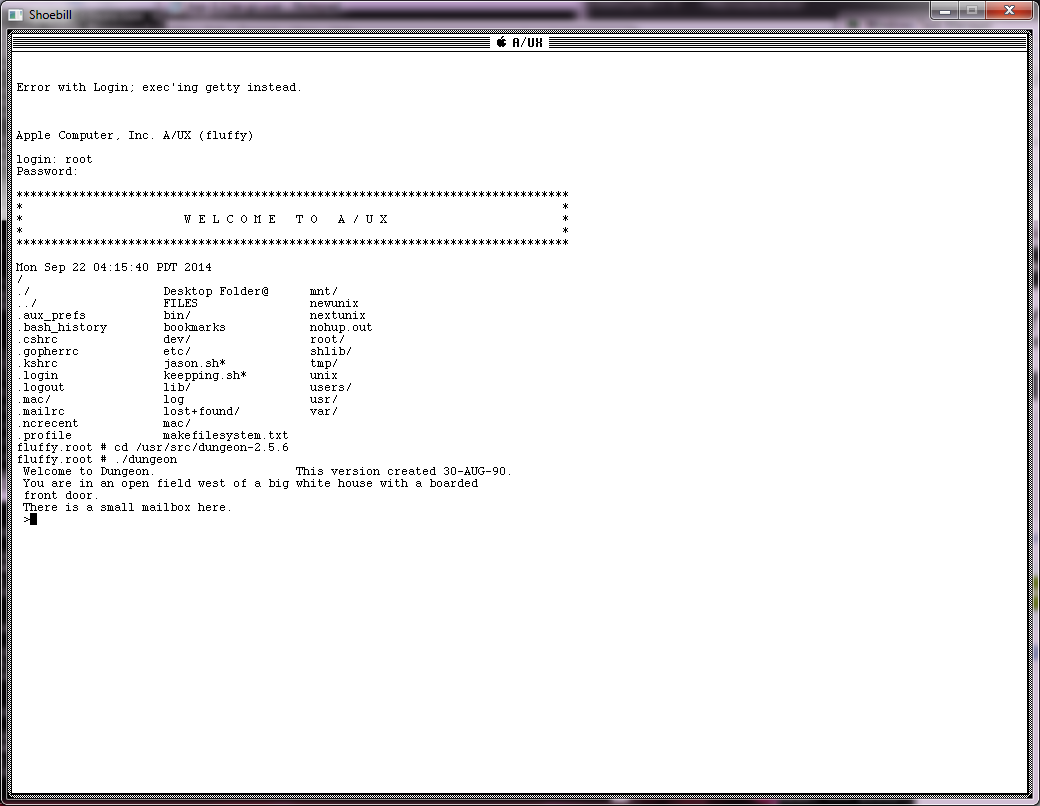
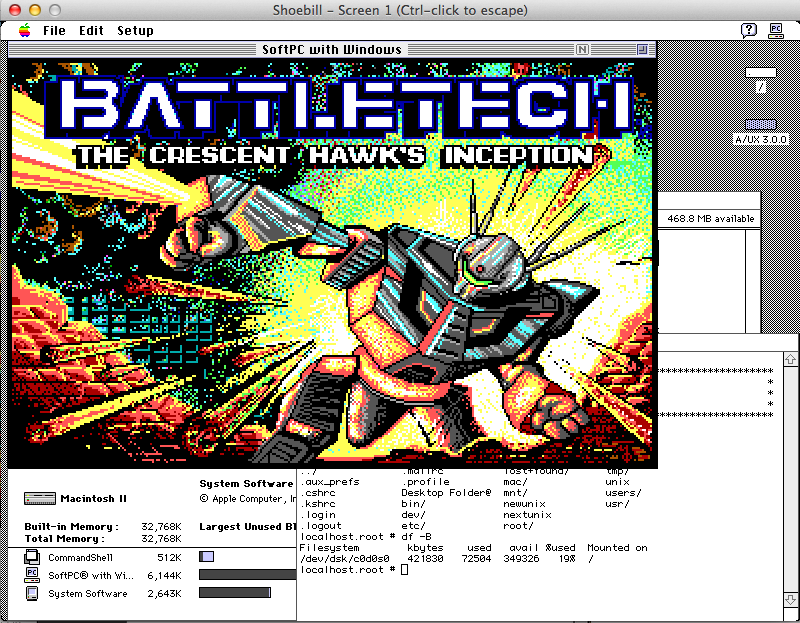
I know it’s been a while since I’ve done one of these, but now that I’ve been playing with A/UX on Shoebill, I noticed that A/UX comes with a Fortran compiler!

So I downloaded dungeon, and took a few minutes, mostly making a GNU Makefile, and I was able to produce a working binary!

For anyone who cares it’s here.  I guess f2c is kind of pointless, seeing that the OS already comes with a F77 compiler.

Atari System V UNIX Saga – Part III – SCSI Disk Replacement

(note this is a guest post by Tenox)

In previous posts from ASV series I have explained why I got hooked on Atari System V UNIX and what I had to do to get a decent resolution out of Atari TT. Having built the VGA monitor adapter, the next challenge was to replace the internal SCSI hard disk with a flash storage of some sort. I really don’t like spinning hard disks and especial the old ones.

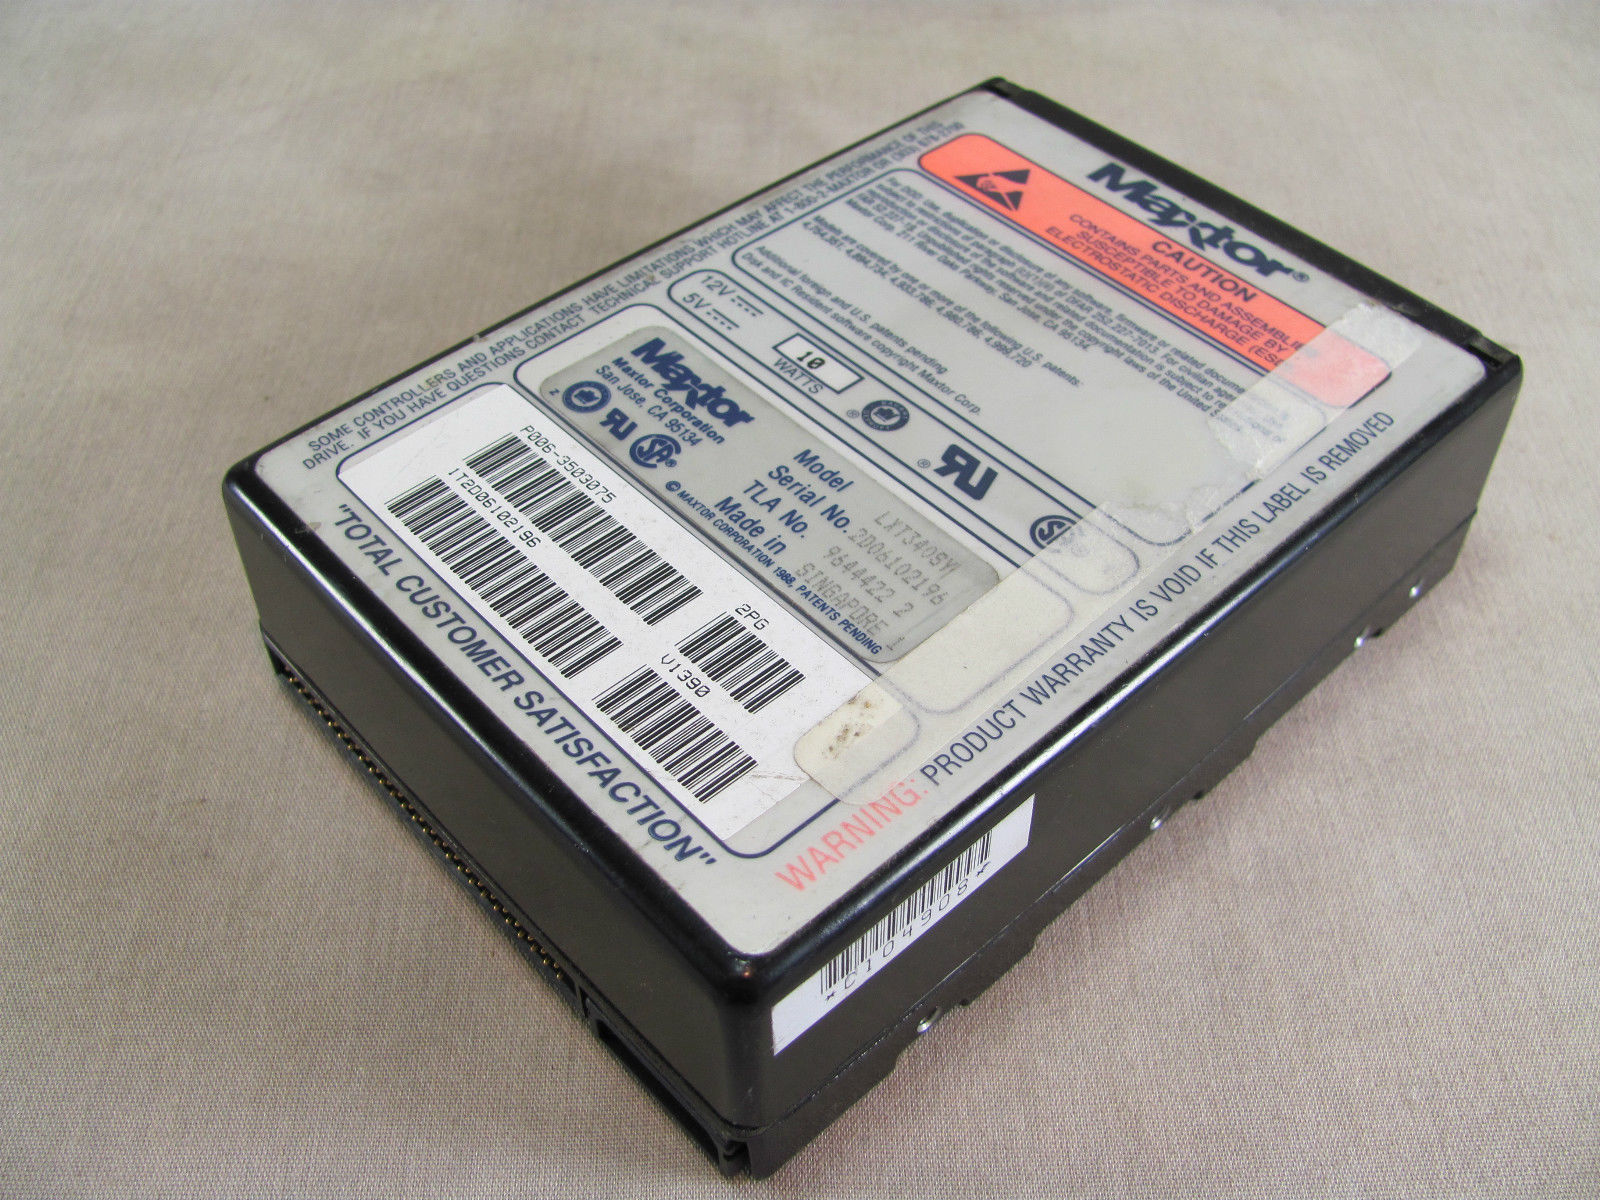
I have mentioned that there are two surviving ASV disk images. The better one was made out of a rather large old, loud and obnoxious Maxtor. I’m definitely not having this monstrosity inside of my beloved Atari!

Maxtor LXT340SY

Maxtor LXT340SY


So how can you replace an old SCSI hard disk with a modern flash device? There actually are several different ways.

If you have the money you can go industrial route, which is a SCSI disk replacement for various machinery and embedded systems produced by ReactiveData. You can buy one of these for a little over $1000 USD. The good part is that they substitute a specific real hard disk model and are exceptionally good in quality of emulation. However, spending a lot of money on my TT and TenoxVGA already, this really wasn’t an option without getting a divorce.

Another approach is to use SCSI to IDE bridge combined with IDE to CF adapter or possibly SCSI to SATA bridge and SATA SSD disk. These are widely used by Atari / Amiga / Mac 68k community. The most popular bridge come from a company called Acard. I actually had one of these at hand, AEC-7220U which I used for TOS/GEM work.

acard front

acard front


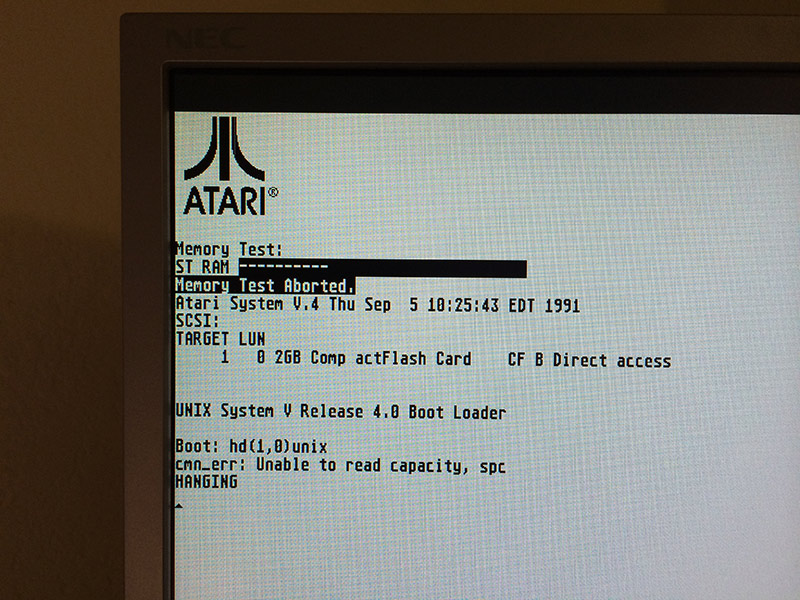
Did it work? As you can guess – of course it didn’t! The initial boot loader errors out unable to read disk capacity.

Atari SYS V failed to boot

Atari SYS V failed to boot


Atari ST/TT, somewhat similarly to 68k Macs require a hard disk driver, present on the hard disk itself. There are several 3rd party implementations, some of them, like HDDRIVER maintained up to present date. Unfortunately these drivers are TOS specific and obviously don’t work with Atari Unix. The system comes with it’s own hard disk driver which seems to be obsolete and with limited hardware support.

The next step was to research and try out some other SCSI to IDE bridges in hope one would just work. And surprisingly there are several to choose from.

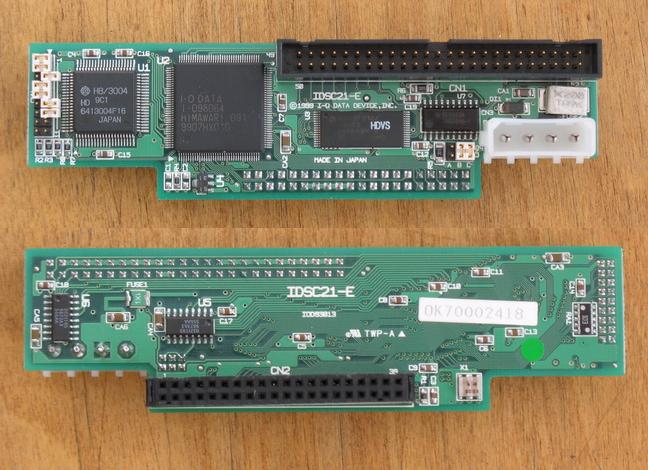
The second on the line was I-O Data R-IDSC21-E/R. No longer produced and supported, however still fairly popular. Usually regarded as the ultimate bridge with most fancy options bells and whistles. It has most jumpers and modes of all tested devices. For instance ATA PIO and DMA modes.  Unfortunately this didn’t help at all and same error was observed.

idsc21e

idsc21e


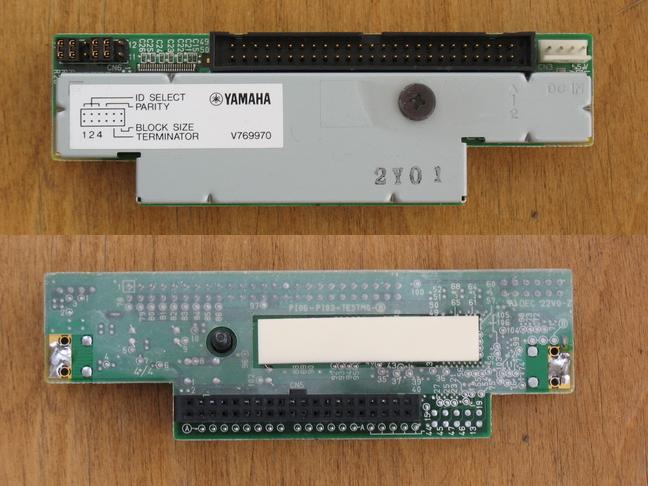
Another device tried was Yamaha v769970. This bridge was conceived to allow use IDE CDROM and Hard Disks with Yamaha samplers. No longer produced and obsolete, it’s somewhat most easy to set up, robust and stable. It’s actually my favorite bridge for day to day use, except for ASV where it just doesn’t work.

v769970

v769970


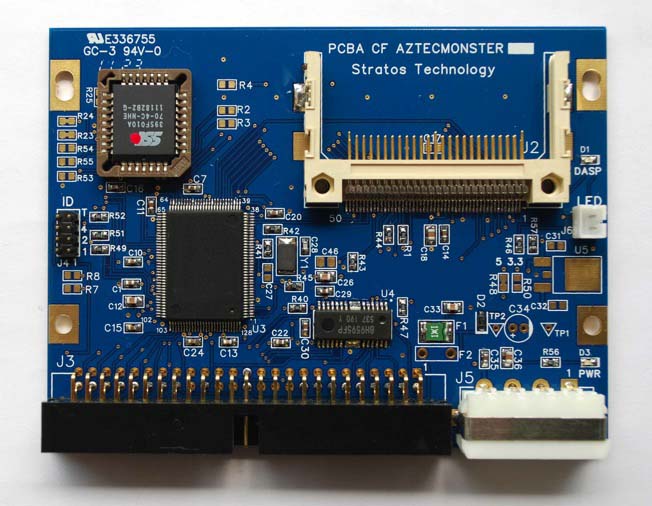
More recent kid on the block is an integrated SCSI2IDE + IDE2CF in one device called Aztec Monster. Recently designed and currently produced in Japan (you can buy one on eBay) is a fairly decent choice, which I recommend to every one. I had a lot of luck with these, except for ASV of course…

CF_AM_r1_1

CF_AM_r1_1


I also looked in to SCSI to SATA bridges, like this one, but they have additional issues, like need to convert LVD to SE on one end and SATA to IDE to CF on the other. Little bit too complex for what I wanted.

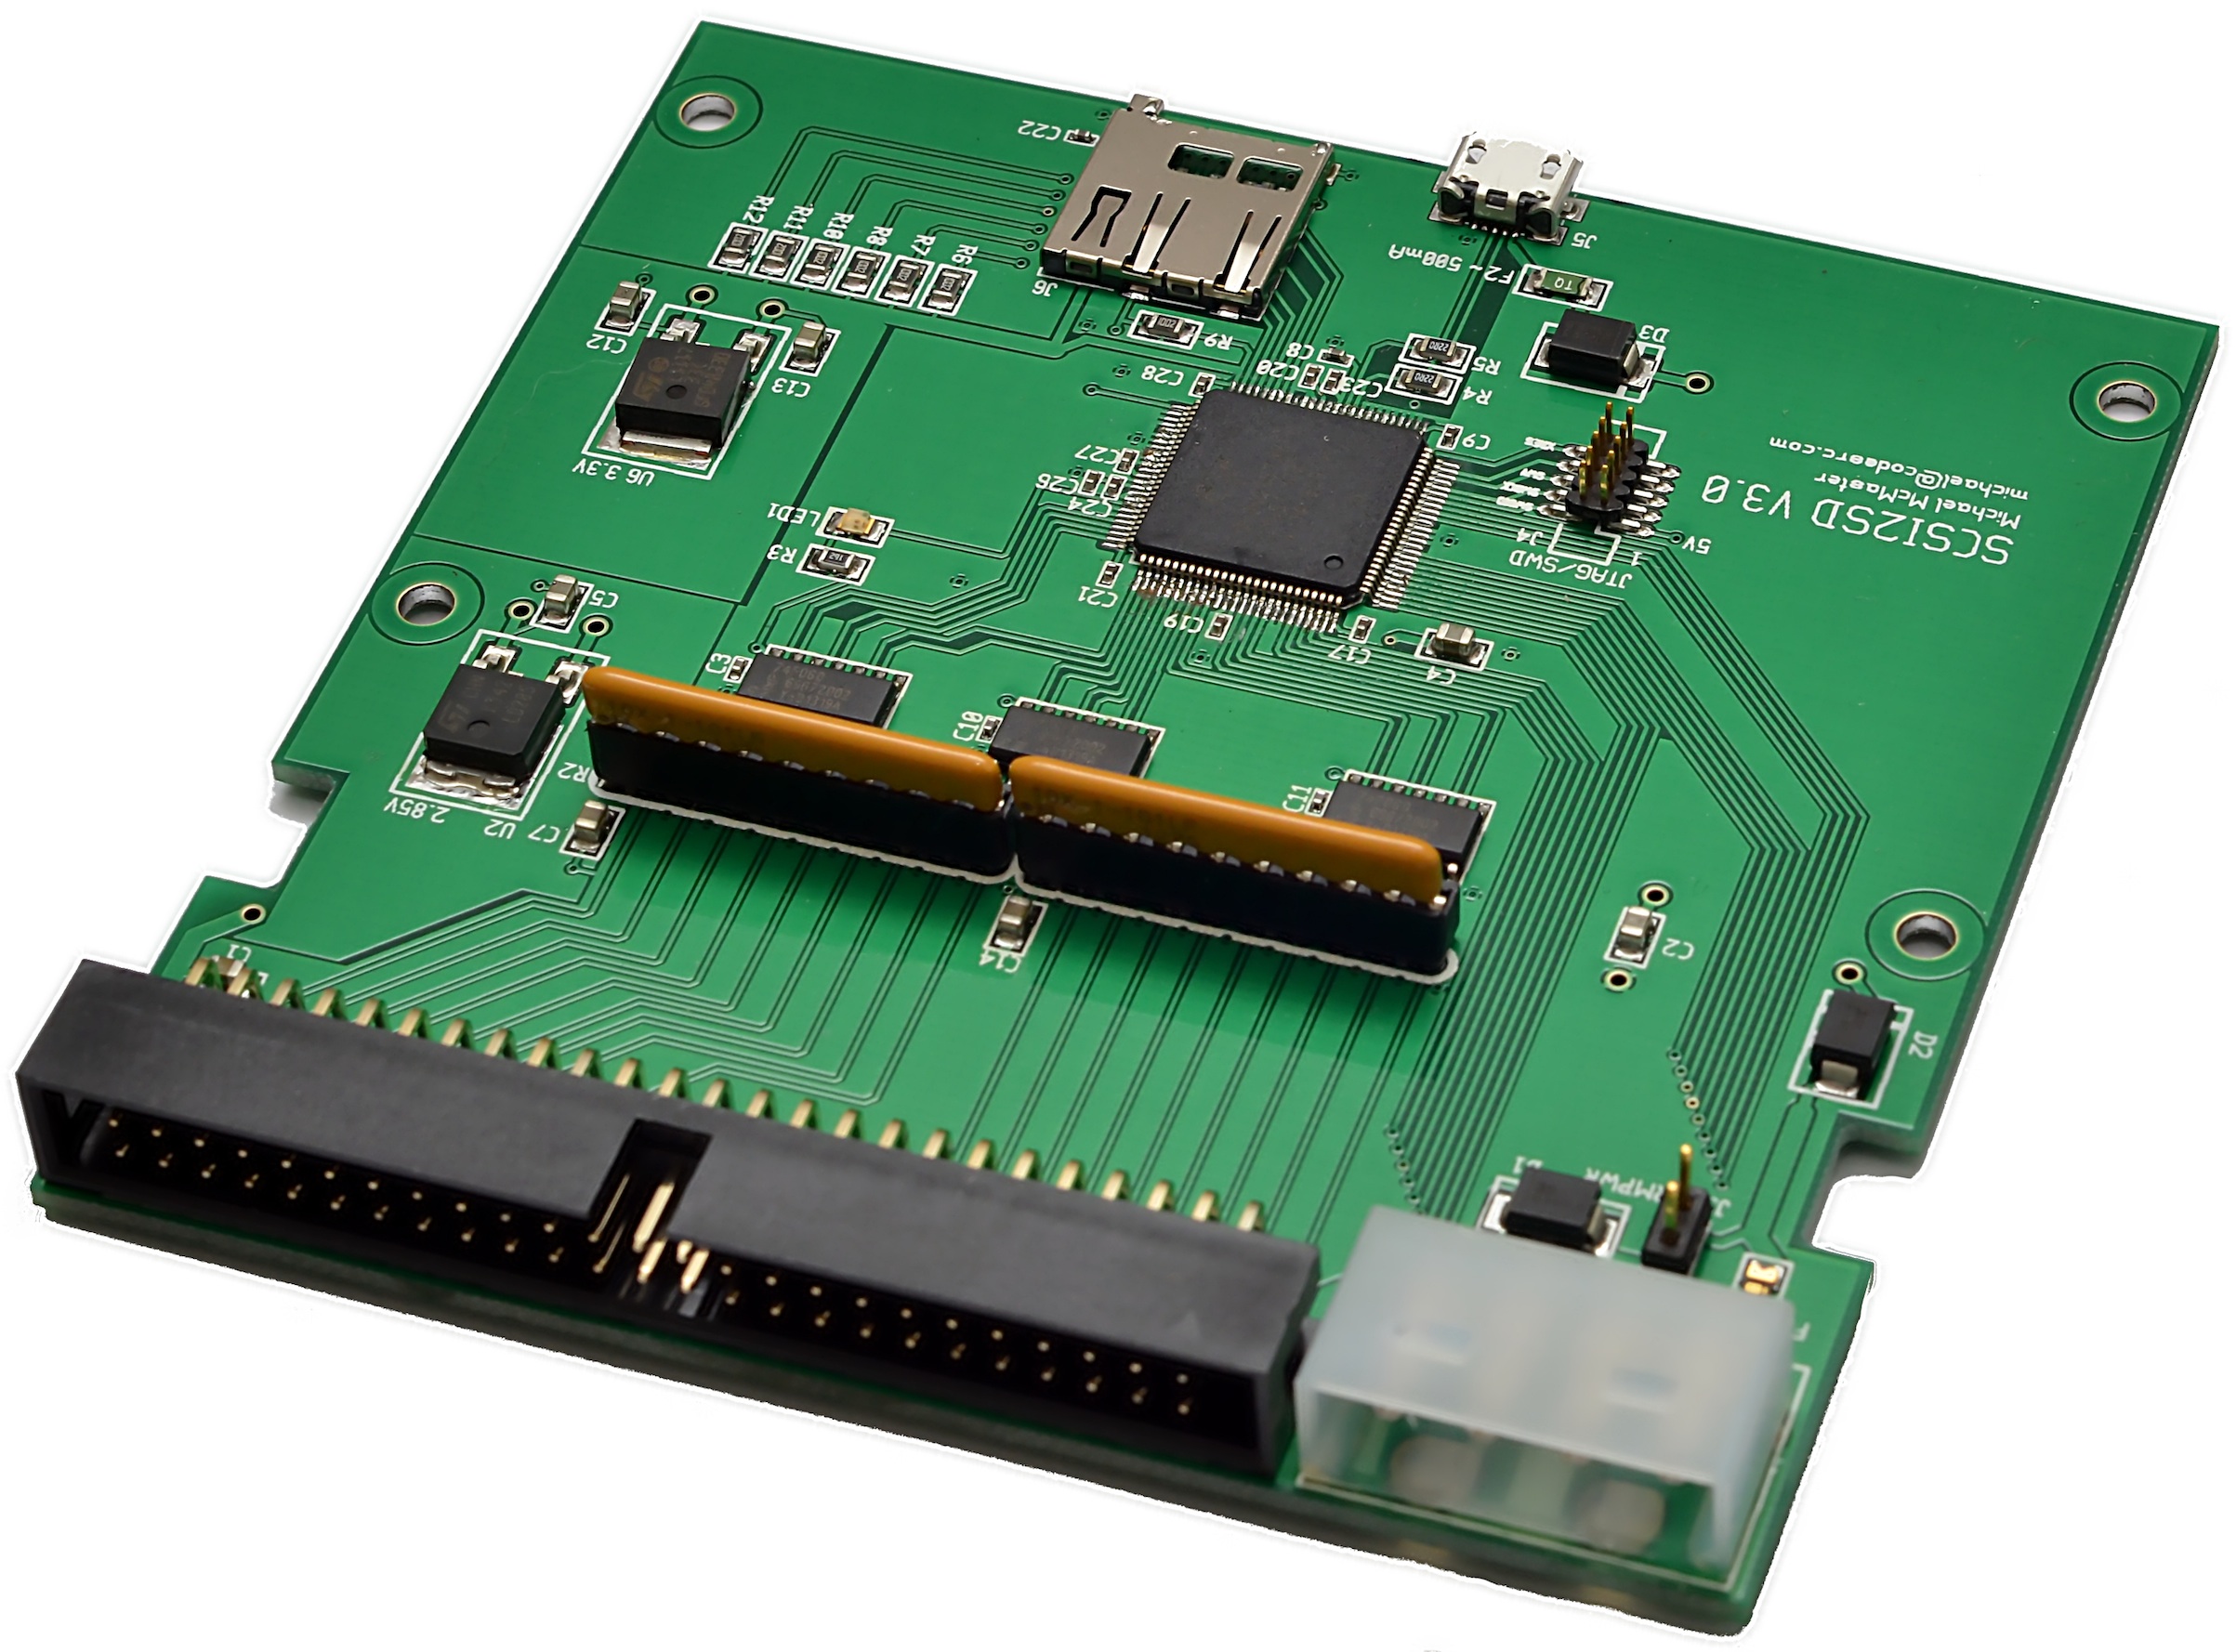
Being out of luck I started researching if it would be possible to build an open source version, which can be easily diagnosed and fixed. Doing so I found out that there in fact is one open source SCSI adapter called SCSI2SD.

SCSI2SD_V3.0_plain

SCSI2SD_V3.0_plain


I was bit skeptical in the beginning but then I though that being open source it can be debugged and fixed if it needs to be. So I immediately ordered one.

Once it arrived, I plugged it in, applied the image to the card and BAM! It worked! The system booted fully and worked flawlessly!

Atari Unix System V – Boot Sequence from Antoni Sawicki on Vimeo.


Over time SCSI2SD proven stable and flawless. One feature that Mac users will appreciate:

--apple Set the vendor, product ID and revision fields to simulate an
        apple-suppled disk. Provides support for the Apple Drive Setup
        utility.

In the next article I will write about my first steps in the system post boot and then bringing it to a more or less usable state. Stay tuned!

Shoebill ported to Windows!

Shoebill!

Shoebill!

Good news, as mentioned here, the Shoebill emulator was recently given some much needed SDL love, and ported to Linux.

Well that’s great and all, but the vast majority of people who run anything these days do it with Windows.  So I decided to try to get it to compile with MinGW to see how far I could get.

And the short version is that I got it working!

The long version is that in the first pass there is some SIGUSR2 stuff that is undefined.  And for a good reason, since it won’t work.  So I just commented them out.  The next minor problem was the lack of bzero.  Honestly I don’t know why bzero is missing from MinGW, but who knows why.

Shoebill also processes some internal macros with a perl script that for some reason was dropping in binary values into the source, making GCC mad.  I just commented out a line that was adding in more comments into the header.  This let me compile with a simple pass.

There was some issues reading the ROM file, since the 68000 is a BIG ENDIAN processor, and the 8086 is LITTLE ENDIAN, Shoebill makes extensive use of hotns and hotnl, ntohl, and ntohll.  These can be found in the winsock library, and even better they dont need any winsock initialization, they work right away.  I just have to make sure I include winsock2.h, and link against the winsock library.

However when trying to boot, the checksum was 0x00000000, not the expected value!   Luckily there was an assert to catch that and crash.  This led me to notice that in Linux files are opened in binary mode by default, while on Windows, they are opened in ASCII mode.  A quick change of all the fopen calls, and I was reading the ROM, but now crashing on the disk.

As it turns out newer versions of GCC go all crazy when it comes to structs, and try to automatically align to boundaries for quick access.  Which sound nice, until you try to read in some binary data, and expect things to be in certain locations and find out that your structure is larger than expected, and data is read in the wrong place.

The solution is to force the compiler to leave it alone with

__attribute__ ((__packed__))

HOWEVER as luck would have it, Microsoft apparently packs structures a different way, and you have to either make a macro to do a bunch of work to force it to make the structure 1:1 of what you expect, or use the CFLAG option of

-mno-ms-bitfields

And now MinGW’s GCC will build something along the lines of what it’d build on Linux.

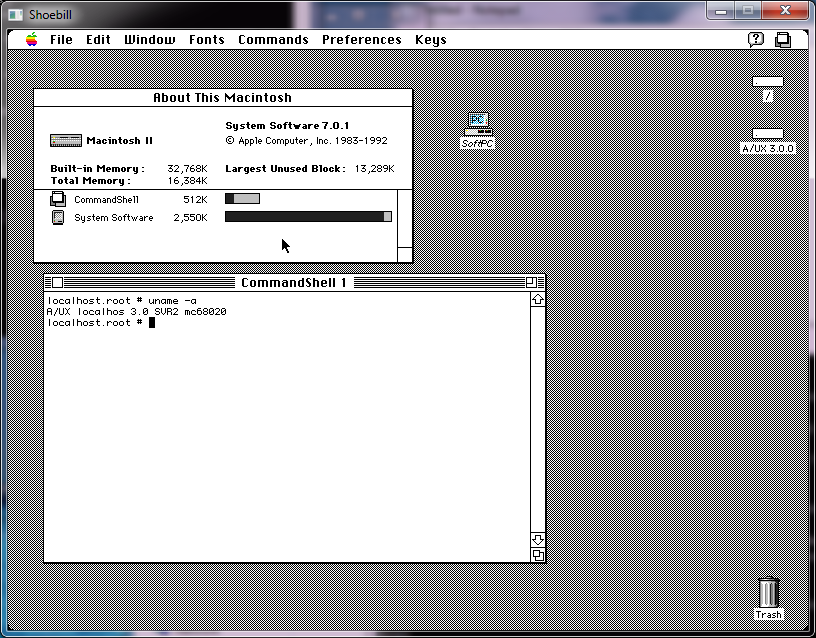
Putting it all together, I amazingly got this!

Shoebill on Windows

Shoebill on Windows

Phew!  So for those interested, here is the source code drop(Use the updated one here!), and here is the binary.

If you ever wanted to see the “OS X” of the 1980’s, now is your chance!

Philip Pemberton’s 3B1 emulator now Boots AT&T Unix!

No really, you read that right!  You may remember my post about this emulator a while back, with a small mention how it’ll boot the diagnostic disk, and fail from there.

Well now, thanks to Andrew Warkentin’s hard work, the system now boots!

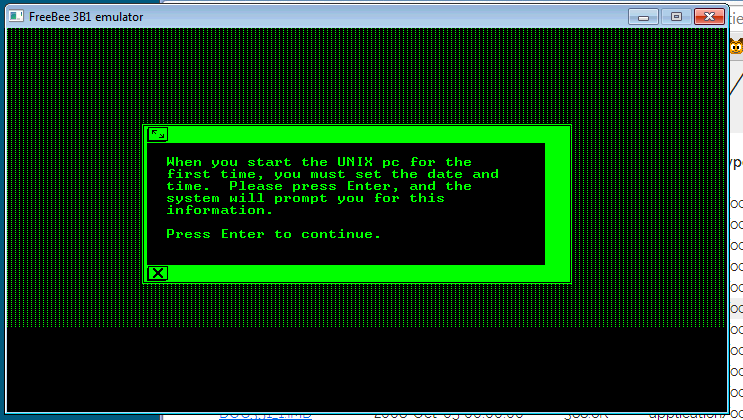
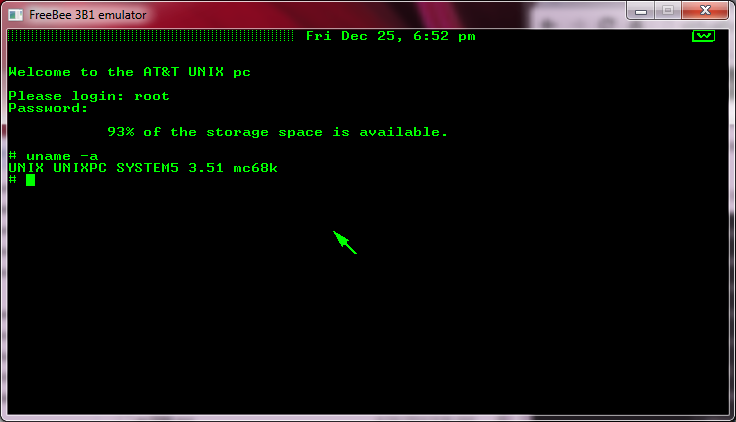
3B1 time check

3B1 time check

Using the 3.51 installation set from bitsavers, and the IMDU program to decompress the disk images the emulator can install UNIX onto a hard disk image (be sure to check the debug version, and the stderr.txt for the emulated geometry for your supplied hd.img).

I’ve got to say, it’s pretty cool!  Although building the exe for Windows needed a little nudge, but my compile seems to be working, although the ‘release’ version still outputs far too much information.

blank

blank

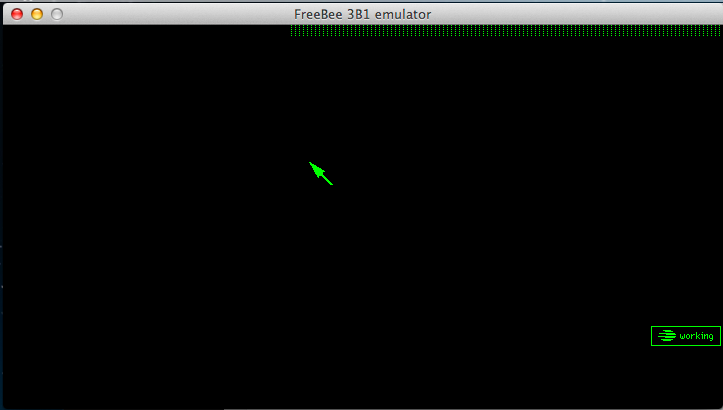
At this point it’s stuck “working” .. I thought it’d be able to do more, but it did take down the new root password, and then say it’s “setting up the screen”.  I ran a second copy on wine for the heck of it, and it’s doing the same thing.

xx

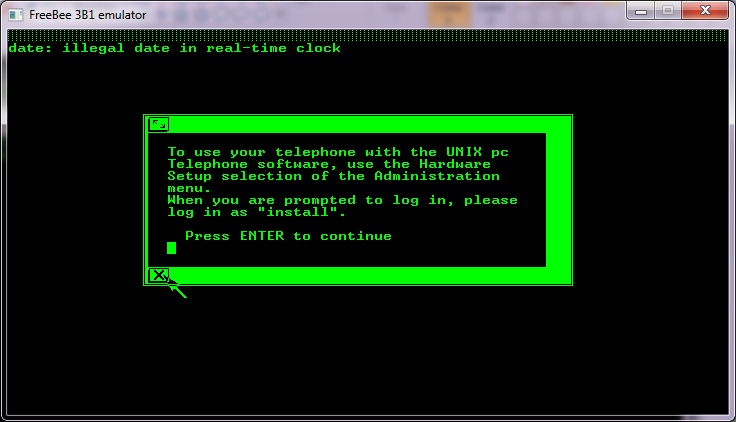
Apparently if you ‘X’ the modem panel, you’ll get a desktop

I’ll update as I can, but I wanted to get this out there.  For those who want to try, you can download my work here. Remember F10 will capture/uncapture the mouse.

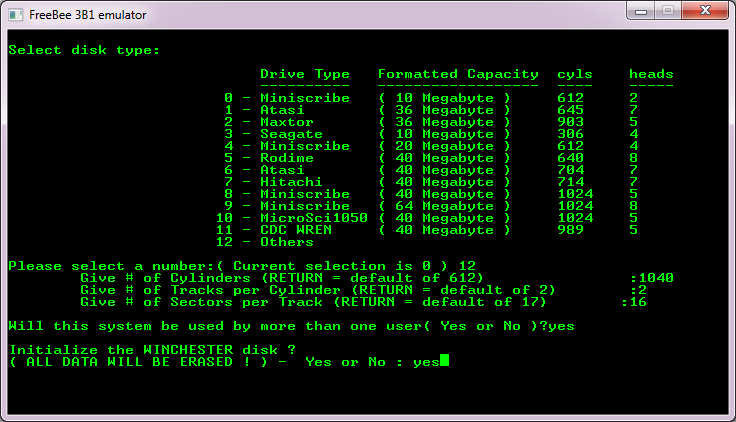
The floppy disk file is called ‘discim’.  Simply copy the RAW 409,600 byte file onto this filename, and freebee will pick this up as a disk change.  You can make a hard disk file by simply creating a blank file (I used qemu-img create -f raw hd.img 65M) by providing a file of that size called hd.img .  When freebee starts, if you look at stderr.txt it will tell you the geometry that it is going to use:

WD2010 initialised, 1040 cylinders, 8 heads, 16 sectors per trackDisc image loaded.

Which you then pass onto the diagnostic disk to format the hd.img.

(boot with the diagnostic/setup disk, 01.RAW)

Option #2 (Format Disk), then Option 12 (Others).  Then using my information, 1040 cylinders, 8 tracks, 16 sectors per track (I guess it figures out heads on it’s own from the tracks?)  I then let it setup the disk as multi-user and it’ll format the disk.  It should only take a few seconds.

Format the disk from the diagnostics floppy

Format the disk from the diagnostics floppy

Installation of the OS starts with 02.RAW and it’s pretty self explanatory.

Apparently the best way to login the first time is to move the mouse frantically around, and it may let you into the system.  Logon as root and try doing this:

remove the /dev/ph0 and /dev/ph1 files

make a new /etc/inittab

is:2:initdefault:
rc::bootwait:/etc/rc > /dev/null 2>&1
vid:2:respawn:/etc/getty window 9600

remove the files

/etc/.modeminit
/etc/.phclr
/etc/.phinit

I did that to my disk (download), and I can now boot up.

3B1 booted up!

3B1 booted up!

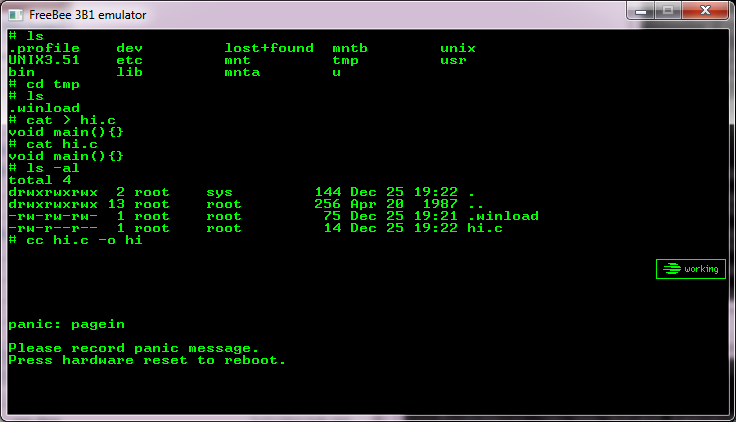
I found vi and the C compiler on the bitsavers archive, but the C compiler currently doesn’t work.

panic

panic: pagein

Which is no doubt something else up with the MMU.

Atari System V UNIX Saga – Part I – Intro

(note this is a guest post from tenox)

SONY DSCA long long ago, my father had a printing business. An emerging technology called Desktop Publishing (DTP) was just taking to the mainstream. I have been involved in migration from Linotronic typesetting machines (see above) to more modern and GUI driven Atari TT with Calamus. Those were fun times. Long story short, I became an avid fan of Atari. Unfortunately as time progressed, Ataris got in turn obsoleted by Macs with Quark Xpress and Photoshop. I myself started exploring world of Unix and ended up selling my Atari to be able to run Linux. Bit of shame from time perspective as there were plenty of Unix flavors for the Atari: Minix, Linux, NetBSD and MiNT. Unfortunately they were released after I parted with the platform.

Atari System V on Cebit

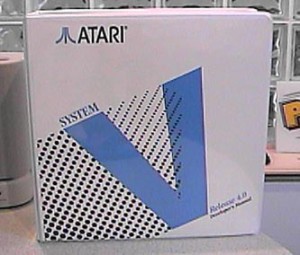
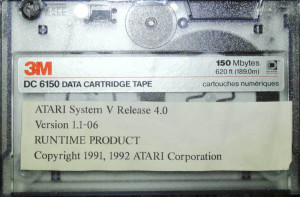
Fast forward 20 years, Atari own UNIX version surfaced the earth. It was originally released in mid 1992 but died shortly after, no one ever heard about it. It has been lost to humanity. Only two good souls had working versions of the system and under pressure of the community finally made disk images of their installations. Some time after a documentation set has been found and digitized. Now I’m in process of trying to restore last existing set of damaged installation tapes. You can find little bit more history of the efforts on this thread.

RUNTIME_PRODUCT-QIC

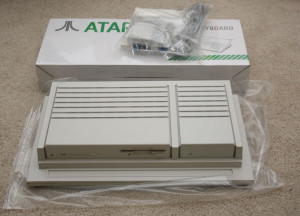
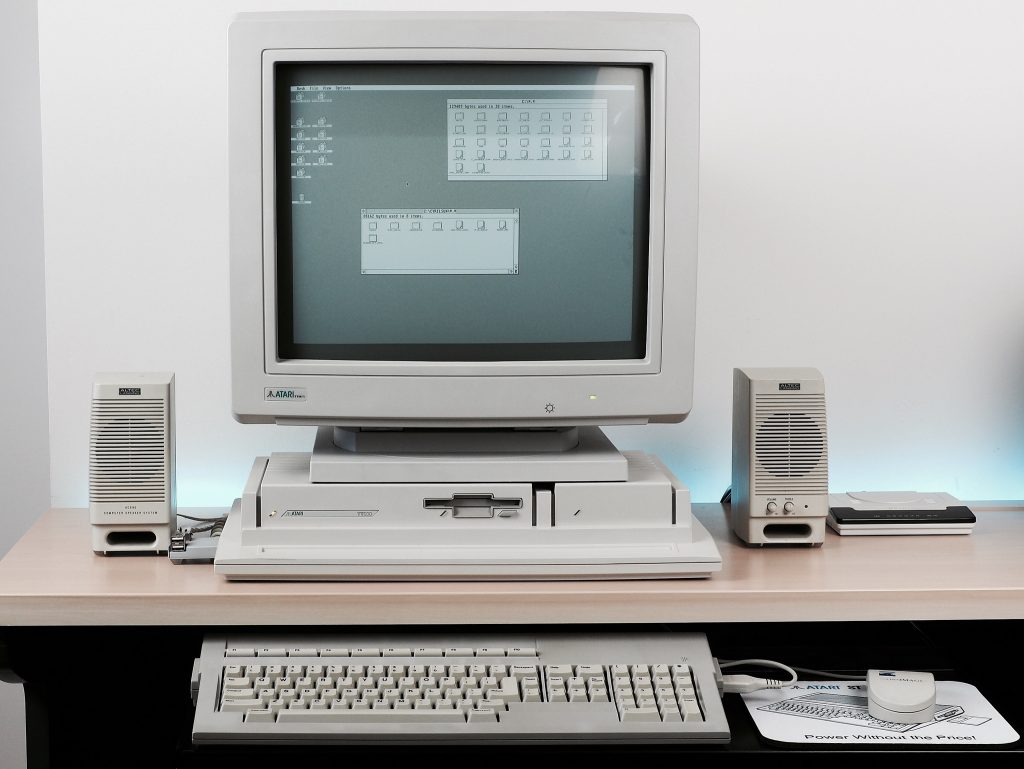
Out of nostalgia and the fact that Atari TT has been designed as a Unix Workstation, but never got a chance to play with it in this role, I decided to purchase one for myself. I have turned to Best Electronics who is a local Atari dealer around the corner. They sell Ataris like brand new, assembled from spare or reconditioned parts. I paid a small fortune for it, but I got myself a brand spanking new Atari TT, factory sealed and smelling like new after 20 years. It was fitted with latest motherboard revision, TOS, 1.44 MB FDD, 4 MB ST RAM and 16 MB TT RAM.

tt

I was told to just hook it up to a VGA monitor and viola, it will work. Which it did… except to my utter shock in a whopping resolution of 640×480. It looked absolutely horrible stretched on a 19″ LCD panel. I don’t have any pictures but it looked like this. For games maybe OK but not for Unix or any sensible applications.

Using TTs professionally in DTP I certainly didn’t remember them suffering in the resolution department. So what was I doing wrong? Aha! In the old days we used to use special high resolution VME graphic cards.  So I went to search for one on eBay and Atari Forums. These obviously proven to be impossible to find… obviously. Additionally I learned that Atari UNIX does not support any of these as they required special TOS/NVDI drivers. In order to run ASV X11 with a decent resolution, one needs a special high resolution monitor called either TTM 194 or 195. These were “professional” 19″ monitors specifically for DTP work. They worked with the built-in graphics card in a special black and white mode at 1280×960, which is actually decent even in modern standards. In a fact we did have these monitors at the printing shop.

Unfortunately these are very old, bulky CRTs and weight 50 lbs. My wife would kill me if I brought one home and even if she didn’t I would hate having one of these on my desk. So why won’t the “TT High” mode work on a standard VGA LCD which normally supports 1280×1024? Well back in a day VGA standard didn’t support such resolutions and Atari had to make the monochrome monitors using ECL signal similar to old SUN/3 and HP monitors. Higher resolution modes were only added later by VESA BIOS extensions.

Researching the topic a lot of people were actually looking for an ECL to VGA signal converter but one did not exist. Some managed to use old EIZO CRTs with ECL support and with decent results, but still these are 50 lbs CRTs and I wanted to run ASV on a LCD panel. An adapter to convert ECL signal to a real VGA has actually been tried before but with rather awful results. Something had to be done!

TenoxVGA was born. And this will be covered in the next post… 😉

Virtual Xenix & the internet

This is probably the most significant Xenix post I’ve made since the old days when I managed to get Xenix running in Qemu all those years ago.

3com network card

3comB network card

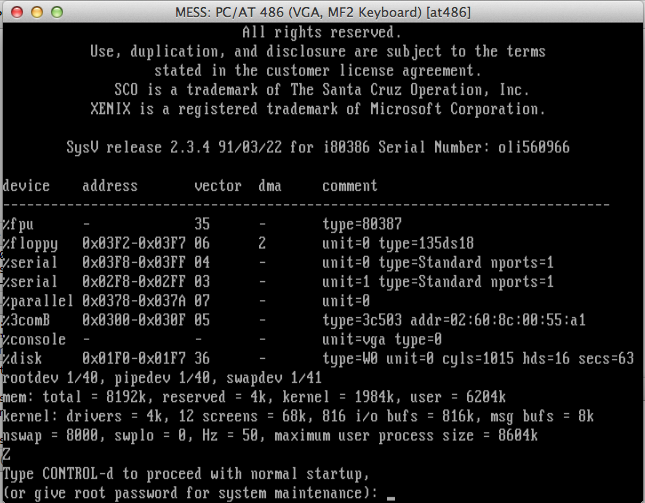
What has long been a frustration with the beleaguered Xenix community is that although there was a TCP/IP package for Xenix (and a much required streams package…) it only worked with a handful of ethernet cards.  And all of them were early 3com’s.  While the world was using NE2000’s on just about everything, the most common ethernet board Xenix would talk to was the 3c503, which is getting harder and harder to find as the years go on by.

But right now none of this matters.

I was looking at this article on setting up Apollo Domain UNIX, on MESS.  And apparently it will do networking!  Which is cool, so I poke around MESS, and what do I see? 3c503.c. Could it be true?

Now I ended up having to download the source to mame 0.151 (mame0151s.zip) and building it on OS X.  Of course remembering to alter the makefile to include the ‘USE_NETWORK=1’ statement, and build for Mess.  And just as it looks like something out of SIMH, Mess makes use of libpcap which means that you are *unable* to send/receive on the host computer. (OS X & Win32 binaries).  And of course you’ll need a ROM & Xenix diskettes.

Installing Xenix is pretty straightforward as long as you know your system key, and how to navigate the mess UI without rebooting mess or exiting by mistake (scrolllock on the PC, function/Delete on OS X).

First create a hard disk, and as always it should be ~500MB max.

chdman.exe createhd -o xenix.chd -chs 1015,16,63
chdman – MAME Compressed Hunks of Data (CHD) manager 0.149u1 (Aug 10 2013)
Output CHD: xenix.chd
Compression: none
Cylinders: 1015
Heads: 16
Sectors: 63
Bytes/sector: 512
Sectors/hunk: 8
Logical size: 523,837,440

then with the disk in hand, I just setup a 486 like this:

./mess64 at486 -harddisk1 xenix.chd -isa2 3c503 -ramsize 8388608 -floppydisk1 xenix/n1.vfd

Naturally you’ll need to setup the CMOS, for your memory size, and the hard disk.  The BIOS I’m using didn’t autodetect the IDE drive, but it doesn’t matter as I know it’s characteristics as I created it.

From there Xenix was a pretty straight forward deal.  Mess has good floppy drive emulation so it just worked.  Adding TCP-IP was just as involved, and all went well.  When it came time to install TCP & the network driver, remember to use thinnet, as the thicknet transceiver isn’t connected (as it would seem).  The 3c503 is softset, so I went with IRQ 5, port 0x300, and thinnet, and it works fine for me!

mess xenix networking

Xenix TCP/IP in action, inside of MESS!

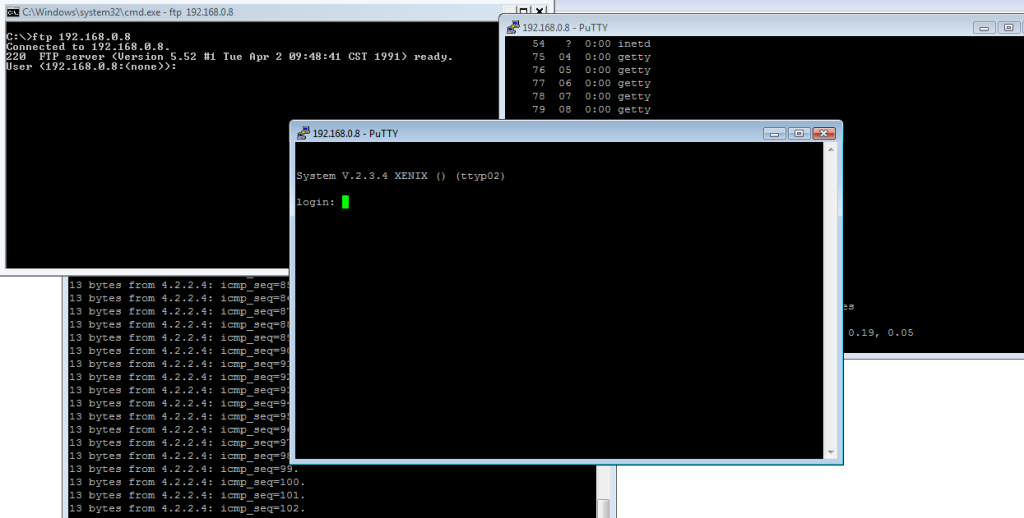
Remember you will not be able to attach to it from your computer.  Instead you must attach from another computer.

Also MESS tries to emulate true to hardware so it’ll be just as slow on MESS as it was on the real hardware.  I suppose you could go with the at386 driver, but yeah it’ll be slow.  The current at586 driver has issues booting from the hard disk, and I didn’t mess with it too much as Xenix is known to have issues with some Pentium systems.

Although I think the next place for adventure is the emulated Adaptec 1542CF.

Qemu & SunOS 4.1.4

SunOS 4.1.4 was the last version of the BSD based SunOS for the SPARC platform.  I had received an email earlier asking if Qemu could run SunOS.  Earlier it was ‘capable’ however there were issues with the serial ports.  And the framebuffer stuff that the SUN Proms recognized was never mainlined (please tell me I’m wrong?).

But then with a quick google search I came across this wikibook page with detailed instructions on how to install SunOS 4.1.4.

SunOS

SunOS on Qemu 1.7.0rc2

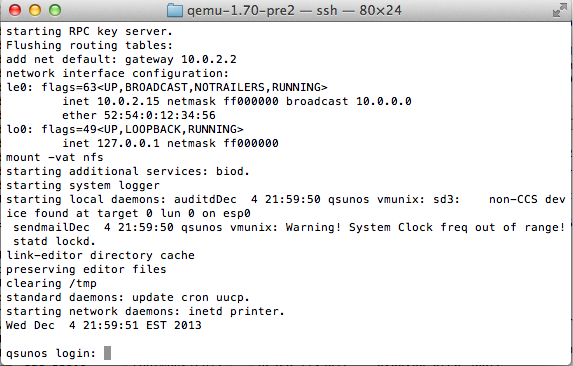
So I quickly built a sparc version of Qemu 1.7.0rc2, and followed the instructions.  I was amazed that now we are able to boot off the CD (still attached as a HD though) but label the main hard disk, and install SunOS.  I have to say it is very impressive.

Another hint I came across is the more correct way to boot the Sparc Station 20’s

-bios /usr/local/share/qemu/ss20_v2.25_rom -M SS-20 -smp 2,cores=4 -cpu “TI SuperSparc 60”

Sadly there is no graphical output, but the PROM won’t crash.  I think you can have 512MB of ram on the SS-20.