Virtual Acorn – Fun with Virtualized RISC OS

(this is a guest post from Antoni Sawicki aka Tenox)

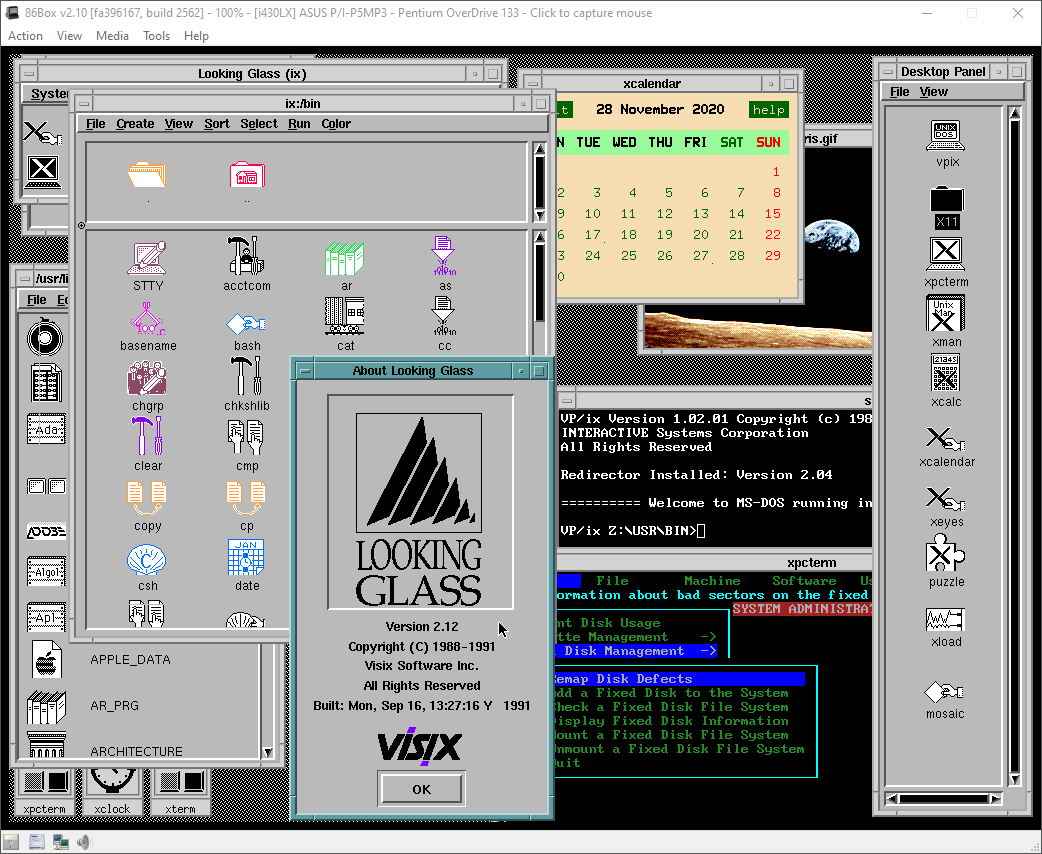
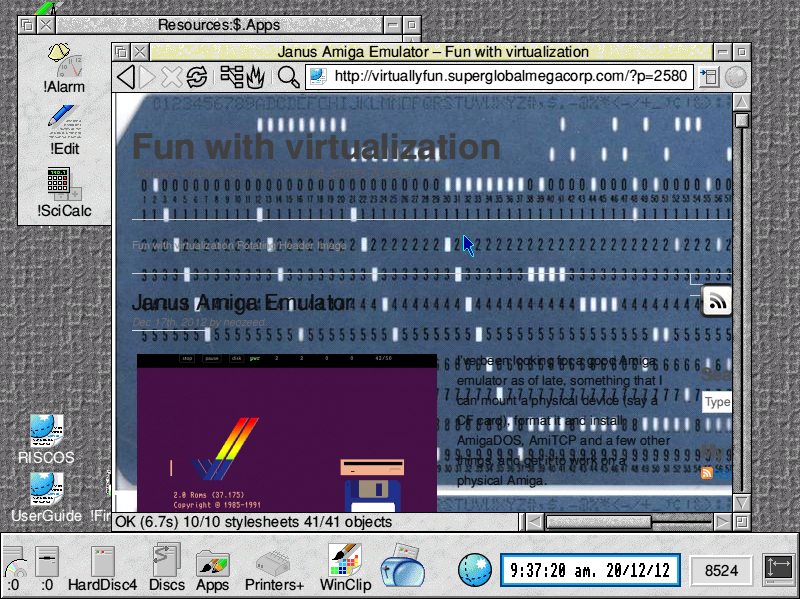
VirtualRPC-SA let’s you run virtual RISC OS on a Windows or Mac OS X host similarly to VMware, VirtualBox or Qemu. The company page features this picture:

acorn1… in reality you you probably don’t want to do that!

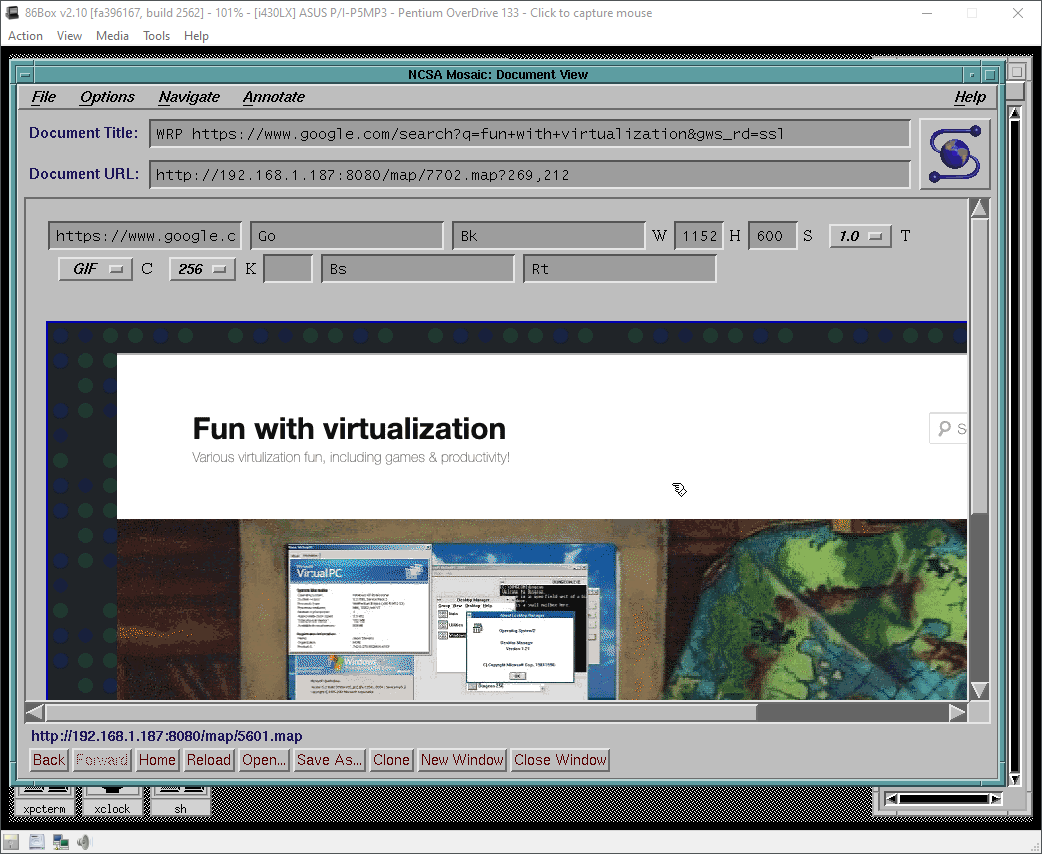
As of time of writing of this article there is a sale going on! You can buy VirtualRPC-SA for only about $100. My primary reason for getting it was porting aclock to RISC OS. In addition to the VM I also purchased the original compiler and developer tools (DDE). It allows to target the funky 26 bit CPU. Otherwise GCC is available for free.acorn-cVirtualRPC comes “pre-installed” with the RISC OS in a virtual ROM image. The OS at first glance is quite nice looking and seems fun in to explore and play around. You can browse the web and use a bunch of weird applications from alien world. You can find a lot of software apps here and here and here. However I personally could not use this for anything more serious.

riscos-webPorting of aclock to RISC OS was by far one of most difficult ones if not the most difficult. To display text on the screen you need to use system calls directly, for which you use a special function called _swi() or _swix(). There is no concept of sleep() so I had to improvise an empty loop. Fortunately there are screen codes that allow to position the cursor, clear screen etc.

void cls(void) {
     (void) _swix(OS_WriteI + 12, 0);
}

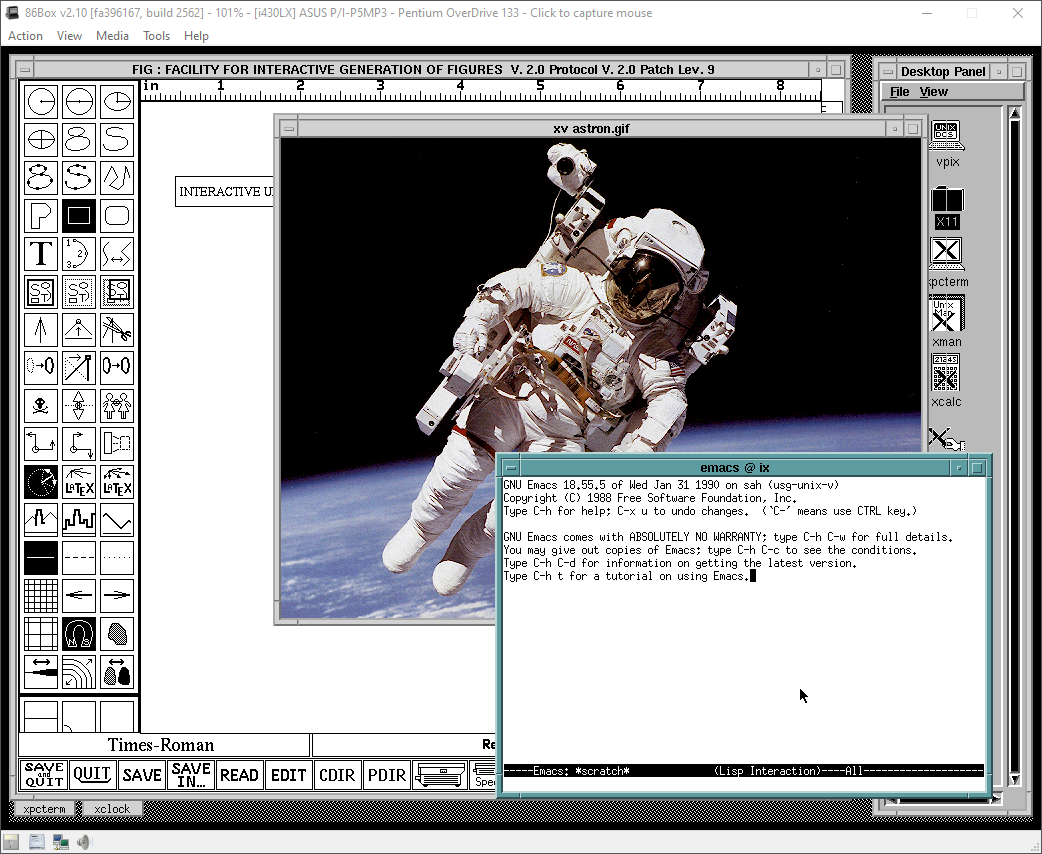
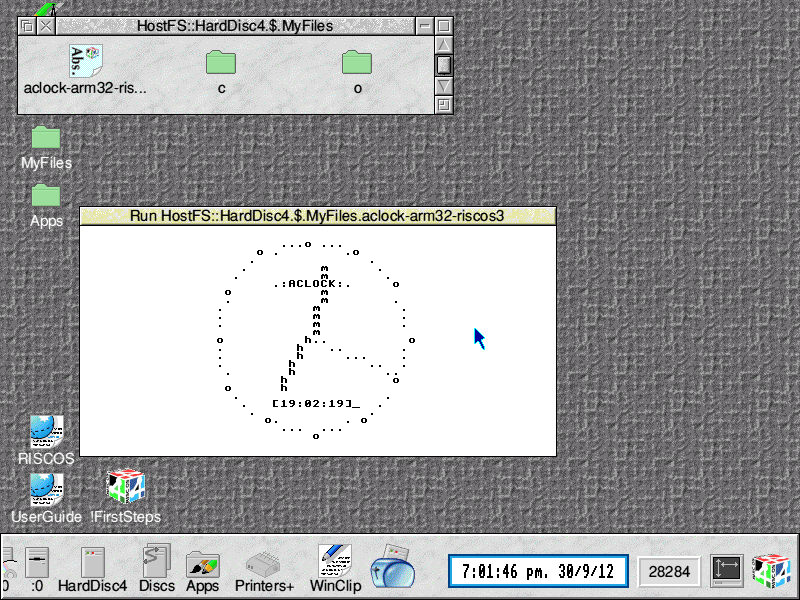
The result is far from pretty but it will do for v1:

aclock-riscosSome funnies, which actually weren’t that funny at the time:

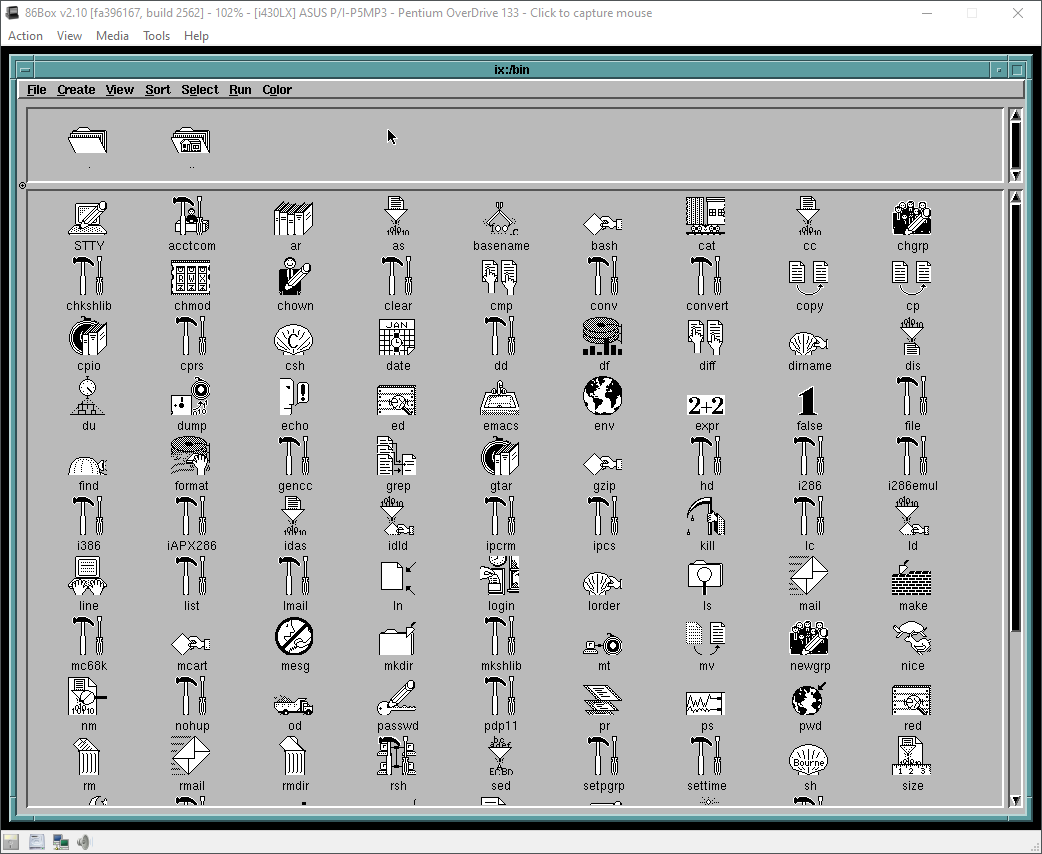
A directory separator in RISC OS is “.” (yes a dot) for example: root.folder.subfolder.file. The C compiler expects .c as a file extension as it would on any normal OS. The problem is that naming file aclock.c would make a directory aclock with c file in it. Fortunately, or maybe not, extensions in RISC OS are prefixing, not postfixing a file. So you have c.aclock or o.aclock. Except, as previously explained c and o are directories. You can see c and o folders in the screenshot above. Are you confused yet?

Interestingly RISC OS does have concept of a command line interface and a terminal window. However try to figure out the commands!

  • dir – change directory aka “cd” on the planet Earth
  • cat – list directory aka “ls” or “dir” in your normal OS

riscos-cmdThere is more, so I encourage you to try yourself just for the fun!

Fun with QNX 4 Networking under VMware

(This is a guest post by Antoni Sawicki aka Tenox)

Over the years I have heard a lot of fairy tale stories about the awesome networking capabilities of QNX. There is this particular one about dragging windows across virtual desktop created out of multiple networked PCs. Unfortunately I’ve never got a chance to see it with my own eyes, so I finally decided to take things in to my own hands. I want to see it!

Interestingly QNX 4.25 released in 2011 includes VMware drivers, so the choice of virtualization engine was obvious. You can download QNX4 Product Suite 2011 here

I have created a standard 32bit virtual machine in VMware and booted with QNX4CD.110614.iso. The installation is straight forward, it detects VMware network and graphics cards with no problem. The setup will actually ask you for a QNX Node ID, this will be needed later to create the network. You can simply install few VMs with different Node ID at this point. I wanted to use linked clones so I opted Node ID 1 and changed that later. I’ve enabled to run Photon at boot and went with TCPIP v5.

For simplicity I’m going to run the nodes as DHCP clients. To enable that after first boot:

  • edit /etc/config/bin/tcpip.1 and add /usr/ucb/dhcp.client en1 after ifconfig, before inetd,
    remove node$NODE from the ifconfig en1 line.
  • add /usr/ucb/hostname node$NODE.
  • edit /etc/config/sysinit.1 and remove extra parameters from line with /bin/Net.ether2100 so it only has the & sign.
  • reboot, check the nameserver in /etc/resolv.conf,

qnx1

After that I was able to browse web with Voyager. The little OS is pretty fantastic, but as I’m interested in dragging windows, and the OS is covered nicely elsewhere I’m not going to go through all cool features of a single node. Let’s build a network!

I have shut down the virtual machine and created two linked clones. Powered them up. The two clones were able to ping each other over the virtual LAN. I’ve grabbed MAC addresses of both nodes and created a file /etc/config/netmap with entries for both nodes where one is marked with ID 1 and one with ID 2. The file should be identical on both nodes. You can use telnet or ftp to copy it across. Use netmap -f to reload the file.

In the next step I went to work #2 clone exclusively as I needed to change Node ID. Briefly following steps are required:

  • cp /.boot /.altboot
  • cd /boot
  • cp build/install.1 build/install.2
  • edit build/install.2 and change $ /boot/sys/Proc32 -l 1 to -l 2 – this is the Node ID.
  • make b=install.2
  • cp images/install.2 /.boot
  • cp /etc/config/sysinit.1 /etc/config/sysinit.2
  • cd /etc/config/bin
  • copy each of .1 files to .2 as above
  • shutdown -f

The configuration steps are documented in more details in this howto.

Also going back to the .iso install you can just specify the Node ID during setup. Much easier.

Type sin net to display list of nodes and their capabilities. If you issue sin info command you should see Node = 2. If you issue sin -n 1 info you should see Node 1 as the sin command was executed remotely on node 1.

qnx2

You can list remote file systems like this: ls //<nodeid>/ for example: ls //2/. You can execute remote commands using on -n <nodeid> command, for instance on -n 2 who. Impressive, but still not what I wanted to see.

Let’s have look have look at a feature called Jump Gate. Sounds like Stargate and actually works pretty similar. Jump Gates, Ditto and other features are documented pretty well here.

Note the videos are best viewed in 1080p or “original” quality, full screen.

Impressive, but still not what I wanted to see…

This document sheds a little bit of light how you can extend desktop using phditto. After some experimentation, assuming my screen resolution is 1024×768 I figured this, on node 2 run: phditto -n 1 -x 1024 -w 1024 -h 768 -k. The parameter -x is the horizontal screen extension at offset x, –k is kiosk mode aka full screen. You can enter and exit from kiosk by pressing Ctrl+Alt+K. Here are the results:

(Note that these are two separate VMs talking to each other over the network)

Now this is exactly what I wanted to see! Show me another OS that can do that… Note that not all of the nodes have to be QNX OS. You can extend display by using Phwindows for Microsoft Windows or X11 as well!

Update: 4 node network!

Virtual Floppy Drive – Part III – Fun with HxC

(note this is a guest post from Tenox)

As promised in a post about Floppy Disk Emulators, here is a review of HxC Floppy Disk Emulator. I ordered it from Lotharek via eBay. Initially stuck in Polish post made it just before the weekend! This made my Christmas gift as I had a lot of fun playing with it. The unit comes with two front panel stickers, one grey and one black to match your equipment type. Quite nice touch. I choose grey as most of my units are of this color. I have to say the LCD screen makes a modern touch to an old 286 machine!

hxc286

286 machine with HxC installed in 3.5″ floppy bay.

Initially I have stumbled upon a lot of issues. Floppy disks are not easy as it seems. No wonder I had so much trouble with the real ones. I spent a lot of time experimenting with ID jumpers and correct BIOS settings. The unit only worked on ID3A but I can probably attribute it to a weird machine. Then I had problems converting my raw images to HFE format. The main project developer helped me a lot on their forums.

HxC Software. The latest version includes Track Analyzer!

HxC Software used to load and convert disk images. The latest beta version includes a Track Analyzer!

Once I got a grip how to do it semi correctly I was able to torture the machine with bunch of operating systems it has never seen before.  Let’s go directly to the screenshots!


QNX 2 worked just fine!

QNX 2 worked just fine!

Minix 2.0 also loaded without problems.

Minix 2.0 also loaded without problems.

So did Xenix 2.3

So did SCO Xenix 2.3

Xenix 2.3 boot complete.

SCO Xenix 2.3 boot complete.

Microsoft Xenix also saw daylight.

Microsoft Xenix also briefly saw daylight.

Xenix switched to CGA mode and died.

MS Xenix switched to CGA mode and died.

OS/2 1.3 did boot but my machine did not have enough memory to continue.

Guess which operating system is this?

Coherent 3.10 boots correctly as well.

Coherent 3.10 boots correctly as well.

PC/IX booted to Stand Alone Shell. I don't know what to do next.

PC/IX booted to Stand Alone Shell.

ELKS

ELKS

VenturCom Venix/x86

VenturCom VENIX/86

os2-2

I guess 640 KB is NOT enough for everybody.


This pretty much concludes operating systems for 286. If you have more let me know! I will try 386/486 operating systems in a separate post.

So how does HxC works for an end user? You store floppy disk images in a special format called HFE as files on an SD card. HFE files can be made by a virtual floppy disk emulator + rawrite, reading and imaging in an existing floppy, or converting existing floppy images. The list of supported disk images is quite impressive. The conversion however sometimes fails. It detects a wrong format and you have to change file extension or it completely screws things up making 64 “sides” to a floppy disk. Most if not all these have been fixed in the latest beta version of software, but you need to know about it.

When you insert the SD card to the emulator it will read the file list and allow you to switch between different floppy drives on the fly. Interestingly you can mix and match different floppy disk types on the same SD card. So you can have bunch of 3.5″ or 5.25″ disk in different files. Each HFE file contains specific settings for the emulator including the floppy interface type. The operating systems I’ve tried above ranged from 360k, 720k, 1.2MB and 1.44MB images stored on the same SD card. However changing floppy disk type in the BIOS was necessary for the images of different format to load correctly.

One extremely interesting feature is a host control software, that let’s you manage the floppy disks from inside the machine where HxC is attached. Sort of like VMware tools. The software is available for Atari, Amiga and Amstrad CPC. Unfortunately not for PC so I could not test at this time.

Because of the pain with formats, errors in conversions and confusion about some settings I can only give it 8 out of 10 for ease of use. So let’s conclude:

  • Packaging: excellent
  • Quality of hardware: excellent, LCD panel with menu is invaluable!
  • Software: OK with improving tendency in the beta version
  • User manual: OK but could be better
  • Compatibility: excellent! (see above)
  • Ease of use: excellent once you get grip on things
  • Value for money: excellent!
  • Total: very very good!

If you have a large collection of floppy disk images or you maintain a bunch of old machines that rely on floppy disks to work – get HxC quickly. It may save your life.

Updates: Venix/86 and ELKS, Tried OS/2 V1.0 and 640 KB RAM was not enough to boot.

Still missing: Microport SYSV/AT

Other floppy disk emulators.

Review of Gotek emulator.


Booting from USB in VMware Workstation

(note this is a guest post from Tenox)

Jason’s note on hybrid bootable ISO reminded me of a recent discovery. I have a bootable USB pen drive that I wanted to boot in VMware Workstation. Normally impossible, but there always is a work around! Turns out the problem is with the VMware built-in BIOS and more specifically lack of USB boot support. All you have to do is get a bootable media, floppy or CDROM with a boot loader that can redirect you to the USB device. I’m using Plop. Important thing to remember is to connect the USB pen drive to the virtual machine in a pass through mode. Also it’s very very slow.

Wyse Unix Lives Again! (sort of)

I was waiting for this for a long time. Recently I came in to possession of a box of 5.25″ floppy disks, among them following find:

Thanks to efforts of Al Kossow of bitsavers.org and Michal Necasek of OS/2 Museum we got the system to boot on VirtualBox!

Unfortunately we are missing the rest of the system which was distributed either on 15 floppy disks or a tape. If anyone has it, please let me know…

Little bits of information I have found on the web about Wyse Unix:

Interestingly Wyse Unix is a supported os emulation for iBCS.

Update: A full install tape has been found and the system has been fully installed

Aclock BSOD

(This is a guest post by Antoni Sawicki aka Tenox)

Do you remember the famous Windows NT Blue Screen Of Death? For years it was a source of jokes and bad reputation of Windows reliability.

There even was a Blue Screen Saver. Today we fortunately see much less of it, but it still is there, reminding us that Windows NT internally is in fact a text mode operating system. The 1989 NT Design Workbook tells us that in the early days of development, before OS/2, Win32 subsystems or any GUI were developed, there was an ANSI console and bunch of command line utilities running in the text mode. Sadly all were removed in the retail version. The only true text mode application left around was autochk. Since the day Aclock was conceived I always wanted to run it on the NT text mode boot screen. In it’s twisted logic it actually makes a perfect sense.

So how do you actually output to the BSOD screen? Initially there was a lot hope in Windows NT Native Application, which can use NtDisplayString() function to display text before GUI takes over. Mark Russinovitch has written a sample Native Application with source code. Unfortunately I soon realized that NtDisplayString() does not allow for any control characters that would let me position the cursor or clear the screen. It doesn’t let much more than to display “Hello World” during Windows boot. This unfortunately wasn’t what I was hoping for. Out of lack of further ideas the project was shelved for nearly 10 years until I recently got some help from a real windows insider.

The new hope came from a HalDisplayString() and it’s helper functions HalQueryDisplayParameters() and HalSetDisplayParameters()which return screen resolution in characters and allow to position the text cursor. Exactly what I needed! Unfortunately these functions are part of the NT Kernel and there was absolutely no hope of calling them from user mode, even a Native application.

So a device driver version of Aclock was conceived. Err WHAT? Yes! A Windows Kernel Mode Device Driver version of Aclock. It sounds like craziest idea and most ridiculous waste of time ever. Worse than that, it definitely is! Despite that, development of the driver was actually surprisingly straight forward and the most difficulties I had was to do with setting up the right environment. It required Windows NT 4.0 SP6, an old version of NTDDK, SDK and Visual Studio. Once I had the project set up correctly, the only thing left to do was to figure out the kernel mode equivalents of some of the things I was getting for granted, for instance sleep(). My last surprise was rather unexpectedly difficult access to floating point in the driver. I was advised to avoid, so I have generated a pre computed tables of sin and cos values for every minute on the clock dial.

Aclock running on Windows NT BSOD in Kernel Mode

I must say that VMware Workstation Snapshots came very handy for launching and testing of the driver. It spared me from constant rebooting and re-launching the whole environment. I could load aclock and literarily click “back” like in a web browser.

Links:

Since running the driver on your own system will render it unbootable (you can always do a snapshot or use last known good configuration) I have built a minimal Windows NT Embedded (NTe) image that loads the driver on startup. It’s available as OVA image.

Windows NT Embedded project

The next steps may involve porting AA-Lib to NTHAL. From there the possibilities are unlimited aalib-quake? 😉

Update:  Video

Aclock Windows NT BSOD Driver from Antoni Sawicki on Vimeo.

Dell UNIX Lives Again!

(please note that this is a guest post from Antoni Sawicki)

Dell UNIX is so ultra rare among rare Unix species that it doesn’t even have a Wikipedia entry. I have been hunting this elusive but important piece of computer history for well over 15 years now. Fortunately thanks to Charles H. Sauer and his excellent blog post I was finally able to lay my hands on disk and tape images and the restoration process begun.

The install tape

The system can be installed from either a tape or network server (presumably NFS). Unfortunately no virtualization software can emulate a tape drive. Hopes for a network install are even slimmer since the required network support floppy disk has been lost and chances of suitable Ethernet driver working in Bochs or Qemu are equal to that of finding the lost floppy disk.

I have decided to try a hard disk image from a readily pre-installed system. The original Dell 486 workstation had a 1GB SCSI hard disk. Unfortunately neither Dell UNIX supports LBA mode nor Qemu/Bochs support the Adaptec 154x controller required by the OS.

As all normal install options have been exhausted, the only option left was to use a second hard disk image as source of cpio archive files. Booting from the two install floppies and attaching two disk images was a snap. The next step was to inject the tape “file” in to a right place on the disk, so it can be read by cpio command. A hard disk in Dell UNIX is pretty much unusable without a valid SysV partition and VTOC. Fortunately dellsetup command does it all for you. Once VTOC was put in place I’ve attached the transfer disk image as a loopback device in my host OS. In couple of iterations I was able to aim the host os dd if=file1 of=/dev/loop0 bs=512 seek=offset at the right place, which you work out using prtvtoc /dev/rdsk/1s0 command. Then cpio -ict < /dev/dsk/1s1 was able to list contents of the emulated tape… with errors…

In my infinite wisdom, for some unknown reason I’ve assumed that LBA addressing is required above 540MB. So to be on a safe side I have made the hard disk images 512 MB. What a mistake it was! I have lost several hours trying to figure out cpio header errors coming from the disk… By pure coincidence, while the tape archive was installing (with errors) I was researching for this very blog article and found that LBA starts at 504 MB… Recreating the hard disk images just few MB smaller took all tape and prior boot problems away!

Once the cpio archive was extracted I have made few final touches taken from the original tape install script. After a reboot Dell UNIX booted perfectly. You can experience this by using the firstboot image file. The final part of installation was injecting the second tape file containing System V PKG file to the transfer disk image and running pkgadd -d /dev/dsk/1s1. This is what’s included on allsoft.img.

Dell Unix at First Boot

Some final notes on running the OS:

  • To enable mouse to work:
    • Qemu just add “-chardev msmouse,id=msmouse -device isa-serial,chardev=msmouse” to the launch arguments.
    • Bochs add to the config file:
      mouse: type=serial, enabled=1 
      com1: enabled=1, mode=mouse
      then you have to kill mousemgr process and prevent from starting by deleting /etc/rc2.d/S25mse
      then edit /usr/lib/X11/Xconfig:
      disable Xqueue
      enable Microsoft Mouse
  • To enable keyboard to work correctly in VirtualBOX start with Num Lock OFF.
  • You can use qemu-img utility to convert the image to VMware vmdk to use in VirtualBox.
  • To run X window type startx

X11 and all its glory

  • To attach it to internet use SLIP as there is no working Ethernet driver.  Contrary to most UNIXen of the time, the command is not slattach, but rather slipattach.  Thankfully it does work the same way.  I have found that running Dell Unix with VirtualBOX, along with Windows NT 4.0 I was able to connect into the Dell Unix VM, and get network access.  Just set the two VM’s up for a named pipe (\\.\pipe\dellunix) and make one of them a server, and start that VM 1st.  The steps to prepare Windows NT have been outlined before.

Telnet via SLIP

Legal disclaimer: Dell UNIX is a commercial software and should not be distributed without manufacturers permission. However as the operating system has been dead for 20 years and with a long tradition from Unix Heritage Society and Bitsavers I’m publishing this in good faith under abandonware category. If Dell or any other copyright holder wishes this software removed, please let me know.

Attached are:

  • firstboot image
  • all (pkg) software installed
  • setup instructions if you wish to install from scratch.

Download:

You may also be interested in my post about a sister System V operating system – Interactive UNIX:

Update: Dell Unix now runs on 86Box with higher resolution and proper networking.

Fun with INTERACTIVE UNIX 3.0

(This is a guest post from Antoni Sawicki aka Tenox)

ix30
I’ve been hunting for a complete set of INTERACTIVE UNIX System for quite some time. While I had the “basic set” of it, the real stuff Visix Looking Glass graphical environment was nowhere to be found. Recently I got my hands on a box containing a massive set of 5.25″ floppy disks. Without further delay this is how the famous 386 UNIX GUI looks like:
The os has a long and convoluted history. It started as PC/IX for the IBM XT created by Interactive Systems Corporation. Later updated to 386/ix and renamed as INTERACTIVE UNIX System V/386. The company was acquired by Kodak and the OS was later sold to Sun Microsystems.
SunSoft INTERACTIVE UNIX 4.1
Sun has reportedly used the OS to help port SunOS/Solaris to x86 platform. However they also sold and supported it as a stand alone product. The system was widely used as part of Reuters Terminal and other embedded applications. It briefly survived Oracle acquisition making the os Oracle INTERACTIVE UNIX?

This article specifically covers version 3.0 released by ISC around 1991. The installation is pretty straightforward except for swapping 50 disk images and later configuration of NIC, TCP/IP and VGA/X11. The floppy images are available here. I have spent quite a lot of time to get TCP/IP working and VGA at half decent resolution.

Fortunately thanks to 86Box you can enjoy a fully working OS in a “high-res” (1024×768) mode, 256 colors and working TCP/IP. You can even pretend to browse the web using early version of Mosaic and WRP:

Looking Glass comes with a file manager and funky icons for pretty much every utility in the system:

The OS has a bunch of GNU apps and I even found a super early version of xv:

Finally this is how you manage the system with a “sysadm” utility and “kconfig” kernel configurator:

On a text console side, the OS has virtual consoles switchable via SYSRQ + F key. Console is on F8.

One should probably appreciate that PC had such a cool Unix version before Linux was even born. Unfortunately this stuff was all prohibitively expensive and mortals could not afford it to run on their 386s.

You can download 86Box version here. Make sure to look at readme for some last minute updates. Especially around configuring TCP/IP and Looking Glass licensing. There also is a VirtualBox OVA, however it only works in 800×600 and no networking/tcpip. Additional software can be downloaded from funet ftp. Install disks are here.

Also you may be interested in a follow up article covering VP/ix DOS hypervisor included with the OS.

Have Fun With Virtualization!