So QNX 2.21 popped up on eBay. I’m organizing a collection so that everyone interested in getting a copy can chip in. I have previously covered QNX 2.1 that I purchased on my own and was getting a lot of requests for the install disk images. So this time instead of pissing people off I decided to let everyone participate! 🙂
Please comment with the amount you can chip in and once say 1/2 will be covered I will purchase it.
Update:
I have purchased the item for $500 via best offer. This is much more reasonable. Of course still looking for people to chip in for the purchase.
Please send your contributions to: [email protected] selecting for “friends and family” instead of goods or services. Thanks.
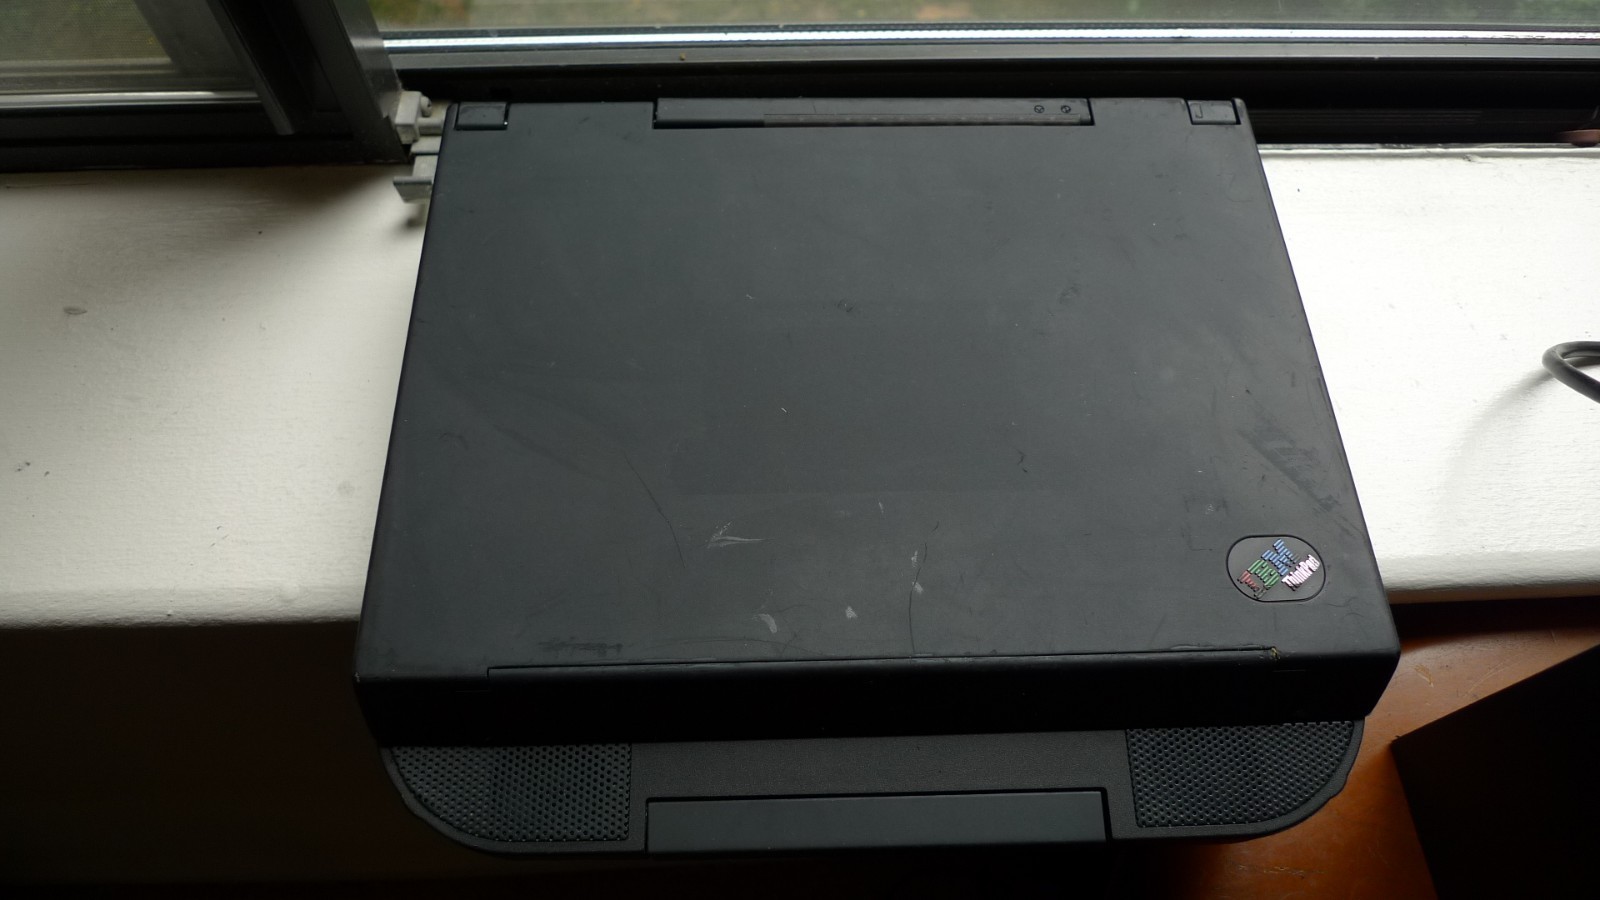
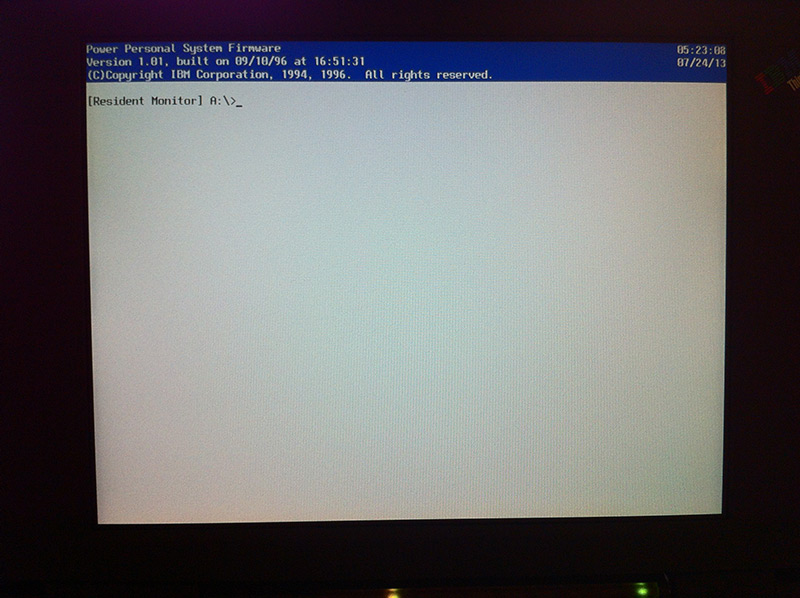
So after around 15 years of searching and going through 3 or 4 dead units I finally laid my hands on a working system! For those who don’t know, ThinkPad 850 is not an ordinary laptop because it rocks PowerPC!
The system is quite banged up, the keyboard has broken keys and the built-in cdrom doesn’t seem to work. The battery is of course dead. But the base system works just fine. Here is a screenshot of a top secret firmware prompt:
I needed to use Windows PE with paravirtualized SCSI driver under VMware. Most blog posts I came across mention the same very wrong thing: grab pvscsi driver folder from VMware Tools location and insert to WinPE .wim file using dism /add-driver. Wrong, on two levels!
First of all the mentioned folder C:\Program Files\VMware\VMware Tools\Drivers\ contains only one subfolder “hgfs” and does not contain pvscsi, vmxnet3 or mouse drivers. In order to find the required drivers you need to extract contents of the VMware Tools CD Image (windows.iso). Once you can grab setup.exe you need to extract it’s contents to a separate folder using a special switch. There is a KB article how to do it exactly.
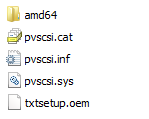
Unfortunately above does not work either. Even with the pvscsi driver correctly inserted in to the .wim file, diskpart was still unable to see disks attached to PVSCSI controller. After some research I’ve found that one must have so called text-setup mode driver for it to work correct. For example if you are installing Dell PERC driver it will come with characteristic txtsetup.oem file.
Fortunately VMware distributes text-setup drivers on a floppy disk image formerly called vmscsi.flp. My VMware Workstation has a file called pvscsi_windows2008.flp under “C:\Program Files (x86)\VMware\VMware Workstation\Resources” folder. Upon mounting the floppy image a correct pvscsi driver with txtsetup.oem showed up and I was able to copy and insert it to WinPE .wim file using dism /add-driver. Now I can see my paravirtualized hard disks.
I’m not going to go in to detail how to add these drivers to a .wim file as you can find it elsewhere on the web pretty easily.
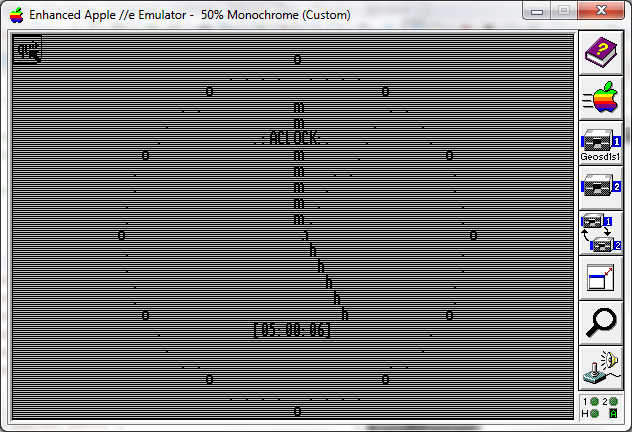
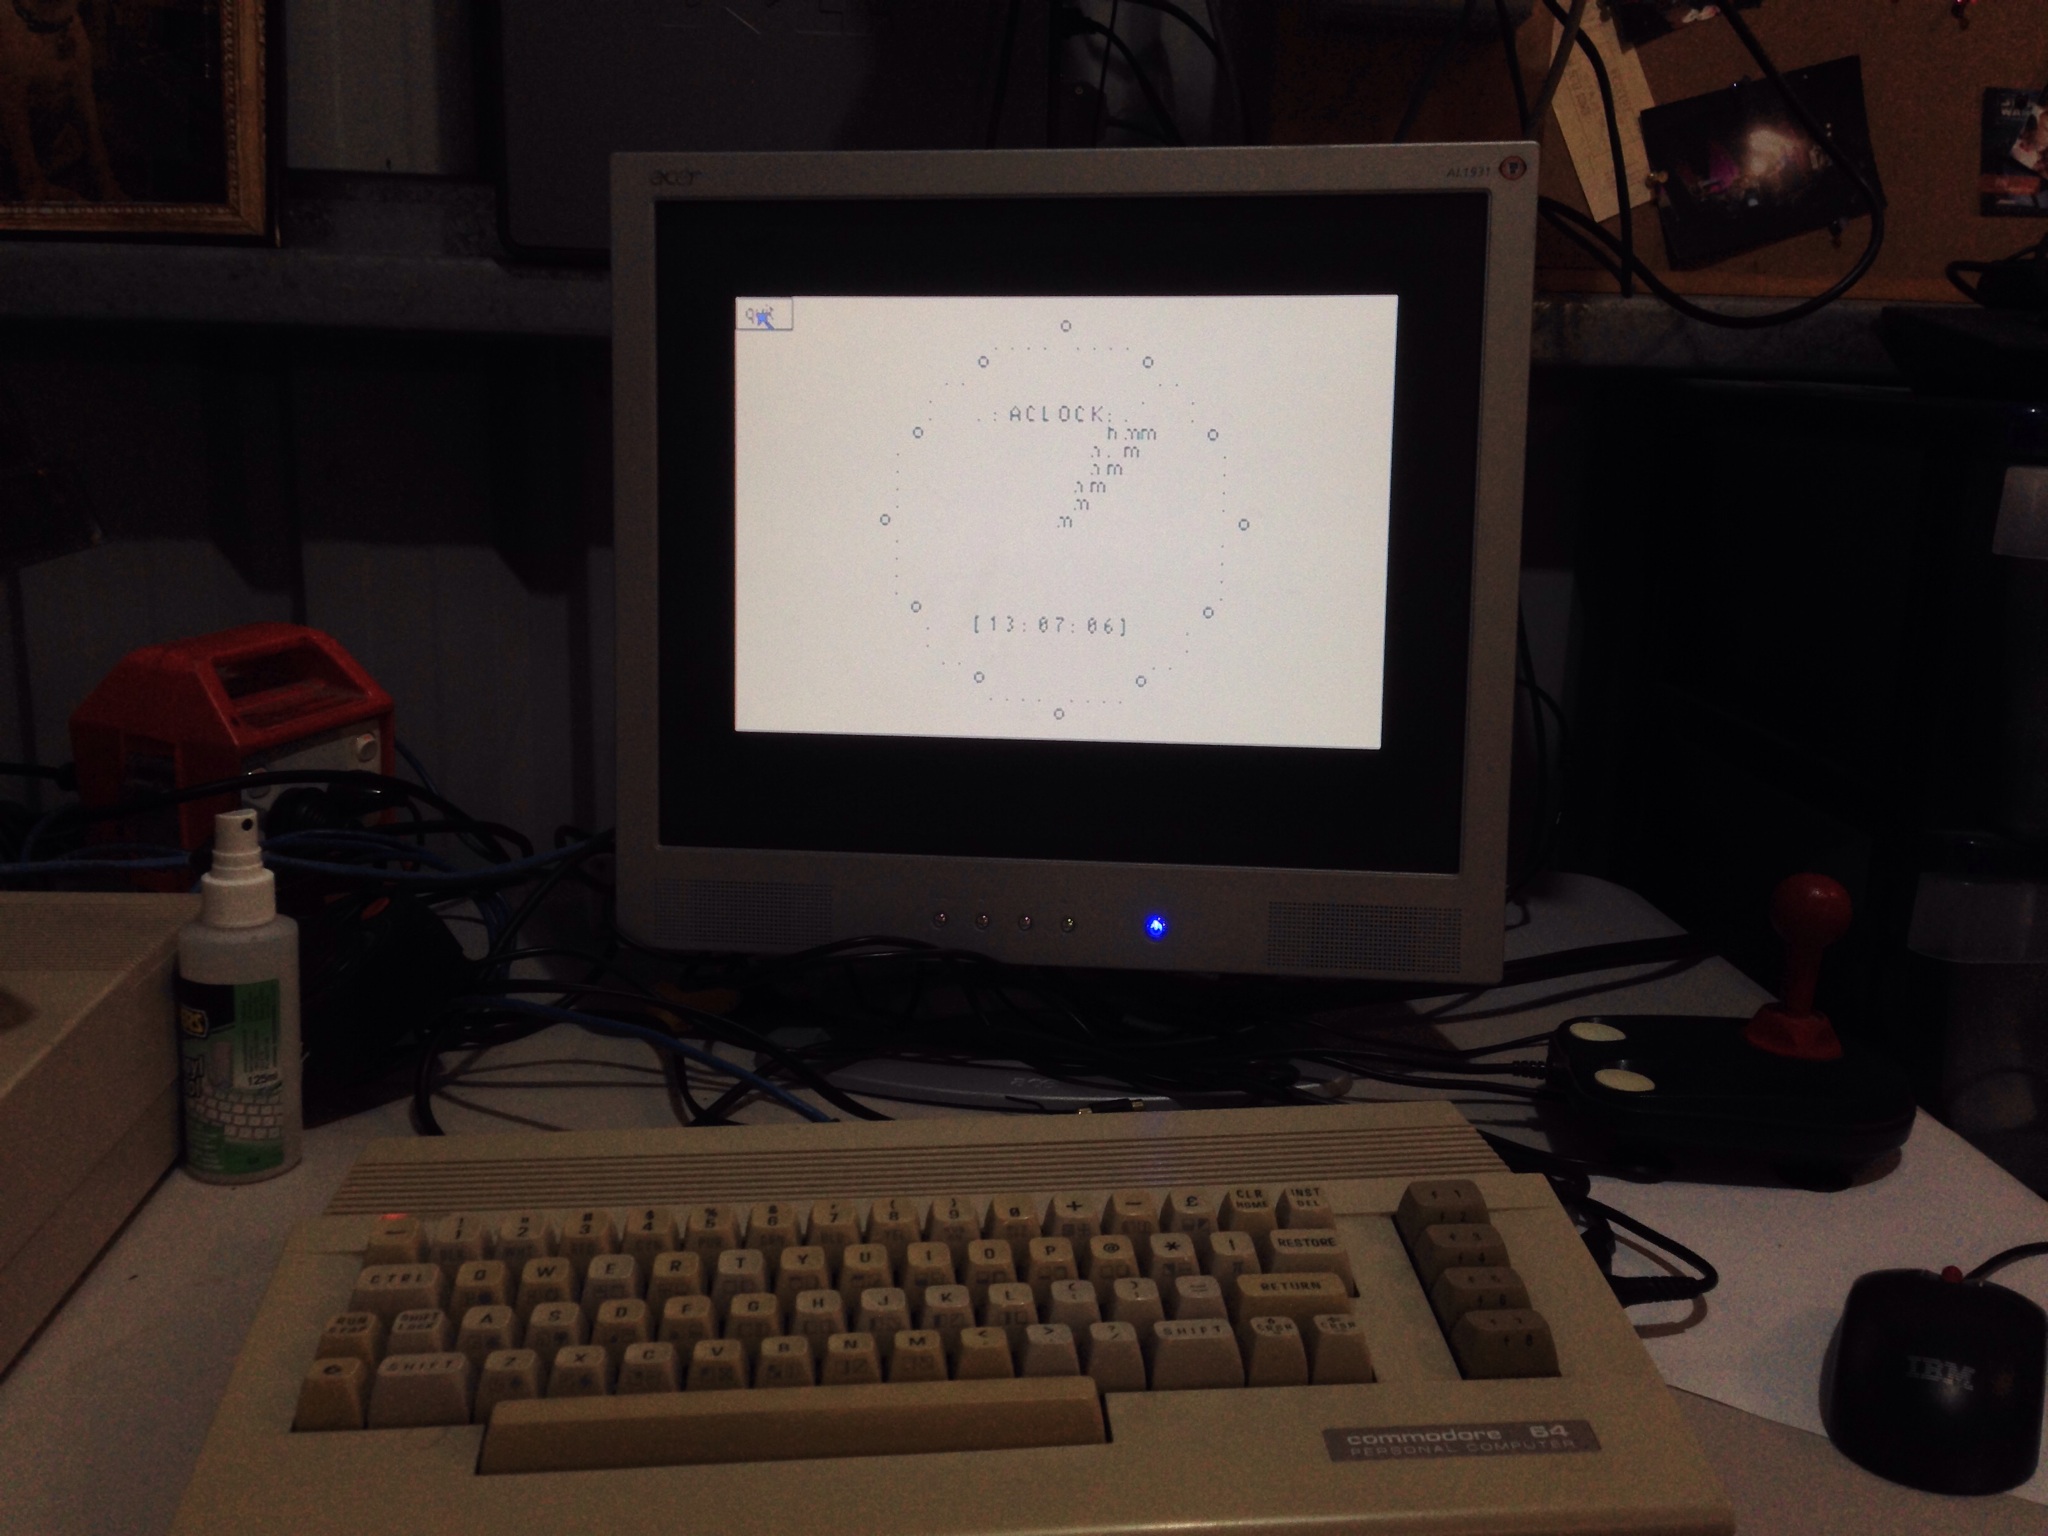
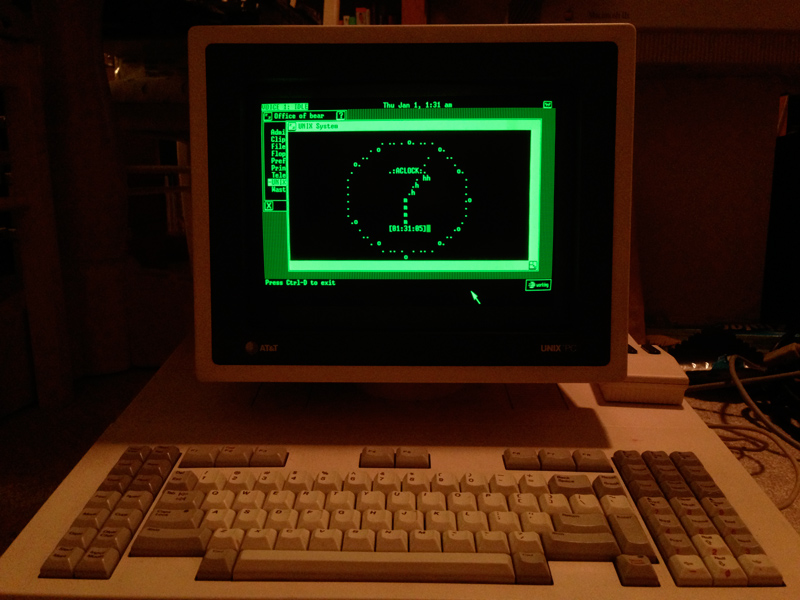
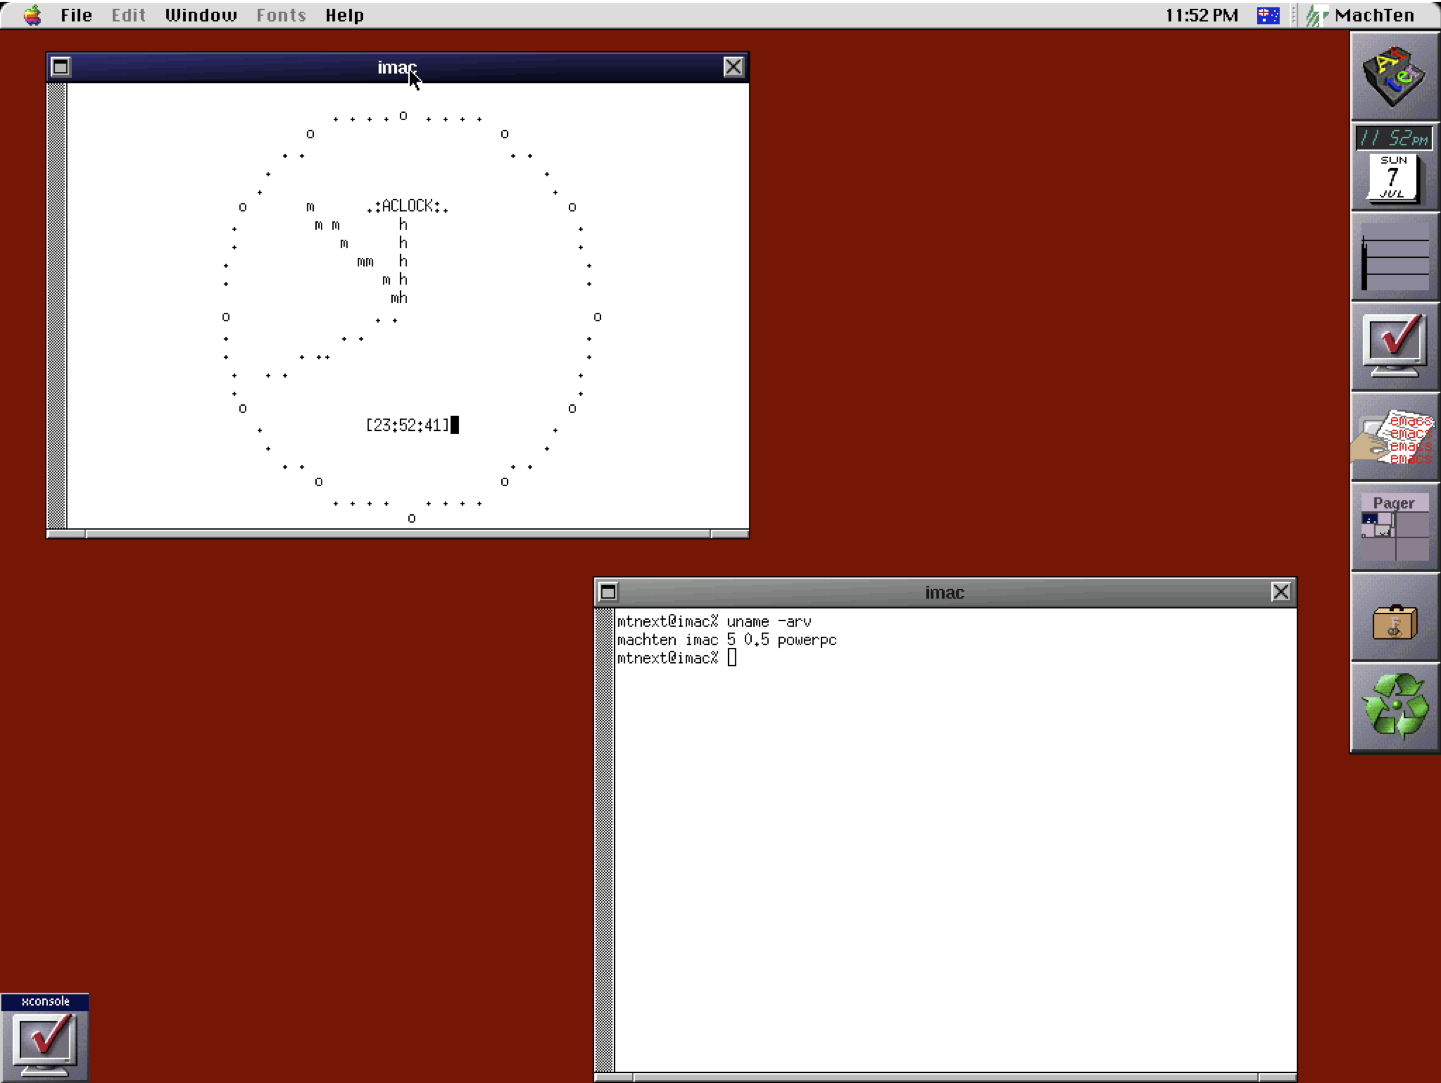
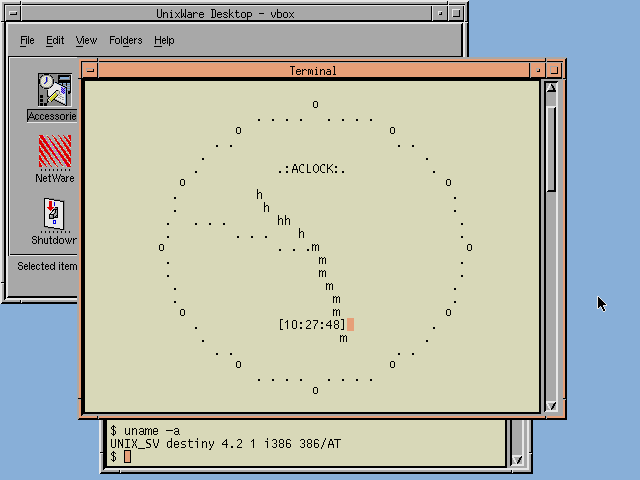
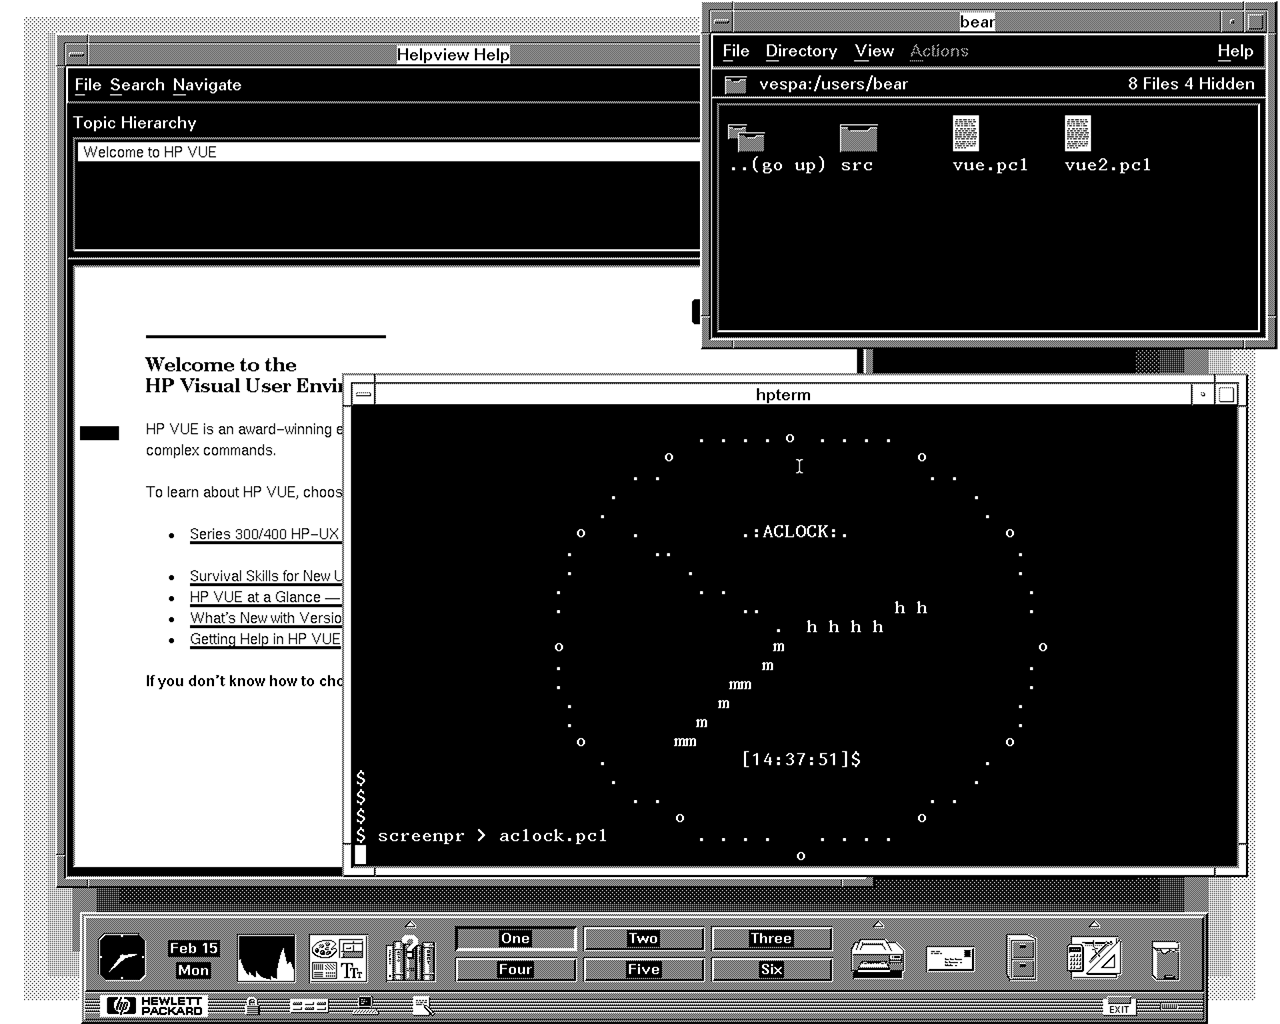
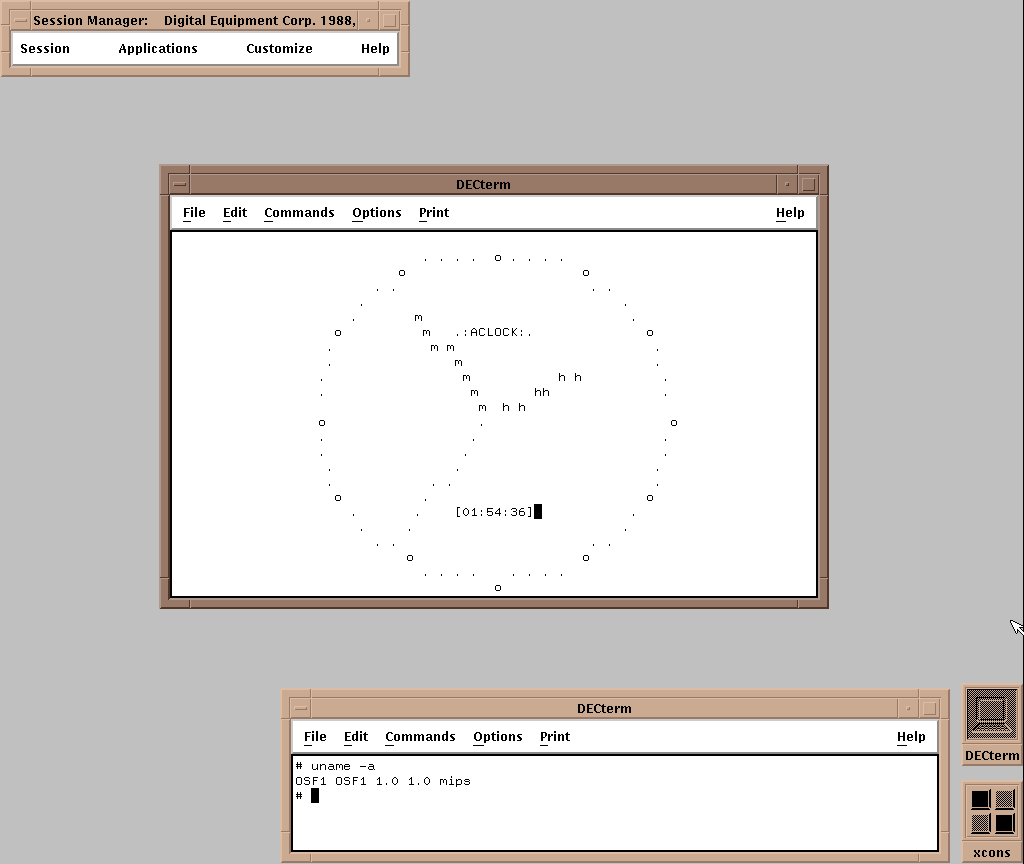
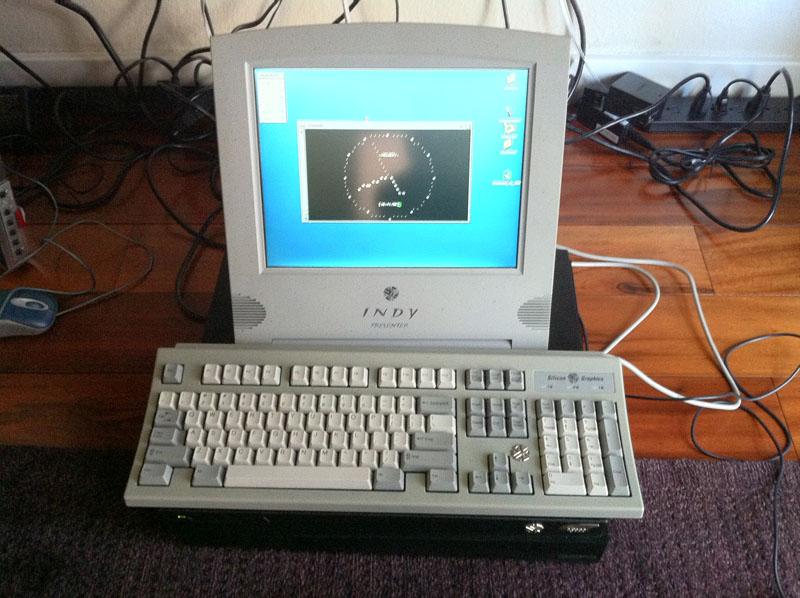
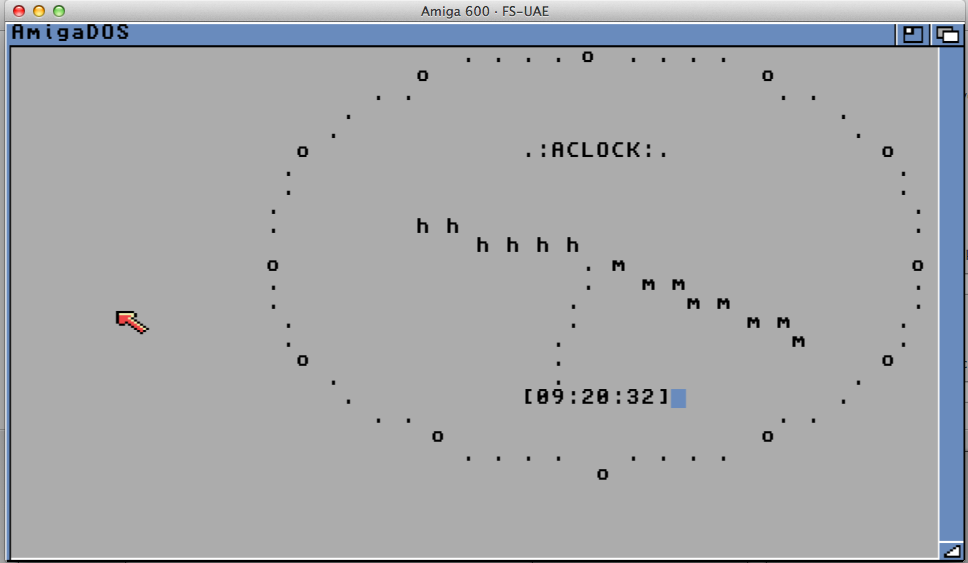
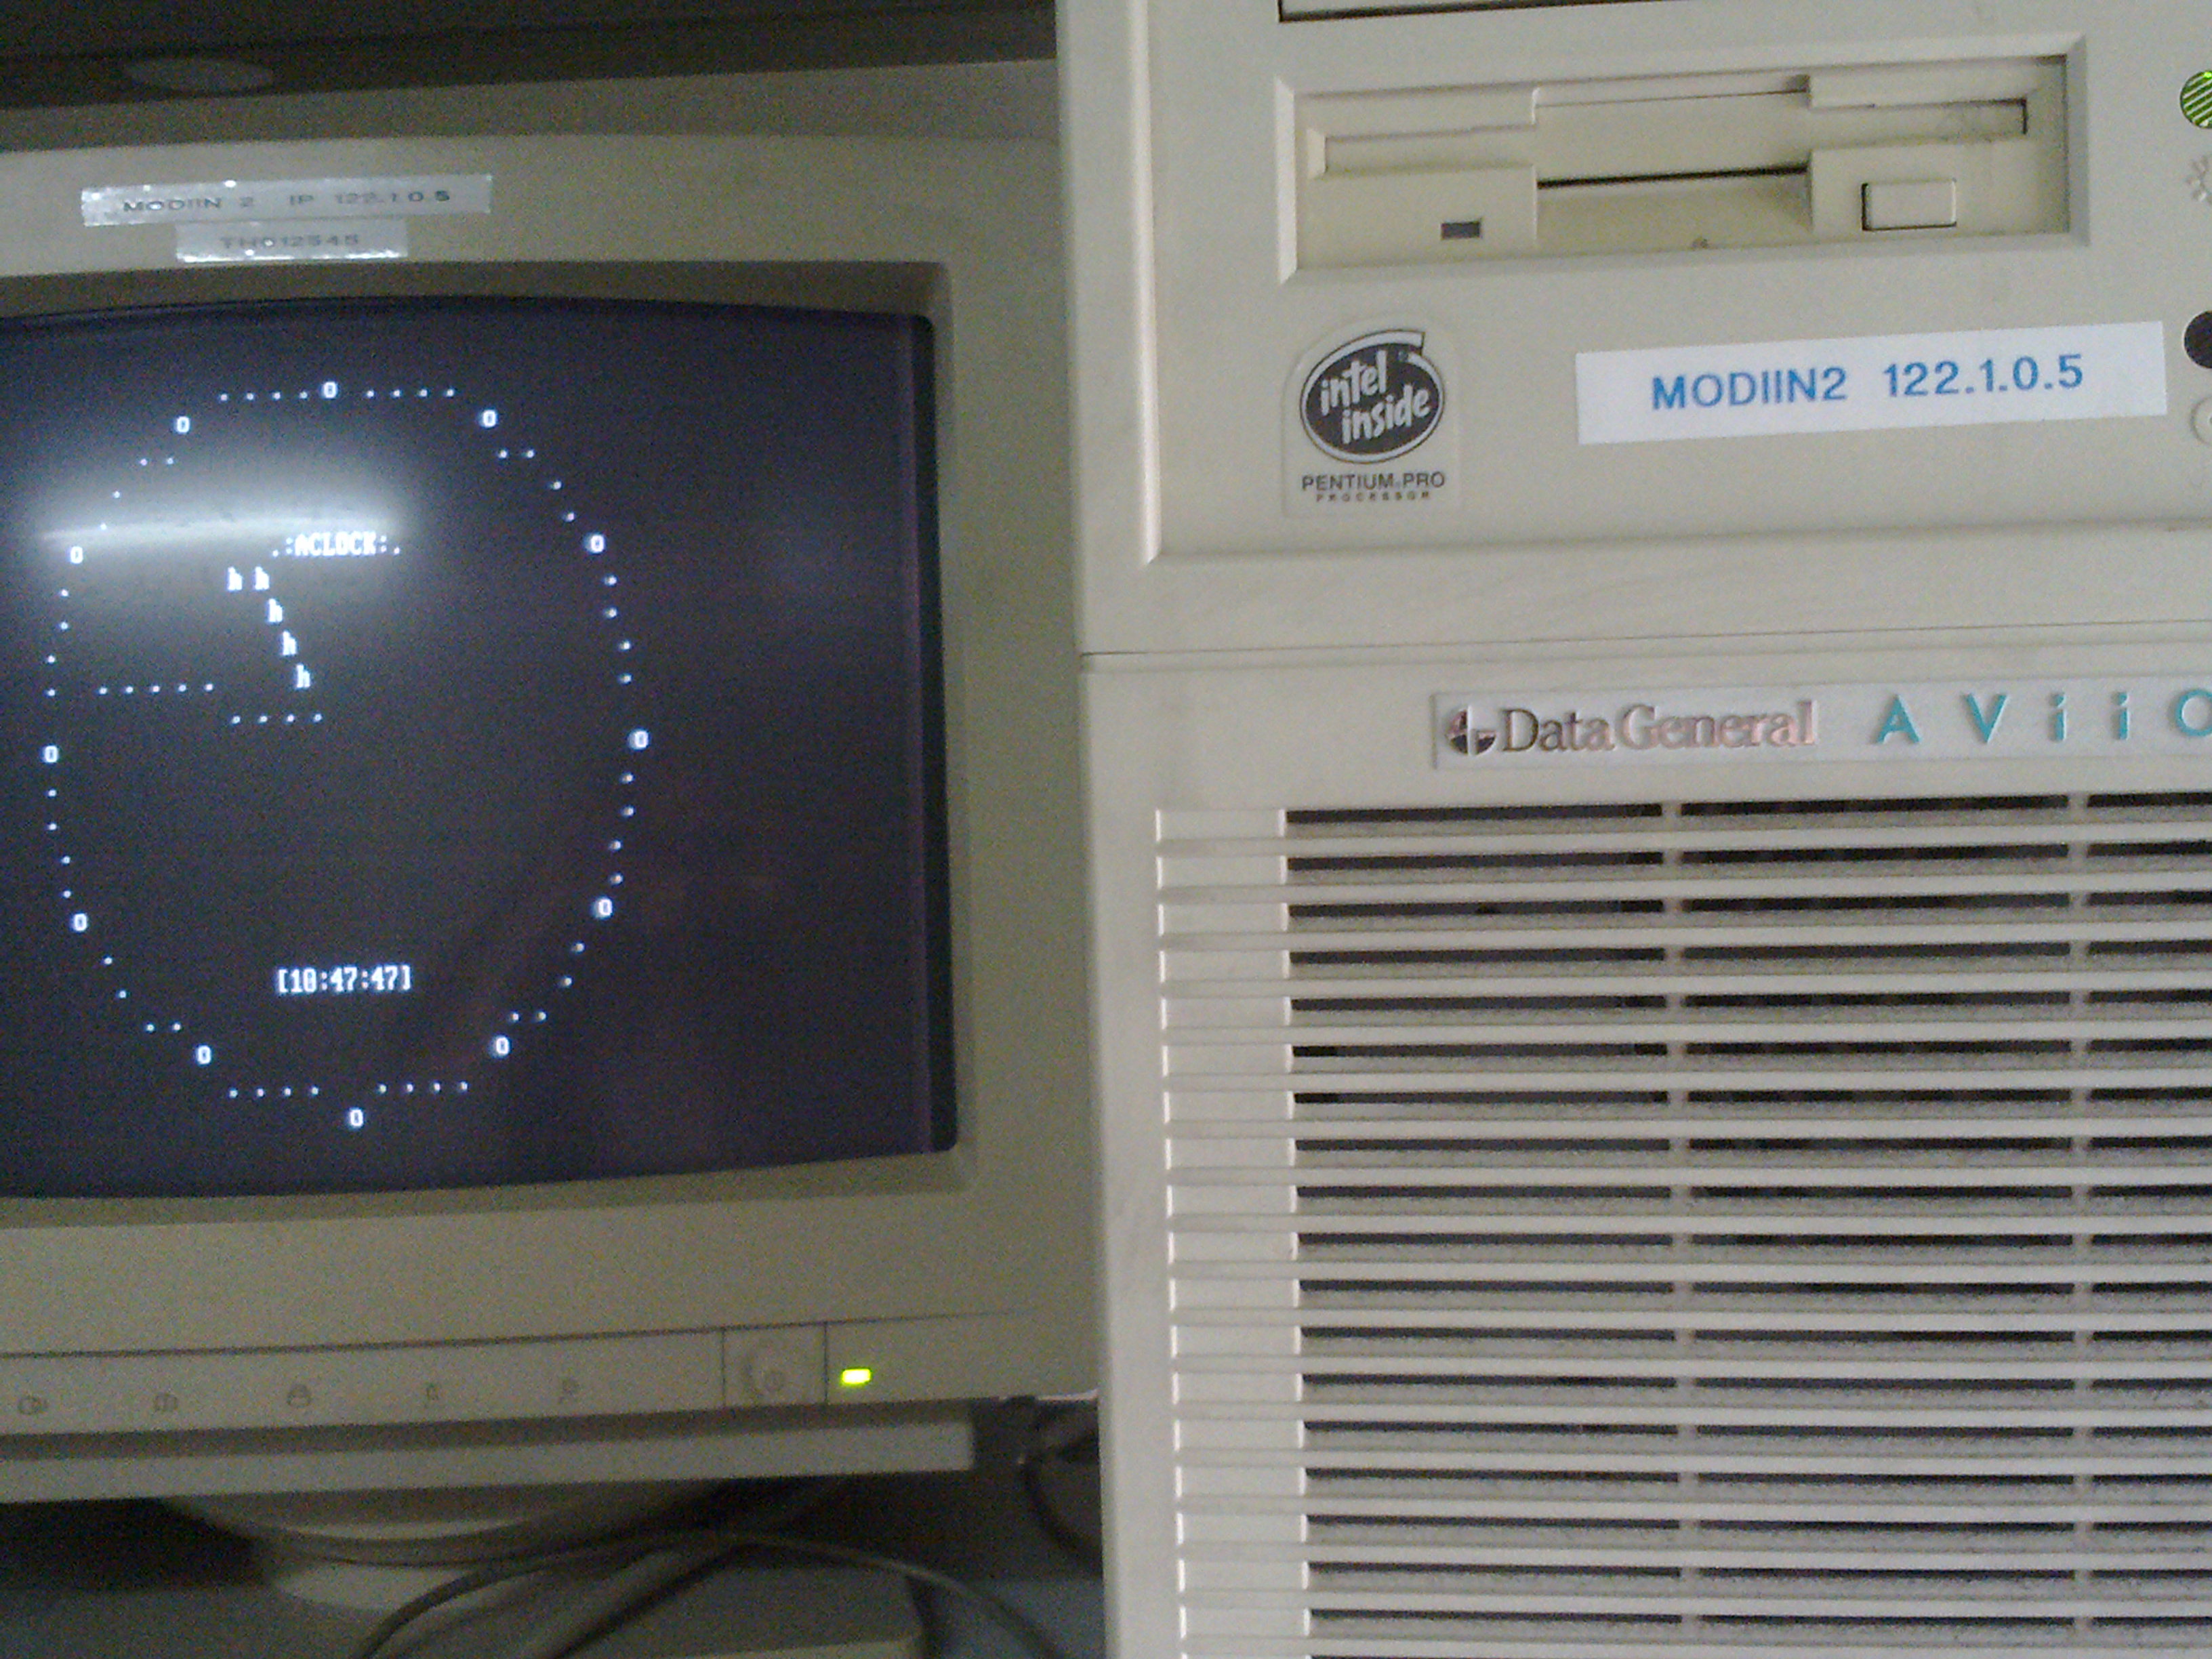
Lately I’ve been very busy with several projects and noticed Aclock was lacking love for quite a while. For those who don’t know Aclock is a tiny C application that a small number of trusted volunteers and myself have been compiling to run on as many computer platforms as possible. The number of unique binaries is approaching 200 but is still short by few. As summer time sets in, some more fortunate of you will get extra free time, so I’m calling for volunteers to help to bring the gap and possibly go beyond.
Additionally I see more people looking for some particular operating system or piece of software and unfortunately nothing new for me to trade for and the gap is ever growing. Here is a chance to trade your time for some otherwise unavailable pieces from my collection. 😉
iOS (as in iPhone iPad) needs updating, I can pay dev license
Windows RT on ARM
More IA-64 platforms
More x64 platforms
Any other platform you may think of…
Operating system are mostly available. For some I will supply the OS. For others you will know what to look for. Whats required is your time and determination.
Some house keeping rules. I’m looking for a large amount of platforms (CPU+OS combination) and not multiple versions of the same OS. Generally if you can compile for OS version 1 and this binary works through v2 and v3 I would prefer version 1. Only if the OS has changed dramatically between versions I would want to get a separate binary. Secondly I’m currently NOT looking to get aclock ported to language other than C. So if a particular operating system doesn’t have C comparator, I’m not interested.
If you decide to work on any of this please let me know ahead of time.
I’m always interested in more screenshots and pictures of aclock running on various terminals and windowing systems.
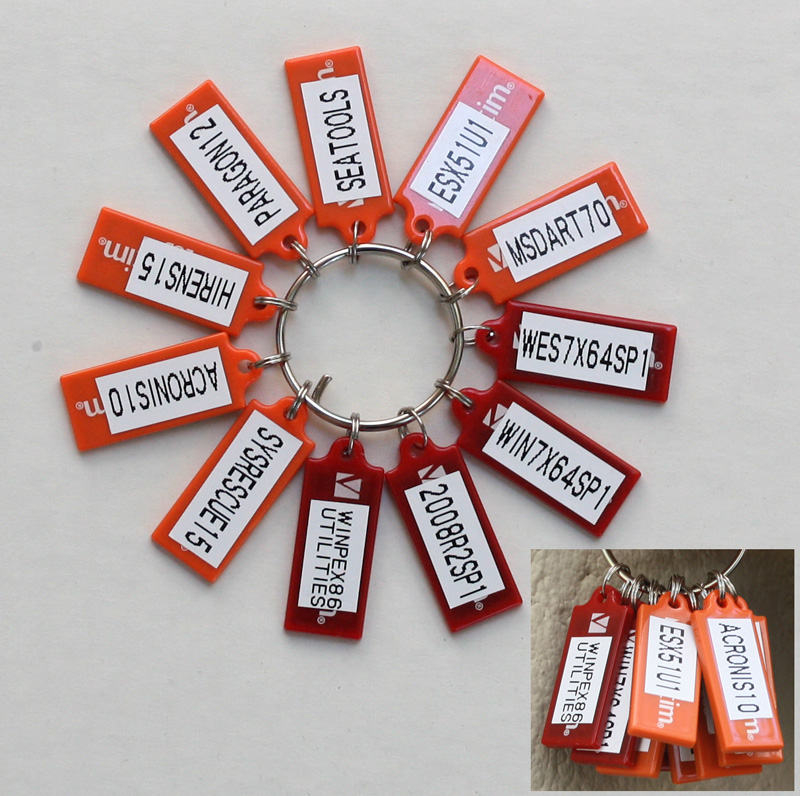
I have accumulated a bunch of loose pen drives with different OS installers, imaging and rescue tools. I could never find them when I needed so I have decided to put an order to it. A System Administrator’s Key Ring was born!
This one is Windows centric, however doesn’t have Windows 8 and 2012 yet. I’m now working on Linux key ring with various distributions I use.
Note that I actually do have valid licenses for all the software.
If you want to make your own here is how to make it:
Windows media are easiest. Diskpart clean and create an active Fat32 partition. Extract DVD to the USB key.
Linux media similar but apart from diskpart and extracting media you need to use Syslinux to create the MBR.
For bootable floppies use DiskImager to write the image directly to pen drive.
(note this is a guest post from Antoni Sawicki aka Tenox)
I have been working with Linux since around 1992, both at home and at work. I have probably seen it all with exception of item in the title. Lurking around my files, I found screenshot of a beta version of Caldera Linux. For some odd reason I somehow managed to never actually see it with my own eyes back in the day. The supreme Linux desktop was always matter of just myths and legends.
Recently I came across install media for the Caldera Open Linux 1.3 and decided to take it for spin and see how it really measures to it’s hype. The system installed just fine with dialog based setup steps. However as I wanted to see the GUI in action there was a problem – 640×480 VGA mode, or rather lack of better video mode to work with.
Unfortunately neither VMware nor VirtualBox do not support anything better than the crippled VGA mode. They do it for all other devices, like network card, mouse, ide and atapi cdrom. But somehow not for graphics. Fortunately the other virtualization engines are bit better. QEMU supports Cirrus Logic and Virtual PC supports S3 Trio.
I have spent several hours trying to convince the ancient Xfree86 to work with QEMU, to no avail. All I managed t o get was this:
Â
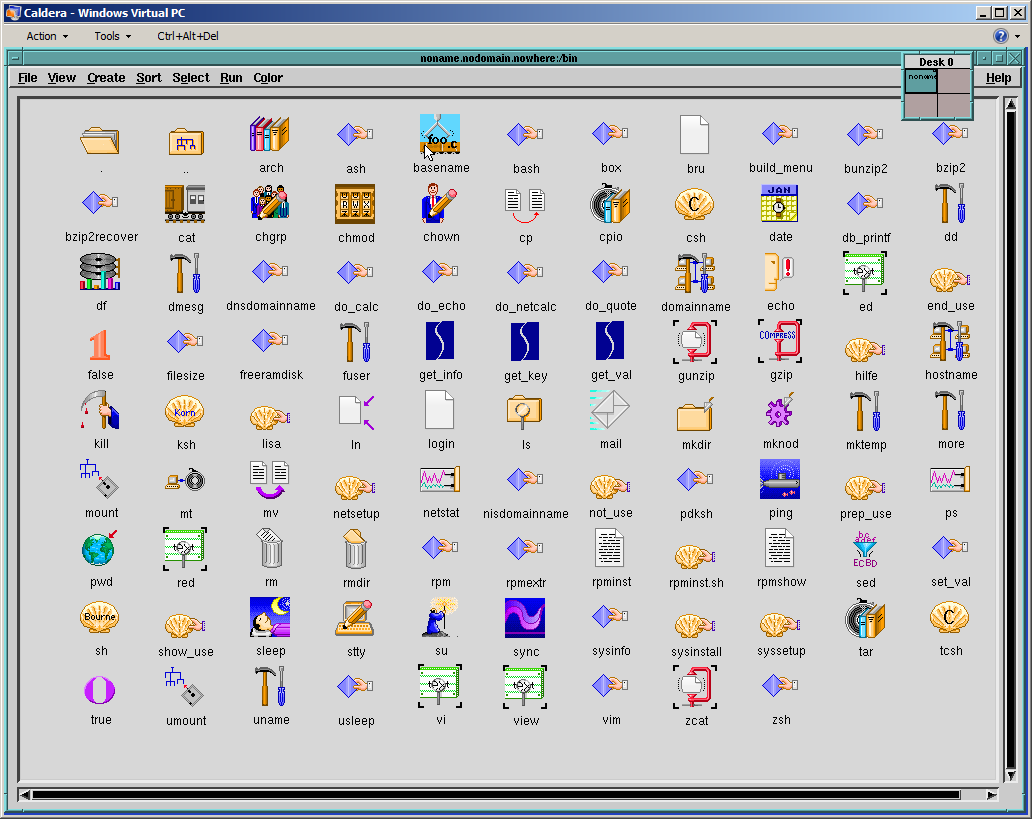
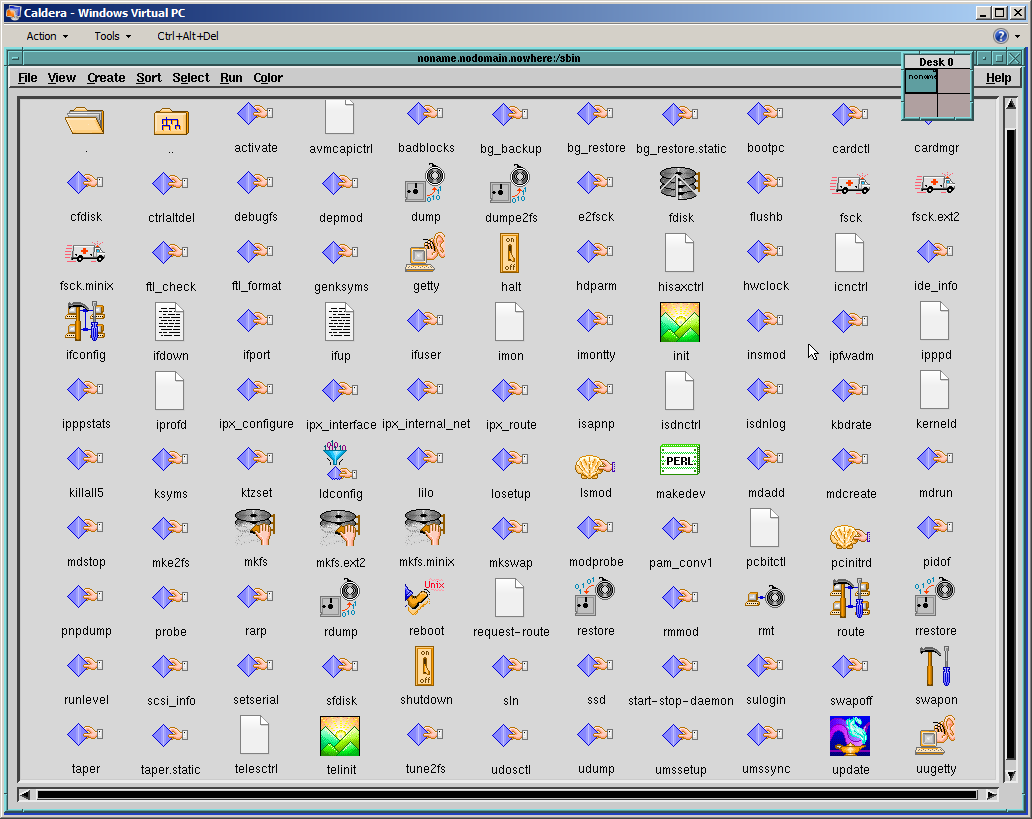
Out of options I have decided to try Virtual PC. Unfortunately the system would not install due to disk errors. Upon some research I’ve found the issue was IO-APIC which I promptly disabled in the kernel (noacpi). It did not help the install much, but allowed me to run a qemu-installed and converted disk image.  This is a bit of shame that the best virtualization engine to run ancient Linux was Microsoft VPC. Anyway to my amusement I’ve got this:
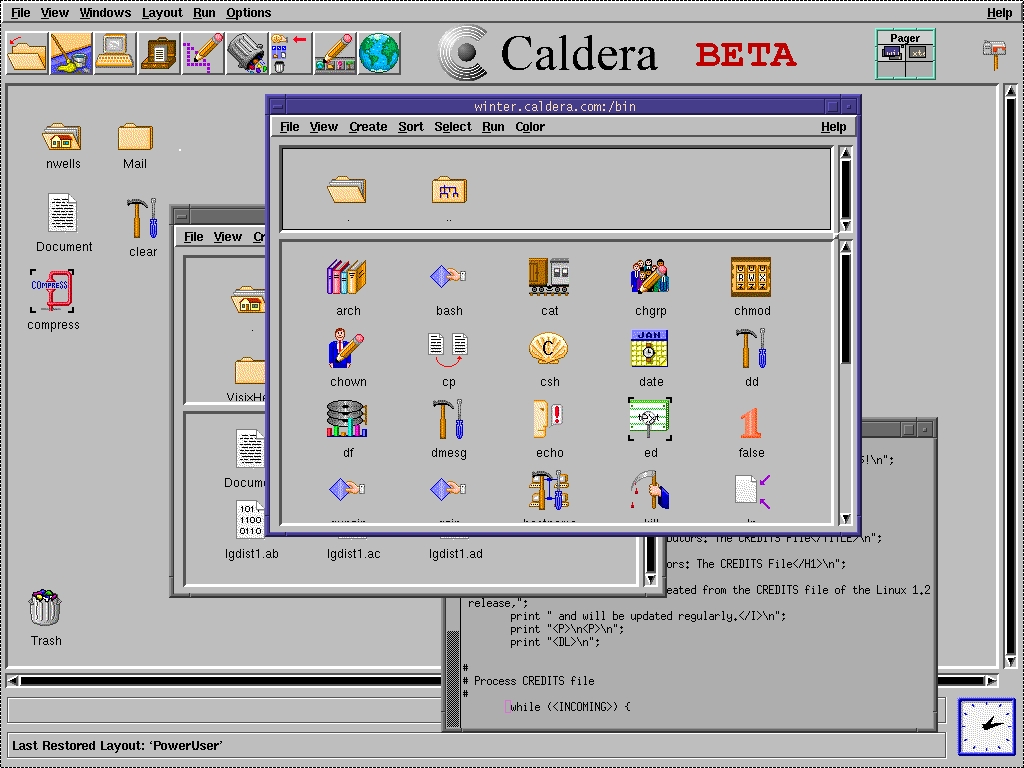
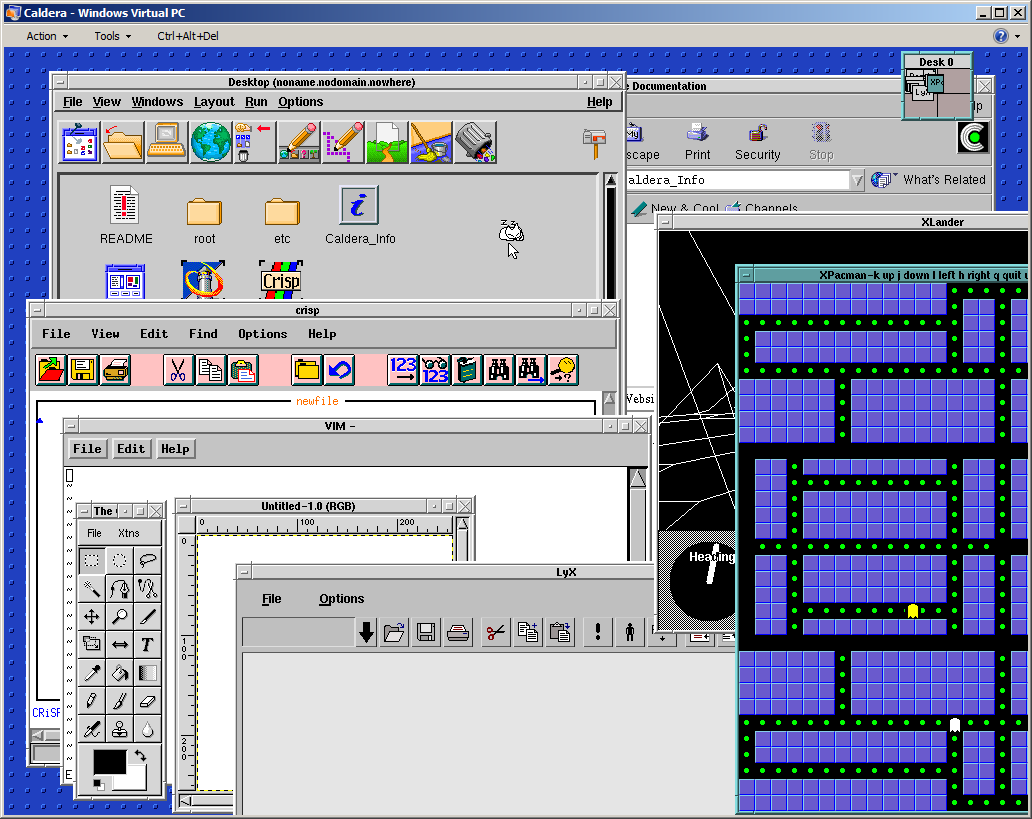
And I was able to explore the GUI a little bit more:
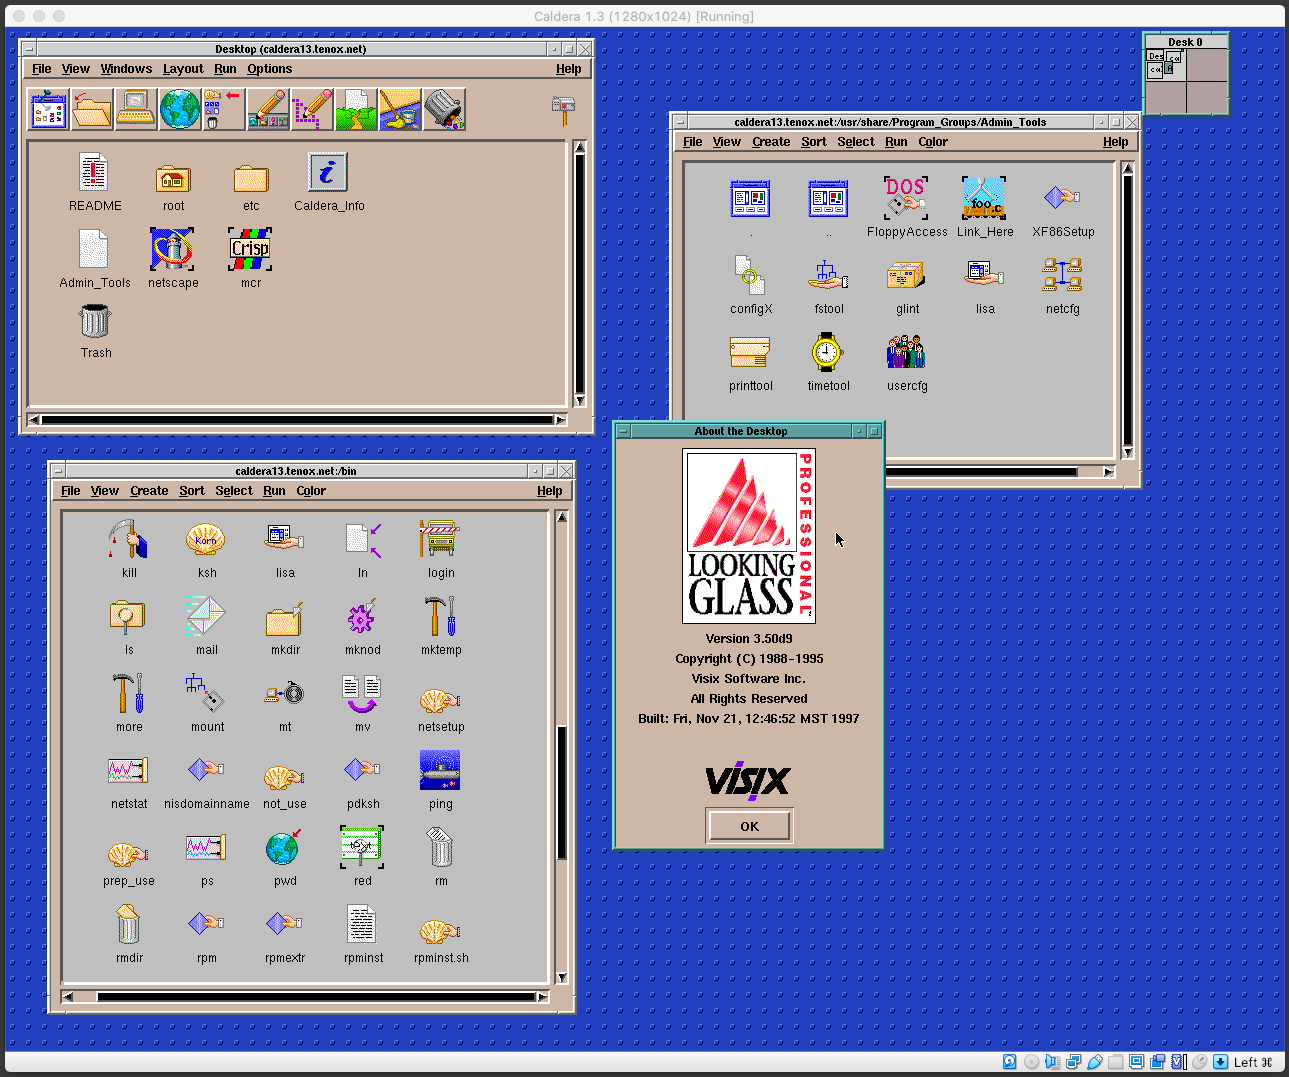
Wait a second, these icons remind me of something! Apparently Visix Looking Glass became Caldera Desktop… I will need to dig in deeper in to this eventually.
Apart from that Caldera is loaded with tons of ancient software. Pretty much everything there was available on Linux these days and all working out of the box. Neozeed will be happy to see Neko in action (see the last screenshot)!
You can download install media and ready virtualized images here.
Update: Michal Necasek of OS2 Museum has fixed XF86_SVGA so that it works correctly with Virtual Box in higher resolutions as well. “You’ll have to set up the X so that it uses the XF86_SVGA server and tell it to automatically detect the graphics hardware. Then it should be just a question of selecting some sensible monitor and creating a few modes. If things are configured properly, you’ll see something like “SVGA: chipset: boxv” in the X server output.“. Download it here. (It’s binary only, no source).Â
Above screenshot is Caldera 1.3 under Virtual Box with SVGA driver from Michal Necasek. Network also work with PCnet III adapter in bridged mode. The IP address is hardcoded for 192.168.1.111. You can download OVA here.
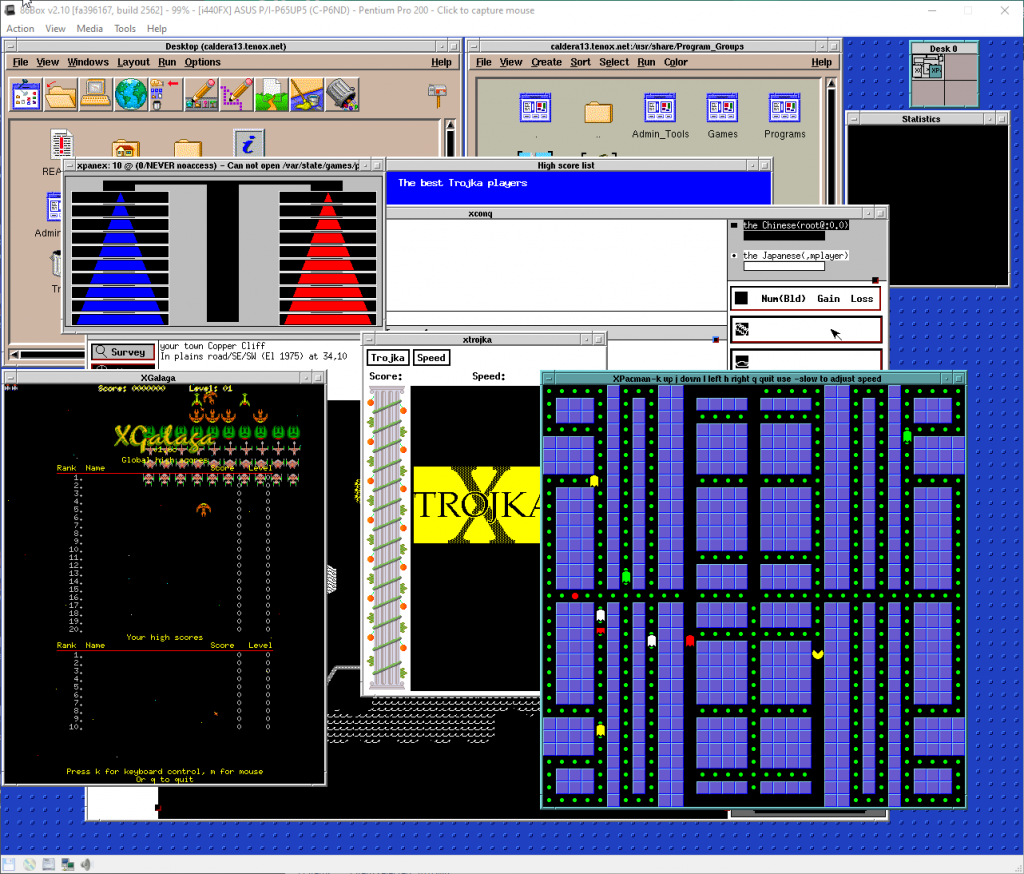
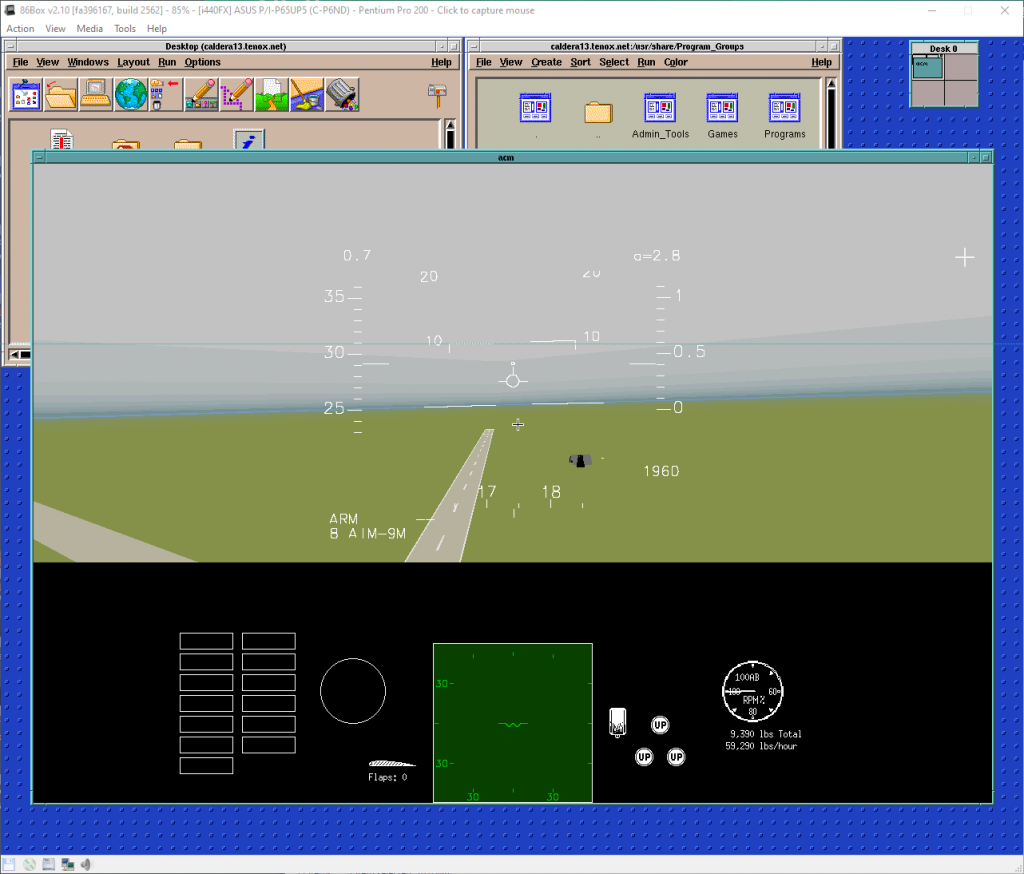
Update: Recently I have installed Caldera 1.3 on 86box. Unlike most hypervisors, this provides excellent emulation of various video and network cards. I have picked S3 and NE2000. Everything installed and worked out of the box. While emulation is generally slower it provides accelerated video making everything working smoothly including games.
A pre-installed Caldera 1.3 for 86box is available here. Login with root/root.
Also managed to get 800×600 resolution under QEMU. To do so run with -vga cirrus and run the QW video driver with qw.vga_bios video7,1
Unfortunately the mouse doesn’t work under QEMU. Either in PS/2 or serial mode the cursor randomly jumps around with a tendency to hang around top line of the screen.
(Note this is a guest post by Antoni Sawicki aka Tenox)
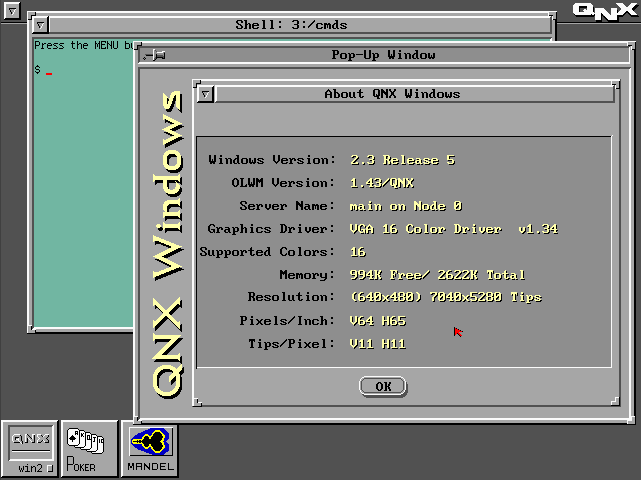
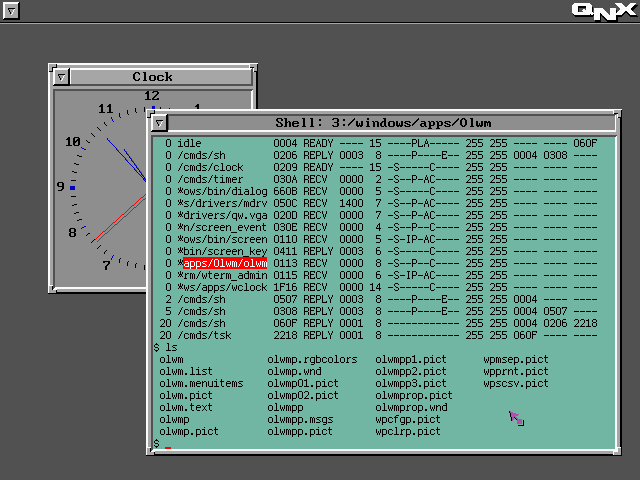
Enter 1988… around that time Microsoft just released MS-DOS 4.01 and IBM shipped OS/2 1.1. Compare to the other two, this QNX was years ahead of its time. Pretty much on every aspect. Now, some 25 years later QNX2 is still found running industrial machinery, clean rooms, avionics and military hardware. Some people report systems up and running non-stop for 15 years and longer!
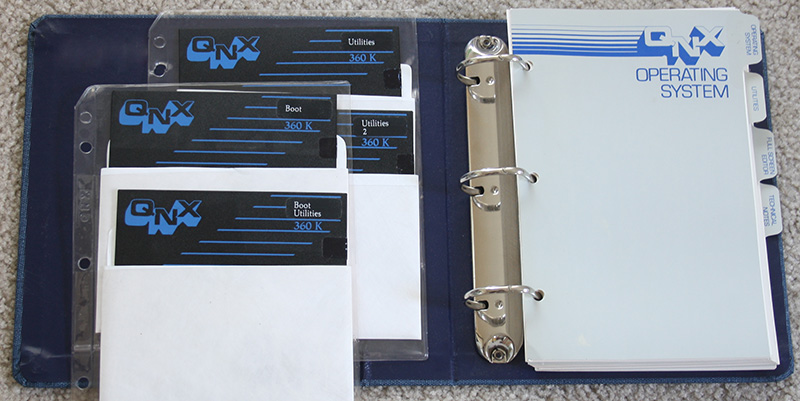
It took me similar amount of time to acquire usable media set. QNX is an embedded system and never really seen life on a desktop machine, so finding these floppies was rather hard and expensive adventure. Fortunately I can finally let it see some daylight. Let’s examine how the system will install on a modern hardware under VMware Workstation.
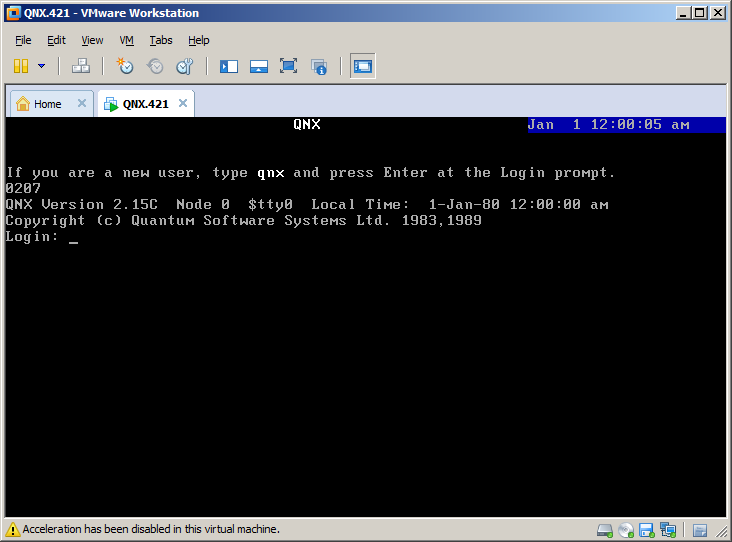
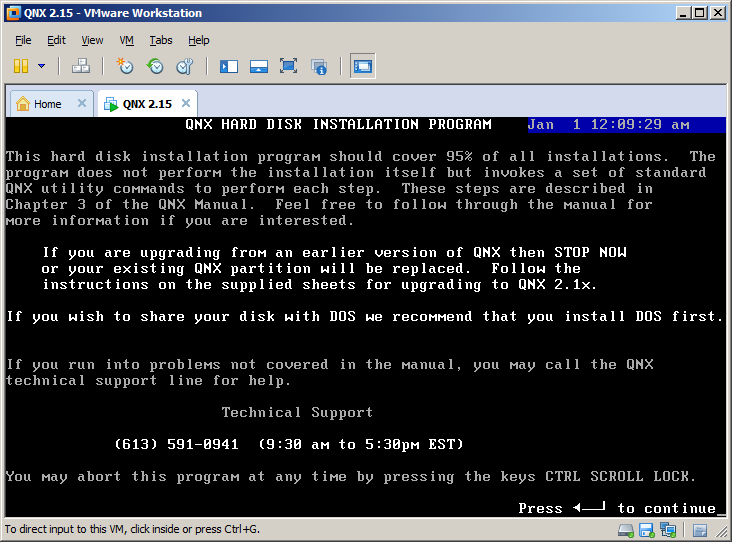
The install is rather straight forward. Floppy boot comes with a login prompt.
After you log in as qnx you need to swap the floppy disk to Boot Utilities and run install. The script guides you through setup steps.
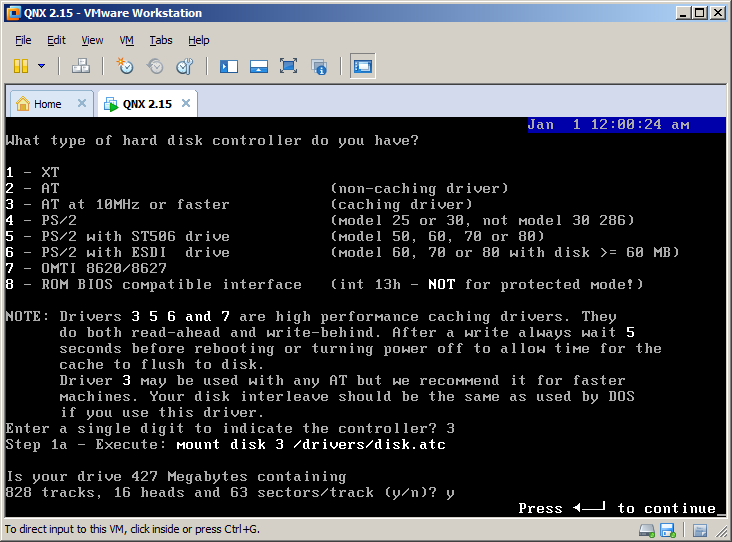
First you need to select the disk controller. For compatibility mode QNX 2 provides access via int 13 (real mode).
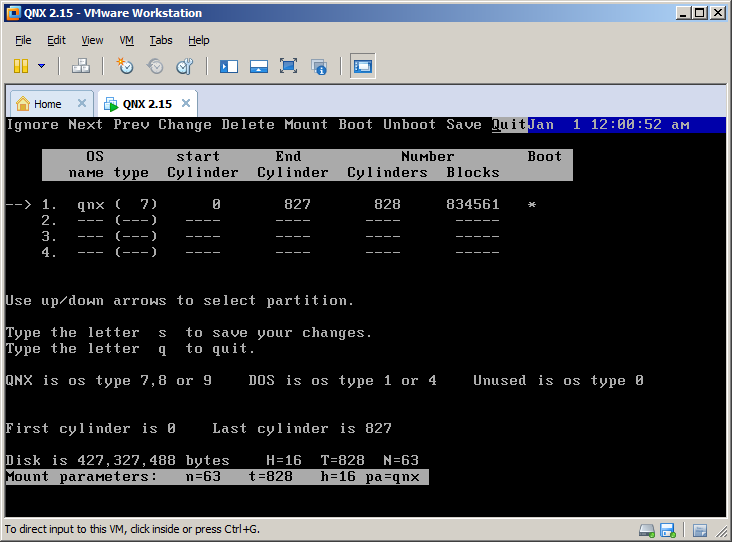
Then you partition the disk. QNX partition type is either 7, 8 or 9. You will be asked to mark it bootable later on.
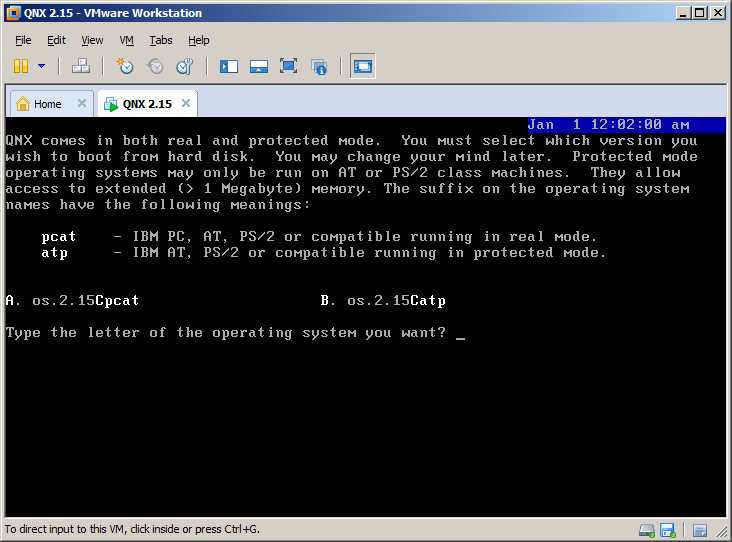
Then you have to select the kernel. QNX can operate in real mode and protected mode on AT286.
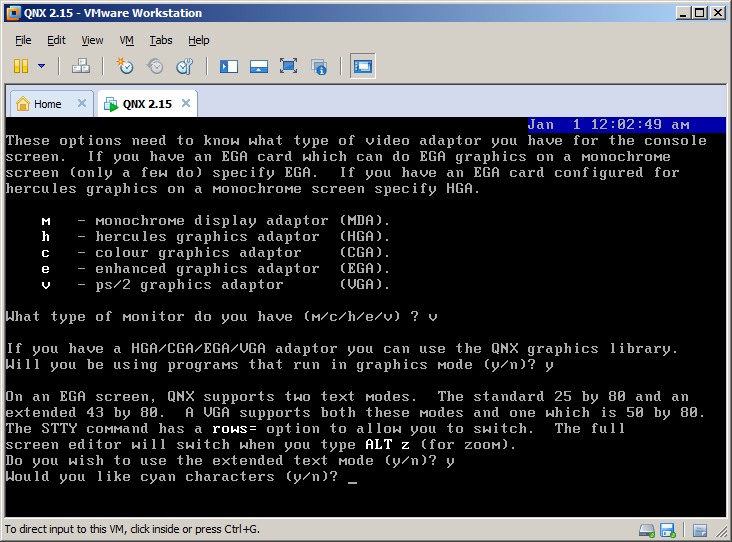
The install script copies all the data from distribution floppy disks, asks about boot loader and active partition. Finally you get to choose some video options.
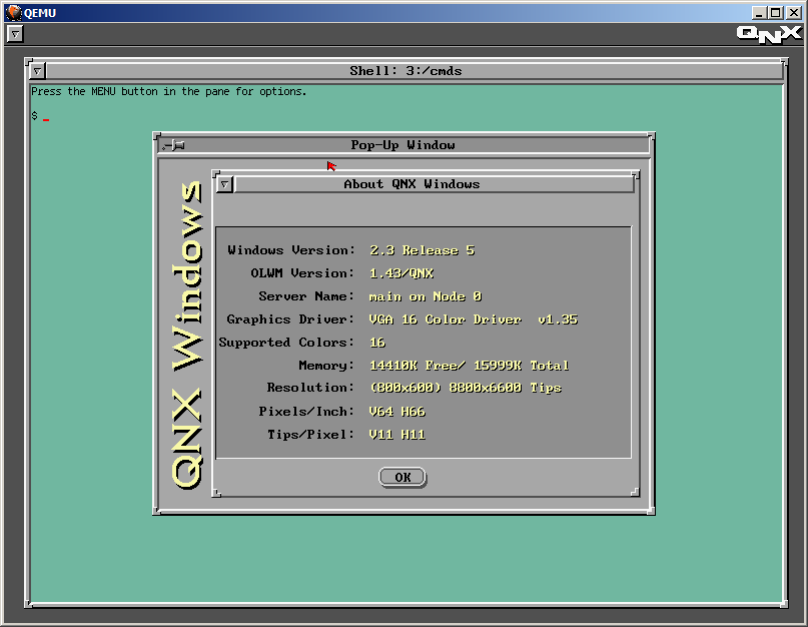
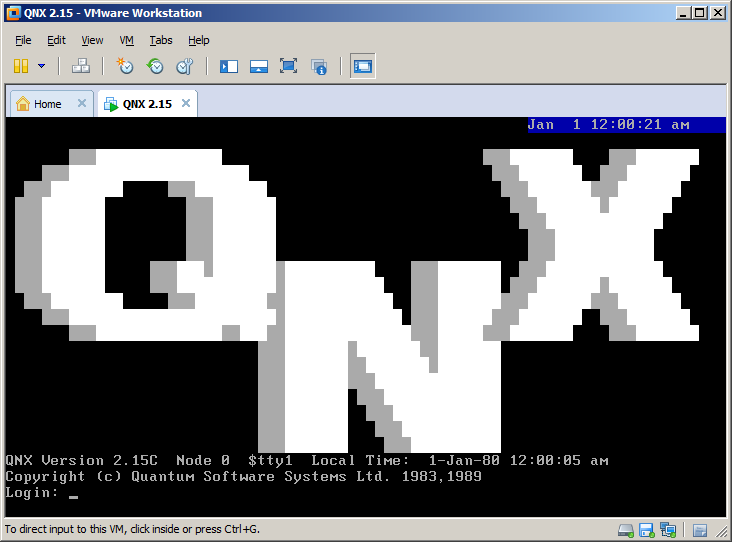
The system also asks about networking options. Unfortunately it only works with custom Arcnet cards so I skipped this. Once complete you are asked to remove the boot floppy disk and reboot the machine. This is what comes up after first hard disk boot.
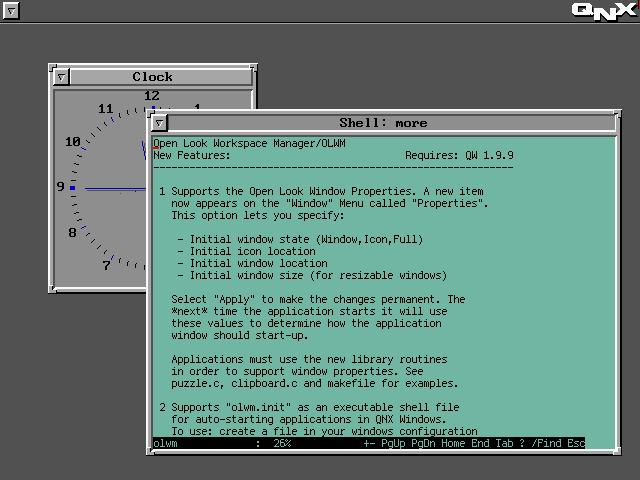
I guess what is in the system will be the a topic of another post.
QNX 2.x files are here, a ready to run VMware image is here. Virtual Box here.

BSD1yf74-g~~60_58.JPG)


