    I shall be telling this with a sigh
    Somewhere ages and ages hence:
    Two roads diverged in a wood,
            and I ---
    I took the one less traveled by,
    And that has made all the difference.
       "The Road Not Taken" [1916] -- Robert Frost
I didn’t want to make my last post exclusively focusing on 386BSD 0.0, but I thought the least I could do to honor Bill’s passing was to re-install 0.0 in 2022. As I mentioned his liberating Net/2 and giving it away for free for lowly 386/486 based users ushered in a massive shift in computer software where so called minicomputer software was now available for micro computer users. Granted 32bit micro computers, even in 1992 were very expensive, but they were not out of the reach of mere mortals. No longer did you have to share a VAX, you could run Emacs all by yourself! As with every great leap, the 0.0 is a bit rough around the edges, but with a bit of work it can be brought up to a running state, even in 2022.
But talking with my muse about legacies, and the impact of this release I thought I should at least go thru the motions, and re-do an installation, a documented one at that!
Stealing fire from the gods:
Although I had done this years ago, I was insanely light on details. From what I remember I did this on VMware, and I think it was fusion on OS X, then switching over to Bochs. To be fair it was over 11 years ago.
Anyways I’m going to use the VMware player (because I’m cheap), and just create a simple VM for MS-DOS that has 16MB of RAM, and a 100MB disk. Also because of weird issues I added 2 floppy drives, and a serial & parallel port opened up to named pipe servers so I can move data in & out during the install. This was really needed as the installation guide is ON the floppy, and not provided externally.
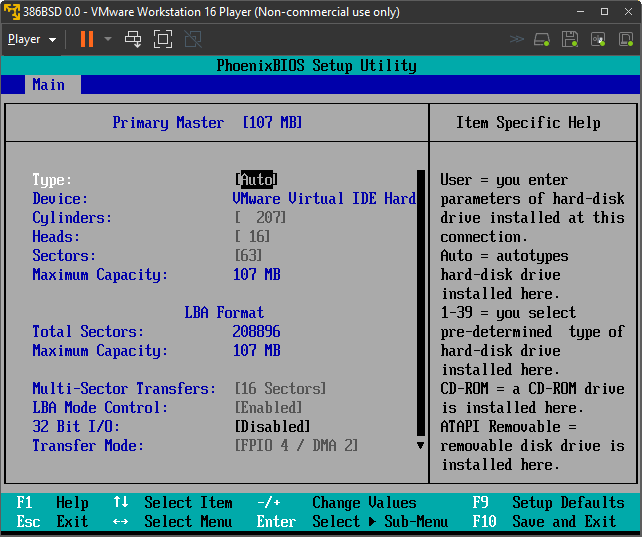
One of the things about 386BSD 0.0 is that it’s more VAX than PC OS, so it doesn’t use partition tables. This also means geometry matters. So hitting F2 when the VM tries to boot, I found that VMware has given me the interesting geometry of 207 cylinders, 16 heads, and a density of 63 sectors/track. If you multiply 207*16*63 you get 208656 usable sectors, which will be important. Multiply that by 512 for bytes per sector you get a capacity of 106,831,872. Isn’t formatting disks like it’s the 1970s fun? Obviously if you attempt to follow along, obviously yours could be different.
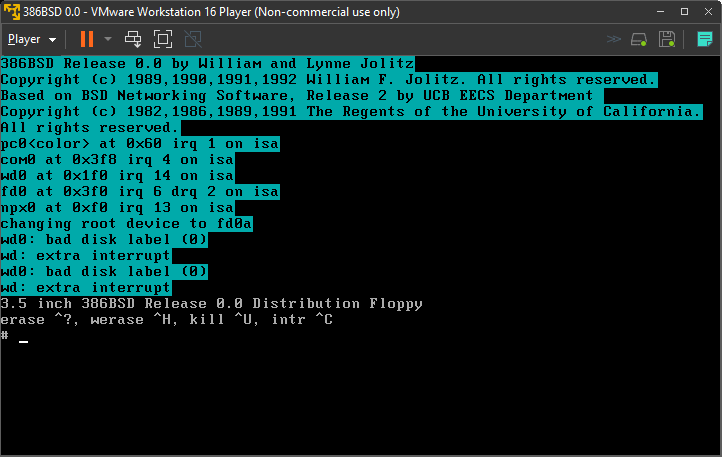
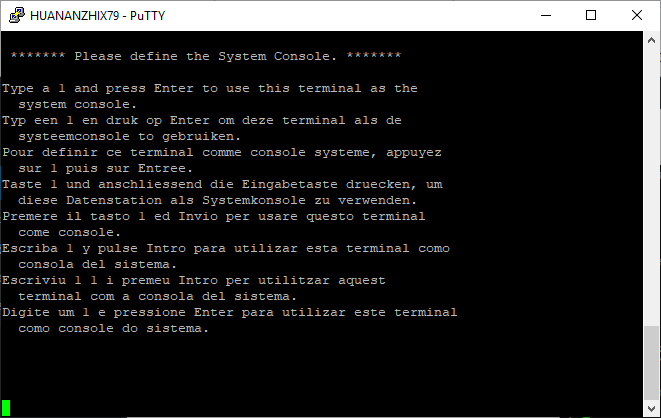
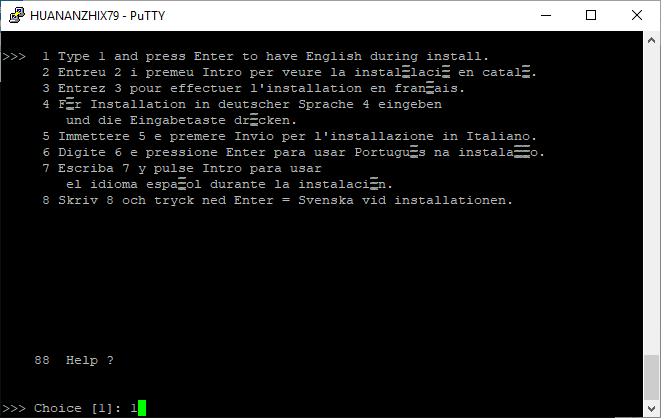
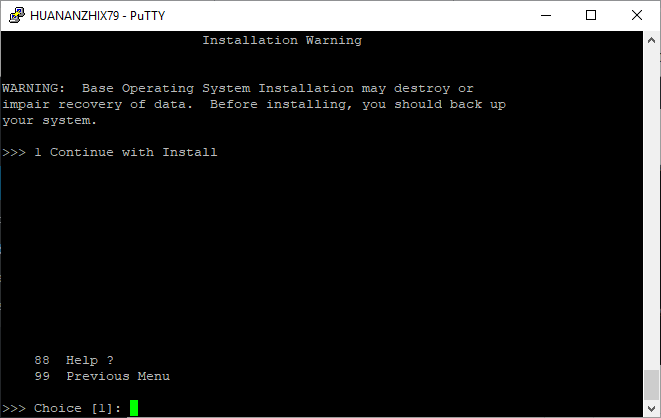
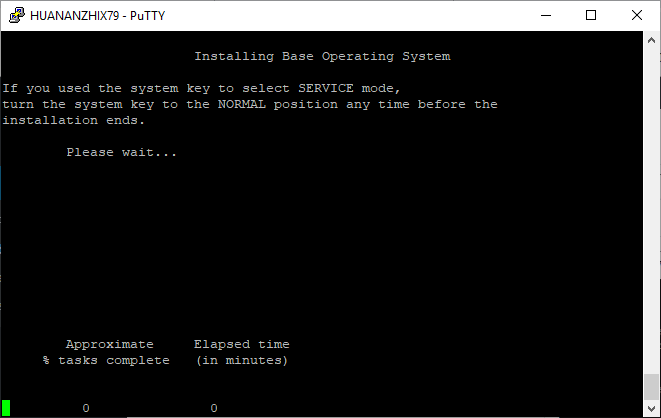
Throwing the install disk in the VM will boot it up to the prompt very quickly. So that’s nice. The bootloader is either not interactive at all, or modern machines are so fast, any timeout mechanism just doesn’t work.
As we are unceremonially dumped to a root prompt, it’s time to start the install! From the guide we first remount the floppy drive as read-write with the following:
mount -u /dev/fd0a /
Now for the fun part, we need to create an entry in the /etc/disktab to describe our disk, so we can label it. You can either type all this in, use the serial port, or just edit the Conner 3100 disk and turn it into this:
vmware100|VMWare Virtual 100MB IDE:\
:dt=ST506:ty=winchester:se#512:nt#16:ns#63:nc#207:sf: \
:pa#12144:oa#0:ta=4.2BSD:ba#4096:fa#512: \
:pb#12144:ob#12144:tb=swap: \
:pc#208656:oc#0: \
:ph#184368:oh#24288:th=4.2BSD:bh#4096:fh#512:
As you can see the big changes are the ‘dt’ or disk type line nt,ns and nc, which describe heads, density and cylinders. And how 16,63,207 came from the disk geometry from above. The ‘pa’,’pb’… entries describe partitions, and since they are at the start of the disk, nothing changes there since partitions are described in sectors. Partition C refrences the entire disk, so it’s set to the calculated 208656 sectors. Partition A+B is 24288, so 208,656-24,288 is 184,368 which then gives us the size of partition H. I can’t imagine what a stumbling block this would have been in 1992, as you really have to know your disks geometry. And of course you cannot share your disk with anything else, just like the VAX BSD installs.
With the disklabel defined, it’s now time to write it to the disk:
disklabel -r -w wd0 vmware100
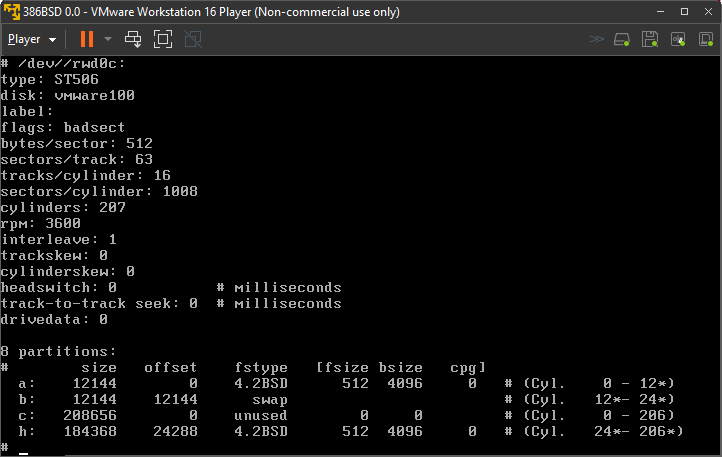
And as suggested you should read it back to make sure it’s correct:
disklabel -r wd0
Now we can format the partitions, and get ready to transfer the floppy disk to the hard disk. Basically it boils down to this:
newfs wd0a
newfs wd0h
bad144 wd0 -f
mount /dev/wd0a /mnt
mkdir /mnt/usr
mount /dev/wd0h /mnt/usr
(cd /;tar -cf - .)|(cd /mnt;tar -xvf -)
umount /mnt/usr
umount /mnt
fsck -y /dev/rwd0a
fsck -y /dev/rwd0h
Oddly enough the restore set also has files for the root, *however* it’s not complete, so you need to make sure to get files from the floppy, and again from the restore set.
One of the annoying things about this install is that VMware crashes trying to boot from the hard disk, so this is why we added 2 floppy drives to the install so we can transfer the install to the disk. Also it appears that there is some bug, or some other weird thing as the restore program wants to put everything into the ‘bin’ directory just adding all kinds of confusion, along with it not picking up end of volume correctly. So we have to do some creative work arounds.
So we mount the ‘h’ partition next as it’s the largest one and will have enough scratch space for our use:
mkdir /mnt/bin
mount /dev/wd0a /mnt/bin
mount /dev/wd0h /mnt/bin/usr
cd /mnt/bin/usr
Now is when we insert the 1st binary disk into the second floppy drive, and we are going to dump into a file called binset:
cat /dev/fd1 > binset
Once it’s done, you can insert the second disk, and now we are going to append the second disk to binset:
cat /dev/fd1 >> binset
You need to do this with disks 2-6.
I ran the ‘sync’ command a few times to make sure that binset is fully written out to the hard disk. Now we are going to use the temperamental ‘mr’ program to extract the binary install:
cd /mnt
mr 1440 /mnt/bin/usr/binset | tar -zxvf -
This will only take a few seconds, but I’d imagine even on a 486 with an IDE disk back then, this would take forever.
The system is now extracted! I just ran the following ‘house cleaning’ to make sure everything is fine:
cd /
umount /mnt/bin/usr
umount /mnt/bin
fsck -y /dev/rwd0a
fsck -y /dev/rwd0h
And there we go!
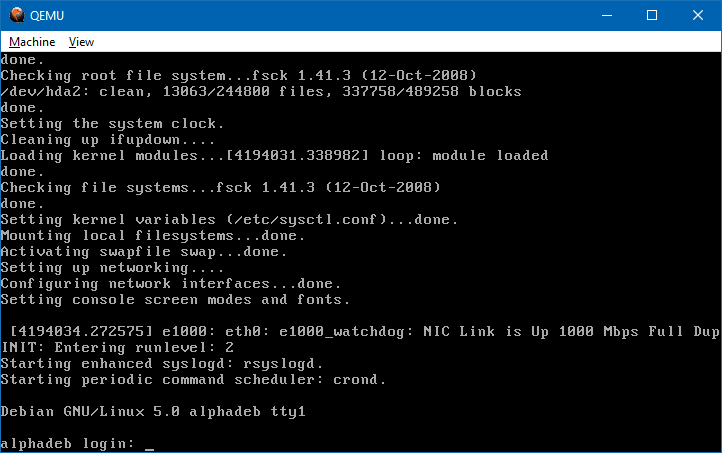
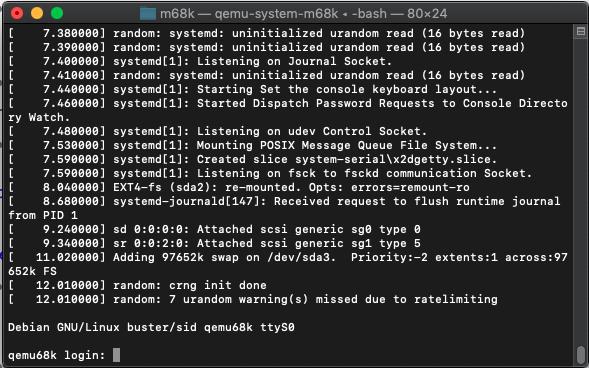
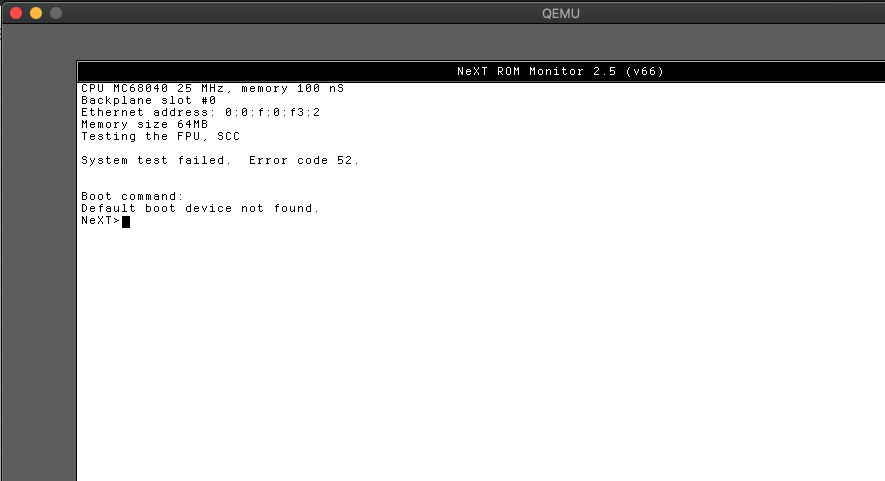
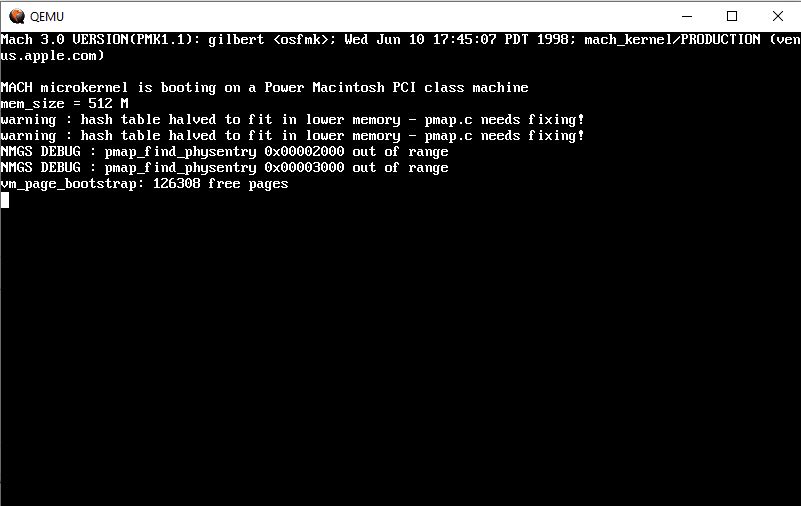
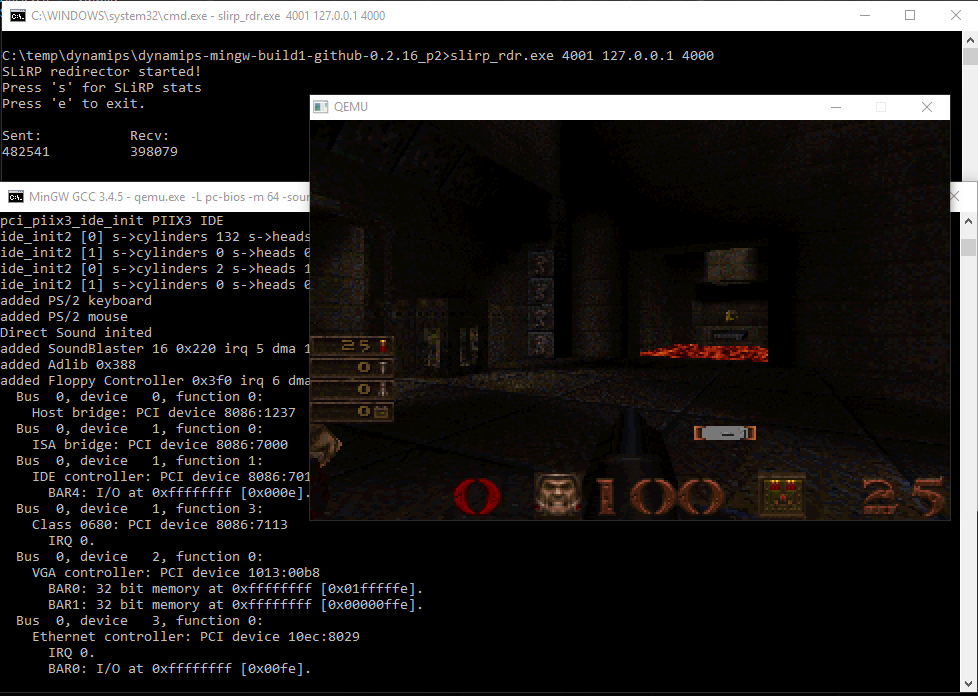
Now for actually booting up and using this, as I mentioned above, VMware will crash attempting to boot 386BSD. Maybe it’s the bootloader? Maybe it’s BIOS? I don’t know. However old versions of Qemu (I tested 0.9 & 0.10.5) will work.
With the system booted you should run the following to mount up all the disks:
fsck -p
mount -a
update
/etc/netstart
I just put this in a file called /start so I don’t have to type all that much over and over and over:

On first boot there seems to be a lot of missing and broken stuff. The ‘which’ command doesn’t work, and I noticed all the accounting stuff is missing as well:
mkdir /var/run
mkdir /var/log
touch /var/run/utmp
touch /var/log/wtmp
Will at least get that back in action.
The source code is extracted in a similar fashion, it expects everything to be under a ‘src’ directory, so pretty much the same thing as the binary extract, just change ‘bin’ to ‘src’, and it’s pretty much done.
End thoughts
I think this wraps up the goal of getting this installed and booting. I didn’t want to update or change as little as possible to have that authentic 1992 experience, limitations and all. It’s not a perfect BSD distribution, but this had the impact of being not only free, but being available to the common person, no SPARC/MIPS workstations, or other obscure or specialized 68000 based machine, just the massively copied and commodity AT386. For a while when Linux was considered immature, BSD’s led the networking charge, and I don’t doubt that many got to that position because of that initial push made by Bill & Lynne with 386BSD.
Compressed with 7zip, along with my altered boot floppy with my VMware disk entry it’s 8.5MB compressed. Talk about tiny! For anyone interested here is my boot floppy and vmdk, which I run on early Qemu.
And there we go!