
It’s been a few years since Tenox had mentioned OpenNT 4.5, and in that time the project pages, repositories and well just about everything has vanished. It seems that the hardest thing to do with OpenNT had become finding it.
Then I found this over on vetusware, and with my curiosity piqued, I thought I’d check it out.
As mentioned the first thing to do is combine the parts, and create the single 7zip file, and then extract that.
copy /B "OpenNT45(Source).z00" + "OpenNT45(Source).z01" + "OpenNT45(Source).z02" "OpenNT45(Source).7z"
Extracting that will give a simple ISO file, weighing in at 1.7GB!
While not obvious at first, there is a readme in the ISO that provides instructions on how to compile it. Basically it boils down to a few main points:
- xcopy the CD onto a ‘W’ drive, or subst any other drive to ‘W’ as apparently the build process requires it to be on W. Did I mention that the CD needs to be copied onto the W drive?
- Run the ‘setup.cmd’ file to configure the environment and get the build process ready
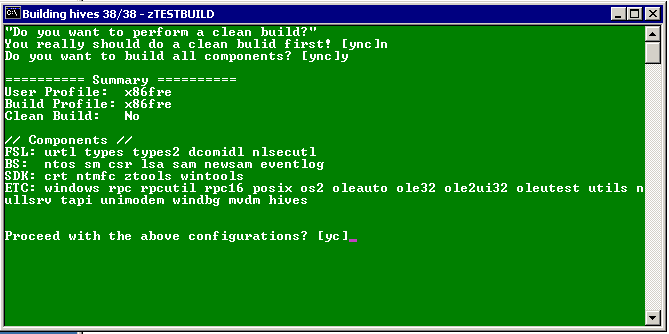
- run zTESTBUILD and do a clean build. It will run and eventually fail.
- run zTESTBUILD again, but do not do the clean build, and it should finish
- run \cdimg\genall to create the ISO image
So with those points basically figured out after the fact, let’s go!
The first thing to do is either create a VM to compile this in, or just xcopy and go. The big requirement though is that it must be a 32bit version of Windows, as part of the build process requires the ability to use NTVDM. For simplicity sake, I chose Windows 2000 server, so I could allocate 2GB of RAM, and 4 CPU cores. During the build it doesn’t use that much memory, cores are more so important during various phases of the build that can seemingly use any and all cores, while various other parts only run on a single core.
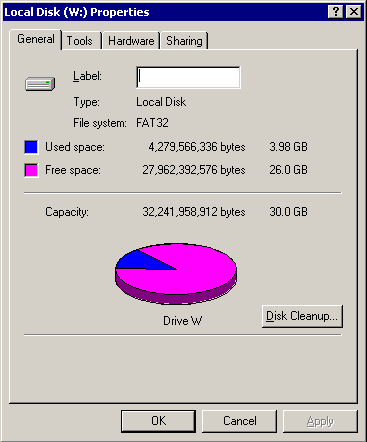
I chose to use a separate ‘C’ drive, and ‘W’ drive for the 2000 VM. With no idea how much space to give it, I setup a 32GB W drive, which after the build takes up just under 4GB of space. Â
With the VM installed, and the W drive formatted, and the contents of the CD copied over, it’s time to start the build.

So basically you just answer ‘Y’ to zTESTBUILD.cmd and it’ll do it’s thing. For me this took about 42 minutes for this to run until it failed, as expected.
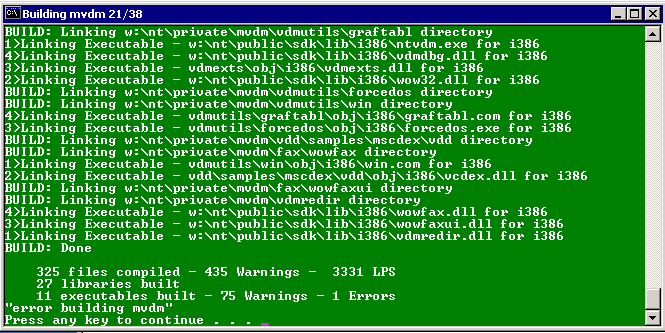
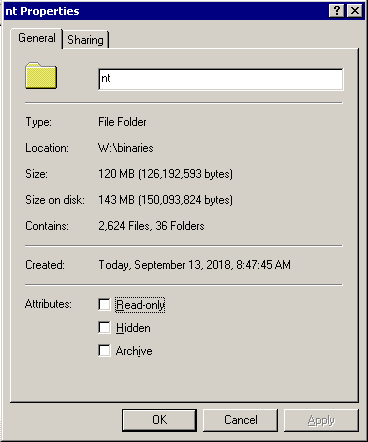
Looking at the \binaries\nt directory there was now 1,274 files currently built. Naturally with the failure this is not a complete build.
After this failure you then re-run zTESTBUILD.cmd but this time answer ‘No’ to the clean build.
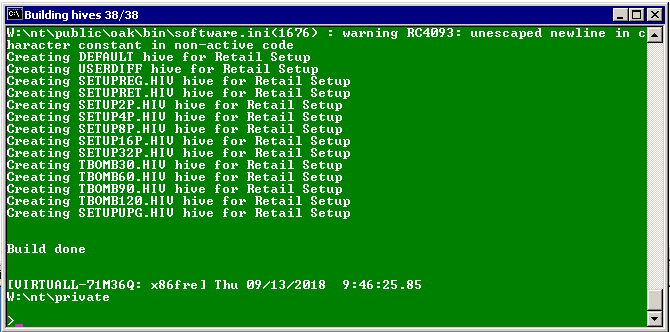
This step took about 15 minutes to complete.
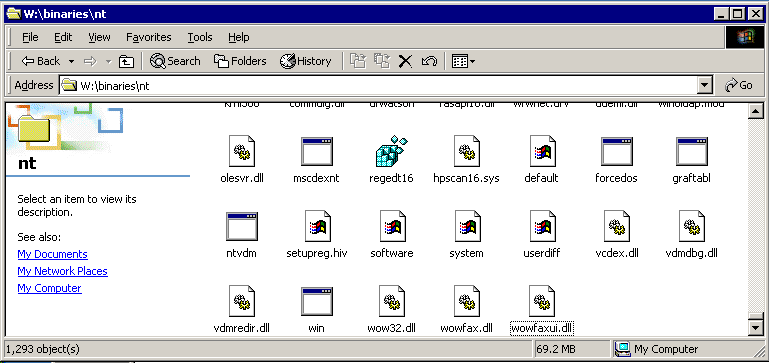
The \binaries\nt directory now has 1293 files.
Checking the binaries\nt directory there is now 1,293 files and looking at the entire directory there is 2,624 files taking up about 120MB of space.
With the OS compiled, all that remains is to create an install CD and boot it up. running \cdimg\genall.cmd will create the ISO image.
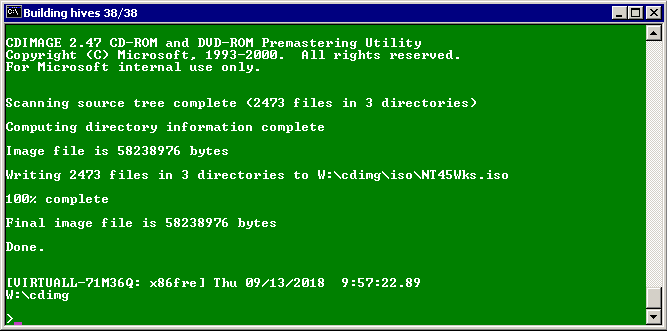
This will compress almost all the files, and took another 15 minutes to create the CD. After this is all done it’s just a matter of setting up a VM to run the NT45Wks.iso file.
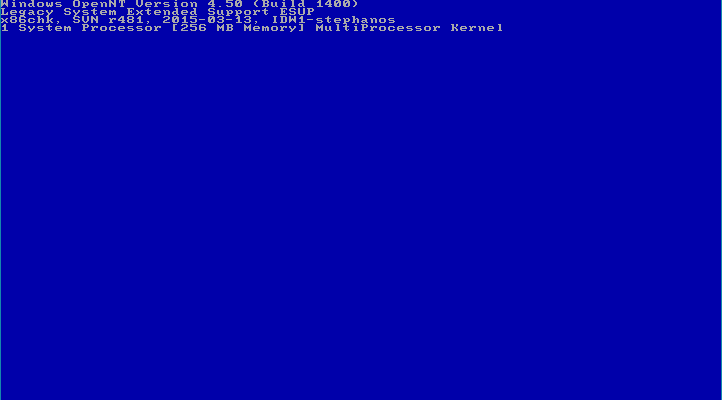
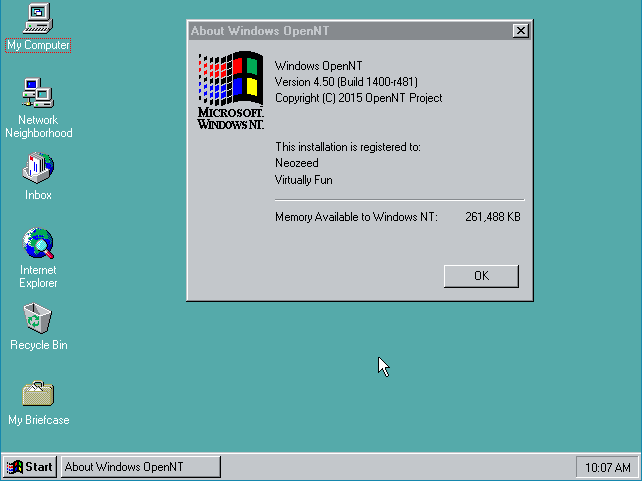
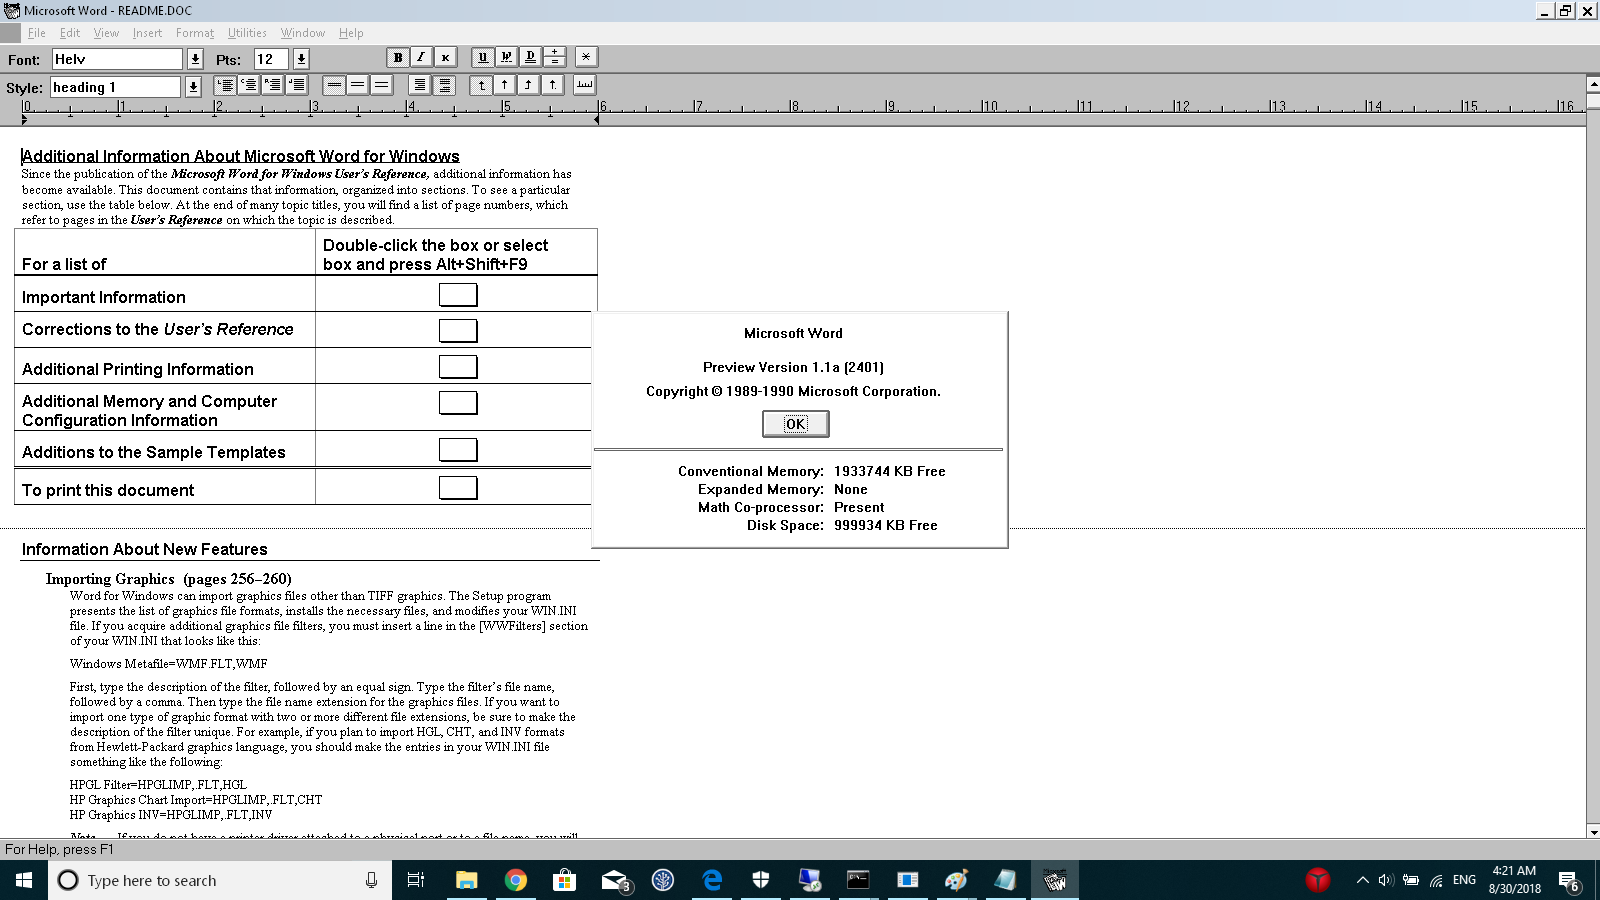
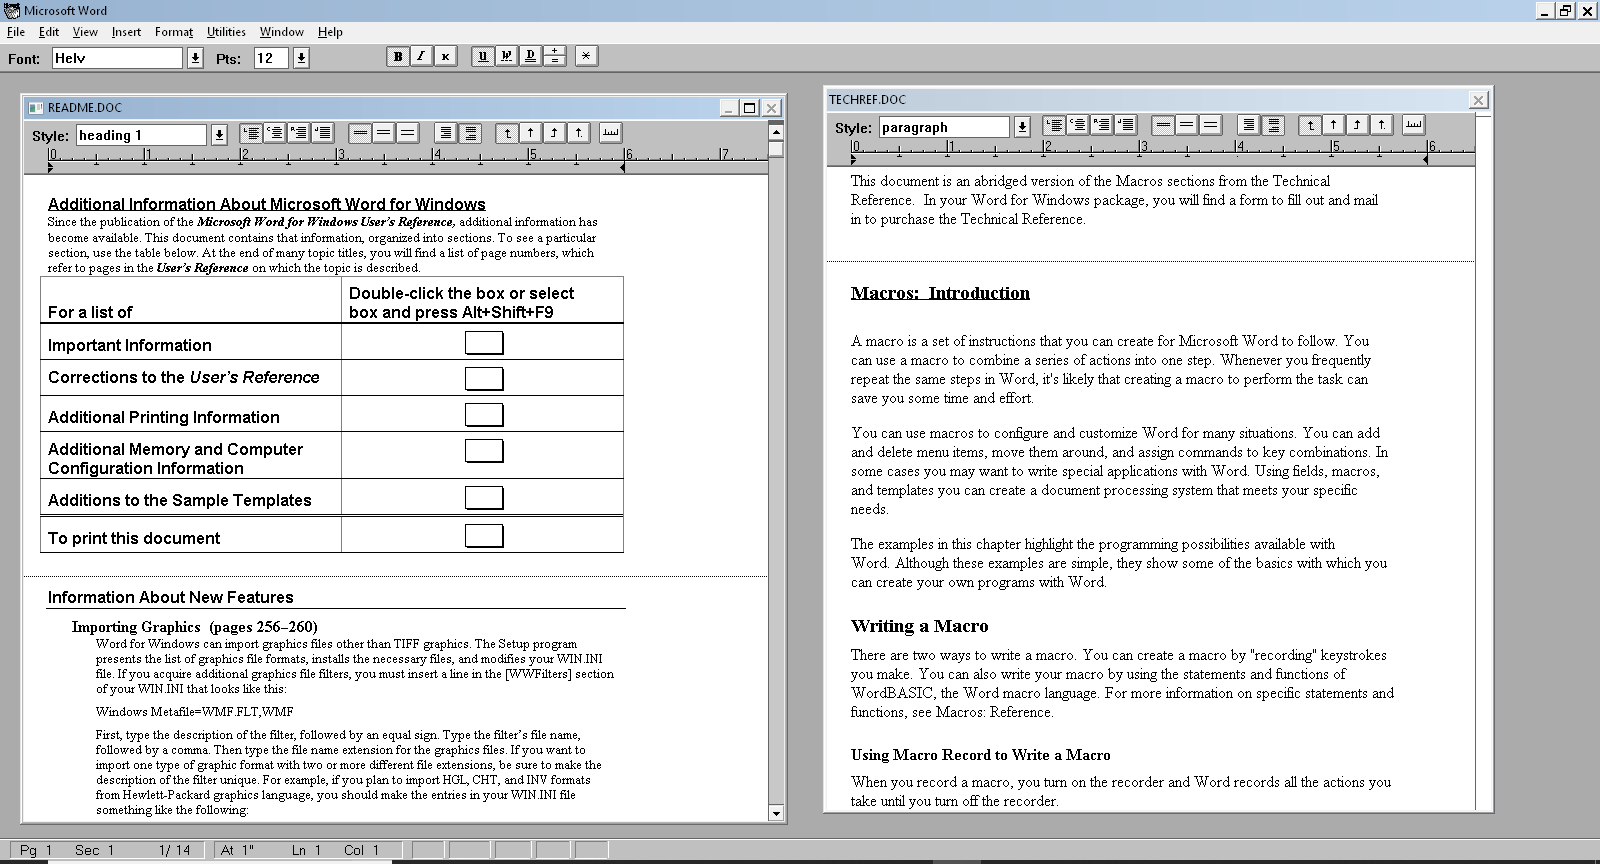
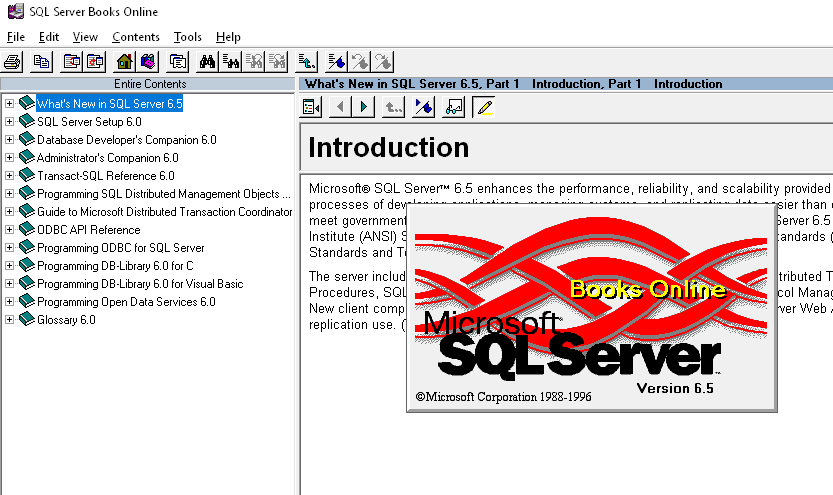
The first thing you notice is the extra banners on OpenNT 4.5, when compared to a retail copy of NT 4.0.
And of course the different branding during setup. One of the nice things about OpenNT is that it can format filesystems directly as NTFS, instead of the old way of first creating a FAT partition, and converting it to NTFS. This ought to bypass all the limitations of disk/partition sizes for the older NT.
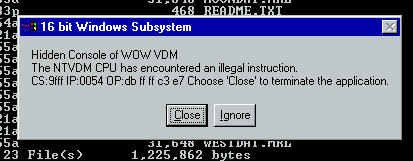
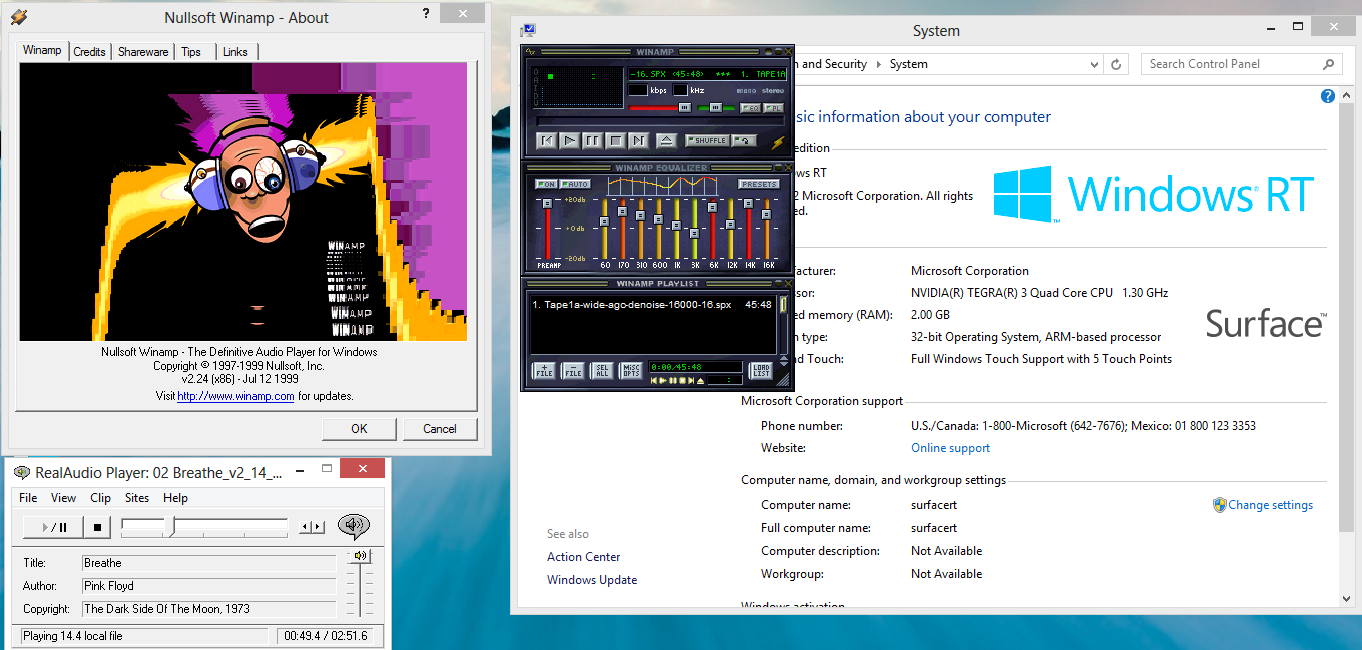
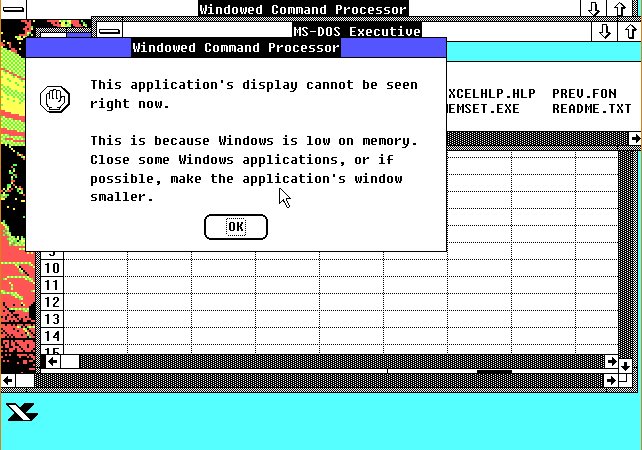
Running OpenNT 4.5 on VMWare seemed to run the Win32 stuff okay, although Win16/WOW stuff immediately crashed, and MS-DOS was incredibly slow with screen redraw issues. I know that NT 4.0 builds prior to SP 6 have issues with many newer emulation/hypervisors even when CPU levels are set to regular Pentium.
MS-DOS DPMI stuff like DooM are incredibly slow, and seemingly lock up when launching.
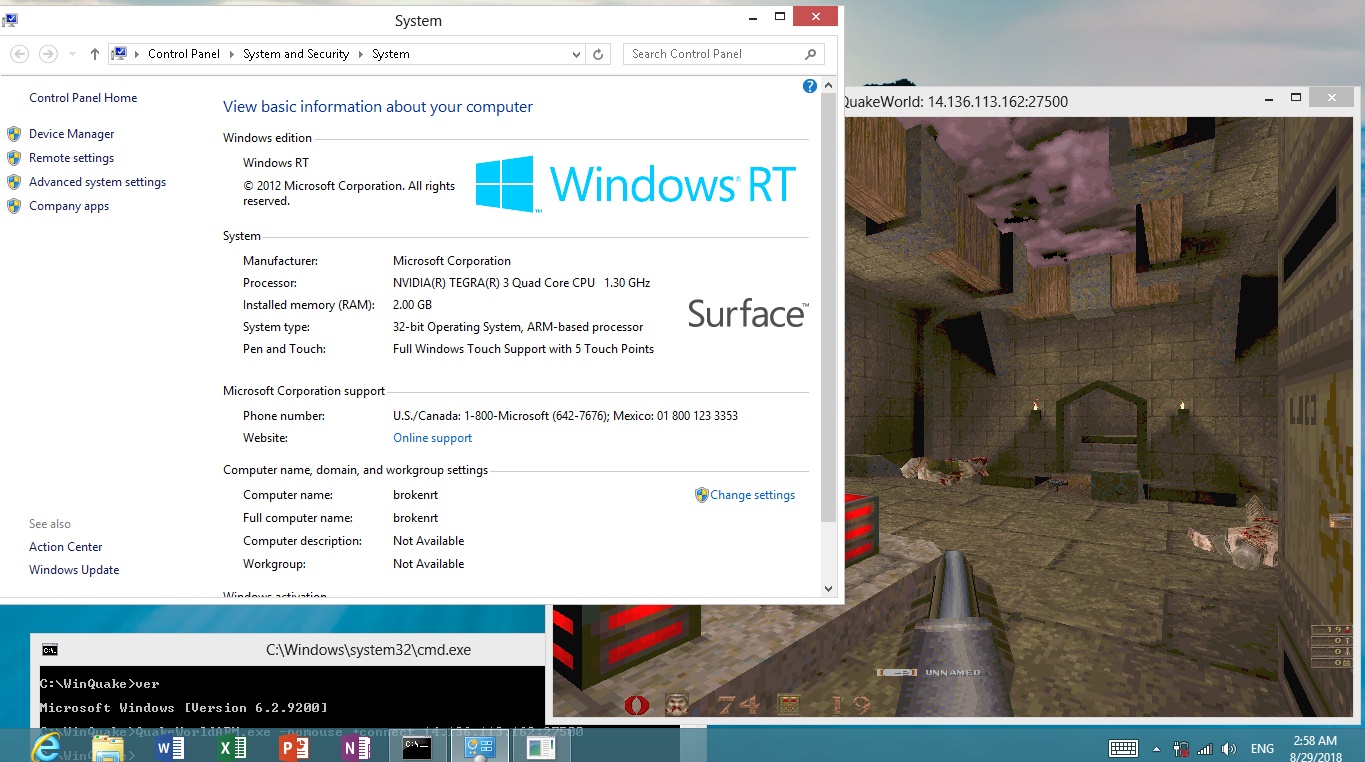
Oddly enough the OS/2 subsystem works just fine.
So there it is, the nearly vanished ‘OpenNT 4.5’.


