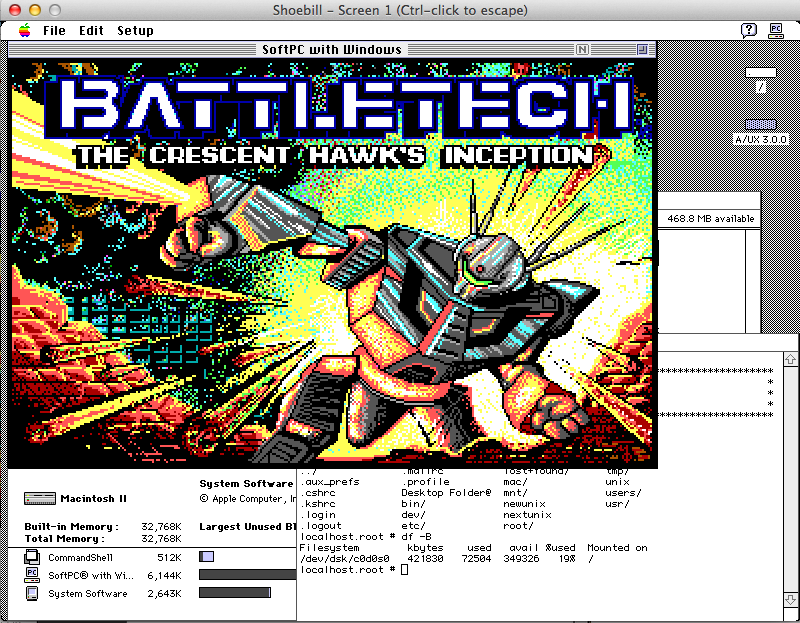
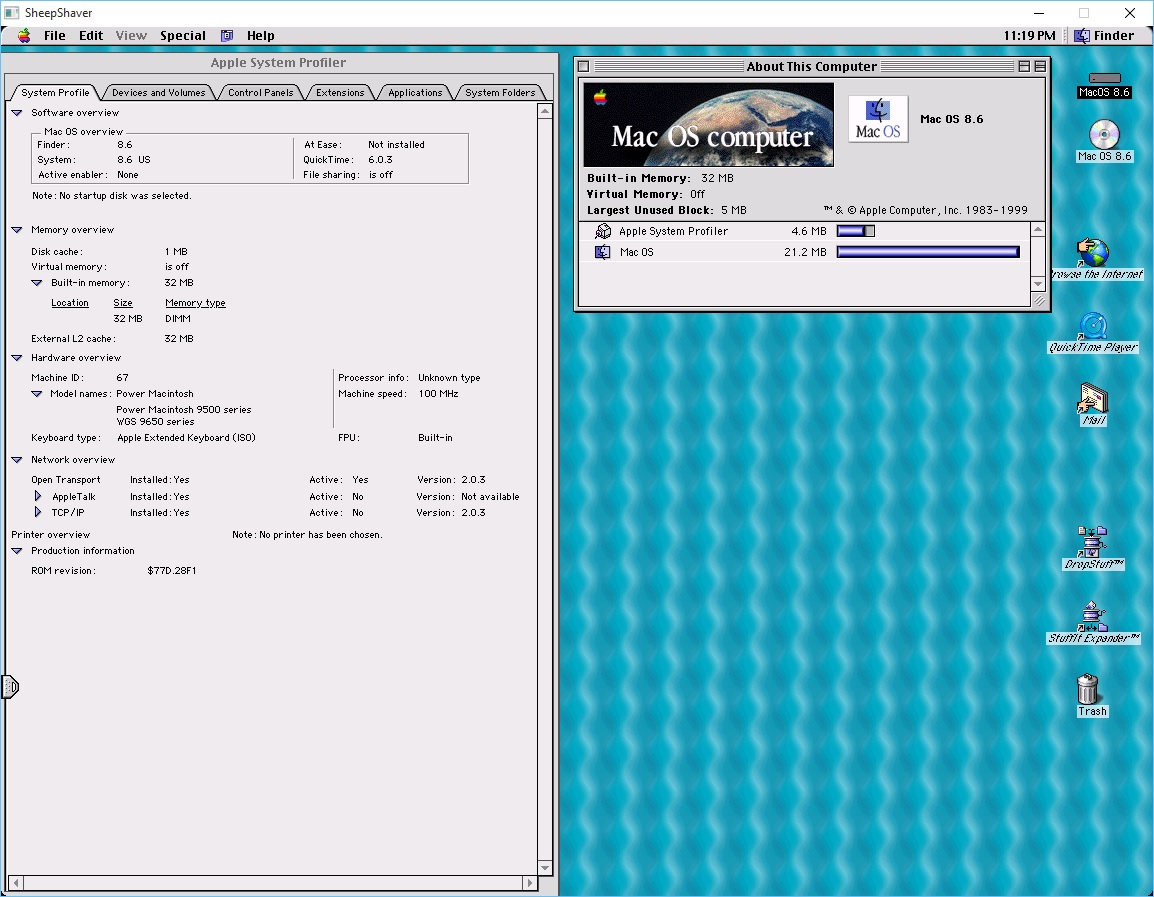
Great news! Â The excellent A/UX capable emulator Shoebill, now has working Ethernet support! Â The sad news is that it only supports the TUN/TAP interface. Â So Windows users are kind of left out in the fun.
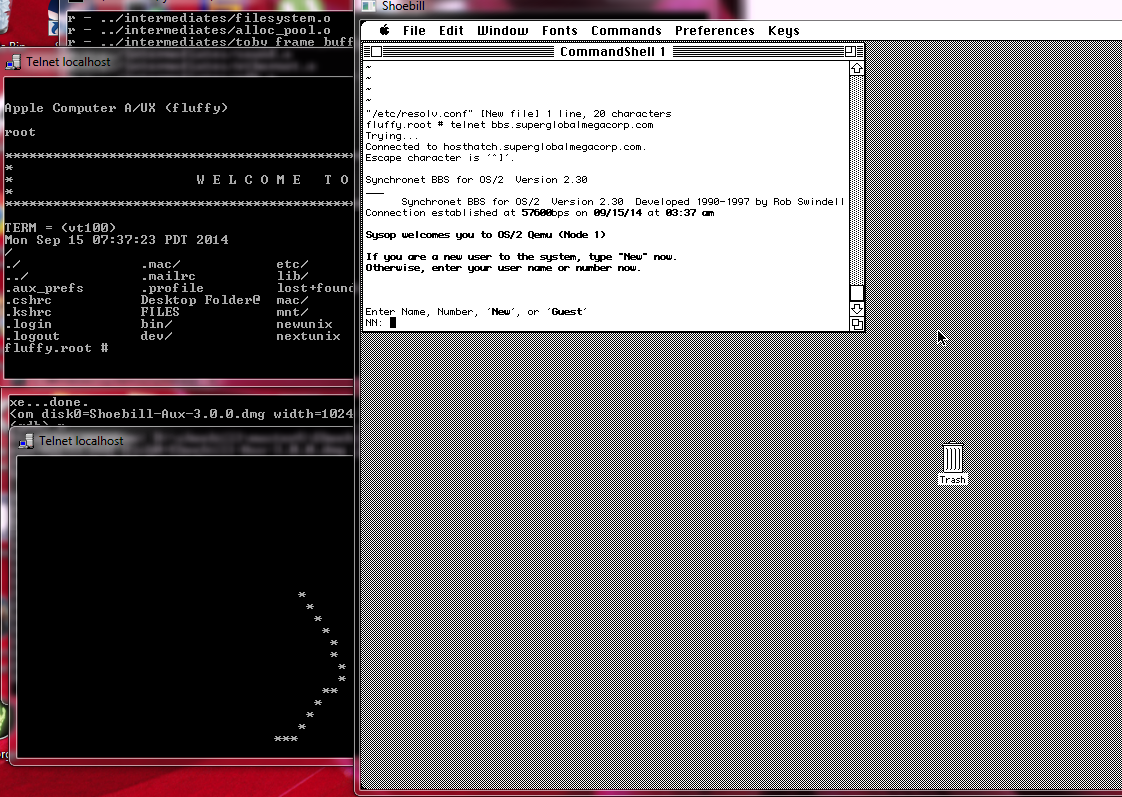
Shoebill + Ethernet
Except, I’ve been here before with SIMH ages ago. Â So I dusted off my source code, and injected it into Shoebill. Â The first issue I had was that SLiRP was rejecting all the inputted frames, because of invalid frame length. Â Even more weird is that ARP worked, and I could see the 10.0.2.2 and 10.0.2.3 virtual IP’s but TCP and UDP outbound wouldn’t work at all.
It took me longer than it should have but although this code worked great with GCC 2.7 and 3.0, 4.x breaks it. Â And it’s the same reason why Shoebill originally didn’t work on Win32, the blasted packed structures! Â So adding the ‘-mno-ms-bitfields’ flag to GCC is all it took, and now I could ping 10.0.2.2 for about 5-7 pings until SLiRP would crash. Â I tried all kinds of stuff trying to see if there was an issue with SLiRP, but I should have payed closer attention to the debugger, with all those threads flying around. Â It turns out Shoebill was trying to read & write a the same time, which caused SLiRP to crash as it is not re-entrant. Â I tried to place mutex’s on every SLiRP call but that ended up having SLiRP not process any packets. Â Very strange. Â I then reduced it to where I read the frame out of SLiRP and pass it to Shoebill, and where Shoebill write’s a frame out the SLiRP. Â And much to my amazement I can run ‘worms’ just fine!
So after a minute of worming and pinging I called it ‘good enough’ and rebuilt a production binary, and packaged up my source code.
For anyone who want’s to play, my Win32 EXE is here, and the source code I am using is here.