Caldera Open Linux

(note this is a guest post from Antoni Sawicki aka Tenox)

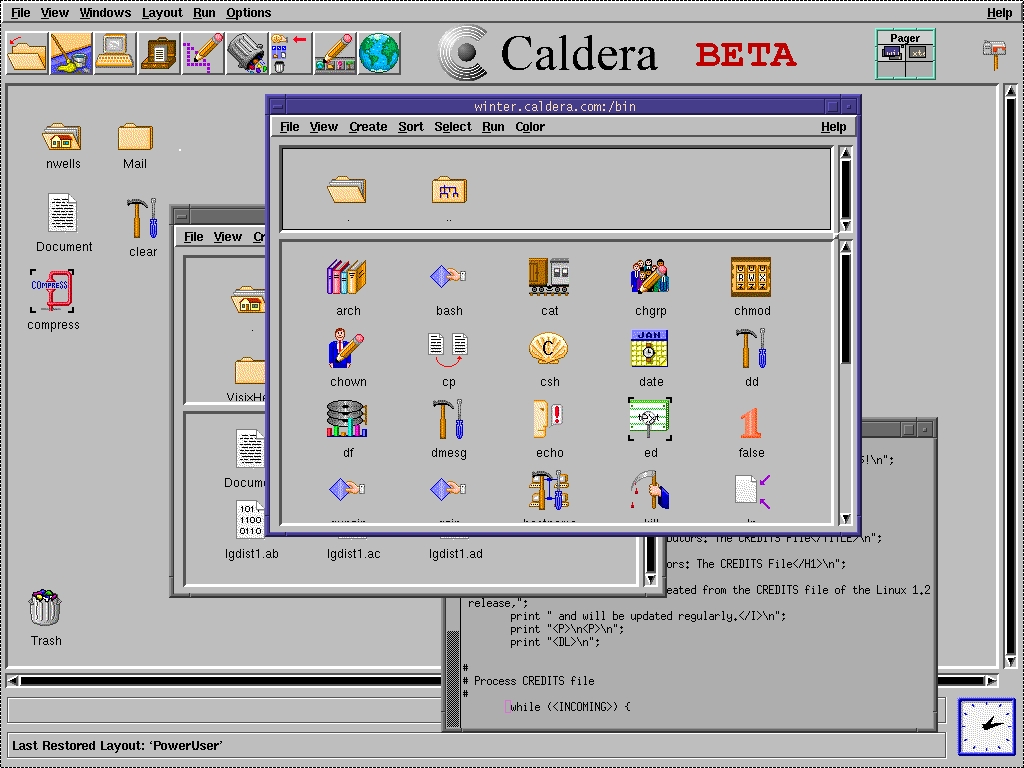
I have been working with Linux since around 1992, both at home and at work. I have probably seen it all with exception of item in the title. Lurking around my files, I found screenshot of a beta version of Caldera Linux. For some odd reason I somehow managed to never actually see it with my own eyes back in the day. The supreme Linux desktop was always matter of just myths and legends.

caldera

Recently I came across install media for the Caldera Open Linux 1.3 and decided to take it for spin and see how it really measures to it’s hype. The system installed just fine with dialog based setup steps. However as I wanted to see the GUI in action there was a problem – 640×480 VGA mode, or rather lack of better video mode to work with.

Unfortunately neither VMware nor VirtualBox do not support anything better than the crippled VGA mode. They do it for all other devices, like network card, mouse, ide and atapi cdrom. But somehow not for graphics. Fortunately the other virtualization engines are bit better. QEMU supports Cirrus Logic and Virtual PC supports S3 Trio.

I have spent several hours trying to convince the ancient Xfree86 to work with QEMU, to no avail. All I managed t o get was this:


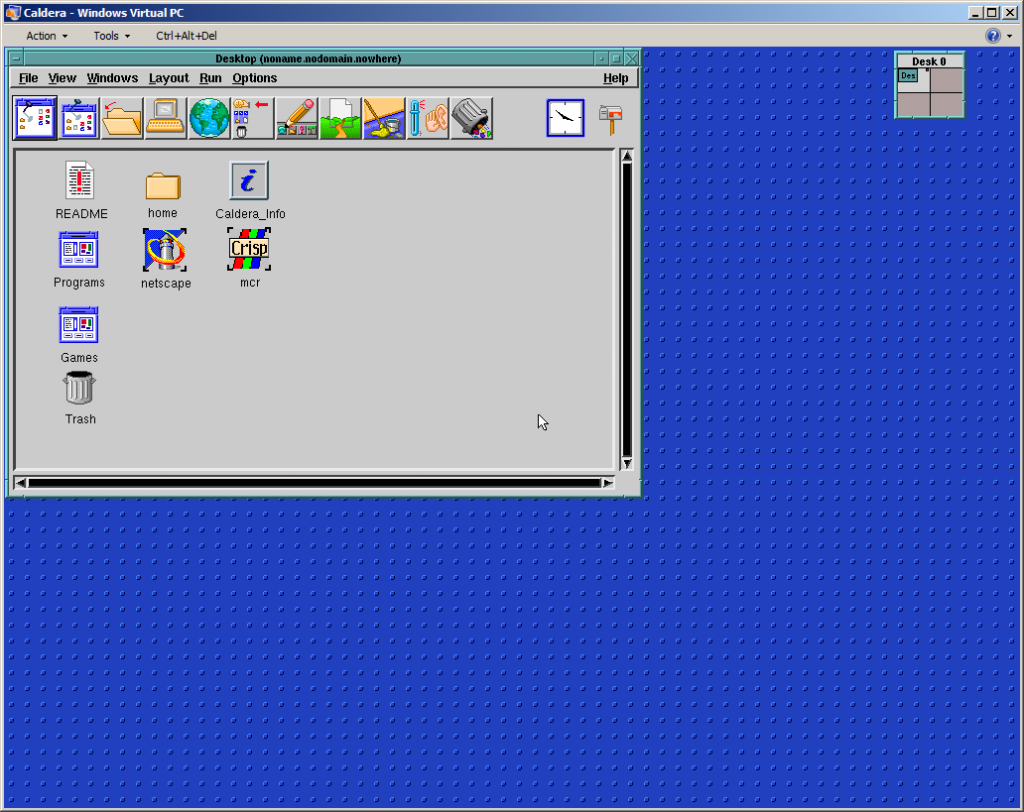
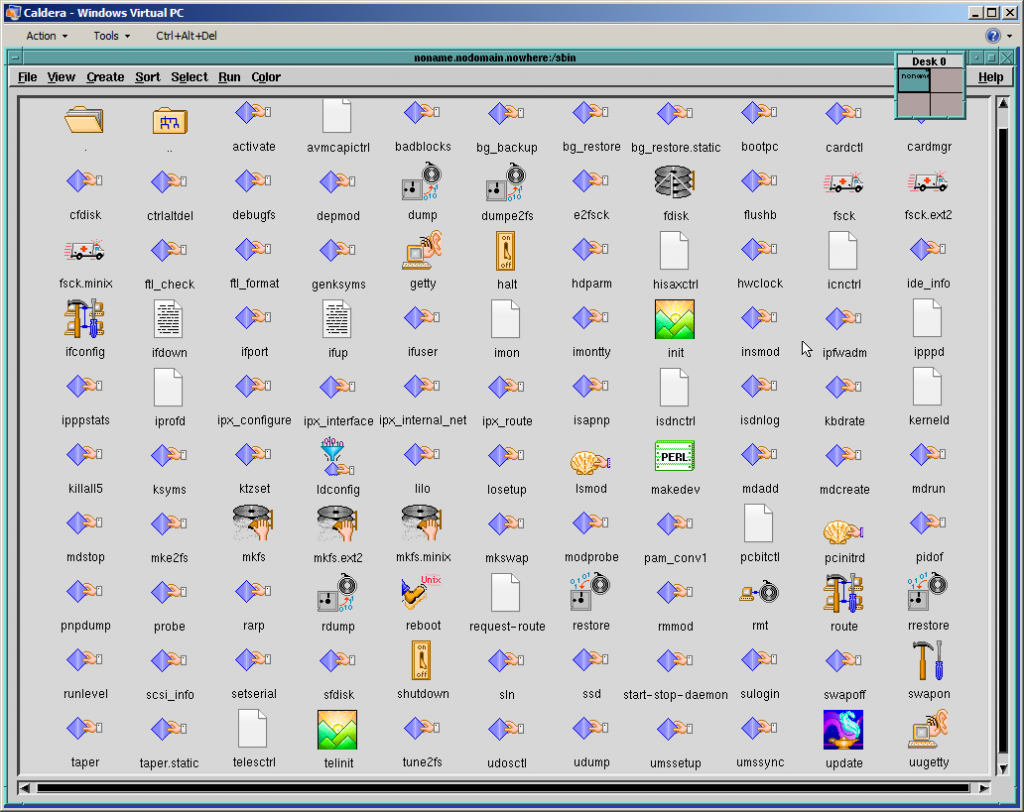
Out of options I have decided to try Virtual PC. Unfortunately the system would not install due to disk errors. Upon some research I’ve found the issue was IO-APIC which I promptly disabled in the kernel (noacpi). It did not help the install much, but allowed me to run a qemu-installed and converted disk image.  This is a bit of shame that the best virtualization engine to run ancient Linux was Microsoft VPC. Anyway to my amusement I’ve got this:

cal-vpc1

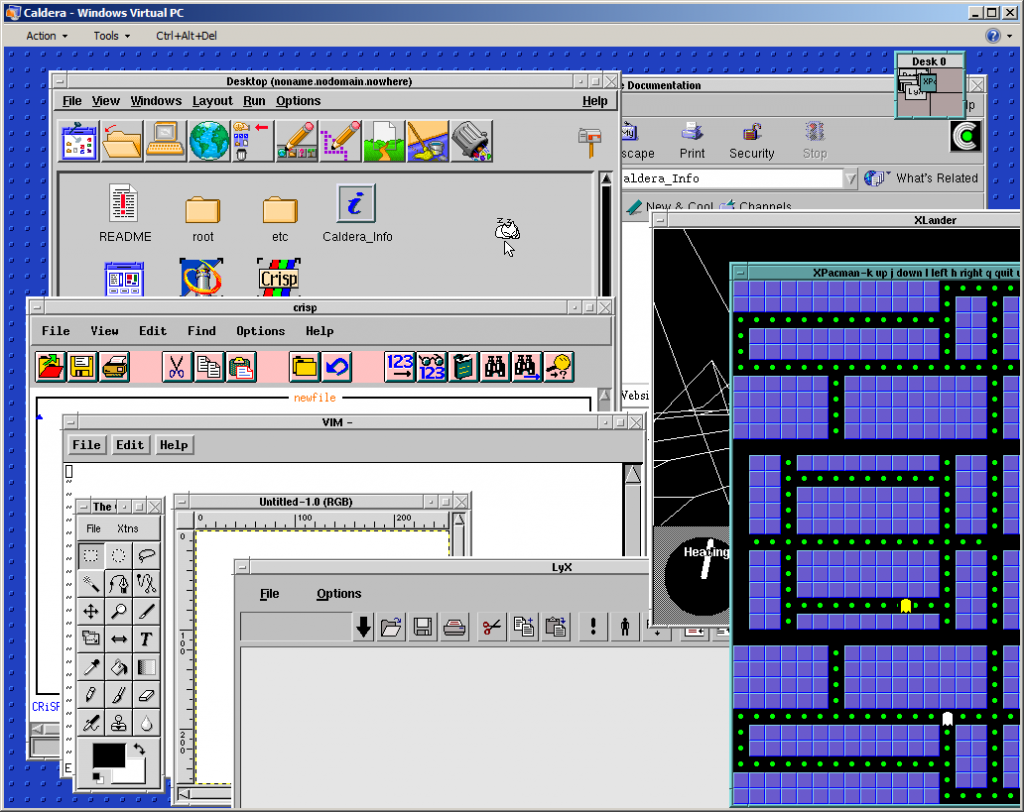
And I was able to explore the GUI a little bit more:

cal-vpc2

cal-vpc3

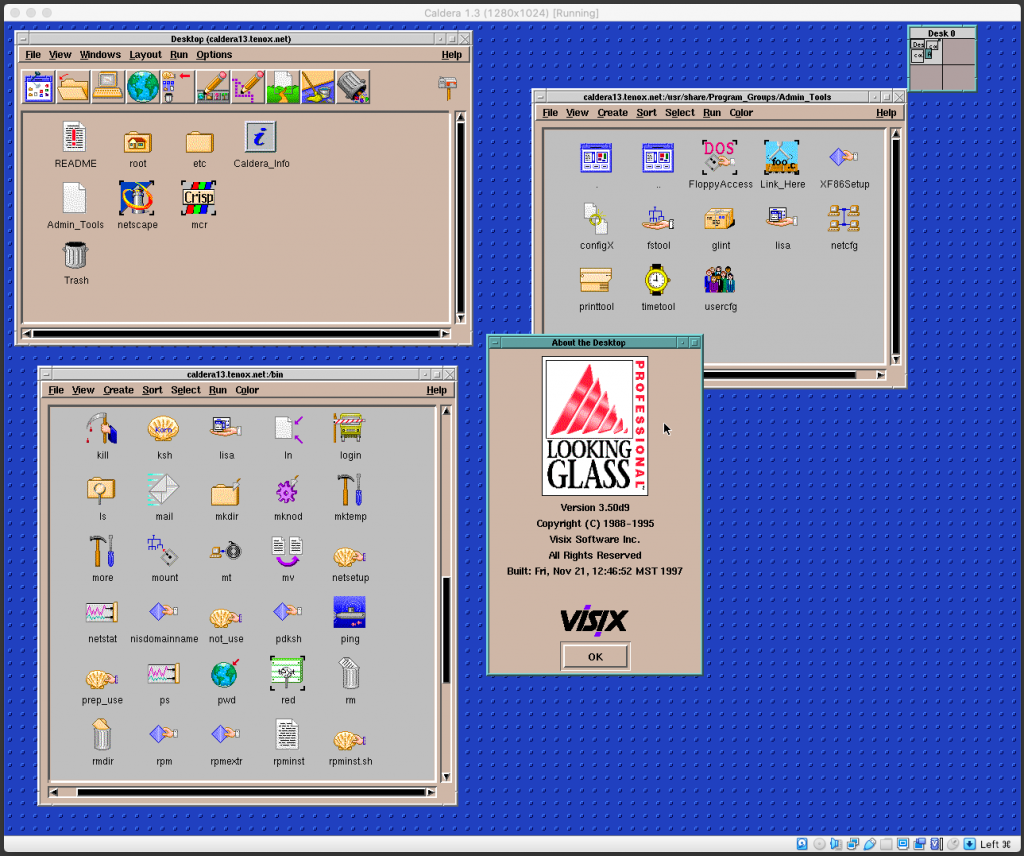
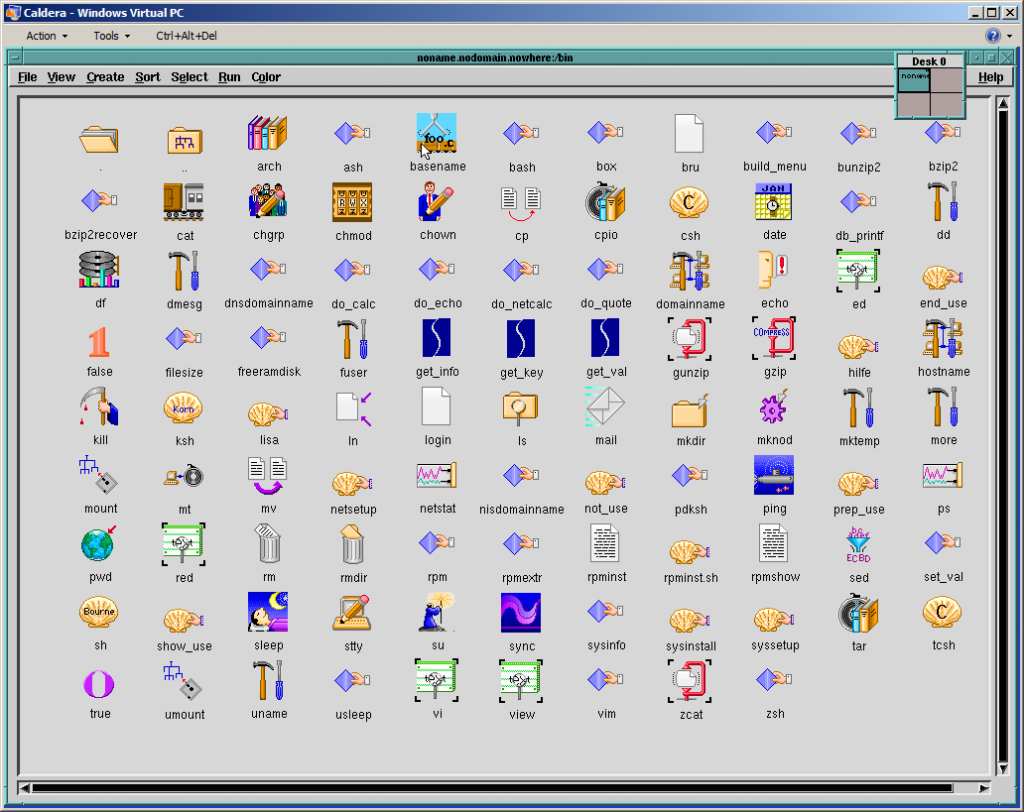
Wait a second, these icons remind me of something! Apparently Visix Looking Glass became Caldera Desktop… I will need to dig in deeper in to this eventually.

Apart from that Caldera is loaded with tons of ancient software. Pretty much everything there was available on Linux these days and all working out of the box. Neozeed will be happy to see Neko in action (see the last screenshot)!

cal-vpc4

You can download install media and ready virtualized images here.

Update:
Michal Necasek of OS2 Museum has fixed XF86_SVGA so that it works correctly with Virtual Box in higher resolutions as well. “You’ll have to set up the X so that it uses the XF86_SVGA server and tell it to automatically detect the graphics hardware. Then it should be just a question of selecting some sensible monitor and creating a few modes. If things are configured properly, you’ll see something like “SVGA: chipset: boxv” in the X server output.“. Download it here. (It’s binary only, no source). 

Caldera Linux 1.3

Above screenshot is Caldera 1.3 under Virtual Box with SVGA driver from Michal Necasek. Network also work with PCnet III adapter in bridged mode. The IP address is hardcoded for 192.168.1.111. You can download OVA here.

Update: Recently I have installed Caldera 1.3 on 86box. Unlike most hypervisors, this provides excellent emulation of various video and network cards. I have picked S3 and NE2000. Everything installed and worked out of the box. While emulation is generally slower it provides accelerated video making everything working smoothly including games.
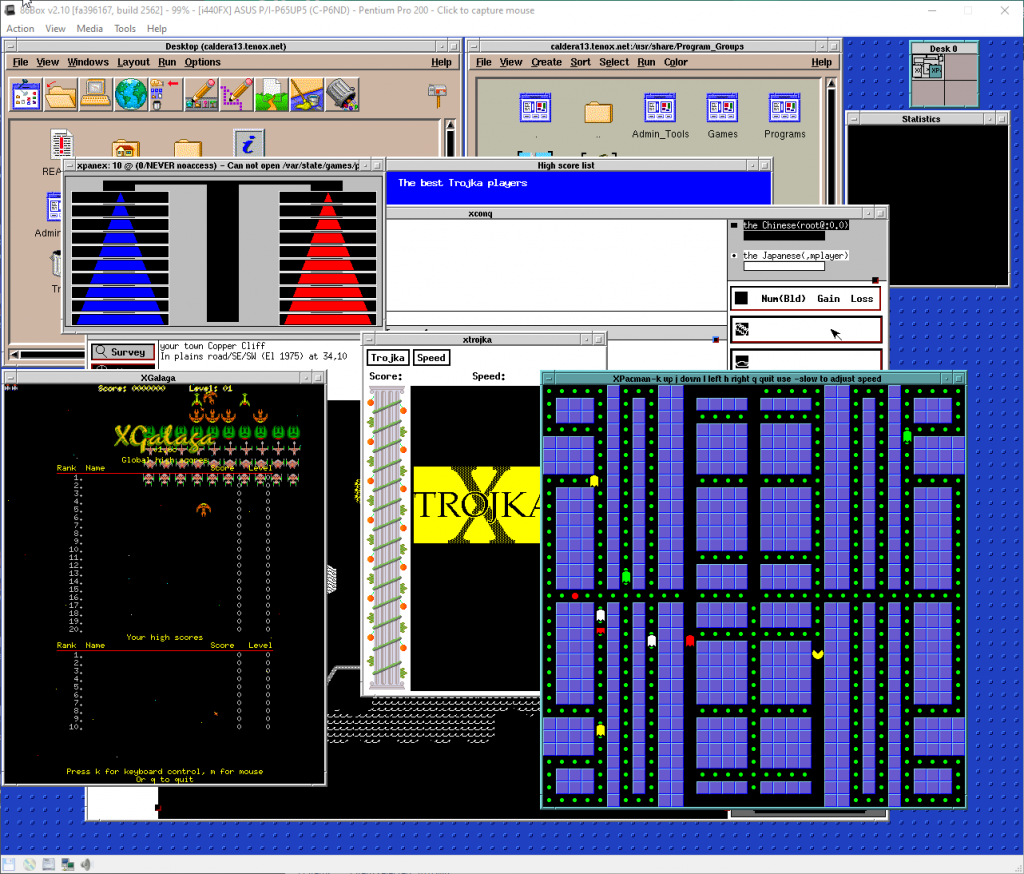
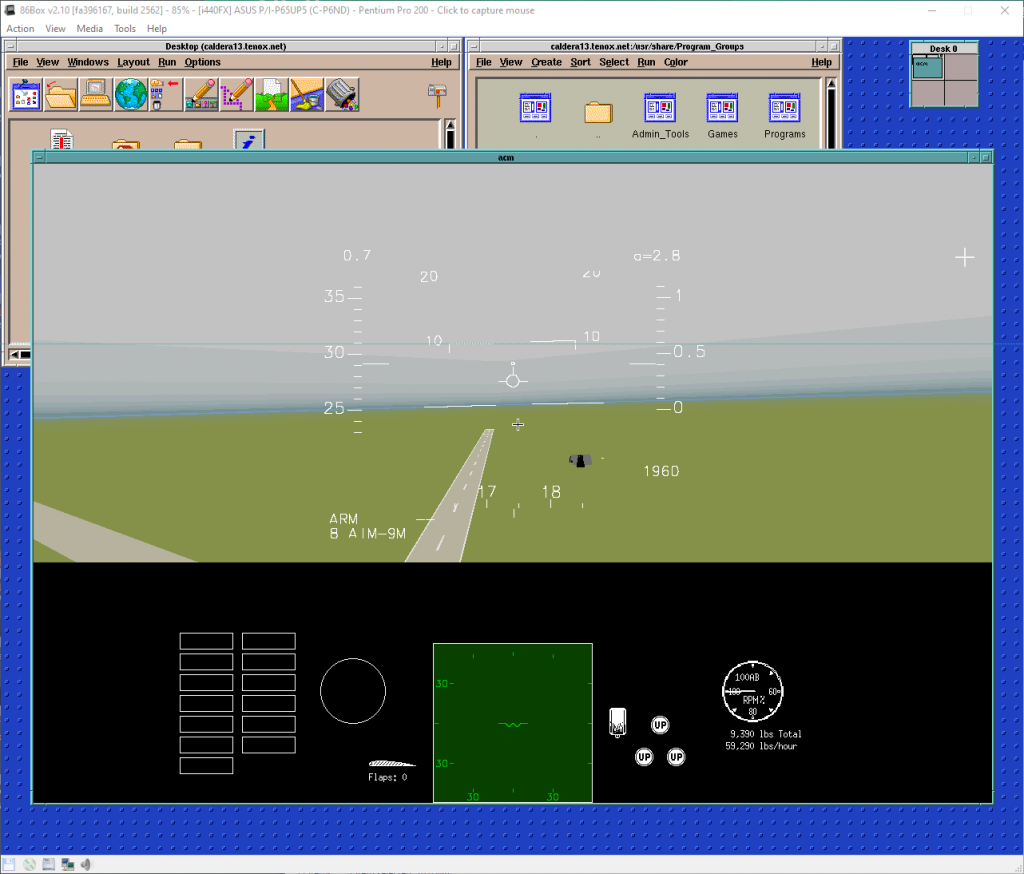
A pre-installed Caldera 1.3 for 86box is available here. Login with root/root.

Also check out WABI running on Caldera.

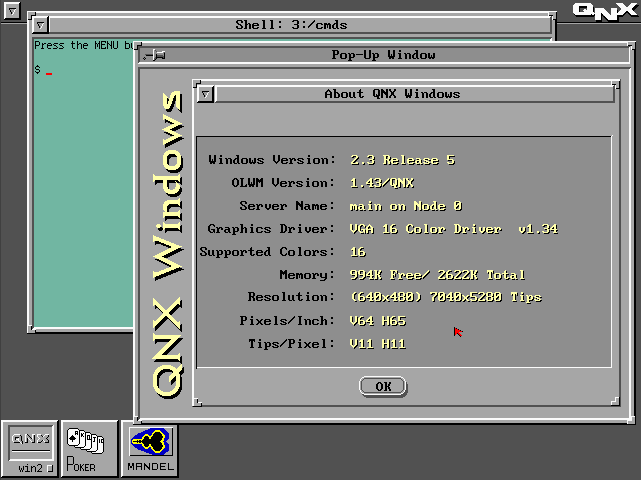
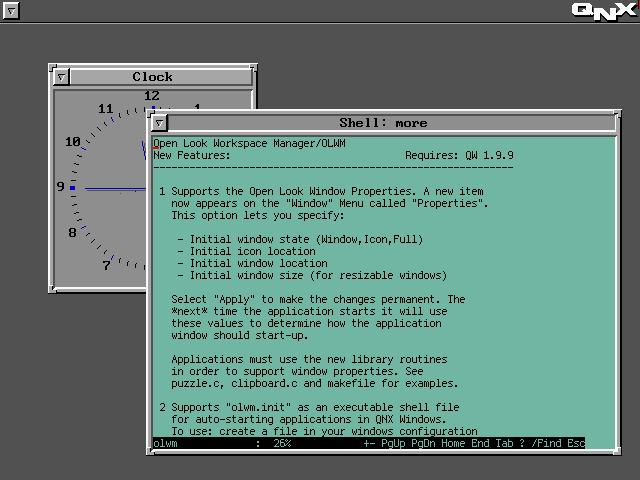
QNX Windows – First Look

qnx-windows2

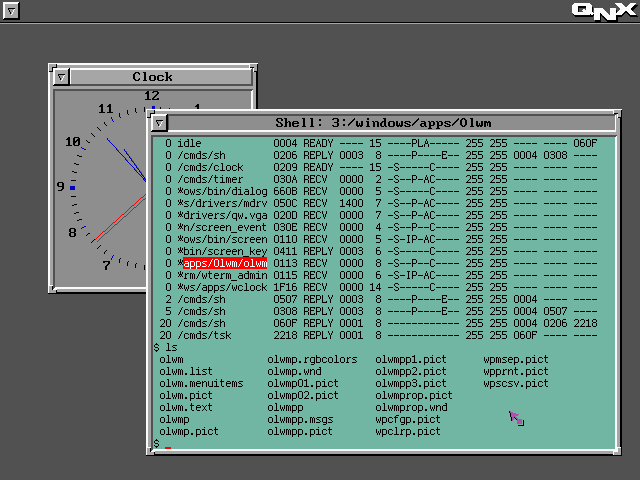
OLWM info:

qnx-olwm1

qnx-olwm2

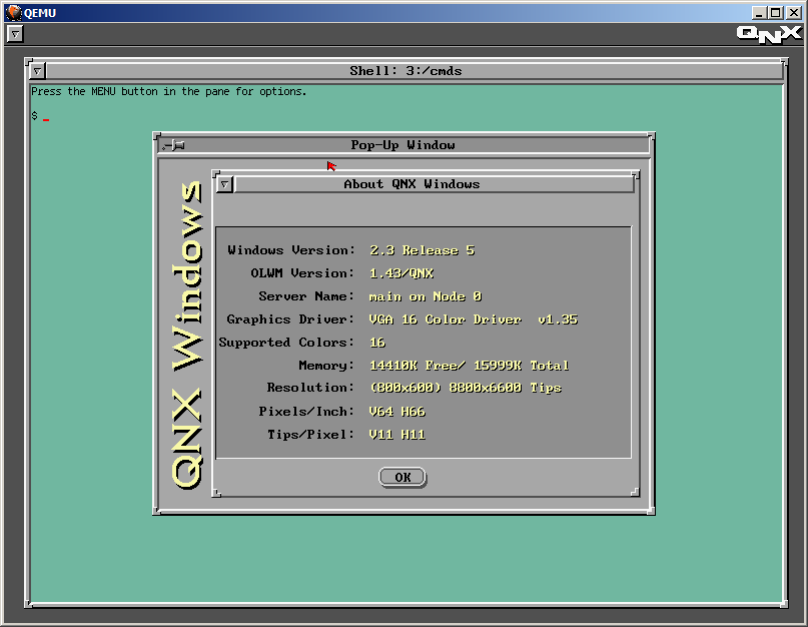
Also managed to get 800×600 resolution under QEMU. To do so run with -vga cirrus and run the QW video driver with qw.vga_bios video7,1
800x600-2

Unfortunately the mouse doesn’t work under QEMU. Either in PS/2 or serial mode the cursor randomly jumps around with a tendency to hang around top line of the screen.

This is running under QNX 2.2. All files are here: http://osarchive.org/os/qnx/qnx2

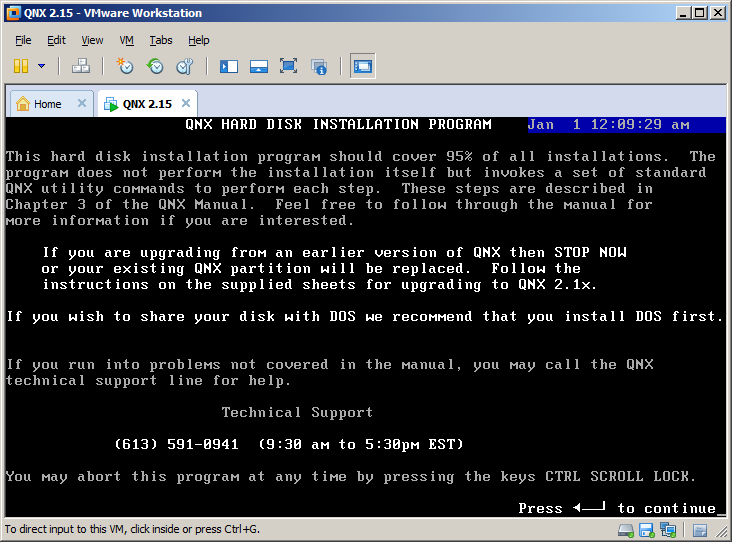
Virtualizing QNX 2.15

(Note this is a guest post by Antoni Sawicki aka Tenox)

Enter 1988… around that time Microsoft just released MS-DOS 4.01 and IBM shipped OS/2 1.1. Compare to the other two, this QNX was years ahead of its time. Pretty much on every aspect. Now, some 25 years later QNX2 is still found running industrial machinery, clean rooms, avionics and military hardware. Some people report systems up and running non-stop for 15 years and longer!

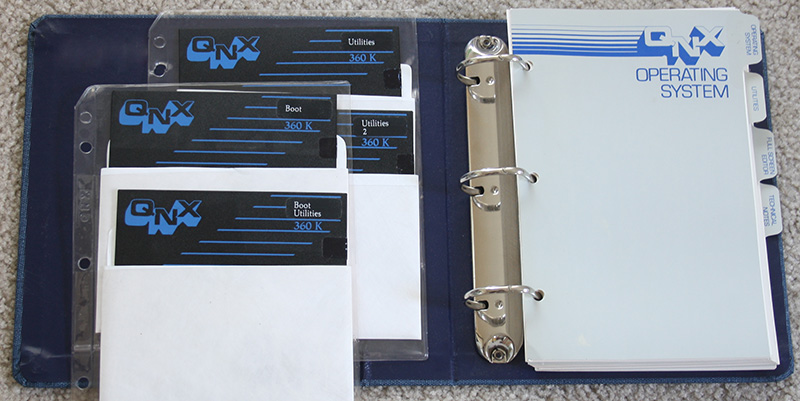
It took me similar amount of time to acquire usable media set. QNX is an embedded system and never really seen life on a desktop machine, so finding these floppies was rather hard and expensive adventure. Fortunately I can finally let it see some daylight. Let’s examine how the system will install on a modern hardware under VMware Workstation.

qnx2-disks

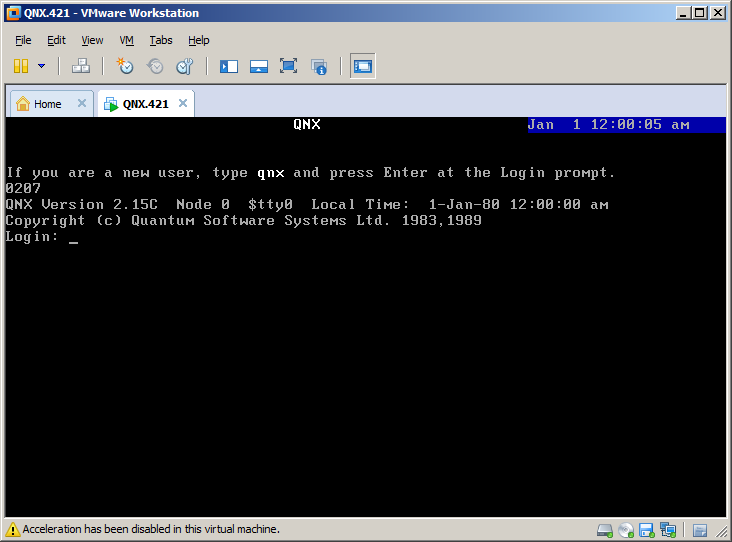
The install is rather straight forward. Floppy boot comes with a login prompt.

qnx2-vmware-floppyboot

After you log in as qnx you need to swap the floppy disk to Boot Utilities and run install. The script guides you through setup steps.

qnx2-vmware-install

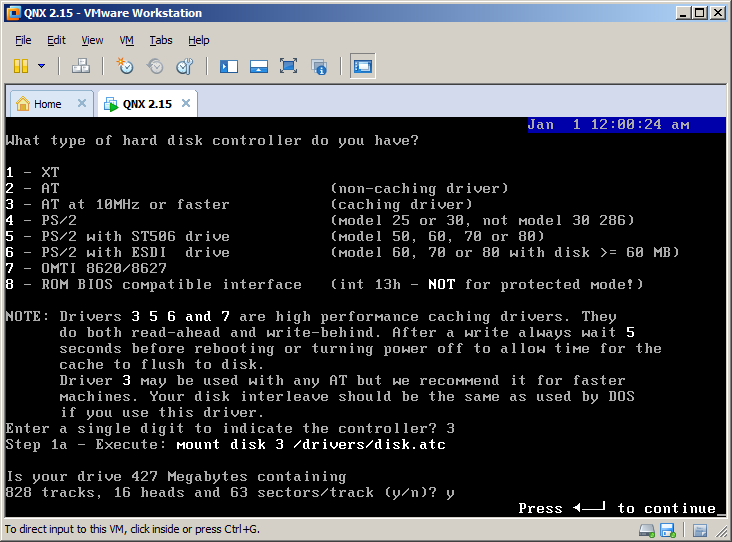
First you need to select the disk controller. For compatibility mode QNX 2 provides access via int 13 (real mode).

qnx2-vmware-disk
qnx2-vmware-part

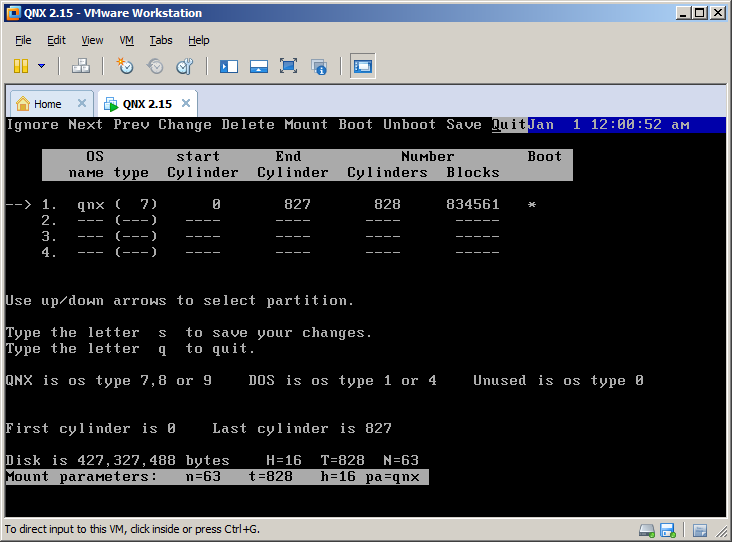
Then you partition the disk. QNX partition type is either 7, 8 or 9. You will be asked to mark it bootable later on.

qnx2-vmware-kernel

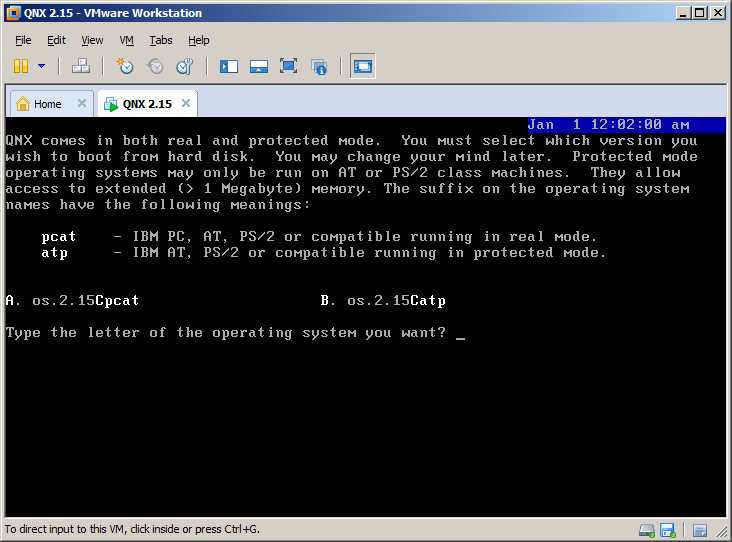
Then you have to select the kernel. QNX can operate in real mode and protected mode on AT286. 

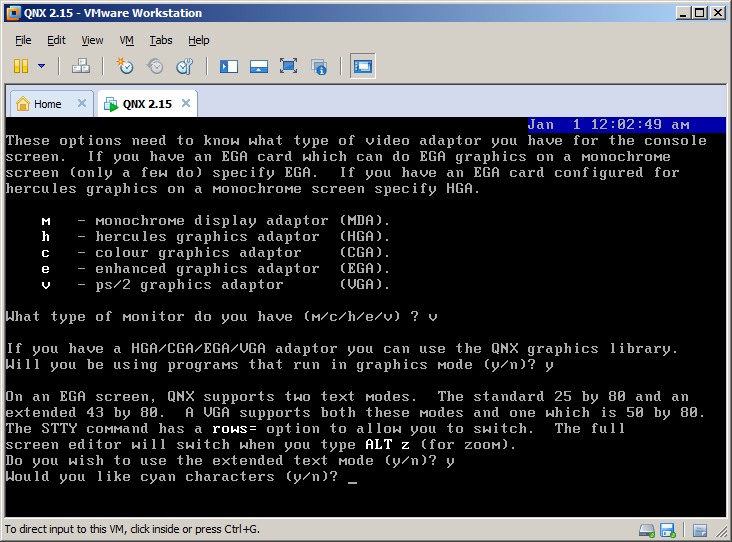
The install script copies all the data from distribution floppy disks, asks about boot loader and active partition. Finally you get to choose some video options.

qnx2-vmware-video

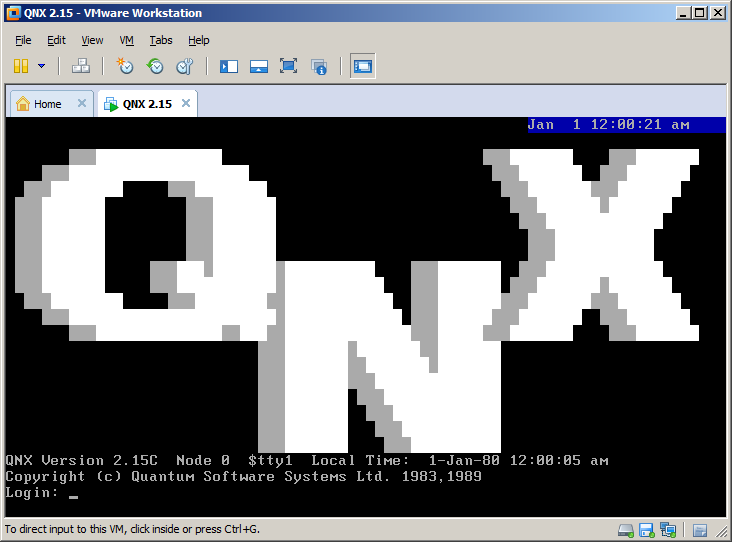
The system also asks about networking options. Unfortunately it only works with custom Arcnet cards so I skipped this. Once complete you are asked to remove the boot floppy disk and reboot the machine. This is what comes up after first hard disk boot.

qnx2-vmware-firstboot

I guess what is in the system will be the a topic of another post.

QNX 2.x files are here, a ready to run VMware image is here. Virtual Box here.

Updates:
You may also be be interested in QNX Windows and Fun with QNX 4 Networking posts.

Solaris 9 x86 on VMware

(Note this is a guest post from Tenox)

Despite having an unofficial and experimental support for some time now I was not able to install Solaris 9 on VMware Workstation. I have recently upgraded to Workstation 9.0 and Lorenzo Gatti send me a link to complete Solaris 9 x86 u5 media kit so I had an excuse to retry.

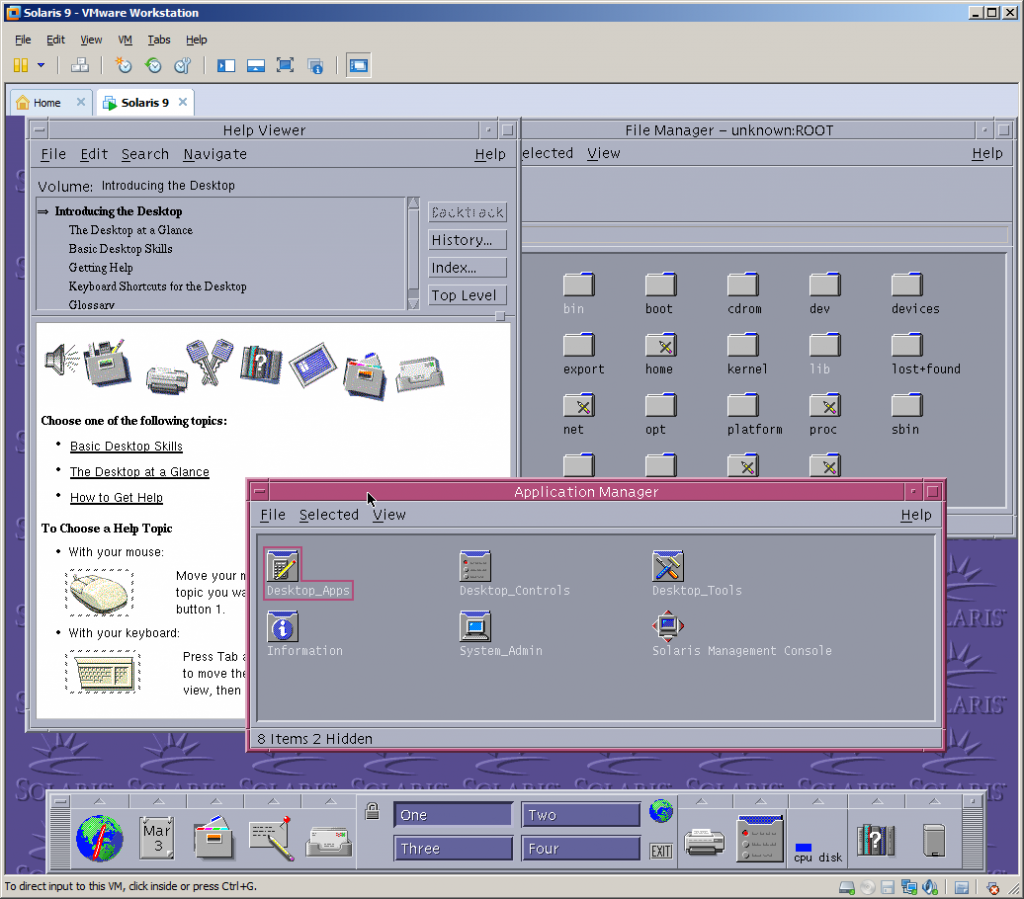
After several tries I have determined that the easiest route is to boot and install from cd1 instead of the install disk. Also make sure to select VESA driver instead of standard VGA to get a decent resolution. VMware tools won’t install but it’s not a big deal. Apart from that everything else including networking works out of the box.

solaris9vm

Just as a final note Solaris 9 is now 10 years old, time flies fast!

Update:
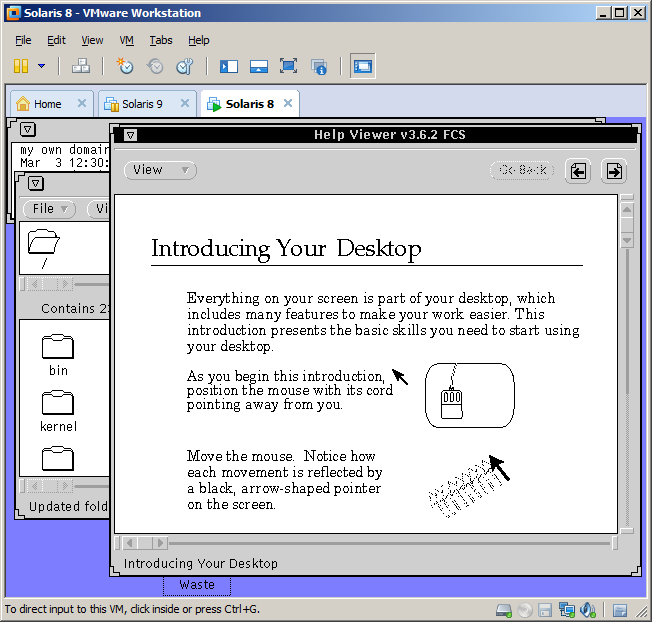
I have also installed Solaris 8 in a similar manner. Unfortunately it doesn’t have VESA drivers so all I could get is 640×480.

solaris8vm

Virtual Acorn – Fun with Virtualized RISC OS

(this is a guest post from Antoni Sawicki aka Tenox)

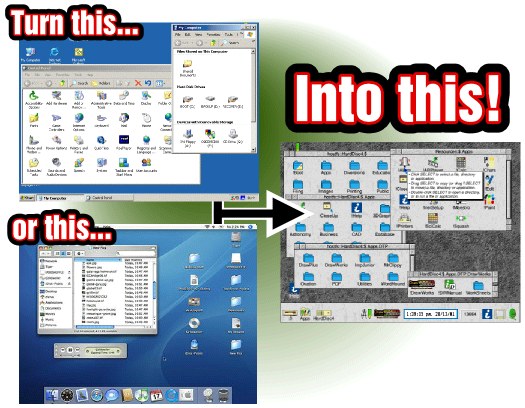
VirtualRPC-SA let’s you run virtual RISC OS on a Windows or Mac OS X host similarly to VMware, VirtualBox or Qemu. The company page features this picture:

acorn1… in reality you you probably don’t want to do that!

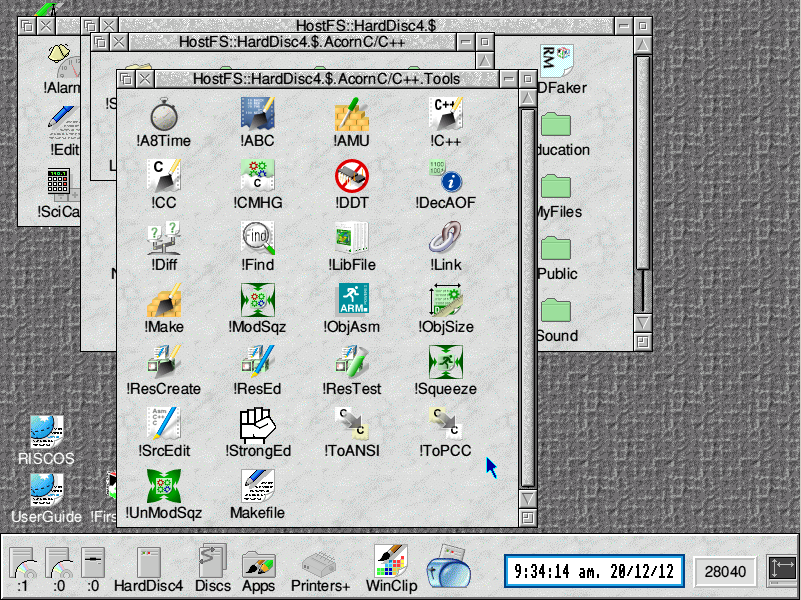
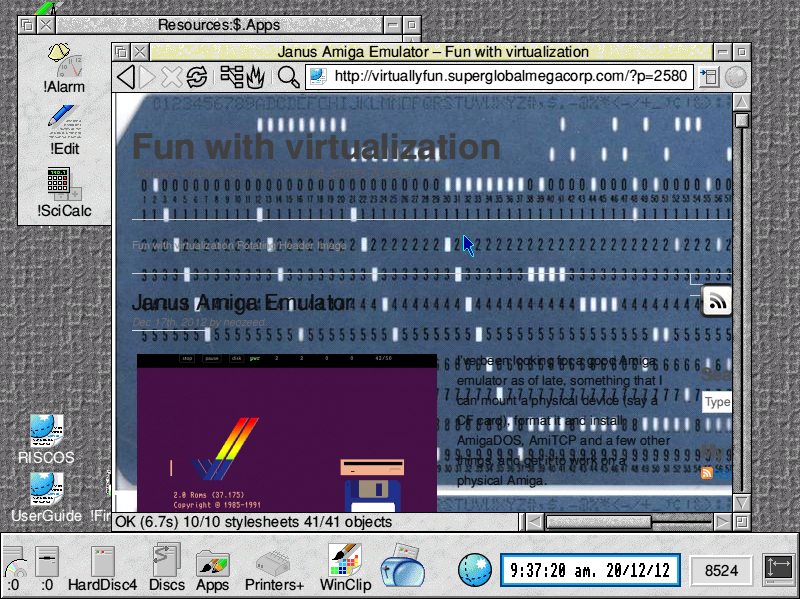
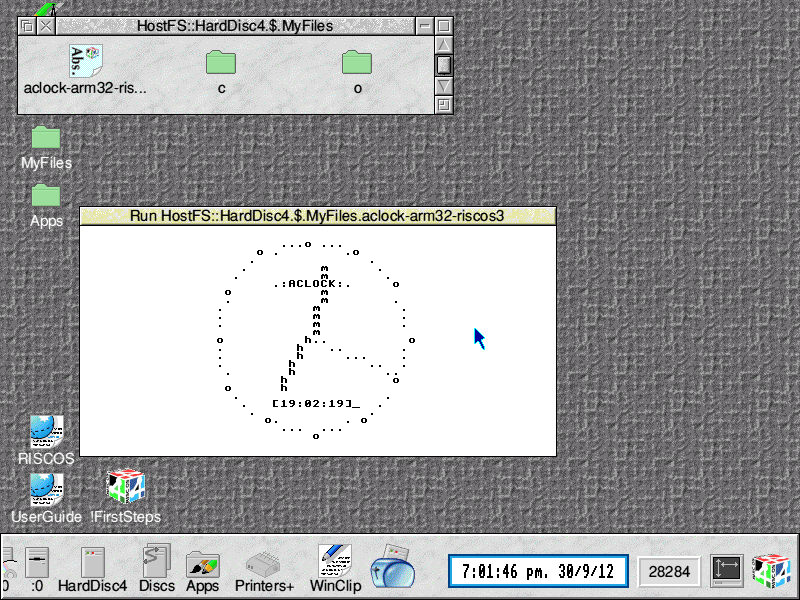
As of time of writing of this article there is a sale going on! You can buy VirtualRPC-SA for only about $100. My primary reason for getting it was porting aclock to RISC OS. In addition to the VM I also purchased the original compiler and developer tools (DDE). It allows to target the funky 26 bit CPU. Otherwise GCC is available for free.acorn-cVirtualRPC comes “pre-installed” with the RISC OS in a virtual ROM image. The OS at first glance is quite nice looking and seems fun in to explore and play around. You can browse the web and use a bunch of weird applications from alien world. You can find a lot of software apps here and here and here. However I personally could not use this for anything more serious.

riscos-webPorting of aclock to RISC OS was by far one of most difficult ones if not the most difficult. To display text on the screen you need to use system calls directly, for which you use a special function called _swi() or _swix(). There is no concept of sleep() so I had to improvise an empty loop. Fortunately there are screen codes that allow to position the cursor, clear screen etc.

void cls(void) {
     (void) _swix(OS_WriteI + 12, 0);
}

The result is far from pretty but it will do for v1:

aclock-riscosSome funnies, which actually weren’t that funny at the time:

A directory separator in RISC OS is “.” (yes a dot) for example: root.folder.subfolder.file. The C compiler expects .c as a file extension as it would on any normal OS. The problem is that naming file aclock.c would make a directory aclock with c file in it. Fortunately, or maybe not, extensions in RISC OS are prefixing, not postfixing a file. So you have c.aclock or o.aclock. Except, as previously explained c and o are directories. You can see c and o folders in the screenshot above. Are you confused yet?

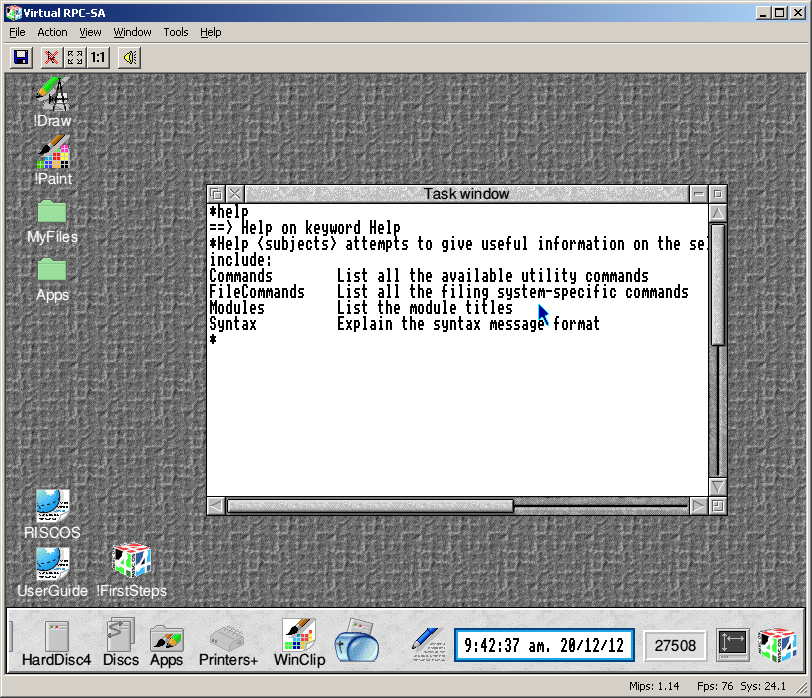
Interestingly RISC OS does have concept of a command line interface and a terminal window. However try to figure out the commands!

  • dir – change directory aka “cd” on the planet Earth
  • cat – list directory aka “ls” or “dir” in your normal OS

riscos-cmdThere is more, so I encourage you to try yourself just for the fun!

Fun with QNX 4 Networking under VMware

(This is a guest post by Antoni Sawicki aka Tenox)

Over the years I have heard a lot of fairy tale stories about the awesome networking capabilities of QNX. There is this particular one about dragging windows across virtual desktop created out of multiple networked PCs. Unfortunately I’ve never got a chance to see it with my own eyes, so I finally decided to take things in to my own hands. I want to see it!

Interestingly QNX 4.25 released in 2011 includes VMware drivers, so the choice of virtualization engine was obvious. You can download QNX4 Product Suite 2011 here

I have created a standard 32bit virtual machine in VMware and booted with QNX4CD.110614.iso. The installation is straight forward, it detects VMware network and graphics cards with no problem. The setup will actually ask you for a QNX Node ID, this will be needed later to create the network. You can simply install few VMs with different Node ID at this point. I wanted to use linked clones so I opted Node ID 1 and changed that later. I’ve enabled to run Photon at boot and went with TCPIP v5.

For simplicity I’m going to run the nodes as DHCP clients. To enable that after first boot:

  • edit /etc/config/bin/tcpip.1 and add /usr/ucb/dhcp.client en1 after ifconfig, before inetd,
    remove node$NODE from the ifconfig en1 line.
  • add /usr/ucb/hostname node$NODE.
  • edit /etc/config/sysinit.1 and remove extra parameters from line with /bin/Net.ether2100 so it only has the & sign.
  • reboot, check the nameserver in /etc/resolv.conf,

qnx1

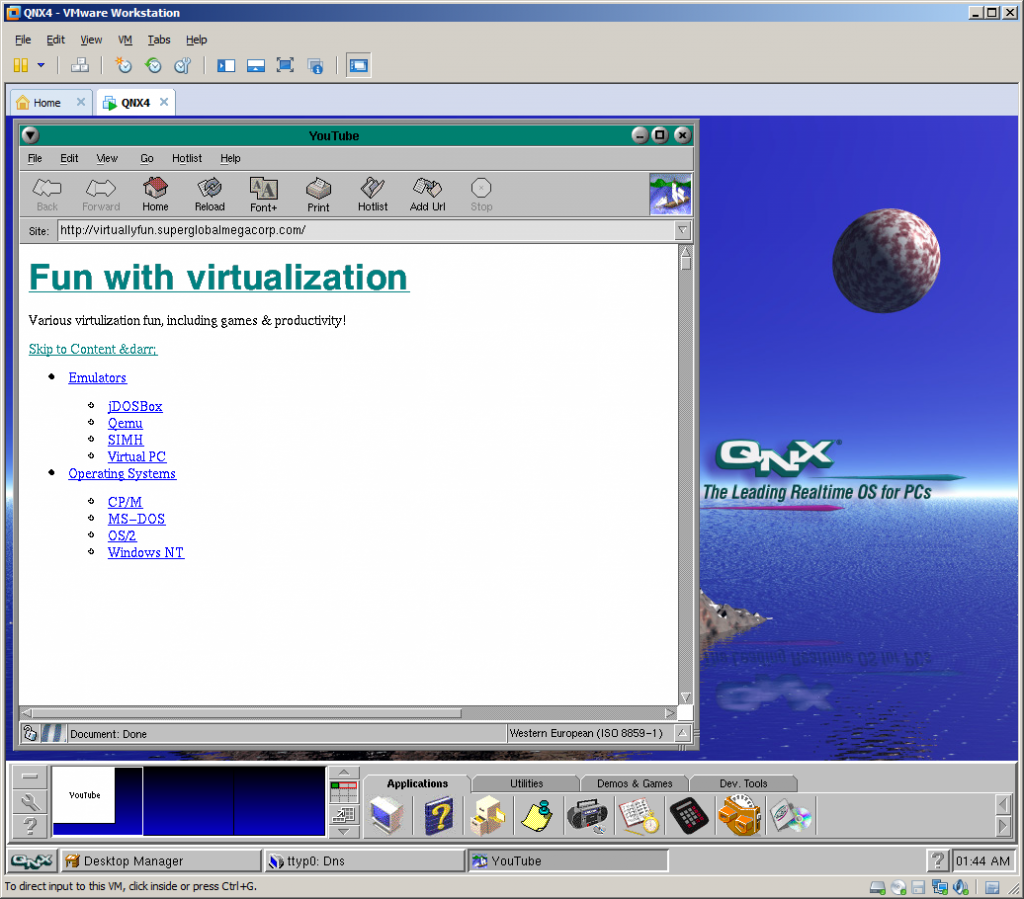
After that I was able to browse web with Voyager. The little OS is pretty fantastic, but as I’m interested in dragging windows, and the OS is covered nicely elsewhere I’m not going to go through all cool features of a single node. Let’s build a network!

I have shut down the virtual machine and created two linked clones. Powered them up. The two clones were able to ping each other over the virtual LAN. I’ve grabbed MAC addresses of both nodes and created a file /etc/config/netmap with entries for both nodes where one is marked with ID 1 and one with ID 2. The file should be identical on both nodes. You can use telnet or ftp to copy it across. Use netmap -f to reload the file.

In the next step I went to work #2 clone exclusively as I needed to change Node ID. Briefly following steps are required:

  • cp /.boot /.altboot
  • cd /boot
  • cp build/install.1 build/install.2
  • edit build/install.2 and change $ /boot/sys/Proc32 -l 1 to -l 2 – this is the Node ID.
  • make b=install.2
  • cp images/install.2 /.boot
  • cp /etc/config/sysinit.1 /etc/config/sysinit.2
  • cd /etc/config/bin
  • copy each of .1 files to .2 as above
  • shutdown -f

The configuration steps are documented in more details in this howto.

Also going back to the .iso install you can just specify the Node ID during setup. Much easier.

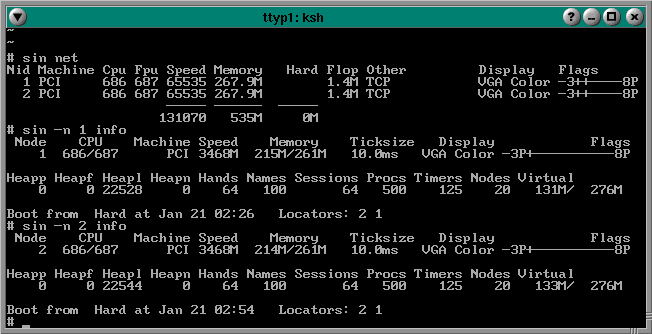
Type sin net to display list of nodes and their capabilities. If you issue sin info command you should see Node = 2. If you issue sin -n 1 info you should see Node 1 as the sin command was executed remotely on node 1.

qnx2

You can list remote file systems like this: ls //<nodeid>/ for example: ls //2/. You can execute remote commands using on -n <nodeid> command, for instance on -n 2 who. Impressive, but still not what I wanted to see.

Let’s have look have look at a feature called Jump Gate. Sounds like Stargate and actually works pretty similar. Jump Gates, Ditto and other features are documented pretty well here.

Note the videos are best viewed in 1080p or “original” quality, full screen.

Impressive, but still not what I wanted to see…

This document sheds a little bit of light how you can extend desktop using phditto. After some experimentation, assuming my screen resolution is 1024×768 I figured this, on node 2 run: phditto -n 1 -x 1024 -w 1024 -h 768 -k. The parameter -x is the horizontal screen extension at offset x, –k is kiosk mode aka full screen. You can enter and exit from kiosk by pressing Ctrl+Alt+K. Here are the results:

(Note that these are two separate VMs talking to each other over the network)

Now this is exactly what I wanted to see! Show me another OS that can do that… Note that not all of the nodes have to be QNX OS. You can extend display by using Phwindows for Microsoft Windows or X11 as well!

Update: 4 node network!

Virtual Floppy Drive – Part III – Fun with HxC

(note this is a guest post from Tenox)

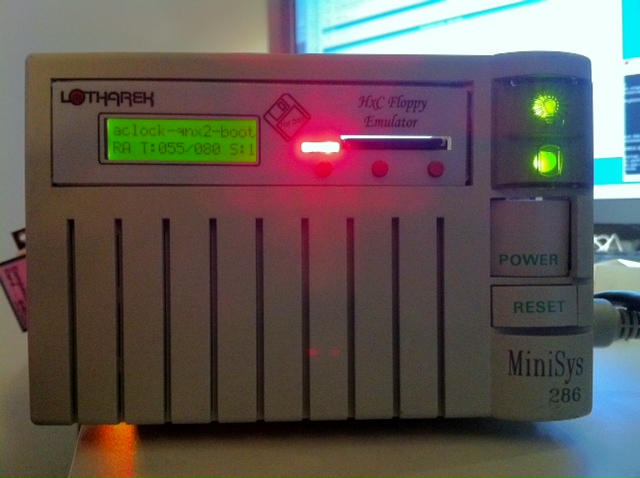
As promised in a post about Floppy Disk Emulators, here is a review of HxC Floppy Disk Emulator. I ordered it from Lotharek via eBay. Initially stuck in Polish post made it just before the weekend! This made my Christmas gift as I had a lot of fun playing with it. The unit comes with two front panel stickers, one grey and one black to match your equipment type. Quite nice touch. I choose grey as most of my units are of this color. I have to say the LCD screen makes a modern touch to an old 286 machine!

hxc286

286 machine with HxC installed in 3.5″ floppy bay.

Initially I have stumbled upon a lot of issues. Floppy disks are not easy as it seems. No wonder I had so much trouble with the real ones. I spent a lot of time experimenting with ID jumpers and correct BIOS settings. The unit only worked on ID3A but I can probably attribute it to a weird machine. Then I had problems converting my raw images to HFE format. The main project developer helped me a lot on their forums.

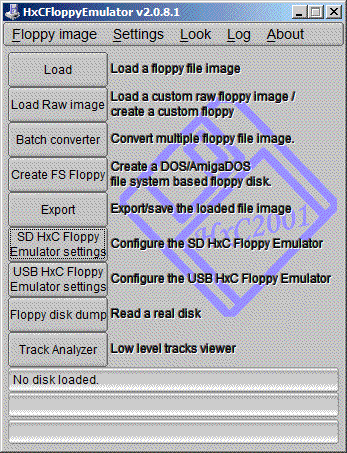
HxC Software. The latest version includes Track Analyzer!

HxC Software used to load and convert disk images. The latest beta version includes a Track Analyzer!

Once I got a grip how to do it semi correctly I was able to torture the machine with bunch of operating systems it has never seen before.  Let’s go directly to the screenshots!


QNX 2 worked just fine!

QNX 2 worked just fine!

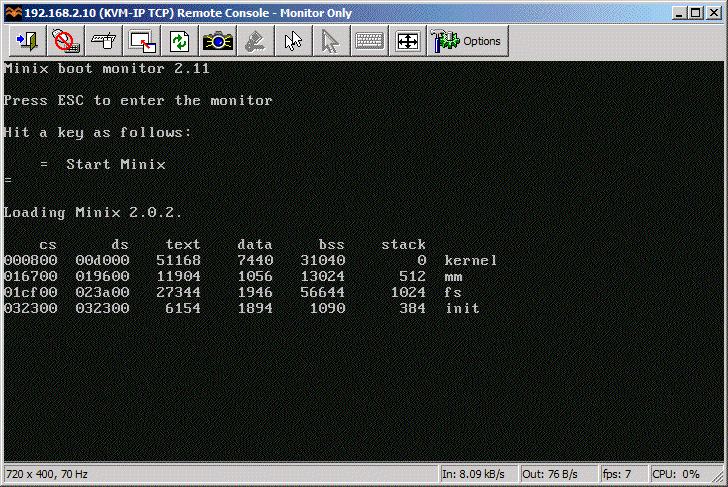
Minix 2.0 also loaded without problems.

Minix 2.0 also loaded without problems.

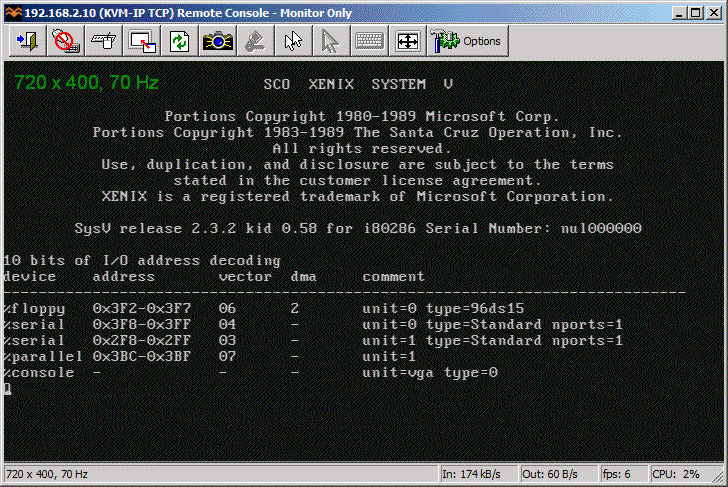
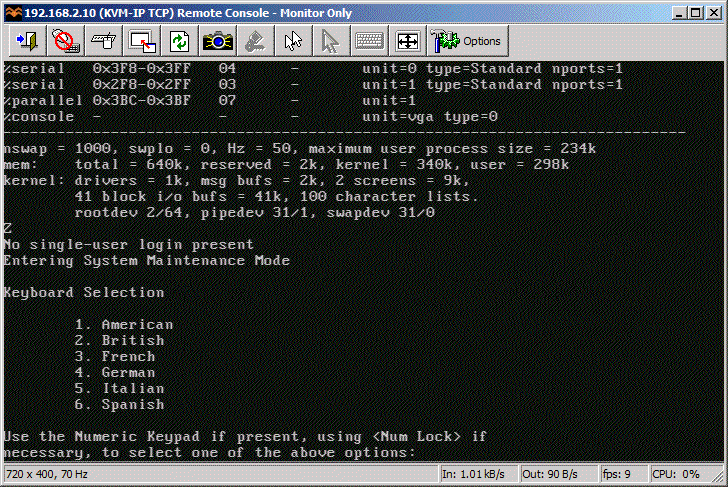
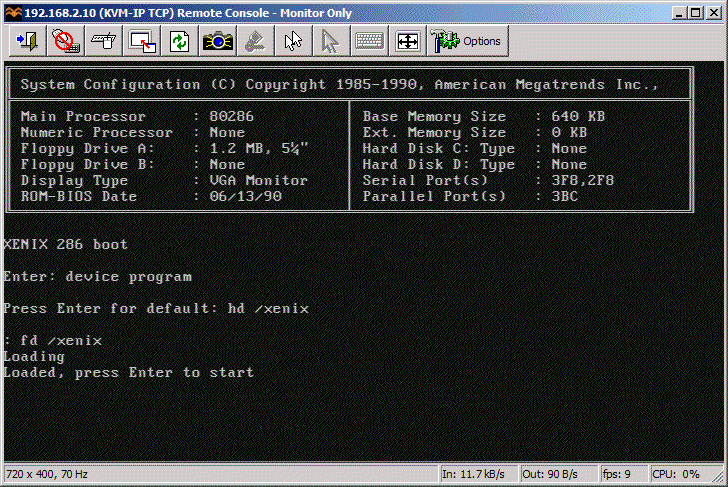
So did Xenix 2.3

So did SCO Xenix 2.3

Xenix 2.3 boot complete.

SCO Xenix 2.3 boot complete.

Microsoft Xenix also saw daylight.

Microsoft Xenix also briefly saw daylight.

Xenix switched to CGA mode and died.

MS Xenix switched to CGA mode and died.

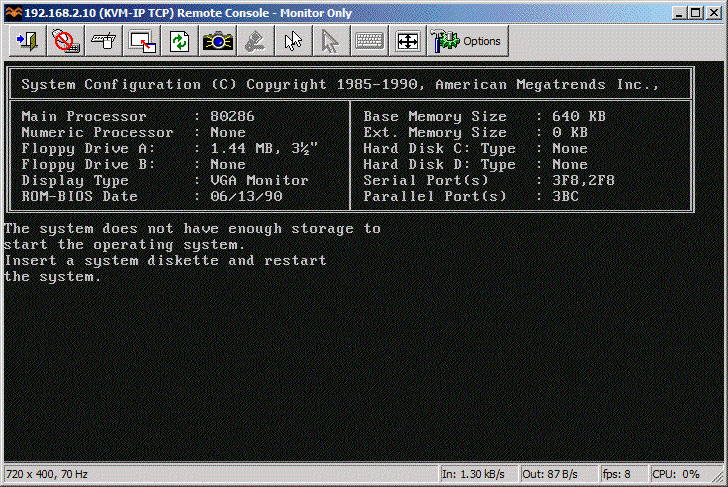
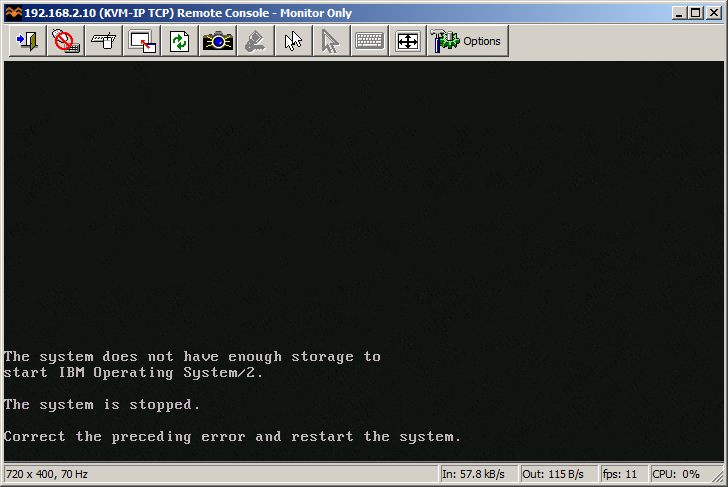
OS/2 1.3 did boot but my machine did not have enough memory to continue.

Guess which operating system is this?

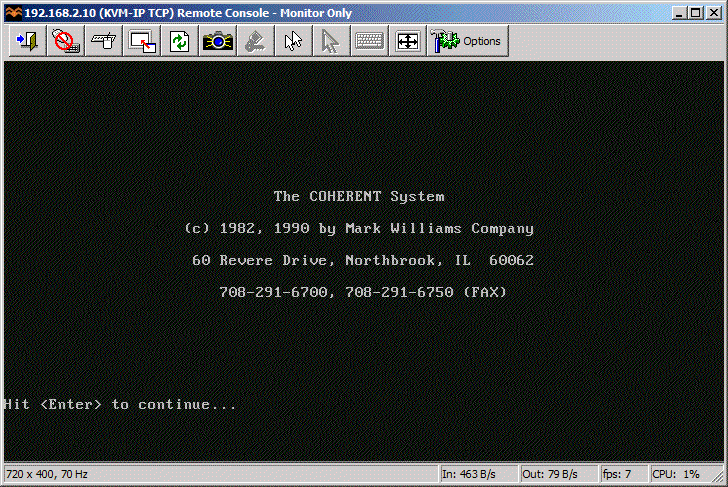
Coherent 3.10 boots correctly as well.

Coherent 3.10 boots correctly as well.

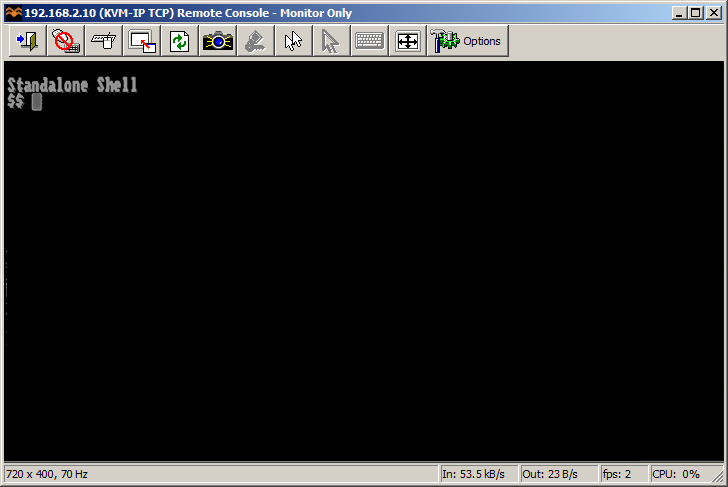
PC/IX booted to Stand Alone Shell. I don't know what to do next.

PC/IX booted to Stand Alone Shell.

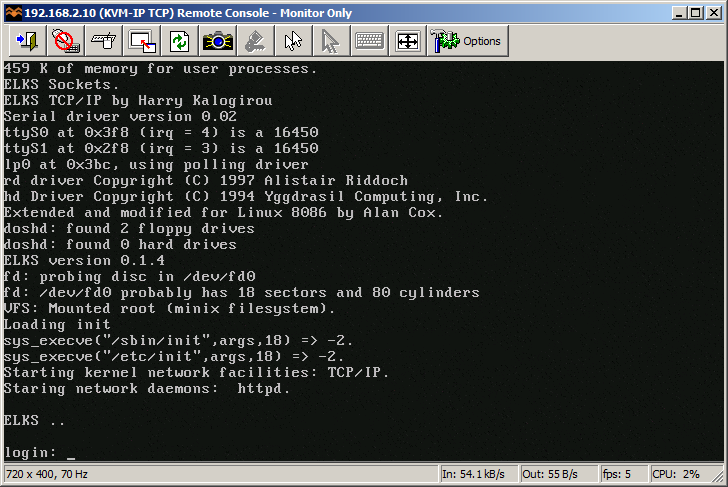
ELKS

ELKS

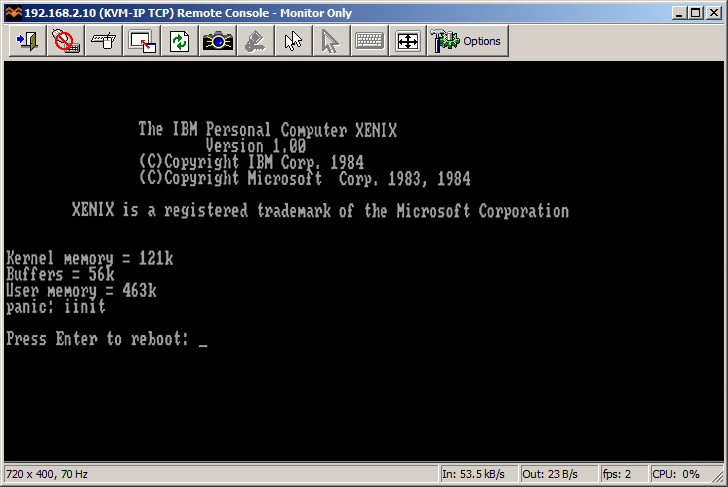
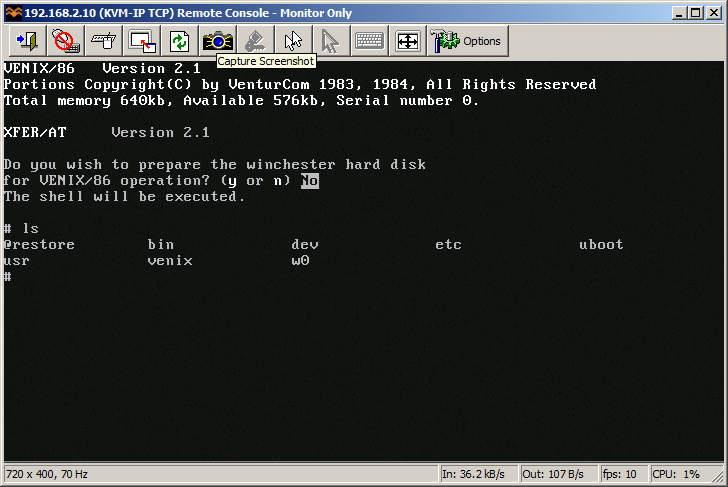
VenturCom Venix/x86

VenturCom VENIX/86

os2-2

I guess 640 KB is NOT enough for everybody.


This pretty much concludes operating systems for 286. If you have more let me know! I will try 386/486 operating systems in a separate post.

So how does HxC works for an end user? You store floppy disk images in a special format called HFE as files on an SD card. HFE files can be made by a virtual floppy disk emulator + rawrite, reading and imaging in an existing floppy, or converting existing floppy images. The list of supported disk images is quite impressive. The conversion however sometimes fails. It detects a wrong format and you have to change file extension or it completely screws things up making 64 “sides” to a floppy disk. Most if not all these have been fixed in the latest beta version of software, but you need to know about it.

When you insert the SD card to the emulator it will read the file list and allow you to switch between different floppy drives on the fly. Interestingly you can mix and match different floppy disk types on the same SD card. So you can have bunch of 3.5″ or 5.25″ disk in different files. Each HFE file contains specific settings for the emulator including the floppy interface type. The operating systems I’ve tried above ranged from 360k, 720k, 1.2MB and 1.44MB images stored on the same SD card. However changing floppy disk type in the BIOS was necessary for the images of different format to load correctly.

One extremely interesting feature is a host control software, that let’s you manage the floppy disks from inside the machine where HxC is attached. Sort of like VMware tools. The software is available for Atari, Amiga and Amstrad CPC. Unfortunately not for PC so I could not test at this time.

Because of the pain with formats, errors in conversions and confusion about some settings I can only give it 8 out of 10 for ease of use. So let’s conclude:

  • Packaging: excellent
  • Quality of hardware: excellent, LCD panel with menu is invaluable!
  • Software: OK with improving tendency in the beta version
  • User manual: OK but could be better
  • Compatibility: excellent! (see above)
  • Ease of use: excellent once you get grip on things
  • Value for money: excellent!
  • Total: very very good!

If you have a large collection of floppy disk images or you maintain a bunch of old machines that rely on floppy disks to work – get HxC quickly. It may save your life.

Updates: Venix/86 and ELKS, Tried OS/2 V1.0 and 640 KB RAM was not enough to boot.

Still missing: Microport SYSV/AT

Other floppy disk emulators.

Review of Gotek emulator.


Booting from USB in VMware Workstation

(note this is a guest post from Tenox)

Jason’s note on hybrid bootable ISO reminded me of a recent discovery. I have a bootable USB pen drive that I wanted to boot in VMware Workstation. Normally impossible, but there always is a work around! Turns out the problem is with the VMware built-in BIOS and more specifically lack of USB boot support. All you have to do is get a bootable media, floppy or CDROM with a boot loader that can redirect you to the USB device. I’m using Plop. Important thing to remember is to connect the USB pen drive to the virtual machine in a pass through mode. Also it’s very very slow.

Wyse Unix Lives Again! (sort of)

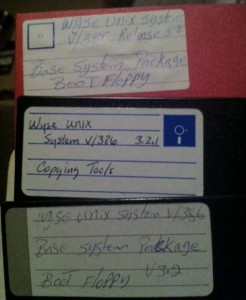
I was waiting for this for a long time. Recently I came in to possession of a box of 5.25″ floppy disks, among them following find:

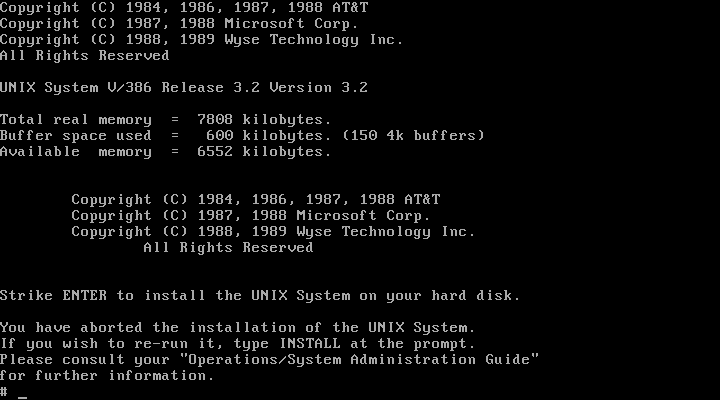
Thanks to efforts of Al Kossow of bitsavers.org and Michal Necasek of OS/2 Museum we got the system to boot on VirtualBox!

Unfortunately we are missing the rest of the system which was distributed either on 15 floppy disks or a tape. If anyone has it, please let me know…

Little bits of information I have found on the web about Wyse Unix:

Interestingly Wyse Unix is a supported os emulation for iBCS.

Update: A full install tape has been found and the system has been fully installed