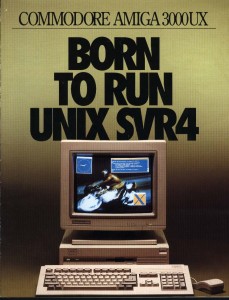
AMIX Ad
Back in 1990 Commodore took the Amiga in a new direction with it’s new Amiga 3000, by commissioning a port of A&T SYSV Unix to the Amiga. Taking advantage of the 3000’s 68030 CPU and 68881 Math coprocessor, along with its integrated SCSI controller. It certainly was the hallmark of typical UNIX machines of the time.
When originally announced there was some big interest in the platform by SUN, as their original SUN-1, SUN-2 & SUN-3 lines of workstations were all 68000 based machines, and being able to rebrand a mass produced Commodore model would have been a good thing, however the deal ultimately fell through.  The machine would have been the Amiga 3500, which later became the Amiga 3000T.
Another thing to keep in mind is that SUN’s SYSV (Solaris) was targeted to the SPARC processor, and it is unlikely that they would benefit from selling a 68030 based machine in 1991.
Typical of the time, AMIX installs from a set of boot floppies, and then pulls the rest of the installation from a tape drive, such as the A3070.
AMIX was released at a time when the UNIX world was rapidly moving to RISC processors, SUN had their SPARC, SGI had their MIPS, IBM and their POWER, Motorola built UNIX machines around their 88000 RISC processor, NeXT was also going to move to the 88000 until they gave up making their own hardware and shifted to a software company. Â So who would want a then dated 68030 based machine when the industry had made their first steps into the world of RISC computing.
So how does it measure up?  Well it is SYSV, and if you’ve seen one, well honestly you’ve seen them all.  What is kind of neat is that AMIX includes OpenLook and a C compiler, which is kind of a rarity for the period.
Another flaw was that when the 68040 processor was released it’s MMU was incompatible with the 68030, and the VM subsystem for any UNIX would have to be rewritten. Â While NetBSD can run on both the 68030 and 68040, AMIX never was updated, and so it can only run on 68030 based machines.
AMIX never did get any critical traction, and slipped into oblivion with the death of Commodore.
Up until recently it was impossible to run AMIX in any emulator, but there has been a lot of work on the ARANYM and Pervious emulators which included doing 68030 MMU support for the possibility of running early versions of NeXTSTEP. Toni Wilen was able to adapt their work onto WinUAE and it is not possible to run AMIX.!
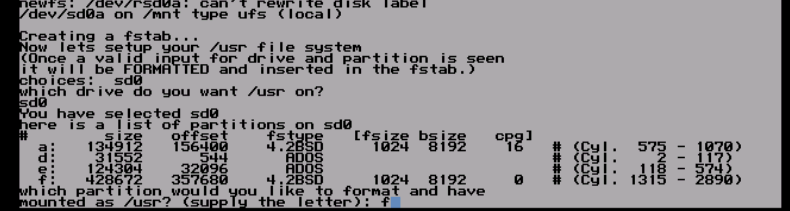
Reading through this thread,  I was able to put together the needed bits, and get it running under CrossOver, by using the pre-configured settings for WinUAE, and replacing the exe with the new beta exe, the supplied hard disk image from amigaunix.com and I was up and running in no time!  The only real change from the config was to change the SCSI ID of the hard disk from 0 to 6.
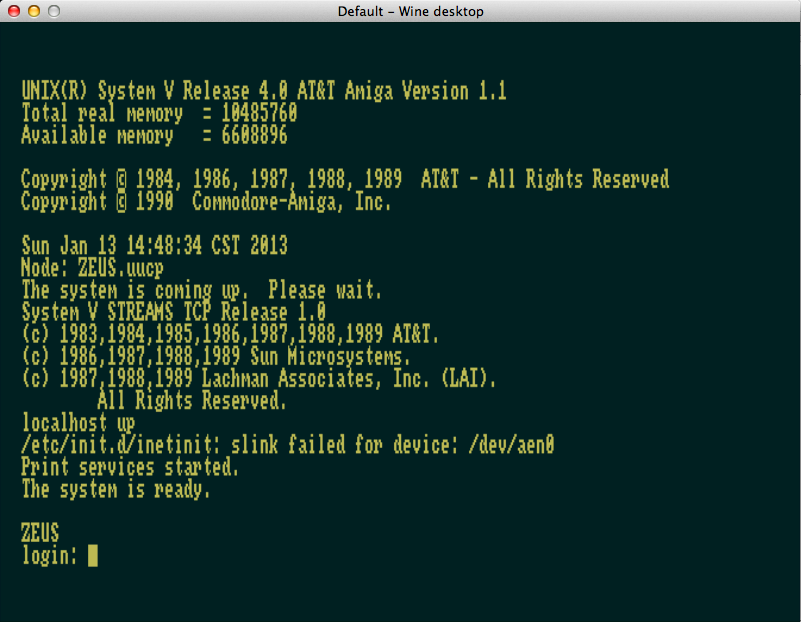
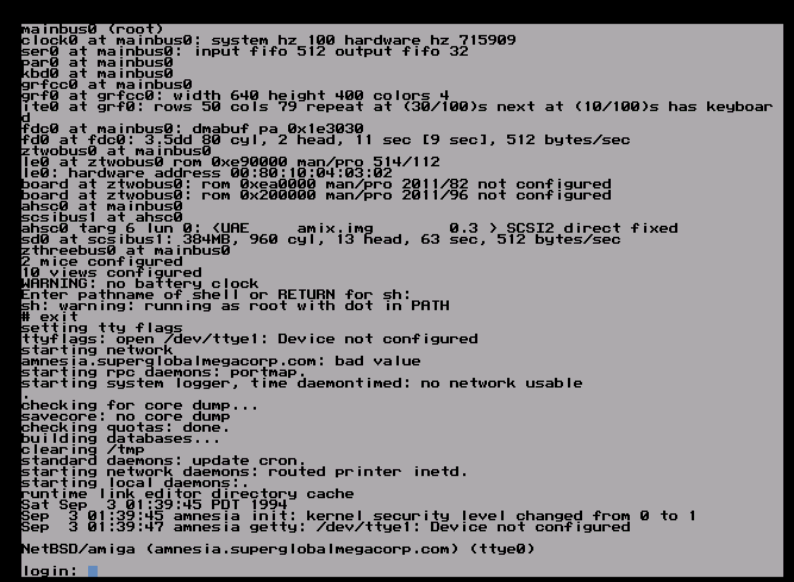
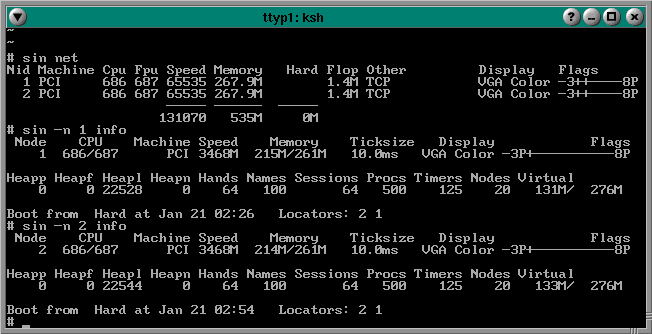
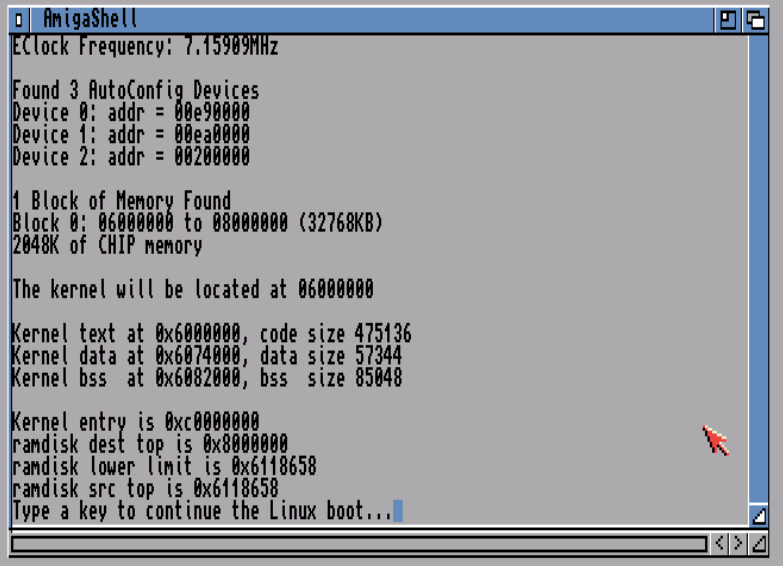
AMIX starting up on WinUAE
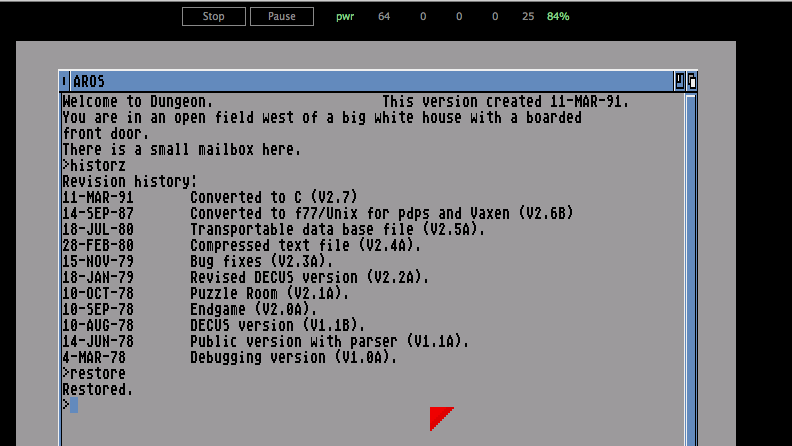
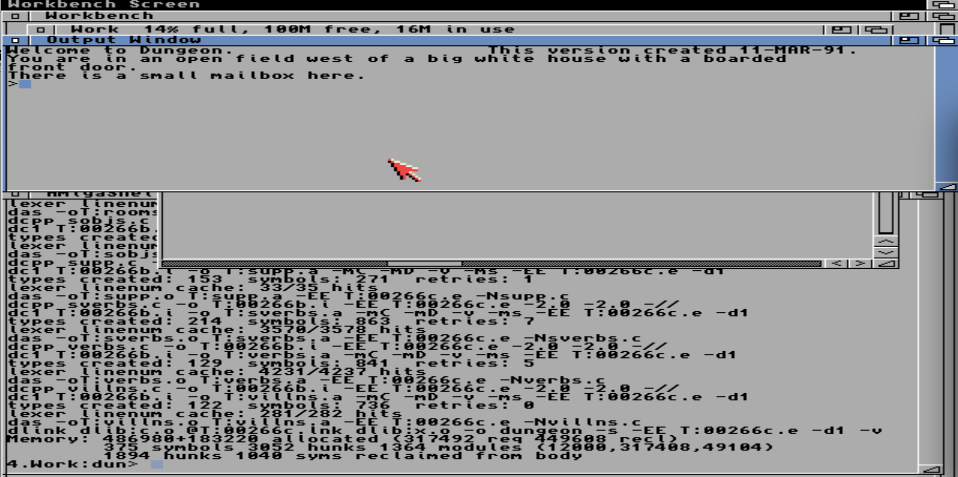
The default password is wasp. Â I thought it was kind of interesting that AMIX includes ‘dungeon’. Â really cool!
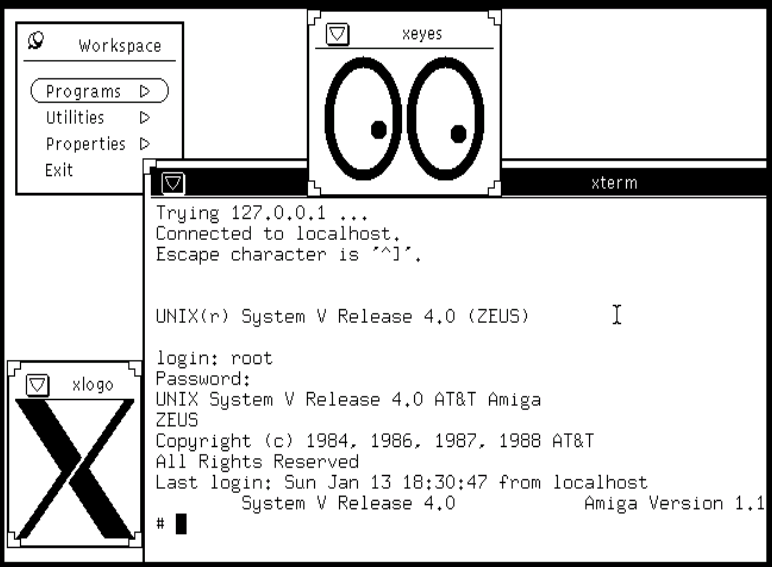
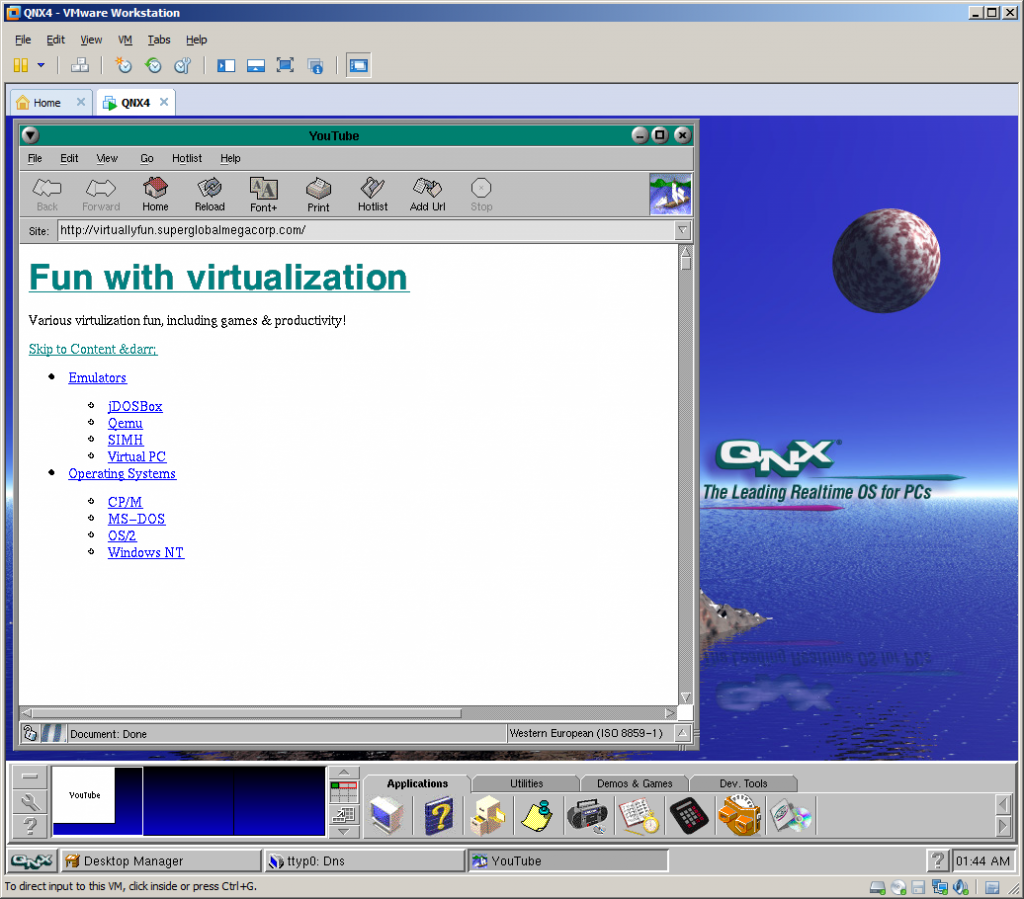
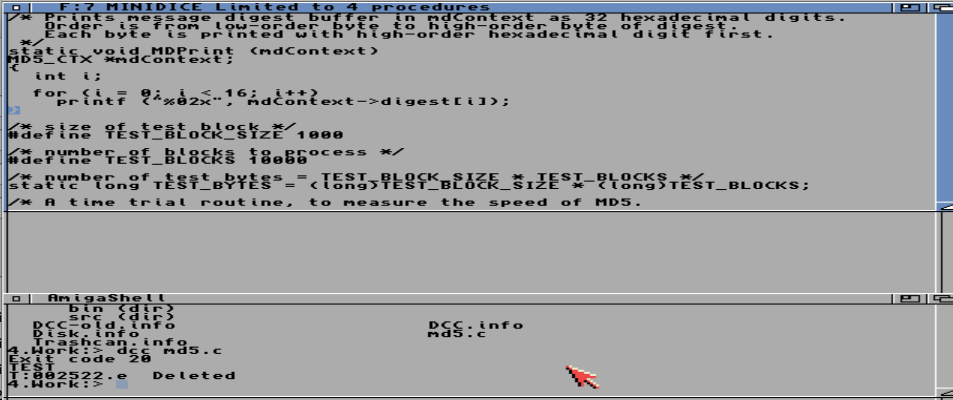
Open Look on AMIX
I am unsure of how to enable the high resolution graphics, but sadly the Amiga known for its multimedia capabilities, AMIX with stock graphics runs in monochrome. Â Such a major underwhelming thing.
Oh well, for anyone inclined you can now run AMIX, and enjoy another dead SYSV.