
Dont fly here if you can avoid it. expect lots of lines, lots of waiting and finding out it was the wrong line, or you didn’t need to wait heree. its super disorganised . dont come here.


Dont fly here if you can avoid it. expect lots of lines, lots of waiting and finding out it was the wrong line, or you didn’t need to wait heree. its super disorganised . dont come here.
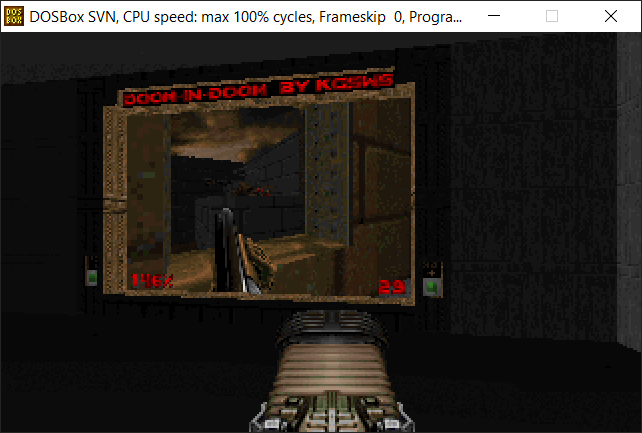
This is super cool, kgsws has managed to use some buffer overflows, and code injections to get DooM to load DooM, and display to a texture.
Watch the video for all the details!
You can download the source and assets from github
kgsws/doom-in-doom: Doom 2 code execution. With a Doom port. (github.com)
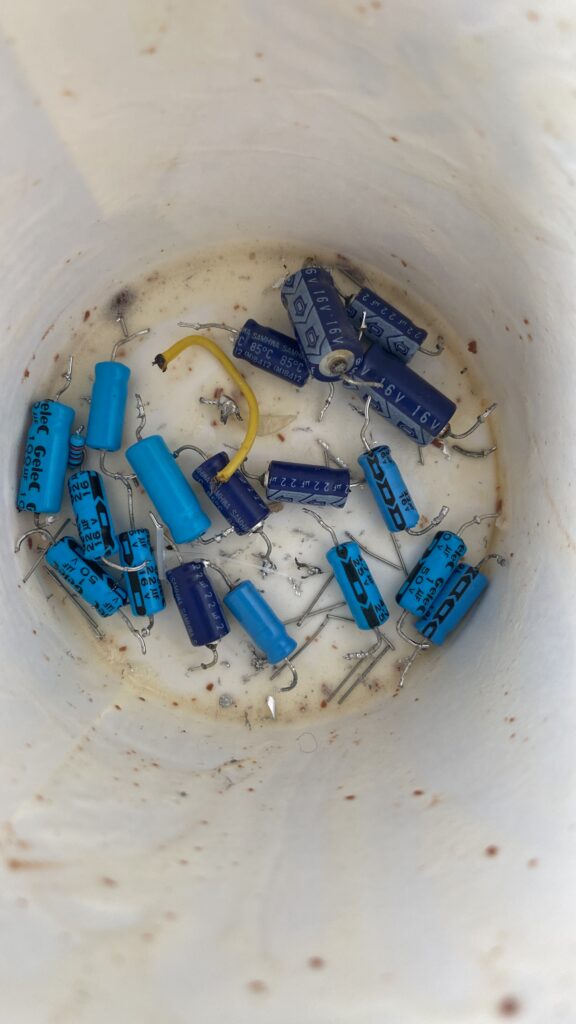
Shockingly no explosions, I was recapping stuff to notice that the PSU I’m using is sliced. Of course a 35 year old PSU runs better. I need some transistors, and maybe some diodes, but I don’t have good access to any at the moment. So weird how 80’s DRAM could need +12/+5/-5v to operate. Oh well.
Stiletto had dropped on by to share this amazing milestone!

Follow the twitter thread here!
For the longest time VOGONS was the place to get information about VDMsound the sound blaster emulator for NTVDM, allowing a far more rich gaming experience on NT, DOSBox, the ubiquitous PC/MS-DOS emulator that is simply everywhere, and of course where I was ‘discovered’ via ‘Quake1 with WATTCP built with DJGPP on DOSBox‘ some 10+ years ago!
So happy 20th to VOGONS!
It’s over online display here:
Jean-Christophe Collet made mention of it over on linked in of all places. Link to the article is here. Since I do not have a linked-in account (I was forced to open one at a prior employer, they were an early investor, back when absolutely *nobody* used the thing, before Microsoft had bought them), so I was unable to read the article. But before I had created a smurf account, I found that just switching to incognito mode got me the article in question.
It’s almost crazy to put it in perspective after all these years, but when NetHack became a thing in 1987, the GPL didn’t exist yet, instead opting for the BISON license. There was no NetBSD, nor was there a Net/1 release of BSD, meaning there was no wide-scale free Unix to the Masses.
I’ve tried numerous times to get into it, even playing it a fair bit when I got it running for the x68000. But I never got far, as I’m clearly out of my league. Which is a shame I’m clearly missing out on quite a bit.
Since it’s all news to me, there indeed is a software category over at MOMA. When I did live in New York, I was a member. I did all that artsy stuff, although I’m clearly not the artiste.
So yeah, it wasn’t anywhere near as tedious as I thought it would be.
https://www.patreon.com/virtuallyfun
I’ve set prices in Hong Kong dollars, but it claims it’ll re-adjust to your local currency, so it shouldn’t look too crazy as $40 HKD is about $5 USD. After they take all their fees and stuff I get like half. Which I’m not complaining, a week ago it was a big goose egg!
I’ve tried to make the tiers a little fun sounding, although with of course the most important thing we’ve learned on this fun trip is that you absolutely need either an American keyboard, or an Apple branded keyboard to enter recovery mode on a Macintosh while abroad.
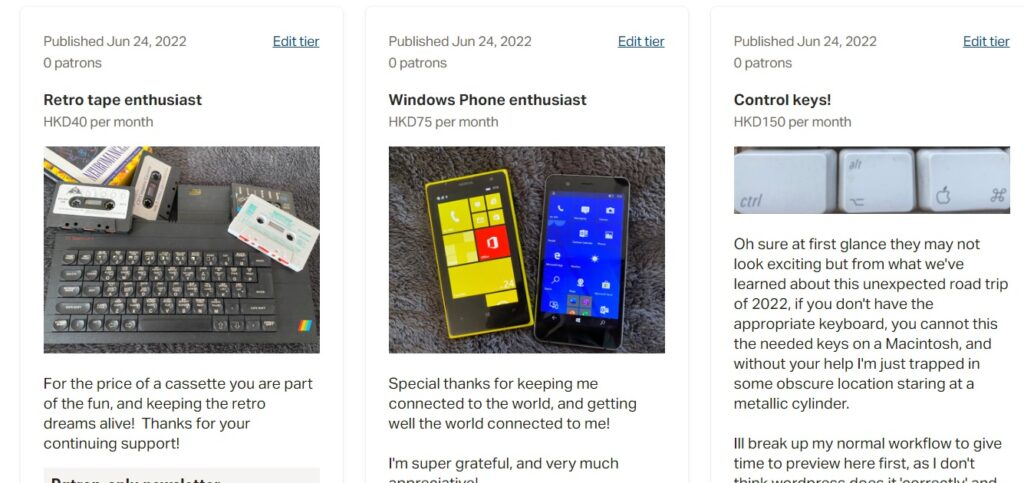
As always everything will eventually wind up here. I’ll do some additional collaboration over on Patreon to give it ‘value’ even if it’s just me hitting my head against the wall.
I hate shilling for this kind of thing, ring the bell and click the thing. I’m really embarrassed that it’s come to that here, but like the ads I really don’t have much of a choice at the moment. And of course your direct support by either enabling ads on this page, or signing up just makes it all the easier to keep on through these times, as I’m aware that we are all going through some real fun challenges at the moment.
So a very big preemptive thank you very much, I’m always amazed that whenever I write anything that people read it, and I’m always shocked and amazed to get not only any kind of engagement, but an actual following. Just as I’ve been amazed to have already met so many of you in my travels around the world, through the years!
I would like very much to build on this into bigger things, create more diverse and engaging content, and have some fun doing so!
A big thank-you!
Jason
It’s come to that point where I’m basically forced to either step up and do a patreon and beg for money, or go the other way and passively shill for ads.
I’ve gone for plan b.
It’s annoying and yeah I know. It sucks.
This trip has… been a challenge, and I have a stack of unfinished crap I need to push out, but frankly i’ve been too lazy to do it.
Maybe I’ll call it depression as it’s more dressed up and sexy.
Anyways I now have far too much kit where I wanted 3 max, and now I have like far too many. Time to get busy with my Chinese soldering iron, patch up some stuff, and get some of this out of the door.
Anyways yeah, people not using blockers will see the ads.
Also today was frought with additional money stress so yeah.. let’s hope this meets in the middle passively.
So, I’ve tried for years now to get a Spectrum +, or a ‘toast rack’ Spectrum 128k, and met no success at all. I have bid unsuccessfully on over 24 systems, with no luck at all. However, on a business trip to the UK, I bid on 8 systems and won 4.
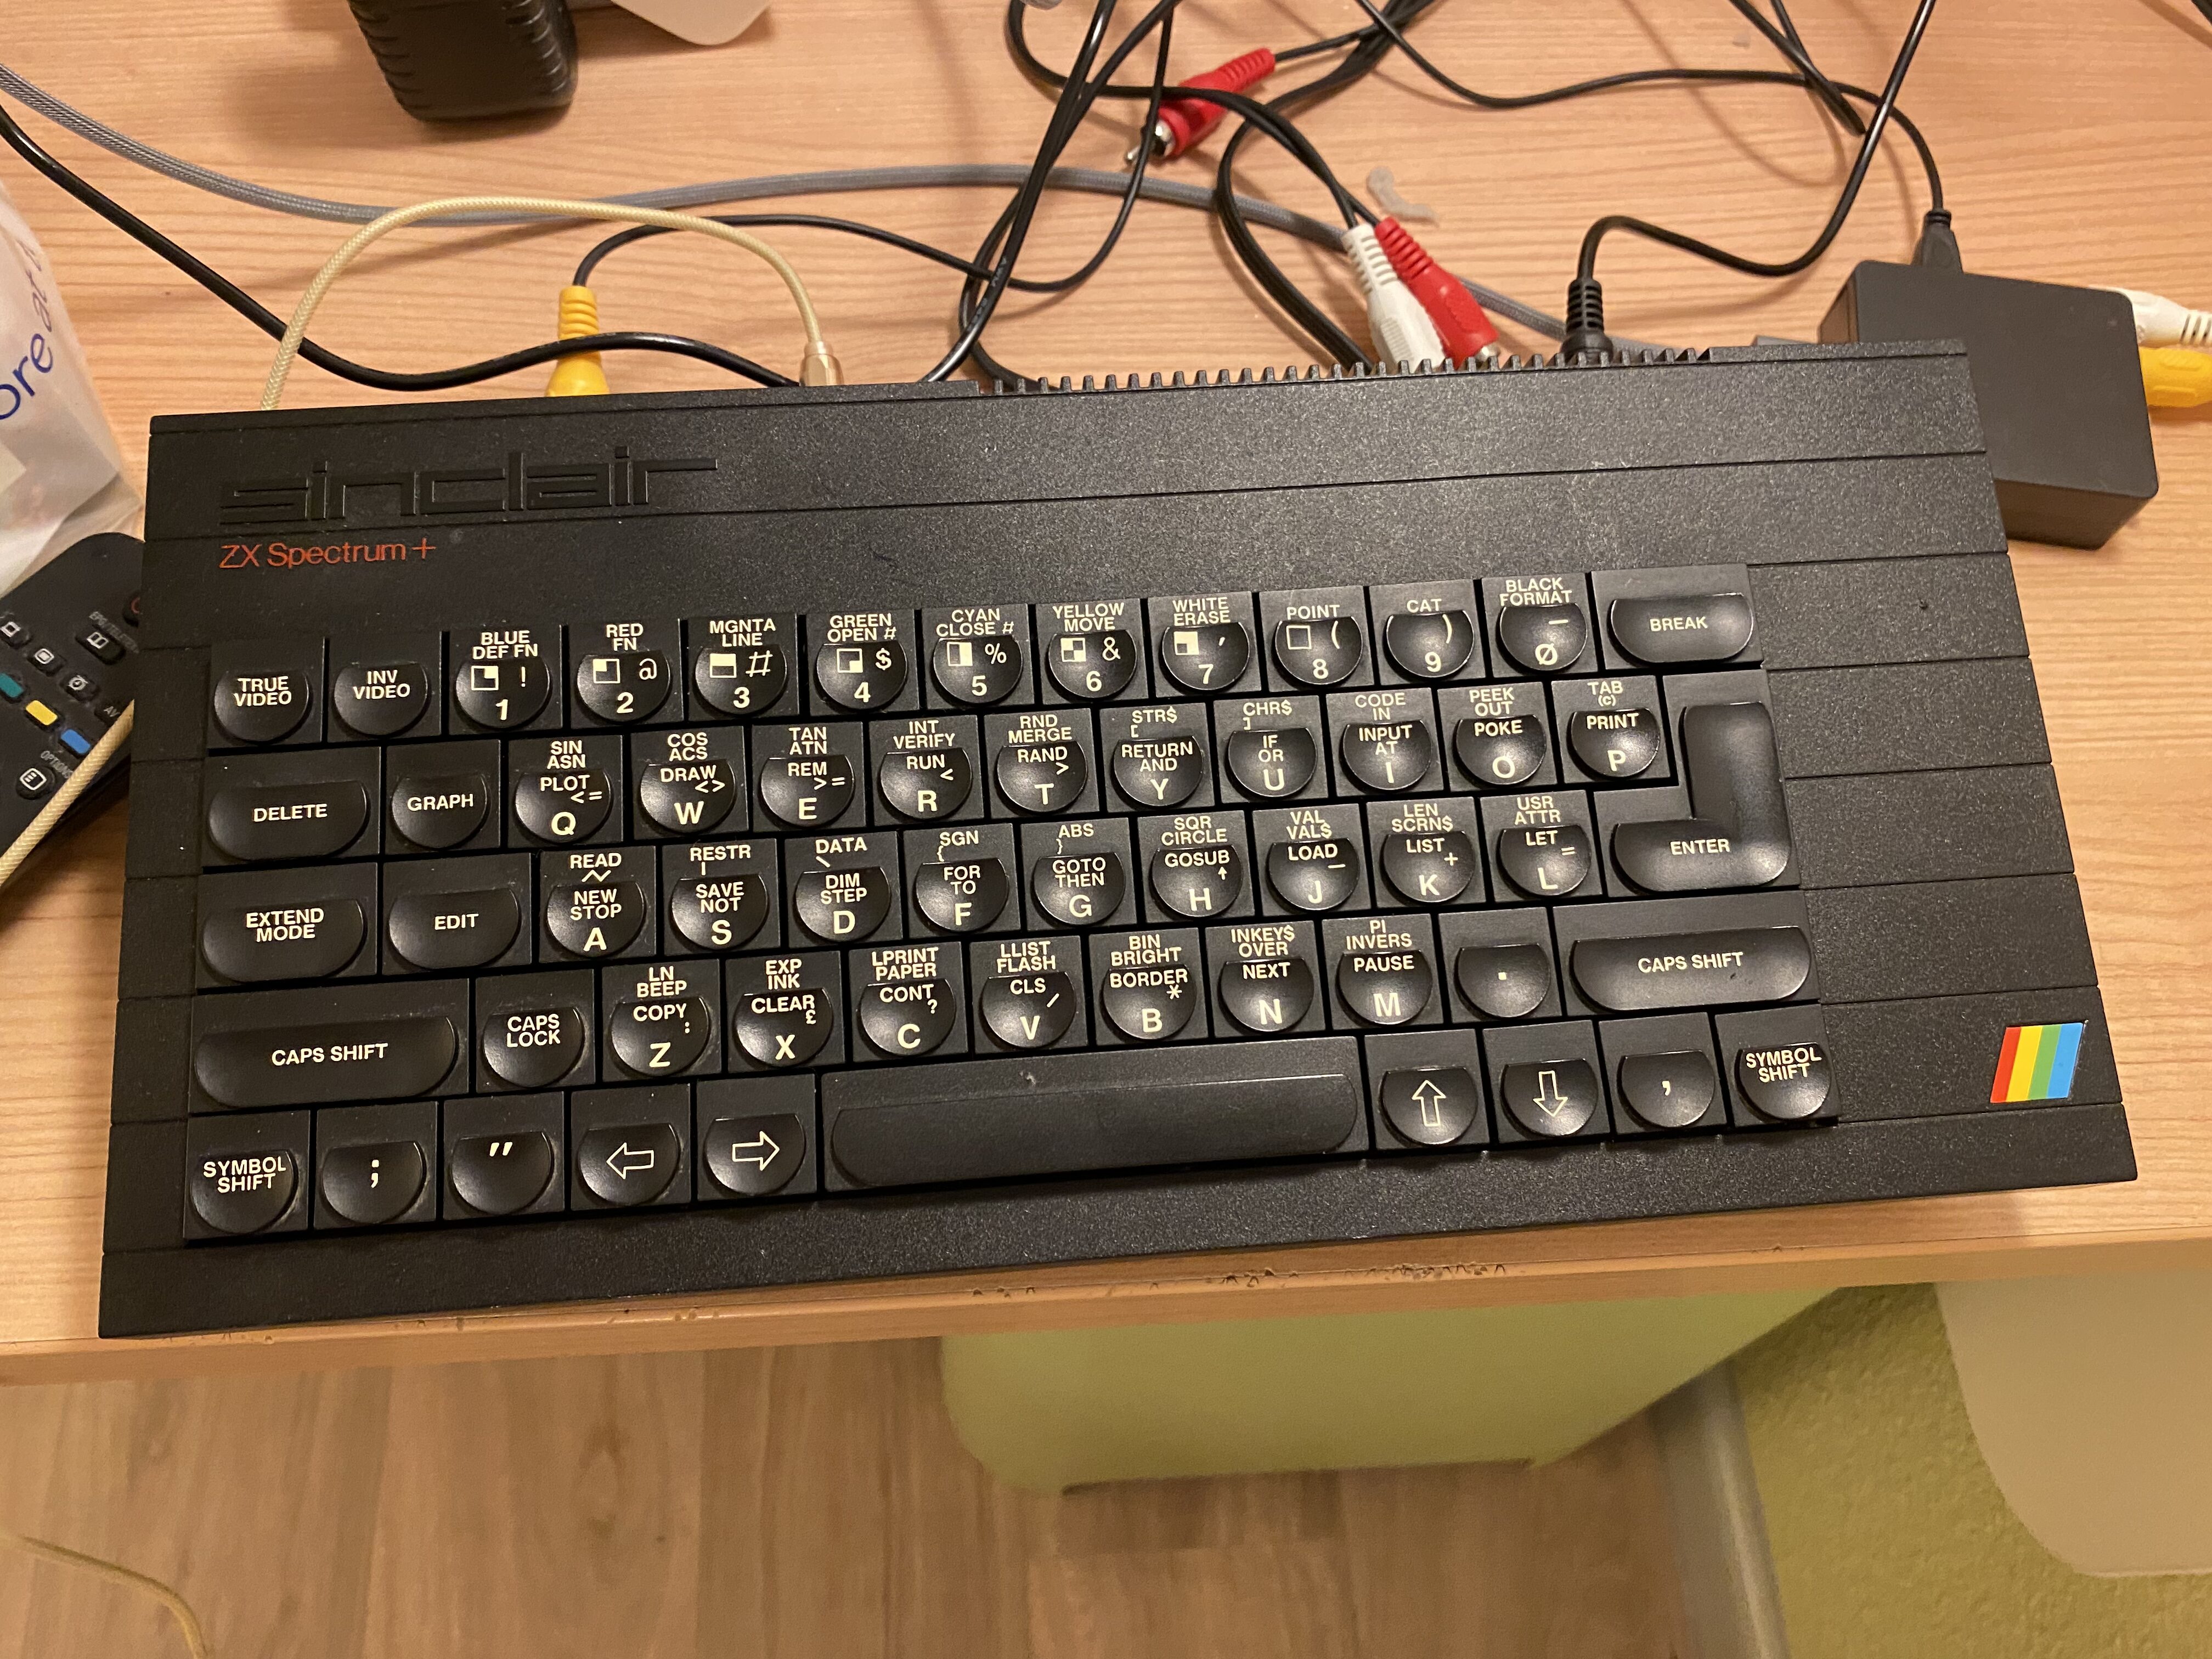
So now I have too many, which I’ll have to flip a few as I don’t need so many, but for me it’s been super interesting as the whole UK 80’s scene was an isolated parallel software society, that a few software publishers ‘broke out’ once there was common hardware platforms in the 16bit (ST/Amiga), and especially in the Play Station 1 era.
A seeming 100% catastrophic failure of these machines is the keyboard.
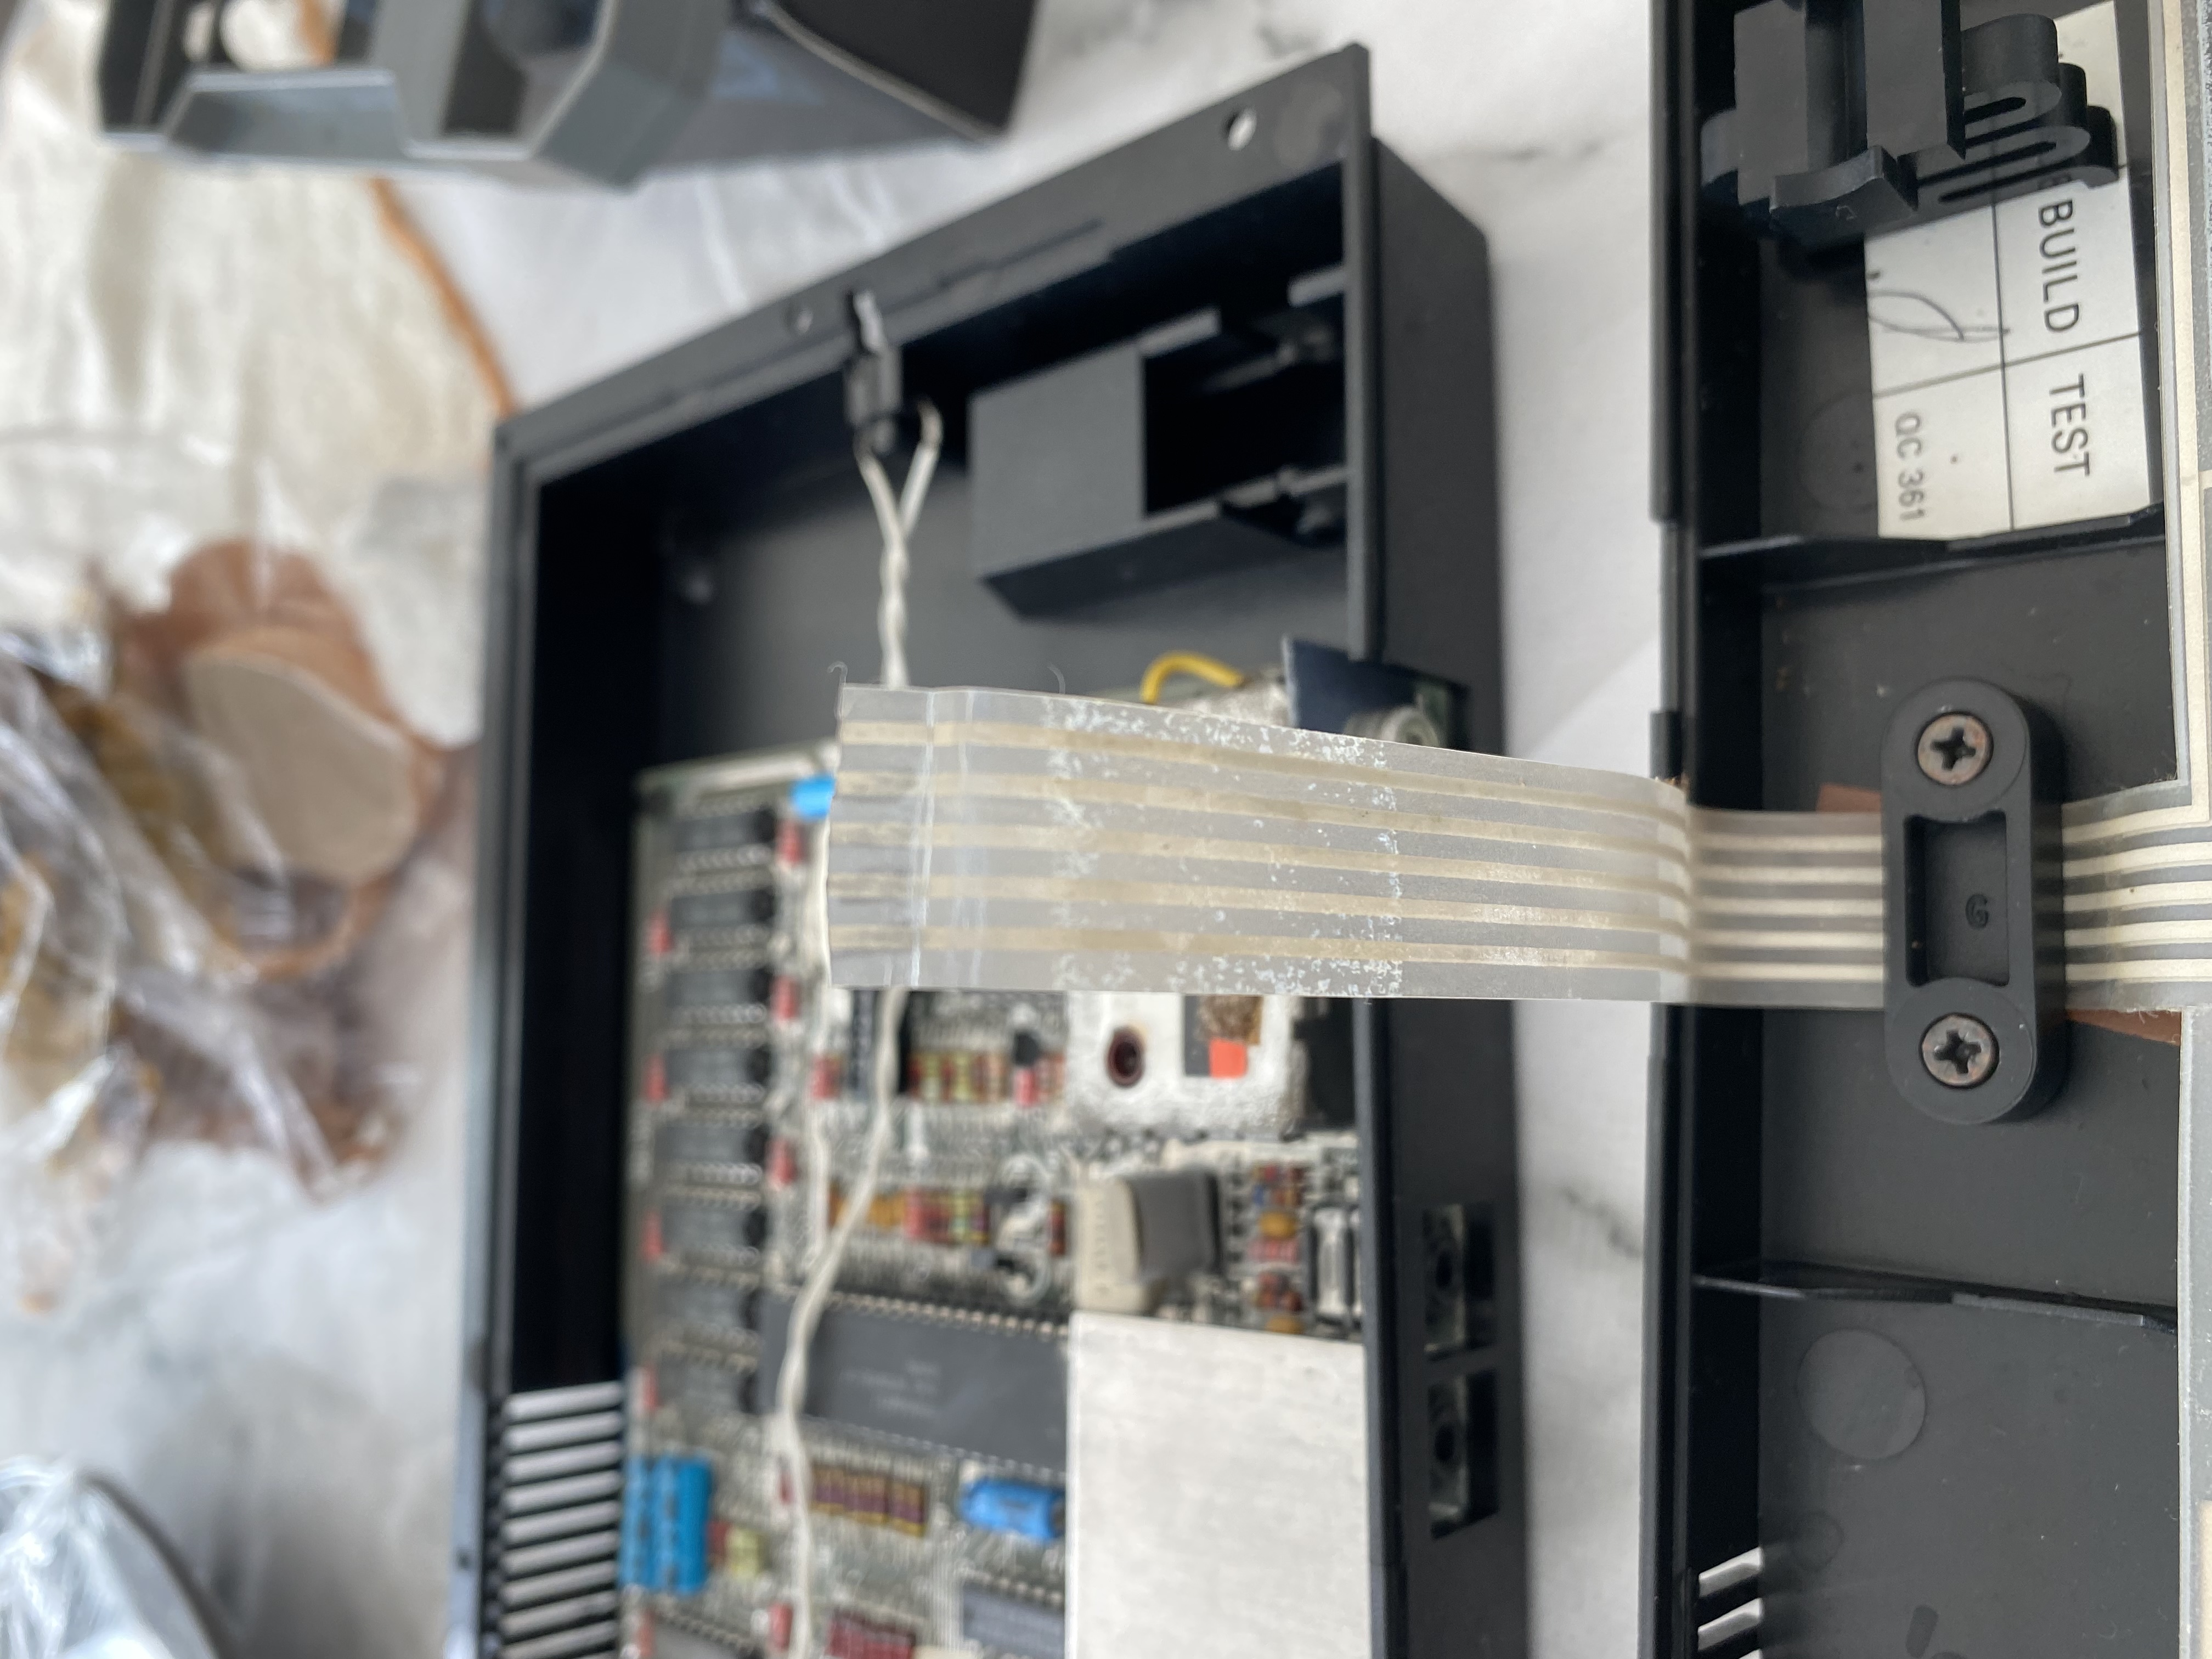
The plastics tend to dry up and disintegrate over the decades, leaving a dead keyboard. However since it’s such a common problem people do make modern replacements.
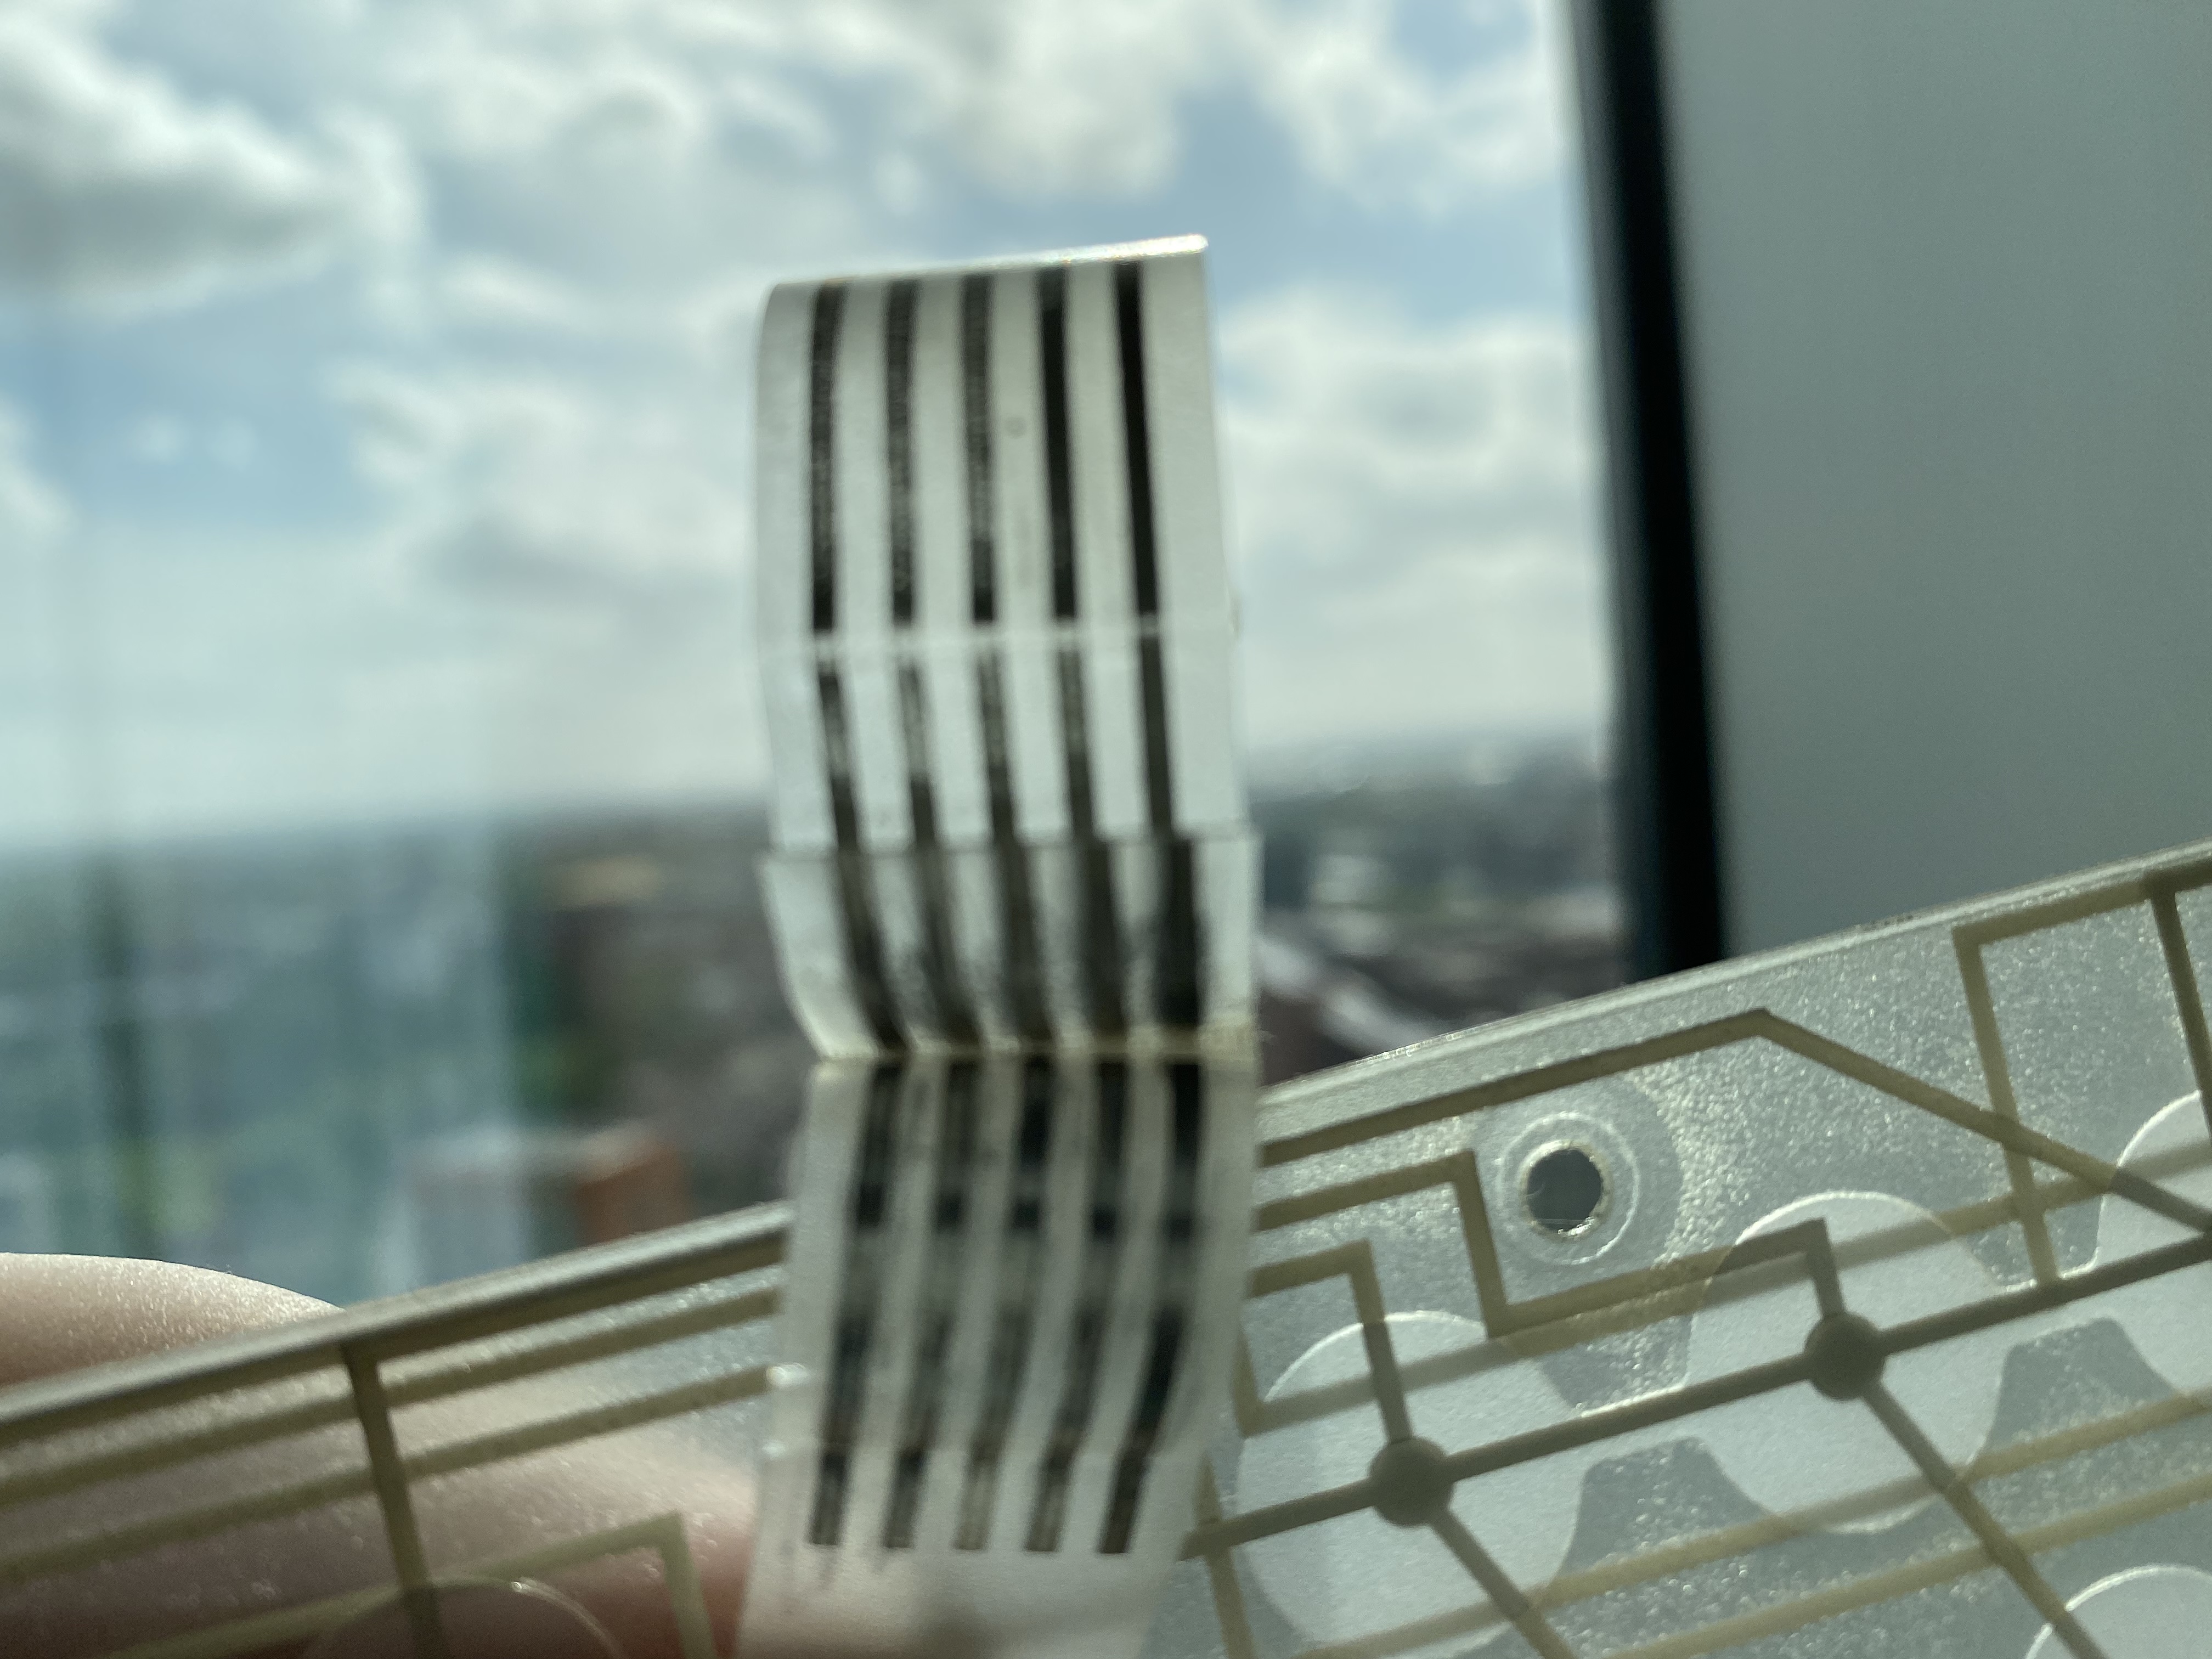
Here is a closeup of the damage, and you can see the clear breakage.

While the keyboard is disassembled it’s a good time to clean the domes, to make sure there is no debris inside, and give it a light wash.
One thing that caught me off guard is that the membrane is really made up of 3 layers, and that they need to be pressed together to make it fully work. So the cable that goes under the collar needs to be tight. Many videos recommend pushing the cable slightly towards the keyboard assembly to give it that extra bit of tension as you screw it down to give it that little extra push to press the layers together.
After all that fun, the keyboard is working and now I can continue onto the next part!
As always one of the big challenges with old machines is getting software loaded. Media deteriorates, becomes scarce, and of course some titles become more expensive than the machines. So what’s a pirate to do?
Luckily a discount ‘toy’ computer from the 80’s also used ‘toy’ storage, in this case the humble audio Philips compact audio cassette. And many of these tapes have been ripped, and converted to a ‘tap’ format, for emulation.
So first you’d think that it’s a simple matter of converting the tap file to a sound file, and playing the resulting file to the computer, and bingo you are up and running! Except it’s not quite that simple.
This is the easiest part, is the tap conversion, I’m using Igor Maznitsa’s zxtap-to-wav, which is pretty simple to go to a 44100khz
zxtap2wav-windows-386.exe -a -f 44100 -s -i IM2.TAP -o impossibleMissionII.wav

  TAP2WAV converter of .TAP files (a format for ZX-Spectrum emulators) into its .WAV image (PCM, mono).
  Project page : https://github.com/raydac/zxtap-to-wav
        Author : Igor Maznitsa (http://www.igormaznitsa.com)
       Version : 1.0.1

Detected data blocks : .P.D.C.D.D.D.D.D.D
The Result WAV file size is 11043 Kb
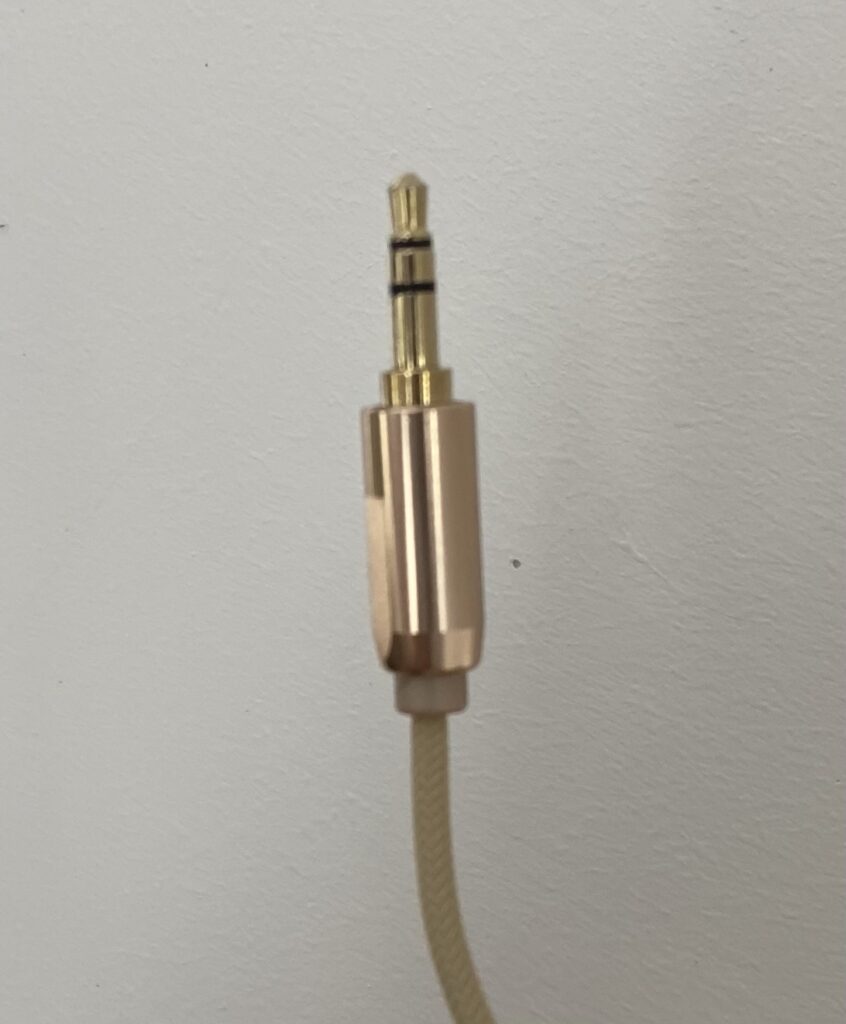
Now you’d think we are good to go, however there is one more problem, and that is the mono plug in the Spectrum. As answered on stackexchange, by mcleod_ideafix, the fundamental problem is that odds are your sound card is stereo, your ‘headphone cable’ is also stereo. So instead of one nice big happy waveform, you’ll actually end up sending 2 waveforms down the stereo plug to the mono jack, that will introduce so much crosstalk that it’d be amazing that anything loads.
Inside the thread is a good explanation of how to fix the waveform to appear over both sides of the pin, but also this nice script to use sox to split for you:
#!/bin/bash
# wav2differential.sh - convert mono game tape audio to 2× stereo
# usage:   wav2differential.sh infile.wav
#          (creates  infile-differential.wav)
# scruss - 2016-06-07
# method by ‘mcleod_ideafix’; many thanks / greetz
#   — https://retrocomputing.stackexchange.com/a/774/439

base="${1%.wav}"
sox -q --norm=-3 "$1" -b 16 "${base}-n.wav"
sox -q  "${base}-n.wav" "${base}-ni.wav" vol -1.0
sox -q  --norm=-0.1 -M -c 1 "${base}-n.wav" -c 1 "${base}-ni.wav" "${base}-differential.wav"
rm -f  "${base}-n.wav" "${base}-ni.wav"
With the wav file in place, the next thing to do is to play it back to the spectrum. On the PC however in the age of multitasking you probably have a LOT of things going beep, and that’ll mess up the entire load process. Bring up the Volume Mixer, and mute everything that isn’t what you are using to play the wav file.
The first few mistakes I made was thinking that I didn’t want to send too loud of a signal to the Spectrum, as it is voltage, and it probably doesn’t need that much. However the DAC is very hard of hearing, even by 80’s standards so that means you need to crank the volume to 100%
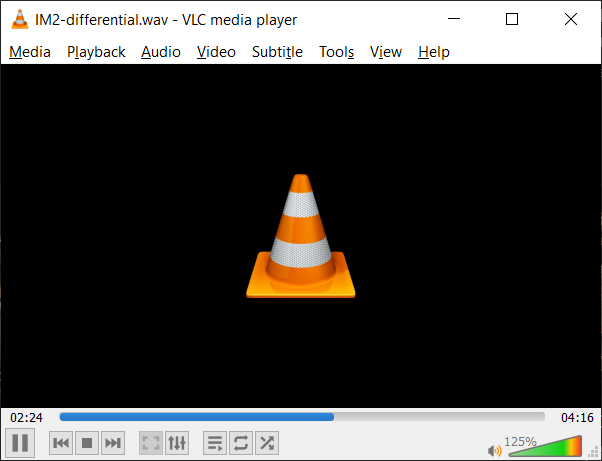
As a matter of fact, go all the way to 125% if you are using VLC. Tapes load slow, expect anywhere for a minute for a 10kb program, and 5+ minutes for a 40kb program. Times vary depending on how the packed the waveform, fast loaders and other fun things.
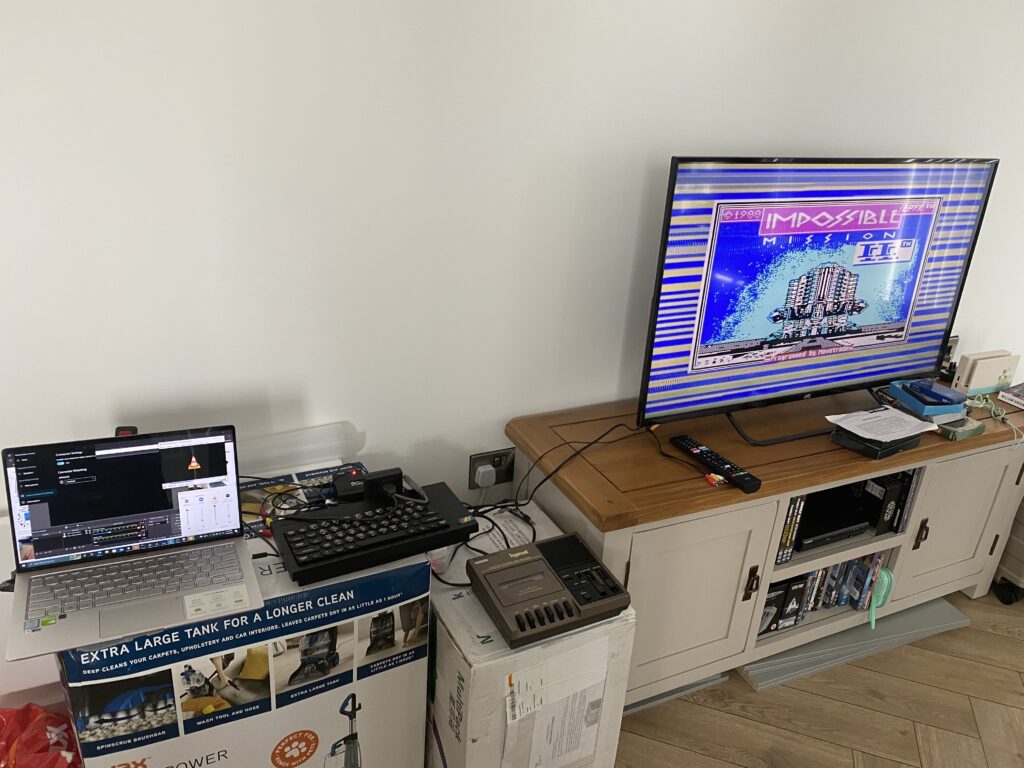
And yeah there we go, loading Impossible Mission II, converted from a .tap to wav, then split and combined waveform to load from a stereo plug.
Going overboard!
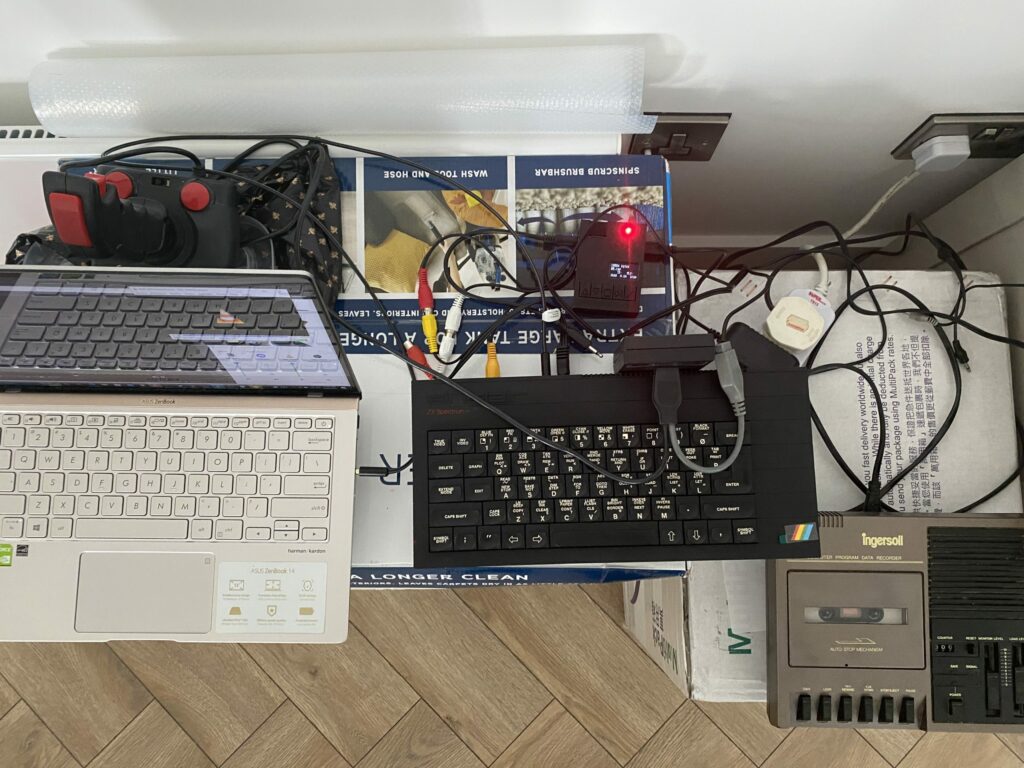
In the last auction I inadvertly won, it included a joystick interface (that hangs OVER the keyboard, WTF?!), and a legit 1980’s Tape deck, the Ingersoll XK696. Shockingly it actually works! It did have it’s fair share of dust bunnies inside which needed promptly cleaning out, I tested with a ‘legit’ tape, a copy of startrike, and yeah, it loaded up fine! I do like how it’s got it’s own ‘monitor’ volume and speaker, along with nice big chunky buttons, and tactile feedback. Got to say I do like it, although yeah loading from tape is slow. But since I never did back in the day, there is something oddly weird about having to pace oneself because of the insanely slow peripherals. I wonder how slot in bps the 1541 was.
I also ordered a retro.care “MaxDuino TZXduino CASduino” loader which can read the tap files directly, and included a stereo to monaural RCA 3.5 cable in the bundle. Pitty it didn’t include a SD card, and I ended up buying some 4GB card for £5. Such is the price of wanting it immediately. It does let you set the baud rate from 1200/2400/3600 and a blistering overdrive of 3668? Short of an eye watering £90+ for a DivIDE/DivMMC board it does seem to be the budget way to go for someone who doesn’t want to waste all that time converting tap images to wav, then inverse wav to load from PC. But then again if you have 5+ minutes to load a program, you have time to convert files.
There does seem to be something oddly zen about loading from tape, and it makes one all the more hesitant to reboot as loading up something else is such a long process, and that is of course assuming that it even loads in the first place.
Also the other odd thing is that some programs/games want you to load tapes as if they are semi-random access needing you to stop and go on demand (maybe rewind too!). Granted other computers (MSX?) did include a control cable allowing rewind giving a more randomish access out of tape. It’s a limitation of the time, sadly and microdrives and floppies arrived too late, and failed to have any significant adoption to matter, sadly.
I don’t know if this will reach any audience, although there is some ‘retro wave’ going on since the unmentionable event of CNY 2019, and shut ins are getting retro. Although for me, it’s very interesting exploring this parallel and yet foreign experience of a retro past I never knew existed. Although I guess thanks to US Gold, many in the UK were well aware of American software from the likes of EA/Activision et al.
I forget where I heard the term “Métal Hurlant” although it does seem appropriate having a younger machine scream the programs of tape drive past to it’s earphone jack. But it’s most likely the French magazine, and my imagination of something cross between Jarre/Ulrich.
So while I currently have no tape drive for my ZX Spectrum, loading totally legit tap files, got me into this fun thing, lenslock copy protection.
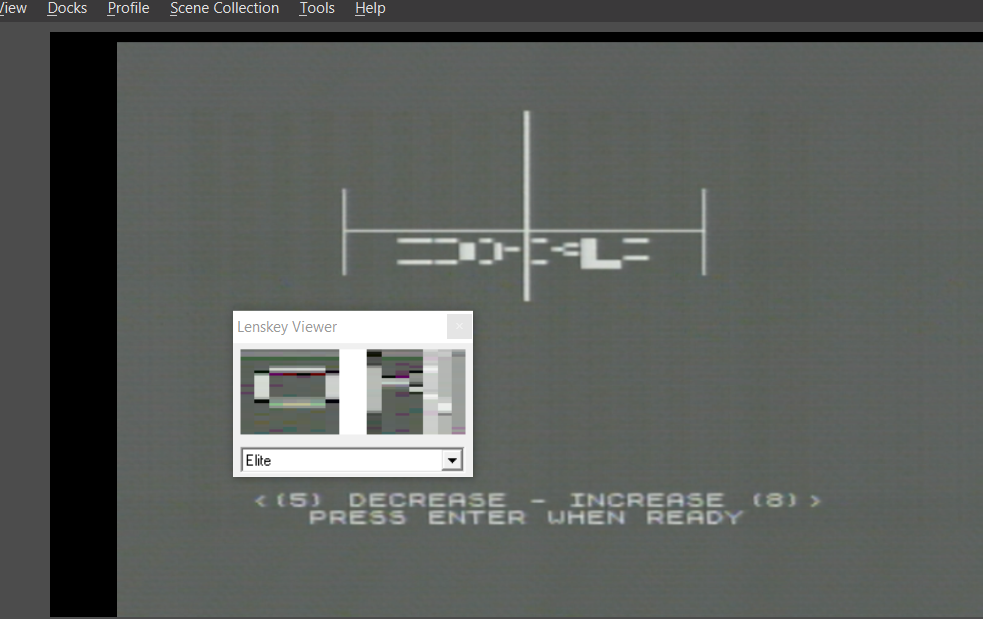
But thanks to Simon Owen, there is this great emulator to an old physical dongal that’ll let you unlock the magical codes! LensKey doesn’t seem to scale to DPI that well, but it does work. And I was able to unlock Elite!
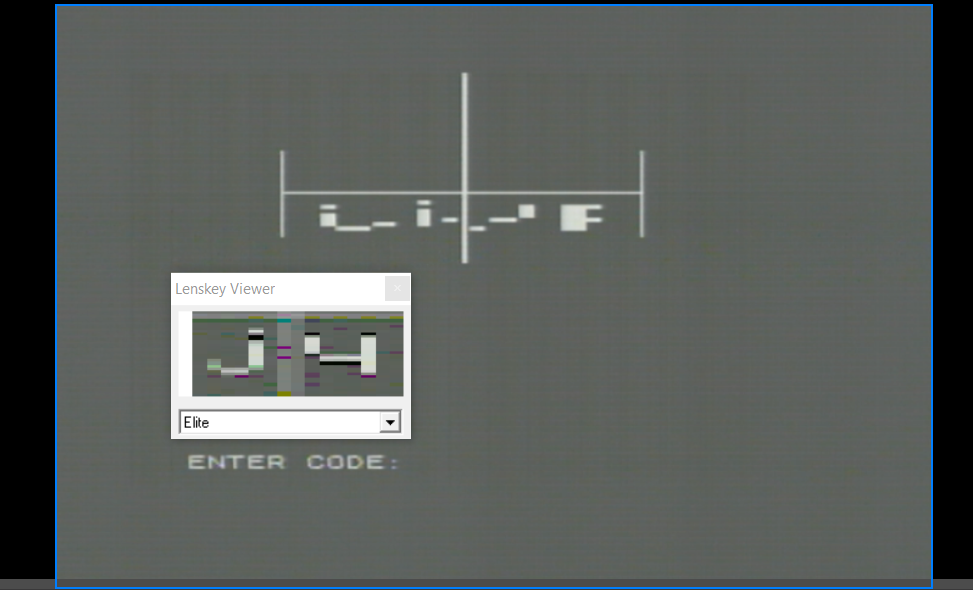
As you can see the weird pattern is reveled to be ‘j4’, you only get 3 chances, otherwise it’ll reset the Spectrum, and you HAVE TO LOAD FROM TAPE AGAIN. I can barely take it today, even with a dedicated MAX duino, tape emulator running at 3,850 baud, it’s just absolutely insane!
I need to write something sensible about tap files, and loading them to a physical machine, as it’s a bit more involved than I had first imagined. But it does work!!.. kinda.
Back nearly a decade ago, Apple was going to release a new Mac Pro. And it was goi to be unlike all the other computers, it was going to be compact, and stylish, a jet engine for the mind.
However instead, we got what everyone would know as the trash can.
So at the time i had this idea that I wanted a Xeon workstation in a nice portable form factor. And this little cylinder seemed to fir the bill. But things changed in my life, i was okay being tied down, and a regular Xeon desktop became my goto machine, a desktop would do just fine.
Then years later, an artist id commish to do some stuff was selling their Mac Pro, as they’d gone all in on Hackintosh, and this was my chance to get one on the cheap. As I’m on a business trip at the moment, I thought this would be a good time to test out what I had envisioned as the future of a personal server in a can.
A long while ago, I’d bought a newer/faster/larger flash for the Mac Pro, and it was a simple matter of hitting the Windows key + R and the machine boots up into an internet recovery mode, and will install OS X Mavericks over the wire. Which sounds great, but this is where the fun begins. Since I ordered. a NVMe M.2 module, it of course is too new for the 2013 machine, so I had to use a shim bridging the Mac’s NVMe SSD port to M.2 for my modern flash. And it never fit exactly right, and I kind of screwed it in incorrectly, but it held in place. Obviously flying bumped things around, as I had kind of figured, but I’m getting ahead of myself.
I didn’t take any big peripherals with me, as I figured I’d just get some new stuff, and didn’t worry about it at all. I picked up a View Sonic VX2770 for £45, I got this RED5 Gaming keyboard for £13, and I already had this Mad Catz 43714 mouse NIB with me. I think I paid $200 HKD or so a year ago, but I like the feel of this style of mouse, and was happy to bring it with me. Little did I know…
So after setting up a desk, and the system, it performed like crap. Worse it was locking up again at random times. I already was using Macs Fan Control to set the fan to 100%, and still it was locking up. I had guessed it’d taken a jostle too many, and I reseated the storage. And then on booting it back up I only got the blinking folder. Great, either it was dying, or I’d just killed it.
A quick jump on Amazon, and I found the “Timetec 512GB MAC SSD NVMe PCIe Gen3x4 3D NAND TLC”, which at a whopping £68 seemed like a good idea. And since it was SSD NVMe, it’d just slot into the Mac Pro, and life would be good. Or so I thought.
The first problem I ran into is that I couldn’t boot the mac into either diagnostics, or recovery mode. There is something really weird with a UK keyboard on a non UK machine. I think the 2013 (and probably many more) power up as American, and this is some kind of common issue with non American keyboards. Seriously why is the pipe,backslash on the lower row? Quotes is over 2? It’s a mess. And since I got my Mac Pro in Asia, maybe it defaults to Chinese? Japanese? Who knows?!
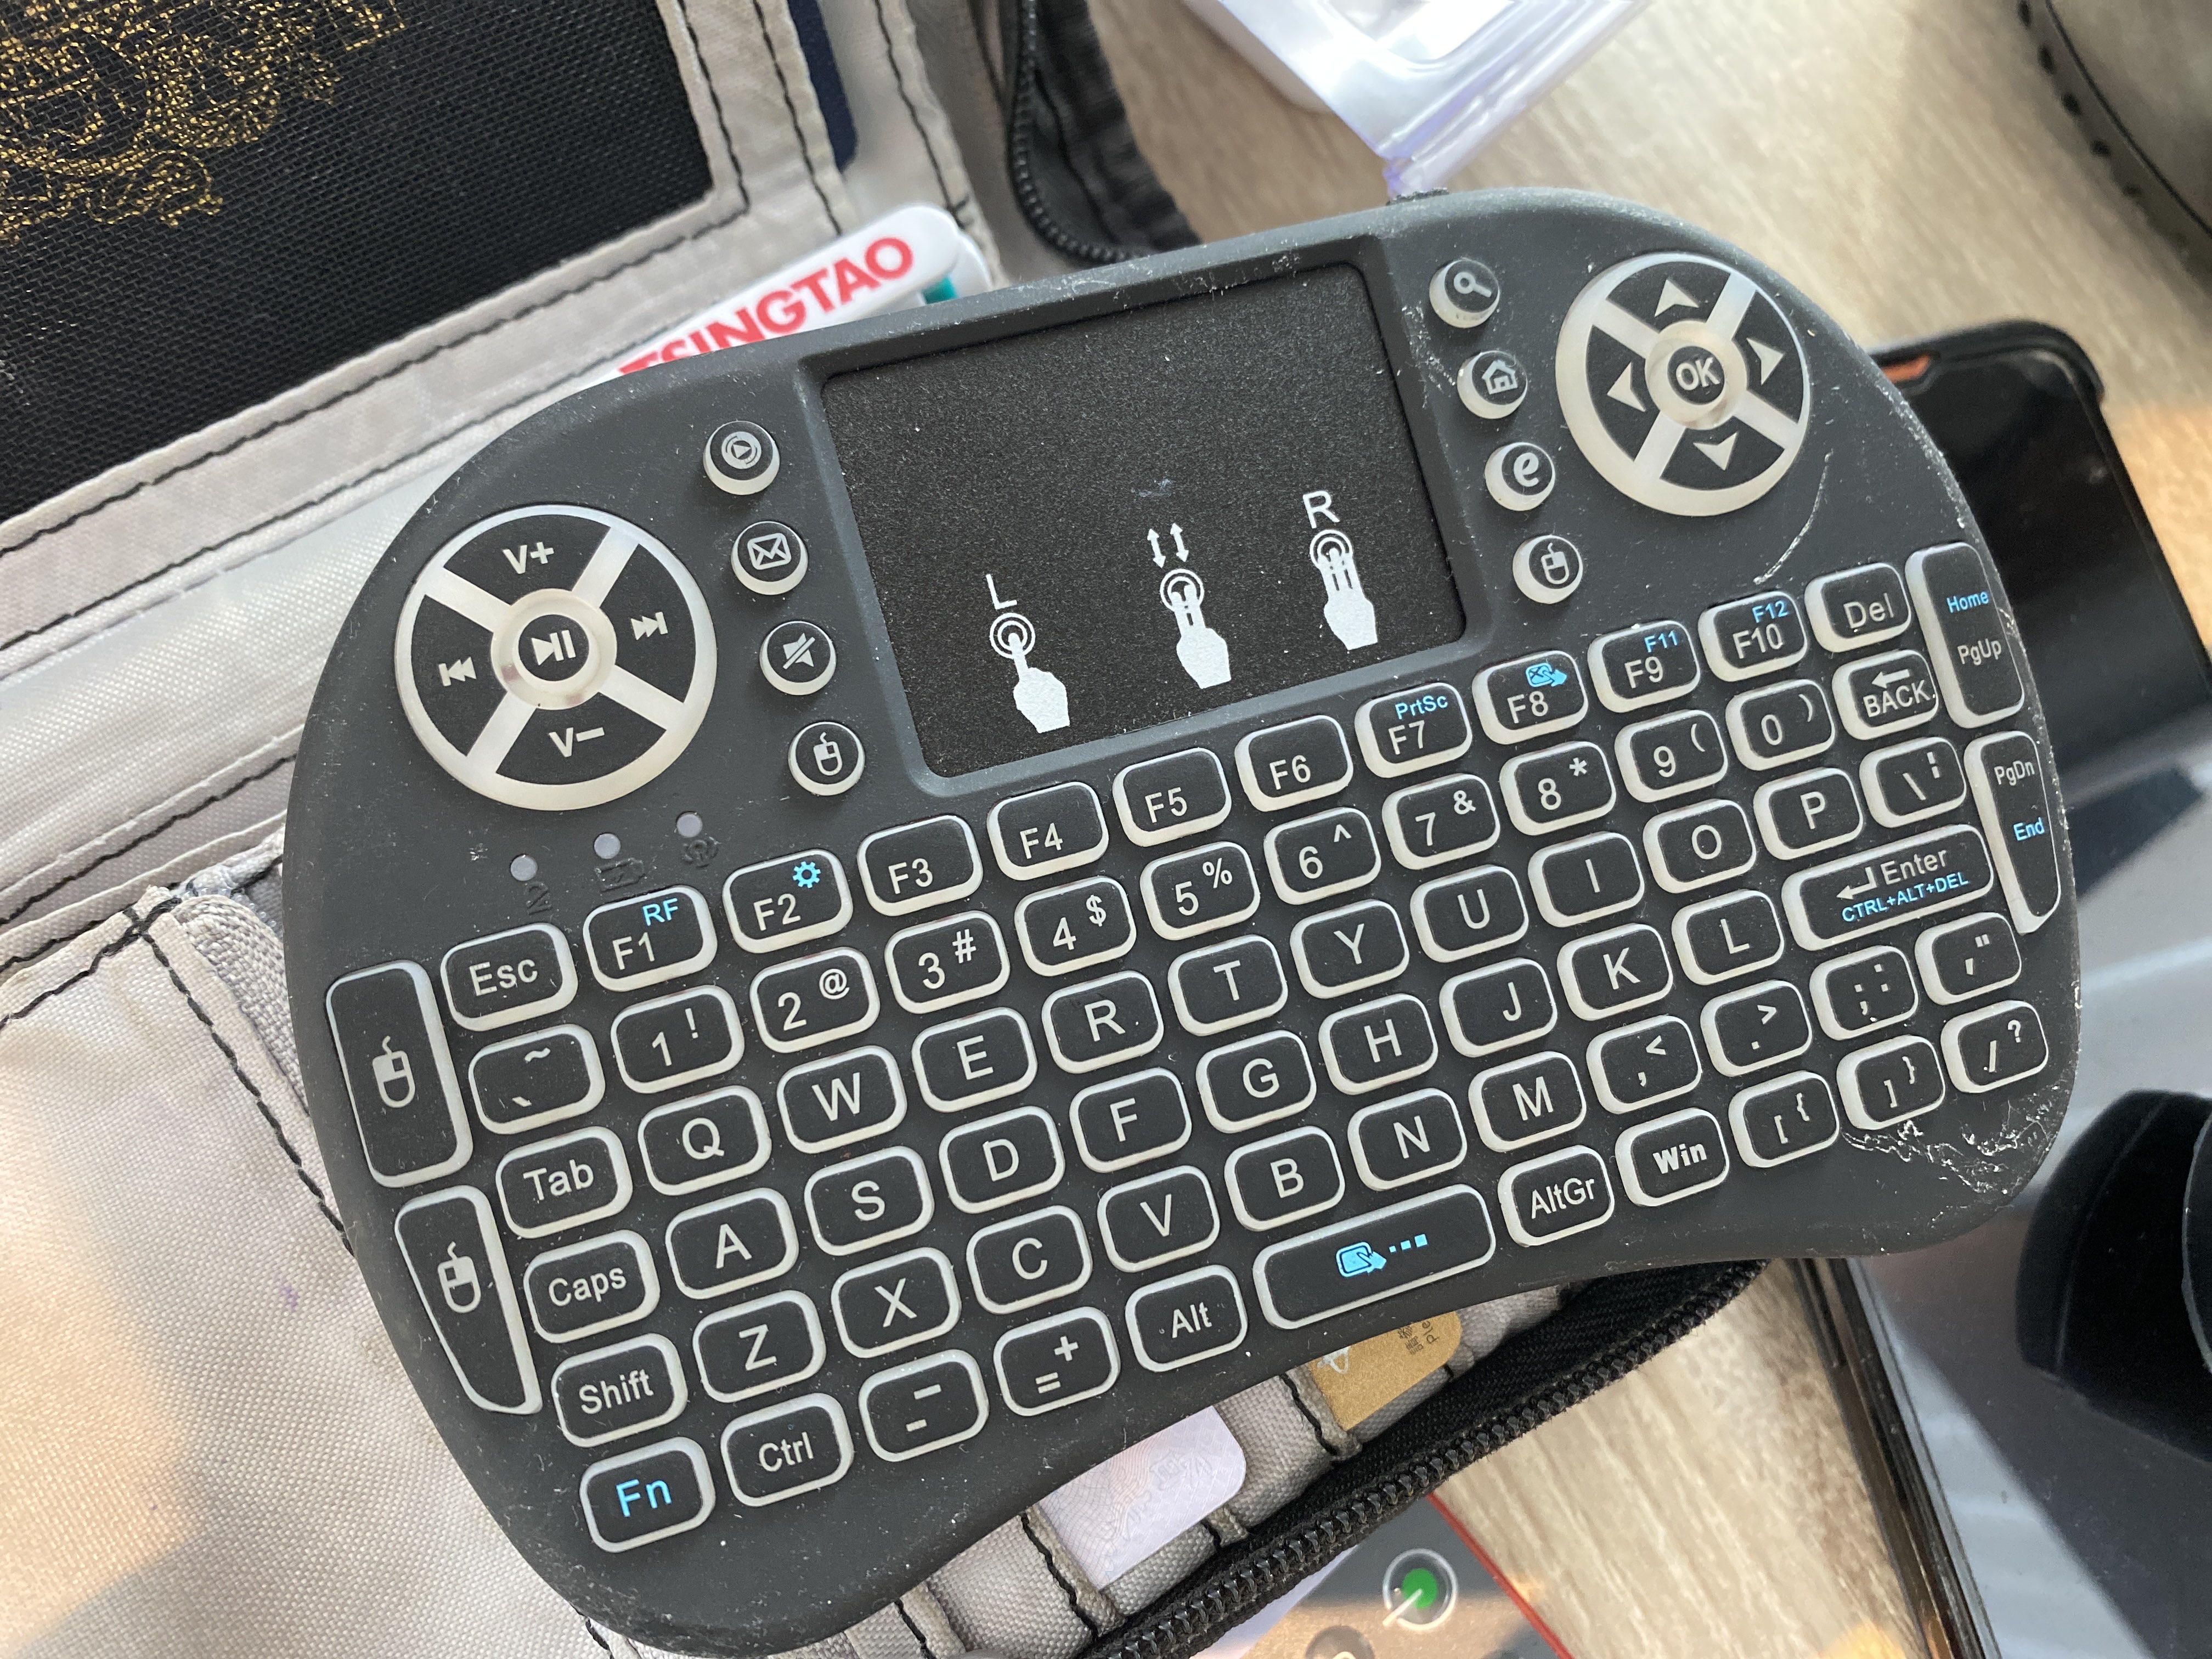
Lucky for me, I had this ugly little thing with me for another project. And yeah holding down the ‘Win’+R button got me to recovery mode, with zero issues.
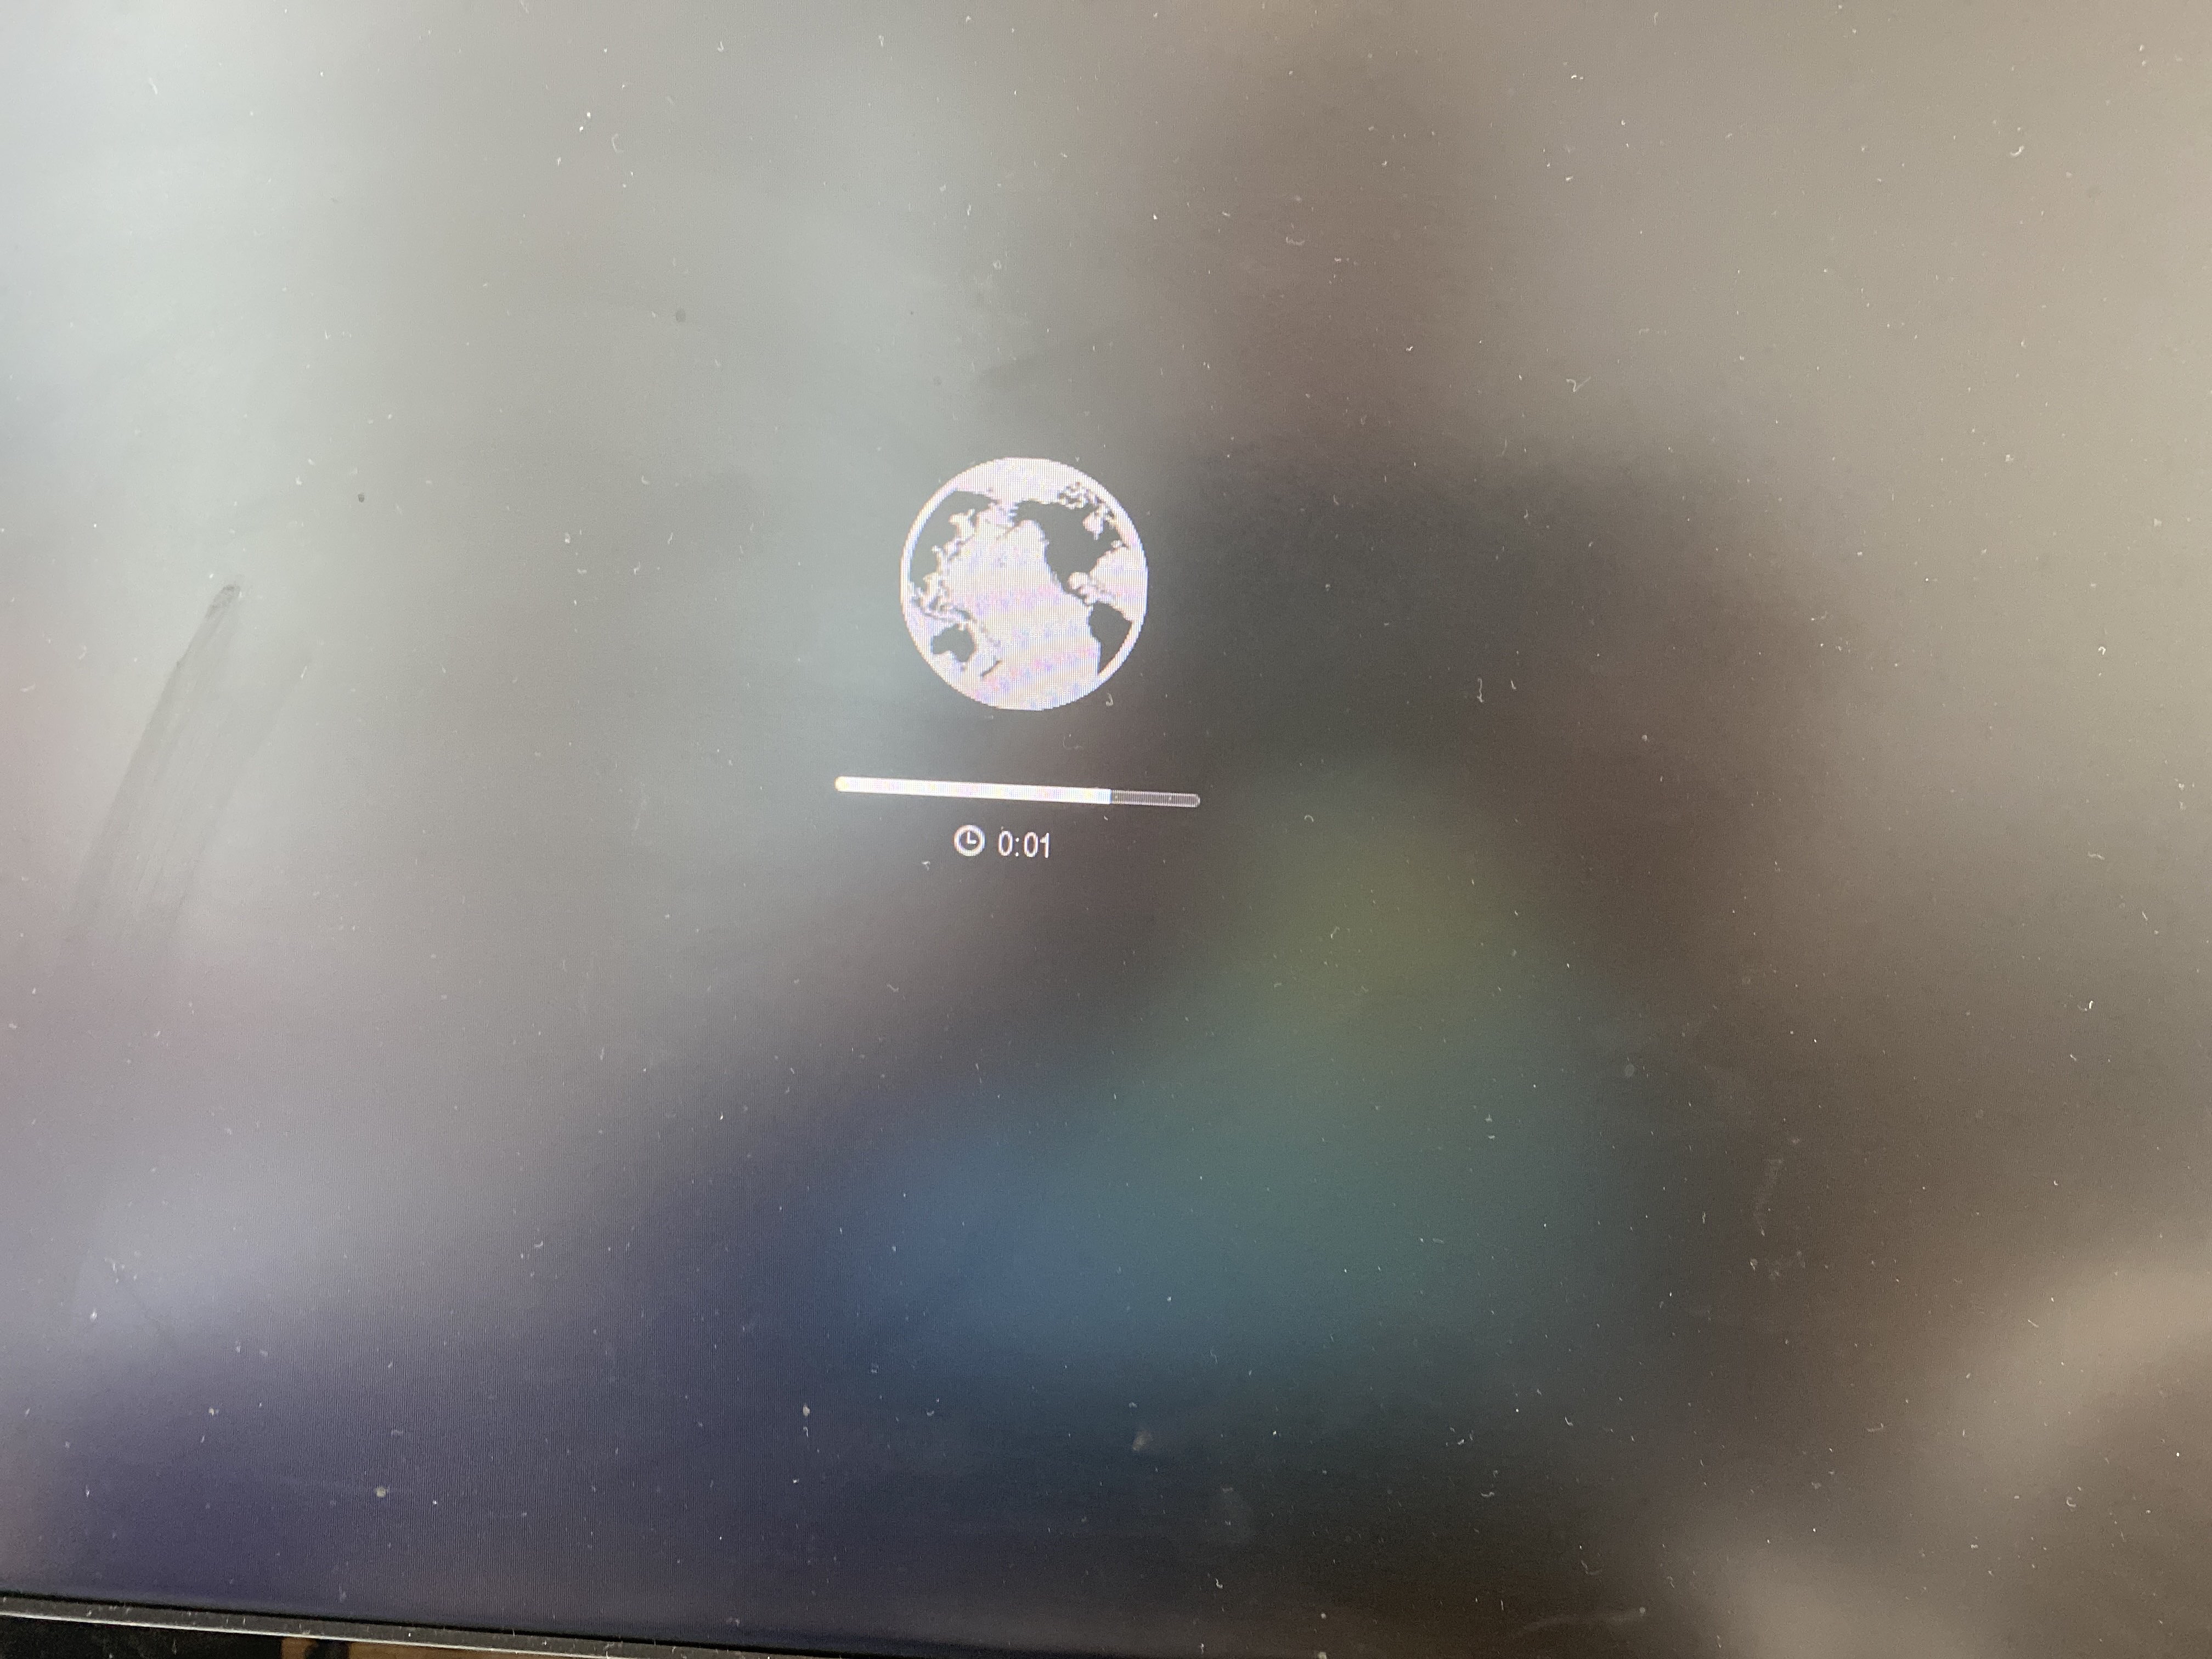
I still have to say, this is pretty cool. However what wasn’t cool, is loading the disk util, and yeah, NO FLASH detected. I have VMWare ESX 7.0 on USB, so booting that up, and yeah it totally sees the drive:
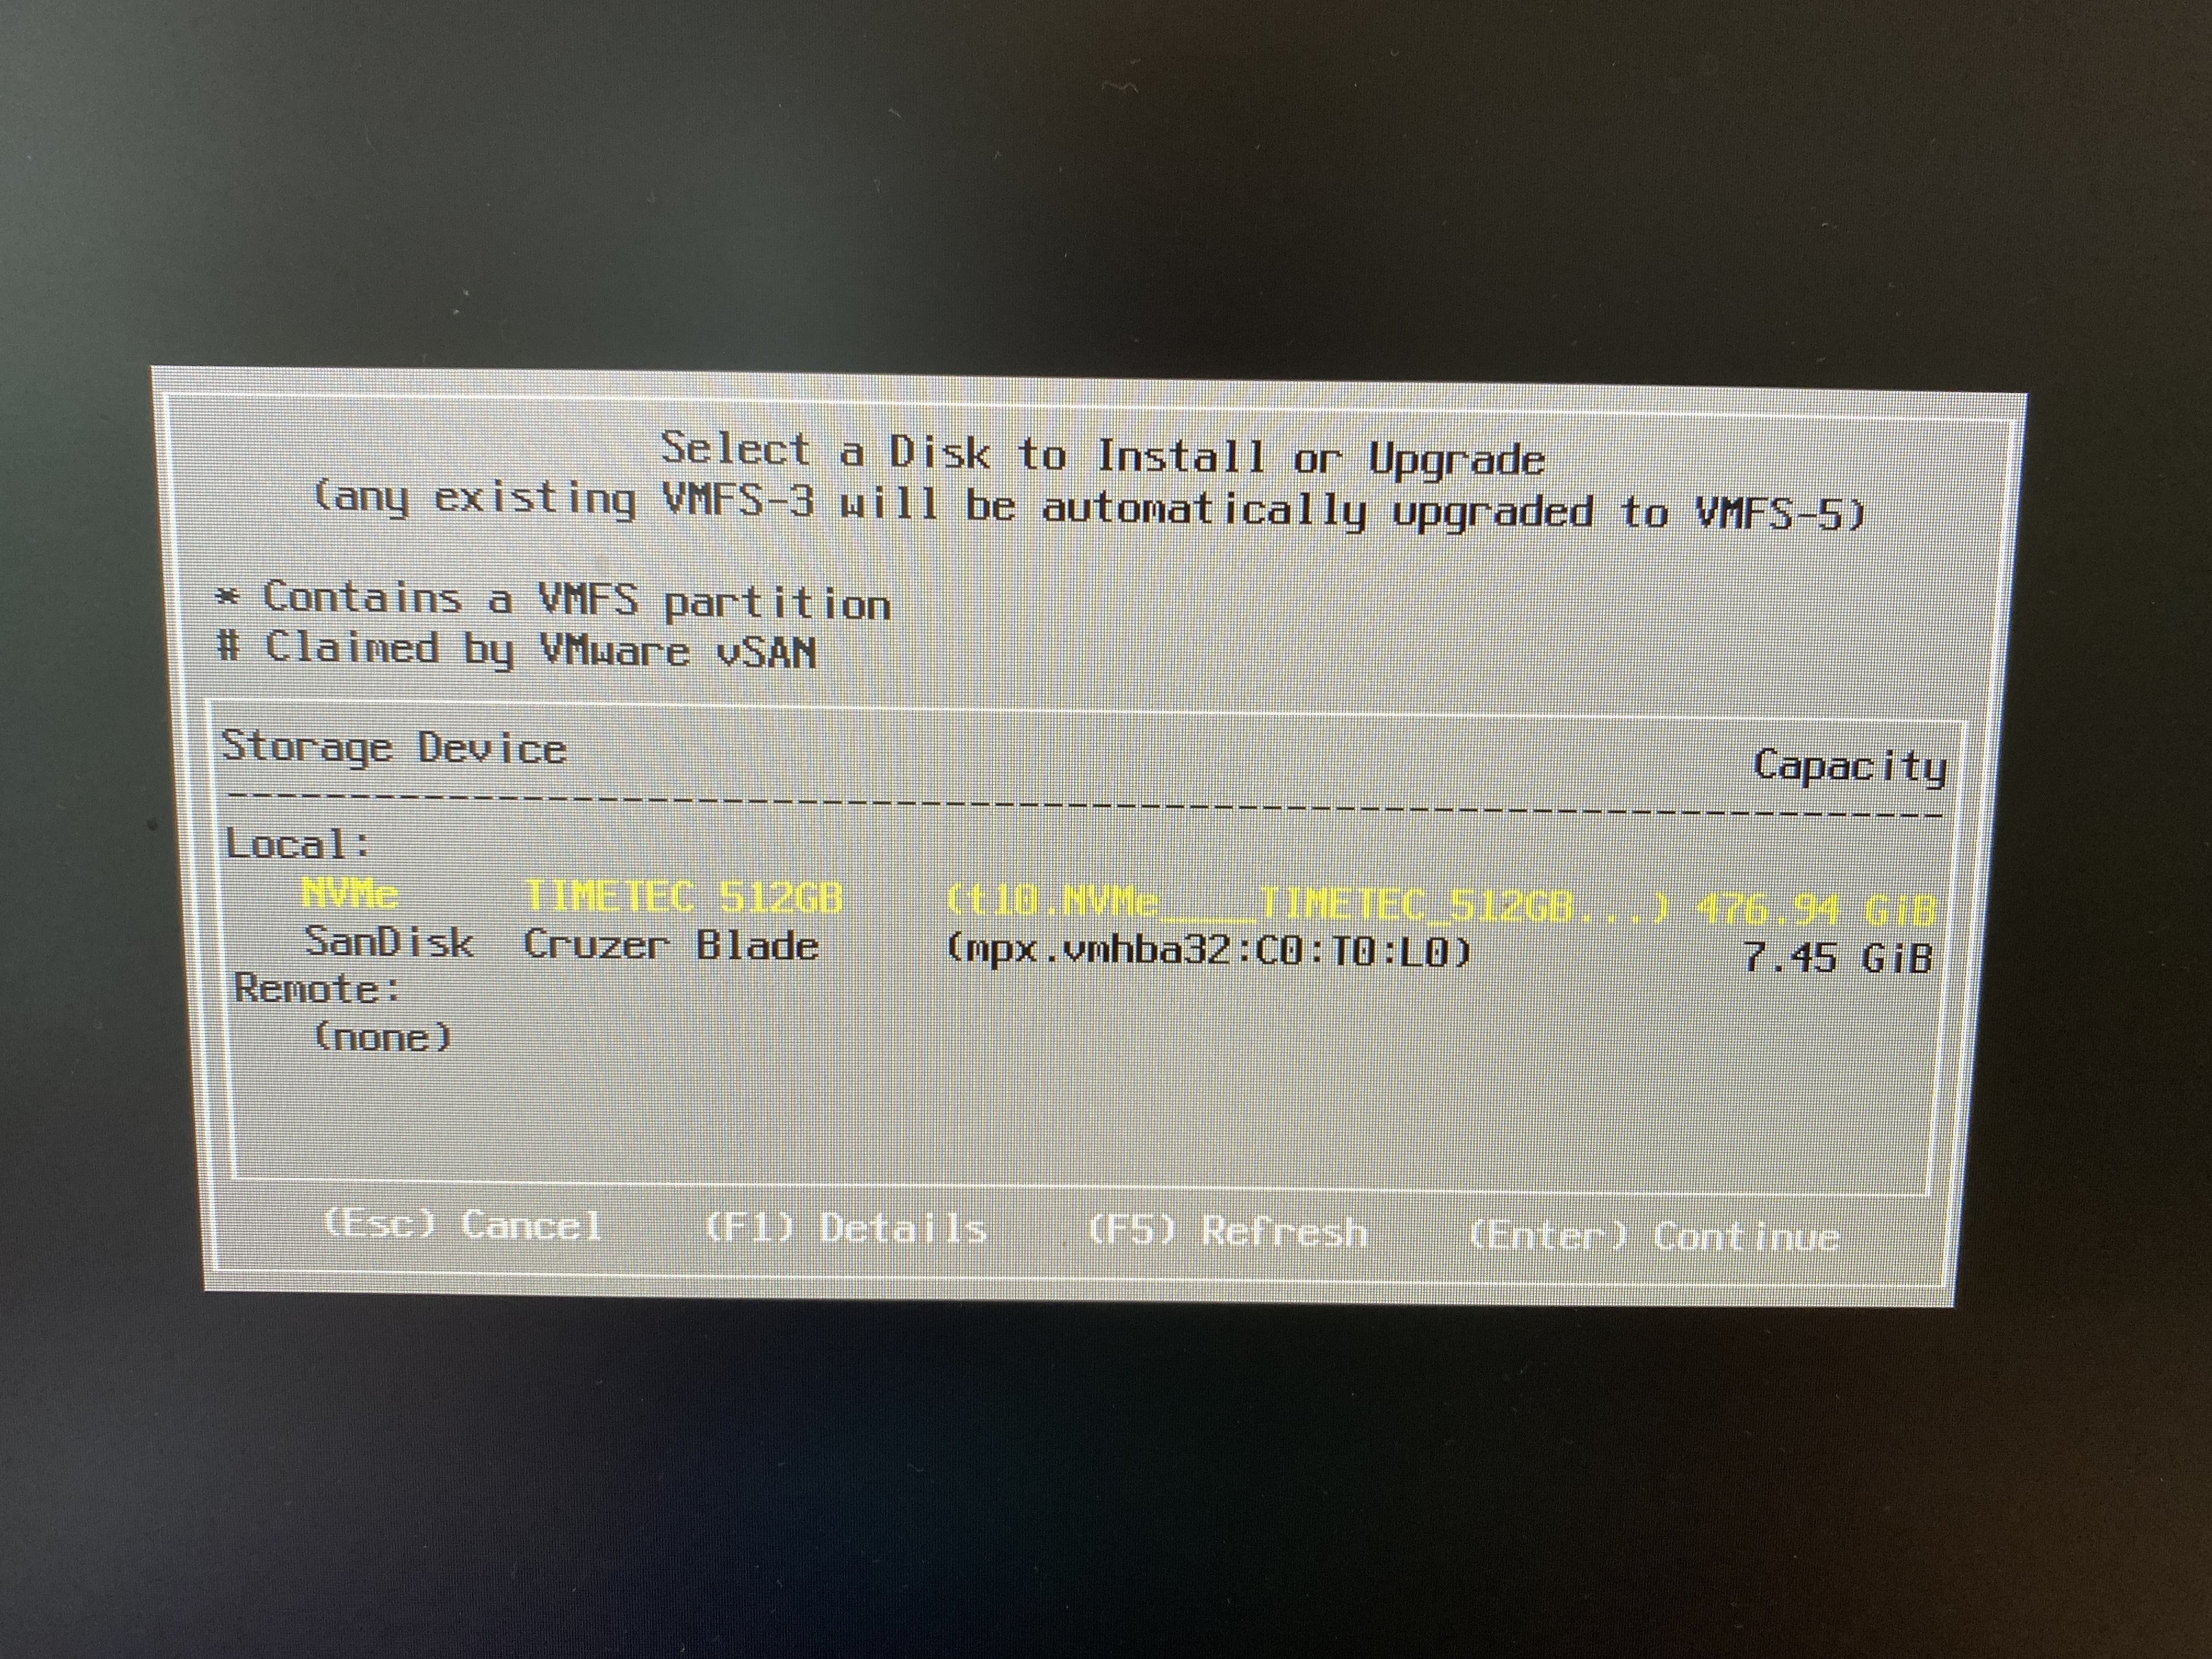
And of course, like an idiot, I installed VMware to at least make sure it’s working.
Yeah it’s booting fine.
By default the Mac Pro seems to be picking up bootable USB devices, so I pop in a Windows 10 MBR USB, and instead I get this:
Bad memory on the GPU? Bad cable? Bad monitor? I have no idea. At this point I’m thinking I’ve totally killed the machine, but a power cycle, and I’m back in ESX in no time. Something is up.
I pull the flash, and I can boot Windows 10 to the installer, but obviously there is no storage to install to. I try adding in a 16GB USB thumb drive, and … It won’t let you install to it. It appears that there is a way to prepare a USB drive for Windows 10 to install, but it’s not exactly something that is easy to do. However Mac OS X, doesn’t suffer this limitation and will let you install to whatever you want, so I install Mavericks to the 16GB drive, and yeah it’s booting. And SUPER slow. The flash still doesn’t show up, so I read the amazon page some more and find this tidbit:
“My Macbook came with Mac OS Capitan as the operating system for recovery, and therefore did not detect the SSD. I had to create a High Sierra installer on a USB using another Mac and an app (DiskMaker) in order to reinstall the operating system from High Sierra. Once this was done, the SSD appeared available and I was able to install the operating system and upgrade without problem.” –Gilberto R. Rojina
Oh, now isnt’ that interesting? So of course I got to update my thumb drive, and of course 16GB isn’t enough space. Great. So I order a Elecife M.2 NVME Enclosure for £23, thinking I should be able to figure out once and for all if I can see the old drive, or maybe boot from it. I get the drive, plug in the storage, and Disk Util sees a drive, but will not mount it, nor is it selectable too boot from. The issue of course is that it’s APFS, which I guess cannot boot from external media? I have no idea, but I don’t have anything that critical on there, as I keep my stuff backed up on some cloud thing. So I do have a 128GB thumb drive on me, so I format the 1TB as HFS+, backup the drive, and and once more again reboot to the recovery mode, using the crap keyboard, to install Mavericks onto the 128GB flash. Thinking everything is going to be fine, I find this apple support page, with the needed links to get ‘old’ versions of MacOS.
These versions can be directly downloaded and installed without the store.
Another weird thing is that Mavericks won’t let me login to the Apple store. It notifies me on my phone, I approve it, but it never prompts for the verification. Maybe it’s too old? Anyways I install macOS Sierra, and do the upgrade.
Now running Sierra, I can use the store, and try to take the leap on my USB to Mojave. And of course disappointment strikes again:
What the hell?! So now I’m trying to find out how to create a bootable USB installer from the download. That leads me to this fun page at apple. Apparently an ‘install installer to USB drive’ would be too complicated for Apple, so its hidden in a terminal command. Fantastic. Since I’m using that 128GB as my system, I grab that 16GB flash drive, and install the installer to that.
sudo /Applications/Install\ macOS\ Mojave.app/Contents/Resources/createinstallmedia --volume /Volumes/SanDisk\ Fit
What an insane path to get this far. The tool will partition and format the drive, and now I can shut down, pop out the 128GB Sierra drive, and boot into the Mojave installer.
I didn’t take pictures, but by default the Mojave installer & DiskTool only show existing partitions. You have to right click on the drive, to expose the entire drive. This was an issue as I’d installed ESX onto the new storage. I clear the drive, and now I can finally install Mojave.
Thinking it’s all over, I reboot into the Mac Pro, thinking everything should be fine, I have a properly fitting drive that is super fast, and It’s already 10.14.6 the latest and last version that lets me run 32bit stuff. Except that It’s slow. And unstable. No progress was seemingly made.
Trying to search ‘why is my Macintosh slow’ is, well a total waste of time. And it periodically locks hard making it extremely annoying.
Somehow I found this thread over on Apple support:
I have a quad-core CPU Mac Pro late 2013 (Model Identifier: MacPro6,1).  MacOS X 10.9.5.
I have had all sorts of USB devices hooked up to it.  At any one time, I usually have all 4 ports filled.  I have a 3TB USB 3.0 disk that stores my large files, a USB mouse and keyboard (logitech with a usb mini dongle), a cable to charge my logitech USB cordless mouse, Lightning cable to my iPhone 5, and other things that I rotate in and out, like CF card reader, Audio Box USB audio interface from PreSonus, Sony Webcam, etc.
About 3 months into having the Mac Pro, I noticed that my keyboard went dead in the middle of using it.  The mouse was dead too.  I blamed the RF dongle that they both share, because the Apple Magic Trackpad (bluetooth) I have still functioned.  Try as I might, I couldn't get the keyboard or mouse to work again, so I used the Magic Trackpad to restart the machine, and then my keyboard and mouse worked again.
It wasn't until later that I realized that all the USB busses on the machine had frozen or "died" temporarily.  I realized it later because my USB hard drive complained about being "ejected improperly."
Now I have had the USB die on the Mac Pro at least 15 times over the last month and a half.  Usually once every two days or so.
I have tried (almost one by one) using some of the USB devices on the mac, and removing others to ascertain if it's a certain USB device that is causing this.  But the odd thing is that I never get a message from the OS like "xxx USB device is drawing too much power."
I'm going a little nuts here because I cannot see any rhyme or reason to the USB interface lock ups.  And each time it happens, all the USB devices go dead until I restart.  Sometimes, I'm able to SSH into the machine from my iPhone and issue a "shutdown -h now" and even though I see the Mac OS X UI shutdown, it never fully halts.  I often have to hold the power button to get the machine to turn off.
I really can't say if it's software related, hardware related or what.  I've tried to watch my workflow carefully to see if anything seems to make a pattern, but nothing yet.
Any suggestions? Is anyone else seeing behavior like this?  Do we think it's a USB device... or is my Mac Pro flakey? -- Cheule
Wait the USB?
And to follow up, this thread over on Apple, that mentions:
"When I plugged in the same config on my new machine USB 3.0 directly it was very weird, devices would not remount and only show up if they were then when present at startup, and thruput was sluggish. So I stopped using the in built USB 3.0 and grabbe the old belkin thunderbolt USB hub, and BAM it all works perfectly. Better than that after testing the throuput , the belkin gave me 30-50% better performance that the inbuilt USB, that is without any hubs just direct." -- symonty Gresham
And sure enough another search about the USB setup seems to confirm it from Anandtech
Here we really get to see how much of a mess Intel's workstation chipset lineup is: the C600/X79 PCH doesn't natively support USB 3.0. That's right, it's nearly 2014 and Intel is shipping a flagship platform without USB 3.0 support. The 8th PCIe lane off of the PCH is used by a Fresco Logic USB 3.0 controller. I believe it's the FL1100, which is a PCIe 2.0 to 4-port USB 3.0 controller.
Unreal. I notice as I try to use the machine more occasionally the mouse turns itself off. Replugging the mouse shows it powering up and immediately powering off. I turn on the annoying backlight of the keyboard, and yeah it powers down too, however reinserting it brings it back to life. Luckily I still have this A1296 Apple Wireless Magic Mouse with me, so I pair that and unplug the mouse, and everything else USB.
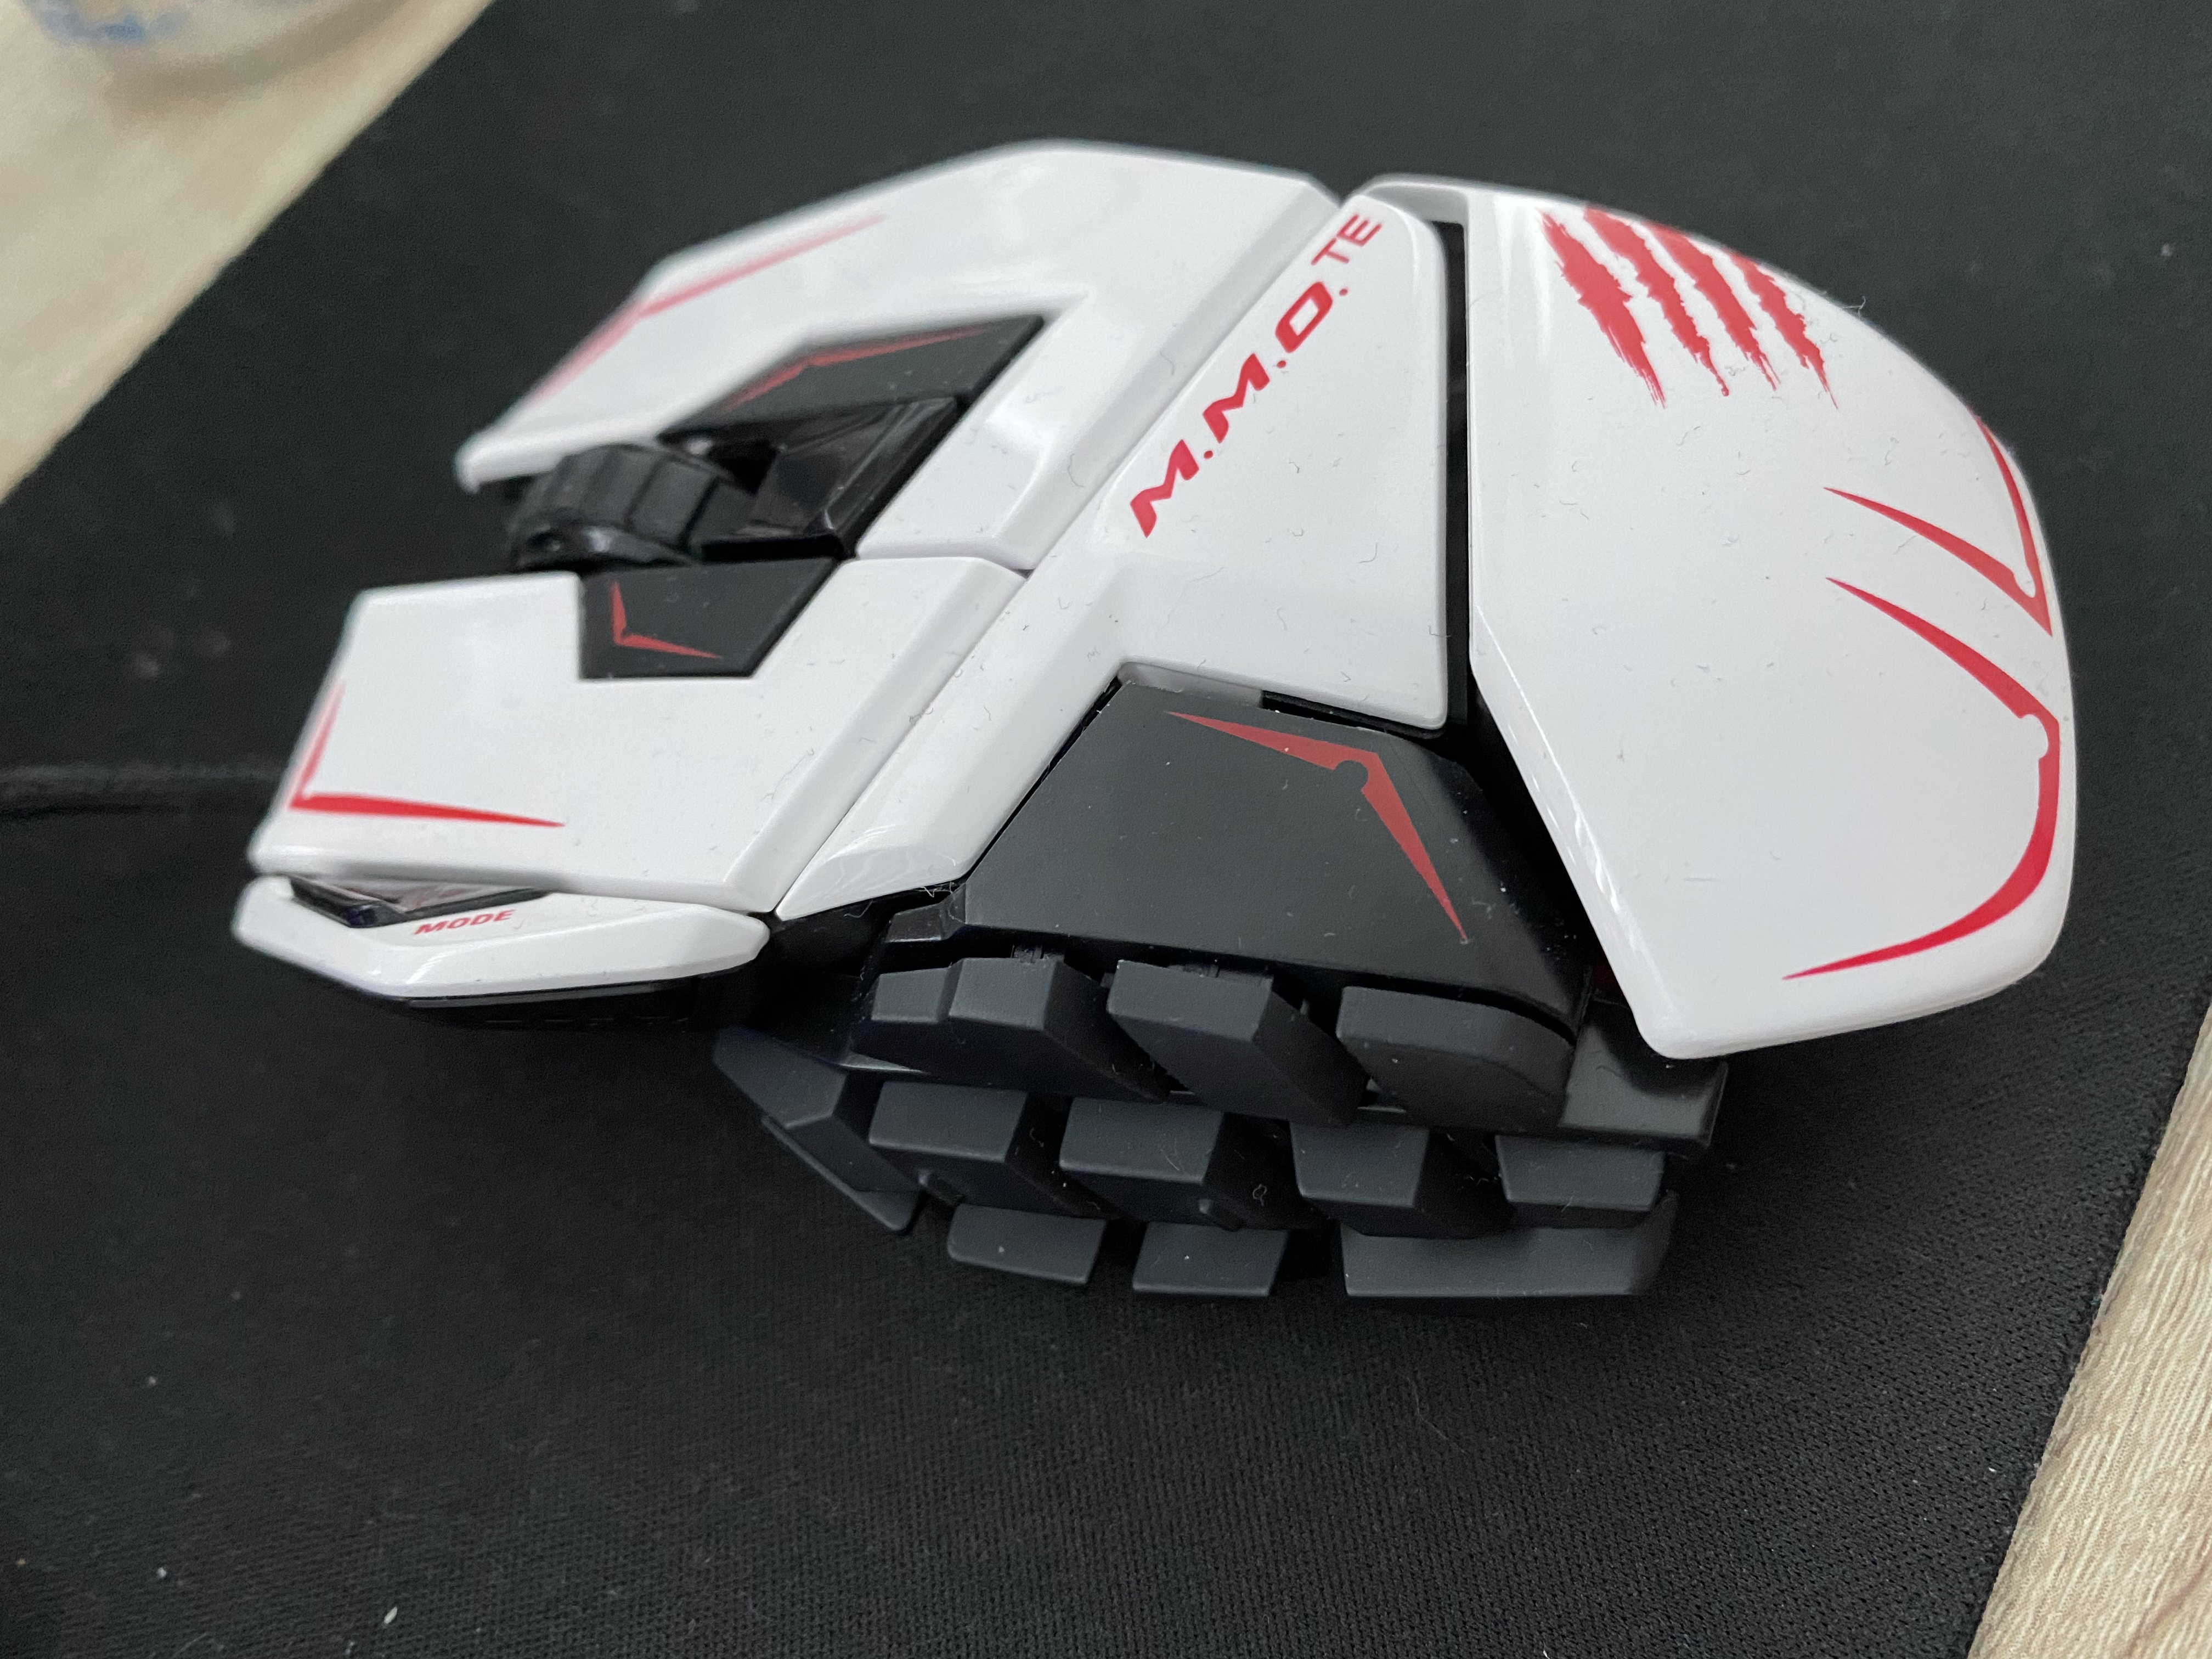
It was the mouse. I can’t believe it either. I am simply blown away how this could possibly be a thing. I haven’t ordered the thunderbolt to USB dock yet, as I really didn’t want to spend any money on this thing, it was a grab and go solution, that has proven itself not so much grab and go.
After 6 hours of working yesterday, I shut it down to give it a break for a few hours, and it’s been up some 12 hours so far, pain free. In 2022, the Xeon E5v2 processor just really isn’t worth lugging around, but I already had it, so when it comes to transport, it actually works out pretty well. I wonder if this would have been a good traveling solution 2013 onward, but the fact a mouse could basically bring the machine down makes me think I’d have gone totally insane trying this on the road. Just as the USB Win/Alt/Alt GR/FN keys not being able to trigger the recovery mode was also crazy.
I don’t know why Apple insists on such fragile machines, but maybe the new Arm stuff is better? I can’t justify one at the moment.
I’m working on getting some local retro kit, and I’ll have more fun coming up. But this fun experience ate 4 days of my life, and the least I could do is document it. I don’t know if it’ll help anyone in the future, maybe once these become iconic collectable, like the Mac Cube. Although as a former cube owner, those at least didn’t freak out when you used a 3rd party mouse.