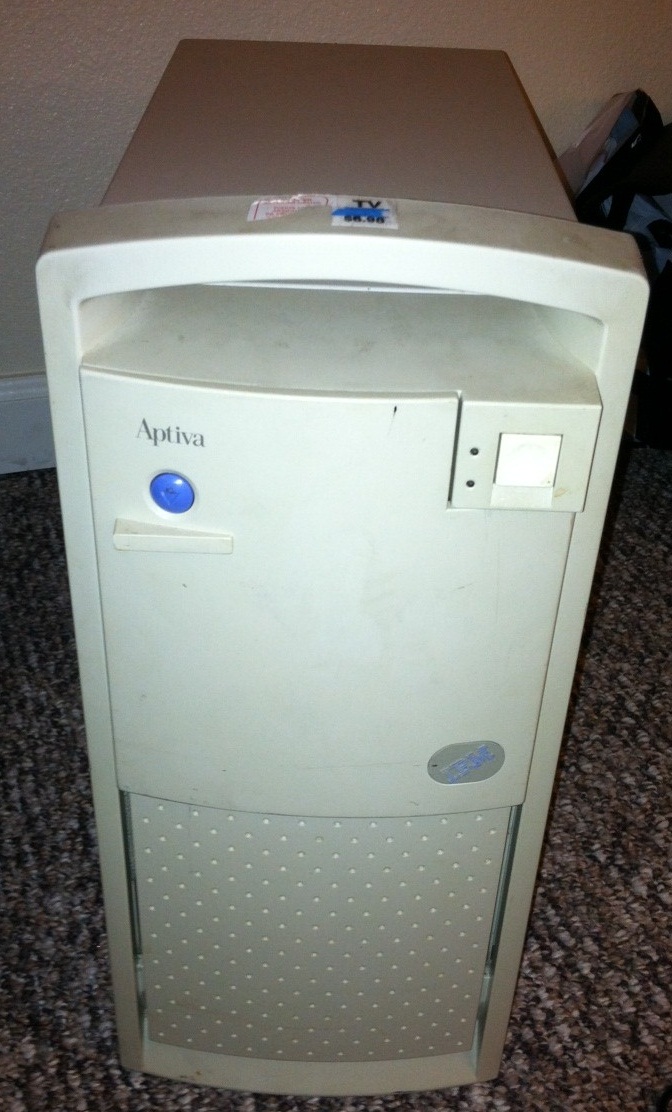
So a while back I had scored this IBM Aptiva 2176 for $6.98 . I had been running OS/2 1.21 on there with great success, but I felt like trying something different.
Something more like Xenix.
The IBM comes with a WDC AC32100H hard disk, 2GB in capacity. I figured this would be quick and easy to install.
Boy was I WRONG.
First off Xenix has issues with disks bigger than 512MB. Namely this kind of limitation:
You need to stay within the bounds of 16 heads, 63
sectors/track, and 1024 cylinders.
And of course the WDC in question is one of these ‘new fangled’ LBA disks. Booting up on LBA mode it looks like this:
hda: WDC AC32100H, 2014MB w/128kB Cache, LBA, CHS=1023/64/63, DMA
The other mode, is CHS which of course gives us this:
hda: WDC AC32100H, 2014MB w/128kB Cache, CHS=1023/64/63, DMA
So I thought I could just ‘override’ the disk parameters under Xenix, and tell it, that its 1023/16/63. Sure that worked for formatting but booting? nope!
I pulled up the data sheet and it informs me of this as its native capabilities:
Recommended Setup Parameters
Cylinders 4092
Heads 16
Sectors/Track 63
Landing Zone 4092
WPC 4092
Jumper Setting Information Six Pin Drive
But how to get there? What was worse, is that doing a probe under MS-DOS I kept on seeing output like this:
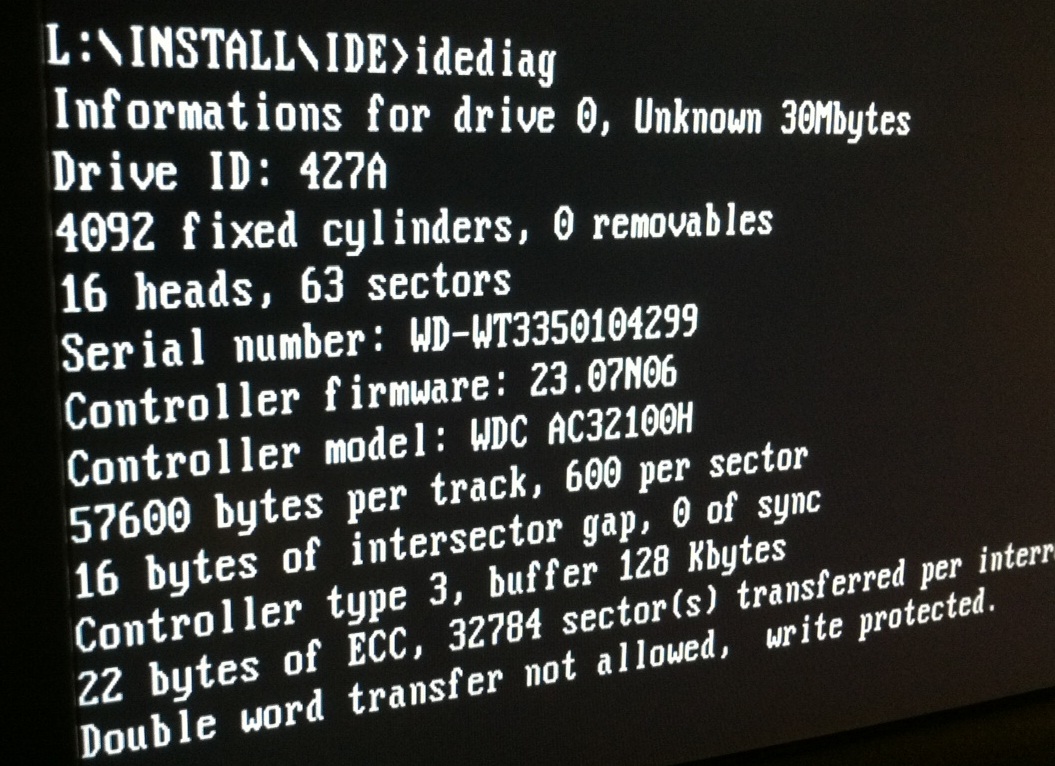
And yet trying to override the geometry with these parameters only lead to disaster. Clearly what these programs were telling me were conflicting, what I needed was something to just tell me what it sees. So I thought I’d use Linux.
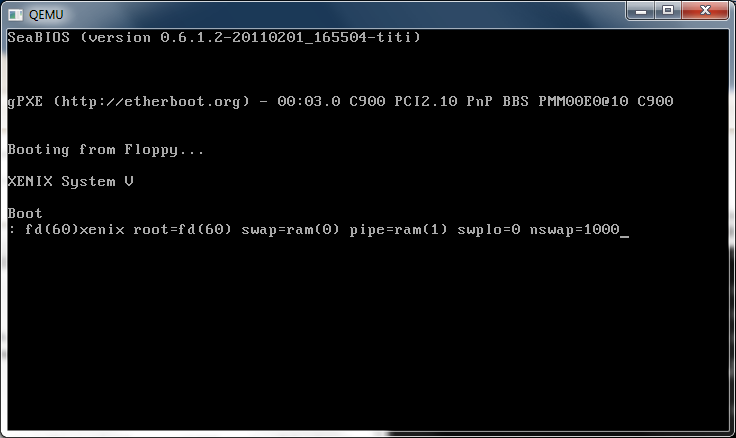
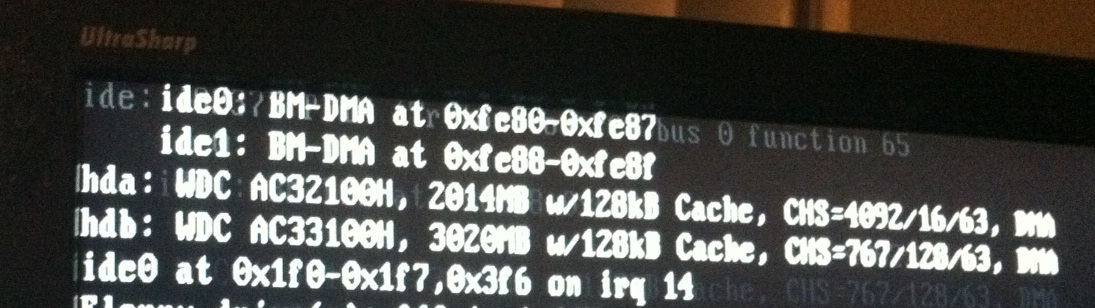
But not some 8GB download, because that’d take far too long. No weighing in a just over 2MB is the specialized ‘doom speaker sound‘ distribution. Its UMS DOS based, meaning that you can just unzip it onto a FAT drive, without any formatting/partitioning, and boot from MS-DOS into Linux. So sure enough this is what I saw:

First, yes I have two disks, I’m only interested in the ide0/hda. but as you can see its translating. I found the same result for both CHS/LBA. The only thing I didn’t notice for some reason was an option to turn drive translation OFF in the BIOS. Oops!
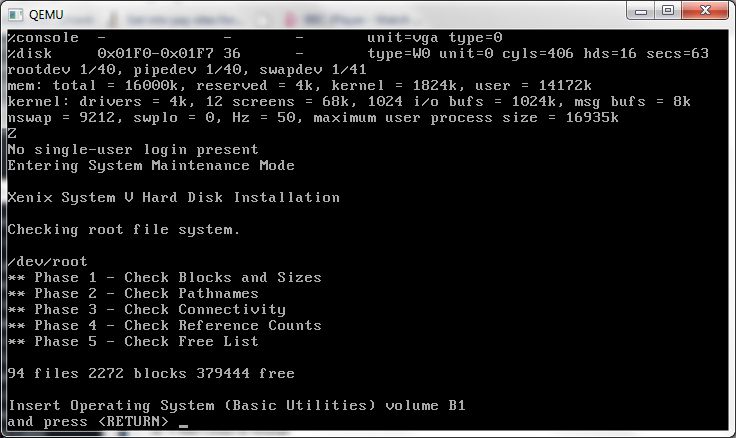
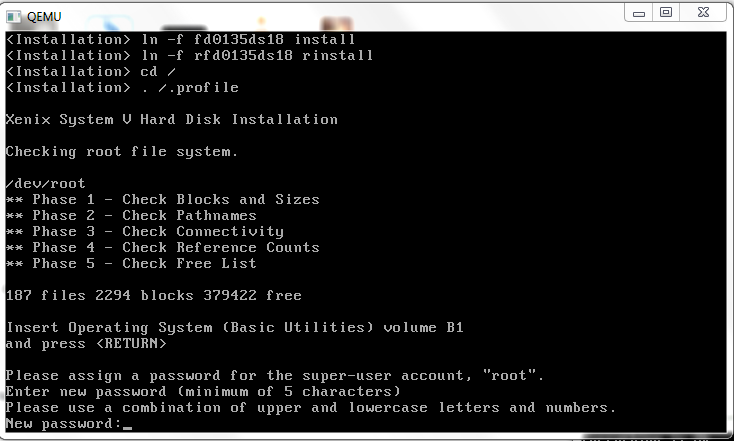
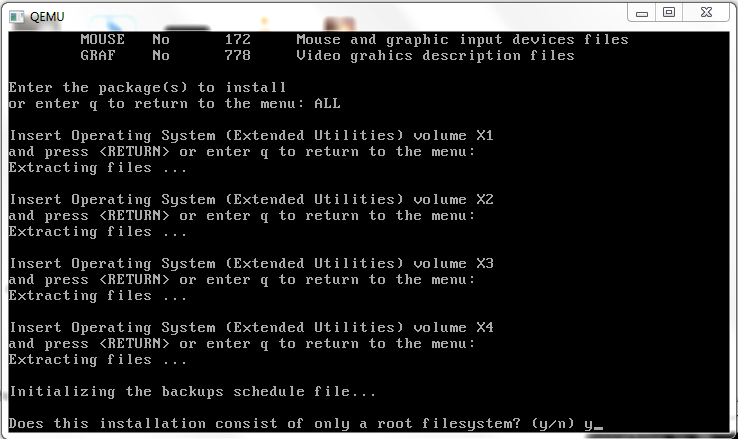
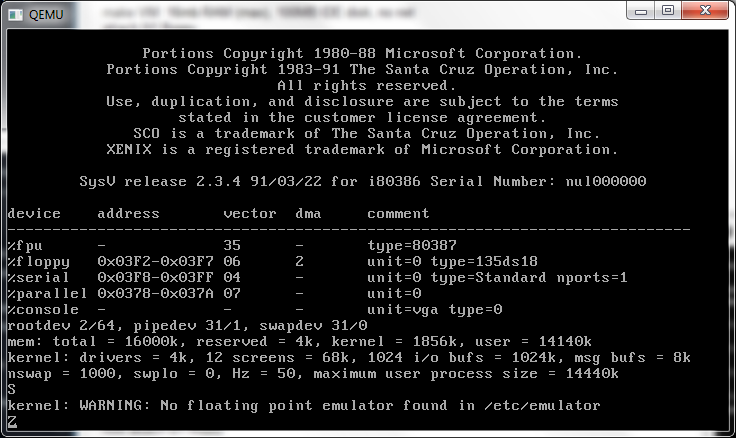
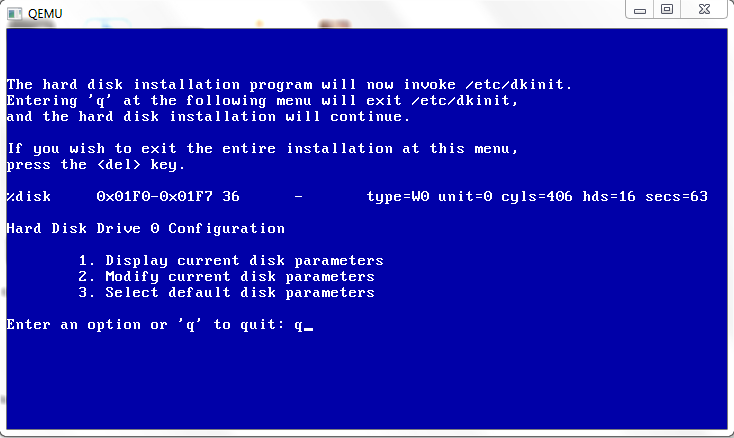
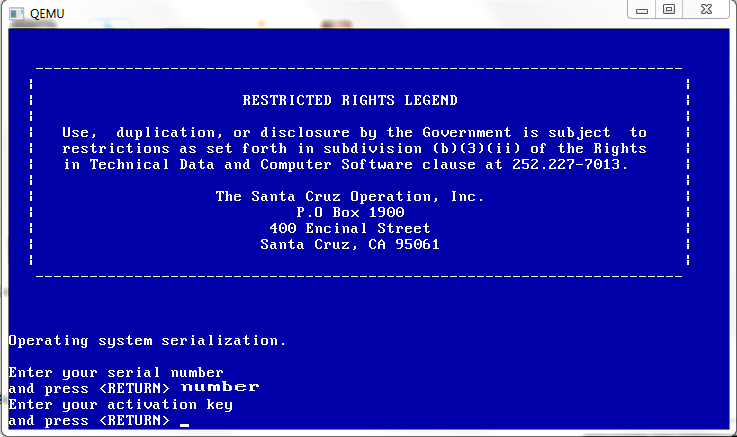
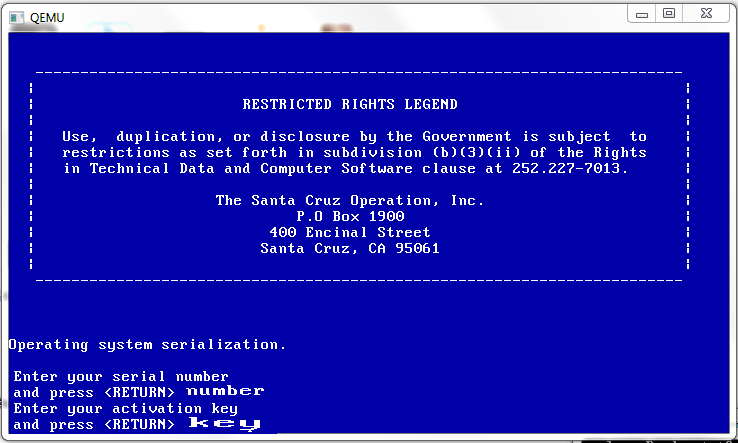
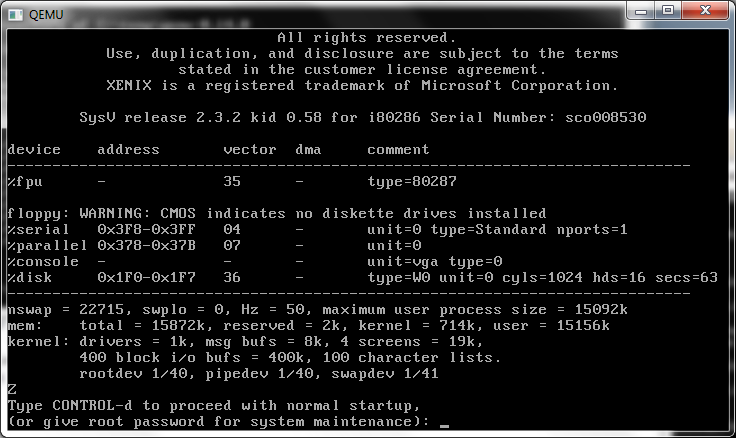
So now I was able to boot the Xenix install, and it finally saw what it should have seen!
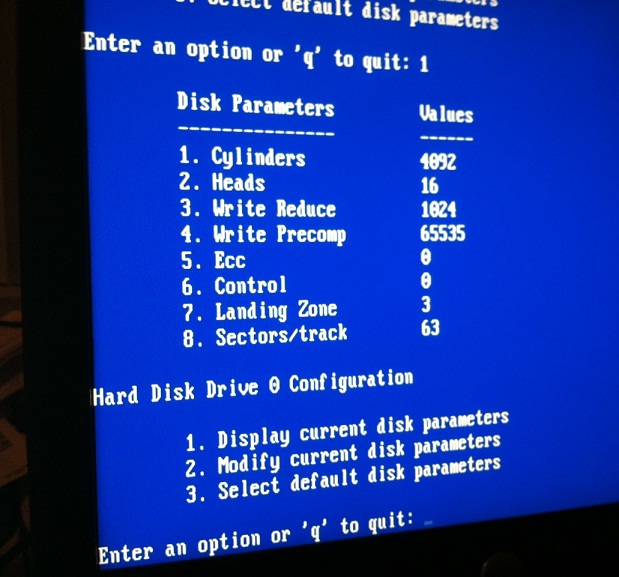
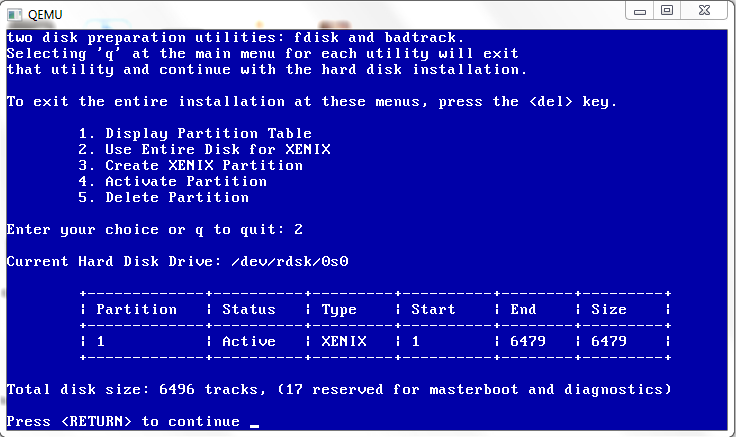
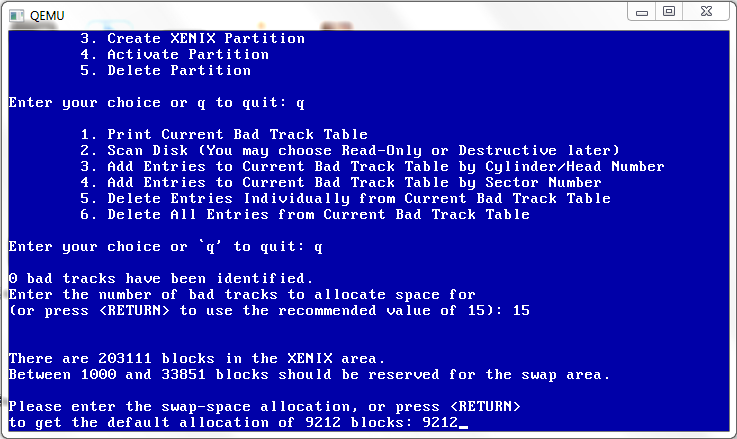
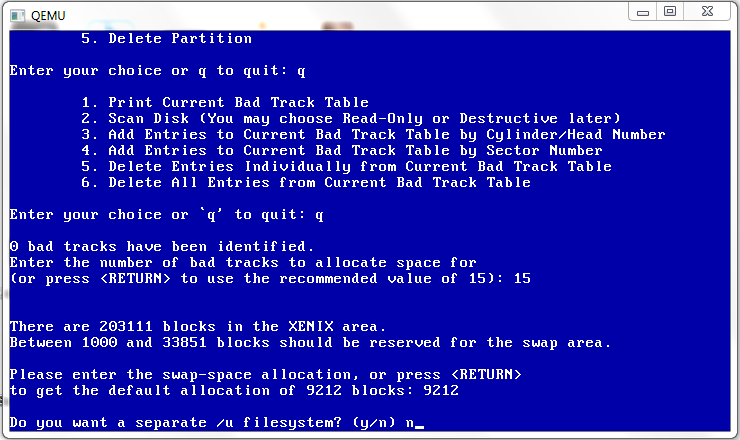
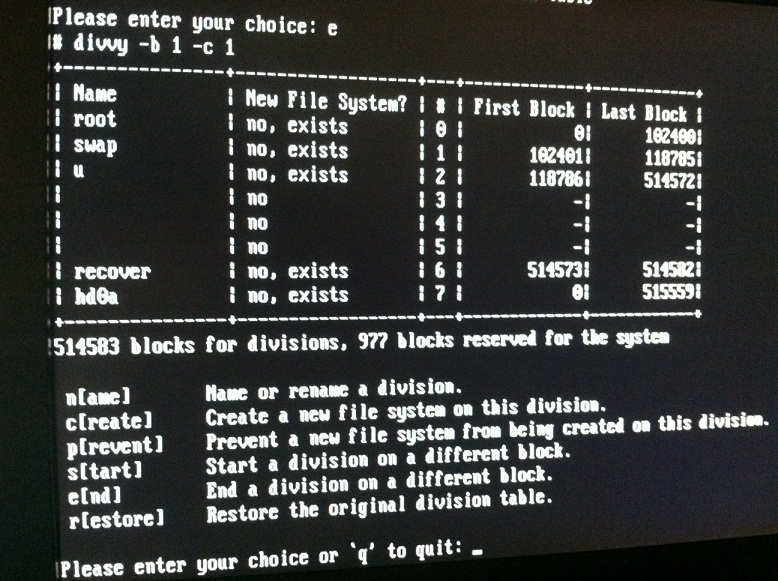
then tell it that the disk was only 1024 cylinders, as mentioned in the usenet posting, along with changing the landing zone. I knew it was going to work so I figured I’d make a separate /u filesystem for the heck of it. Divvy takes me back to doing disklabels on 4.3 BSD
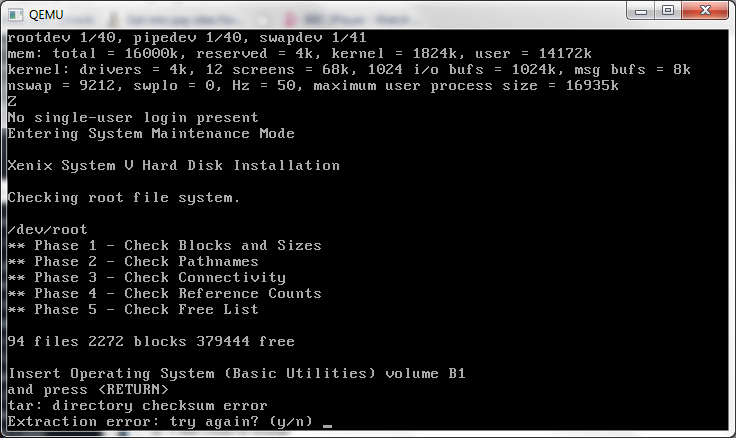
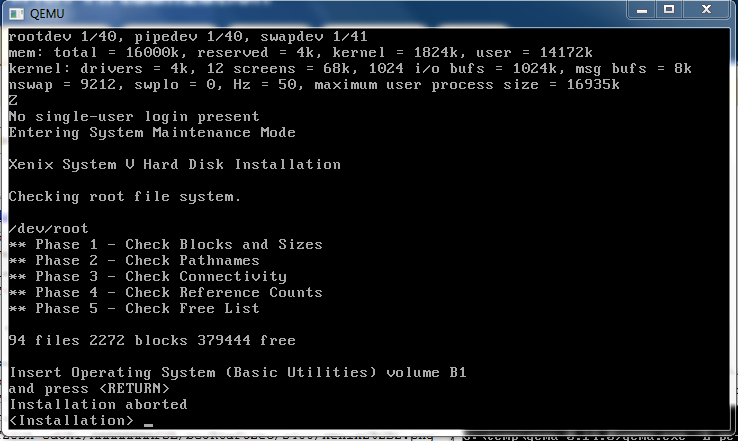
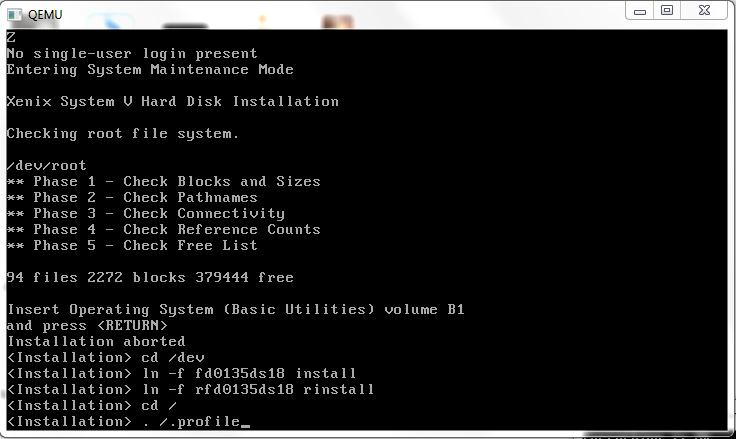
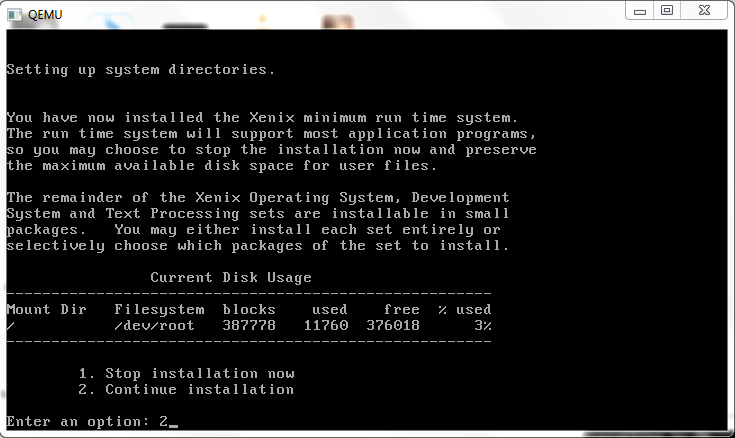
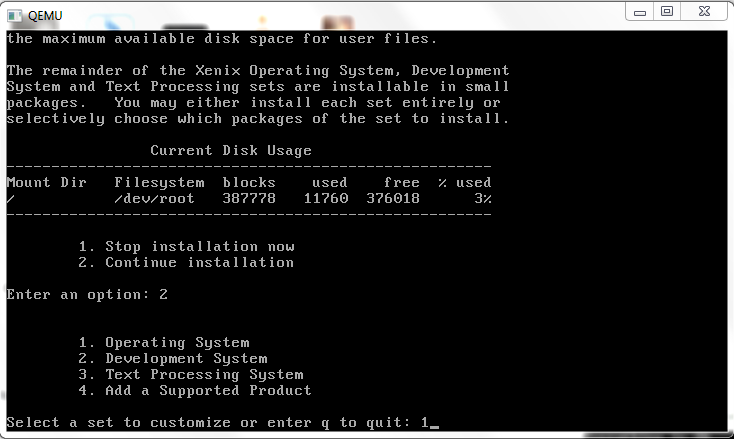
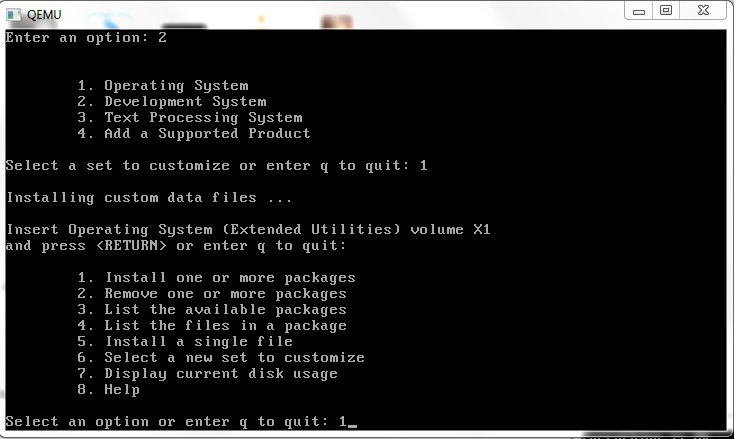
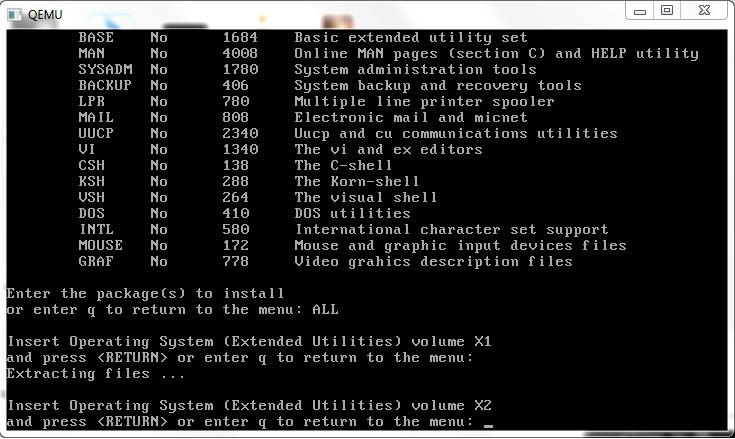
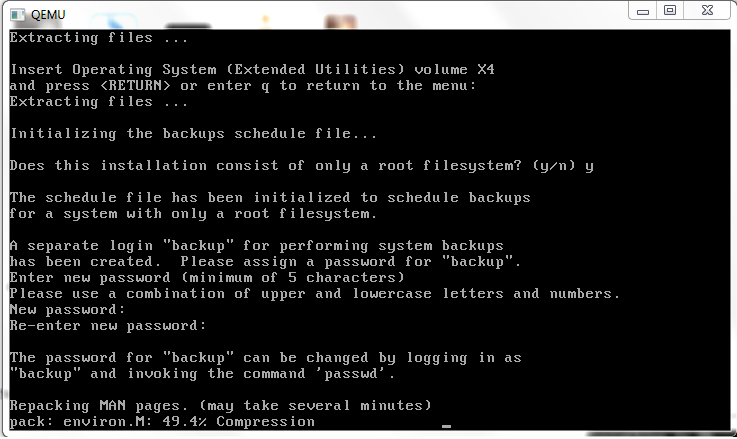
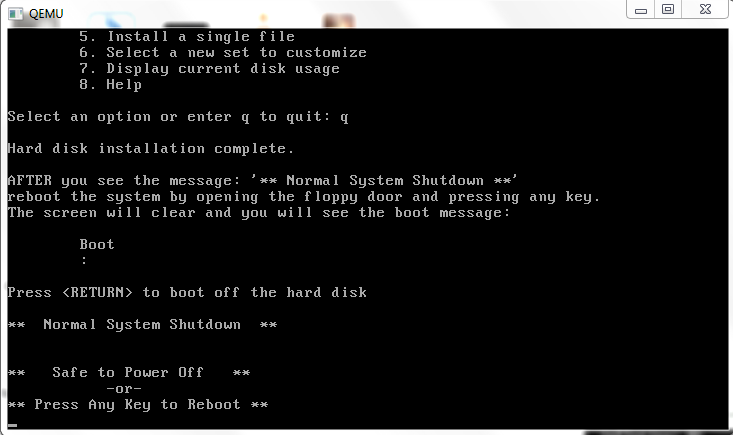
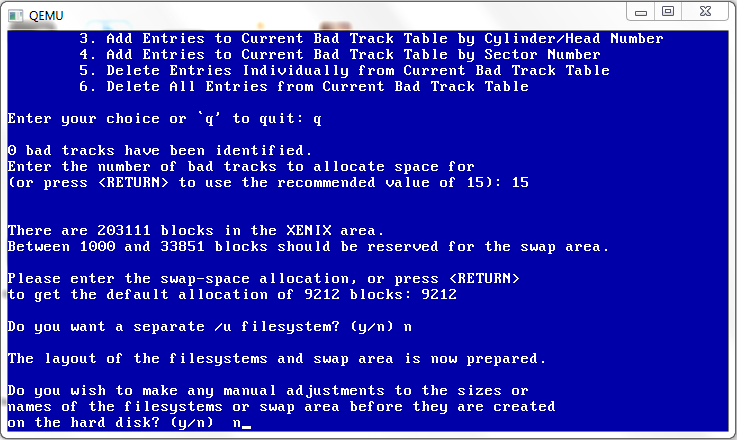
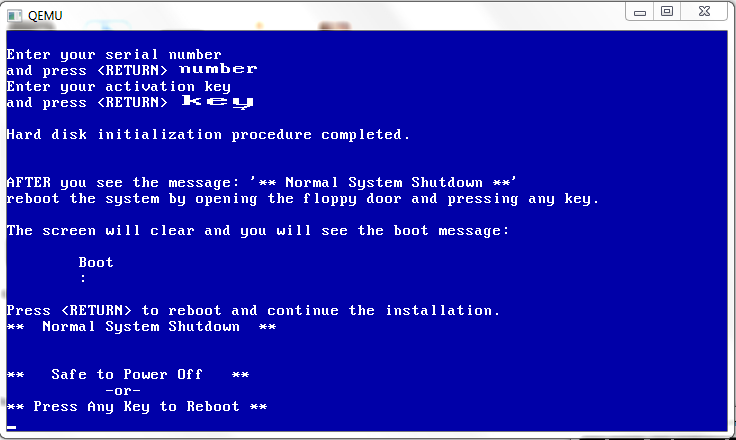
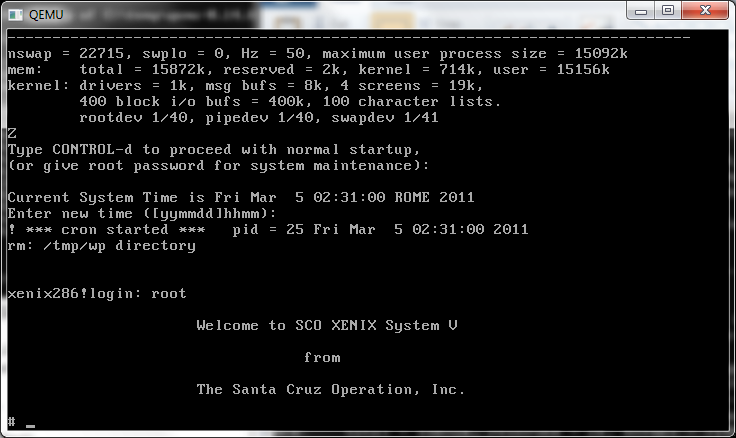
With that all said and done, it was time to reboot, and it booted from the hard disk! I could then complete the install. After that was out of the way I noticed that it was not mounting the /u filesystem!
The following entry needed to be added to the /etc/default/filesys file:
bdev=/dev/u  cdev=/dev/ru  mountdir=/u \
   	desc="The User Filesystem" \
   	rcmount=yes \
   	fsckflags=-y
Now it mounts up like you’d expect! If you plan on making the /u for peoples home directories don’t forget to alter the /etc/default/mkuser file!
I have no idea if this works on a 1TB IDE disk, but I’d imagine if you can somehow get it into the limited geometry Xenix can understand, it should work…. Of course why you’d want to run a Unix that can only address 16mb of ram is beyond me…
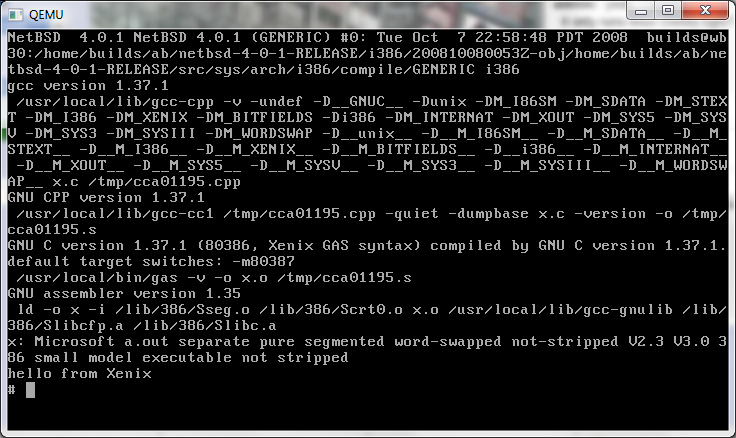
Now that it’s booting, the next step will be to get it onto the internet….