The following is a guest post by PA8600/PA-RISC! Thanks for doing another great writeup on that PowerPC that was going to transform the industry!.. but didn’t.
The history of the PReP platform from IBM is quite interesting, not only because of its place in the history of Windows NT but also the history of the PowerPC architecture in general. When the PowerPC platform was new, IBM (just like a few other vendors, notably DEC) had grand plans to replace the x86 PC clone market (they helped create) with PowerPC. Of course thanks to various factors such as Apple’s refusal to play along, the launch of the Pentium Pro CPU (and the later Itanium disaster), and high cost, this plan never ended up panning out. Later IBM PReP machines were designed for AIX and Linux use only, and they were sold as regular old RS/6000 computers.
Still, Microsoft being Microsoft and willing to port their OS to literally anything hedged their bets and made MIPS, PowerPC, and Alpha ports of Windows NT (along with a PC98 release for Japan only). In the guest post about Solaris for PowerPC I made, I talked about the history of IBM’s PReP platform some more so you should go read that post if you want an initial rundown on PReP’s flaws and history. But I have learned a bit about the Windows NT port for PowerPC, and I discovered a rare version of it as well. By now everyone with a PReP machine (or PPC Thinkpad) has run Windows NT 4.0 on it, and if PReP machines are emulated it’s guaranteed this will be the second most run OS on it aside from AIX of course.
IBM also made a half-baked OS/2 port for PowerPC as well, and then there’s the previously mentioned Solaris port. All of these are rarities and it’s worth documenting. With how rare PReP machines are and their high prices on eBay when they do turn up for sale (or their tendency to be snapped up fast), I think it’s fitting to write perhaps the most in depth look at PReP hardware that anyone has seen.
Windows NT 3.51: “The PowerPC Release”
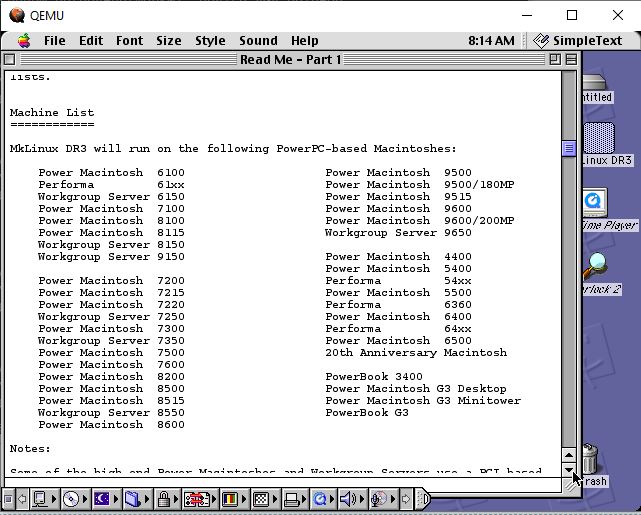
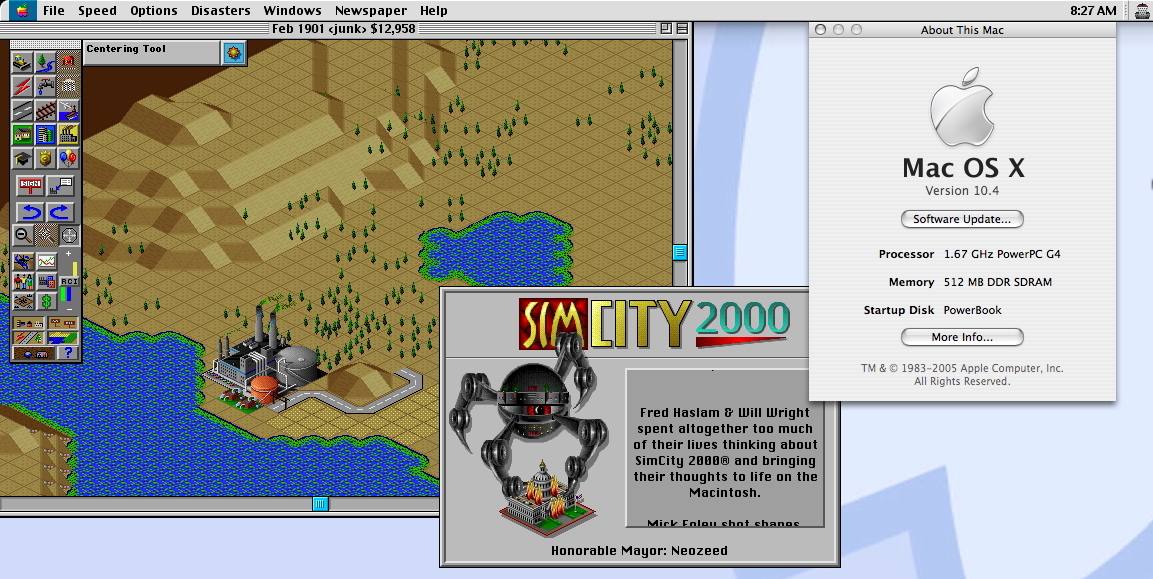
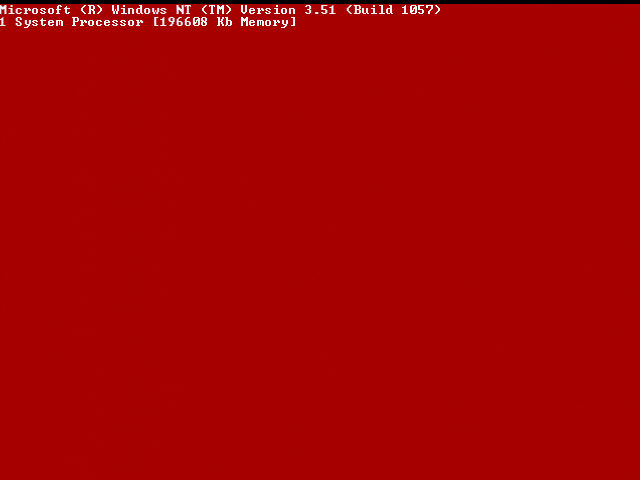
It’s commonly accepted that Windows NT 3.51 was the first release for PowerPC hardware and it was even called this within Microsoft. Featuring HALs for most of the early PReP machines including the Moto Powerstack, the rare FirePower machines built for NT (which used Open Firmware), the Power Series 6050/70 (and maybe 7248), and the unobtanium IBM 6030, it’s pretty much what you’d expect for a first release for PPC. It’s a polished, solid OS that’s arguably faster than NT4 on the same machine. Aside from the red boot screen (on my Weitek GPU), it’s pretty much Windows NT 3.51 but on the PowerPC. It’s like running NT 3.51 on MIPS or Alpha, it’s interesting but more software will likely run on 4 anyhow (especially on Alpha).
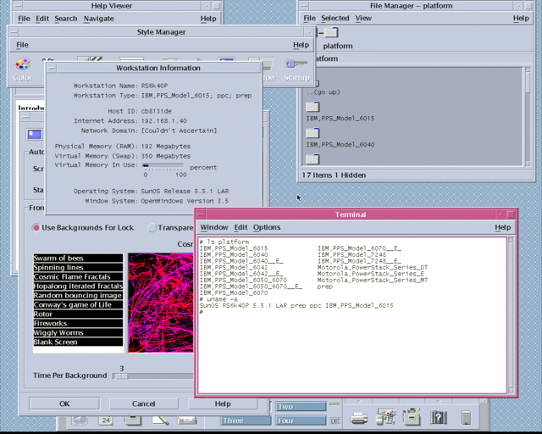
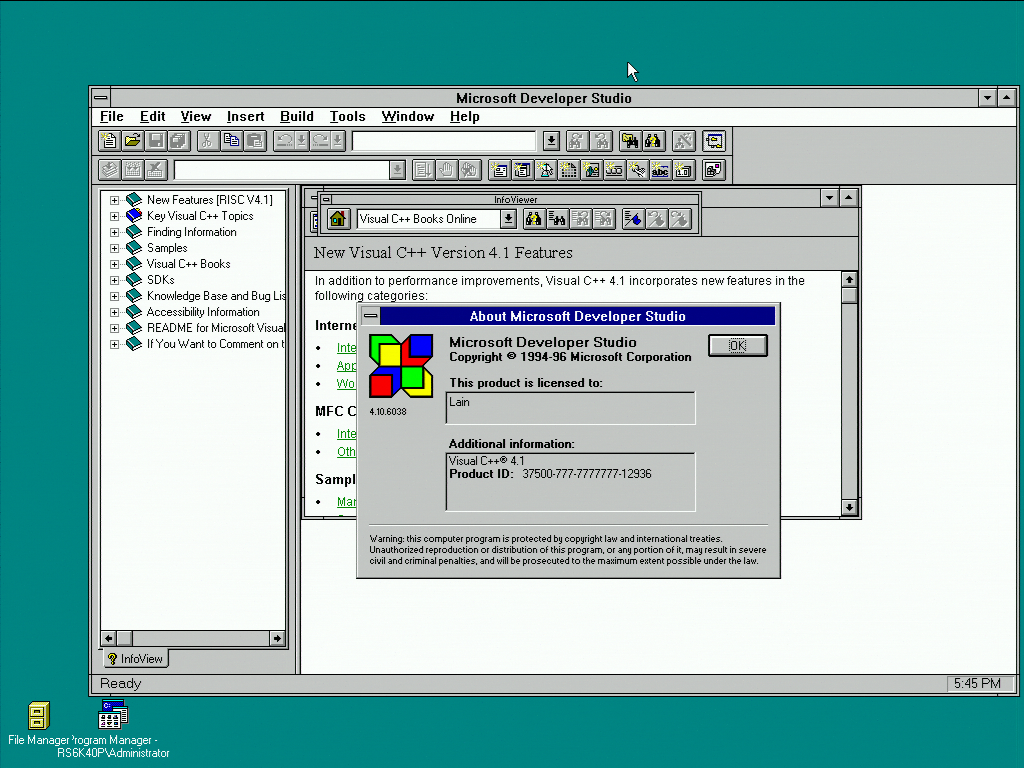
One interesting quirk of Windows NT for PowerPC is it does not report the CPU type of your machine. It simply reports “PowerPC” and what machine you’re running it on. It does not tell you that you’re running it on a 601, it tells you that it’s running on an IBM-6015.
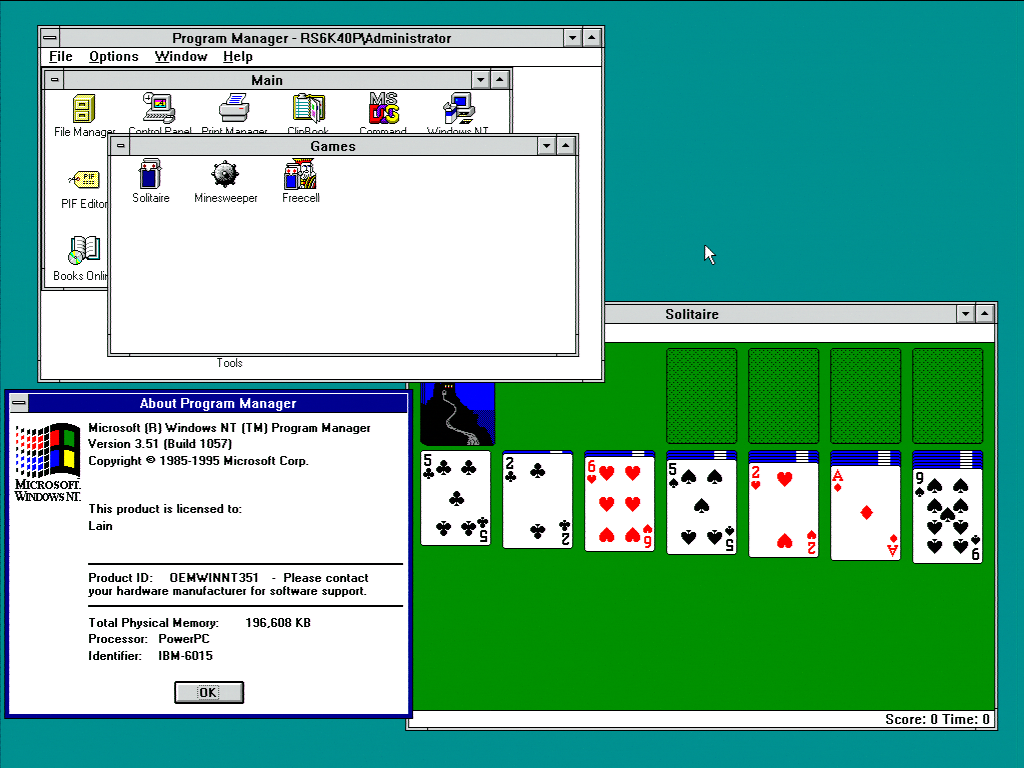
Unsurprisingly Visual C++ 4 works on PowerPC Windows NT 3.51 as well. This is no shock, Visual C++ 4 was designed to work on 3.51 as well as NT 4.0. The same goes with many of the pre compiled programs. One advantage Windows NT 3.51 offers over 4.0 is that it is simply faster than 4.0 on the PowerPC 601.
There’s not much else about Windows NT 3.51 for PowerPC quirk wise that hasn’t been said elsewhere about NT 4. It runs in little-endian mode (one of the few PPC OSes to), it has 16 bit Windows emulation that’s slow, and it needs specific PReP machines to run. One interesting series of articles about the “behind the scenes” of the port worth reading is the Raymond Chen article series, and this discusses the quirks of programming a PowerPC 60x CPU in little-endian mode as well. It can be installed with the same ARC disks NT4 uses, and of course the same SMS and firmware disks will work. In fact QEMU at one time was capable of booting the IBM firmware image from these disks.
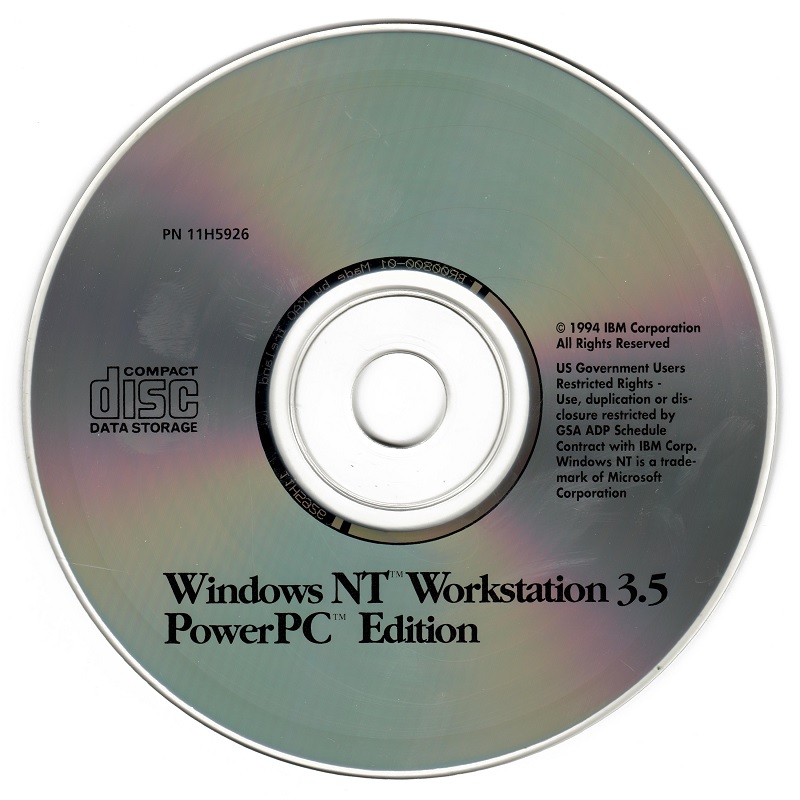
Here’s something I’ve found out from research however. There was actually a limited release of Windows NT 3.5, it’s been dumped, and it is a real operating system. It also requires a very specific model of RS/6000 to work, and one with a interesting history giving it a unique place among the PReP machines. While I was unable to make it work in the end, I did discover and document a lot of interesting features of PReP machines.
Enter Sandalfoot: The IBM 7020/6015 (and demystifying PReP machines)
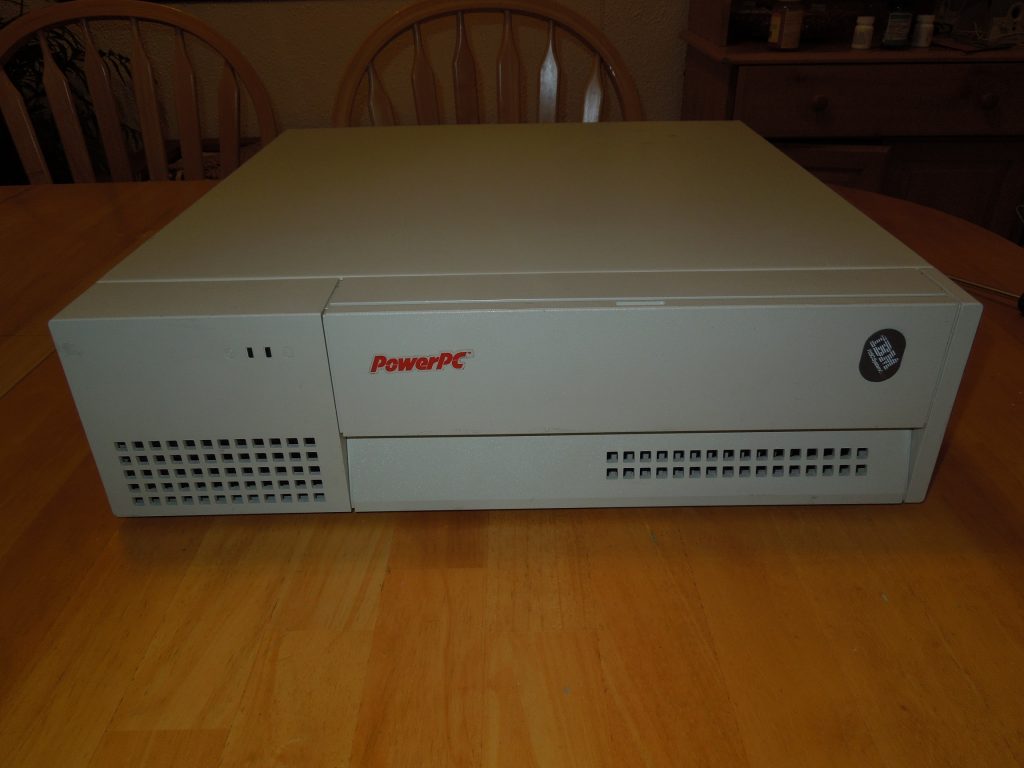
To understand the HCL and weirdness of Windows NT for PowerPC (and why it won’t run on Macs), we need to take a look at one such machine it runs on. This is my RS/6000 40p, a machine that was given several brand names by IBM and used as a development platform for PReP software and operating system ports. This is also perhaps the most historically significant RS/6000 model from the era. While it wasn’t the first PowerPC RS/6000 (that honor goes to the 250), it was the first to use the PCI and ISA busses and it was a few months ahead of both the initial PCI PowerMacs and other PReP boxes. It’s also one of the few true bi-endian machines as just like other PReP machines, the MIPS Magnum, HP’s Integrity, and modern Power8+ machines it has OSes for both endians available.
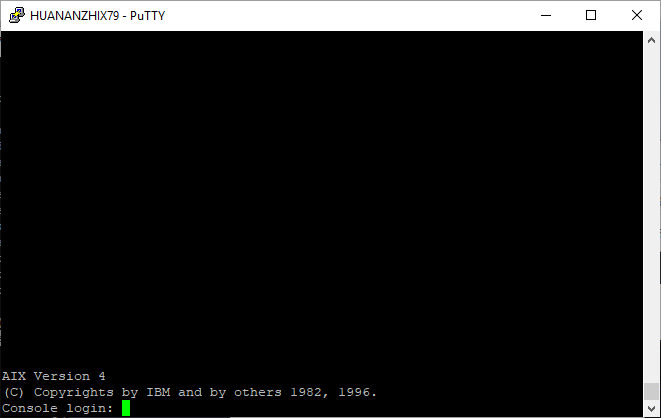
In 1994 (presumably October 28, if the planned availability date is correct), IBM released the RS/6000 40p (announcement letter here, codenamed Sandalbow) and the Power Series 440 (codenamed Sandalfoot). Both are near-identical machines with different faceplates and boot screens. The RS/6000 ranged in price from around $4,000-6,000 and was designed to be an entry-level AIX workstation, bundling a copy of AIX with each machine. As an AIX machine it’s relatively slow and fits the entry-level badge quite well, but thanks to the 601’s POWER instructions it served as a transition machine over to the later 604 AIX machines. Unlike the later PowerPC 603 and 604 machines, it featured POWER instructions allowing it to run both legacy AIX POWER software and later PowerPC software. The Power Series was presumably sold to those wanting a PReP box for Windows instead.
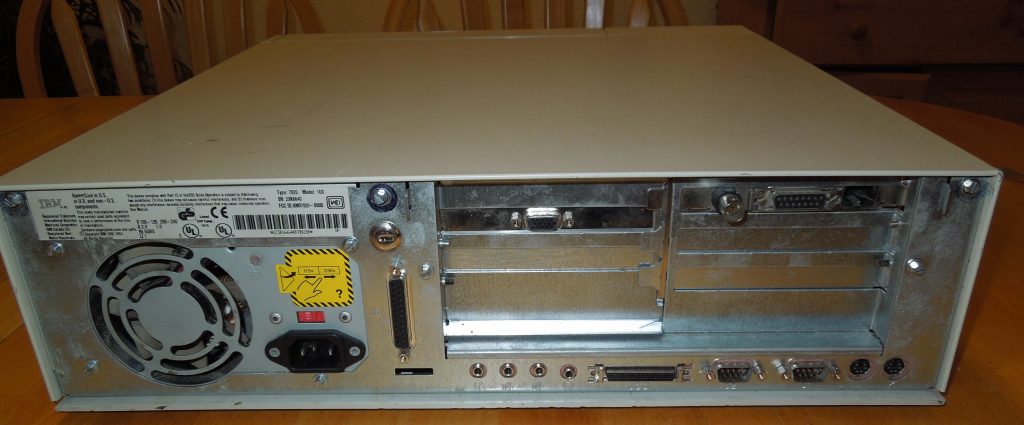
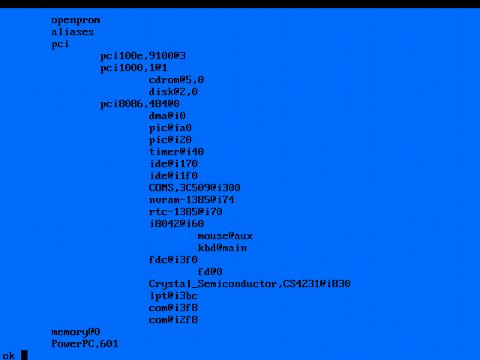
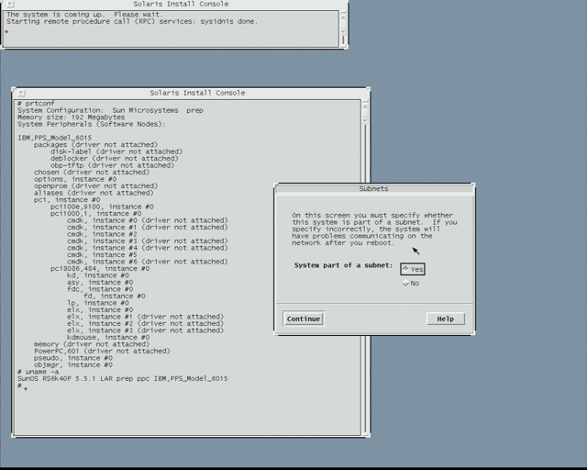
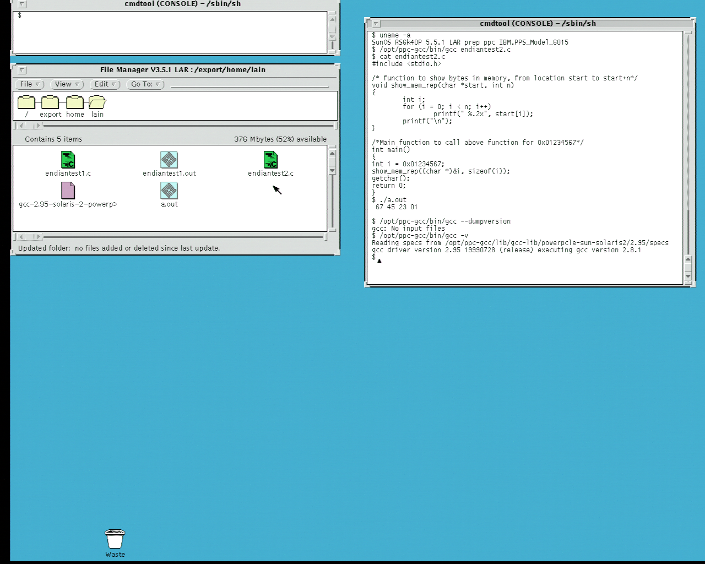
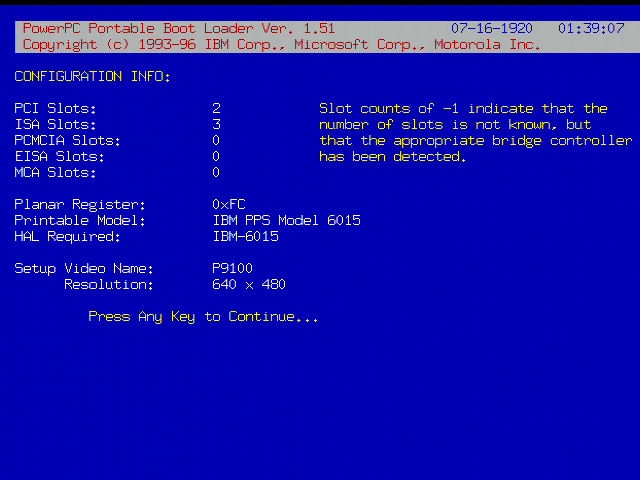
Since IBM PReP hardware is so obscure and undocumented, I’m going to document this as best as I can being the owner of an IBM Model 6015/7020. The machine features a 66mhz PowerPC 601 (similar to that of the Power Mac 6100 and RS6K 250), PCI and ISA slots, and IBM’s “Dakota” PReP firmware (more on the boot process here). It uses an off the shelf NCR 53c810 SCSI controller, Crystal CS4321 sound chip, an Intel 82378 PCI bridge, and a NIC can be inserted into the ISA slots (mine has the famous 3com Etherlink III). The Super-IO chip is also off the shelf, and is a National PC87312VF. The clock IC is a Dallas DS1385S, a close relative of the Dallas DS1387 (with internal battery). At least some of the IBM custom ICs are the chipset ICs and those are also documented. A Linux 2.4 dmesg can be found here.
Mine is also maxed out at 192mb of RAM, however there are some solder pads for more and the chipset is limited at 256mb. This makes me wonder if the system was based on a reference design of some sort. There was an ultra-rare 604 upgrade as well, but considering how there are more 7248 and 7043 machines in the wild I can assume many customers just waited for that instead due to its superior AIX performance.

If the idea sounds familiar (off the shelf chips + RISC CPU) it’s because it was the very same idea used to create the two other non-x86 Windows NT platforms. The Microsoft Jazz MIPS platform most MIPS NT boxes were influenced by was infamously based on the same idea of a “PC with a MIPS CPU”. To a lesser extent, this was also seen on the DECpc AXP 150 and other EISA/ISA/PCI based Alpha machines designed to both run Windows NT and DEC’s own OSes. Crazy undocumented custom hardware and expansion busses were thrown out the window in favor of industry standards. In fact when I posted a photo of the motherboard to a chat full of PC nerds, they stated it looked remarkably like a normal PC motherboard. The whole industry would later adopt PCI and sometimes ISA on non-x86 machines to cut costs and reuse the same expansion cards.
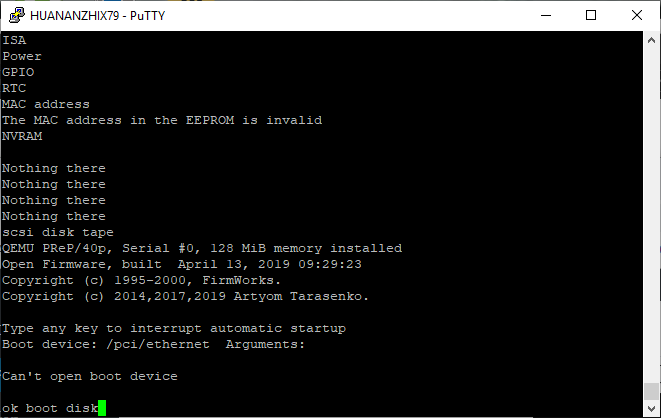
The main difference between the RS/6000 40p and the Power Series variant is the boot ROM logo and chime. The RS/6000 and “OEM” systems used a boot ROM that featured the PowerPC logo and just a beep, while the Power Series machines featured a logo more closely resembling the PowerPC Thinkpads complete with the chime. One can boot firmware from a floppy as well by typing in the name of the ROM image in the prompt and pressing enter, and watching as it reboots once the firmware is loaded into RAM. Here’s a video I filmed demonstrating this, along with some other quirks including there being two SMS keys: F1 for a nice flashy GUI SMS and F4 for a text based SMS, along with F2 for netbooting (with the right NIC of course).
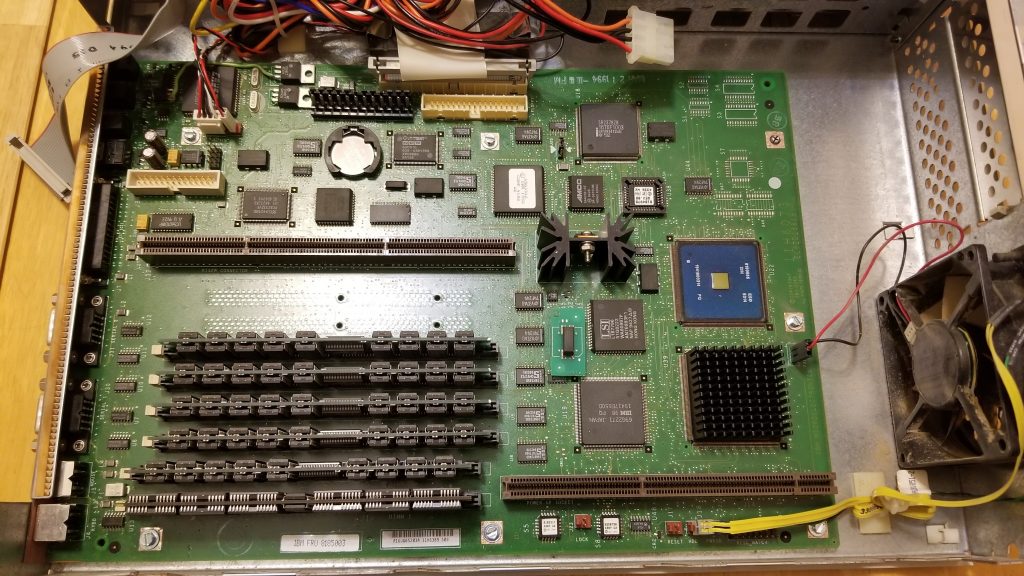
The Sandalfoot machines were LPX form factor machines, featuring a riser card and generic sheet-metal case popular with prebuilt machines from this era. The LPX form factor was wildly popular in the mid 90s due to its versatility, seeing use by both IBM and DEC for their RISC machines, various PC builders, and even Apple for the clone program and clone based Power Macintosh 4400. The Sandalfoot machines also drove home one of the core goals of the PReP project, which was to build a PowerPC platform using as many off the shelf and PC style components as possible instead of using lots of custom ICs like Apple did. I dug out one of my cameras to take a few high-res photos of the motherboard of this computer to illustrate this. Compare this to the motherboard of the Power Macintosh 6100 or even the 601 based 7200 and notice the bigger heatsink and use of fewer custom ICs (Apple loved those).
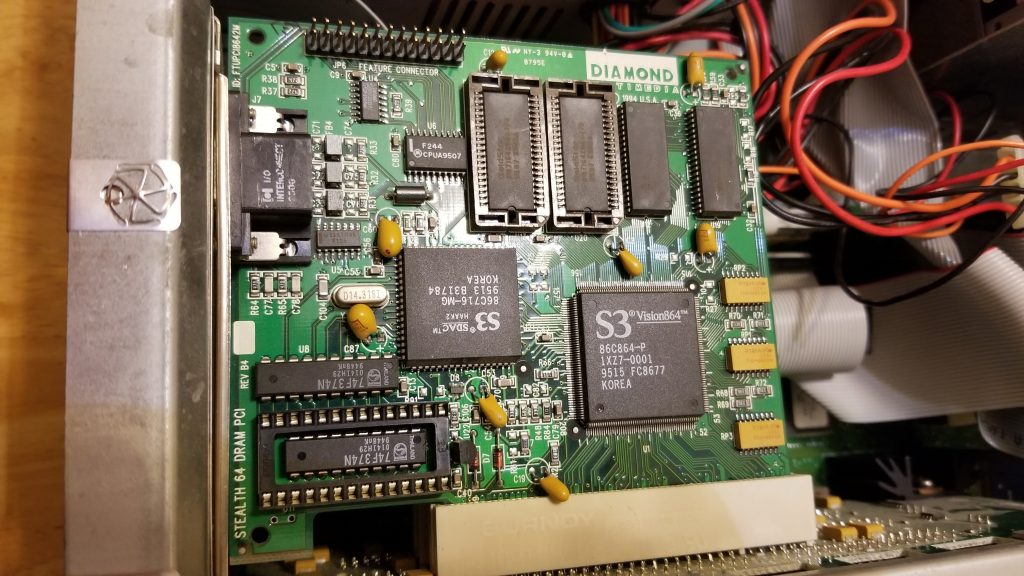
There were three main GPU options: the famous S3 Vision864, the Weitek Power 9100 (or P9100 for short) as a higher end option, and IBM’s own GXT150P. The S3 was the entry level GPU and the Weitek was a higher-end and faster GPU. The GXT150P is beyond the scope of this because it is unsupported on the other PReP OSes, only AIX. The other two video cards are essentially unmodified Diamond PC cards with the BIOS chips missing.
The Sandalfoot machines are perhaps the most important PReP machines due to their role in PReP OS development. Both OS/2 Beta 1 and Windows NT 3.5 were written for this machine in particular as it was one of the first PowerPC machines to support PReP and feature PCI/ISA slots, unlike the NuBus Macs released a few months earlier or the first PPC box: the MCA based RS/6000 Model 250. They also often shipped with the well documented and emulated S3 Vision 864 video card, a common GPU family in PCs of the time to the point where it was even included on some motherboards and emulated in too many PC emulators/virtualization programs to count (notably 86box/PCem). In fact it’s successor (the 7248) featured one soldered to the motherboard.
Windows NT 3.5: Failed Install Attempts
An oft repeated quote about Windows NT 3.5 for PowerPC is this one from Paul Thurrott’s Windows site:
Windows NT 3.51 was dubbed the Power PC release, because it was designed around the Power PC version of NT, which was originally supposed to ship in version 3.5. But IBM constantly delayed the Power PC chips, necessitating a separate NT release. “NT 3.51 was a very unrewarding release,” Thompson said, contrasting it with Daytona. “After Daytona was completed, we basically sat around for 9 months fixing bugs while we waited for IBM to finish the Power PC hardware. But because of this, NT 3.51 was a solid release, and our customers loved it.” NT 3.51 eventually shipped in May 1995.
I think a more accurate thing to write is that there simply weren’t many PReP boxes out in late 1994. Windows NT 3.51 supported the Motorola PowerStack series, the IBM 6050/6070 (and maybe the 7248, which came out in July 1995), and rare FirePower machines. Windows NT only features HALs for the 6015 (Sandalfoot/Power 440/RS6K 40P), 6020 (Thinkpad 800), and the 6030 (a rare IBM machine that likely was only sent to a few developers). By 1995, there were more PReP machines on the market and this made the NT 3.51 release logical. NT4 even supported a few servers, mainly the RS6K E20, E30, and F30.
Windows NT 3.5 was most likely a limited release for testing purposes on the Sandalfoot machine as it’s HCL file declares it as “Build 807” with a date of October 18, 1994. The date seems to be around a week or two before the first 40p machines at least shipped. Some more files were modified later on and the folders were created on November 9th, 1994. Hardware support is very barren, and the readme file even has a section dedicated to quirks of the 40p along with a list of supported software for the x86 emulator. This might have been considered a beta as well, as an announcement letter for the Thinkpad 800 (6020) explicitly mentions Windows NT and that this version might be a beta for developers. It also talks about a Windows SDK for it and a Motorola compiler used to build 3.5 software.
However the real problem for me has to do with getting a video card. Windows NT 3.5 for PowerPC does not support the Weitek P9100 GPU that came with many RS/6000 branded machines, and neither does OS/2 for PowerPC. It only supports the S3 Vision 864 and 928 video cards. It’s listed in the setup options, but choosing it causes a txtsetup.sif error. I’m going to assume that the development units came with the S3 video card instead. My box contained a Weitek card which works for AIX, Solaris, and Windows NT 3.51/4. I bought a card from eBay to use with NT 3.5 and the OS/2 port.
The readme also features an ominous warning with the S3 video cards, that only revision B3 is supported and that 928 cards need 2MB of VRAM for anything above 256 colors. My revision of the card I ordered was B4, so I took the risk of seeing if it worked with my system. I also removed the ROM chip as the system initializes the video card itself and that having a ROM chip can cause the system to not complete the self-test or display video. As the IBM Weitek card lacks a BIOS, I did this.
Despite the scratches on the card from possibly coming out of an ewaste pile, the card worked fine in both a PC I inserted it in for testing purposes and the IBM system. I now had a 40p with a GPU much more well supported among non-AIX or Windows NT operating systems.
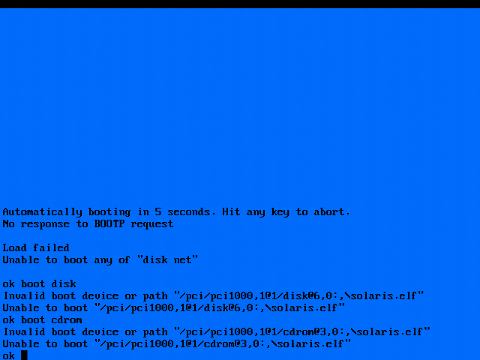
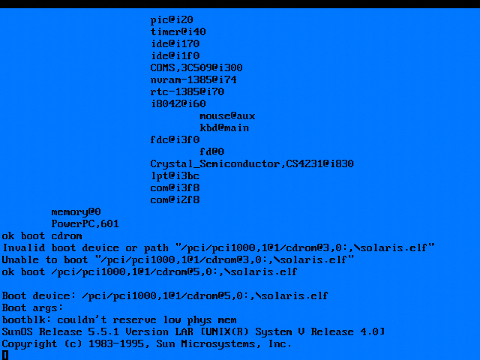
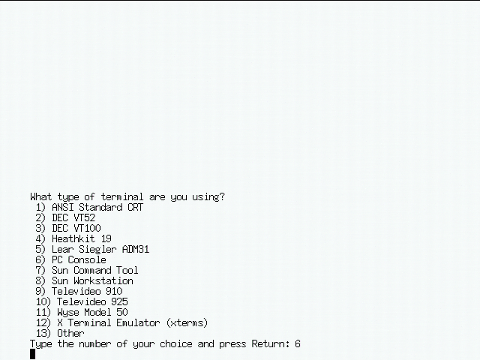
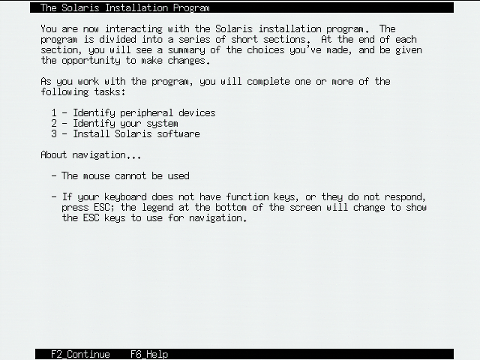
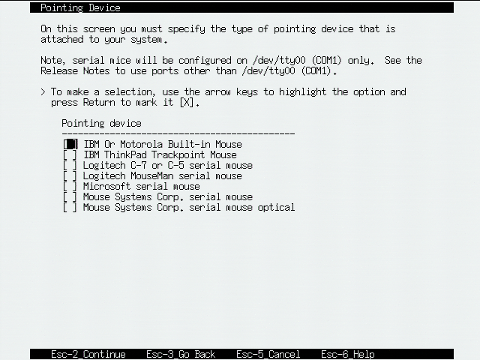
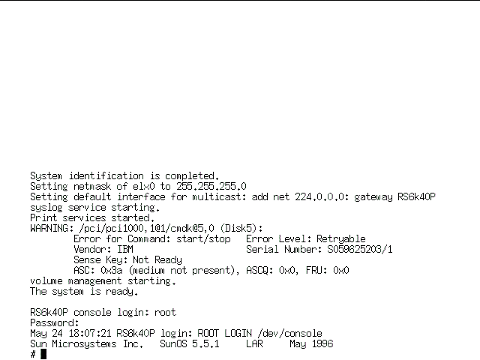
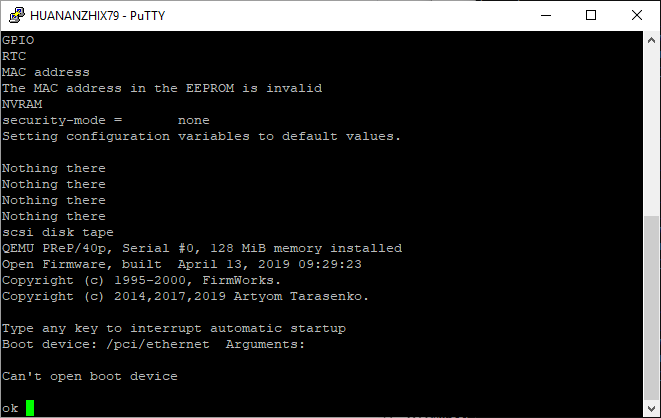
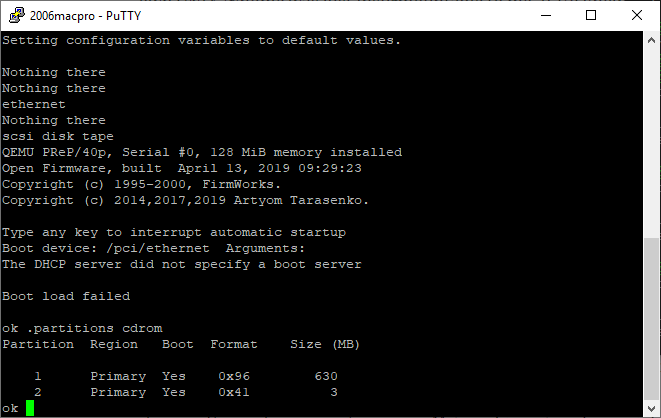
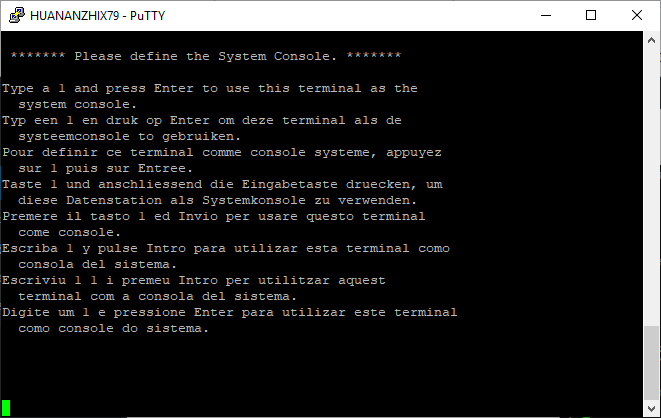
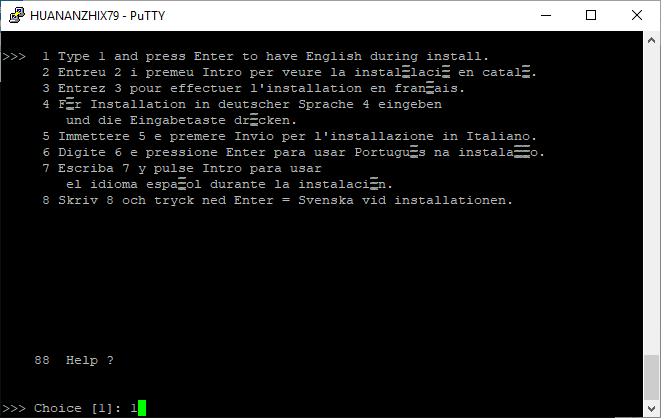
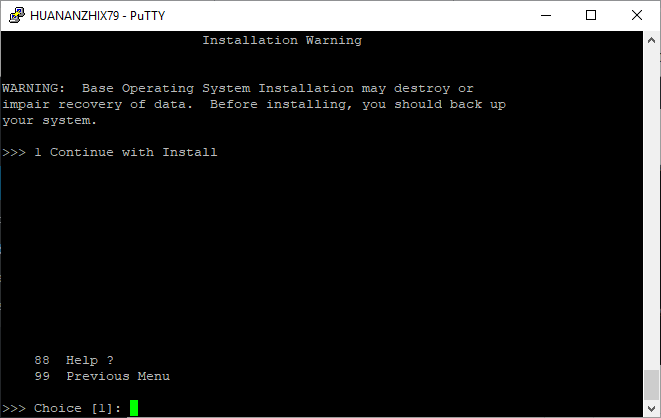
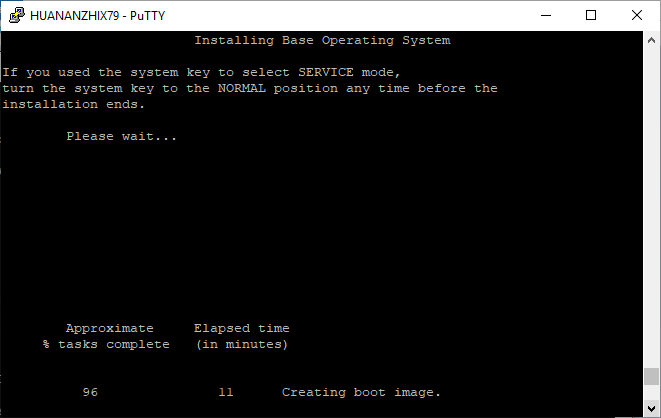
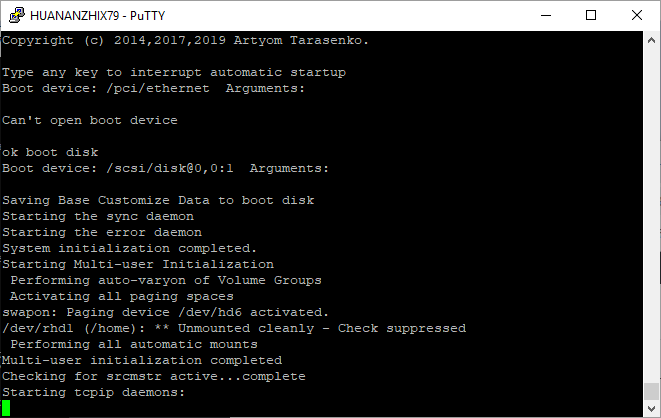
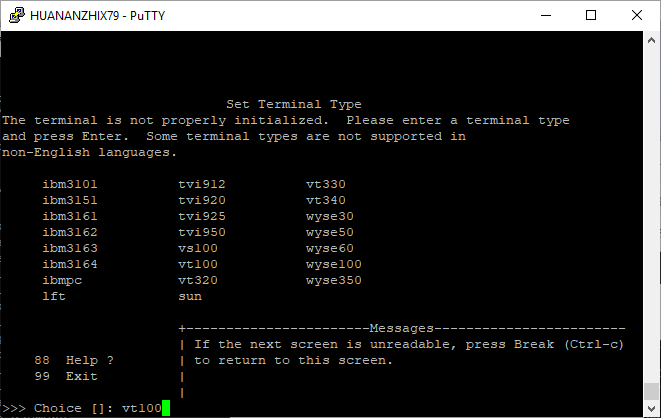
Anyhow, let’s talk about the install process in closer detail here. Windows NT for PowerPC installs in a similar manner to Solaris for PowerPC on the IBM PReP machines. First the floppy disk boots ARC, then when you choose to install it the machine copies the ARC bootloader/firmware to the hard disk so it can load it from there at each boot. The floppy disk can also be used to load ARC if the loader is damaged on the hard disk. Keep in mind, on IBM machines ARC is not stored in the ROM unlike on many other ARC capable machines so this has to be done. The Firepower machines do something very similar by using an Open Firmware shim, and unsuccessful attempts at emulating PPC NT have exploited VENEER.EXE to attempt booting instead of using the IBM firmware. It fails because they’re not emulating the hardware, just trying to find a quick way to just boot NT.
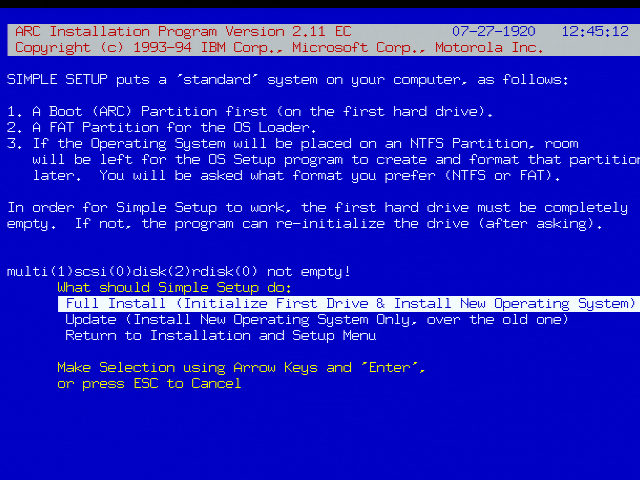
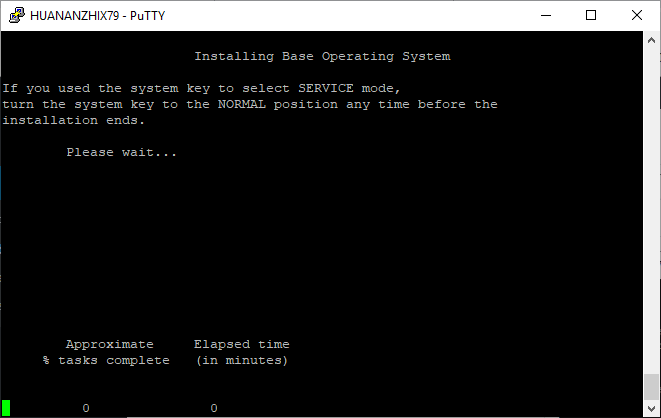
Once this is done, the installer loads up and installs just like every other NT install. It checks the HAL by reading the machine ID, what video hardware the machine has, and whatnot to prepare the installer. You need a IBM 6015, 6020, or 6030 according to the HALs it has and only the S3 video cards are on the HCL.
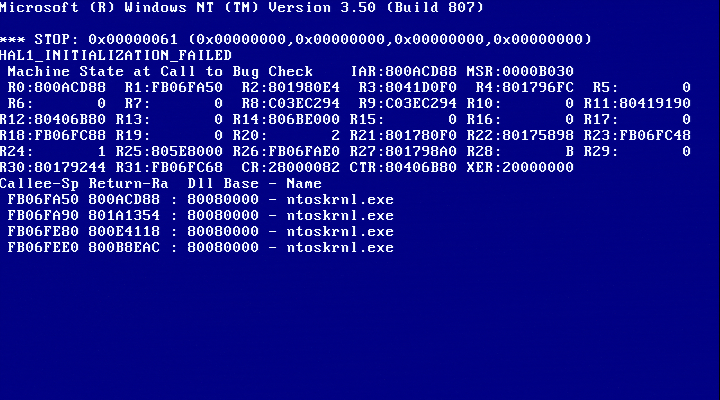
Or that’s what should happen. I first tried using ARC 1.51 as it worked for 3.51 and was greeted with a HAL error BSOD:
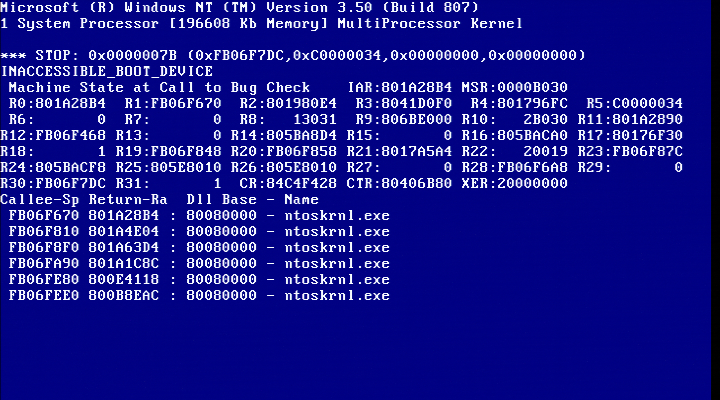
I first attempted to use older ARC boot floppies and I got somewhere, the BSOD changed to the classic 07b, and then I got nothing else. Using ARC 1.48 and 1.49 gave me this, I got some i/o error with ARC 1.46 (the first 3.51 ARC floppy), and any previous ARC floppy is most likely undumped. I’m assuming either the error is due to an ARC mismatch, a weird firmware mismatch/hardware revision mismatch, or some incorrect SCSI ID Solaris style. There might very well be some weird forgotten trick to making it work (maybe a Windows expert could dig through the files and find some weirdness), but I’m going to move onto another obscure PPC rarity:
OS/2 PowerPC Boot Attempts: Beta 1 and the Final
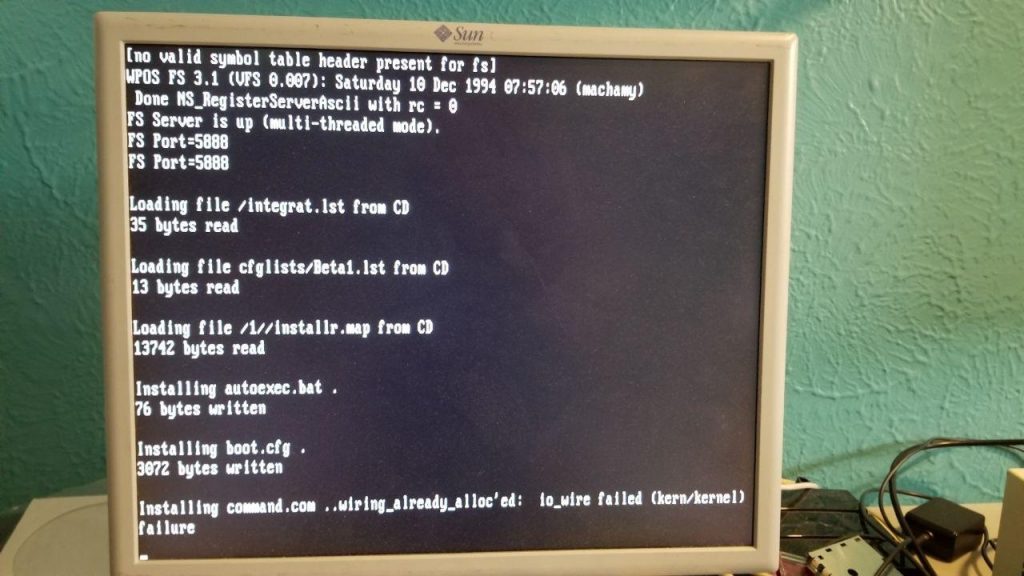
Recently the OS/2 Museum site dumped Beta 1 for PowerPC. It’s an earlier version of OS/2 for PowerPC that insists on a Sandalfoot machine with an S3 GPU. Unlike the other OS/2 PowerPC disc, it features a verbose boot featuring the kernel it uses. If you want to really see OS/2 for PPC working, try it on a 7248 or read this post about it.
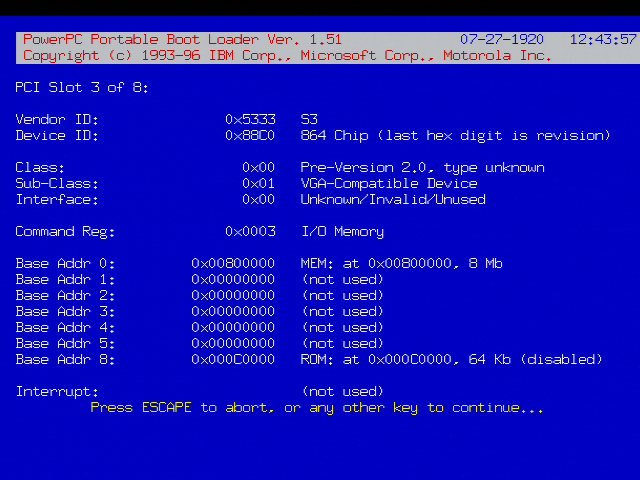
This failed to boot, throwing up an error about mounting the disk or something. I did record it doing something at least however, an improvement over the Weitek which just does nothing at the PowerPC screen. I tried several things including removing the external SCSI CD drive and that didn’t fix much. It also declares 88c05333 an unknown PCI device.
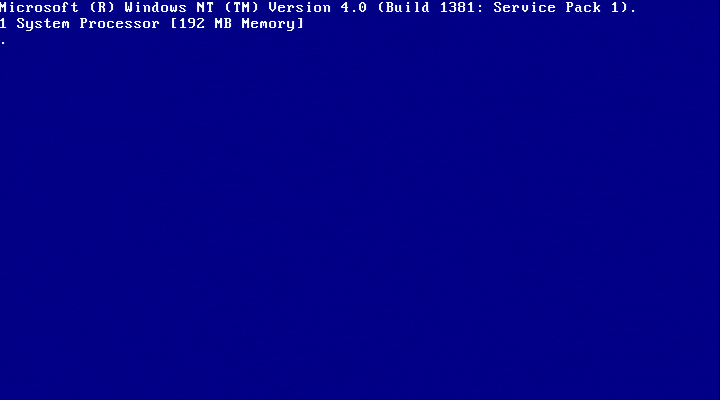
So I decided to try the “final” build. The final build requires a 6050/70, and some people did get it working on the PPC Thinkpads. I decided to see what it’d do on my machine. Unsurprisingly it did absolutely nothing but give me a blank white screen and sometimes a 00016000 error (for a trashed CMOS). If anything the 6015 loves to trash it’s CMOS contents for absolutely no reason, especially when OS/2 is involved.
Anyhow this was very anti-climatic, as the OSes I threw at it found reasons to not work on it whatsoever. I weeded out the GPU being at fault by testing Windows NT 4.0 and finding out that it works just fine with the GPU, however I seem to have fewer resolutions available than what the Weitek card allows. It did change the boot screen font, making me wonder if the red boot screen is a GPU driver quirk.
However changing the device IDs with OS/2 PowerPC Beta 1 got me somewhere, as I now got a screen about the HDD failing to write. I formatted the HDD to FAT using the ARC diskette, then I nuked all the partitions, but not much else changed. I’m not sure what the error means, but it was a letdown.
Unless these OSes require some long lost firmware, I’m wondering if there’s else that’s causing issues with installation. Either way, it was a letdown. Nothing I tried worked and I spent hours messing with everything from SCSI IDs to using different drives.