Installing Classic (MacOS 9.2.2) from OS X 10.4

I just got another PowerBook, and the disk had been wiped by the prior user, and all it did was boot up to the blinking mac face. So not very useful. I did luckily buy some CD’s from a user on reddit a few months ago, so I had 10.4 install DVD, and an install of 9.2.2 for the emac.

Now the OS 9, is an install disc, not one of the recovery discs, and naturally the aluminum powerbooks don’t boot OS 9, so I’m kind of out of luck for getting Classic working, or so I had thought. I copied the System Folder from the CD onto the hard disk, and told the classic applette to boot it, and it updated some system files, and then gave me this fine message:


The system software on the startup disk only functions on the original media, not if copied to another drive.

So this got me thinking, back in the Sheepshaver days when trying to boot from an ISO as a disk file, it fails the same way because the image is read/write. If it’s read-only it does boot up however. So I used disk util, and made a new read-only disk image from a directory, and pointed it to a directory that I’d moved the CD’s system folder, desktop to. After mounting the read only image, it booted!

Now for the best part, I then kicked off the installer from the CD, and had it install a copy of OS 9, onto the OS X disk.

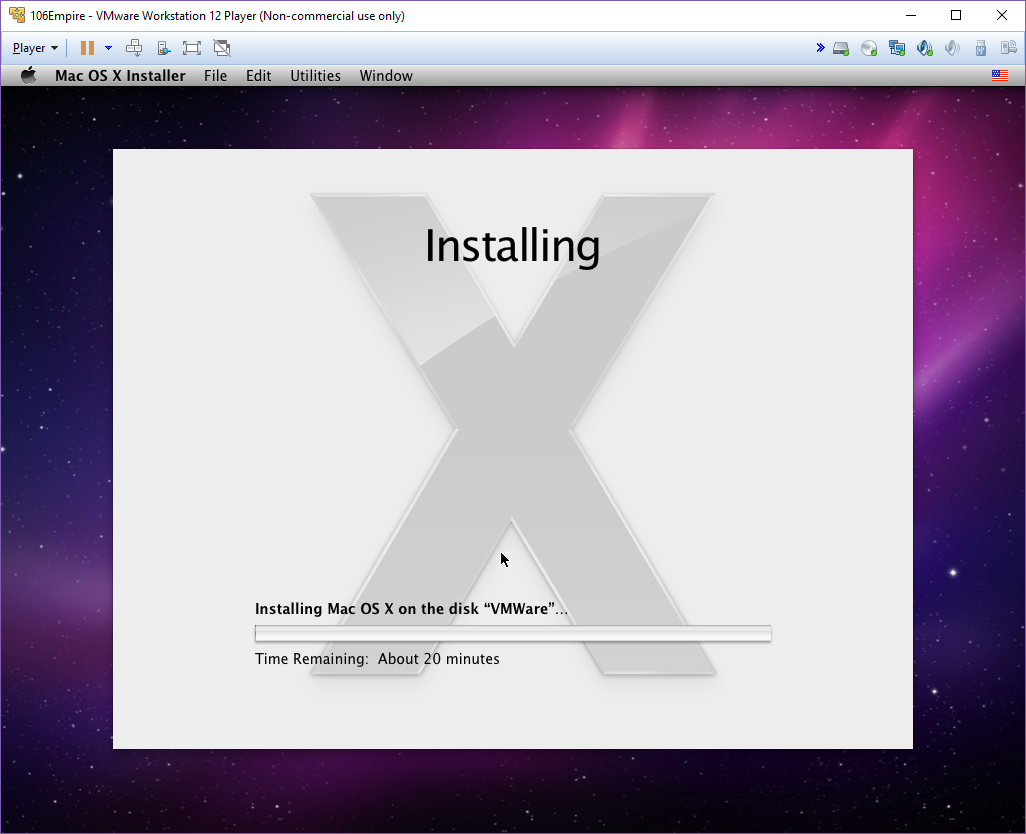
OS 9 Installer running under OS X

It’s worth noting that just about every optional install fails. It’ll come back with an error, and you can skip the component. It’s probably just easier to install the minimal OS image.

But rest assured it really does install.

After the install you can eject the CD, unmount the read-only copy and tell the classic to stop and then boot from the new installed copy of OS 9 on the OS X disk. It didn’t interfere with my OS X from booting, although the ‘sane person’ would probably have disk image make a small (1gb) read/write virtual disk, and have the installer install to that.

So to recap, copy the system folder from the CD onto read-write media, and let classic update it. get it to the point that it’s not happy about being mounted read-write. Move it to a read-only disk image and have classic boot from that, and then run the OS 9 installer to install itself to whatever target disk you need or want.

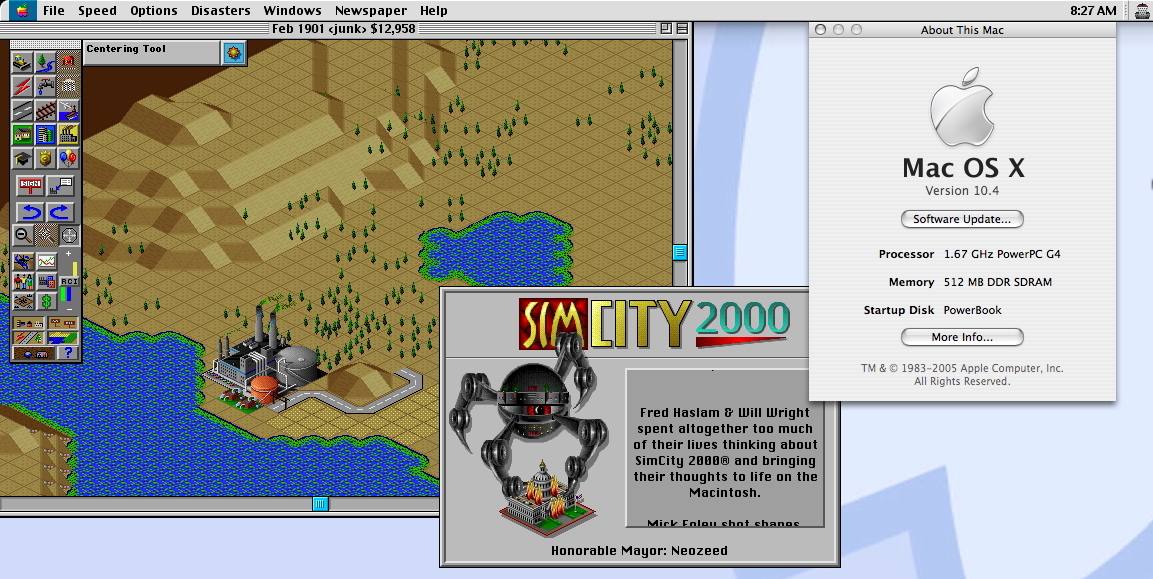
SimCity 2000 on Classic / OS X

I’ve run Netscape 4, IE 3 & 4, QuickTime 4, and the SIMS version 1 (the OS 8/9 carbon version). using 10.4.0 on an aluminum powerbook.

I don’t know if anyone else has done this, I couldn’t find any real concrete guides for installing OS 9 from OS X.  So here we go.

So my old machine’s 16GB memory limit is becoming a problem

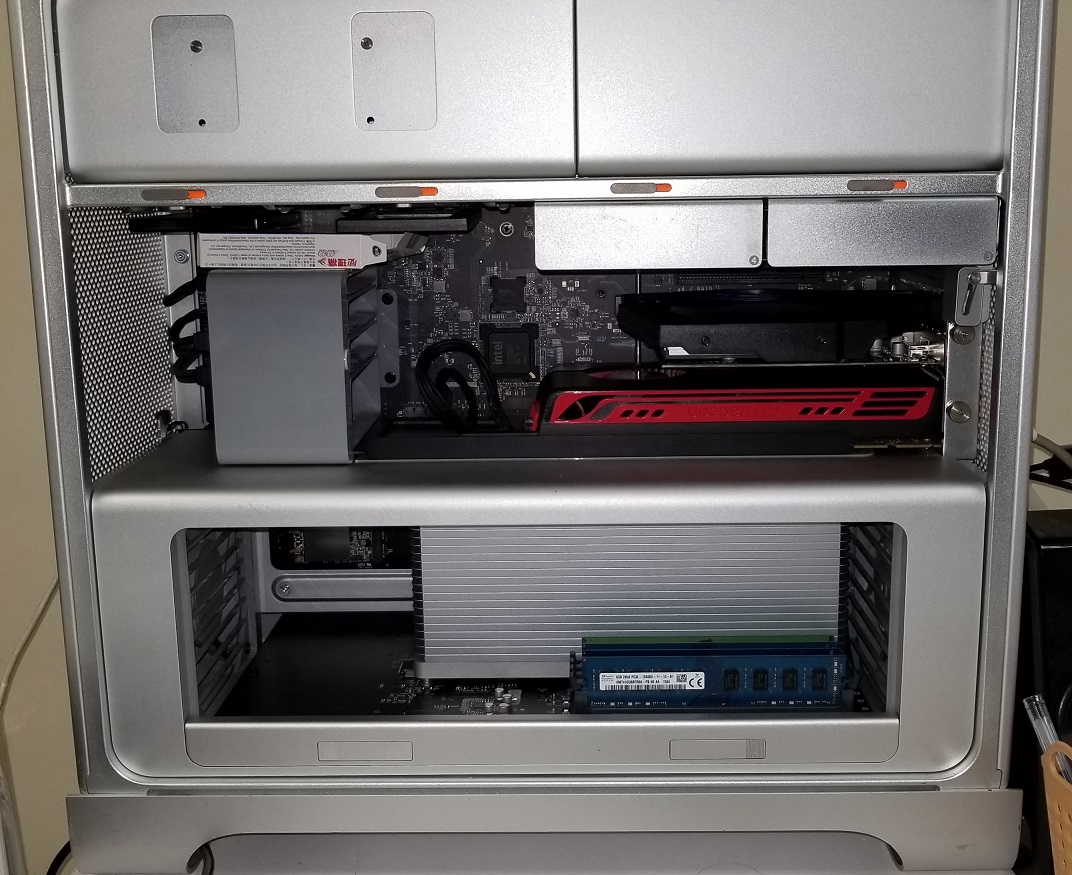
MacPro guts

And like a sucker I saw this 2010 MacPro for sale, $300.  It was running OS X 10.13 aka High Sierra, and I though oh cool it’s obviously able to run the latest OS, and even better with 32GB of RAM, and apparently the single processor model can go up to 48 or 64GB of ram giving me that breathing space I need.

So I happily get the machine, put in some new SSDs, and spinning disks, and decide that I’m going to split it up half for OS X, and half for Windows 10.  Sounds easy right?  And for the hell of it, I wanted to install a copy of 10.6.8 (Snow Leopard), since it’s the last version with Rosetta, and I’d love to compare GrandPa’s G5 to this 2010 space Odyssey.  Snow Leopard installs just fine, but the real fun comes from High Sierra and it’s APFS.  I installed & licensed a copy of Windows 10 Pro onto the Mac without issue, installed the bootcamp drivers, and.. well it installs Okay but drivers are a whole different story.

Apparently there is an ongoing war between Apple and ATI regarding bootcamp drivers, so the Apple UEFI cards won’t work with the stock drivers under Windows.  You can go and look for patched ATI drivers over at bootcampdrivers.com, although I had no luck with the Radeon HD 5700 that was in this machine, as it’s GPU never showed up in the Windows 10 device manager.

I still wanted to get accelerated graphics, and I decided to keep the old ATI card in the machine so I wouldn’t’ lose boot graphics from the UEFI ROM, but a card that needs additional drivers is fine, which opens the door to Nvidia.  I wasn’t ready to spend a fortune on a card, and I wanted one that didn’t draw that much power, so the 1030 was a perfect fit being cheap and not requiring additional power hookups.

GeFroce 1030

I just went with the cheapest one I could find retail.

Naturally the NVidia cards work fine in Windows, but of course Apple won’t use any stock plain PC cards.  But thankfully NVidia has ‘internet’ drivers that cover quite a few of their cards, including the 1030-1080’s. I had further issues with the built in audio drivers, which Windows always prefers to load some generic “High Definition Audio Device” driver, but it never makes any noise.  So I bought a cheap external USB Sound Blaster Play! 3 dongal, which works fine.

Old Xeon in MacPro

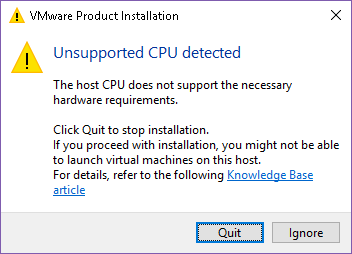
And then there is the fun with VMWare, I upgraded both VMWare Player to version 14, and Fusion to version 10.  And yeah, the Xeon W3565 is far too old.

No new VMWare for you!

Although my version 10 key of Fusion works on version 8, just as VMWare Player 12 works fine on Windows 10.

And if that wasn’t crazy enough, in the bootcamp boot driver selection, the High Sierra volume cannot be selected.  Even if you install onto a HFS+ volume, upgrade a 10.6.3 volume or whatever you do, High Sierra converts the filesystem into something that bootcamp doesn’t understand, so the only way to boot between the OS’s is to hold down the option key, and select the OS from the ROM, which thankfully after an update understands and boots APFS.

You think it’d be easy to just push an update to the bootcamp boot tool, but apparently it isn’t.

I don’t know why, but for all the money Apple is sitting on, they really don’t feel that together or with it.  I know in the whole ’99-05 time period they were not only fighting for their lives, but the whole OS 9 to OS X transition phase, just felt so much better done.  Ever since 10.4 it feels like things are just subtracted, nothing really useful added.  First Classic support, then PowerPC, then Rosetta.  Going from 10.7 to 10.13 really hasn’t been all that exciting.  Which has been the general state of things, with everyone for the most part just running VMS or Unix.

Adding an Xserve RAID

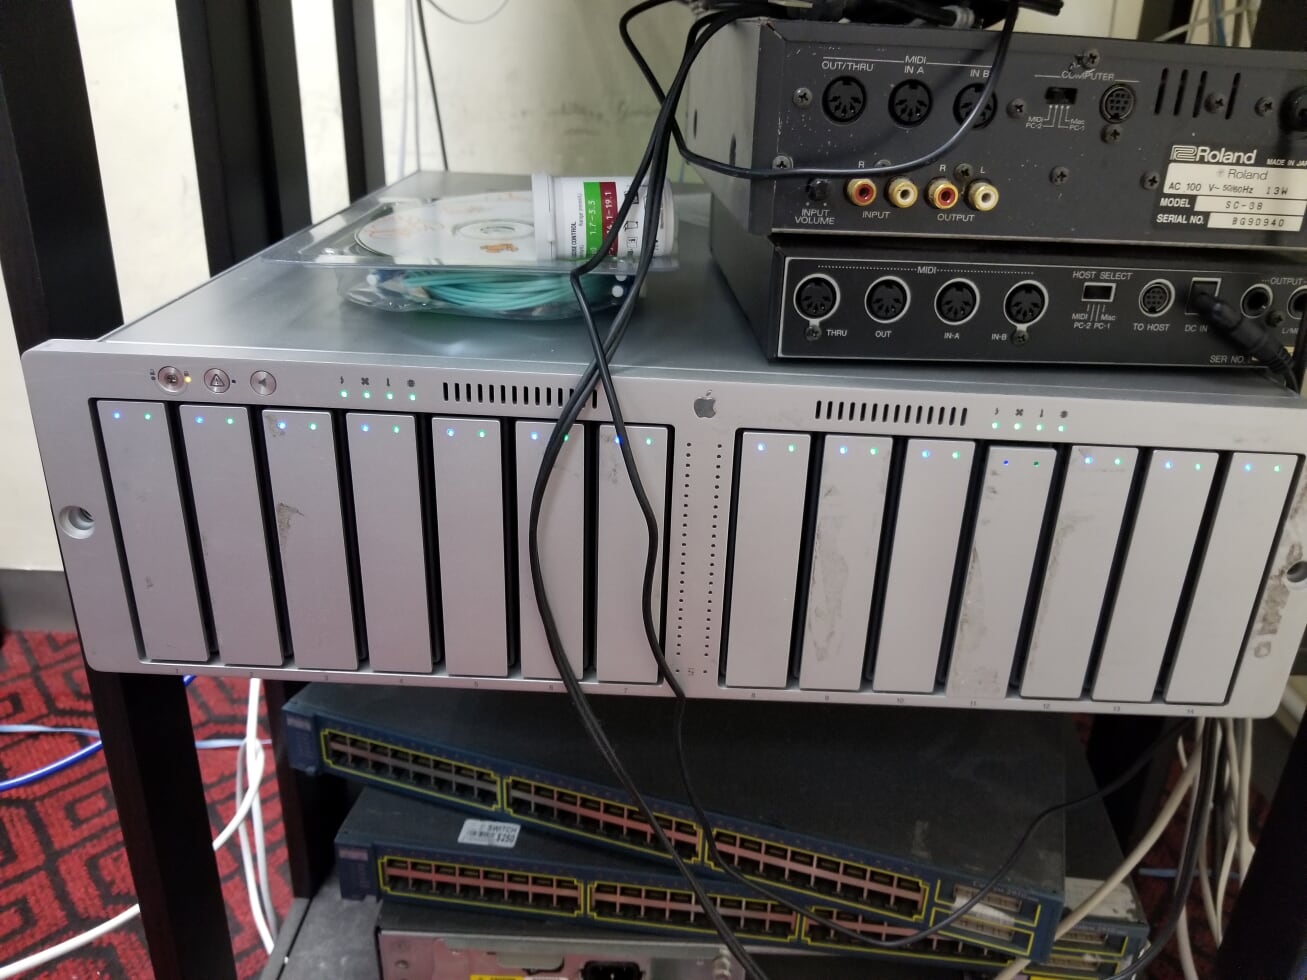
Xserve Raid

So yeah, I wanted to get a ‘real’ SAN for a while, but they always cost too much.  So I just decided to look for something older, like a MSA-1000, which are surprisingly still expensive.  Failing that I thought about how I could get that MacPro 2010 for ~$300 so I said what the heck and picked up a super cheap 7TB fully loaded out Xserve RAID.

I got a PCI-133 LSI Logic “LSI7202XP” Fiber Channel card for my G5, as I figured that this stuff was of the same era, may as well configure it with a PowerPC.

Configure the LSI

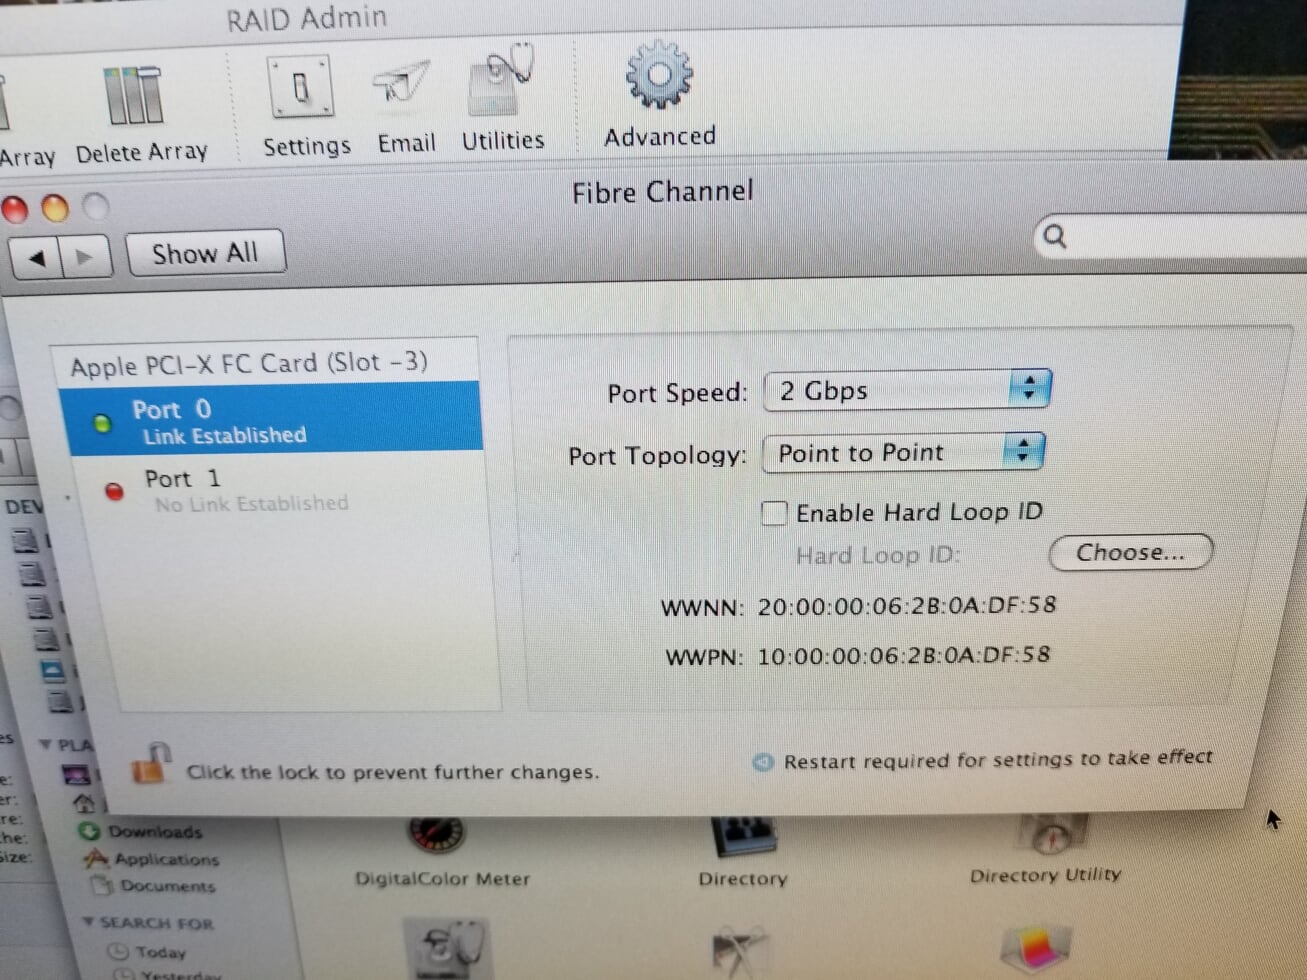
After setting the LSI to 2GB and in point to point mode, the system needed a reboot, and it would report a link on the FC adapter. Great.

To actually configure the array, you need the Xserve RAID admin tool, along with a working copy of Java on your machine.  I downloaded version 1.5.1 which is thankfully still on Apple’s site. It runs fine from OS X 10.5, although the readme does make mention of 10.2, so perhaps it’d run there, although I didn’t feel like booting into 10.2 to find out.  By default the password for read only access is ‘public’ and for admin control it’s ‘private’. Yes just like SNMP community strings.

Finding the array

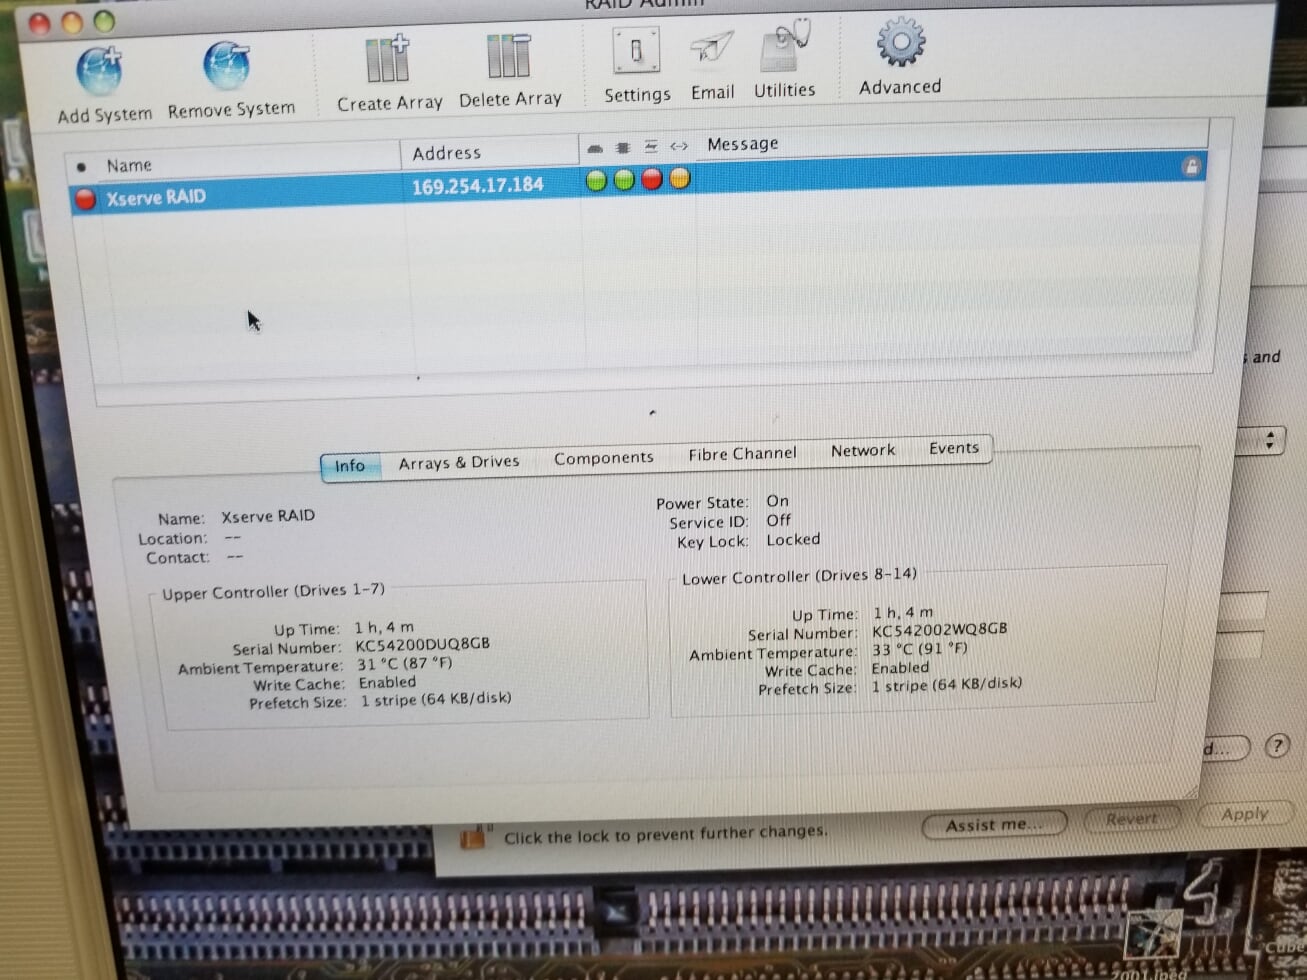
You need to connect the Xserve RAID to an Ethernet network.  I’ve only used the MSA’s and they let you configure them over the FC, but no so with Apple, it’s a Bonjour enabled service, so you don’t have to setup the Ethernet, just plug it in, and that’ll be good enough.

Creating the array is straight forward, however the SAN with it’s two controllers aren’t redundant, rather it’s really 2 SAN’s in one chassis with a left & right hand side.

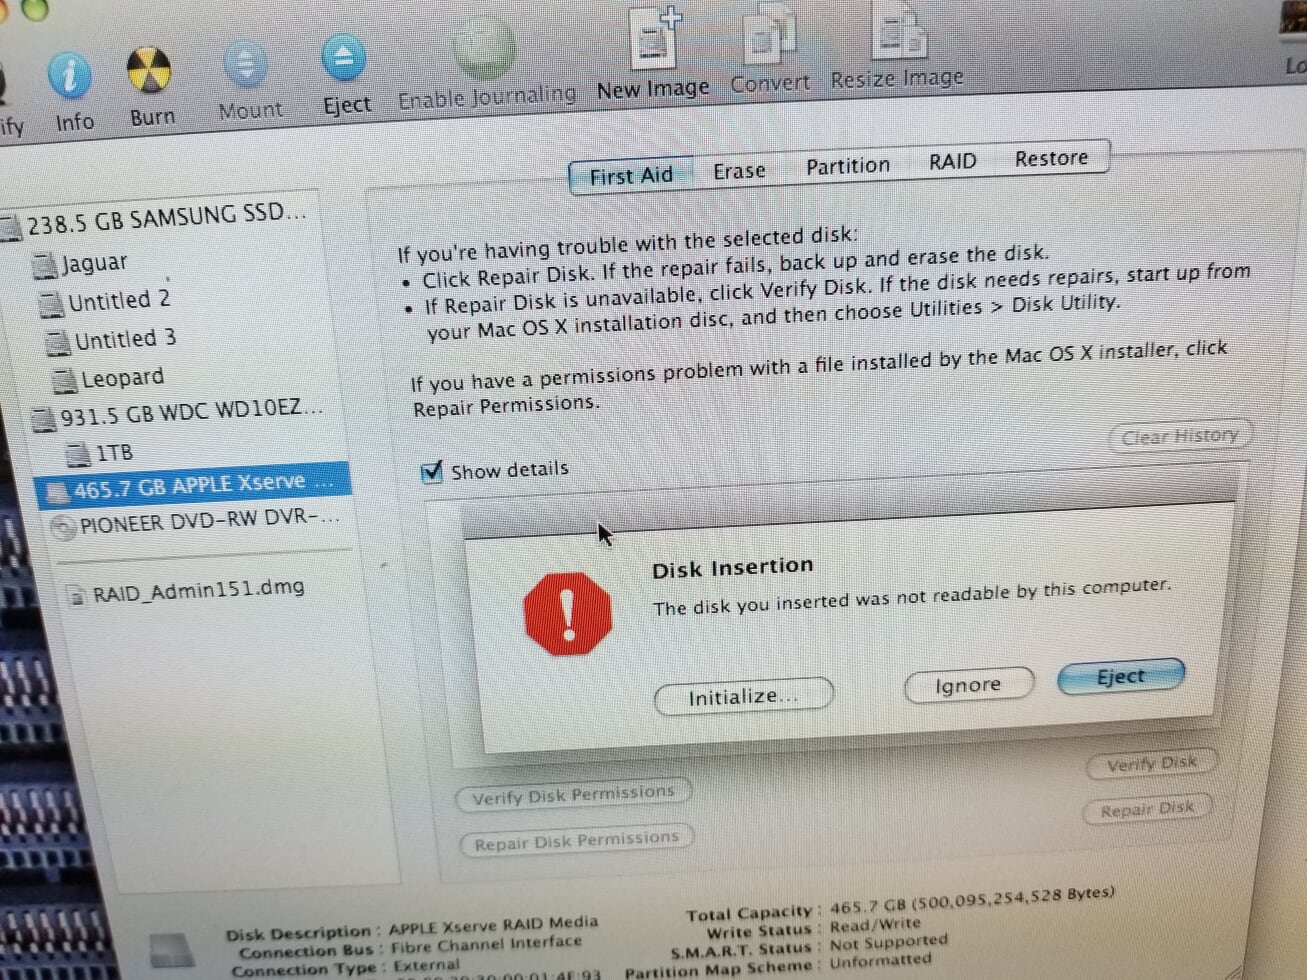
A new disk appears!

So the solution is to use 2 connectors to the dual card, I have 2 DAC cables so I’m set.

But for now it’s just more so messing with the unit.  I’ll probably just set it in JBOD mode, and pass it up to something like Solaris 10 with ZFS exports.

Booting my PowerMAC G5 from SSD

Grandpa’s G5

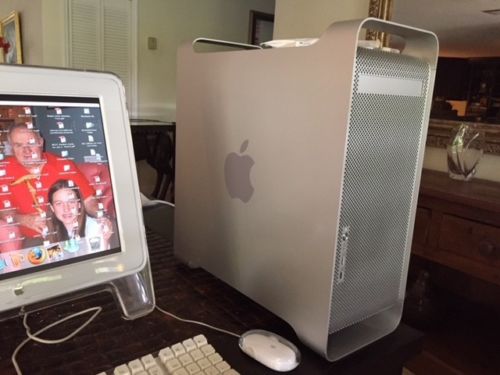
In my last trip to the United States, I scored yet another PowerMac G5, a model 7,2 which is one that is capable of running OS X 10.2.7 for the G5.  It was the proverbial dream come true, used by an elderly man to keep track of photos in iPhoto, which he used maybe a handful of times a year.

Needless to say, he wasn’t too pleased that his copy of Snow Leopard didn’t work on the machine, and he dumped the G5 for a much quieter MacBook.

At any rate, it also included an Apple Studio Display.  I found another Cinema Display in the used hardware market for $25, which even though the display works the screen was damaged at some point and shows scratches on the surface when the display is a solid colour.

At any rate, the machine was deadly slow to boot, I upgraded the RAM from 256MB to 1.2GB, and replaced the ancient disk for a SAMSUNG SSD PM830 2.5 256GB flash drive.  Now it’ll boot up in under 30 seconds from the graphics initialization.

That makes this the only machine I have capable of running MacOS 9, although in emulation under OS X 10.2.  I have the Jaguar DVD set, but Classic mode was removed in 10.5.  It was the ending of the PowerPC era, just as 10.6 was the last version to ship with Rosetta.

Its a fun machine from the era of the introduction of personal 64bit RISC computing to the home user, although too bad the full industry didn’t catch up until later, just as 32bit desktop computing had a few stumbles out of the gates.

Darwin 0.3 & 1.0 on Qemu

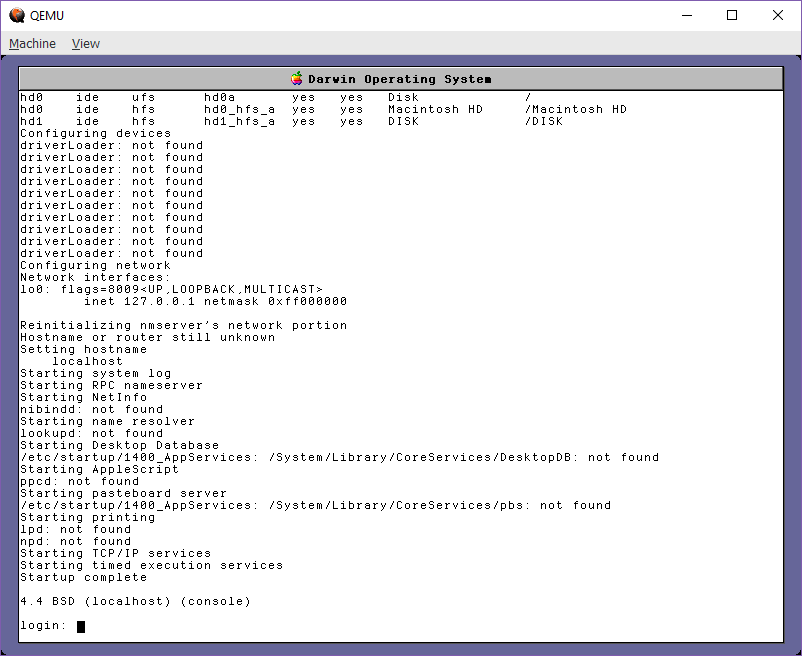
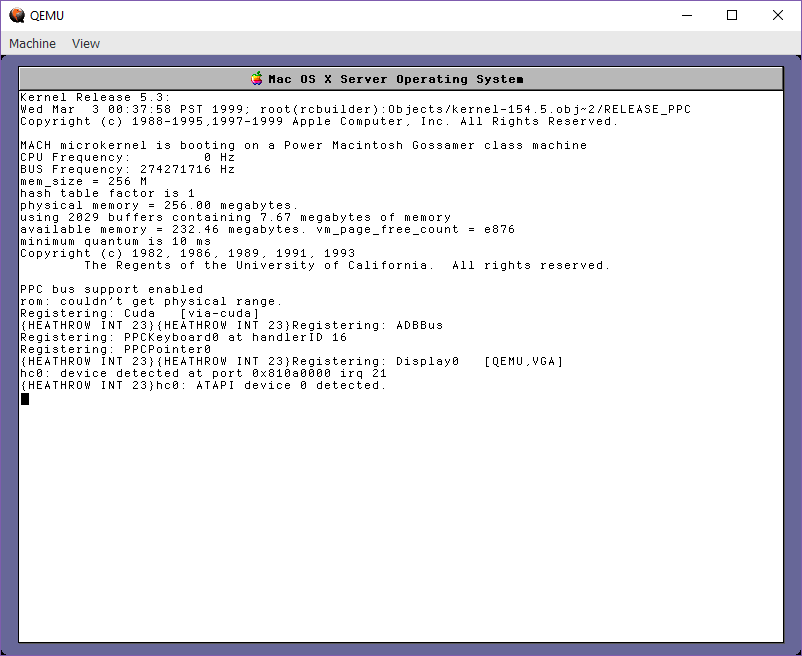
Darwin 0.3 PowerPC

Interestingly enough a lot of the same weirdness of missing bits I saw on the x86, is also on the PowerPC.

There is no nice installer, the CD image actually boots MacOS 8.6 which currently won’t run on Qemu.  However Darwin 1.0 uses MacOS 9, which will.  There is not install program for Darwin, rather you need a secondary disk, that is partitioned so the volume manager will pick it up, and then you restore a backup onto the target disk.  Naturally the restore program from 0.3 won’t work, but the 1.0 will under the G4 Cube MacOS 9 CD-ROM install.

Also I couldn’t figure out the boot parameters so I used Steve Troughton Smith’s BootX loader https://github.com/steventroughtonsmith/BootX to get the OS booted.

qemu-system-ppc.exe -L pc-bios -drive file=..\darwin03.qcow2,index=0,format=qcow2,media=disk -drive file=BootX_custom.dmg,index=2,format=raw,media=disk -prom-env “boot-device=ide1:2,\BootX” -prom-env “boot-args=-v rd=hd0 debug=0xffe kdp=2” -prom-env “boot-file=ide0:8,\mach_kernel” -M g3beige

It’s a little convoluted but it does work.

I put together a binary package for Qemu on sourceforge here: Darwin03-PowerPC_qemu-2.11_04_22_2018.7z

Currently there is no networking, I’m guessing I need drivers from OS X 1.x but Ive had really bad luck with the mouse to try to open a terminal window to see if the new sungem NIC is functional at all.

Mac OS X Server 1.0 installs on Qemu

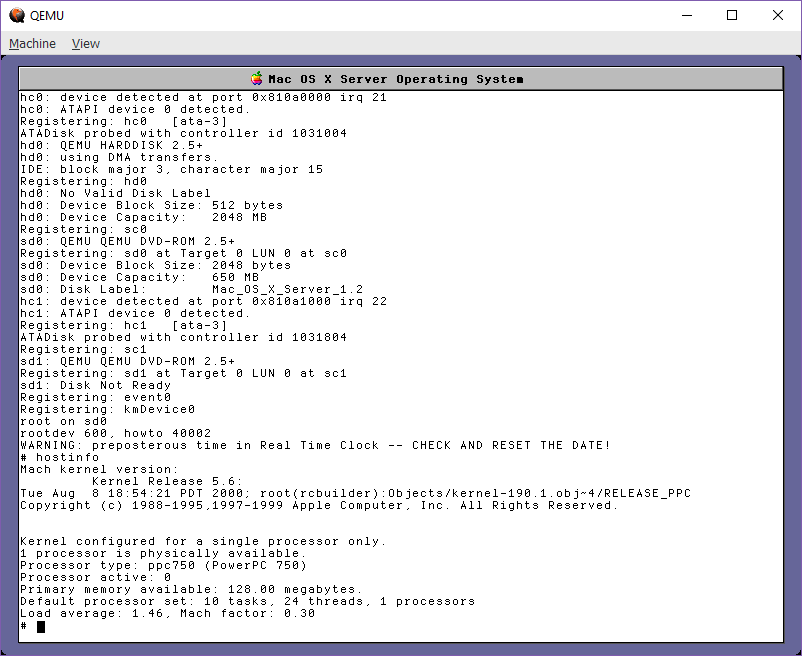
OS X Server 1.2 on qemu single user mode

That’s right, the ADB is usable enough now to type and move the mouse, meaning that OS X Server can now be installed within Qemu!

It’s incredibly slow, and the mouse is incredibly jumpy, but it’s actually running!

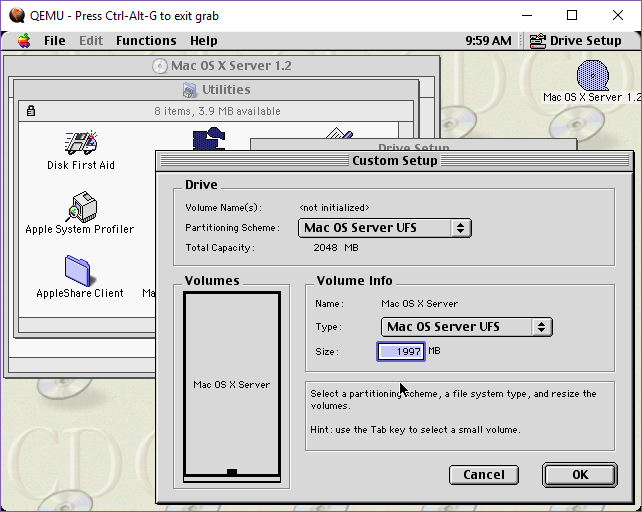
Basically, like A/UX, you boot up into MacOS to partition the drive.

qemu-system-ppc-screamer.exe -L pc-bios -m 256 -M mac99 -prom-env “boot-args=-v” -prom-env “auto-boot?=true” -prom-env “vga-ndrv?=true” -hda 2GB.vmdk -cdrom “Mac OS X Server 1.2, MOSX_Booter.iso” -sdl -device usb-mouse -device adb-keyboard -boot d

OS X Server 1.2 MacOS 9 Create OS X Server partition

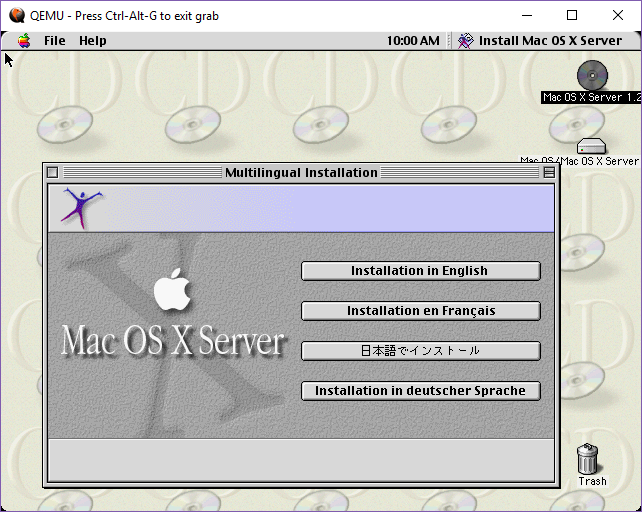
And then kick off the installer:

OS X Server 1.2 MacOS 9 Start Install

Which really isn’t much to do, other than tagging the partition, and prepping the machine to reboot.

It’s OK

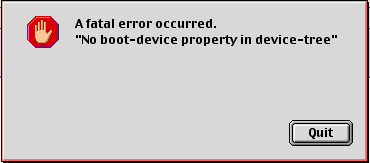
Qemu doesn’t emulate the NVRAM, so it’ll complete with this ‘non fatal’ ‘fatal error’

After that, boot into the OS X Server kernel, and continue the install:

qemu-system-ppc.exe -L pc-bios -prom-env “boot-args=-v rd=sd0″ -drive file=2GB.vmdk,index=1,format=vmdk,media=disk -M g3beige -cpu g3 -drive file=”Mac OS X Server 1.2, MOSX_Booter.iso”,index=0,format=raw,media=cdrom -prom-env “boot-device=cd:9,\\:tbxi” -m 256 -net none

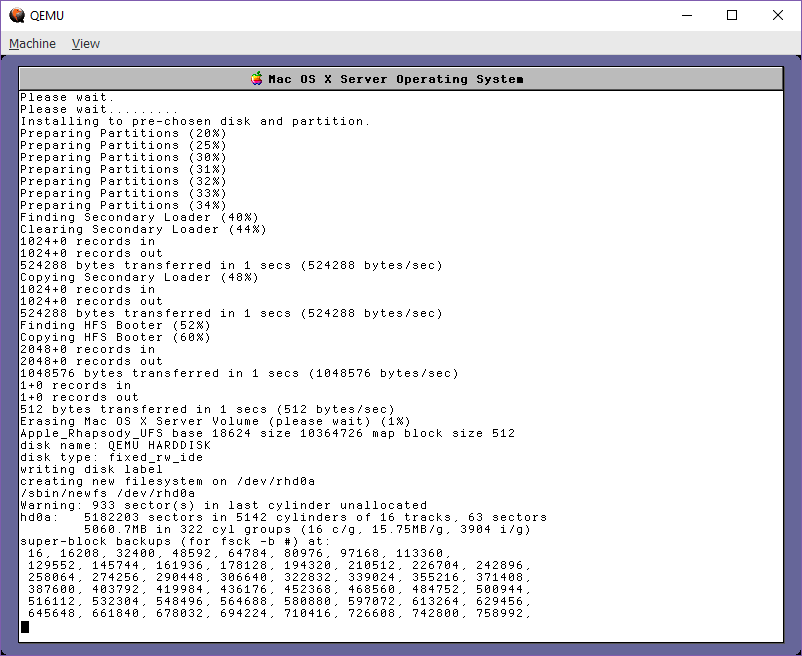
OS X Server 1.2 installing text mode

It will then format the disk, and copy over the base operating system.  After that it’s time to shutdown, and reboot the VM.  I couldn’t figure out a pure hard disk boot, but again using the CD-ROM, you can just tell it to pull the root from the hard disk.

qemu-system-ppc.exe -L pc-bios -prom-env “boot-args=-v rd=hd0″ -drive file=2GB.vmdk,index=1,format=vmdk,media=disk -M g3beige -cpu g3 -drive file=”Mac OS X Server 1.2, MOSX_Booter.iso”,index=0,format=raw,media=cdrom -prom-env “boot-device=cd:9,\\:tbxi” -m 256 -net none

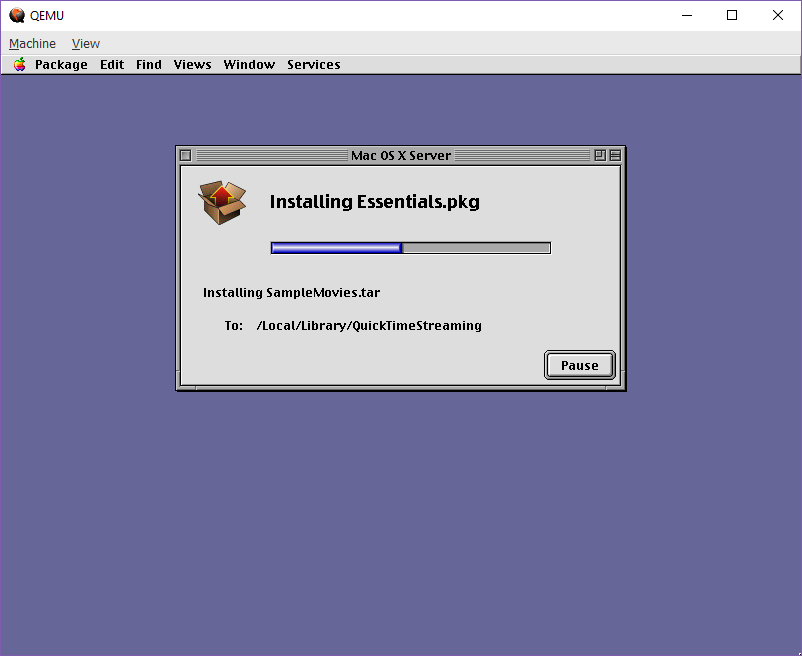
OS X Server 1.2 installing

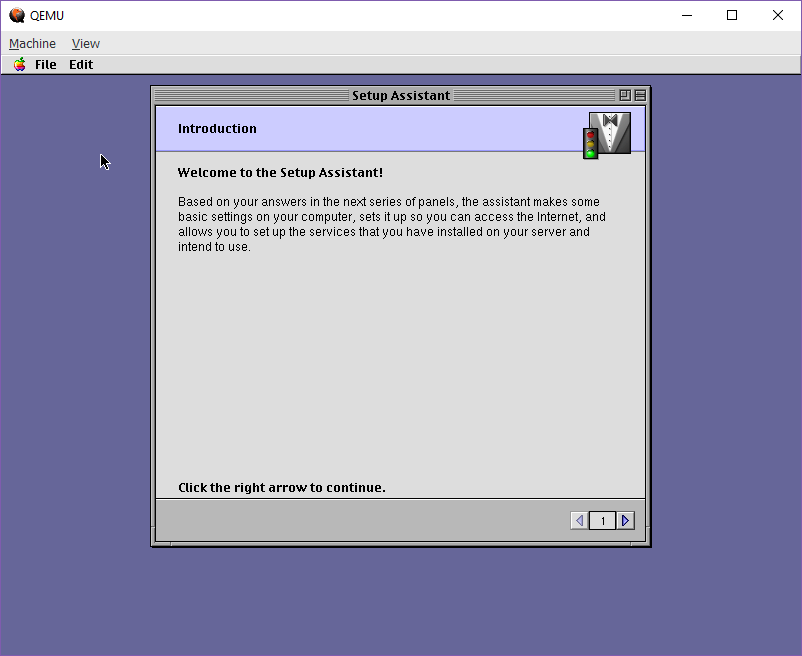
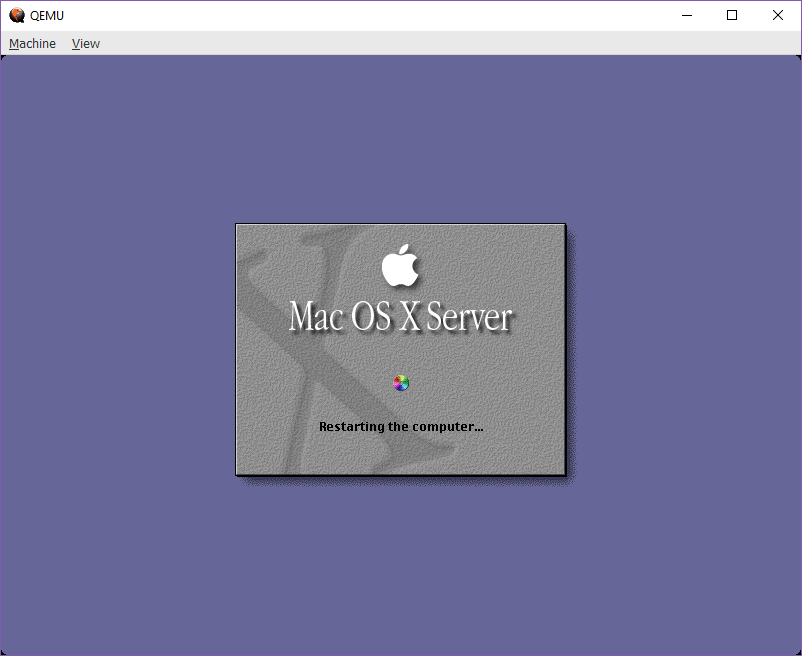
And after this, it’ll want to reboot again.  Launch it up and now we get the initial setup

Setup Assistant

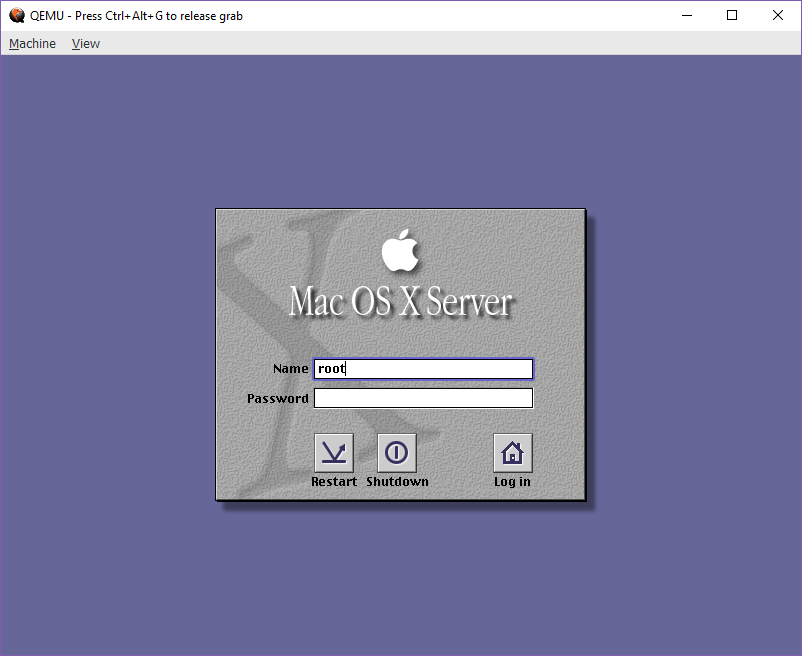
And with that out of the way, we can logon!

And after a while, it’ll load up the desktop

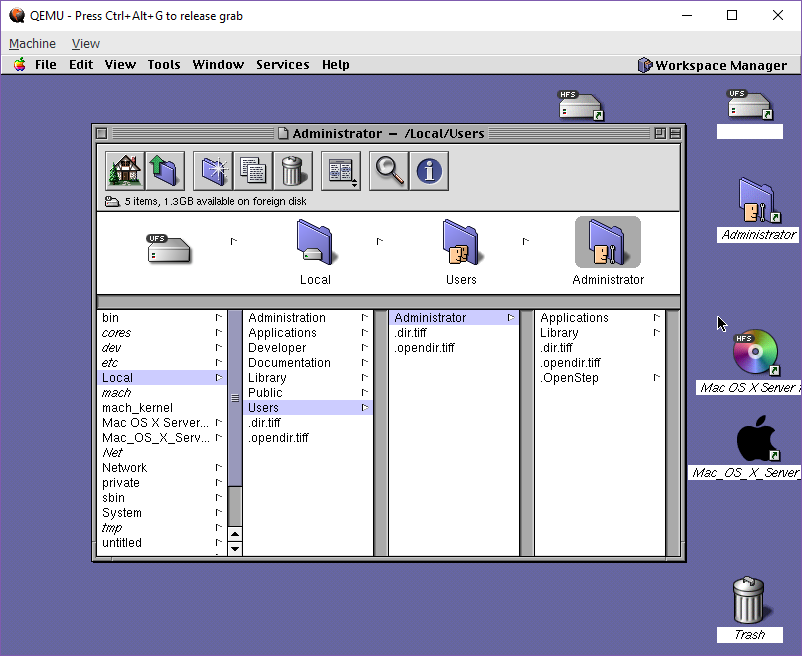
OS X Server 1.2 Desktop

As mentioned above, the mouse is incredibly jittery.  Doing anything graphical is very difficult. But here we are, running OS X/Rhapsody for the PowerPC!

That’s all!

Because the mouse is VERY jumpy at the moment, Im going to make some pre-configured disk images available because running the disk tool under OS 9 is a major pain.  The first image has only been partitioned, while the second has completed the ‘text mode setup’, aka a minimal install.

And that’s it for now!

Fun with Empire EFI & OS X 10.6 on Intel

Who needs one, when you can have two?

So I wanted to get 10.6.3 running after I somehow ended up with not just one, but two retail copies on my last trip to America… So I’m using the positively ancient Chameleon boot loader, 2.0-RC5 .  I used to use the trendy Empire EFI boot loader, but it’s not working for me anymore with modern CPU setups.

I setup VMWare to use a Windows 10 x64 profile, but removed the hard disk, and re-add it as a SATA drive.  The default SCSI hard disk won’t work at all, but the available SATA works just fine.

Chameleon v2.0-RC5pre7

Boot up the Chameleon boot loader, and then drop to the text prompt (F5/tab) and then put in the following string to the boot loader.

platform=x86pc cpus=1 busratio=7 -v

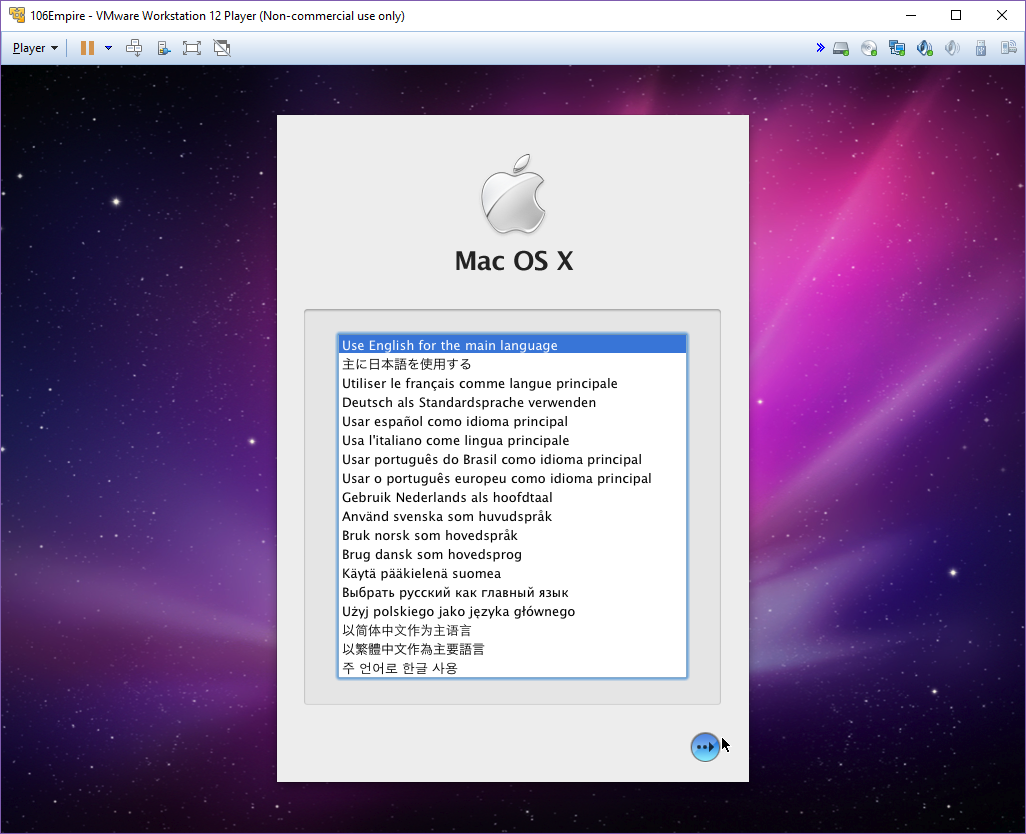
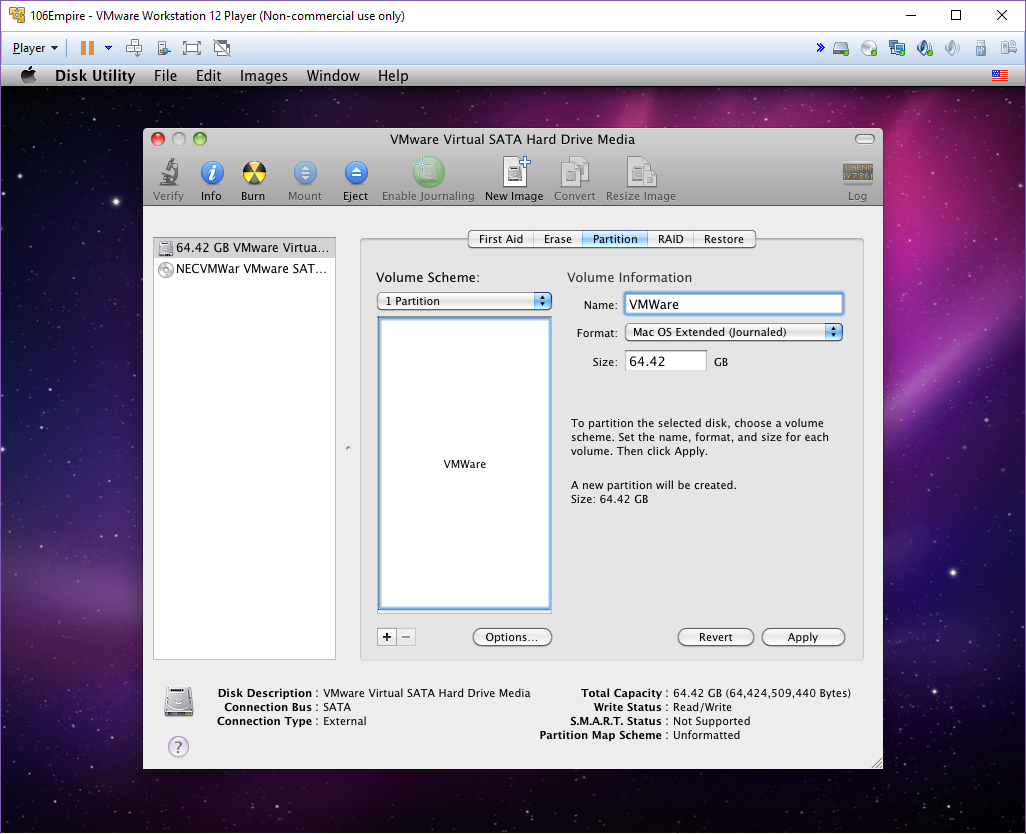
After a minute or so it’ll boot up, and prompt for a language, afterwards the apple menu will appear, letting us select the disk took, where we can partition & format the disk.

After that it’s just as simple as choosing your options, accepting the license, and then you are off to the install part.

And just like that you are teleported to the magical world of OS X on VMWare.

Personally I like 10.6 as it’s the last version that supported Rosetta, although I guess if you want to run old stuff, you may as well just run 10.4.x in a VM now.  With a copy of Darwin 8.0.1 & 3 disks you can even boot up the deadmoo image, make an image of another deadmoo disk to yet another one, then install Darwin in a much larger disk, then boot back to deadmoo, and restore your 10.4.1 back onto the larger disk, fix permissions, and boot into a larger disk.

phew.

One thing is for sure, it’s a lot of work to get some kind of development machine to mess with WebObjects.  It’s probably easier than buying a G5, but I found yet another one in the States (hence the physical copies of 10.6) and lugged it onto the airplane.  Sigh the suitcase I bought for the trip broke, with one of the wheels coming off the suitcase, and as my G5 was over the 50lb weight limit, I had to pay a $100 USD fee to American Airlines to get my G5 home to Hong Kong.  I packed my “new” Studio Display incorrectly, so the 3rd ‘resting’ leg snapped. Sigh.

OS X Server 1.0 on Qemu (almost)

booting

I was pretty amazed to see it even get this far.  Credit to Steve Troughton Smith for his patched BootX, which gets the boot process this far.  It’ll actually start the NeXTSTEP style install, but the keyboard won’t work either USB or ADB.  Oh well.

..\qemu-system-ppc.exe -L .. -m 256 -drive file=MacOSXServer10.iso,index=0,format=raw,media=cdrom -drive file=BootX_custom.dmg,index=2,format=raw,media=disk -drive file=bla.disk,index=1,format=qcow2,media=disk -prom-env “boot-device=ide2:2,\BootX” -prom-env “boot-args=-v rd=sd0 debug=0xffe kdp=2” -prom-env “boot-file=ide0:11,\mach_kernel” -g 800x600x8 -device adb-keyboard -device adb-mouse -cpu G3 -M g3beige


Darwin 0.1 + Rhapsody DR 2 booted!


Following up from yesterday, here we go!

Rhapsody 1.0 booting

So I finally got it running, after some inspiration from NCommander over at nextcomputers.org forums, that the Darwin 0.1 kernel is in fact build-able, I went ahead and took a stab at it.  While he was trying to start from OPENSTEP, I tried it from something as close as I could to the target, which was Rhapsody DR2.

Back in the days of the NeXT / Apple merger, there was hope that OPENTSTEP could become the next great OS for the Apple Macintosh.  It had been a while since NeXT had the OS running so things had rotten somewhat, as time had passed on.  However, the first and most viable platform would of course be the x86.  Back in 1993 while feeling increased pressure in the hardware space, NeXT was forced to start porting away from their black m68k based hardware, and this was an opportunity to get their software running on different platforms.  And sadly in 1993, the NRW aka NeXT RISC Workstation that was in development with dual m88000 processors was killed along with all hardware projects. In the end it didn’t matter as much as the only processor from the early 90’s that has a vibrant future is the i386.

So back again to this transitional time before OS X 10, there were developer versions of this OS seeded out that required you to have an intel machine as OPENSTEP was being ported to the PowerPC machines that Apple was selling.

So, on May 14, 1998, the last public version for the Intel processor was released, DR2.

However, two interesting things happened along the way to what would become OS X Server 1.0 .  The first is that Apple gave up on the ‘yellow box‘ portable API, and to satisfy the GPL requirement to release changes to source code, Apple would go one further and release the source code to many of the internal system utilities, along with the kernel in what was known as Darwin.

This was a big deal for many of us, as the cost of getting the source code to any UNIX was incredibly prohibitive, and OS’s like Linux, NetBSD/OpenBSD/FreeBSD were picking up steam, OPENSTEP being awaken from it’s cryonic hibernation but with the promise of being free and open software was pretty great!  Back in the day it sure looked promising!

Obviously, things didn’t work out as everyone had hoped as Apple either straight up ignored anyone on the outside, or they hired people who showed promise, made them sign NDA’s and were basically never heard from again.

So the recently recovered source code to Darwin 0.1 corresponds with the release of the PowerPC only OS X Server 1.0.  However, as we all found out, Darwin will still built and maintained on Intel, as it was a very secretive plan B, in case something went wrong with the PowerPC platform.  Being portable had saved NeXT before, and now it would save Apple.

So with this little background, and a lot of stumbling around in the dark, I came up with some steps, that have permitted me to build the Darwin 0.1 kernel under DR2.

However, it was not perfect, and the biggest glaring issue was due to the software that was recovered, the layer known as driverkit, (driverkit-139.1-1.tar.gz) turns out to be from another, later release of Darwin, the 0.2 release, which the only thing surviving is the driver kit. Â It doesn’t build cleanly, and In order to get it to build I had to break the mach PCI bus. Â This means that yes, PCI devices will not load at runtime, only at boottime by sald.

After a lot of fighting, I was able to produce a system that could boot into both single user and multiuser mode, although it was unable to load drivers so there was no networking, and no UI.

In a fit of boredom, I built a bunch of the command line tools for Darwin, and a few libraries, and then went to see why the driverkit had a problem finding the reason why KernBus was undefined, or even with some attempts at helping all the methods were unknown, I stumbled onto the fact that during compilation it will generate new headers, and in those headers are the correct interface for driverkit to call into the KernBus.  So, I was able to quickly rebuild driverkit, then re-link into the kernel and now I could load drivers!  Thrilled with this much, I did something more aggressive, I made a dump of my install ‘target’ and then restored it onto an image of my dev VM.  And much to my amazement it booted up to the graphical login.  I now had PCI working correctly.
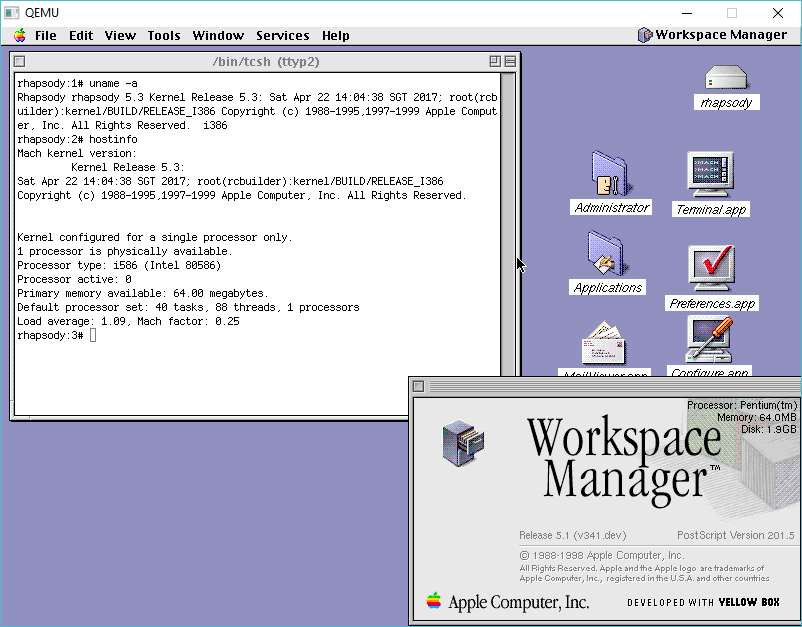
Darwin 0.1

This kind of thing is not for casual users, but if you install DR2 into a VM, you ought to be able to then use this ISO image, and follow these instructions, and you will then have a DR2 OS from 1998 with the OS X 1.0 kernel from 1999 running. The biggest difference I’ve noticed is that the newer kernel can use 512MB of RAM, a nice bump up from 192 which was the prior limit.

Obviously, there is a lot more work to be done, it’d be nice to find some source to an IDE or other block controller and modify it to work with the massive disks of today, along with the filesystem code to handle partitions larger than 2GB.

Maybe it will be possible to port in the driverkit to XNU, so we can get things like existing drivers, and SMP, massive filesystems etc.. It’s great to see we are going the right way.

For fans, here is a qemu 0.90 image+exe that can run Darwin 0.3 into single user mode.

EDIT and for people still hitting this, here is a multiuser bootable image.  I’ll keep updating on the source forge page.