Rebuilding Darwin from source: Part 3 Debian makes the world go ’round

In the previous posts, we’ve gone through the excruciating fun of installing Rhapsody DR2, and of course built the Rhapsody kernel from source. But now it’s time to build the software that can build software.

Enter the apt*

Of course we can’t just start building apt, rather we need to start at the 1990’s super star scripting language that revolutionized massive, shared code libraries, accelerating web development, and building the modern web, of course I’m talking about PERL.

Even back in the original effort building Perl was a slog. Even with temporary wins with miniperl it quickly fell apart from missing symbols. When it comes to the system libraries Darwin is not complete, rather it’s a lot of amputations from OPENSTEP. Which of course, itself was amputated from NeXTSTEP. I’m not sure what held back NeXTSTEP from being ‘open’ back when ‘open’ meant published specifications, not open source, or open in any other sense of the way, like The Open Group being a gatekeeping organization that is NOT open at all.

Anyways, Perl from the Darwin 0.1 downloads & the 0.3 CD-ROM don’t build. I gave up and moved to the OS X Server version and that one did build! As much as I could diff them out and find the breaking difference, honestly, it’s just easier to stick with what works.

/pub/Darwin/PublicSource/Darwin

I should point out that the source to Darwin was preserved on this now defunct site “next.68k.org”, which in turn was also preserved on the defunct site “nextftp.onionmixer.net“. Amazing how mirrors go. Other fun things on the ftp site include MacOSX-Server public sources, which did include the Perl that we built.
Darwin 0.3

Darwin 0.3 however was pressed onto CD-ROM, and distributed out to the masses. It took me a short while to get a tip to a hidden server that had a copy, which really was a massive breakthrough as it had a far more complete set of files than the 0.1 ftp dump. However at the same time there are files in the 0.1 dump that are not in the 0.3. Was there ever a 0.2? I have no idea, the mailing lists don’t seem to have been preserved so I really don’t know. Does anyone have any other ftp site archives? Not to my knowledge but I’d be more than happy to be wrong.

With a working Perl the next thing to do is to patch the buildtools & dpkg to not be PowerPC centric. It’s no secret that all the official effort going on was to get OpenSTEP up and running on Apple PowerPC’s and to transition away from OPENSTEP to Rhapsody, the MacOS 8 Platinum feeling type OS, where everyone was going to love the ‘Coca’ API, and dump the old MacOS stuff or be forced to run it in the ‘BlueBox’ MacOS 8 emulator. Obviously this future didn’t happen as developers were not interested in rewriting for Steve’s decade+ fever dream of a Unix for the ‘rest of us’, instead they wanted their existing software to ‘just work’ and the Carbon API had to be created, along with a drastically different and modern looking OS X.

-    $flags->{'RC_CFLAGS'} = '-arch i386 -arch ppc ' . &liststring (@cflags);
-    $flags->{'RC_ARCHS'} = 'i386 ppc';
+    $flags->{'RC_CFLAGS'} = '-arch i386 ' . &liststring (@cflags);
+    $flags->{'RC_ARCHS'} = 'i386';

Frequently in the build tools it’s a matter of looking for ppc/powerpc and replacing them with i386. It’s really no surprise that Darwin always built on intel, and it had to, as it’s life depended on it. Back when NeXT hit their first real big stumbling blocks of being a vertical platform is that they just couldn’t compete in the hardware space. But dumping the 68k based black boxes, they could now take their software and port it to the much more coveted RISC platforms, and shipping with NeXTSTEP 3.3 they supported both SPARC & HPPA. There had always been talks of further platforms like MIPS or DEC Alpha, but these never materialized, much like the i860 which had been relegated to a simple Postscript co-processor.

Anyways.. Keeping with yesterday’s setup, and of course the .darwin-builder-04-23-2024.iso CD-ROM with all the stuff we need, let’s DOIT!
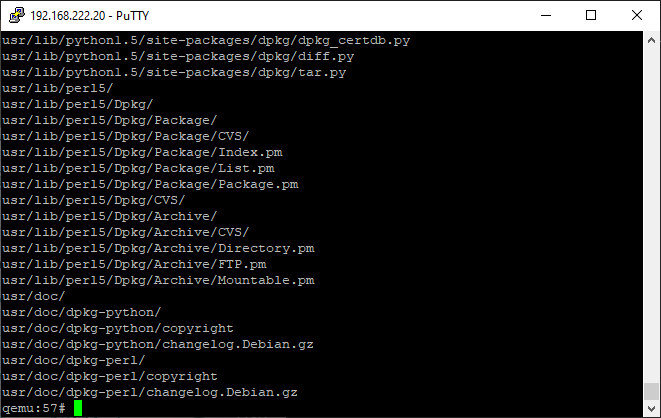
phase 2 completed

With phase 3 completed we are now ready to build the rest of the system. I hope you are excited! As I’m sure hoping you kept the original disk layout from the prior setup, or I’ve totally trashed your system by now.

I should say that deb files are just specially tagged ‘ar’ archives, that contain a data & control files telling apt how to process them. In this case I’ve taken the cc_783.1-1_i386-apple-darwin.deb file and modified it to contain the OS X 10.0 modified CC compiler. Apt had stumbled on building it, and I’m not interested into troubleshooting why or how. Basically, use ar to extract the contents of the deb, then tar to expand the data, replace the files, tar to put the files back into the data tar file, and ar to rebuild the archive.

ar r cc_783.1-1_i386-apple-darwin.deb debian-binary control.tar.gz data.tar.gz

In this case, debian-binary is a text file that simply contains ‘2.0’. Amazing!

The first thing to do is build a manifest of what needs to be built. I just simply extract all the ‘fixed’ source that I’d used last time to build Darwin, apply patches were needed, and then kick off the process with a darwin-buildall.

ls -l | awk '{print "dir /usr/src/"$9 " all"}' | tail -n +2 | grep -v gdb |grep -v cc- > /tmp/manifest.txt

In this case I skip building the C compiler, as it takes too long, and I’ve already done it. If you really want to do it, you can do so at your own leisure. GDB has issues building, and I haven’t even begun to tackle them. As you can guess the format of the manifest is pretty simple:

dir /usr/src/CoreOSMakefiles-1/ all
dir /usr/src/Csu-1/ all
dir /usr/src/Libc-1/ all
dir /usr/src/LibcAT-1/ all

Debian uses deb’s to populate a fake root directory in order to cross compile the packages. This is like installing multiple copies of the operating system, and that is why we use a separate scratch disk. This can consume several gigabytes when it’s done.

Also this presented the chicken/egg problem with how do you make debs from a system that needs debs? Thankfully NCommander had done extensive work with Debian / Canonical and was able to fake enough of a ‘build-base’ fakery that satisfied the build system just enough to start building stuff. In this weird way all roads lead back to the first build-base. Thankfully we live in the future where VMs are fast, and virtual disks are cheap.

I then create the /built directory, where the compiled deb’s will be populated, and copy in my modified compiler Debian into the built directory so that it’s used in all the compiling. On the CD-ROM I have 2 selections of deb files, the ‘deb’ directory from when I’d originally done this back in 2017, and the ‘fresh’ directory that I’ve just built. You can always manually source where the debs some come.

Kicking off the build is as simple as running:

darwin-buildall /tmp/manifest.txt /source/fresh /built

This will take.. a while. It’s a lot of files to copy & expand, and compiling takes a fair bit of a toll on the olde CPU.

By default, 118 of the 127 can be built.

  • boot-2 the sarld won’t compile as.. there is nothing to compile. I’m lost. Also some driverkit headers didn’t make it into the packe!
  • cvs-1 is upset about bison grammar not being in usr local lib?!
  • flex is also upset about bison grammar locations.
  • libgpp ppc/ppc-nextstep/_G_config.h missing?!
  • perl.. should be patched __environ vs _environ
  • bootstrap-cmds “multiple definitions of symbol _migcom_untypd_VERS_STRING”
  • volfs seems plain broken but subdirecotories okay?
  • netinfo missing netinfo.defs and headers?! arpa/nameser.h missing (can just touch)

That just leaves AppleTalk & HFS not building. Which I believe is period correct.

The good news is that the kernel that was built boots up seemingly fine.

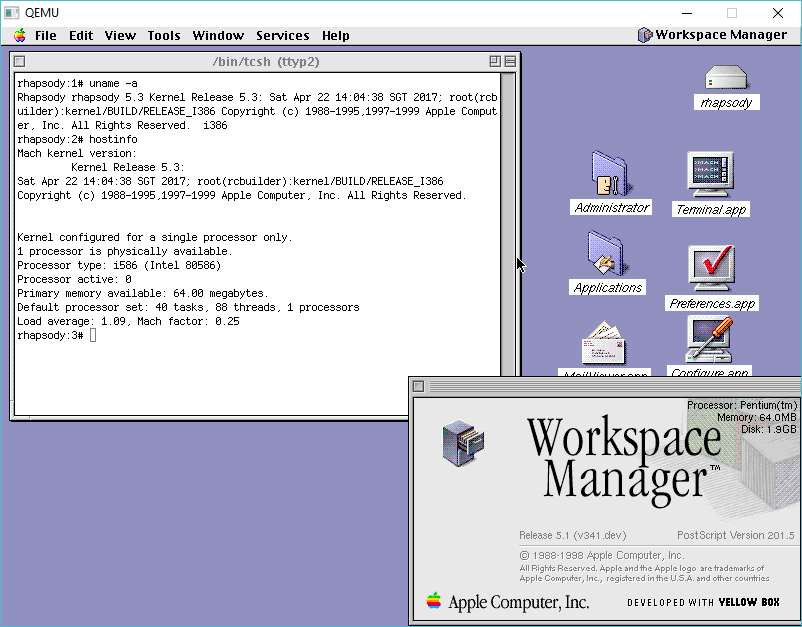
Rhapsody Kernel 5.5

The NeXTSTEP, of course is to now setup a new disk image, and see what is involved in booting up!

Rebuilding Darwin from source: Part 2 Building the kernel

Re-creating the steps from 7 years ago the first phase was to build the Darwin kernel. Like everything else, once you know what is involved, it’s not all that difficult. But as always finding out the steps to get there is half the fun!
I’m going to assume if you want to follow along, that you’ve completed the first part of this exercise, and you have a Rhapsody DR 2 system up and running. Due to some issues I’ve had with creating a lot of files & filesystem corruption, we are going to create and add two more disks to the system. On Qemu we need to add them via the CLI:

qemu-img create -f vmdk source.vmdk 8G
qemu-img create -f vmdk scratch.vmdk 8G

Adding them to the command line gives us something like this:

qemu -L pc-bios -m 512 ^
-k en-us ^
-rhapsodymouse ^
-hda rhapsody.vmdk ^
-hdb source.vmdk ^
-hdd scratch.vmdk ^
-cdrom darwin-builder-04-23-2024.iso ^
-fda nic.flp ^
-net nic,model=ne2k_pci,vlan=1 ^
-net socket,udp=127.0.0.1:5001,remote=127.0.0.1:5000,vlan=1 ^
-boot c ^
%1 %2 %3 %4 %5 %6 %7

Additionally you’ll also need to download the current ‘darwin builder’ ISO that I’ve put up on sourceforge. As of today it is darwin-builder-04-23-2024.iso

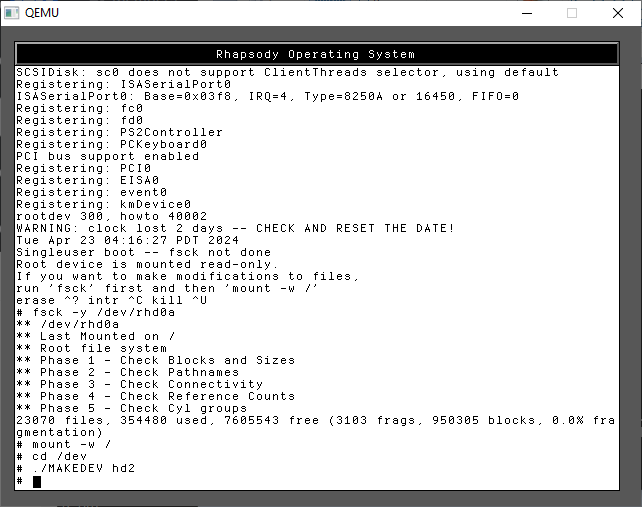
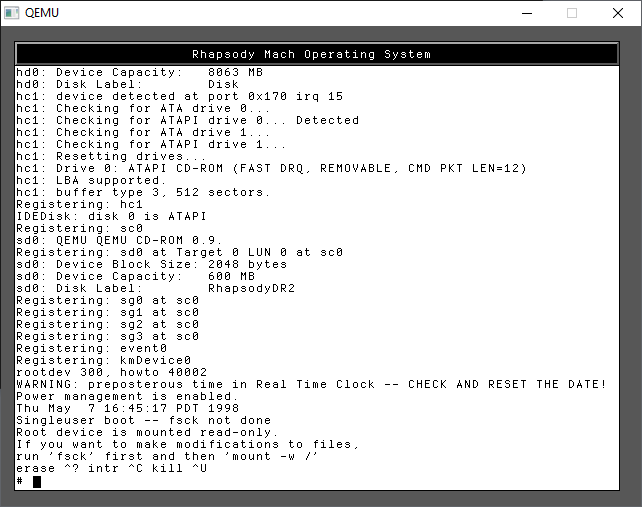
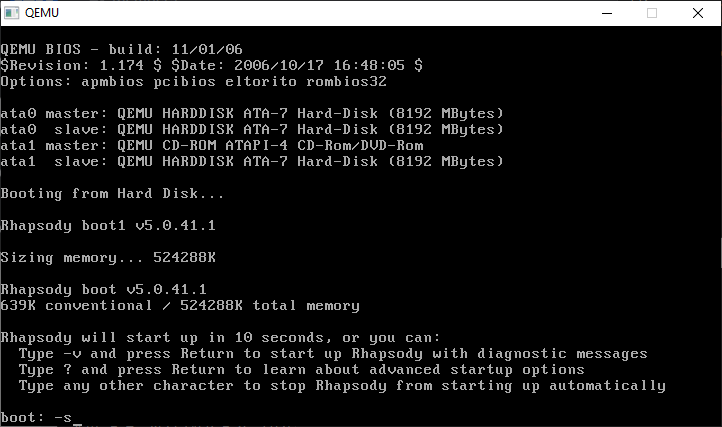
Step one is to boot into single user mode. As we need to prep & format the disks under Darwin before the system starts up.

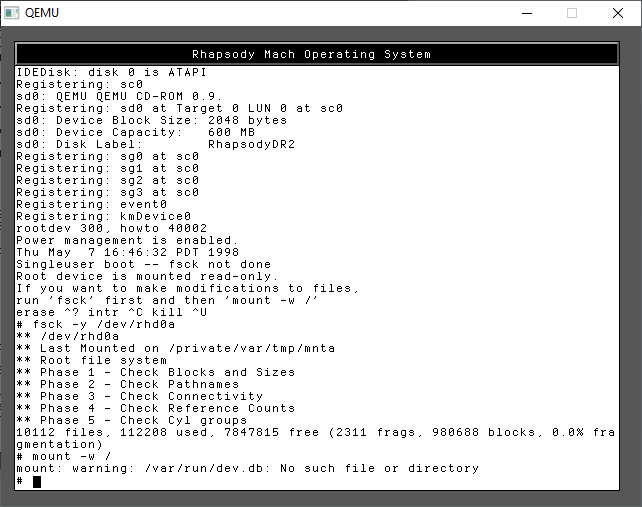
We need to check the hard disk, and then create the device names for the third hard disk.

fsck -y /dev/rhd0a
mount -w /
cd /dev
./MAKEDEV hd2

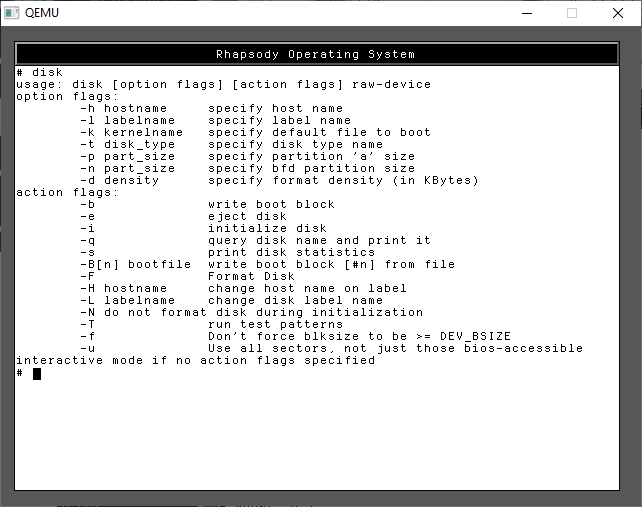
Now we need to run the ‘disk’ command which will abstract the whole volume creation. There are numerous flags, but we don’t need all that many.

disk -i -l 'src' /dev/rhd1a
disk -i -l 'scratch' /dev/rhd2a

The output scrolls off the screen, so I didn’t capture it, but you’ll see all the inodes being created, it’s a lot of output!

With the disks created, we can now shut down the VM

shutdown -h now

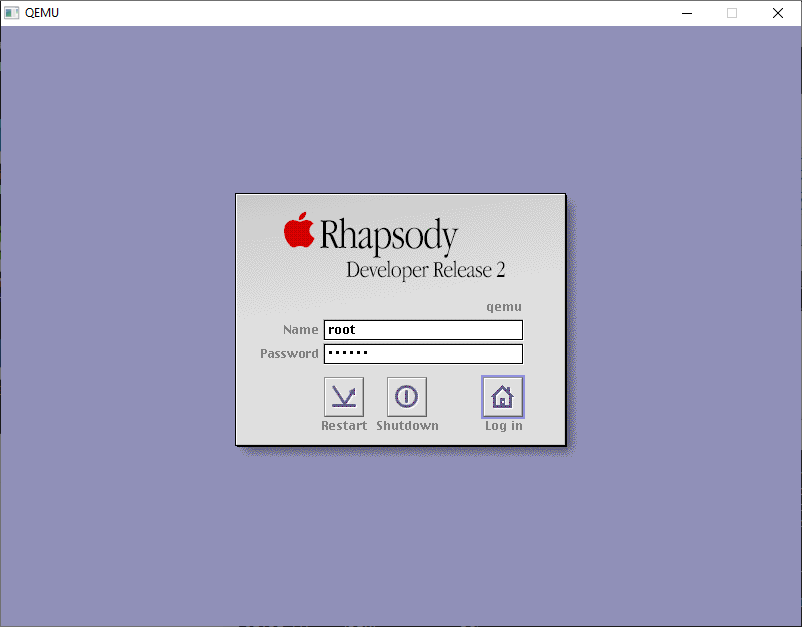
and then restart Qemu, and let it boot up normally. We’ll get to the login screen, login as the root user.

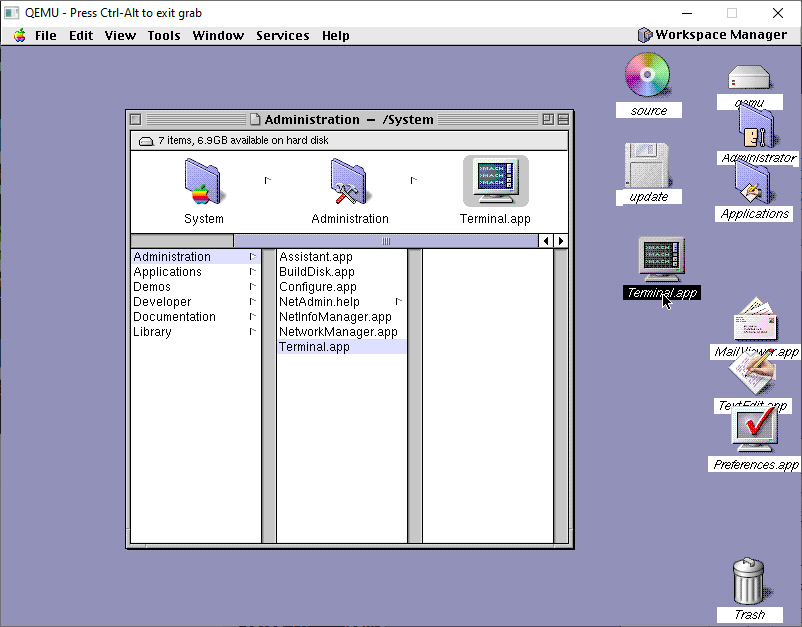
The first thing I’d recommend is to drag the Terminal.app from /System/Administration to the desktop to make it easier to get to. Rhapsody, unlike NeXTSTEP & OPENSTEP doesn’t have any dock, as the goal back then was to make Rhapsody look and feel more like Platinum MacOS.

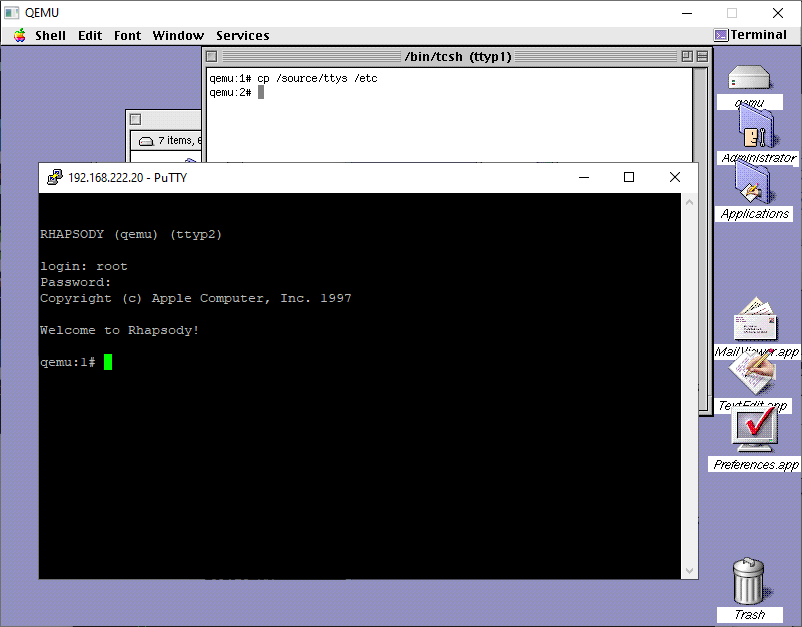
The next thing to do is to make the system very insecure by allowing remote root logins. It’s just easier to deal with. You could use sed or just copy the one I provided from the CD-ROM.

cp /source/ttys /etc

And with that in place, its easy enough to telnet into the VM so you can copy/paste stuff in and out with ease!

You should now be able to verify that all 3 disks are mounted:

# mount | grep hd.a
/dev/hd0a on / (local)
/dev/hd1a on /src (local)
/dev/hd2a on /scratch (local)

From here it should be very simple to kick off the build process:

/source/phase1.sh

And this will kick off the build, recreating all the fun steps I’d gone through so many years ago. These projects now are building in the following order:

  • kernel-1
  • driverkit-139.1-1
  • cc-798
  • bootstrap_cmds-1
  • objc-1

The first phase of the script will unpack both the kernel & driverkit and install their respective header files into the OS. NeXT a bunch of symlinks are created to link the system to the driverkit. Next I decided to build the ObjectiveC compiler from 10.0, hoping it’s more bugfixed and slightly more optimized than what was available back in 1999. Building the compiler is a little involved, as a good GCC tradition is to be cross compiled first, then re-compile itself with itself, then do that again and verify that the 3rd recompile outputs the same as the second one. Yes it’s a thing. Yes it’s slow. Yes you are lucky to live in the future, this was really painful back in the day.

With the kernel compiled, we can then compile the bootstrap commands, and the objectiveC runtime that is used by the kernel. Nothing too exciting here.

DriverKit however….

The PCMCIA code was not included in any of the 0.x Darwins, so for laptop enthusiasts you are basically SOL. As a matter of fact, a lot of weird stuff was pruned out, that either could be ‘touched’ or borrowed from the PowerPC port and massaged into place. Luckily I had at least figured out a simple fix for PCIKernBus.h so at least PCI works.

Likewise for the kernel, there was some guessing on the EISA config, which also overlaps ISA, along with having to remove the PCMCIA cardbus .. bus.

APM crash

I had issues with the APM (Advanced Power Management), another laptopisim I suspect. I had to amputate that.

for testing purposes

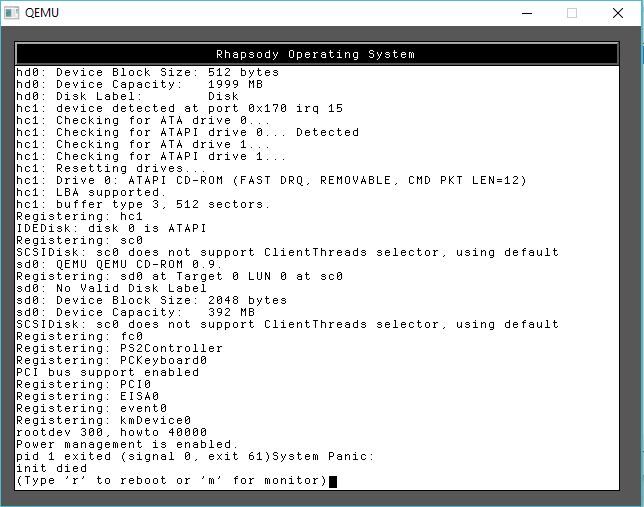
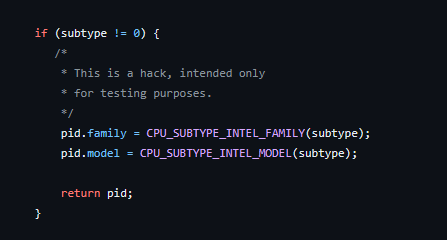
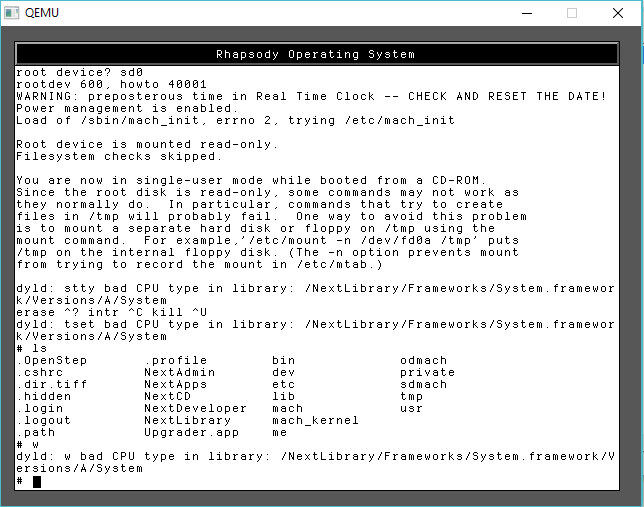
Naturally the cpuid code is broken much like early NT (I wonder if both were contributed by intel?), so it doesn’t detect any half way modern Pentium processors correctly which causes it to fall all the way back to the i386, which unfortunately, Rhapsody is compiled as 486 (remember NeXTSTEP had fat binaries allowing you to recompile for different processors and ship a single binary that can be ‘lipo’d into the appropriate one for the host). So being degraded to a 386 means nothing works.

bad CPU type in library!

yay.

Luckily patching the cpuid was pretty simple just force it always to be a Pentium. It is 1999 afterall.

I’ve done my best to make this a single script to run, and all being well you’ll get something that looks like errors, but it should be fine?!

System/Library/Frameworks/System.framework/Versions/B/Headers/bsd/i386/table.h
System/Library/Frameworks/System.framework/Versions/B/Headers/bsd/i386/types.h
System/Library/Frameworks/System.framework/Versions/B/Headers/bsd/i386/user.h
System/Library/Frameworks/System.framework/Versions/B/Headers/bsd/i386/vmparam.h
private/
private/dev/
private/dev/MAKEDEV
private/tftpboot/
private/tftpboot/mach_kernel
mach_kernel
tar: private/dev: Could not change access and modification times: Permission denied
tar: private/dev: Cannot change mode to 0755: Permission denied
tar: private/dev: Cannot chown to uid 0 gid 0: Permission denied
tar: Error exit delayed from previous errors

A quick look around shows that there is tgz files indicating that things have been compiled. I did backup the old original kernel as “rhapsody-gcc.tgz” in case you ever need it. Can’t imagine why but who knows?

qemu:13# ls -l /usr/src/*.tgz
-rw-r--r--  1 root  wheel   173706 Apr 23 15:25 /usr/src/bootstrap_cmds.bin.tgz
-rw-r--r--  1 root  wheel  2184460 Apr 23 15:33 /usr/src/cc-798-bin.tgz
-rw-r--r--  1 root  wheel  2747289 Apr 23 15:36 /usr/src/driverkit-kern-bin.tgz
-rw-r--r--  1 root  wheel  1264957 Apr 23 15:26 /usr/src/kernel-driverkit-hdrs.tgz
-rw-r--r--  1 root  wheel   116343 Apr 23 15:26 /usr/src/objc-bin.tgz
-rw-r--r--  1 root  wheel  2173005 Apr 23 15:26 /usr/src/rhapsody-gcc.tgz
qemu:14# ls -l /mach_kernel*
-r--r--r--  2 root  wheel  1459520 Apr 23 15:36 /mach_kernel
-r--r--r--  1 root  wheel  1404116 Apr 23 15:38 /mach_kernel-rhapsody

You should now be able to reboot into the kernel that you’d compiled!

Next up is Phase 2, where we compile the tools to enter the dark magic that is the Debian build system. Yes, you read that right, Apple/NeXT was all in on Debian.

Rebuilding Darwin from source: Part 1 Qemu

Back in the old old..

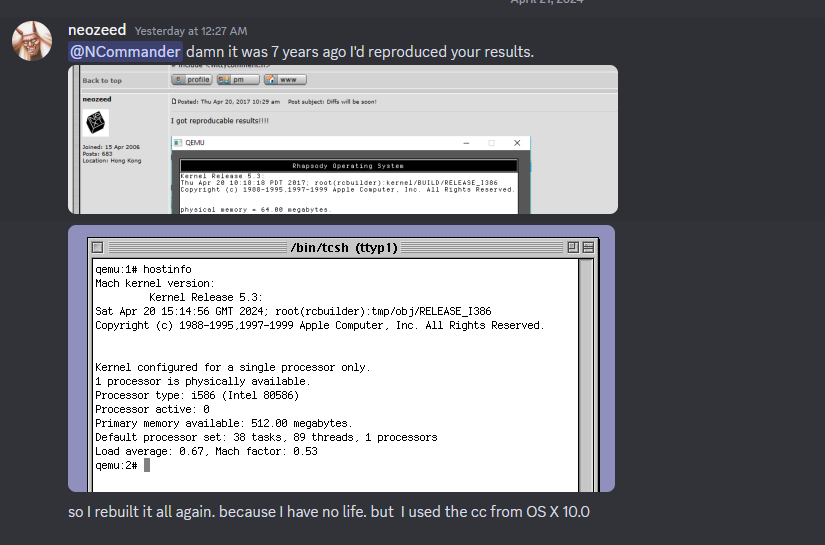
7 years ago!

It’s hard to believe it’s been 7 years ago since I reproduced Ncommander‘s adventure in building the Mach kernel from Darwin 0.1 sources that had been found years ago. At one point we’d managed to build enough of Darwin to do a dump/restore onto a new disk image, and have a mostly built Darwin system save for a hand full of files.

Time goes on by, and memories fade, and I thought it’d be worth going over the adventure, yet again. Just as it was true back then, I thought I’d reproduce the same setup that I’d been using back then. Qemu was a new and exciting thing back then, and

the Disk driver is VERY picky and honestly ancient Qemu is a pretty solid option to emulate NeXTSTEP/OPENSTEP/Rhapsody with some patches to both 0.8 & 0.9 by Michael Engel, which change a nested interrupt and add support for a busmouse, as the PS/2 mouse doesn’t work for some unknown reason. I know many are scared of old Qemu, but the disk support is pretty solid and the CPU recompilation is very fast, so having to rely on MinGW v3 isn’t so terrible.

While I had hid away a lot of these resources on archive.org, I thought it was best to just go back to the oldest post I had where I had painfully documented how to compile Qemu and get it working with NeXTSTEP, back on BSDnexus. I’m so glad I took the time so long ago to not only write it down, and add screenshots, but also tag the version numbers. Software drift, especially free software can be so difficult to pin down, and it’s nice to be able to return to a known good value. I went ahead and placed the recreated toolchain over on archive.org.

Rhapsody is a weird OS, in that NeXT had kind of given up on the OS market after their NeXT RISC Workstation had basically died with the 88k, and even their early abandoned PowerPC 601 aka MC98000/98601 port. Apple had left a few of the changelogs, in the source code. It’s very interesting stuff! I guess to go off on my own tangent NeXT was just too early, the cube with it’s Unix & magnetic optical media and great audio DSP capabilities was just too ahead of the curve. What the cube couldn’t pull off in 1988, the iMac and OS X sure did in 2001.

I also added UDP support to this Qemu so I could use the HecnetNT bridge trick giving me the ability to telnet/ftp into the VM greatly reducing my pain. Back in the day I had used NFS and the network slirp redirection. But I like having direct access so much more!

Rhapsody throws up yet another fun ‘road block’ in that the mouse buttons map backwards for some reason. It’s a trivial fix in the source code, but I made it a runtime option in case I needed or wanted to run NeXTSTEP. And it was a good thing, as I did need to find the NXLock.h file for building one part of Darwin.

When building Darwin, I started with the last x86 version of NeXTSTEP that was availble, and that was Apple ”Rhapsody” / Titan1U x86 Developer Release 2 from WinWorld. My thinking at the time and still is that the closer you can get your build to whatever they were using as ‘current’ the easier this will be.

Rhapsody can support an 8GB disk, so let’s go with that. This always has an issue with people that try much larger, and just fail, so for my sake and yours let’s just go with 8.

qemu-img.exe create -f vmdk rhapsody.vmdk 8G

And to simply start off the installer:

qemu -L pc-bios -m 128 ^
-k en-us ^
-rhapsodymouse ^
-hda rhapsody.vmdk ^
-cdrom rhapsody_dr2_x86.iso ^
-fda rhapsody_dr2_x86_InstallationFloppy.img ^
-boot a

You may be wondering, why only use 128MB of RAM? Well there is a bug in the shipping Rhapsody kernel that prevents booting on machines with more than 192? MB of RAM. Naturally, once we are to the point of building our own kernels this won’t be a problem but for now we are limited.

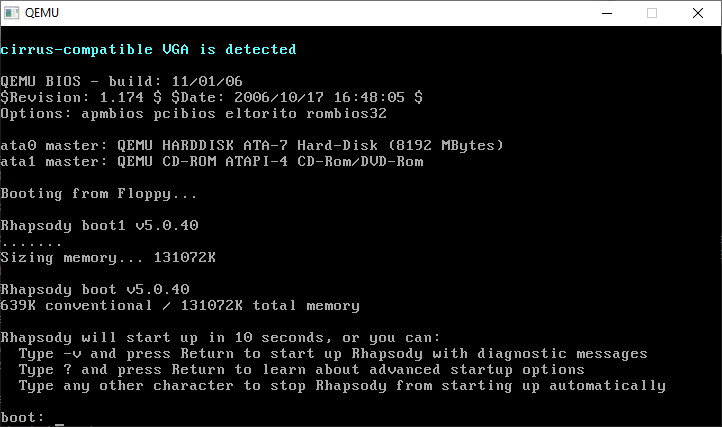
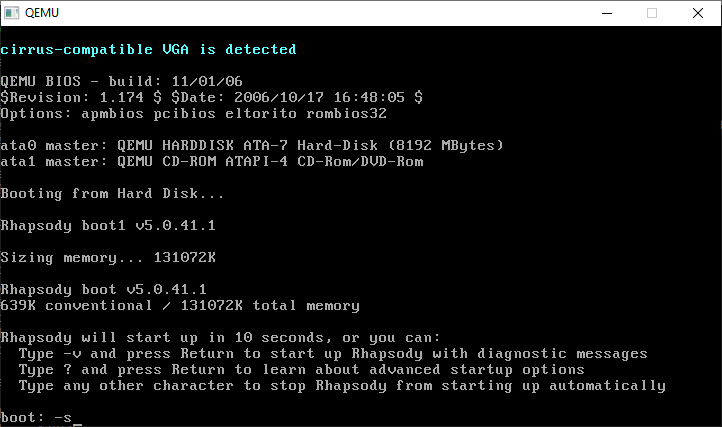
The bootloader will give us a few seconds to do anything fancy, I just hit -v so I always have the verbose boot.

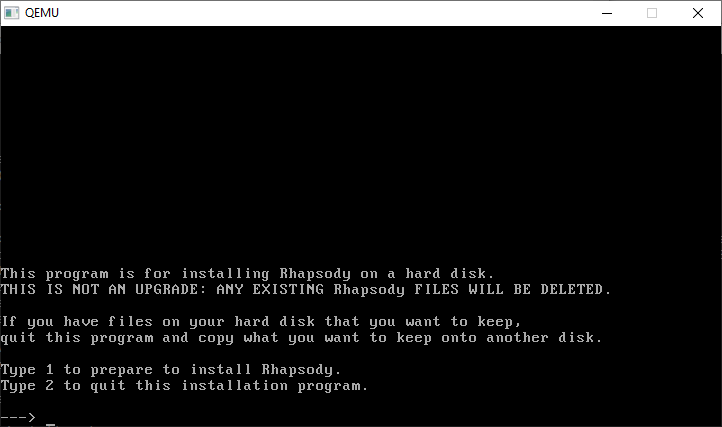
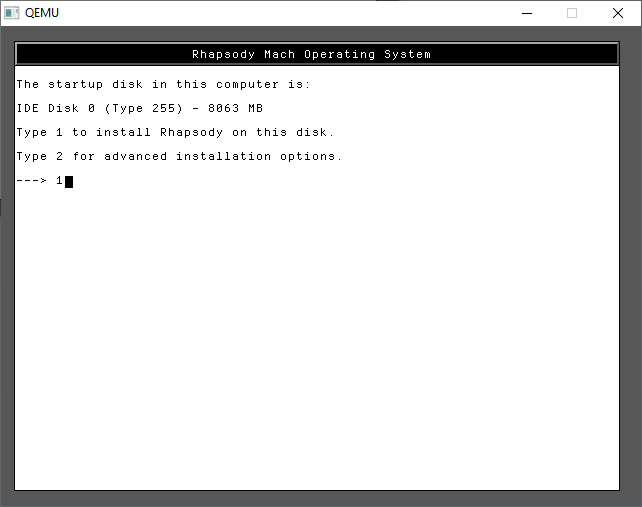
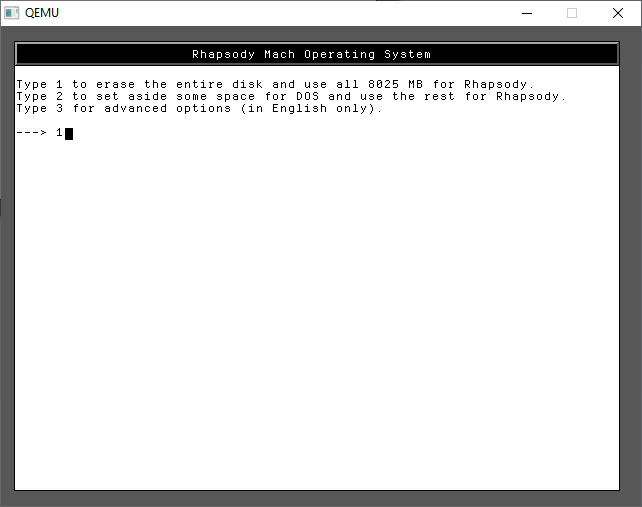
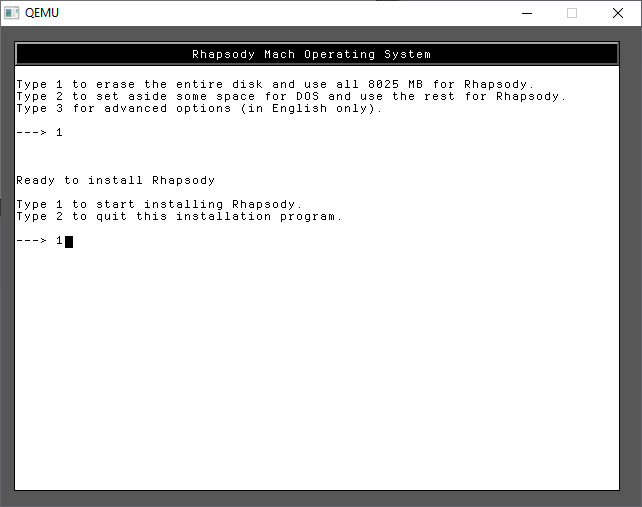
From here it’s just a few options to go thru the installer

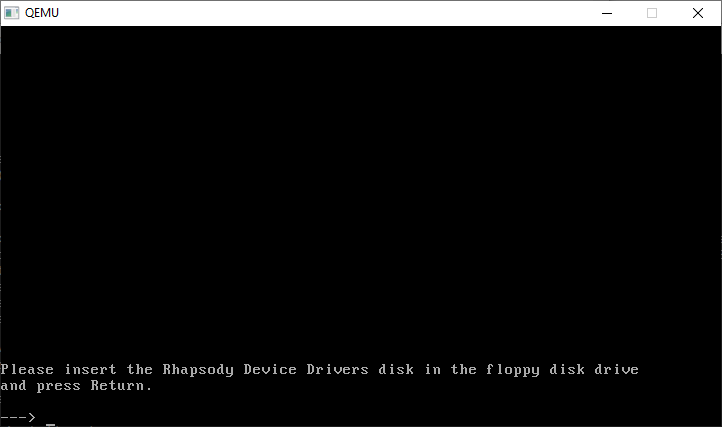
And a disk change is required

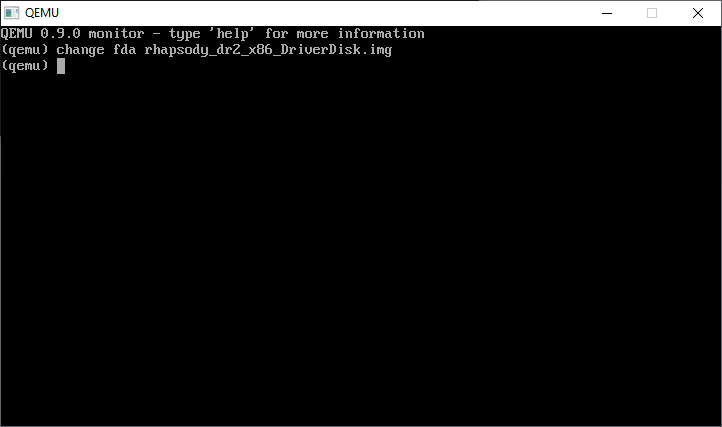
CONTROL+ALT+2 will bring up the monitor prompt, where we can change the disk

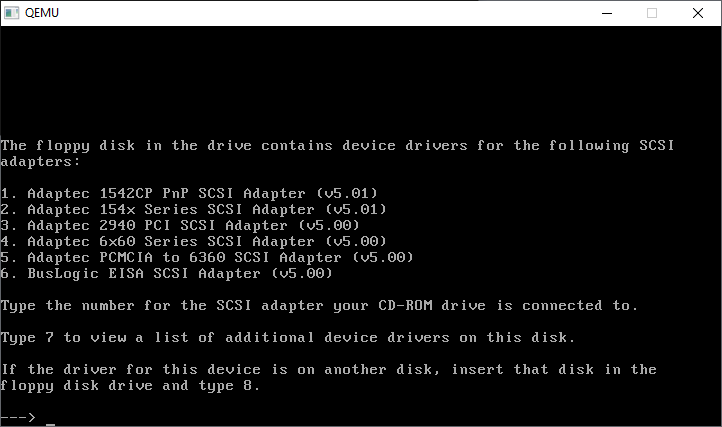
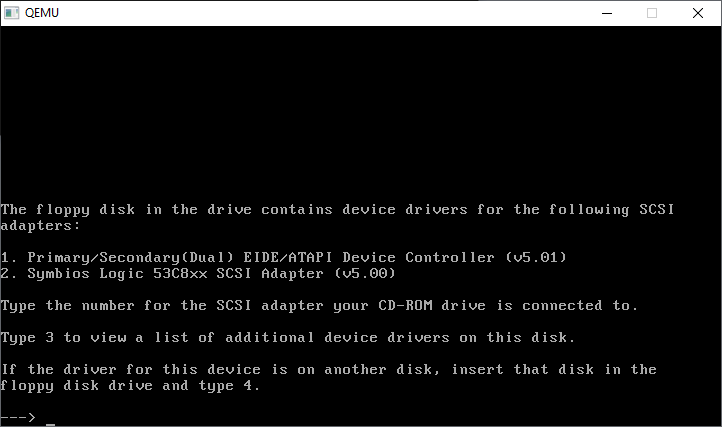
CONTROL+ALT+1 will return us to the console. Now we have to go through all the SCSI cards, and kind of compatible IDE cards

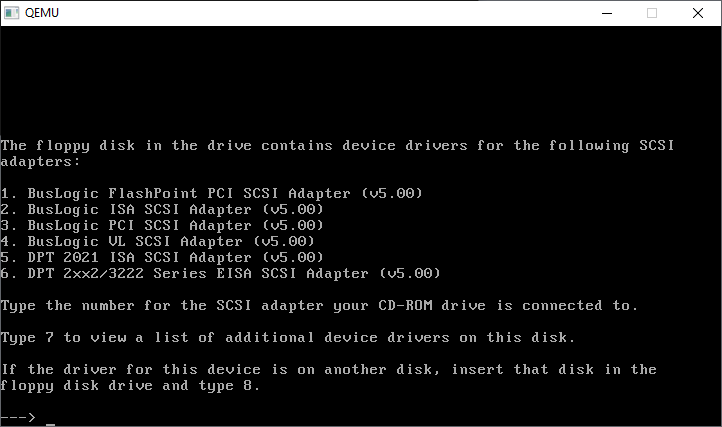
Further..

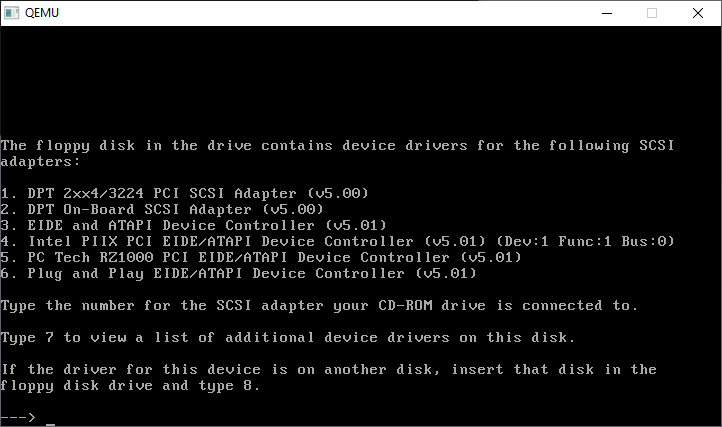
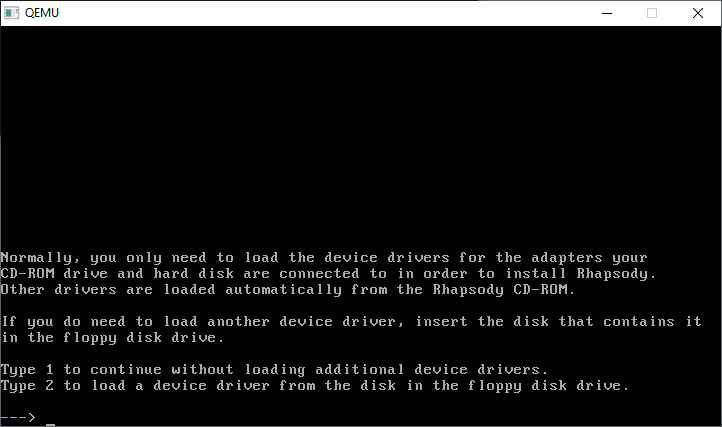
Further still…

And how select the Primary/Secondary(DUAL) EIDE/ATAPI Device Controller (v5.01)

We only need the one driver, so we’re good to go!

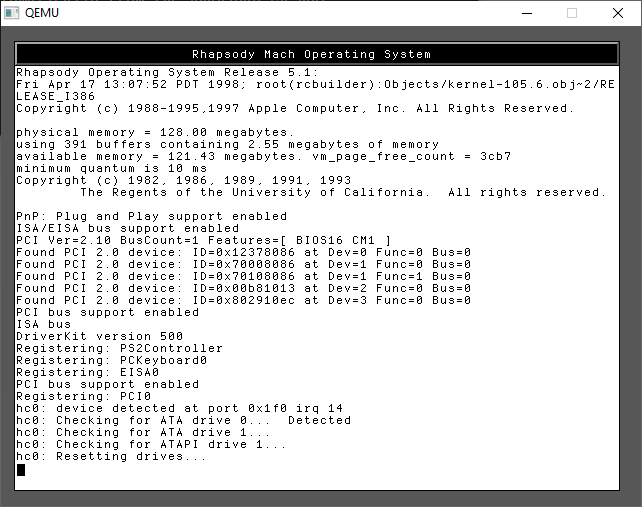
Continuing onwards will now start the kernel, along with a change to graphical mode. Just like a NeXT!

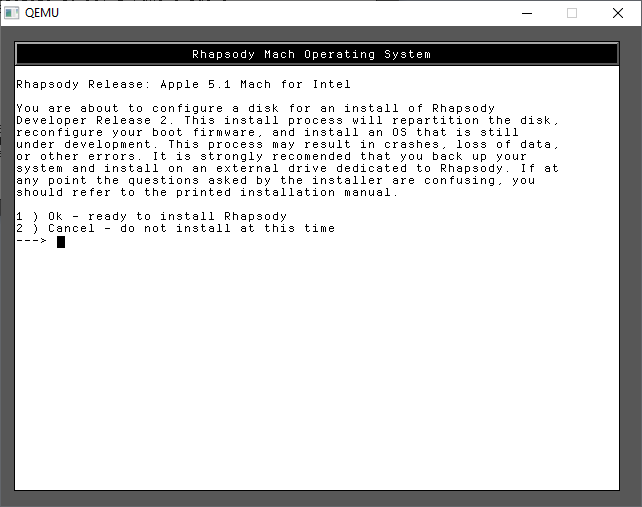
Now we can confirm again we want to install

As you can see there is our hard disk!

In the future we don’t need to dual boot so, just give it the entire disk.

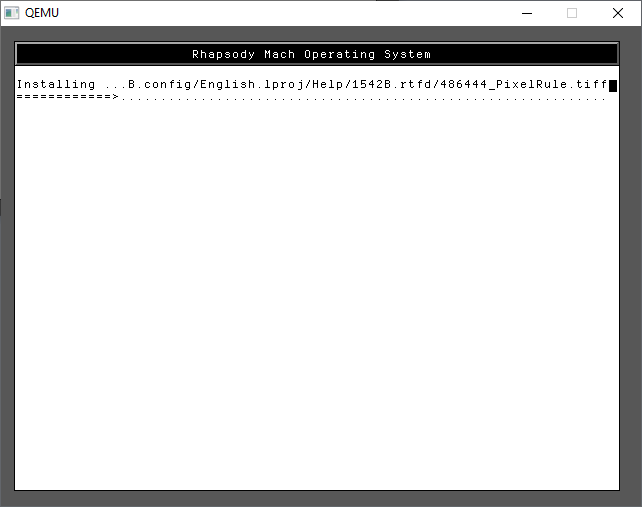
A few more 1’s and we are finally installing!

Trust me it’s fast on Qemu!

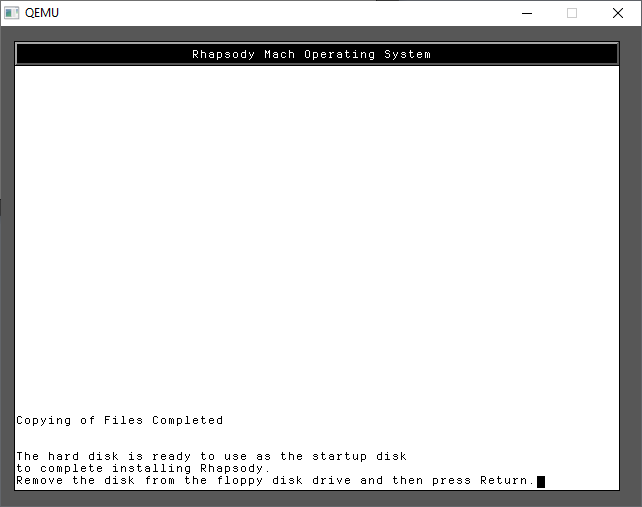
And just like that, we’ve completed the first part of the install.

You can use CONTROL+ALT+2 to toggle back to the monitor and type in

eject fda

to eject the floppy, then it’s CONTROL+ALT+1 to return to the display and have it reboot. Qemu won’t try to boot to the hard disk, and with no disk in the drive, it’ll hang at the BIOS. Now is a good time to close Qemu and backup the hard disk. Mostly because I hate repeating this stuff.

To try to make this a bit easier, I’ve made a floppy disk with the NE2000 driver and updated kernel in one place where they can be injected via single user mode. A simple enough config file:

qemu -L pc-bios -m 128 ^
-k en-us ^
-rhapsodymouse ^
-hda rhapsody.vmdk ^
-cdrom rhapsody_dr2_x86.iso ^
-fda nic.flp ^
-boot c

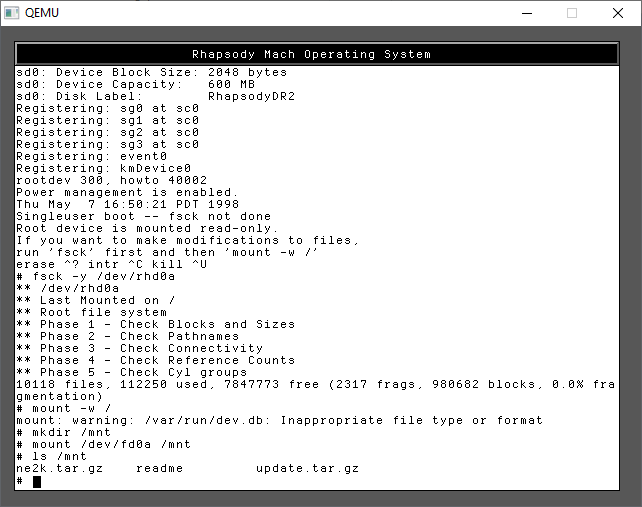
Type in -s for SINGLE USER MODE. This is where a lot of Unix problems got solved in the old days

It’s a little tricky as this does involve typing. As instructed we need to check the hard disk prior to mounting it read/write

run the commands:

fsck -y /dev/rhd0a
mount -w /

Now we can mount the floppy disk

mkdir /mnt
mount /dev/fd0a /mnt
ls /mnt

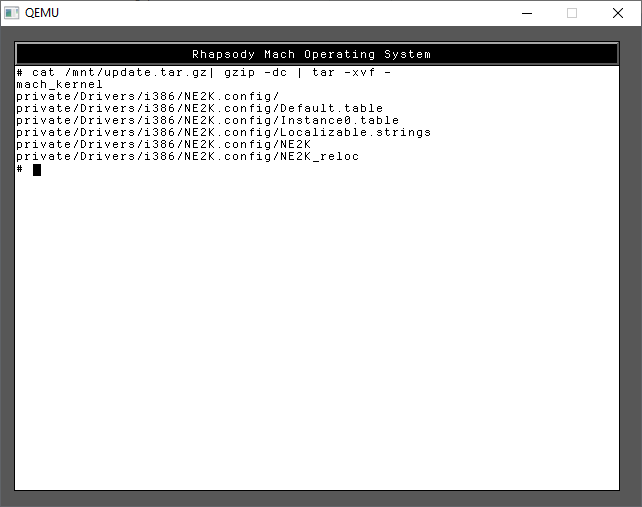
I’ve included both the kernel & NE2000 driver in one file, and JUST the NE2000 driver in the other. For my sake I use the first one, update.tar.gz as I wanted to use the newer kernel ASAP. tar -zxvf didn’t want to run, so I did a rather awkward version to achieve the same thing.

cat /mnt/update.tar.gz | gzip -dc | tar -xvf -

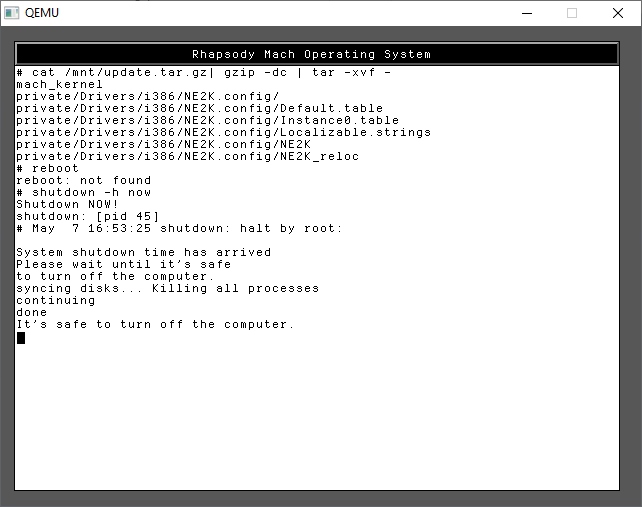
With the files in place, you can now shut down the system with a simple

shutdown -h now

Once more again, I’d shut down the emulator, and backup the hard disk. If anything goes wrong you can restore your backups at any phase, at least saving some time!

Next is the graphical install. In this case I use the hecnet bridge to give full access, you can setup with the slirp driver with a simple “-net user” but it doesn’t matter at the moment Since I opted for the newer kernel, I can take advantage of the 512MB RAM.

qemu -L pc-bios -m 512 ^
-k en-us ^
-rhapsodymouse ^
-hda rhapsody.vmdk ^
-cdrom rhapsody_dr2_x86.iso ^
-fda rhapsody_dr2_x86_InstallationFloppy.img ^
-net nic,model=ne2k_pci,vlan=5 ^
-net socket,udp=0.0.0.0:5001,remote=127.0.0.1:5000 ^
-boot c ^

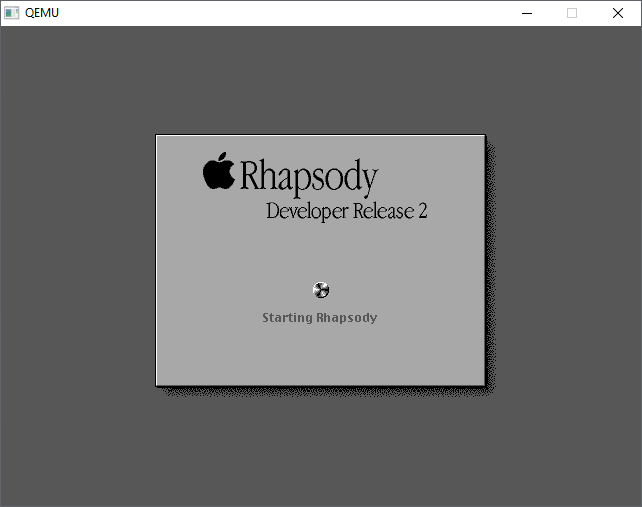
Booting Rhapsody

Now we have to setup the hardware. It should be somewhat straight forward, first we start with the monitor. The mouse should be working although I find that I have to move slowly. Sorry it tracks weird on real hardware too.

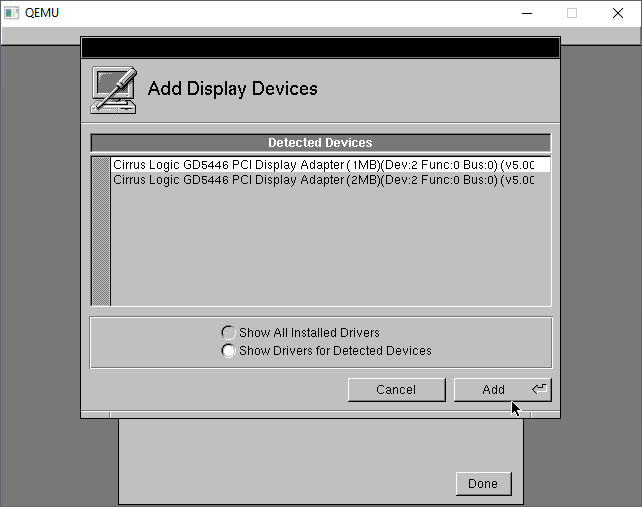
The Cirrus Logic GD5446 should be detected automatically, I just go with the default 1MB

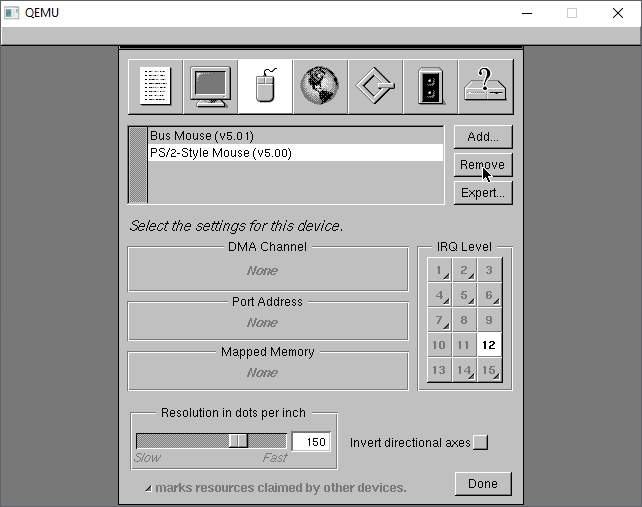
Next under the mice, select the PS/2 mouse and remove it

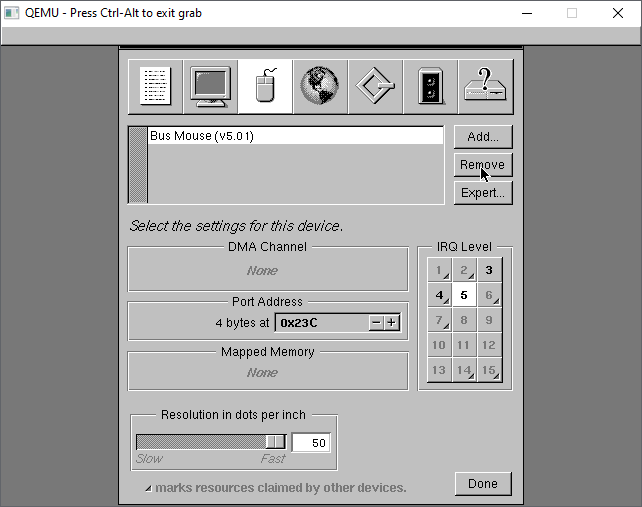
This leaves us with the Bus Mouse driver.

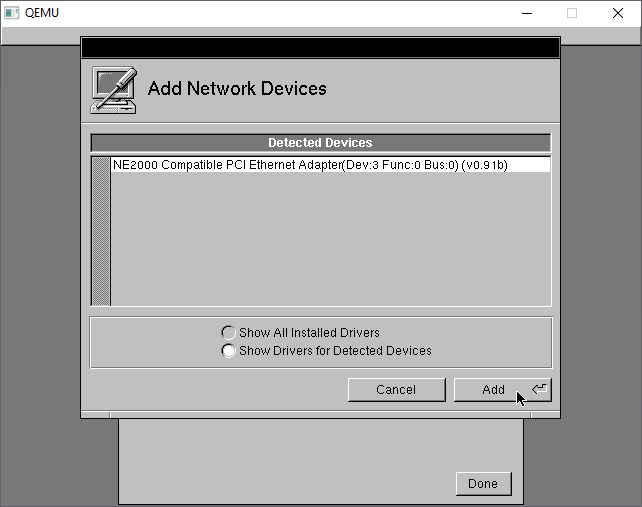
Under the network tab, the NE2000 should be automatically detected.

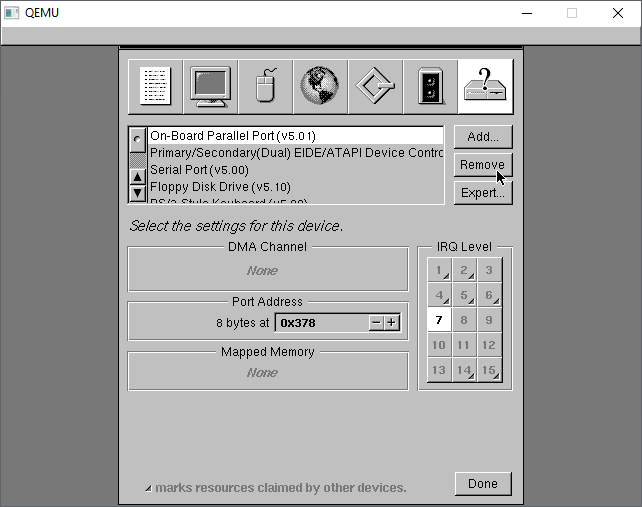
On the last tab, I make a habit of removing the Parallel port freeing IRQ 7, in case I wanted it for something else.

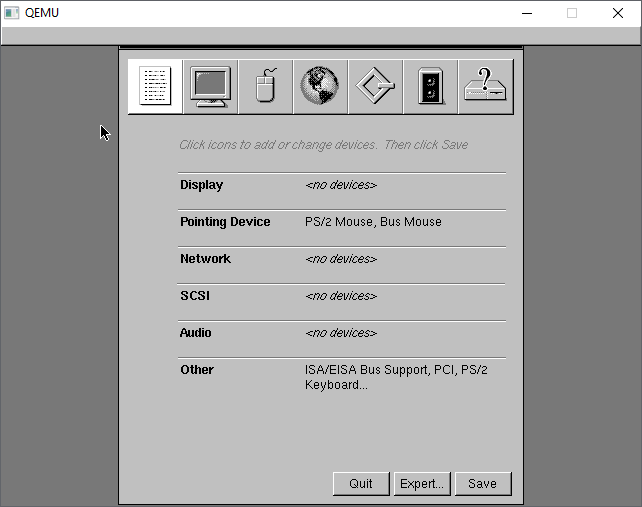
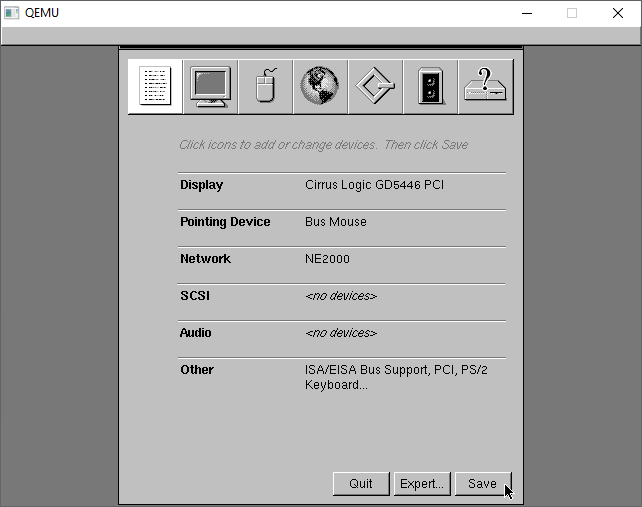
Back to the summary, we now have Cirrus Logic video, NE2k networking, with no SCSI, no Audio.

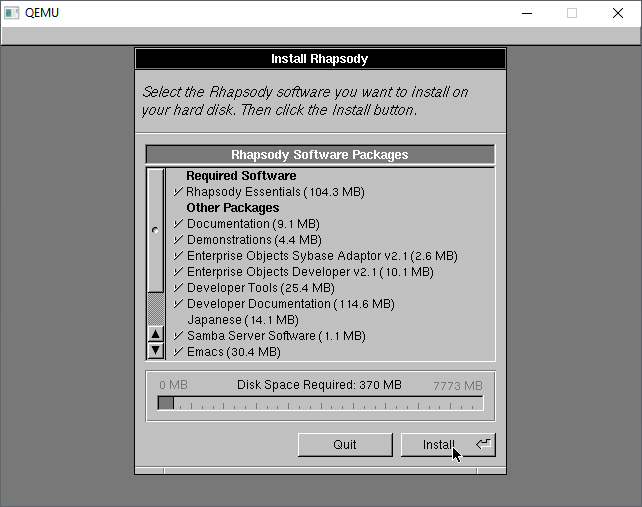
With the config saved, now we can just install as is. I un-installed Japanese, but it doesn’t matter. You absolutely need the Development Tools, so may as well go with eveything.

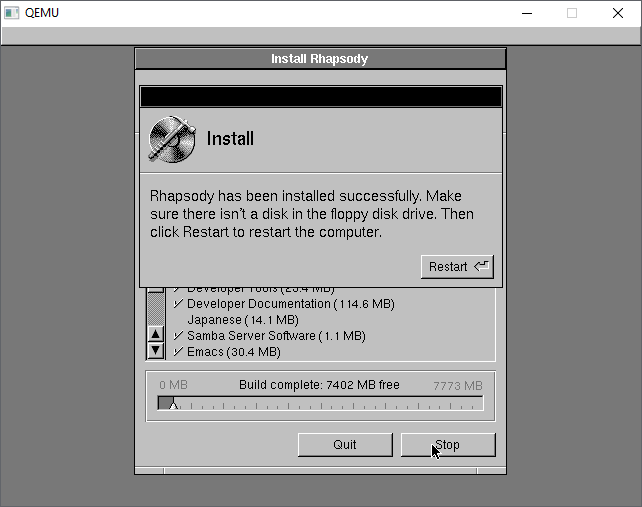
The installation only takes a few minutes and we are ready to reboot

The kernel will now shut down.

Once more again this is a great time to make another backup of the hard disk. At this point this is a great backup to save, as we’ve installed the OS, and selected drivers, in the next reboot we’ll be personalizing the operating system.

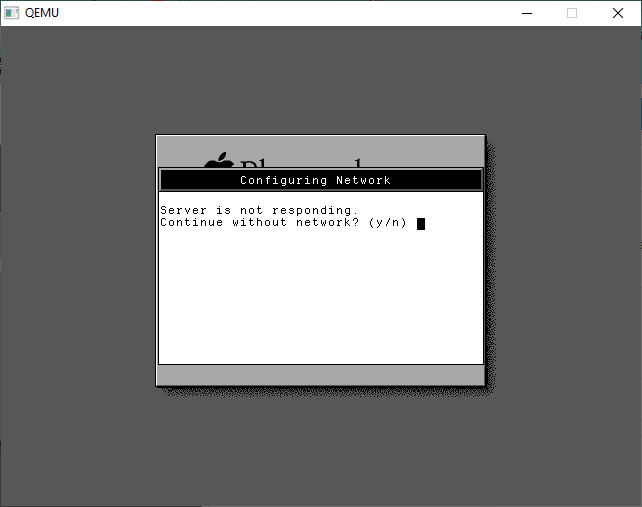
We can re-run the last config once the disk has been saved. We’ll be greeted with a message that the Server isn’t responding. Answer YES to continue without networking.

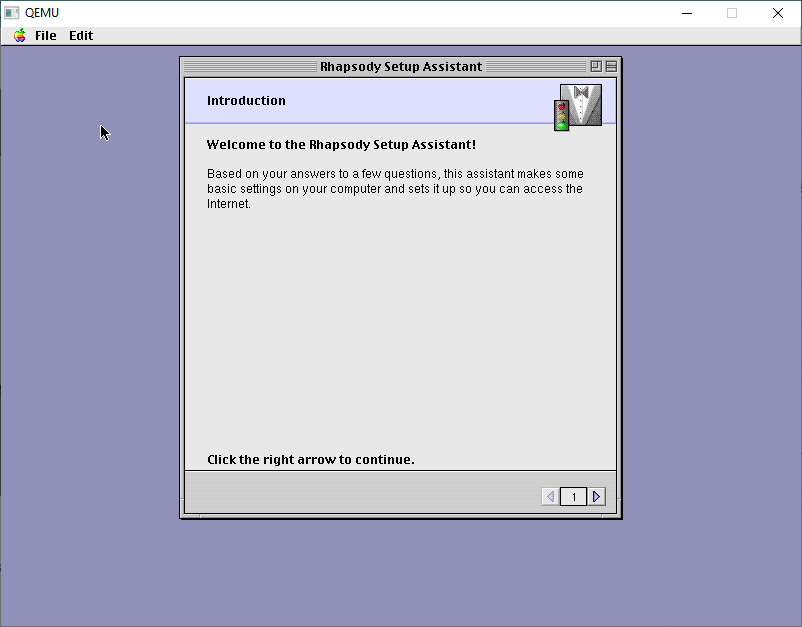
From here we are in the Setup Assistant, taking a nod from MacOS 8

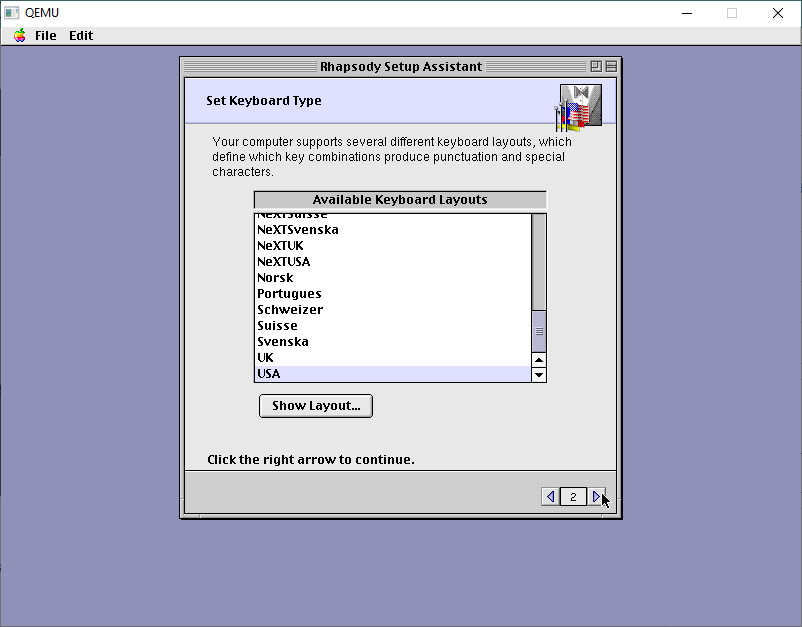
I use USA keyboards. The best keyboards! I touch type so I don’t have to deal with weird layouts.

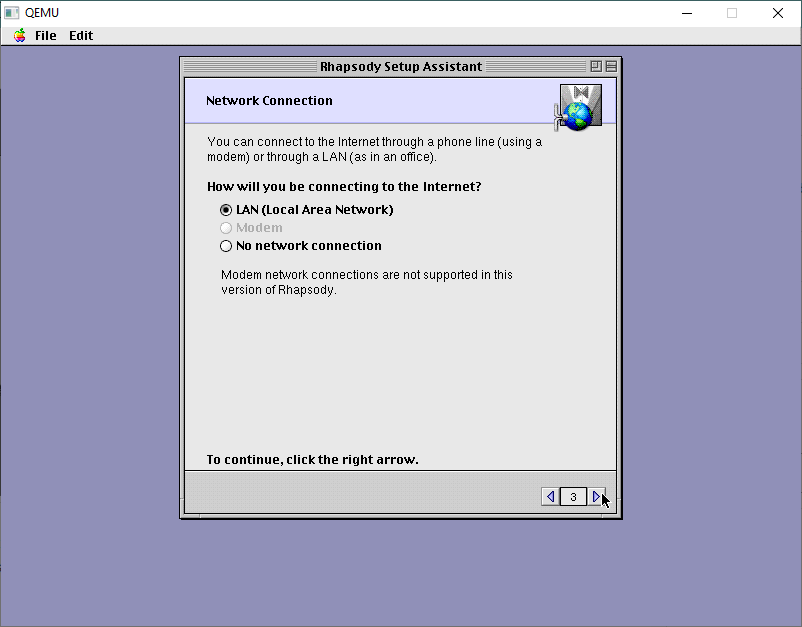
Specify for a LAN connection

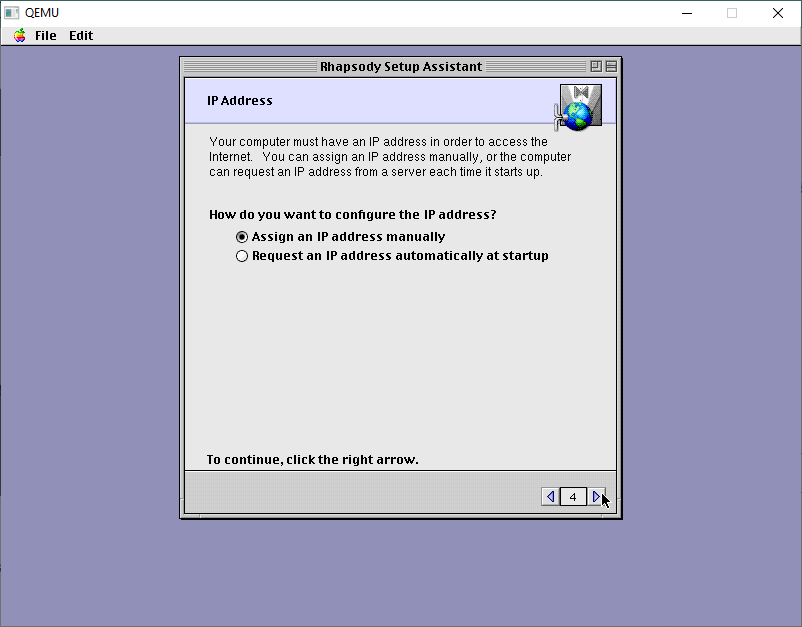
There is no DHCP support so specify a manual IP address.

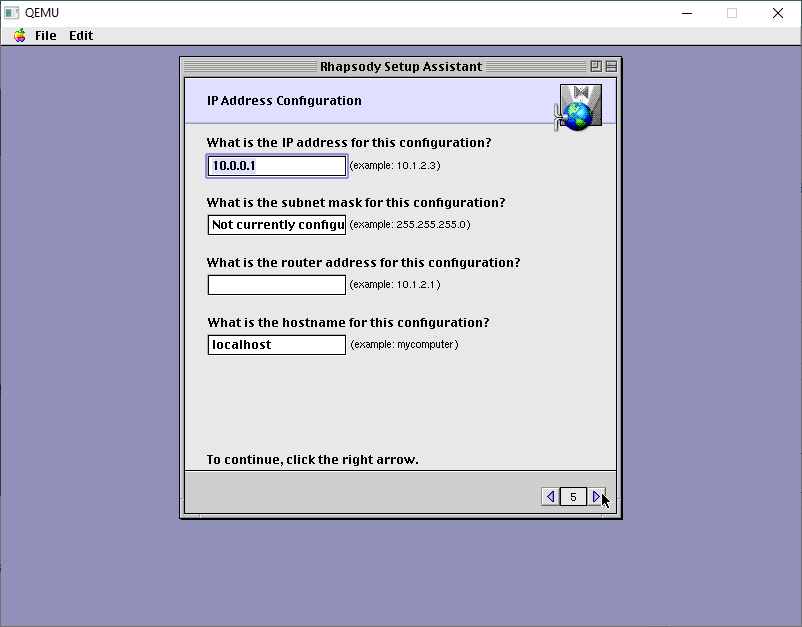
The default stuff is just wrong.

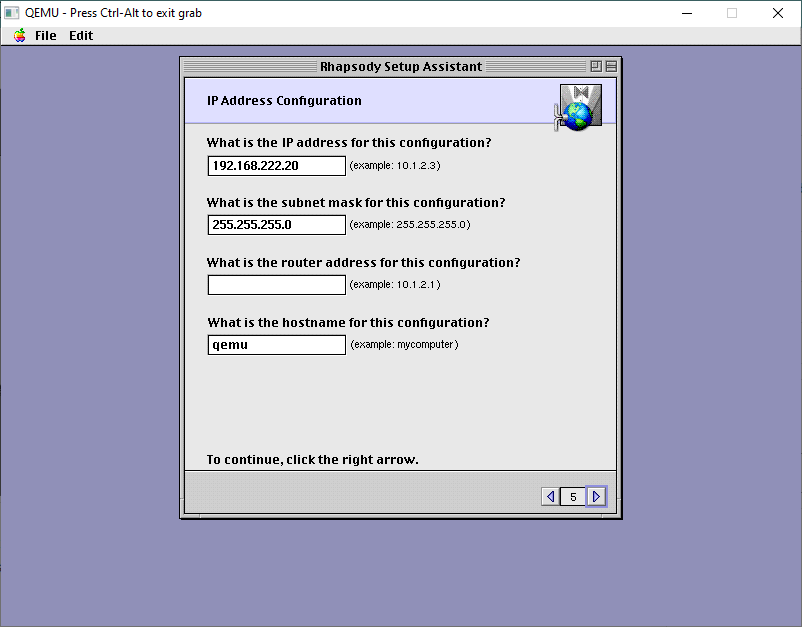
On my LAN this is good enough. DONT add a router. It’ll just confuse it.

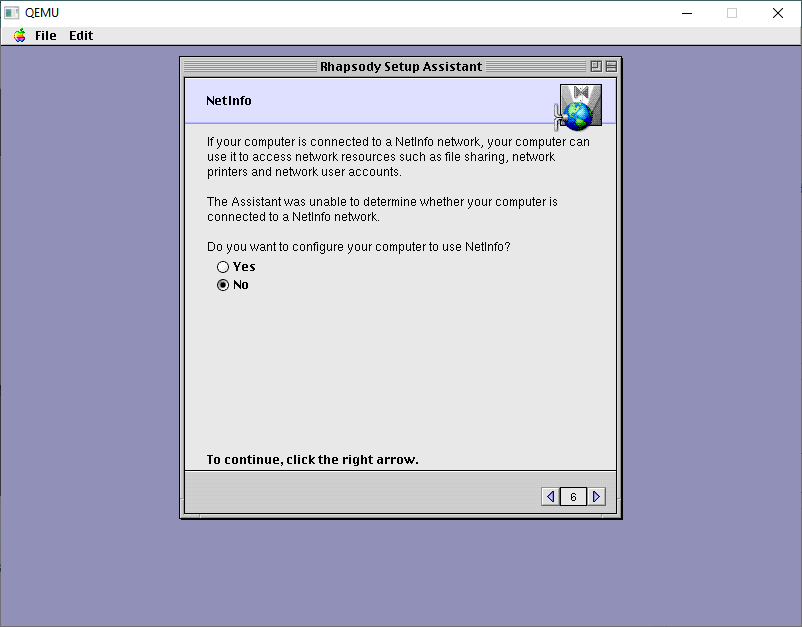
We don’t have or want NetInfo. This would be the server to give out IP addresses, and authentication. We don’t need it!

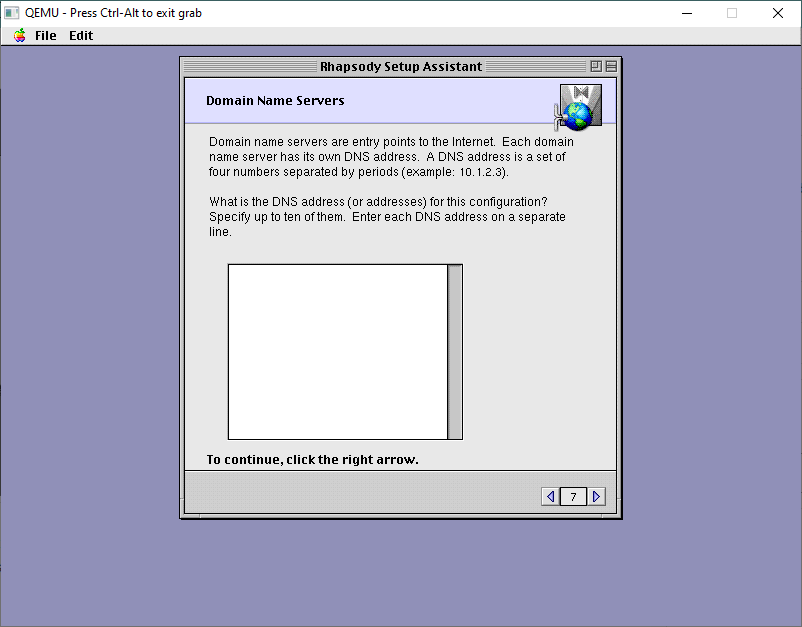
Leave the DNS servers blank

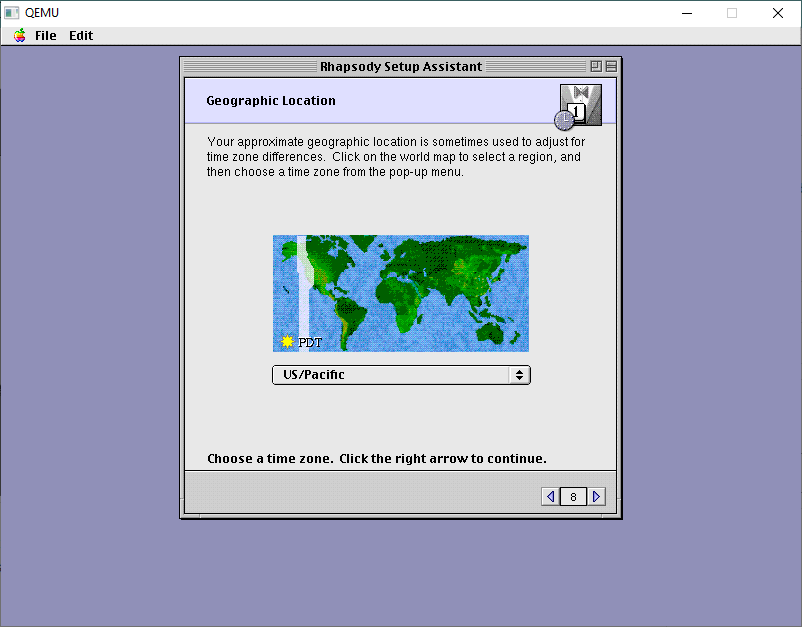
You can setup any location, it doesn’t matter.

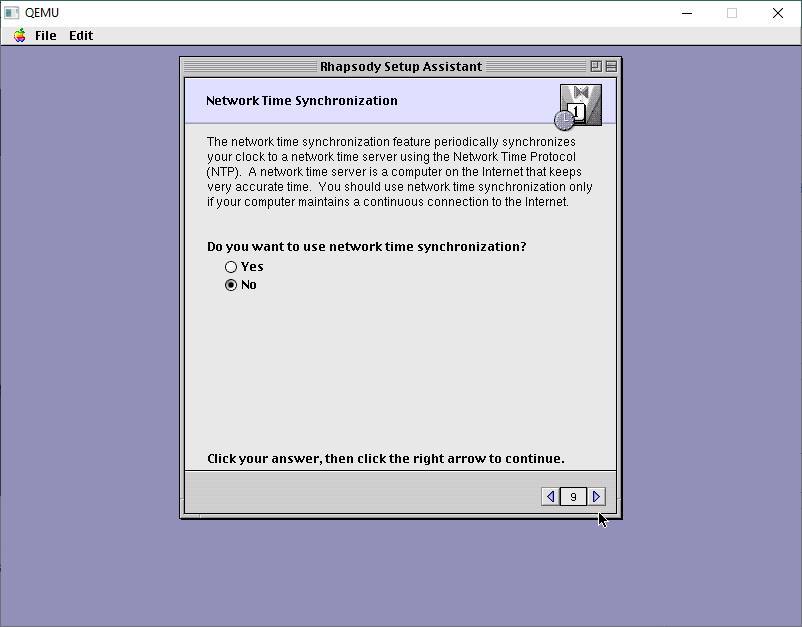
Likewise, with NTP, turn it off.

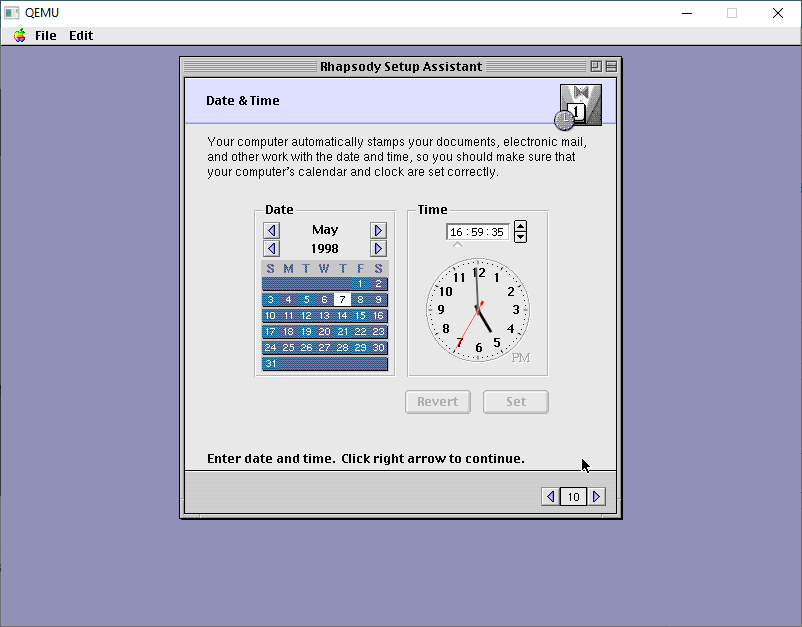
We will then get the option to set the date/time manually. The default time is far too old and it’ll break stuff.

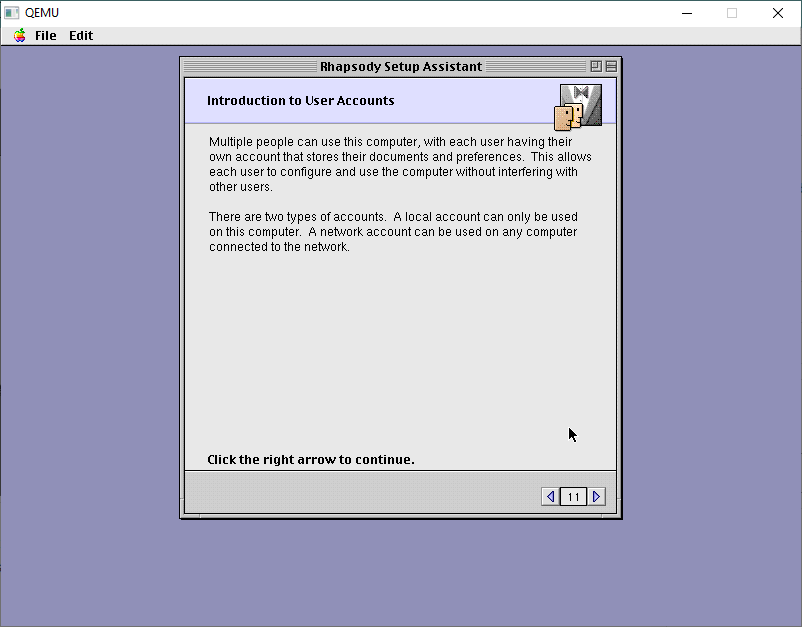
Next up is user accounts.

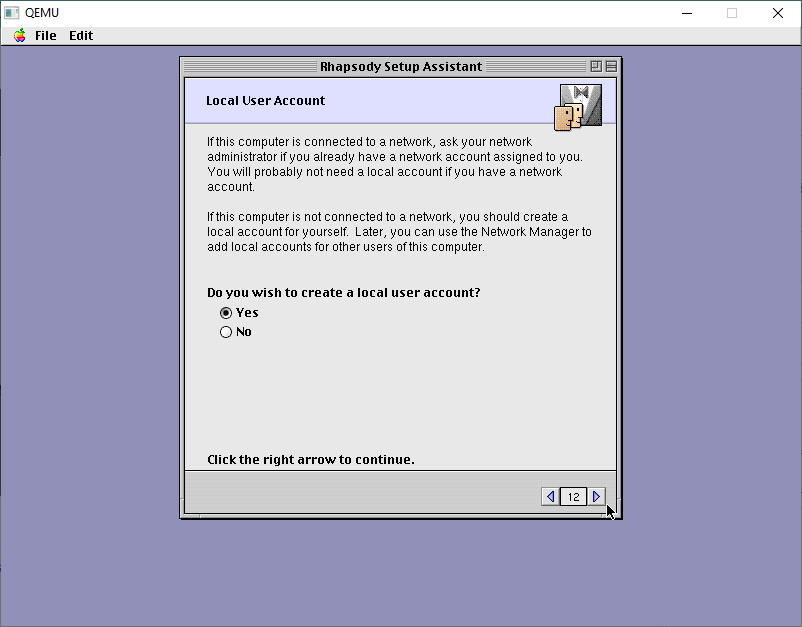
I always make local accounts.

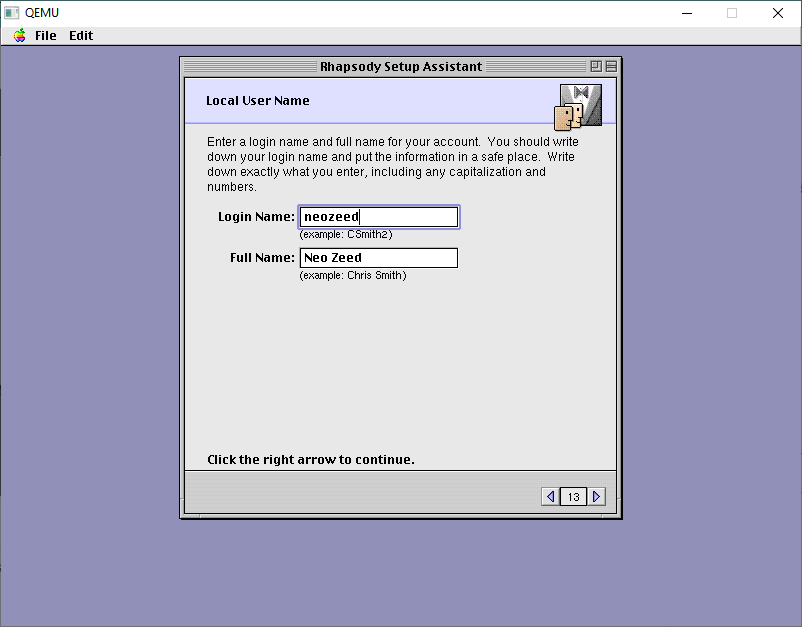
Come up with some creative name

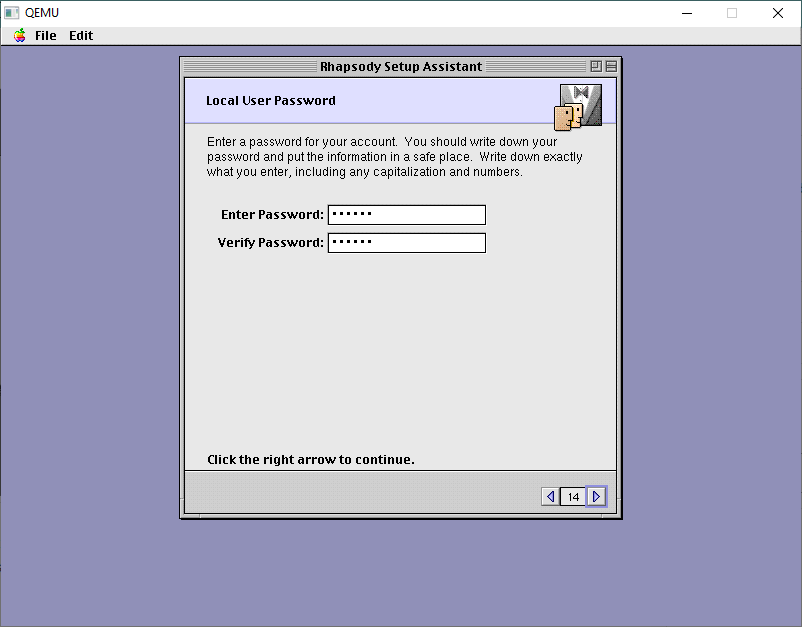
and a password

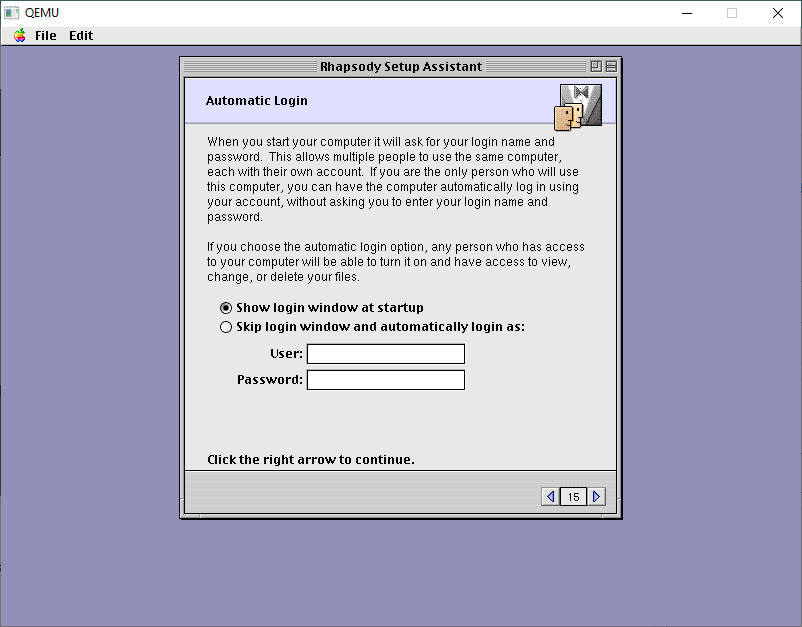
I don’t have it doing any automatic login. You can if you want, it’s all up to you, this one doesn’t matter.

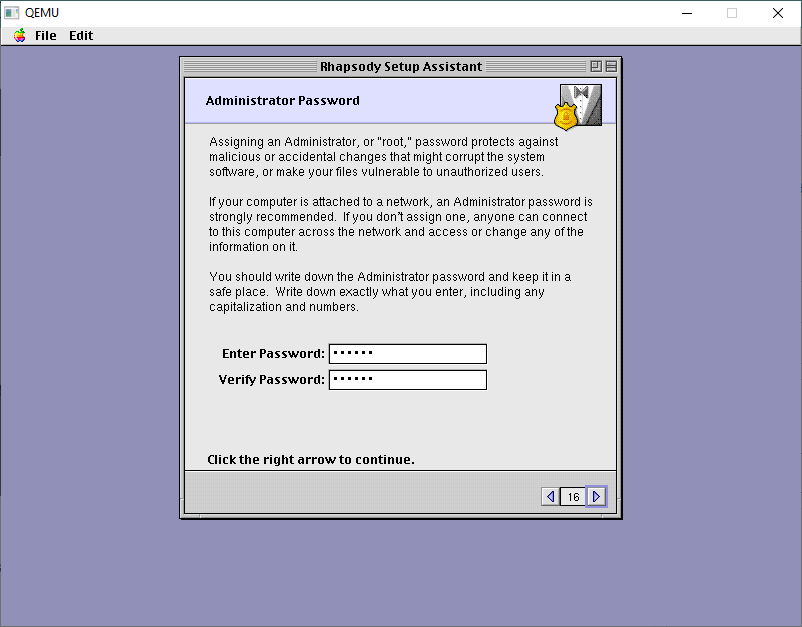
Next is an Administrator password

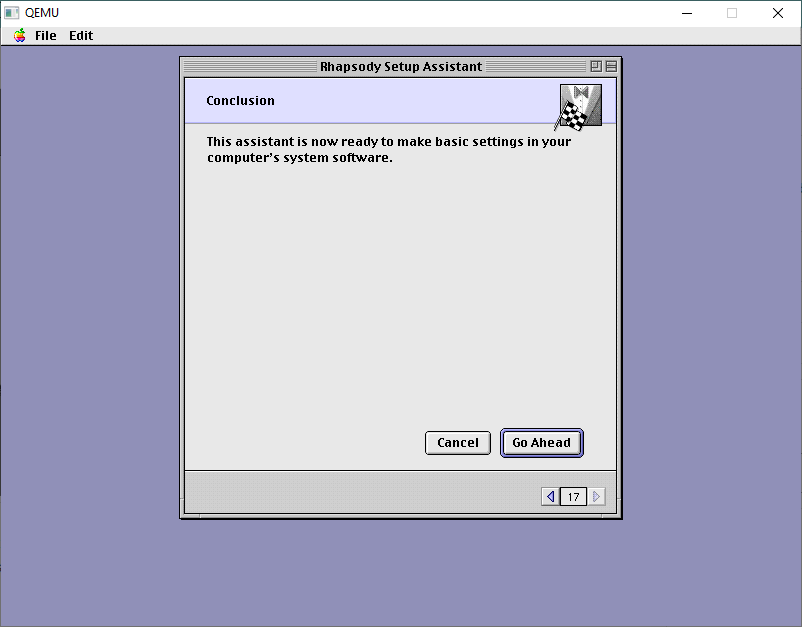
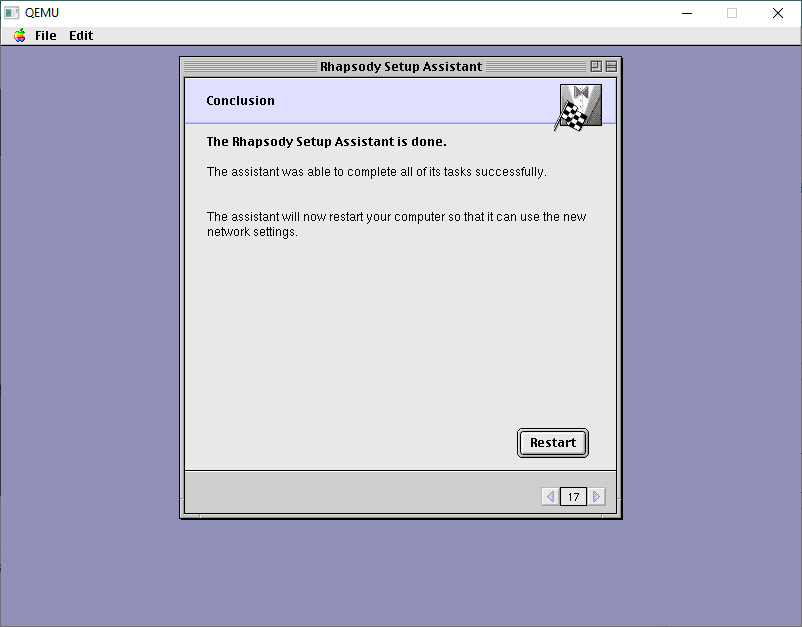
And now we can apply our changes.

It takes seconds!

And now we’ere done. You may want yet another backup as this is tedious!

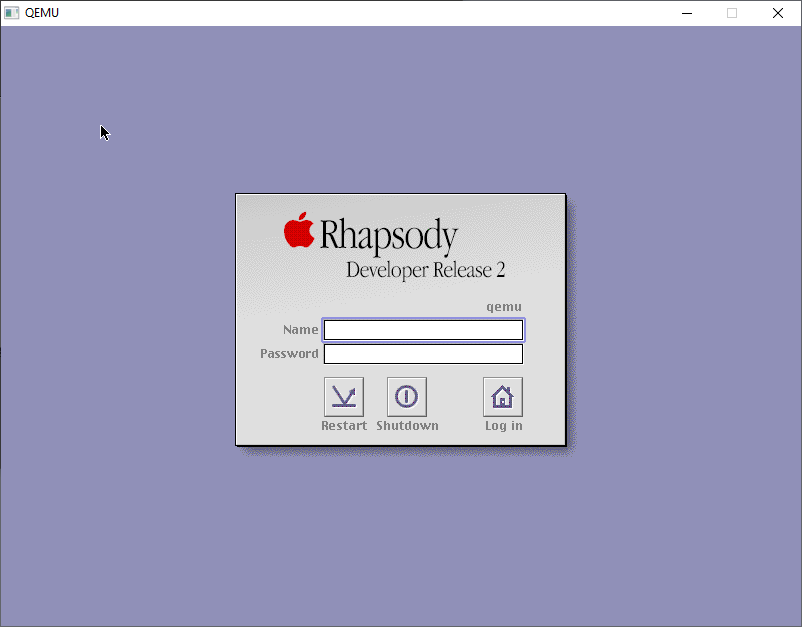
With the final configured backup in hand, now we can boot back one more time, and now we’re in SVGA mode!

Rhapsody DR2 Login Screen

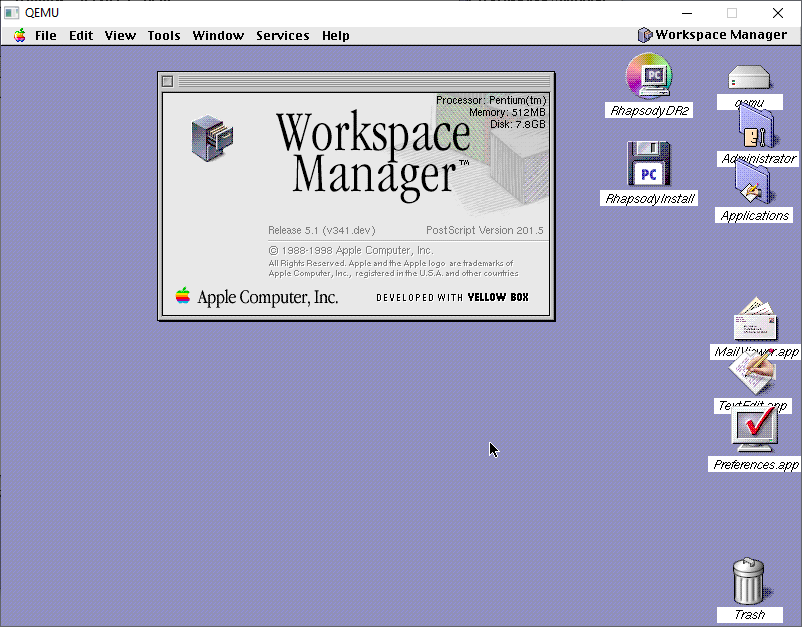
Logging in as root will give me the desktop

Desktop

And there we are, all installed.

For anyone brave enough to have read all of this, but wants the quick and easy version, it’s up on archive.org!

In part two I’ll pick up with the source CD-ROM I’ve prepared, so we can start compiling Darwin!

So what is the deal with A/UX anyways?

The year is 1983, and several Apple employees visit Brown University, and get some idea of what Universities want in a computer for the coming future. The big buzz of the era was the so called 3M machine:

  • 1 Megabyte of Memory
  • 1 Megapixel display
  • 1 Megaflop of performance

Naturally the Macintosh didn’t fill this void, instead leaving this to the new SUN-2 workstation. However seeing the opportunity, in 1984 the seeds were planted for the ‘Big Mac’ project. The hardware design was headed by Rich Page, which included new things like ADB, and dedicated video RAM, along with a 68020 processor, and 68881 maths co-processor. Additionally Big Mac was intended to run a UniPlus version of SYSV Unix, along with the MacOS Toolbox being ported to run directly on top of Unix.

All that I can find of the Big Mac project is this insanely low resolution image, along with the codename ‘Milwaukee‘.

However all this came to and end in 1985 with the ouster of Steve Jobs, who in turn took various people including  Bud Tribble, George Crow, Susan Barnes, Susan Kare, Dan’l Lewin, and Rich Page. Apple followed up with a $5MM USD lawsuit alleging that Jobs had done research for a next generation product and taken the key staff, namely Page from Apple to make it reality. The suit was eventually dismissed.

From there the race was on to build a 3M machine. NeXT would take the Big Mac concept further with the NeXT CUBE which included ADB, NuBUS and a 68030/68882 + SCSI + Ethernet setup. And for the OS, 4.3BSD Tahoe+Mach 2.5, along with a new Objective C language, and new OO frameworks.

Genesis

Back at apple however the ‘Big Mac’ project seemed to have stagnated, and was slimmed down and eventually shipped as the Macintosh II in 1987. There no doubt was a re-awoken sense of urgency in the academic space for the 3M market, now that NeXT was making a 3M machine Apple of course didn’t want to be pushed out of the new space. Apple released a real 1.0 product (1.1.1 survives, although you have to run ( /etc/toolboxdaemon & ; term) to get anything fun from Shoebill with the ISO), what can barely be called a bare bones SYSV port with overlapping terminals at best..

A/UX 1.1.1 codename ‘Circle K’ running on the Shoebill emulator

Overwhelming, and interesting this is not.

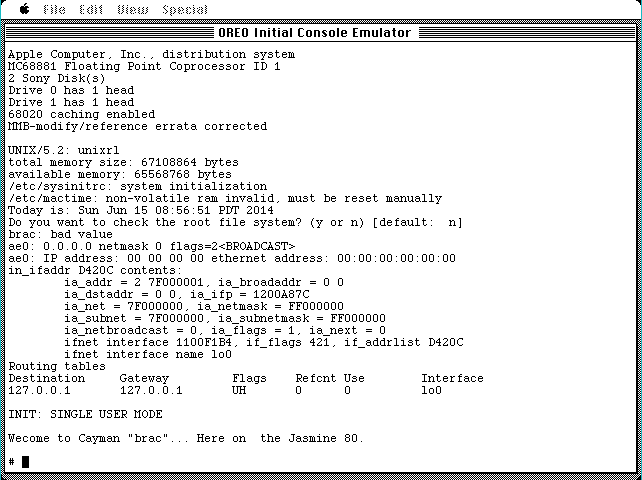
This of course was more like a tech demo, running a single ‘Unix toolbox app’ at a time. Pricing according to usenet was around $500 for the software, keeping in mind of course that a Macintosh II would be far more expensive. Version 1 also started to add BSD features namely curses in 1.0, allowing you to port simple terminal ‘graphics’ to the OS. The trend of adding BSD features was only going to continue from here! But all of this is a large step up from the earliest known version simply labeled as 0.7 which despite it’s ‘Oreo’ appearance is strictly text mode only.

Oreo is text mode only.

Dawning of a new era

The real magic is in 2.0:

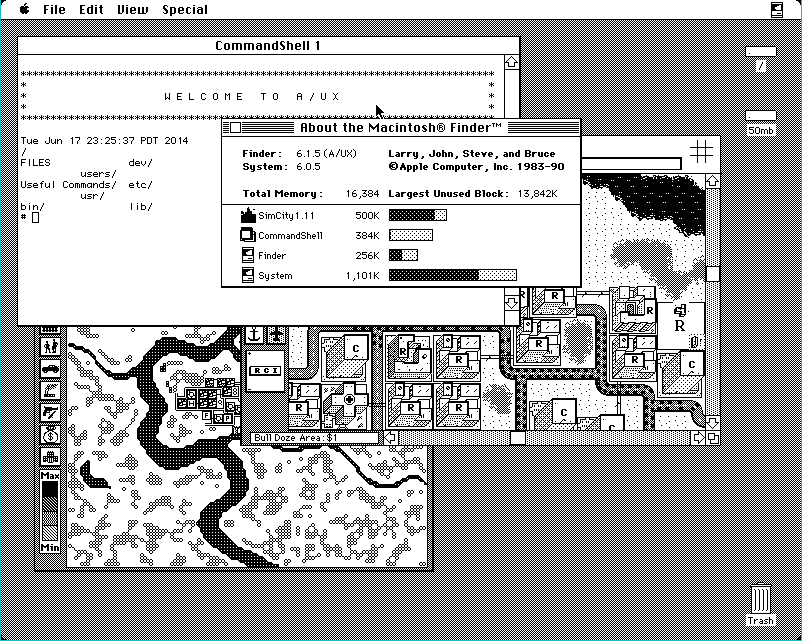
Sim City on A/UX 2.0 code name Perestroika, Space Cadet

Think of it more like the OSX of the 1980s. Finder has been ported over to the Toolbox on Unix API allowing A/UX 2.0 to run off the shelf MacOS applications. Under the hood however is the same UniSoft SYSVr2. However running MacOS on top of Unix gives it far faster disk IO, and of course the much vaunted memory protection, although with the massive catch that it’s only for Unix applications. You can still crash applications, and even finder. However you can telnet into the box and restart services, or perform a graceful reboot.

For Unix fans this was the first time you could get ‘off the shelf applications’ that didn’t cost a fortune, along with the standard Unix far. Amazingly both the C compiler and Fortran 77 compiler are included in the box. By 1990 many a company was making these only available for a separate purchase. Version 2.0 also brought along some BSD features with the big one being UFS support for longer filenames, and faster disk performance than the aging SYSV filesystem.

Of course it wouldn’t be all sunshine and rainbows as around this time Apple launched a lawsuit against Microsoft, and Atari over the visual iconography of MacOS (Oddly enough GEM on the ST was ignored). This so called ‘look and feel’ lawsuit lead to a boycott of the fledgling Unix from the FSF, which in turn hurt things like binutils/gcc/gdb etc being easily available to A/UX users.

So what went wrong?

Without even looking at the follow up version 3, and the products demise in the transition from 68000 to PowerPC, the writing was on the wall.

  • Price

The damned thing was just too expensive! From WikipediaWhen introduced, a basic system with monitor and 20 MB hard drive cost US$5,498” Version 1 was available on tape, and later CD-ROM, I think there was a floppy version, but without a doubt a 20MB disk is far too small. Just as anything under 4MB of RAM is not going to be realistic. Adding in these components you are going to be into the low end of SUN’s catalogue. And why would you take a chance on Apple when you could go to an established Unix vendor?

The other issue is that Unix being Unix you really needed a MMU, and Motorola MMU chips were expensive. Also A/UX had drivers for SCSI only. This prevented a ‘low end revolution’ as the low end machines like the 605 didn’t have SCSI, or full 68040’s. Even the end of the line Quadra 800, sold for an eye watering $4,679!

  • Direction

What was the heart of A/UX? It was a Unix with a one button mouse, and optional X-11.. with A ONE BUTTON MOUSE?! It was a SYSV Unix, not a BSD, but did include BSD TCP/IP, NFS & UFS filesystem. It was shunned by the FSF as a first tier platform so people had to fidget with code to get it to compile. It was GSA C2 certifiable, but did anyone actually use it in that role?

It was also a Unix with a version of Outlook, and Excel, AfterDark, Fortran 77, and a dead simple UI.

Even after all this time, answering what A/UX was seems to be an identity crisis.

Where did it go right?

One of the big deciding factors in getting workstations for government compliance was the so called C2. This meant things like enforced passwords, auditing and POSIX. It’s everything that the POSIX subsystem for NT was built for, to check just enough boxes, while for Apple A/UX just gave them an instant win. I have no idea if it ever happened but I’m sure somewhere someone was using a Quadra with Word Perfect and A/UX to be a super expensive and certified Mac. Obviously the MAE project dovetails into this, giving commercial MacOS applications to Unix users, but so many others have covered that, and the short version is that it’s incredibly fragile and not very robust at all.

I’m sure someone used it as a fileserver, heck even in the PowerPC generation there a straight port of AIX to a server along with AppleTalk modules.

The demise

Its easy to point to using UniSoft SYSVr2 as being a cost factor, but it really was the hardware requirements. Without any AUX for the LC it was doomed. This wasn’t going to be the Unix for Grandma. Transitioning to the PowerPC removed the braindead CPU problems of lacking a MMU or FPU, but I suspect that the tricks of the 68000 translator would not have run, and certainly wouldn’t pull off things like device drivers. Worse stil people just got used to System 7, and had hopes that the fabled Copeland / System 8 would bring about something strong enough like a Unix without any of the complexities.

Timelines, however slipped, Apple had flirted with MkLinux but didn’t fully commit. Indeed these were dark days, it’s like they were so dead set on going forward to not see a seemingly obvious solution to the OS problem in the past.

Looking at Carbon, and Toolbox32, it’s hard not to imagine a world pushing ISV’s to write for a protected MacOS, but they’d never had bought NeXT. As a matter of face, I would argue that without Steve’s media connections from Pixar, Apple would have slid away into irrelevance, as media outsells the PC tech anyways. Even in 2010 Jobs had called Apple clearly in the ‘post PC era‘.


Links:

Qemu 5 was recently released

It’s been jumping numbers like crazy, and I’m still holding onto 0.9 because I’m weird. Anyways there is something amazing hiding in all those release notes and stuff:

68040!

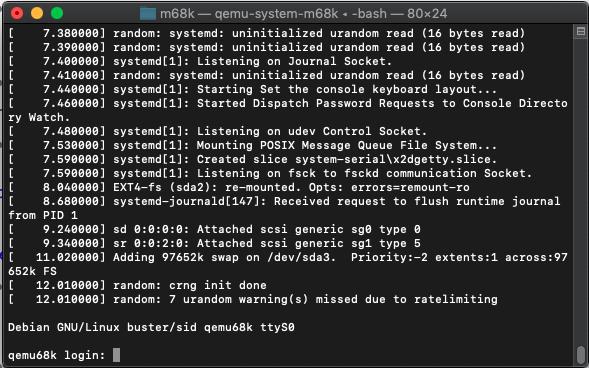
The m68k emulation is good enough to run Linux! Granted the target machine is the Macintosh 800, although the Mac ROM doesn’t boot enough to do anything Apple enough, using a serial console however does get us into the system. On my ancient Mac Pro I get emulation in the speed range of a 1Ghz G4!

root@qemu68k:~# cat /proc/cpuinfo 
CPU: 68040
MMU: 68040
FPU: 68040
Clocking: 1304.9MHz
BogoMips: 869.99
Calibration: 4349952 loops

Absolutely amazing!

Installation is a bit tricky as there is no true bootrom / boot process, so I had to load the installer with a dummy ‘raw’ disk, and tar the kernel & initrd to that raw disk so I could later extract it on the native OS to boot into the disk. I followed mostly the instructions here.

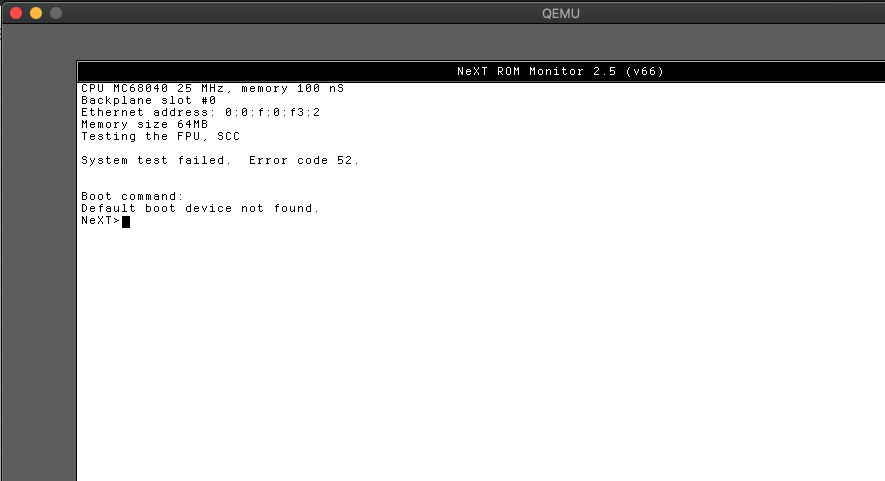
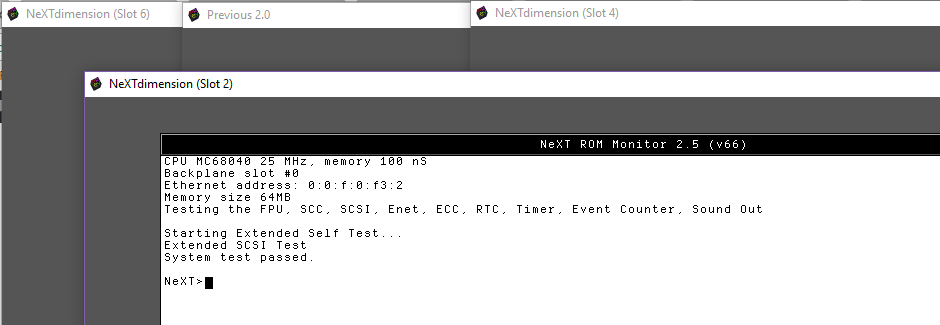
And what is that? NeXT CUBE emulation?

The peripherals are nowhere near complete enough to boot, HOWEVER it does boot the PROM, complete with keyboard support.

qemu-system-m68k -M next-cube -bios Rev_2.5_v66.BIN

It’s fun enough to play with. And thanks to Qemu’s fast emulation, perhaps this is a speedy way to run stuff in the future?

Now isn’t that cool?

Darwin 0.3 & 1.0 on Qemu

Darwin 0.3 PowerPC

Interestingly enough a lot of the same weirdness of missing bits I saw on the x86, is also on the PowerPC.

There is no nice installer, the CD image actually boots MacOS 8.6 which currently won’t run on Qemu.  However Darwin 1.0 uses MacOS 9, which will.  There is not install program for Darwin, rather you need a secondary disk, that is partitioned so the volume manager will pick it up, and then you restore a backup onto the target disk.  Naturally the restore program from 0.3 won’t work, but the 1.0 will under the G4 Cube MacOS 9 CD-ROM install.

Also I couldn’t figure out the boot parameters so I used Steve Troughton Smith’s BootX loader https://github.com/steventroughtonsmith/BootX to get the OS booted.

qemu-system-ppc.exe -L pc-bios -drive file=..\darwin03.qcow2,index=0,format=qcow2,media=disk -drive file=BootX_custom.dmg,index=2,format=raw,media=disk -prom-env “boot-device=ide1:2,\BootX” -prom-env “boot-args=-v rd=hd0 debug=0xffe kdp=2” -prom-env “boot-file=ide0:8,\mach_kernel” -M g3beige

It’s a little convoluted but it does work.

I put together a binary package for Qemu on sourceforge here: Darwin03-PowerPC_qemu-2.11_04_22_2018.7z

Currently there is no networking, I’m guessing I need drivers from OS X 1.x but Ive had really bad luck with the mouse to try to open a terminal window to see if the new sungem NIC is functional at all.

Previous 1.6

Loading…

For anyone who is interested in classical 680×0 based NeXT emulation, I build the latest snapshot of Previous for Windows.  You can find it here: Previous-1.6_build_767.7z

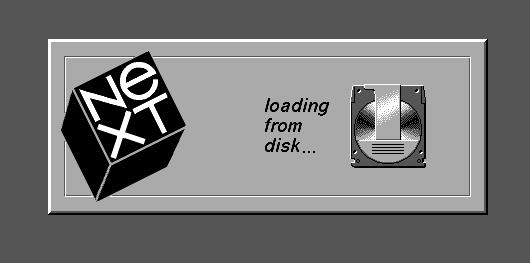
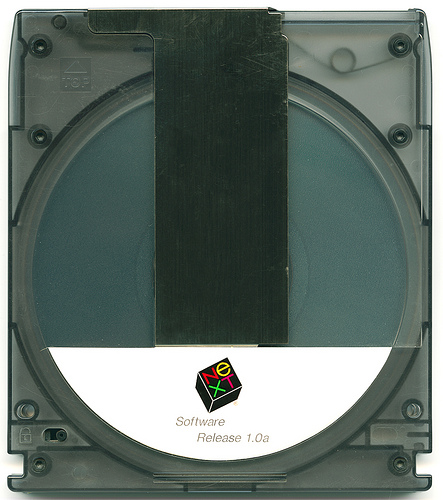
When I had a cube, I was like everyone else, without a working magnetic optical disc. And I was a (and still am) a diehard 3.3 fan, but it’s still fun loading up version 0.8 under emulation.

1.0a

The problem was several fold, from the drives turning out to be VERY sensitive to dust, the NeXT’s sucking air through the MO drive, trapping quite a bit of dust in the drives, mechanisms breaking, the optics being sensitive to heat, and of course our old friend, bad capacitors.  The build disk application warns it can take upwards of 3 hours to create a MO of the operating system.  They clearly were not fast either.  I think it took 30 minutes under emulation.

Oops!

At the end of the day, I guess it didn’t matter.  Optical discs came and went in the 80’s , and re surged with CD’s and re-writable discs up until this decade.  Now we’ve pretty much gone either all solid state, or only large capacity disks with moving parts.

Oh well, I was looking for sample code, to see if there were other driver examples for the driverkit.  I didn’t think there was anything far back when NeXTSTEP was a black box, 68030 thing, but it never hurts to look.

telnet

It is cool that TCP/IP won out in the protocol wars.  It’s very convenient to have a current 2017 desktop, being able to communicate with operating systems nearly 30 years old.  Especially when it comes to things like NFS, making it even better for mapping drives, and sharing data.

And much to my surprise, with the bad reputation the SLiRP code has, I’m able to mount my Synology’s NFS share just fine from my virtual cube.

mount -t nfs -o fs,mnttimeout=1,retry=1,rsize=512,wsize=512,retrans=1 192.168.1.3:/volume1/Data /mnt/data

I had just added some parameters to lower retry times, and resize the blocksize to be much smaller than a single packet so I don’t have to worry about any issues with MTU resizing.  Maybe it’s not optimal, but being able to copy data in and out is all I want to do, and it’s been reliable.

Oh yeah, since it was burred in the messages, for people who like old dmesg’s

Remote debugging enabled
msgbuf at 0x73fe000
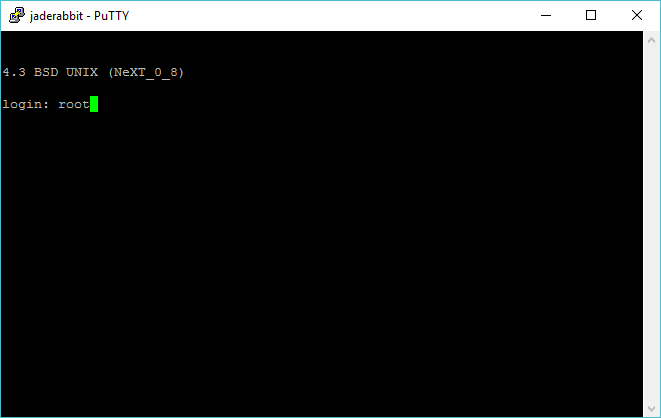
NeXT Mach/4.3 #5.1(XM13): Thu Dec  1 13:03:37 PST 1988; /sources/projects/mk-0.8.26e0.8/RELEASE (photon)
physical memory = 15.99 megabytes.
available memory = 14.97 megabytes.
using 16 buffers containing 0.12 megabytes of memory
odc0 at 0x2012000
od0 at odc0 slave 0
od1 at odc0 slave 1
SCSI 53C90 Controller, Target 7, as sc0 at 0x2014000
IBM     DORS-32160    !# as sd0 at sc0 target 2 lun 0
       Disk Label: NeXT_0_8
       Disk Capacity 2063MB, Device Block 512 bytes
en0 at 0x2006000
en0: Ethernet address 00:00:0f:00:22:09
dsp0 at 0x20000d0
np0 at 0x200f000
sound0 at 0x200e000
root on sd0
master cpu at slot 0.
setting hostname to NeXT_0_8
network_init.gethostbyname fails, errno=2
network_init failed: no network
Network Server initialised.

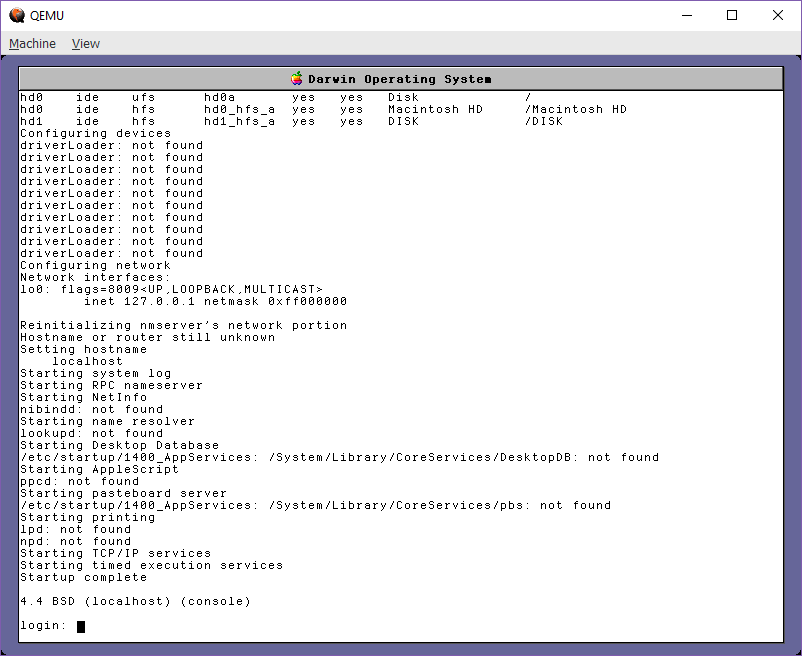
Darwin 0.1 + Rhapsody DR 2 booted!


Following up from yesterday, here we go!

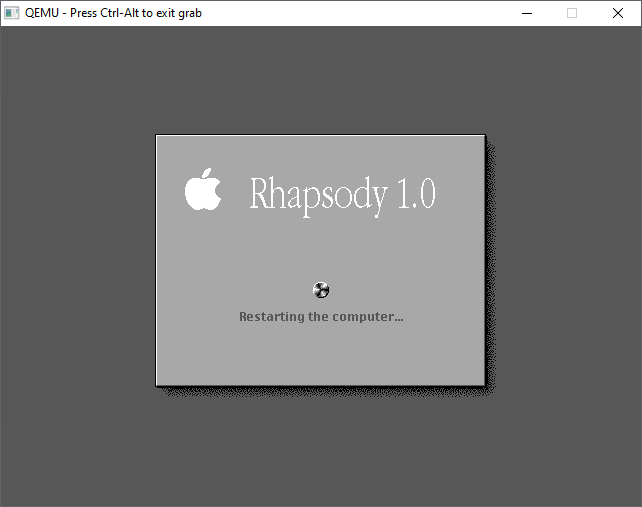
Rhapsody 1.0 booting

So I finally got it running, after some inspiration from NCommander over at nextcomputers.org forums, that the Darwin 0.1 kernel is in fact build-able, I went ahead and took a stab at it.  While he was trying to start from OPENSTEP, I tried it from something as close as I could to the target, which was Rhapsody DR2.

Back in the days of the NeXT / Apple merger, there was hope that OPENTSTEP could become the next great OS for the Apple Macintosh.  It had been a while since NeXT had the OS running so things had rotten somewhat, as time had passed on.  However, the first and most viable platform would of course be the x86.  Back in 1993 while feeling increased pressure in the hardware space, NeXT was forced to start porting away from their black m68k based hardware, and this was an opportunity to get their software running on different platforms.  And sadly in 1993, the NRW aka NeXT RISC Workstation that was in development with dual m88000 processors was killed along with all hardware projects. In the end it didn’t matter as much as the only processor from the early 90’s that has a vibrant future is the i386.

So back again to this transitional time before OS X 10, there were developer versions of this OS seeded out that required you to have an intel machine as OPENSTEP was being ported to the PowerPC machines that Apple was selling.

So, on May 14, 1998, the last public version for the Intel processor was released, DR2.

However, two interesting things happened along the way to what would become OS X Server 1.0 .  The first is that Apple gave up on the ‘yellow box‘ portable API, and to satisfy the GPL requirement to release changes to source code, Apple would go one further and release the source code to many of the internal system utilities, along with the kernel in what was known as Darwin.

This was a big deal for many of us, as the cost of getting the source code to any UNIX was incredibly prohibitive, and OS’s like Linux, NetBSD/OpenBSD/FreeBSD were picking up steam, OPENSTEP being awaken from it’s cryonic hibernation but with the promise of being free and open software was pretty great!  Back in the day it sure looked promising!

Obviously, things didn’t work out as everyone had hoped as Apple either straight up ignored anyone on the outside, or they hired people who showed promise, made them sign NDA’s and were basically never heard from again.

So the recently recovered source code to Darwin 0.1 corresponds with the release of the PowerPC only OS X Server 1.0.  However, as we all found out, Darwin will still built and maintained on Intel, as it was a very secretive plan B, in case something went wrong with the PowerPC platform.  Being portable had saved NeXT before, and now it would save Apple.

So with this little background, and a lot of stumbling around in the dark, I came up with some steps, that have permitted me to build the Darwin 0.1 kernel under DR2.

However, it was not perfect, and the biggest glaring issue was due to the software that was recovered, the layer known as driverkit, (driverkit-139.1-1.tar.gz) turns out to be from another, later release of Darwin, the 0.2 release, which the only thing surviving is the driver kit. Â It doesn’t build cleanly, and In order to get it to build I had to break the mach PCI bus. Â This means that yes, PCI devices will not load at runtime, only at boottime by sald.

After a lot of fighting, I was able to produce a system that could boot into both single user and multiuser mode, although it was unable to load drivers so there was no networking, and no UI.

In a fit of boredom, I built a bunch of the command line tools for Darwin, and a few libraries, and then went to see why the driverkit had a problem finding the reason why KernBus was undefined, or even with some attempts at helping all the methods were unknown, I stumbled onto the fact that during compilation it will generate new headers, and in those headers are the correct interface for driverkit to call into the KernBus.  So, I was able to quickly rebuild driverkit, then re-link into the kernel and now I could load drivers!  Thrilled with this much, I did something more aggressive, I made a dump of my install ‘target’ and then restored it onto an image of my dev VM.  And much to my amazement it booted up to the graphical login.  I now had PCI working correctly.

Darwin 0.1

This kind of thing is not for casual users, but if you install DR2 into a VM, you ought to be able to then use this ISO image, and follow these instructions, and you will then have a DR2 OS from 1998 with the OS X 1.0 kernel from 1999 running. The biggest difference I’ve noticed is that the newer kernel can use 512MB of RAM, a nice bump up from 192 which was the prior limit.

Obviously, there is a lot more work to be done, it’d be nice to find some source to an IDE or other block controller and modify it to work with the massive disks of today, along with the filesystem code to handle partitions larger than 2GB.

Maybe it will be possible to port in the driverkit to XNU, so we can get things like existing drivers, and SMP, massive filesystems etc.. It’s great to see we are going the right way.

For fans, here is a qemu 0.90 image+exe that can run Darwin 0.3 into single user mode.

EDIT and for people still hitting this, here is a multiuser bootable image.  I’ll keep updating on the source forge page.

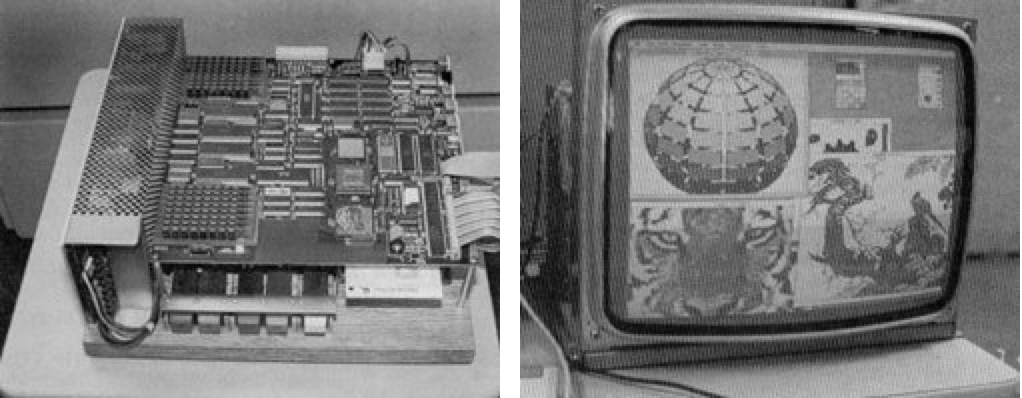
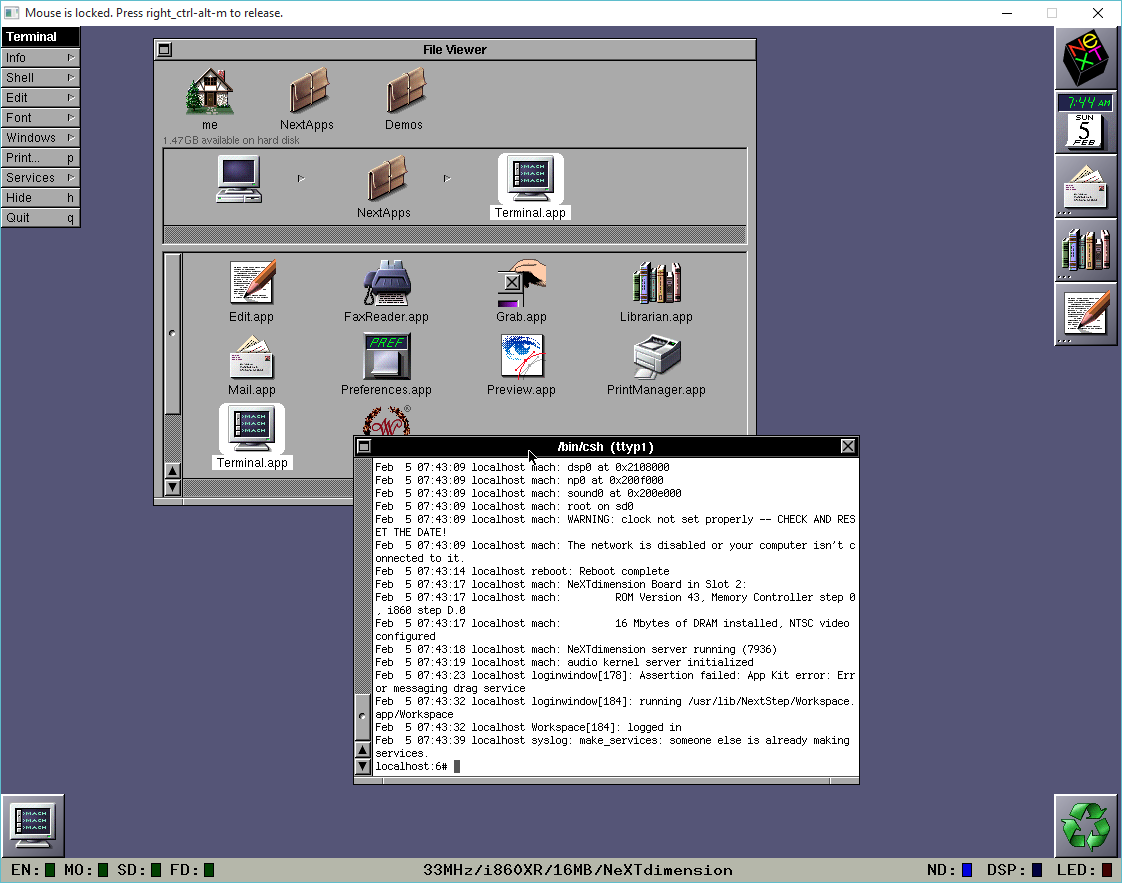
Previous 1.4 features NeXTdimension emulation!

NeXTdimention!

NeXTdimention!

It’s really cool!  And as an added bonus, it can now run in ‘Variable’ speed, meaning as fast as your machine can emulate the 68040.

OS X version here, and Windows version here.  For me, at least a bunch of DLL’s are missing, so I put together a quick package containing the Windows version with all of the missing DLLs here.

From the announcement:

Hello all,

I am happy to annouce the release of Previous v1.4! Simon did lots of work on emulating the NeXTdimension and he considerably improved timings and efficiency of Previous. Furthermore there is now a mode to accelerate the emulation beyond the performance of real systems. Other improvements and bugfixes are listed in the readme.

Emulating the NeXTdimension board was something i thought would not be feasible. But thanks to the i860 emulator from Jason Eckhardt and the work of Simon, who improved and completed parts of it, it finally came true. I hope you enjoy it!