
(note this is a guest post from Tenox)
As promised in a post about Floppy Disk Emulators, here is a review of HxC Floppy Disk Emulator. I ordered it from Lotharek via eBay. Initially stuck in Polish post made it just before the weekend! This made my Christmas gift as I had a lot of fun playing with it. The unit comes with two front panel stickers, one grey and one black to match your equipment type. Quite nice touch. I choose grey as most of my units are of this color. I have to say the LCD screen makes a modern touch to an old 286 machine!
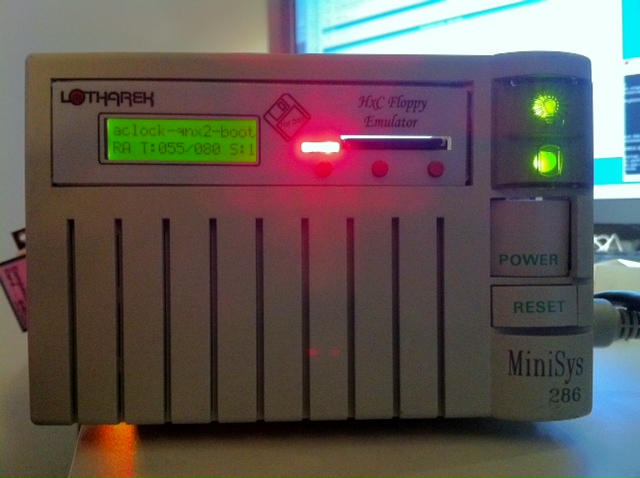
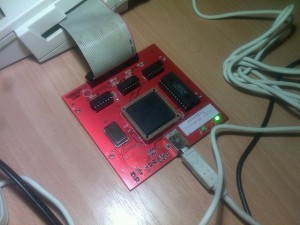
286 machine with HxC installed in 3.5″ floppy bay.
Initially I have stumbled upon a lot of issues. Floppy disks are not easy as it seems. No wonder I had so much trouble with the real ones. I spent a lot of time experimenting with ID jumpers and correct BIOS settings. The unit only worked on ID3A but I can probably attribute it to a weird machine. Then I had problems converting my raw images to HFE format. The main project developer helped me a lot on their forums.
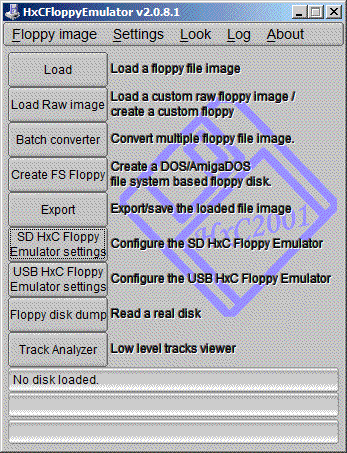
HxC Software used to load and convert disk images. The latest beta version includes a Track Analyzer!
Once I got a grip how to do it semi correctly I was able to torture the machine with bunch of operating systems it has never seen before. Â Let’s go directly to the screenshots!
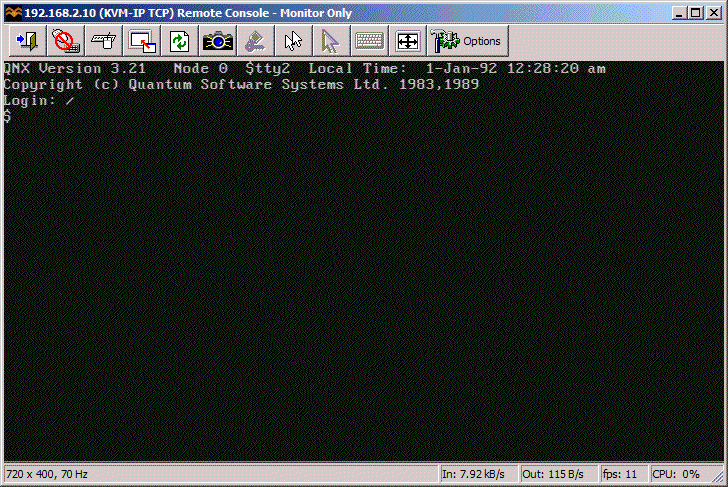
QNX 2 worked just fine!

Minix 2.0 also loaded without problems.
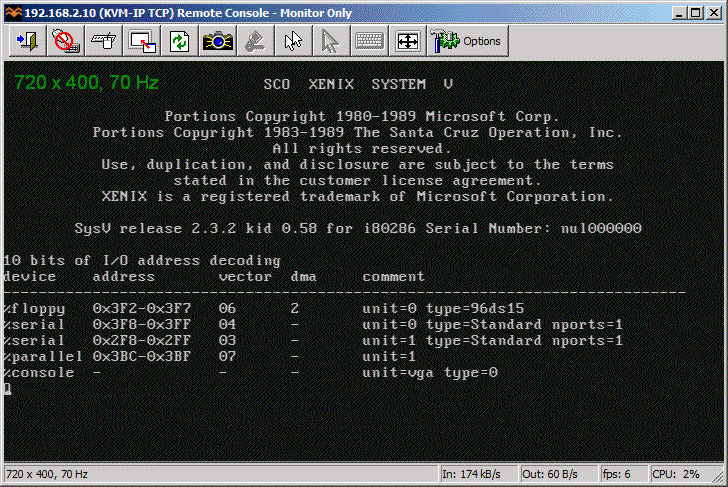
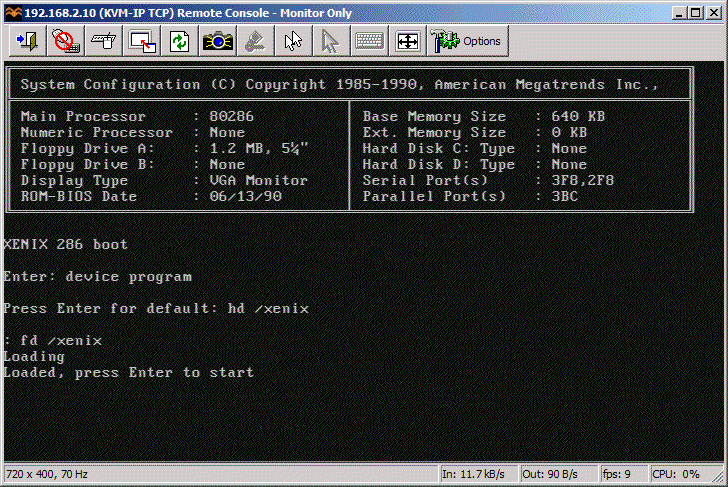
So did SCO Xenix 2.3
SCO Xenix 2.3 boot complete.
Microsoft Xenix also briefly saw daylight.

MS Xenix switched to CGA mode and died.
Guess which operating system is this?
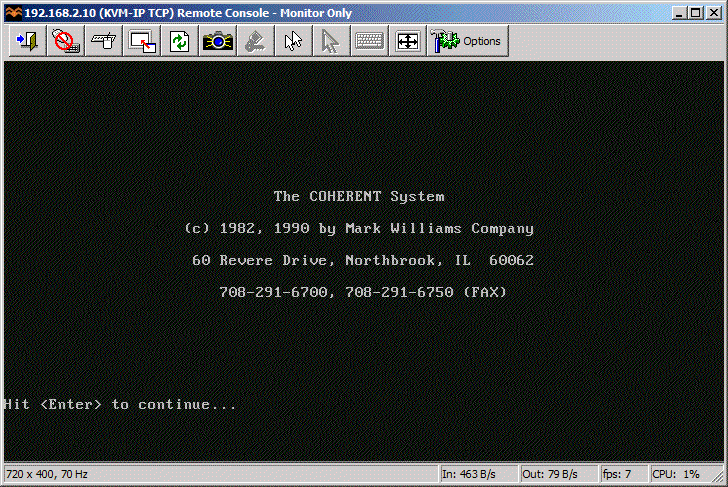
Coherent 3.10 boots correctly as well.
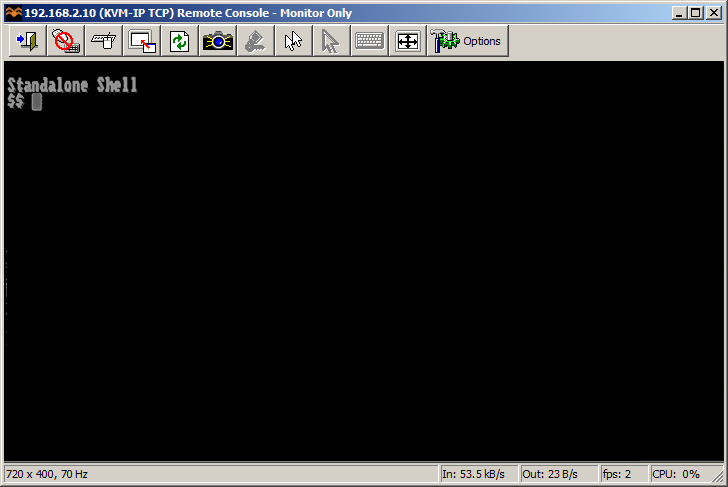
PC/IX booted to Stand Alone Shell.
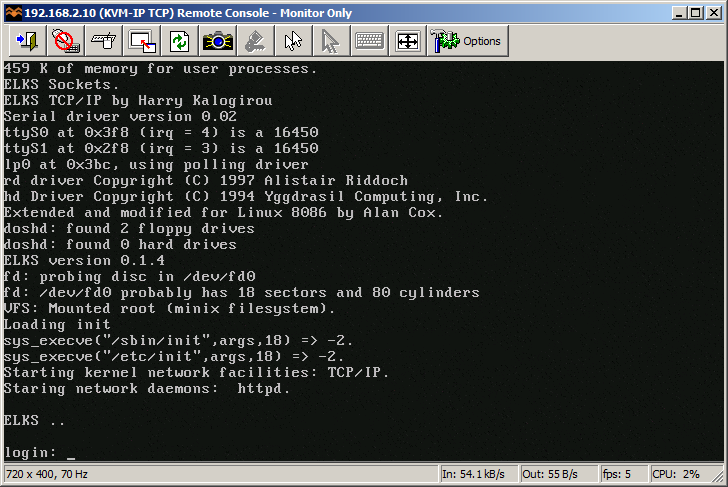
ELKS
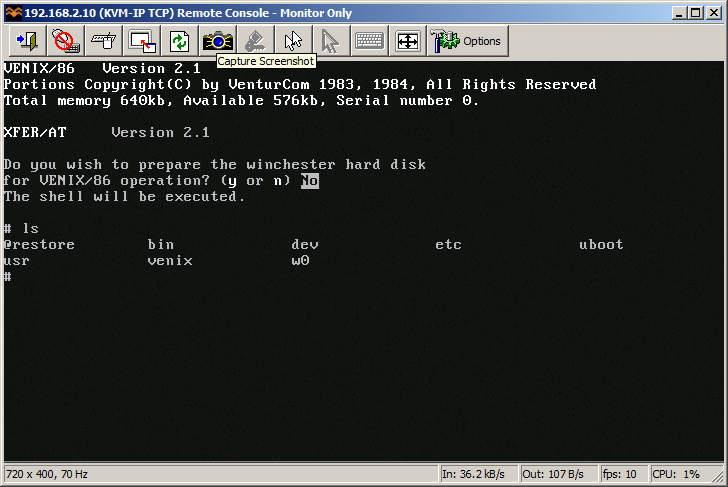
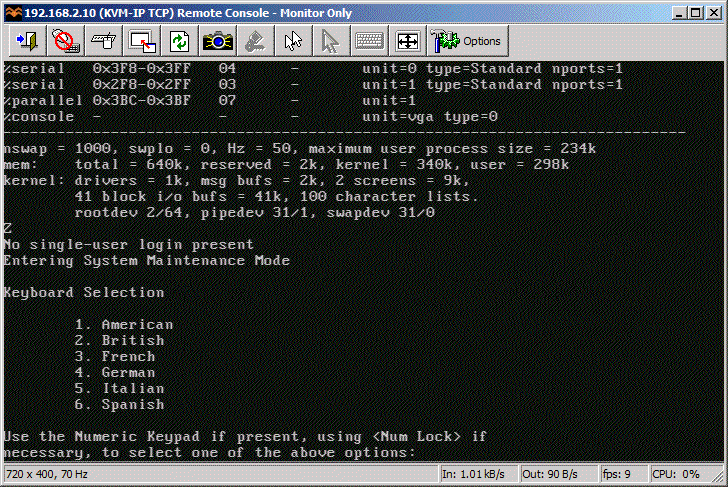
VenturCom VENIX/86
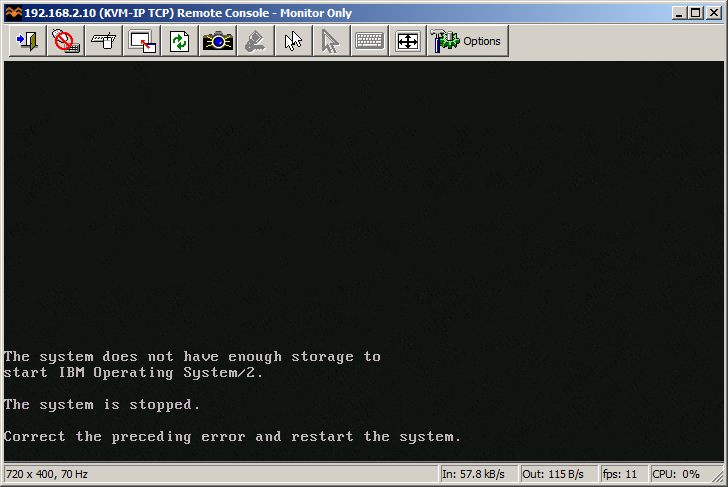
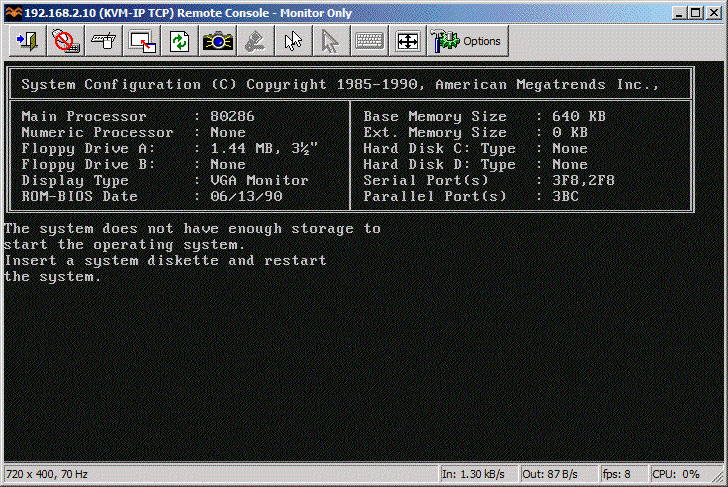
I guess 640 KB is NOT enough for everybody.
This pretty much concludes operating systems for 286. If you have more let me know! I will try 386/486 operating systems in a separate post.
So how does HxC works for an end user? You store floppy disk images in a special format called HFE as files on an SD card. HFE files can be made by a virtual floppy disk emulator + rawrite, reading and imaging in an existing floppy, or converting existing floppy images. The list of supported disk images is quite impressive. The conversion however sometimes fails. It detects a wrong format and you have to change file extension or it completely screws things up making 64 “sides” to a floppy disk. Most if not all these have been fixed in the latest beta version of software, but you need to know about it.
When you insert the SD card to the emulator it will read the file list and allow you to switch between different floppy drives on the fly. Interestingly you can mix and match different floppy disk types on the same SD card. So you can have bunch of 3.5″ or 5.25″ disk in different files. Each HFE file contains specific settings for the emulator including the floppy interface type. The operating systems I’ve tried above ranged from 360k, 720k, 1.2MB and 1.44MB images stored on the same SD card. However changing floppy disk type in the BIOS was necessary for the images of different format to load correctly.
One extremely interesting feature is a host control software, that let’s you manage the floppy disks from inside the machine where HxC is attached. Sort of like VMware tools. The software is available for Atari, Amiga and Amstrad CPC. Unfortunately not for PC so I could not test at this time.
Because of the pain with formats, errors in conversions and confusion about some settings I can only give it 8 out of 10 for ease of use. So let’s conclude:
- Packaging: excellent
- Quality of hardware: excellent, LCD panel with menu is invaluable!
- Software: OK with improving tendency in the beta version
- User manual: OK but could be better
- Compatibility: excellent! (see above)
- Ease of use: excellent once you get grip on things
- Value for money: excellent!
- Total: very very good!
If you have a large collection of floppy disk images or you maintain a bunch of old machines that rely on floppy disks to work – get HxC quickly. It may save your life.
Updates: Venix/86 and ELKS, Tried OS/2 V1.0 and 640 KB RAM was not enough to boot.
Still missing: Microport SYSV/AT


")