Phew is this rather involved. Â First you need to download over a gigabytes worth of files. For something that is going to be embedded you need a MASSIVE amount of space.
You need:
I went ahead and installed the JDK in a normal directory, Â The same went for the Android SDK. Â The NDK is a 7zip file, that I went ahead and put at the root of my C drive because I’m that kind of guy. Â Next I unpacked ant into the NDK directory, and SDL. Â For SDL be sure to use some command line or other unzip tool that makes sure that the text files are translated appropriately, otherwise they are impossible to read in good editing tools, like notepad.
cd C:\android-ndk-r10d\
unzip -aa \Downloads\SDL2-2.0.3.zip
unzip \Downloads\apache-ant-1.9.4-bin.zip
Now to stage the project directory. Â The ‘Android project’ that we are going to build out of is *INSIDE* the SDL archive. Â And SDL needs to be inside the project directory, so we xcopy out the bits we need.
md proj
cd proj
xcopy ..\SDL2-2.0.3\android-project\*.* . /e/s
md jni\sdl
xcopy ..\SDL2-2.0.3\*.* jni\sdl /e/s
Now we need to set some environment variables. Â Again this is where my stuff is, yours may be different.
set NDK_ROOT=C:\android-ndk-r10d
set ANDROID_HOME=”C:\Program Files (x86)\Android\android-sdk\”
set PATH=%NDK_ROOT%\apache-ant-1.9.4\bin;”C:\Program Files\Java\jdk1.7.0_79\bin”;%ANDROID_HOME%\tools;%ANDROID_HOME%\platform-tools;%PATH%
Now we need to edit the jni\src\Android.mk and point it to your sources.  In this case I’m using dinomage.com‘s simple main.c &  image.bmp as I haven’t written anything exciting yet. Change YourSourceHere.c, to main.c
Now copy in the image.bmp file into the assets directory:
md assets
copy image.bmp assets
Now we can fire up the native compiler tools, and by default it’ll compile for ARM thumb, ARM v7a, and x86
..\ndk-build
Now for the java. Â Android is a java platform, so now we have to compile the wrapper that calls our C/C++ code. Â First we have to set what version of Android we are compiling for:
android update project –path . –subprojects -t 12
And now we compile with ‘ant’ by typing in:
ant debug
And if all goes well you’ll get:
BUILD SUCCESSFUL
Total time: 2 seconds
Now to run the program, we can fire up one of the emulators (you will have to configure one no doubt) using AVD. Â I just clicked around, and picked something that’d launch. Â The shell seems to crash a lot, but otherwise yeah.
Now to upload our application to the emulator once it is running:
ant debug install
And if all goes well, you’ll see:
install:
[echo] Installing C:\android-ndk-r10d\proj\bin\SDLActivity-debug.apk onto d
efault emulator or device…
[exec] pkg: /data/local/tmp/SDLActivity-debug.apk
[exec] Success
[exec] rm failed for -f, Read-only file system
[exec] 1985 KB/s (1028625 bytes in 0.506s)
BUILD SUCCESSFUL
Total time: 5 seconds
And on my first shot at running, it crashed.
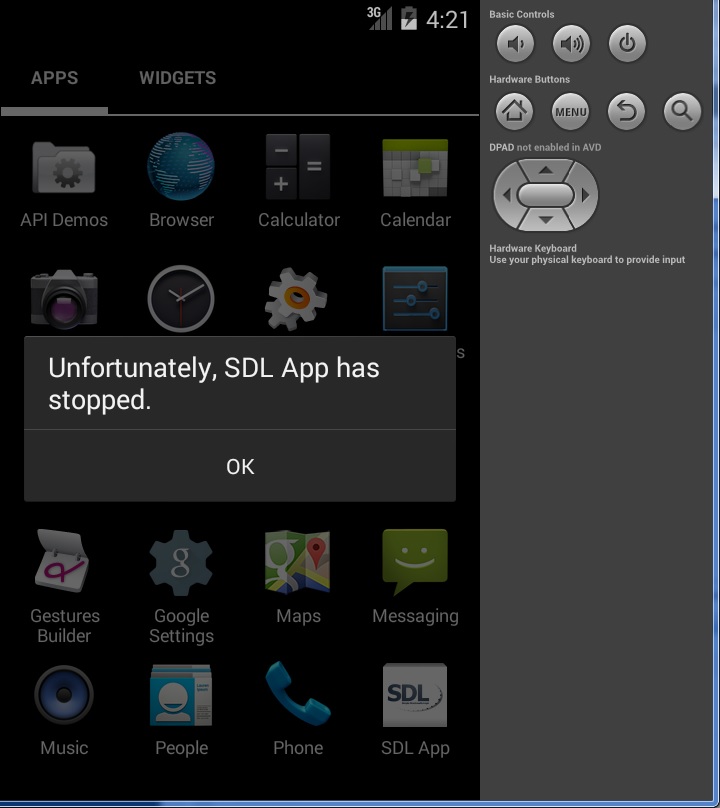
Unfortunately SDL App has stopped
Using ‘adb logcat’ on the emulator I was able to find this line:
java.lang.UnsatisfiedLinkError: dlopen failed: cannot locate symbol “signal” referenced by “libSDL2.so”…
Well it turns out signal was an inline function until platform android-21, now it’s not inline anymore. When you use the ndk r10, android-21 is used by default but it’s not fully retro-compatible with devices running former Android versions. In this case, signal can’t be found on the emulator. (It did run properly on my Lollipop phone).
Fixing this is simple just edit jni\Application.mk and add in the APP_PLATFORM line:
# Uncomment this if you’re using STL in your project
# See CPLUSPLUS-SUPPORT.html in the NDK documentation for more information
# APP_STL := stlport_static
APP_PLATFORM := android-12
APP_ABI := armeabi armeabi-v7a x86
Re-compile with ndk-build, and re-upload with ant then you are good to go.
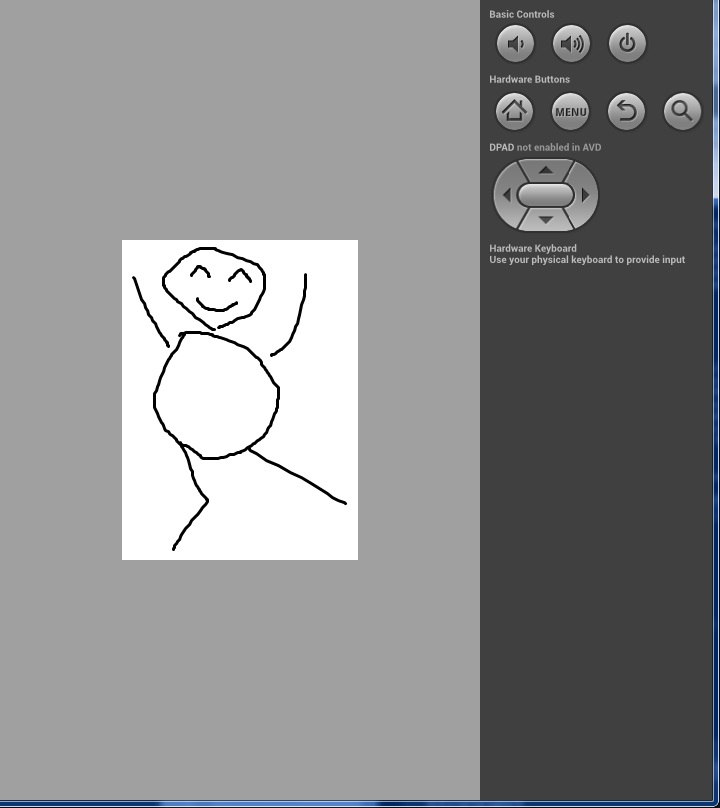
working
I grabbed, and borrowed some phones around the office, including an x86 phone and yeah it works!
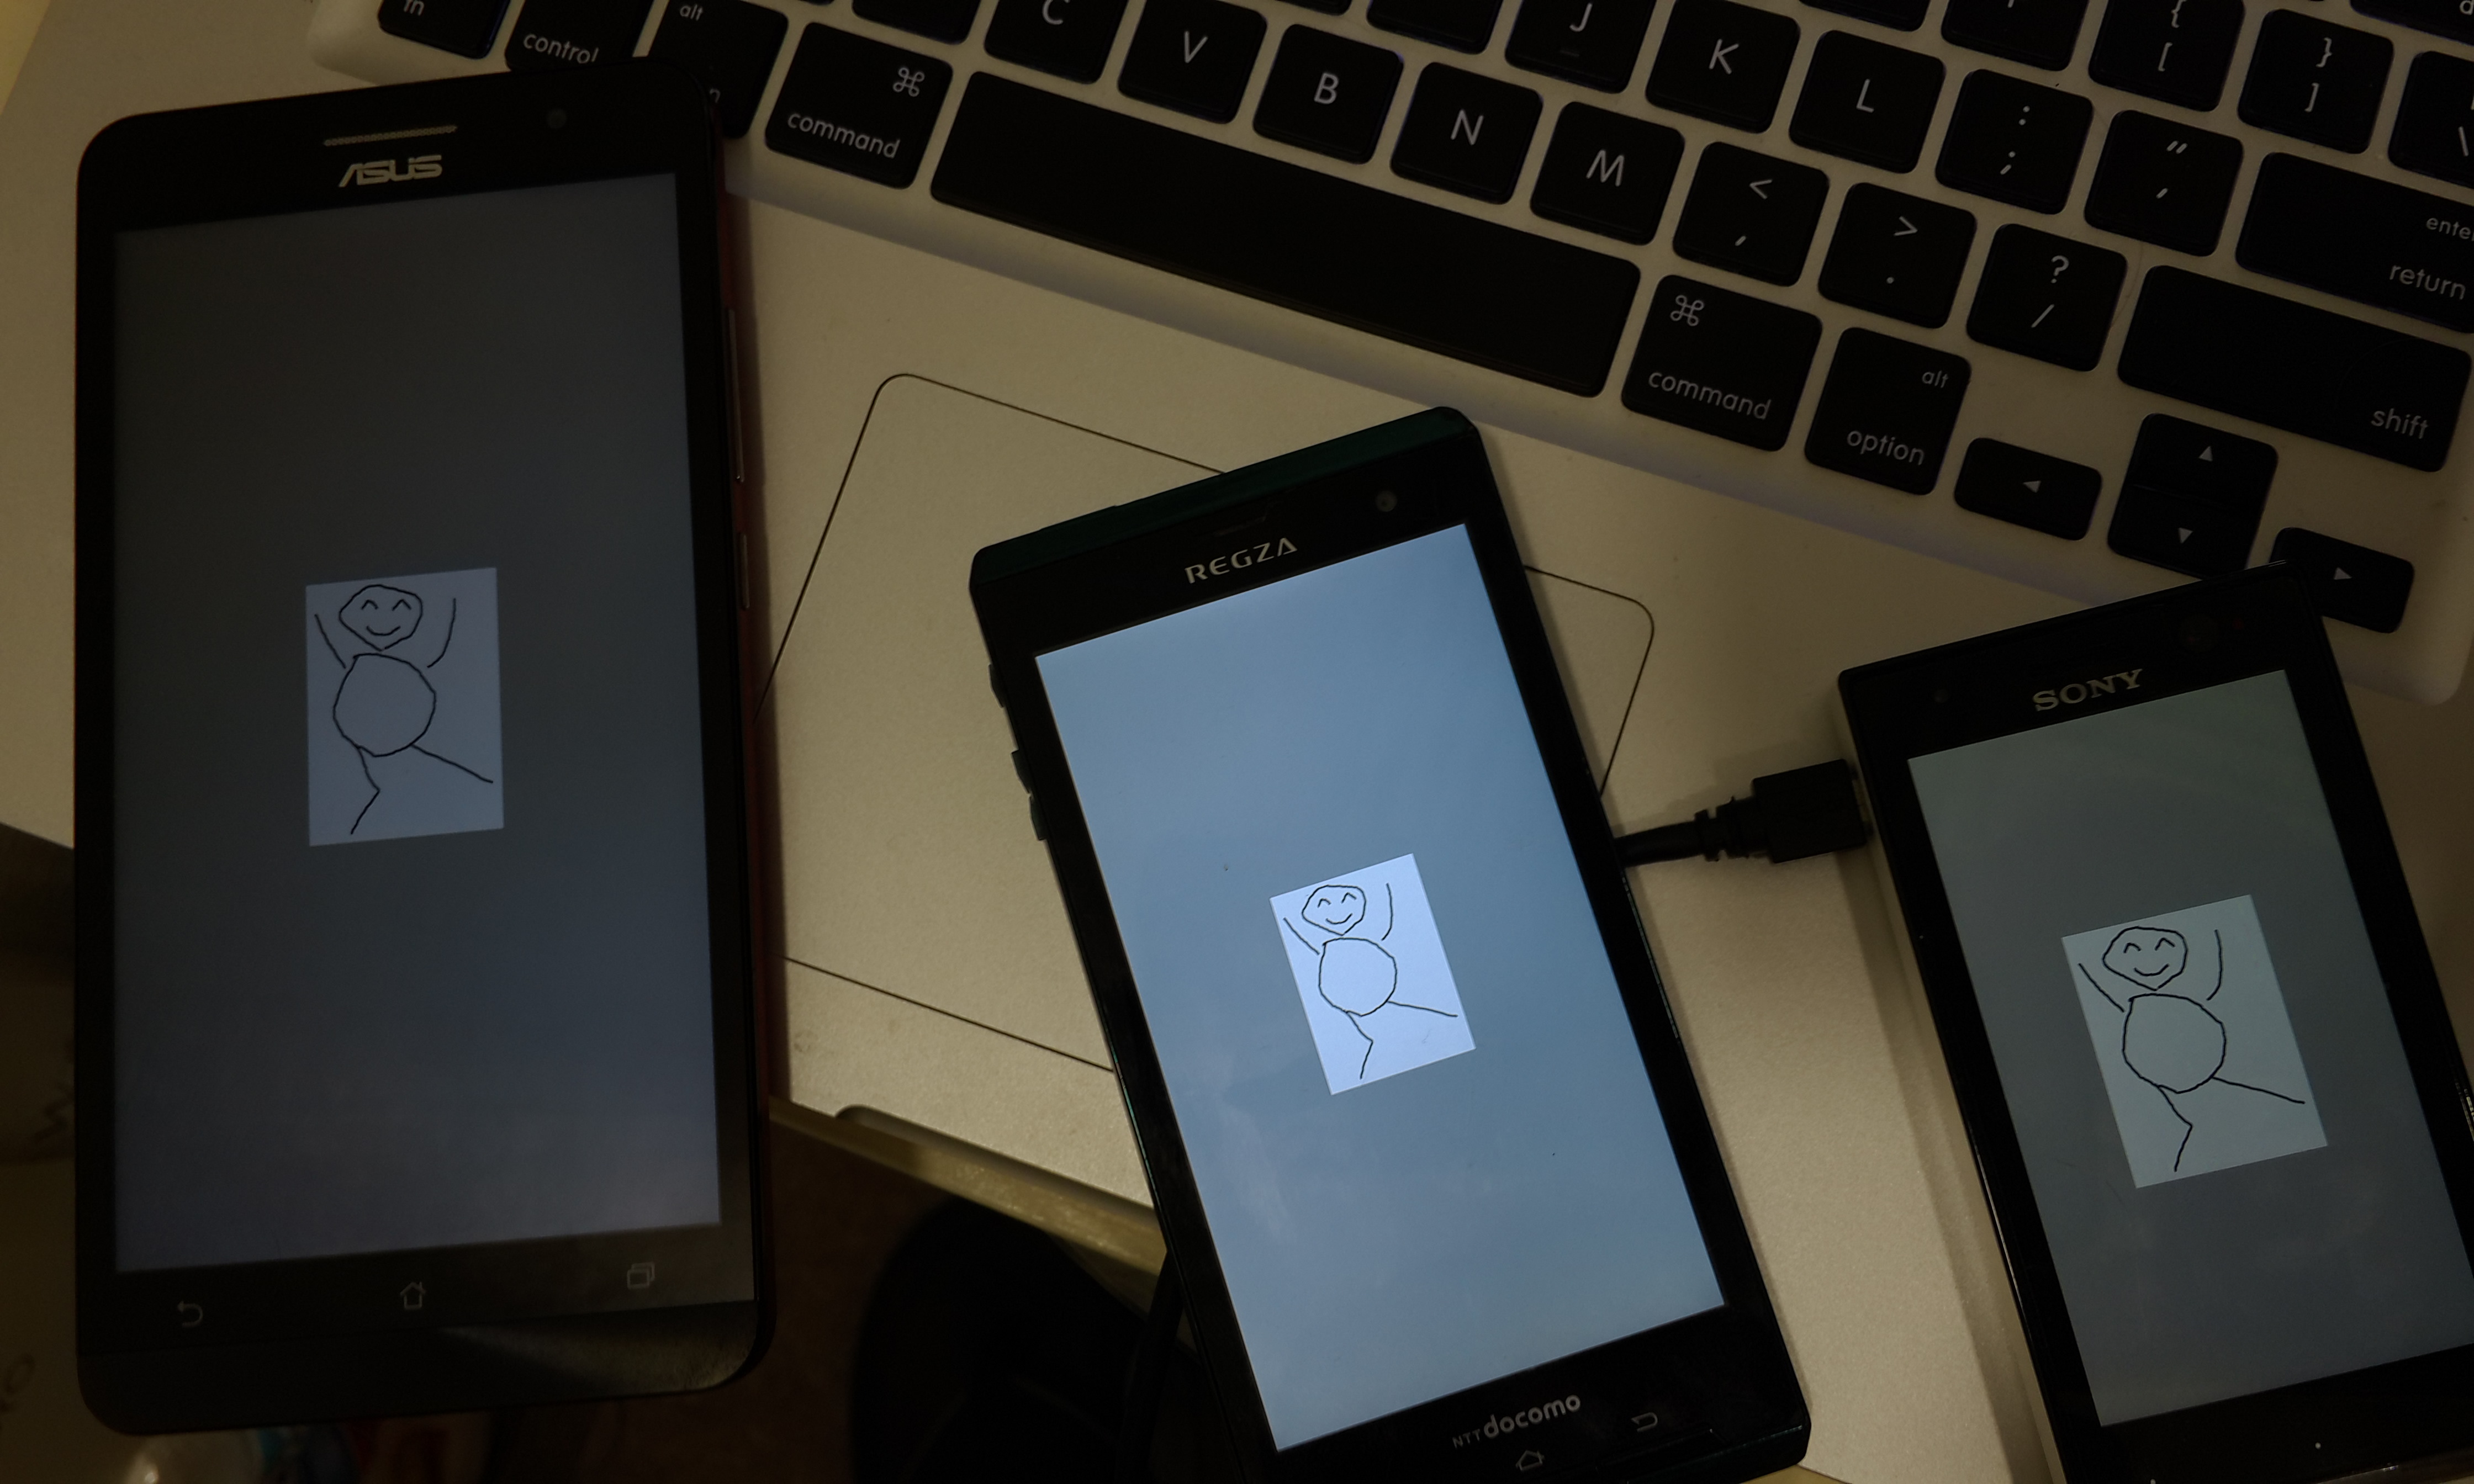
SDL2 test!
I haven’t even tried to cross build libraries on Windows… I suspect I should be doing this on OS X or Linux.


