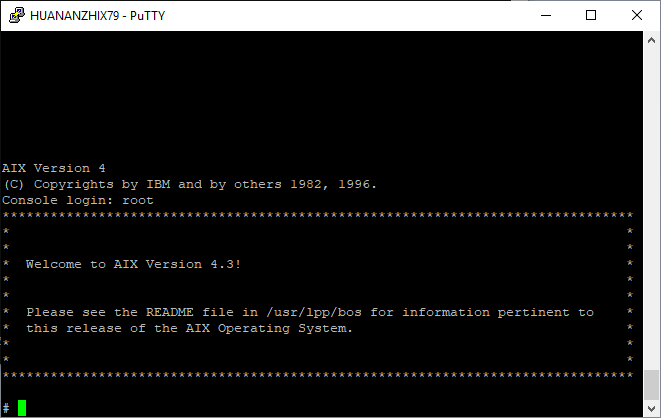
YES it’s real!
I’m using the Linux subystem on Windows, as it’s easier to build this Qemu tree from source. I’m using Debian, but these steps will work on other systems that use Debian as a base.
First thing first, you need to get your system with the needed pre-requisites to compile:
apt-get update;apt-get upgrade
apt-get install build-essential pkg-config libz-dev libglib2.0-dev libpixman-1-dev libfdt-dev
Great with those in place, now clone Artyom Tarasenko’s source repository
git clone --branch 40p-20190406-aix-boots --single-branch https://github.com/artyom-tarasenko/qemu.git
*NOTE from the future (2022) you may want to jump here: to check out building on newer systems. Also don’t forget about networking!
Since the frame buffer apparently isn’t quite working just yet, I configure for something more like a text mode build.
././configure --target-list=ppc-softmmu --disable-sdl --disable-vnc --disable-gtk --disable-gnutls --disable-nettle --disable-gcrypt --disable-spice --disable-numa --disable-libxml2 --disable-werror
Now for me, GCC 7 didn’t build the source cleanly. I had to make a change to the file config-host.mak and remove all references to -Werror. Also I removed the sound hooks, as we won’t need them. remove the following lines:
CONFIG_AUDIO_DRIVERS=oss
CONFIG_AUDIO_OSS=m
Now you can build Qemu. it’ll happily build in parallel so feel free to build using the -j parameter with how many cores you have. I have 32, so I use
make -j32
Okay, all being well you now have a Qemu. Now following the steps from
Artyom Tarasenko’s blog post, we can get started on the install!
First we create a 8GB disk
qemu-img create -f qcow2 aix-hdd.qcow2 8G
Next we need the custom BIOS with serial as the console.
wget https://github.com/artyom-tarasenko/openfirmware/releases/download/40p-20190413/q40pofw-serial.rom
You’ll need some AIX. I tried a 3.2.5 CD-ROM and it didn’t pick up, but AIX 4.3.3 did.
Now with all those bits in place, it’s time to run Qemu.
./ppc-softmmu/qemu-system-ppc -M 40p -bios q40pofw-serial.rom -serial telnet::4441,server -hda aix-hdd.qcow2 -vga none -nographic -net none -cdrom Volume_1.iso
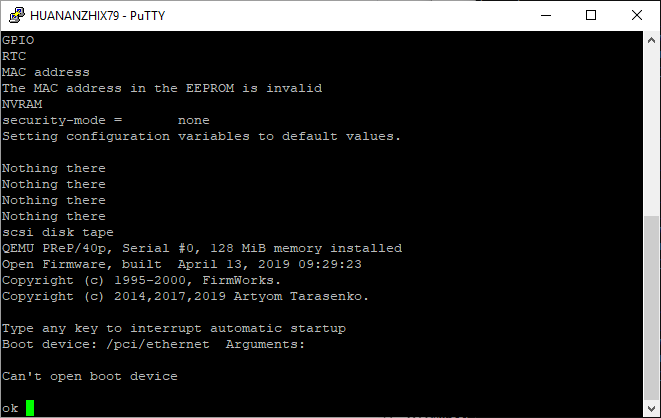
Now telnet to your localhost on port 4441 and you will see the console doing it’s BIOS initialize and eventually drop to the OK prompt.
One trick I’ve found is that from the Open Firmware prompt you can find out what partitions are recognized from the firmware. If it see’s partitions then there is some hope that the image you have is valid enough to boot. In the last few days I’ve found quite a few AIX images, which are lacking the partition table, and unable to boot.
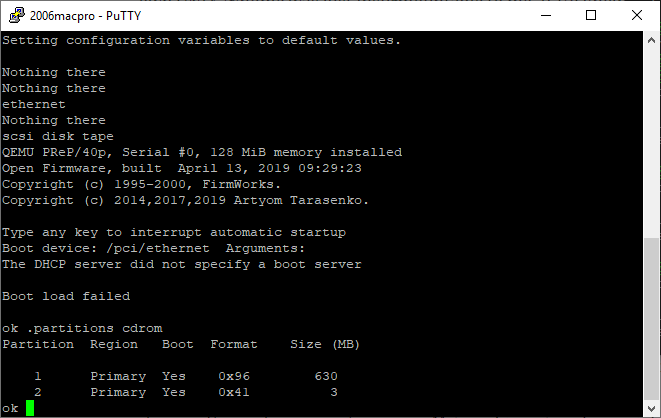
simply type in boot cdrom:2 to kick off the installer. It may take a minute or so for the installer to kick off.

If all goes well, you’ll see the BIOS reload itself, then after a minute you’ll be prompted to press 1 to select the console
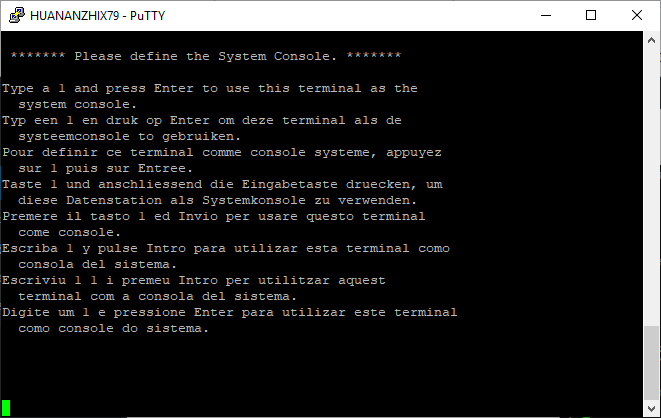
It doesn’t echo, don’t panic!
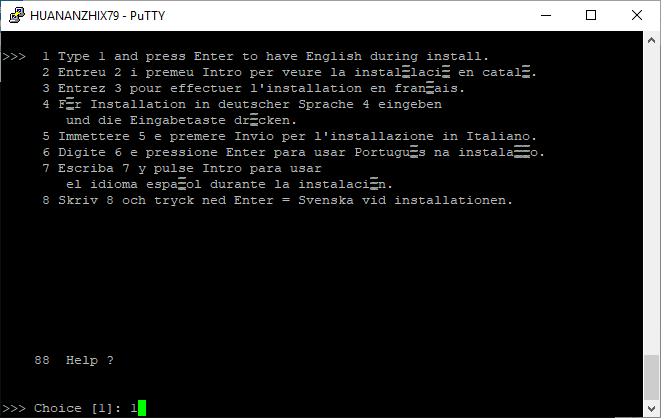
Next select your language. I’m doing English.
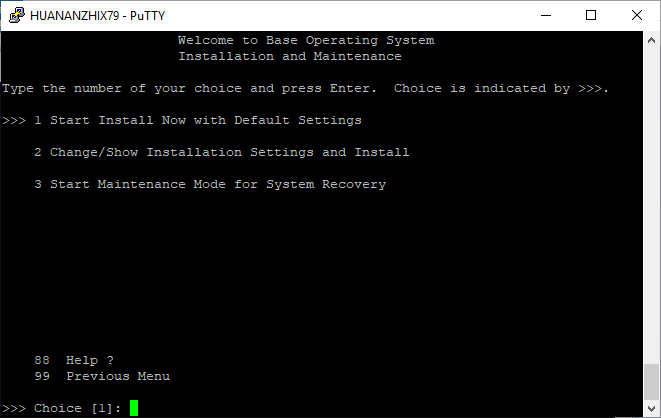
Next it’ll ask about installation type. Default ought to be fine.
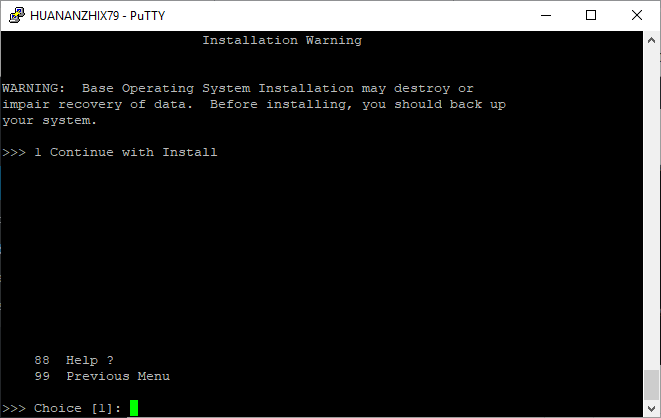
Because this will destroy the contents of the disk (which doesn’t matter as it’s blank) it’ll prompt for confirmation.
After this it’ll begin the installation. Depending on how fast your disk & CPU is this will take a while.
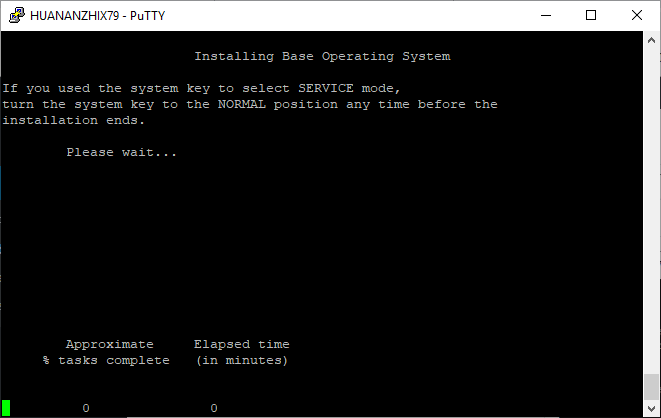
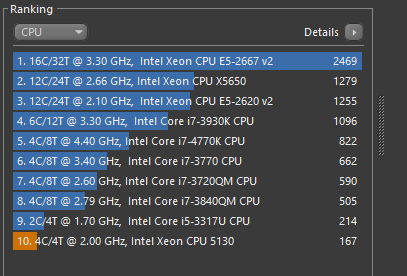
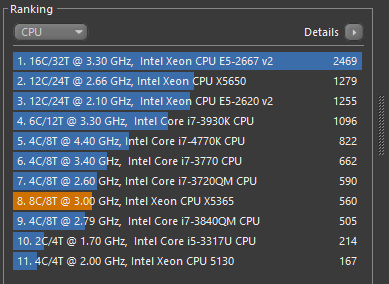
For me, the installation took about 11 minutes. This is using my Xeon E5-2667 v2. It took 17 minutes on my 2006 Mac Pro, with X5365’s it .
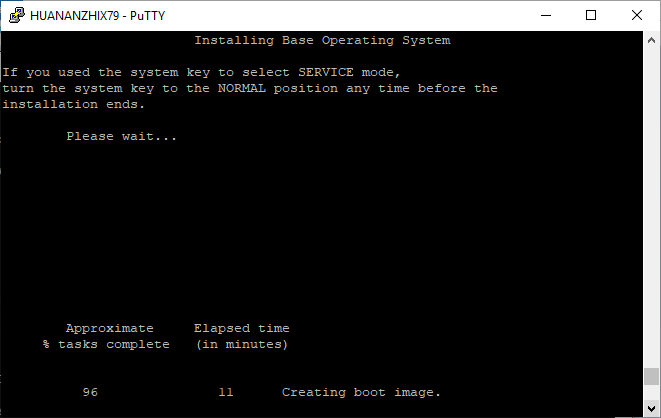
After it’s done, right around the 96% time it’ll reboot back to the BIOS
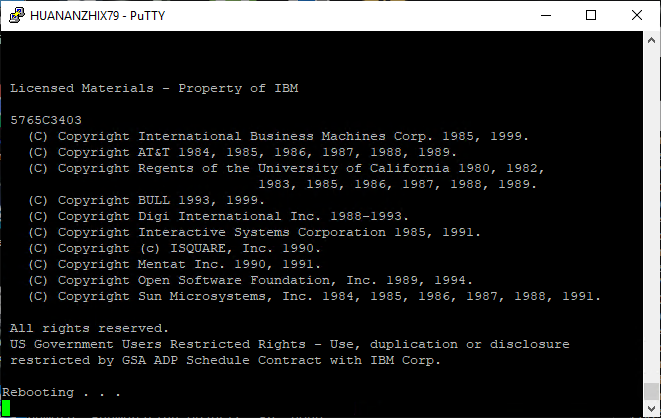
Once you are back at the OK prompt, you can now boot disk:
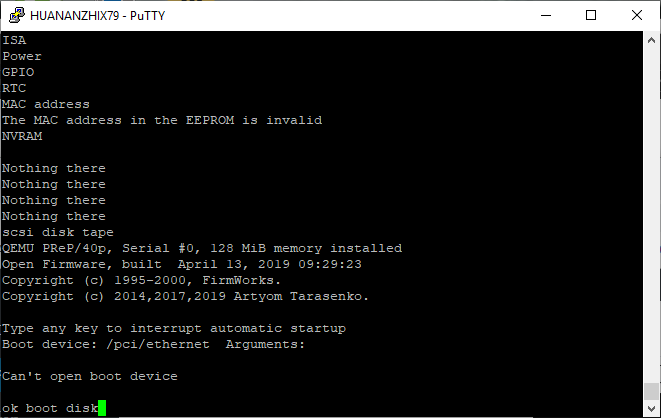
it’ll look like it’s hung for a minute, then it’ll start booting from disk!
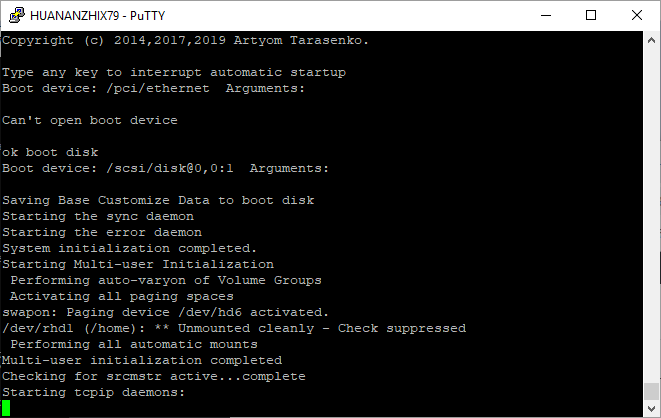
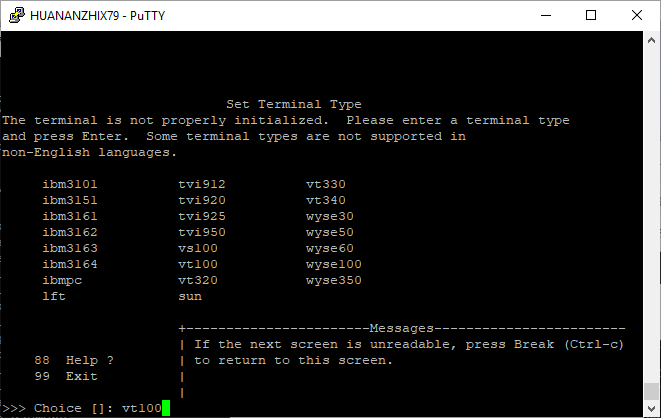
Once the OS is booted up, you select the terminal type. I’m using putty but I’ll select the vt100. Of note the function keys are selected by hitting escape and then the number key. So F3 is ESC 3.
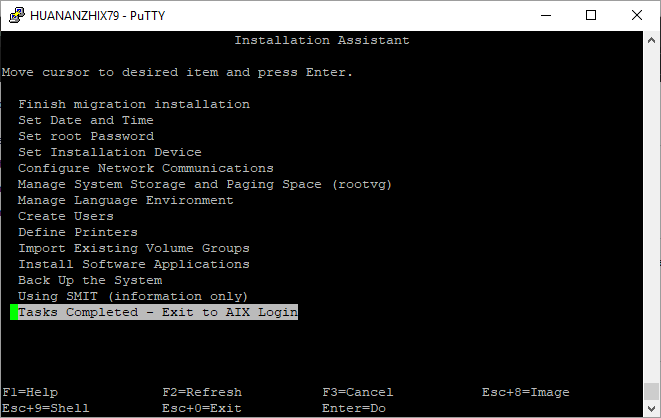
I’m just going to finish the install, as we can always run smitty to mess with the system more, but right now I’m just interested in a base install of the BOS (Base Operating System, and IBM ISM).
A few moments later, you’ll get dumped to the login prompt.
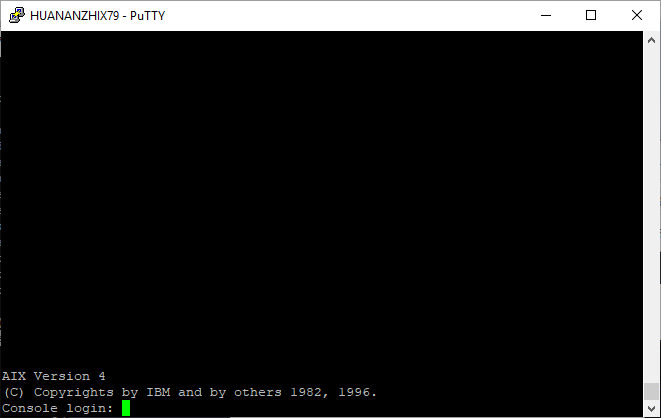
By default there is no password, so just login as root, and there you go, your very own virtual AIX 4.3 system.
# uname -a
AIX localhost 3 4 000000004C00
So there you go! All thanks to Artyom’s hard work!

