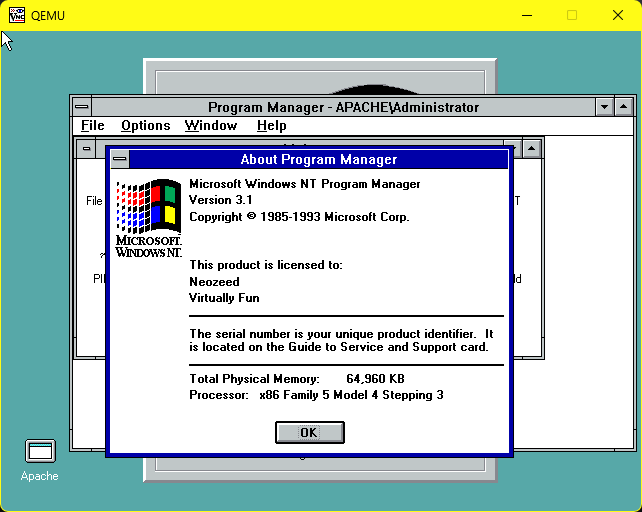
It’s no secret that I do enjoy building silly “what if” things. And this is going to be one of the more impractical ones.
Building on previous work, where I had built GCC 1.40 using the OS/2 hosted Microsoft C compiler that shipped with this Pre-Release, and using MinGW to build Linux 0.11, it was time to combine the two, like chocolate & peanut butter!
Getting NT ready
The first thing I wanted was to install the Pre-Release onto a HPFS disk. I’ve uploaded this over on archive.org (Windows NT December 1991 prepped for Qemu). I took the CD-ROM image, removed all the MIPS stuff, built a boot floppy, and setup the paths so that the floppy can boot onto the secondary hard disk to a ‘full’ version of NT. This lets me format the C: drive as HPFS, and then do a selective install of Windows NT to ensure that that the software tools (compiler) are installed.
I use a specially patched vintage QEMU build, qemu-0.14.0.7z which kind of makes it ‘easier’, along with the needed disk images in dec-1991-prepped.7z
qemu.exe -L pc-bios -m 64 -net none -hda nt1991.vmdk -hdb nt1991-cd.vmdk -fda boot.vfd -boot aThis will bring up the boot selection menu. The default option is fine, you can just hit enter.
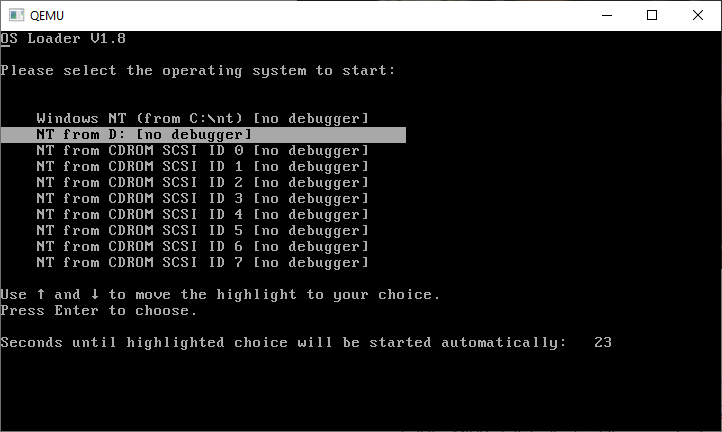
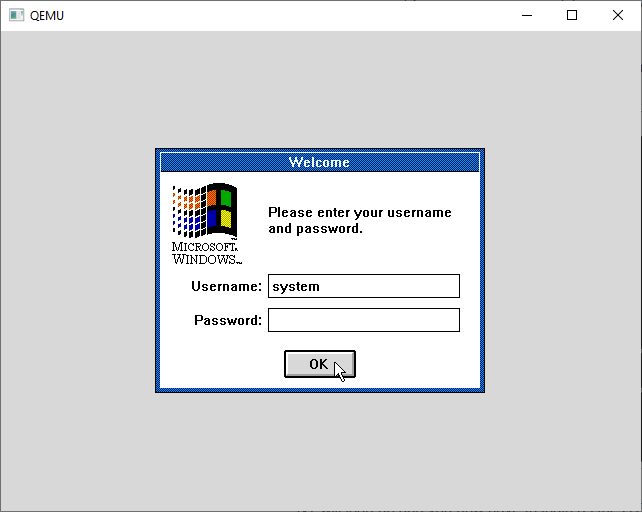
NT will load up and you now have to login as the SYSTEM user. We need the advanced permissions to format the hard disk.
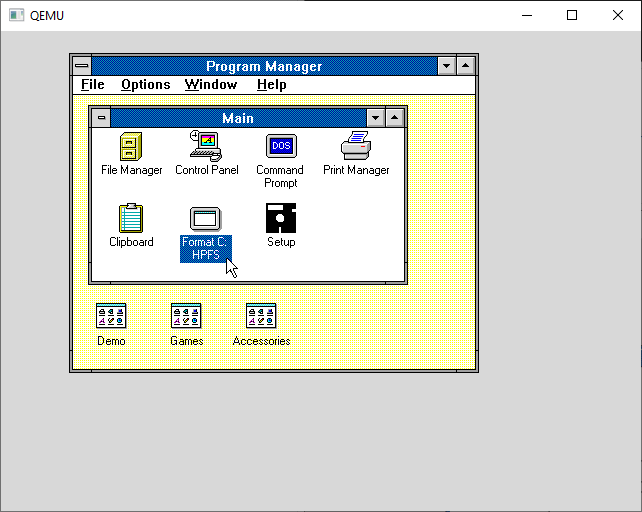
From the desktop we first format the C: drive as HPFS. I made icons for all this stuff to try to make it as easy as possible.
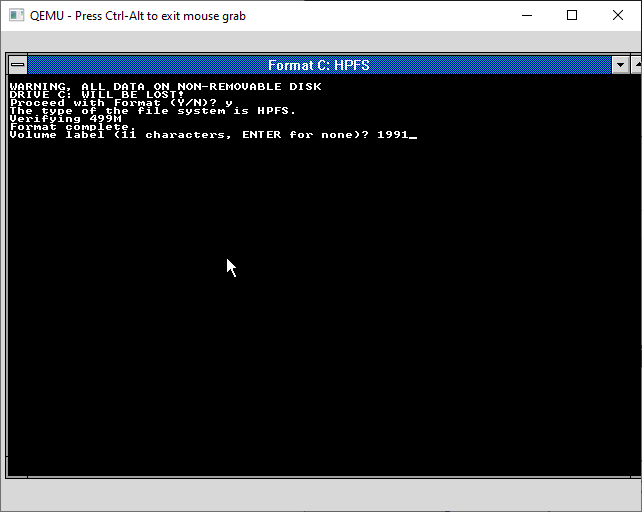
You’ll get asked to confirm you want to do this, and give the disk a creative name.
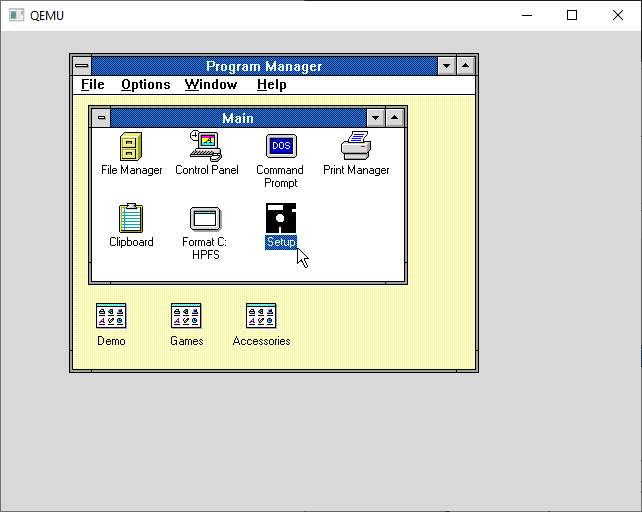
And with the disk formatted it’s time to start the setup process.
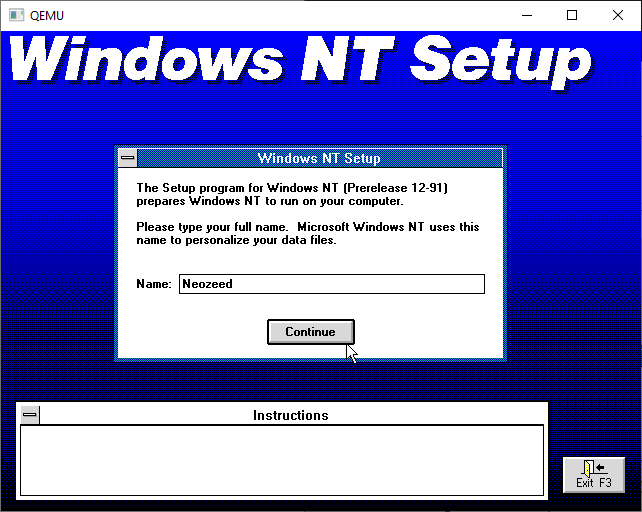
Who are you?
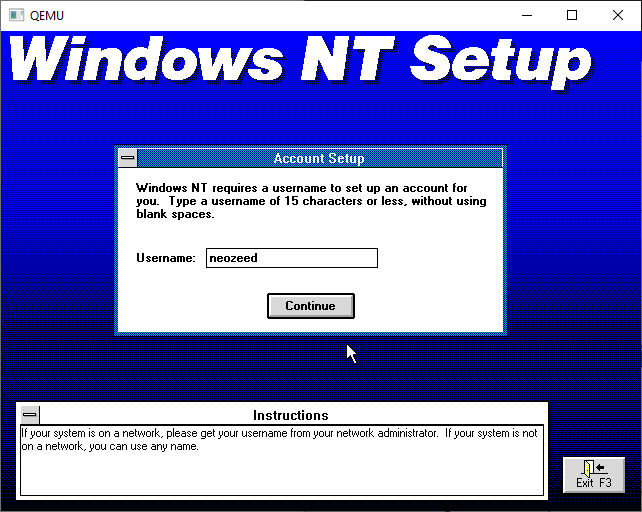
And what slick account do you want? It doesn’t matter tbh.
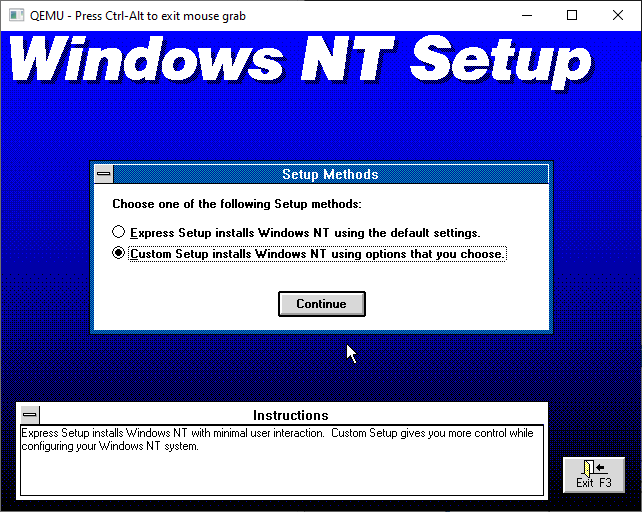
I’m going to do a custom install as the NIC’s aren’t supported, and even if they were it’s just NetBEUI anyways.
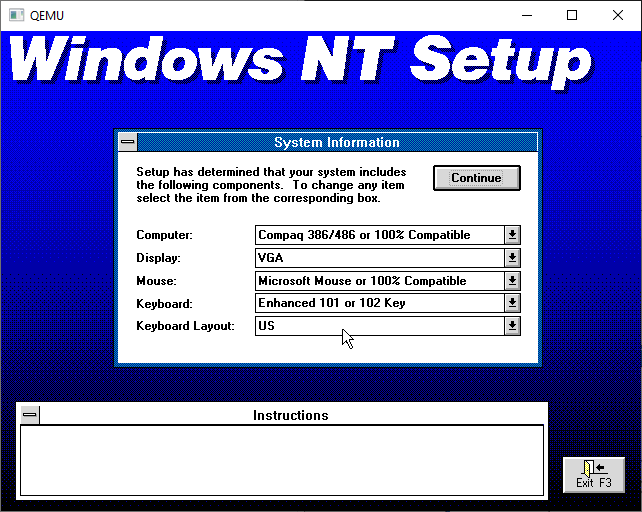
And select your hardware platform. NT basically only supports this config, so it doesn’t matter.
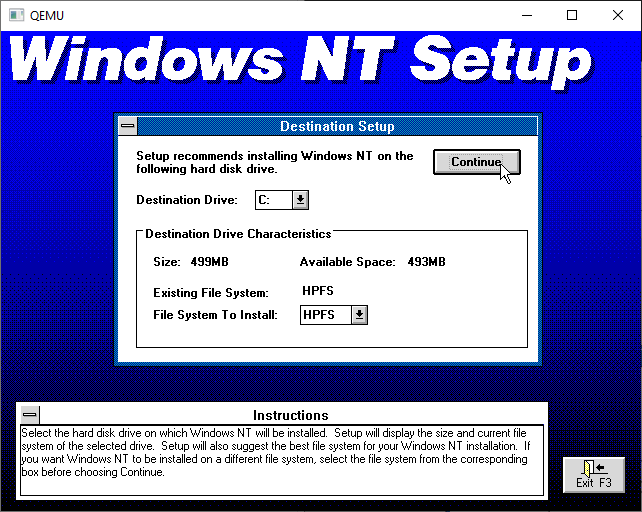
The default target drive is our C drive, which we had just formatted to HPFS.
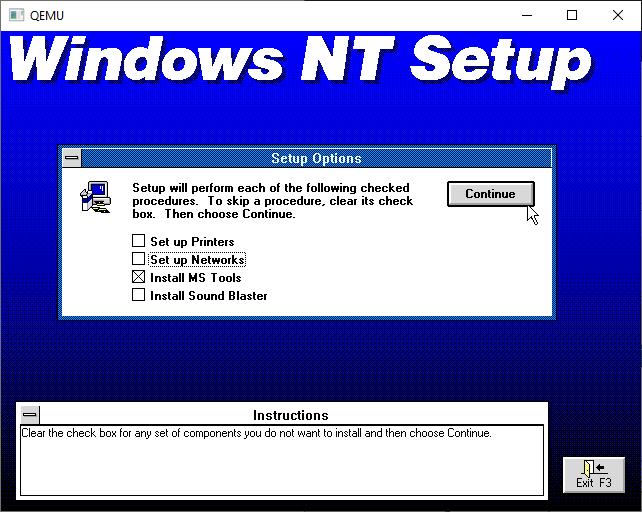
Next, I unchecked everything only leaving the MS Tools
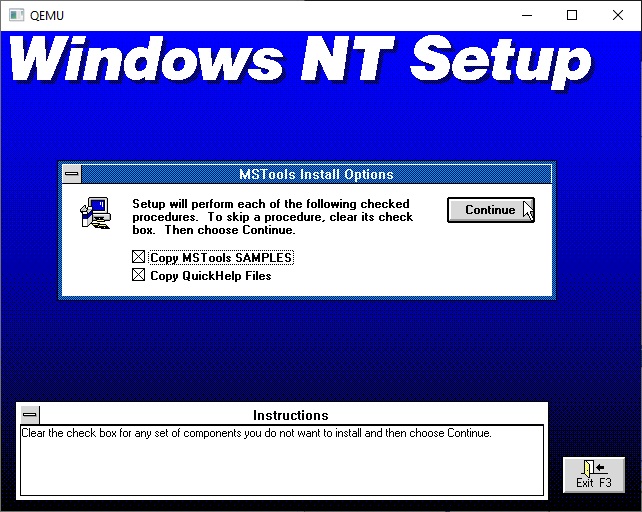
It’ll offer the samples & help files. I always install them as I eventually need examples of stuff to steal, and to learn that including <windows.h> won’t work right unless you manually define a -Di386 on the command line. I’m saving you this pain right now up front.
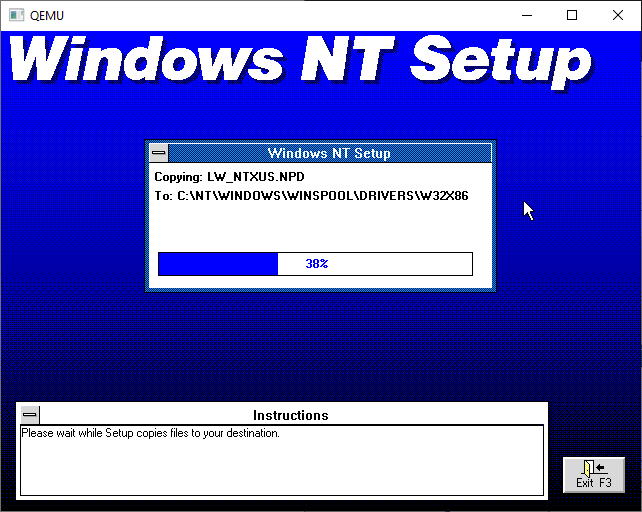
Files will copy, and on a modern machine this takes seconds.
And there we go!
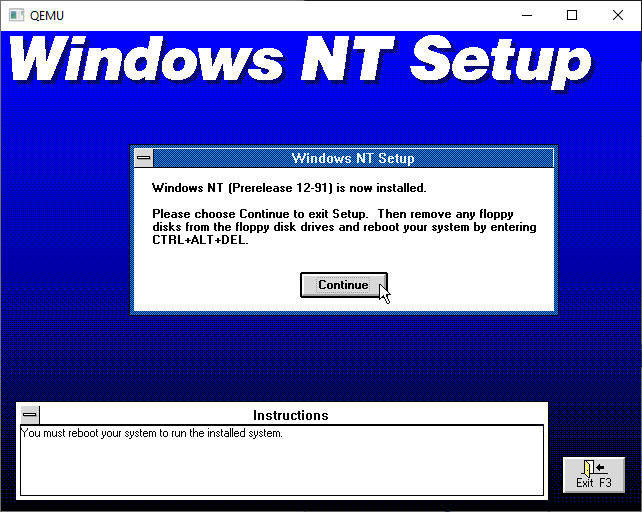
And Windows NT is installed.
Yay.
I put in a ‘CAD’ feature in this Qemu hitting control+alt+d will send the familiar pattern, and after a few times NT will reboot. We are pretty much done with NT for the moment, but congrats you’ve installed the December 1991 Pre-release onto a HPFS disk for those sweet long long file names!
Going over the strategy:
I’ve already built GCC 1.40 for NT, so what is the rest of the stuff needed to build Linux? It’s a quick checklist but here goes, in no specific order:
GCC 1.40- bin86
- binutils
gas 1.38- bison
- unzip
- zip
Luckily as part of building on Windows 10 using MinGW, I had fixed the weird file issues as MS-DOS/Windows NT/OS2 handle text/binary files, as we went through with how Github mangled MS-DOS 4.00.
The primary reason I wanted a working zip/unzip was to deal with long file names, and to auto convert text files. And this ended up being an incredible waste of time trying to get the ‘old’s code on the Info-Zip page.
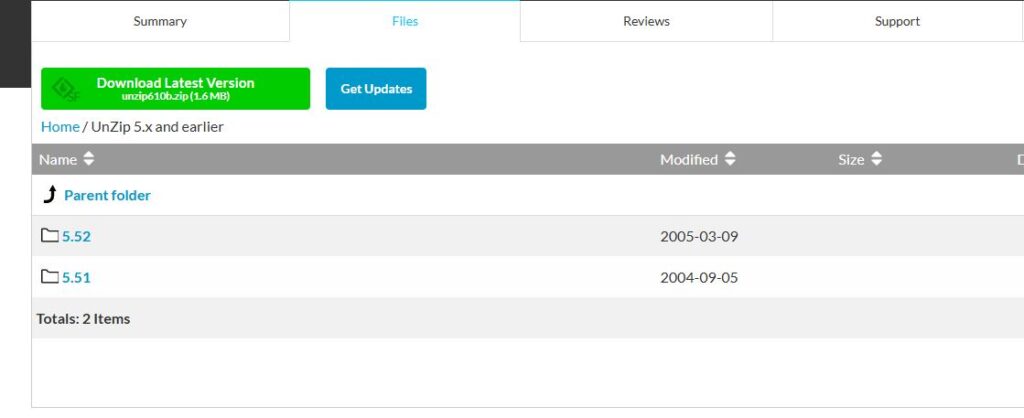
I’m sure like everything else, the old versions are removed as they probably suffer from some catastrophic security issue with overflows. The issue I ran into is that the version 5 stuff uses so many features of shipping NT, to even 2000 that it was going to be a LOT of work to get this far. The quicker & easier path as always turned out to be a time machine.
Thankfully, since I had made a copy of the UTZOO archives, I was able to fish out, both version 3.1 from the archives. Also known as “Portable UnZIP 3.1”, parts 1/2/3. I also found version 4.1 as well. And people wonder why you want to save these ‘huge’ data sets. If the lawyers could have their way, they would obliterate all history.
I spent a lot of time messing with Makefiles, as linking & object conversion on old NT is a big deal, and not the kind of thing you want to do more than once. Another big pain is that large files become delete only. I don’t know what the deal with notepad is, but I could remove text, but not change or add. I solved that by wrapping a number of things by including it in another file with some #define work to go around it. Needless to say, that sucked.
One thing that constantly threw issues is that this version of Windows doesn’t handle Unix style signals. I removed all the signal catch/throw stuff, and the binaries ran fine. Why on earth does ‘strip’ need signals is beyond me, but it runs fine without them!
Bringing it together.
From my “Build artifacts from Building Linux 0.11 on Windows NT build 239, December 1991” page, grab the two files, bin.zip & source0.zip.
On Windows I just unzip the bin.zip file and leave source.0.zip intact into a directly say something like temp. Then I can use a cool feature of Qemu where it can mount a directory as a read-only FAT disk. This saves a lot of time!
Running Qemu like this:
qemu.exe -L pc-bios -m 64 -net none -hda nt1991.vmdk -hdb fat:temp -fda boot.vfdWill drop to the bootloader. Hit enter to login, and you’ll be at the desktop. Hit enter again, and open a command prompt.
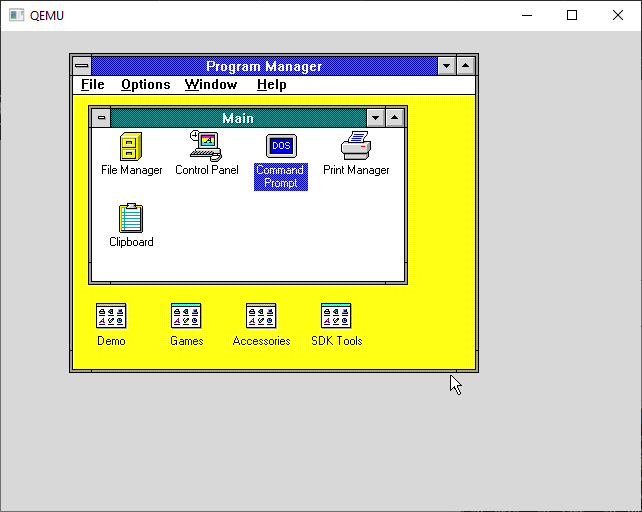
By default, the Numlock is messing with the arrow keys (I think it’s mapping to the old 83 key keyboard no matter what?) Hit num-lock and your arrow keys should kind of work. It’s a great time saver.
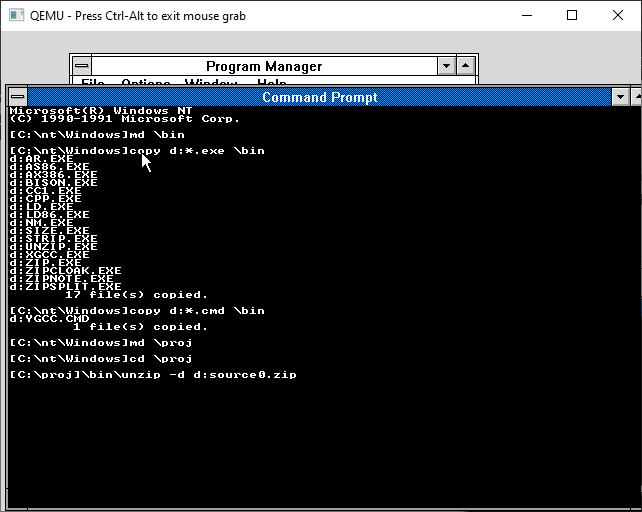
I copied the binaries & the ygcc.cmd file into the \bin directory, created a \proj directory and get ready to unzip all the source code. For some reason this version of unzip doesn’t understand the zip compression, so it’s just storing instead, much like TAR. It’s not that involved but unzip with the -d flag so it creates directories as needed.
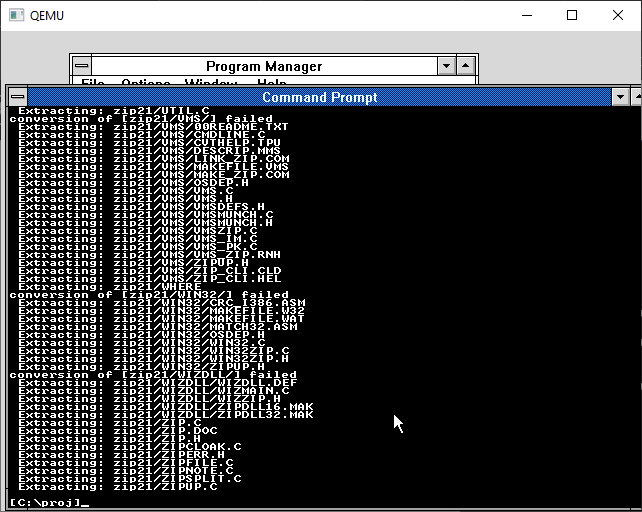
This will let us keep long file names. HPFS is case insensitive, but it also preserves the case, so don’t worry about the names being all weird. It doesn’t matter.
One thing worth mentioning is that even though the C pre-processor does compile it just hangs when trying to run it. I’m not sure what is wrong exactly, but it’s just not worth fighting. Instead, I had the better idea, of using the Microsoft C compiler to pre-process the source. Apparently, this is how they originally built Windows NT, pre-processing on OS/2, then uploading the pre-processed files to a SUN workstation with the i860 compiler and downloading the objects to be converted & linked. Wow that must have been tedious!
I created a CMD file ‘ygcc.cmd’ to run the cl386 pre-processor, call CC1 & GAS and clean up afterwards.
cl386 -nologo /u /EP -I\include -D__GNUC__ -Dunix -Di386 -D__unix__ -D__i386__ -D__OPTIMIZE__ %2 > \tmp\xxx.cpp
\bin\cc1 -version -quiet -O -fstrength-reduce -fomit-frame-pointer -fcombine-regs -o /tmp/xxx.s /tmp/xxx.cpp
\bin\ax386 -v -o %1 /tmp/xxx.s
@del \tmp\xxx.s
@del \tmp\xxx.cpp
It’s not pretty but it works!
Building
Before you can build Linux, you need to create both a \tmp & \temp directory. Also the include files need to be copied to the \include directory to make the pre-processor happier.
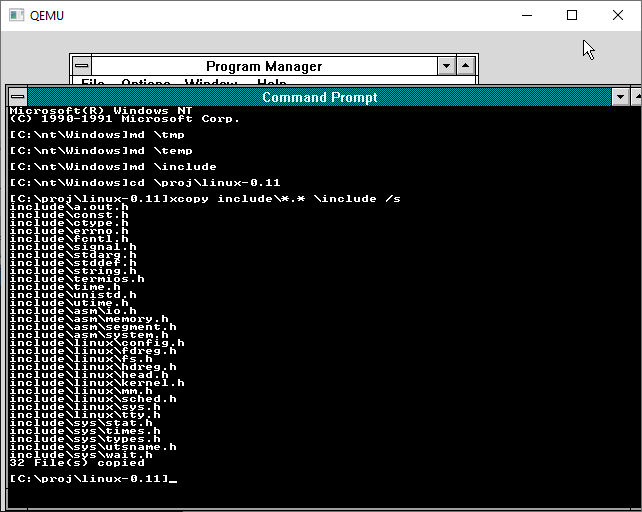
I’ve tried to make this as simple as possible there is a ‘blind.cmd’ file which I built that’ll manually compile Linux. There is no error checking.
And saving everyone the excitement here is an animation of the build process
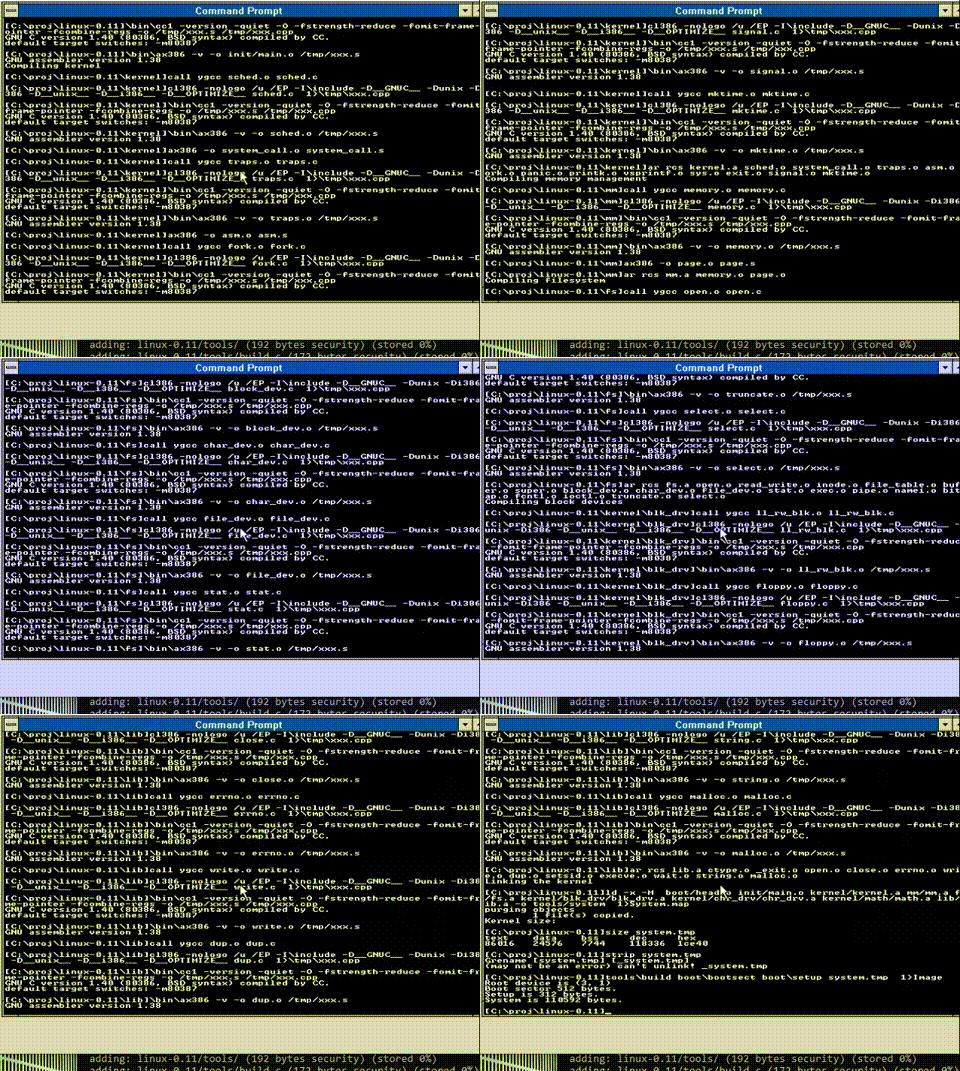
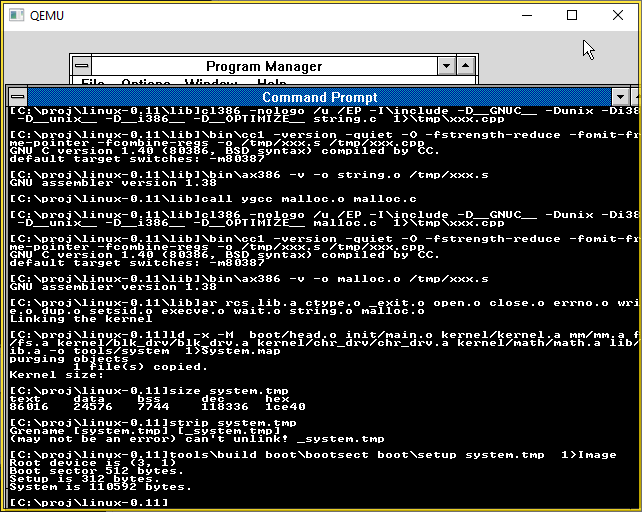
And there we go! All compiled!
From there it’s a matter of copying the Image file out of the VM, I used the boot floppy and 7zip’s ability to extract FAT images, and then boot up Qemu using the Image file as a ‘floppy’ as back in the day we used to rawrite these to floppy disks.
qemu.exe -L pc-bios -m 64 -net none -hda nt1991.vmdk -hdb fat:temp -fda boot\IMAGE -boot a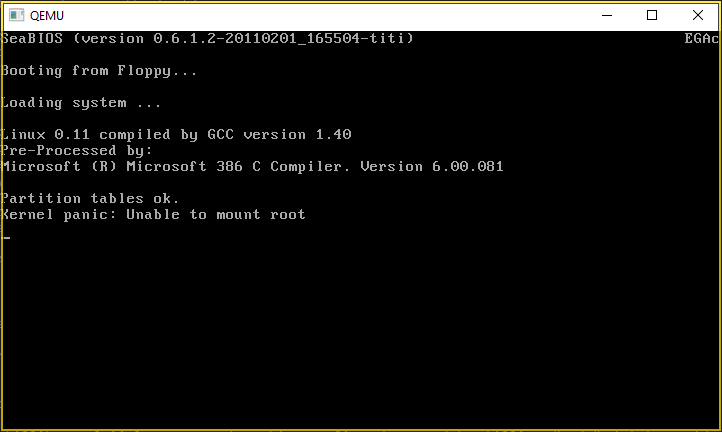
I don’t have a root filesystem, so the panic is expected, but yes, we just cross compiled Linux from Windows NT, circa 1991!


