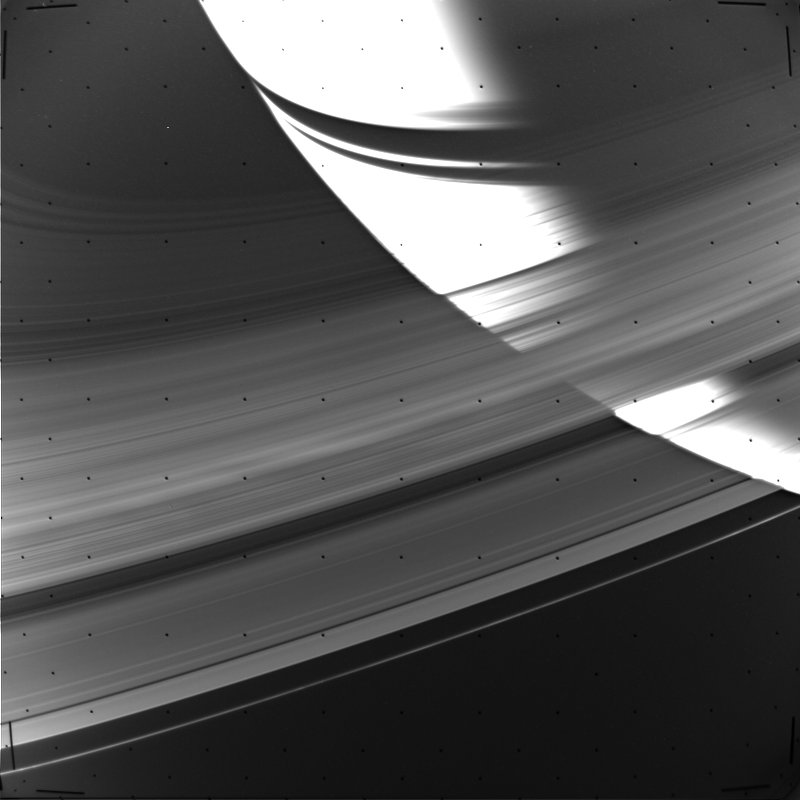
An un-edited view of Saturn

Something that is kind of annoying about NASA photos is that they end up so touched up, and so many liberties taken with them that they become creatures of their own.

Enter these old CD-ROMs
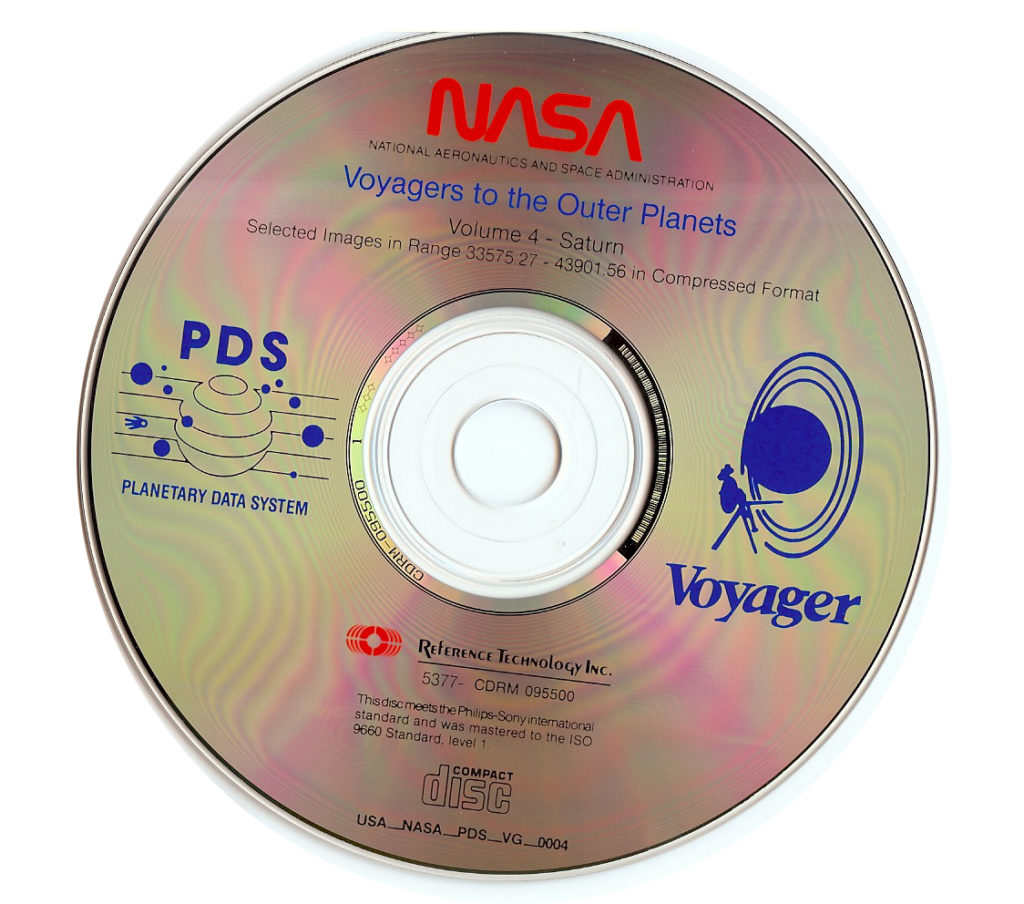
So I was happy to find this CD-ROM, NASA: Voyagers to the Outer Planets Volume 4: Saturn. It’s great that these are on archive.org, but like all old CD-ROM’s they are not quite ‘ISO CD9660’ enough so they don’t mount on Windows 10, or OS X. So once more again I used Qemu & a raw disk image, xcopying the CD to the disk and using 7zip to extract the disk onto the native filesystem.

Seeing that Voyager 2 was launched in 1977, and didn’t rendezvous with Saturn until 1981, it’s safe to say that the images are not in TIFF, GIF, or anything that modern machines will read. Instead they are compressed with Kris Becker’s implementation of Huffman encoding. Thankfully the source to the compression, and various manipulation tools are included in both C & Fortran. It was not to much work to get the C version to build, and have it detecting a 32bit LittleEndian machine. The program was meant to be run interactively however, so a few small changes had it running command line to let me script decompress the entire image set.

The image formats that it can output to are:

  • SFDU/PDS format.
  • FITS format.
  • VICAR format.
  • Unlabelled binary array.

Which make it sound even less than useful. However ImageMagick does understand the FITS format, so running this at home on a 3Ghz 2006 MacPro took about 10 minutes to decompress and re-encode the images from the CD. Obviously doing this at work on 32cores will be much more faster than 8 cores, although I guess back in ’88 using a VAX-11/780 felt pretty awesome still.
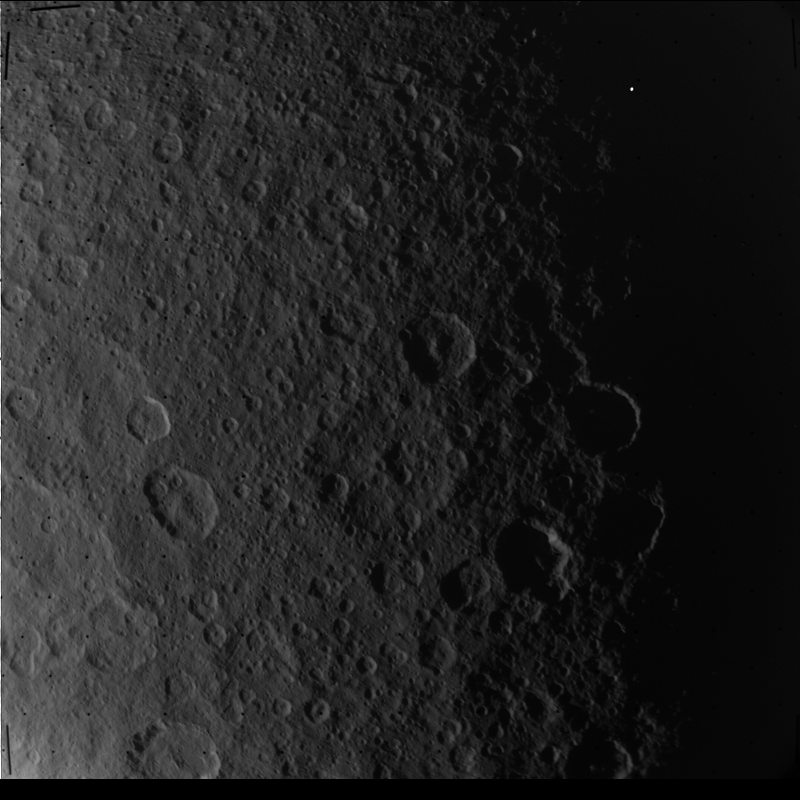
As for the images, they are at surprisingly high resolution 800×800. What struck me about many of the images, is how they show a greater detail in things like the shadows of the rings on Saturn, or even an almost TV like quality to various moon flybys.
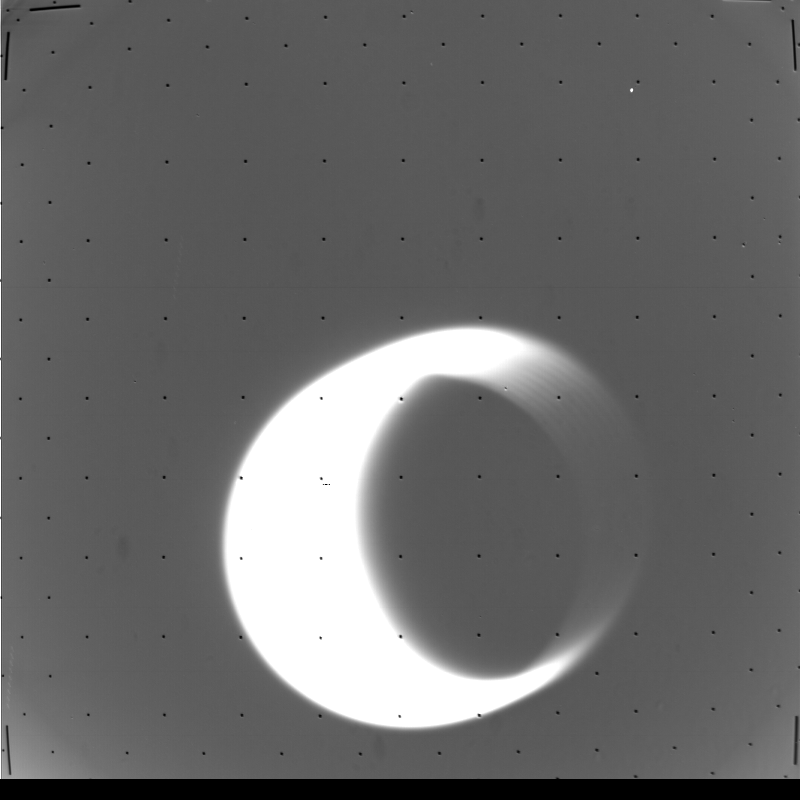
And the unexpected over exposures and flares.
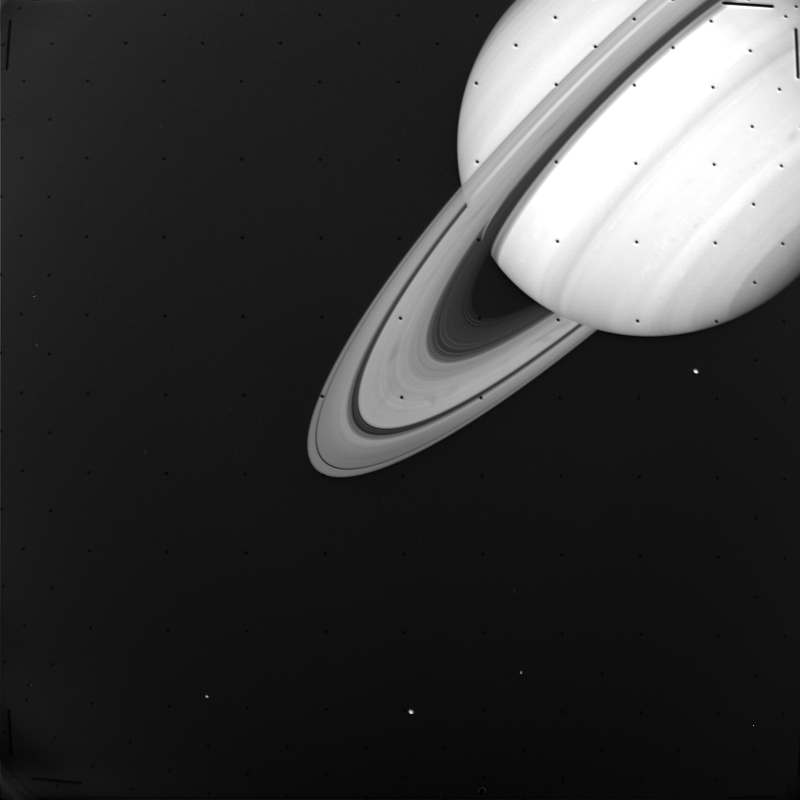
But I thought it was an interesting glimpse into these images.

Also these CD-ROMs comprise a highlight selection. Which means for someone more intrepiding than me, there is far more of these raw vintage images out there.

Imagemagick really is.. Magic!

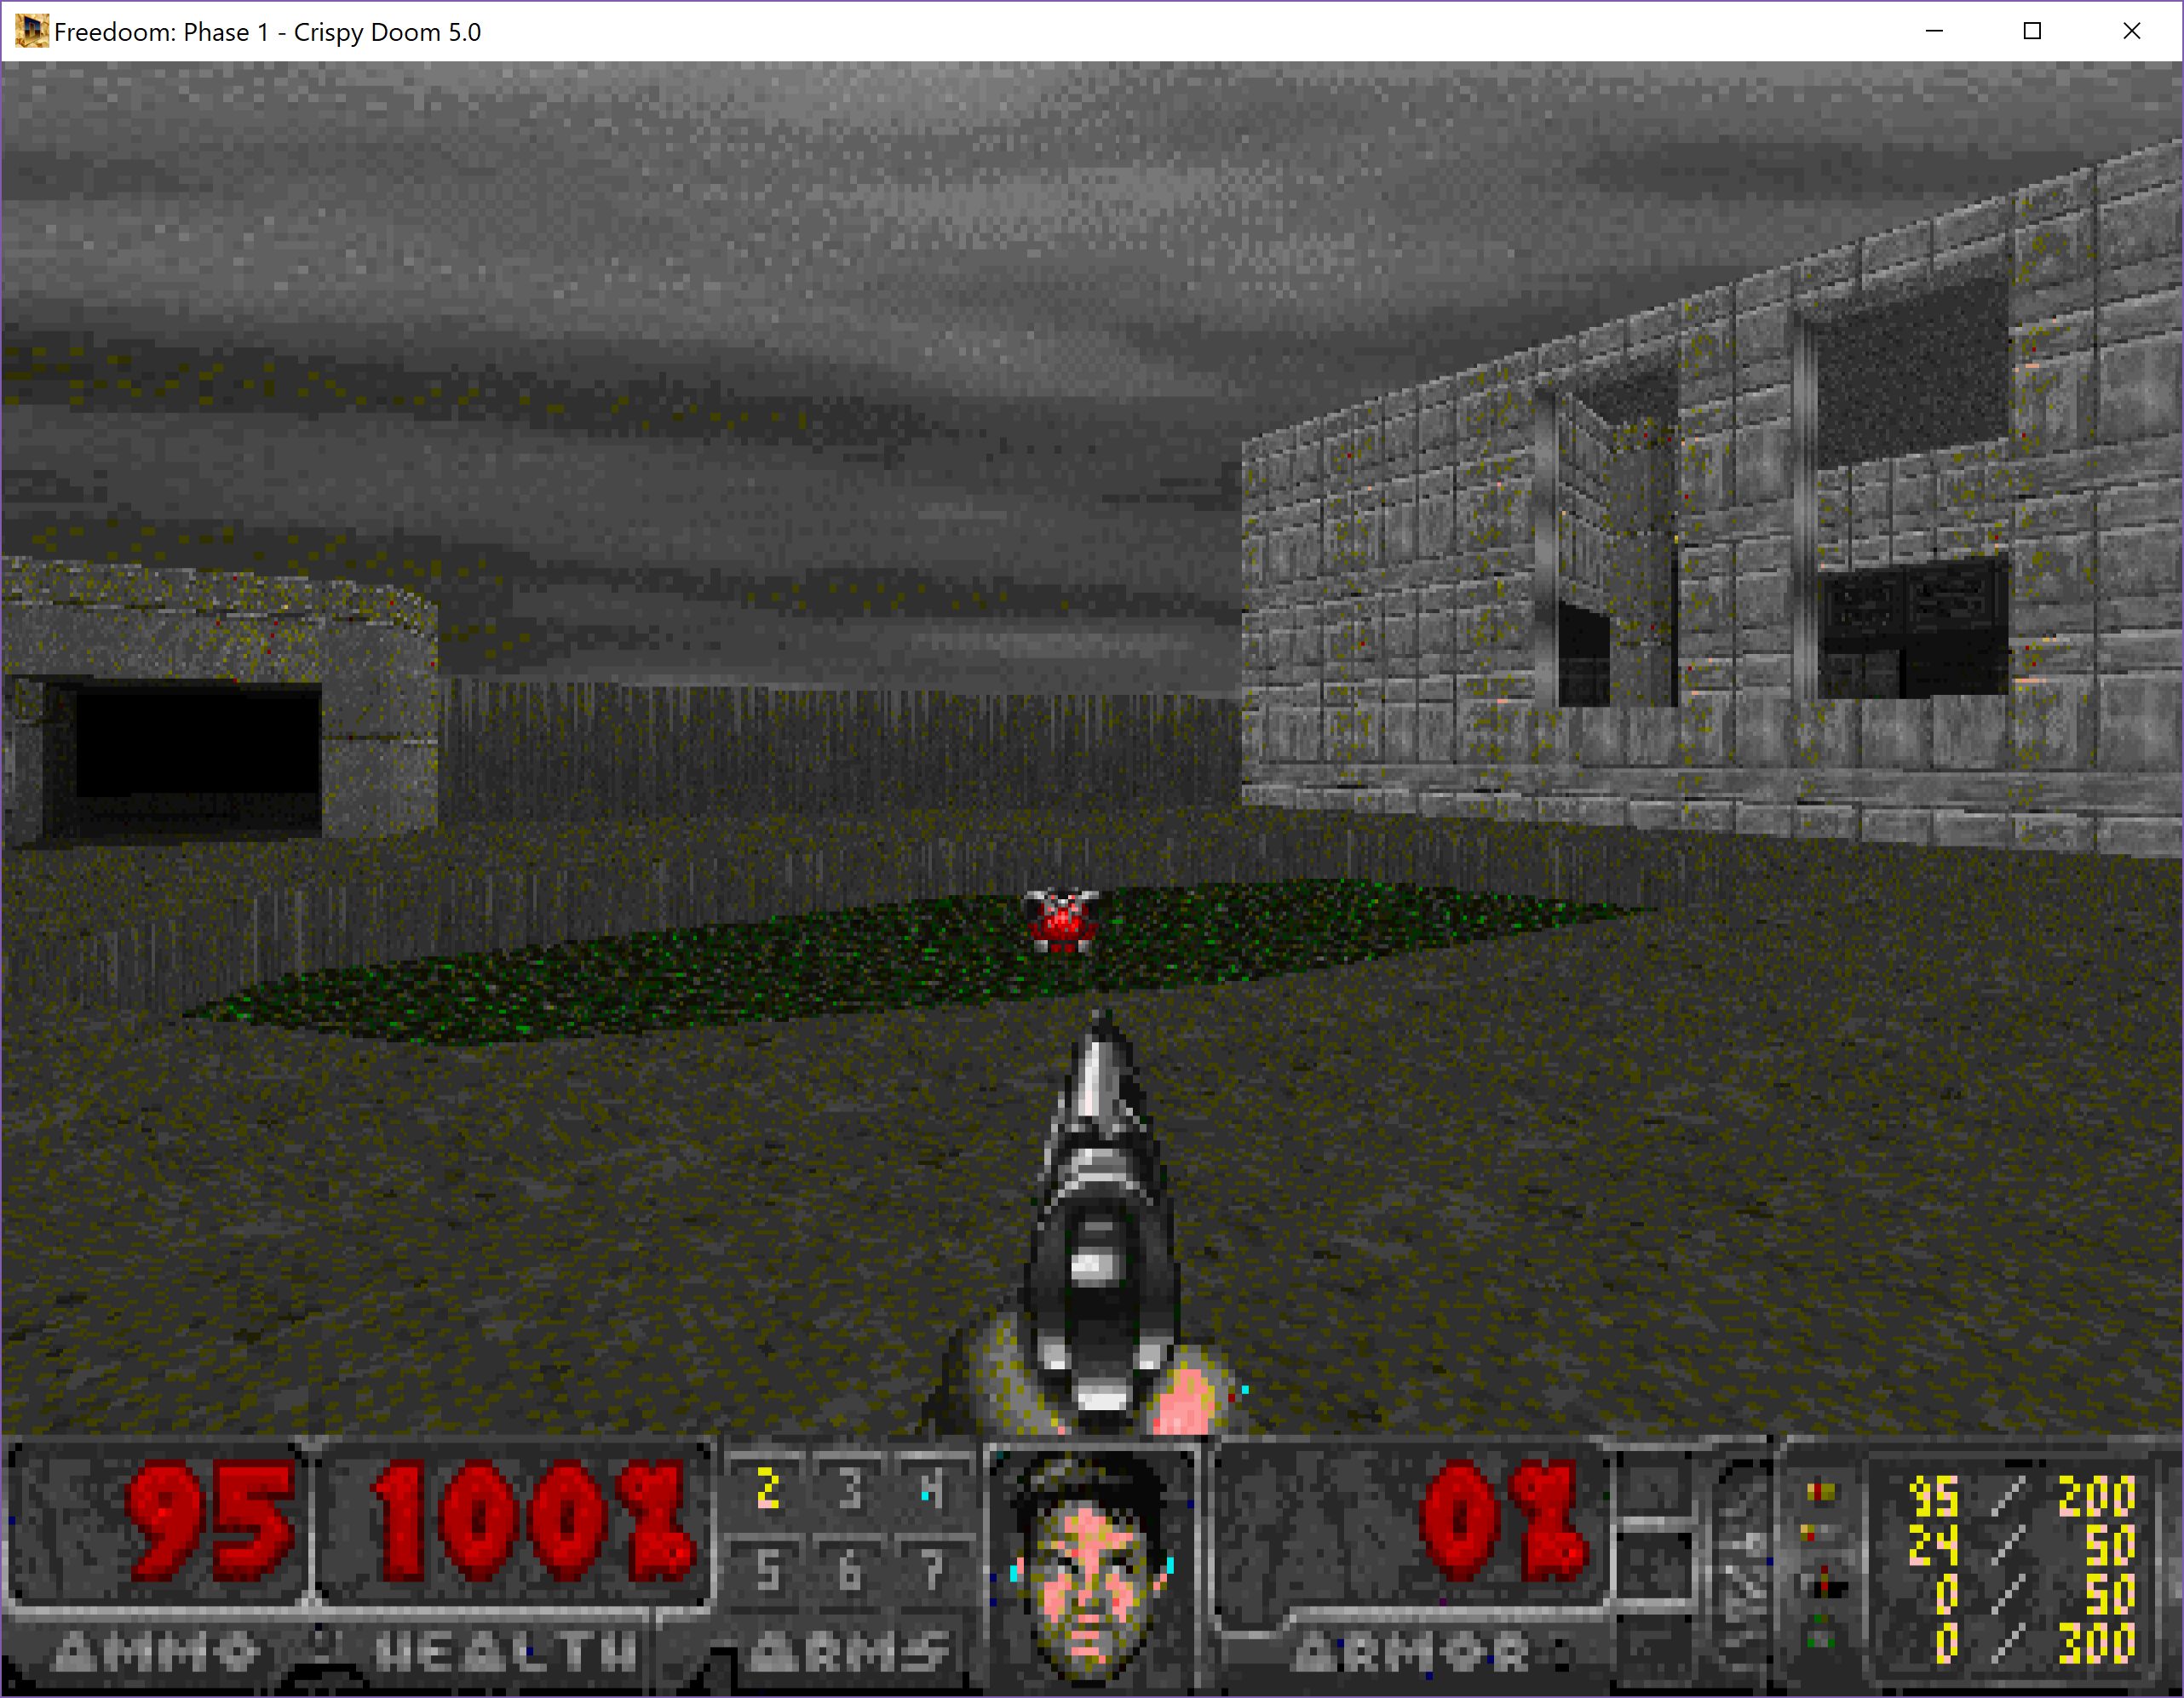
Ok, so since I’ve been playing around with the Freedoom assets, I wanted to process all the assets and then make them into an iwad.  And for the graphics this meant generating a simple color cube palette and then transforming all of the images to match that palette.  And the results were, while recognizable as DooM, they are drab.

Gray world

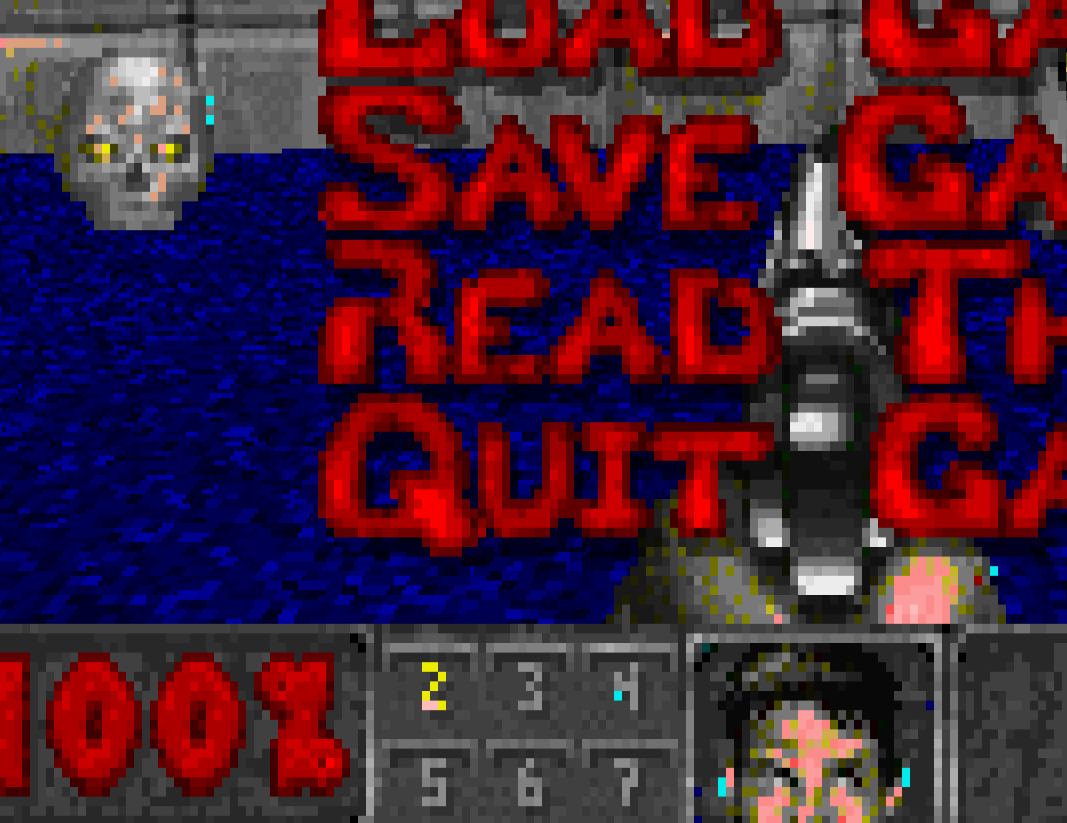
And yes, it’s gray, and drab.  So UK.  And there is another problem, many of the ‘graphics’ assets were a mix of PNG and GIF, and it turns out that in the GIF format you usually have a single color set as your transparent color, and it’ll get cut out automatically.  In this case the transparent color is cyan.  However there is some cyan still in the image!

Cyan artifact

So the best way I figured to ‘fix’ this was to do a straight conversion using Imagemagick.  So I loaded up paintbrush of all things and noticed that for some reason the colors had bled on the gif’s I had from the Freedoom pack I’d downloaded.  And that there were actually 3 cyan colors that needed to be purged.  In this case in hex they are 0x00fefe, 0x00f2f2, 0x02f6f5, and the one that they should have been, 0x00ffffff

convert ..\graphics_freedoom\old\wia20200.gif -transparent #02f6f5 -transparent #00fefe -transparent #00f2f2 -transparent #00ffff oldpng\wia20200.png

So I had to run convert like this against all the GIFs that I needed to fill in the graphics that I’m currently not processing in Python.  Now the images actually look right, no surprise cyan, but my palette still sucks

Although the Freedoom team has told me that it’s far easier to just use the DooM palette as their assets use that palette and it’ll just work.  But I’m too stupid for that.  One great feature of Imagemagick is that you can hand it an image, and ask it to reduce it to any arbitrary number of colors, and it’ll do a great job of it.  And while that is great for a single image, that doesn’t help me when I’m talking about thousands of images.  Except Imagemagick also has another great ability which is to paste a new image to the right of an existing one.  So with a little creative use of the make command I can then build a single giant image that contains all of the artwork.  Isn’t that great?

Although great care and detail went into the original DooM palette selection we can throw all of that away, and let a program stitch everything together, and then have it analyze the entire mess, and come up with the ‘ultimate palette’ that works best with everything.  Although one word of warning it takes well over an hour on an i7 to just stitch the images together (I should have setup a RAM disk) but it only took about 10 minutes for Imagemagick to process the blob image to come up with 255 colors that work best across the entire image set.

With the reduction done, the next thing to do is to create a ‘palette image’, which is one pixel for each color.  This is the palette that we will use to ‘reduce’ all the images against.  It’s more so to let Imagemagick do the hard work of selecting a palette.

convert slug256.png -unique-colors -scale 100% slug256_table.png

Imagemagick optimal palette

And the next thing is to extract the RGB set, which DooM uses for it’s palette.  In this case each color is is represented by three bytes.

convert -size 256×1 -depth 8 slug256_table.png -append rgb:playpal-base256.lmp

And then the next step is to process this palette with dmutils dcolors.  While it is primarily designed to use the LMB file format from Amiga fame, it wasn’t too hard to modify it to read a palette file directly, and let it add in the ‘red pain’ color shift, along with the green ‘bio hazard suit’ effect.  The color map it generates is totally corrupt at the moment, so I’m using the old perl program to generate one based off of the palettes.

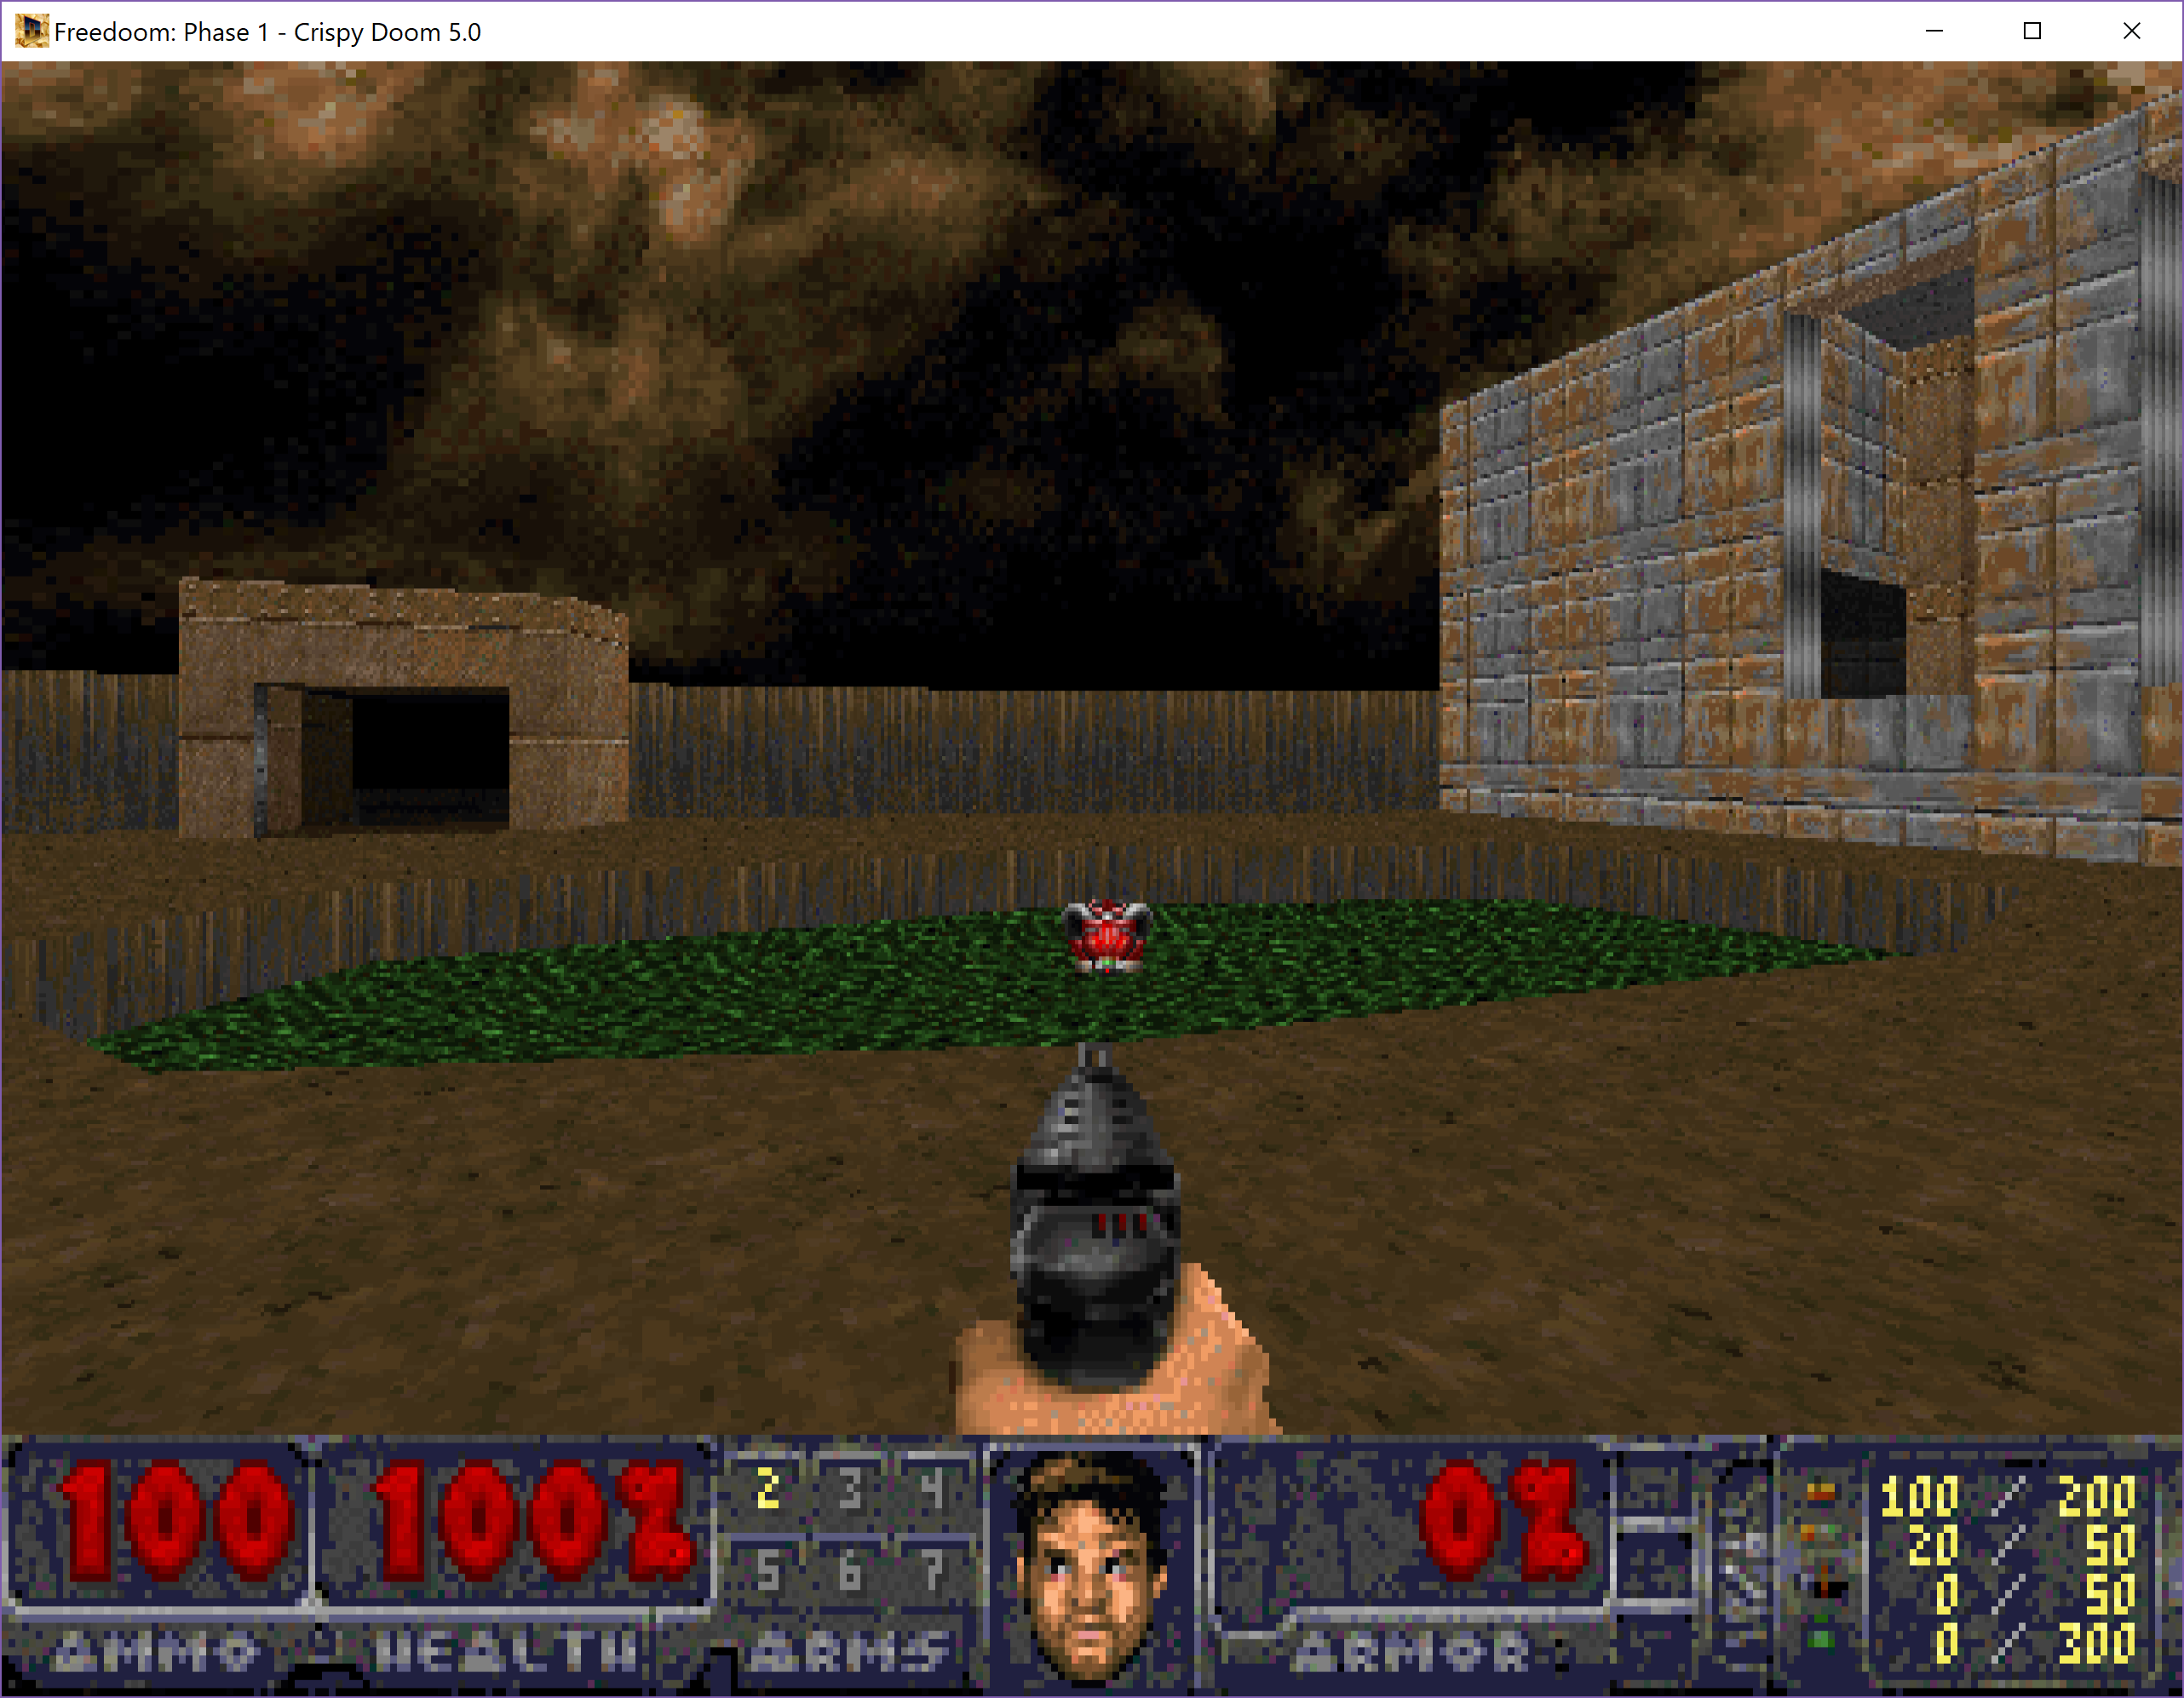
Indeed it is something so crazy that I really don’t want to even do it a second time to make sure my process was reproducible.  However compared to before, I think the results speak for themselves:

new palette

So while it does take the better part of forever to go through all the images like this, it certainly gives zeeDoom a little more ‘building the world from scratch’ type feel.