Atari System V UNIX Saga – Part III – SCSI Disk Replacement

(note this is a guest post by Tenox)

In previous posts from ASV series I have explained why I got hooked on Atari System V UNIX and what I had to do to get a decent resolution out of Atari TT. Having built the VGA monitor adapter, the next challenge was to replace the internal SCSI hard disk with a flash storage of some sort. I really don’t like spinning hard disks and especial the old ones.

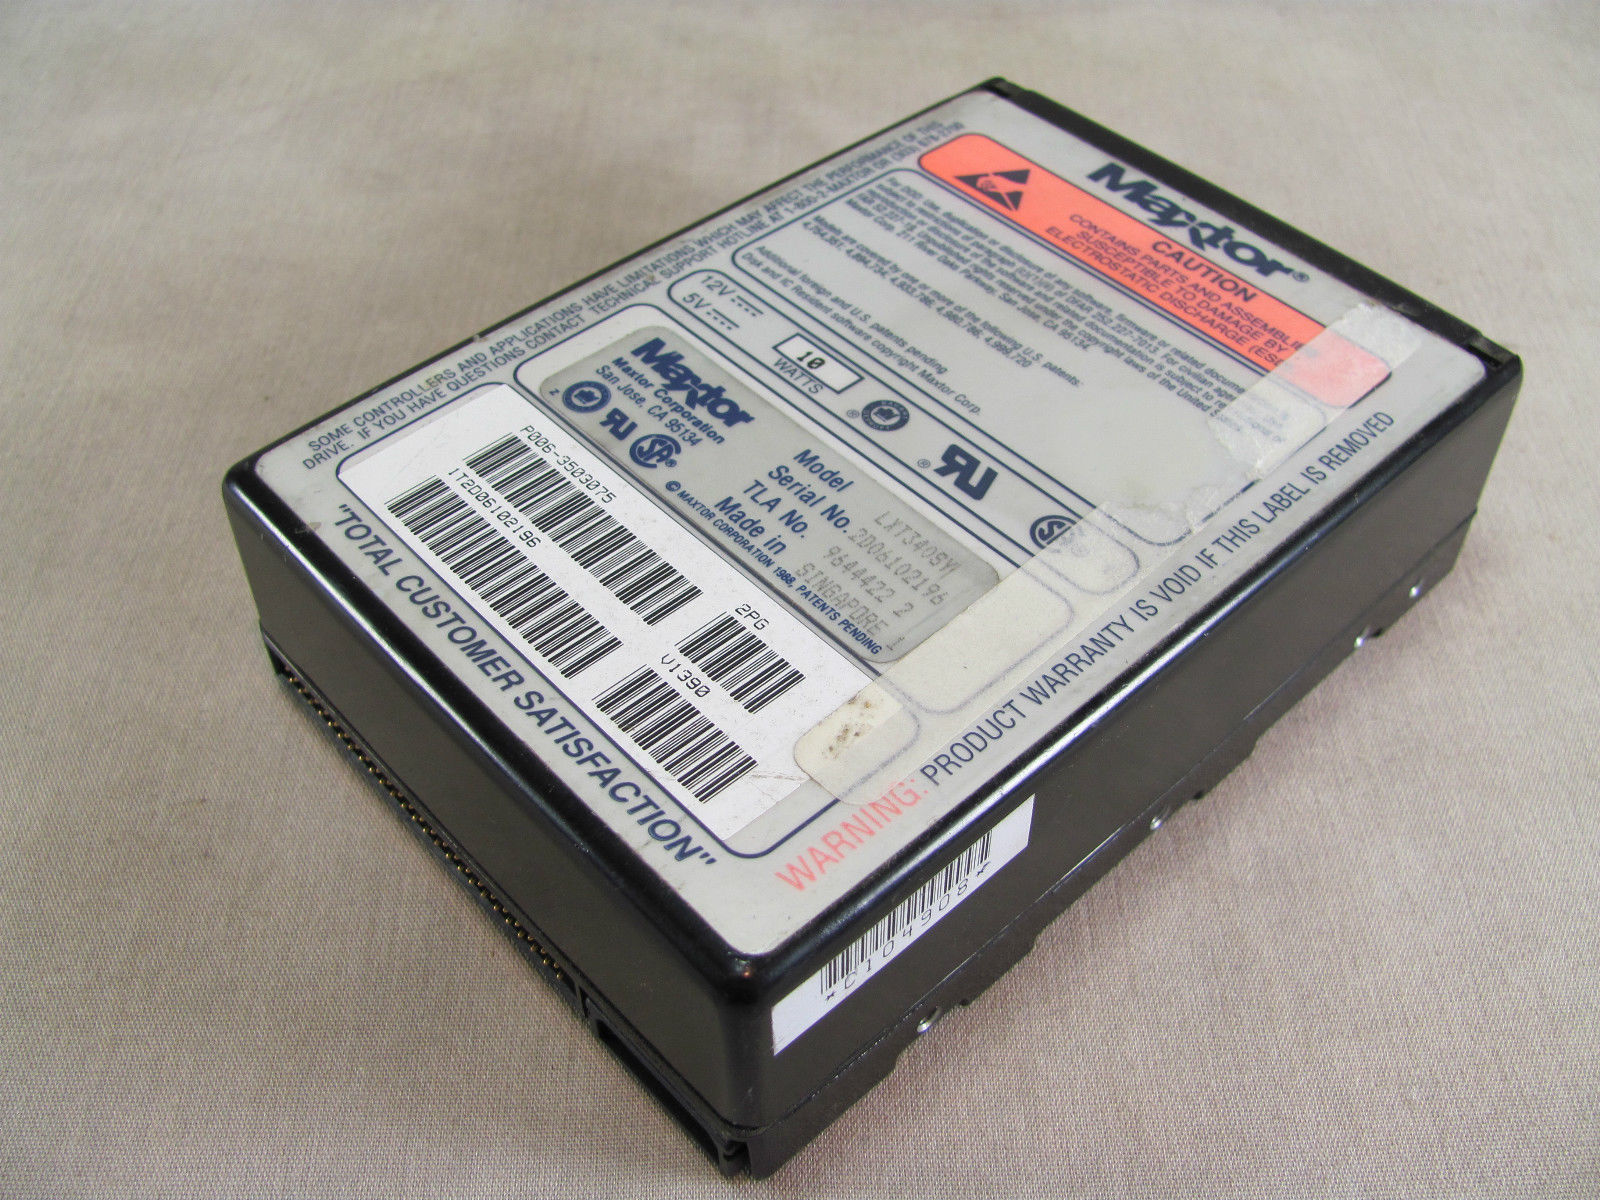
I have mentioned that there are two surviving ASV disk images. The better one was made out of a rather large old, loud and obnoxious Maxtor. I’m definitely not having this monstrosity inside of my beloved Atari!

Maxtor LXT340SY

Maxtor LXT340SY


So how can you replace an old SCSI hard disk with a modern flash device? There actually are several different ways.

If you have the money you can go industrial route, which is a SCSI disk replacement for various machinery and embedded systems produced by ReactiveData. You can buy one of these for a little over $1000 USD. The good part is that they substitute a specific real hard disk model and are exceptionally good in quality of emulation. However, spending a lot of money on my TT and TenoxVGA already, this really wasn’t an option without getting a divorce.

Another approach is to use SCSI to IDE bridge combined with IDE to CF adapter or possibly SCSI to SATA bridge and SATA SSD disk. These are widely used by Atari / Amiga / Mac 68k community. The most popular bridge come from a company called Acard. I actually had one of these at hand, AEC-7220U which I used for TOS/GEM work.

acard front

acard front


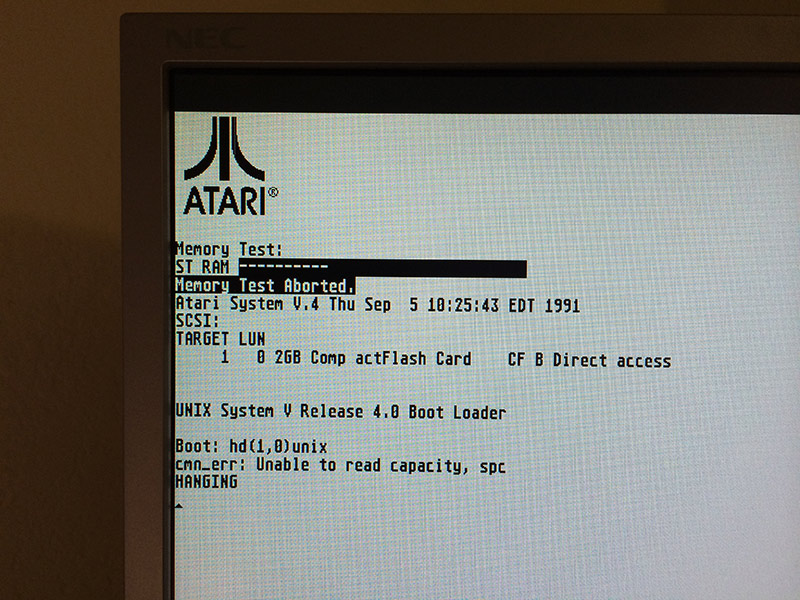
Did it work? As you can guess – of course it didn’t! The initial boot loader errors out unable to read disk capacity.

Atari SYS V failed to boot

Atari SYS V failed to boot


Atari ST/TT, somewhat similarly to 68k Macs require a hard disk driver, present on the hard disk itself. There are several 3rd party implementations, some of them, like HDDRIVER maintained up to present date. Unfortunately these drivers are TOS specific and obviously don’t work with Atari Unix. The system comes with it’s own hard disk driver which seems to be obsolete and with limited hardware support.

The next step was to research and try out some other SCSI to IDE bridges in hope one would just work. And surprisingly there are several to choose from.

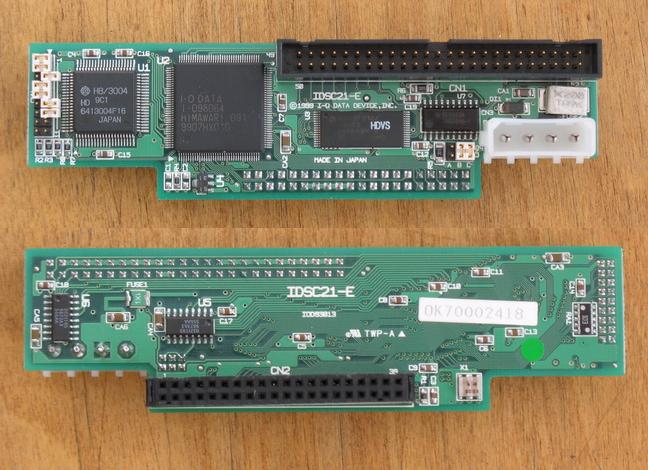
The second on the line was I-O Data R-IDSC21-E/R. No longer produced and supported, however still fairly popular. Usually regarded as the ultimate bridge with most fancy options bells and whistles. It has most jumpers and modes of all tested devices. For instance ATA PIO and DMA modes.  Unfortunately this didn’t help at all and same error was observed.

idsc21e

idsc21e


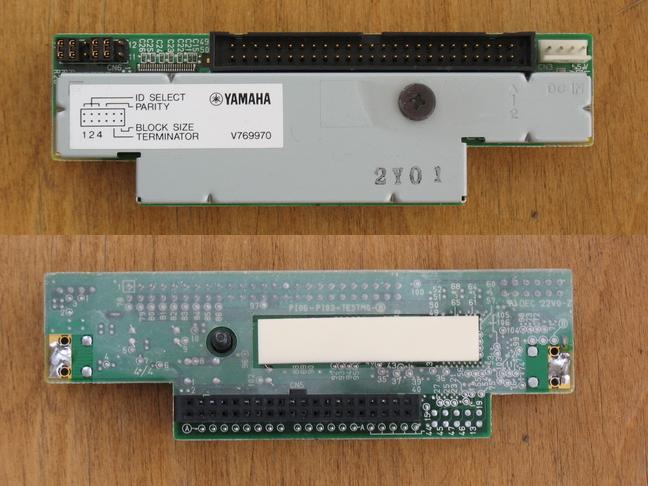
Another device tried was Yamaha v769970. This bridge was conceived to allow use IDE CDROM and Hard Disks with Yamaha samplers. No longer produced and obsolete, it’s somewhat most easy to set up, robust and stable. It’s actually my favorite bridge for day to day use, except for ASV where it just doesn’t work.

v769970

v769970


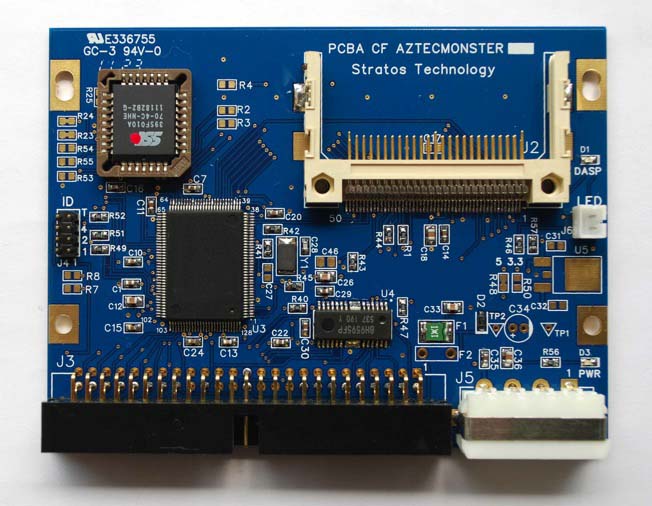
More recent kid on the block is an integrated SCSI2IDE + IDE2CF in one device called Aztec Monster. Recently designed and currently produced in Japan (you can buy one on eBay) is a fairly decent choice, which I recommend to every one. I had a lot of luck with these, except for ASV of course…

CF_AM_r1_1

CF_AM_r1_1


I also looked in to SCSI to SATA bridges, like this one, but they have additional issues, like need to convert LVD to SE on one end and SATA to IDE to CF on the other. Little bit too complex for what I wanted.

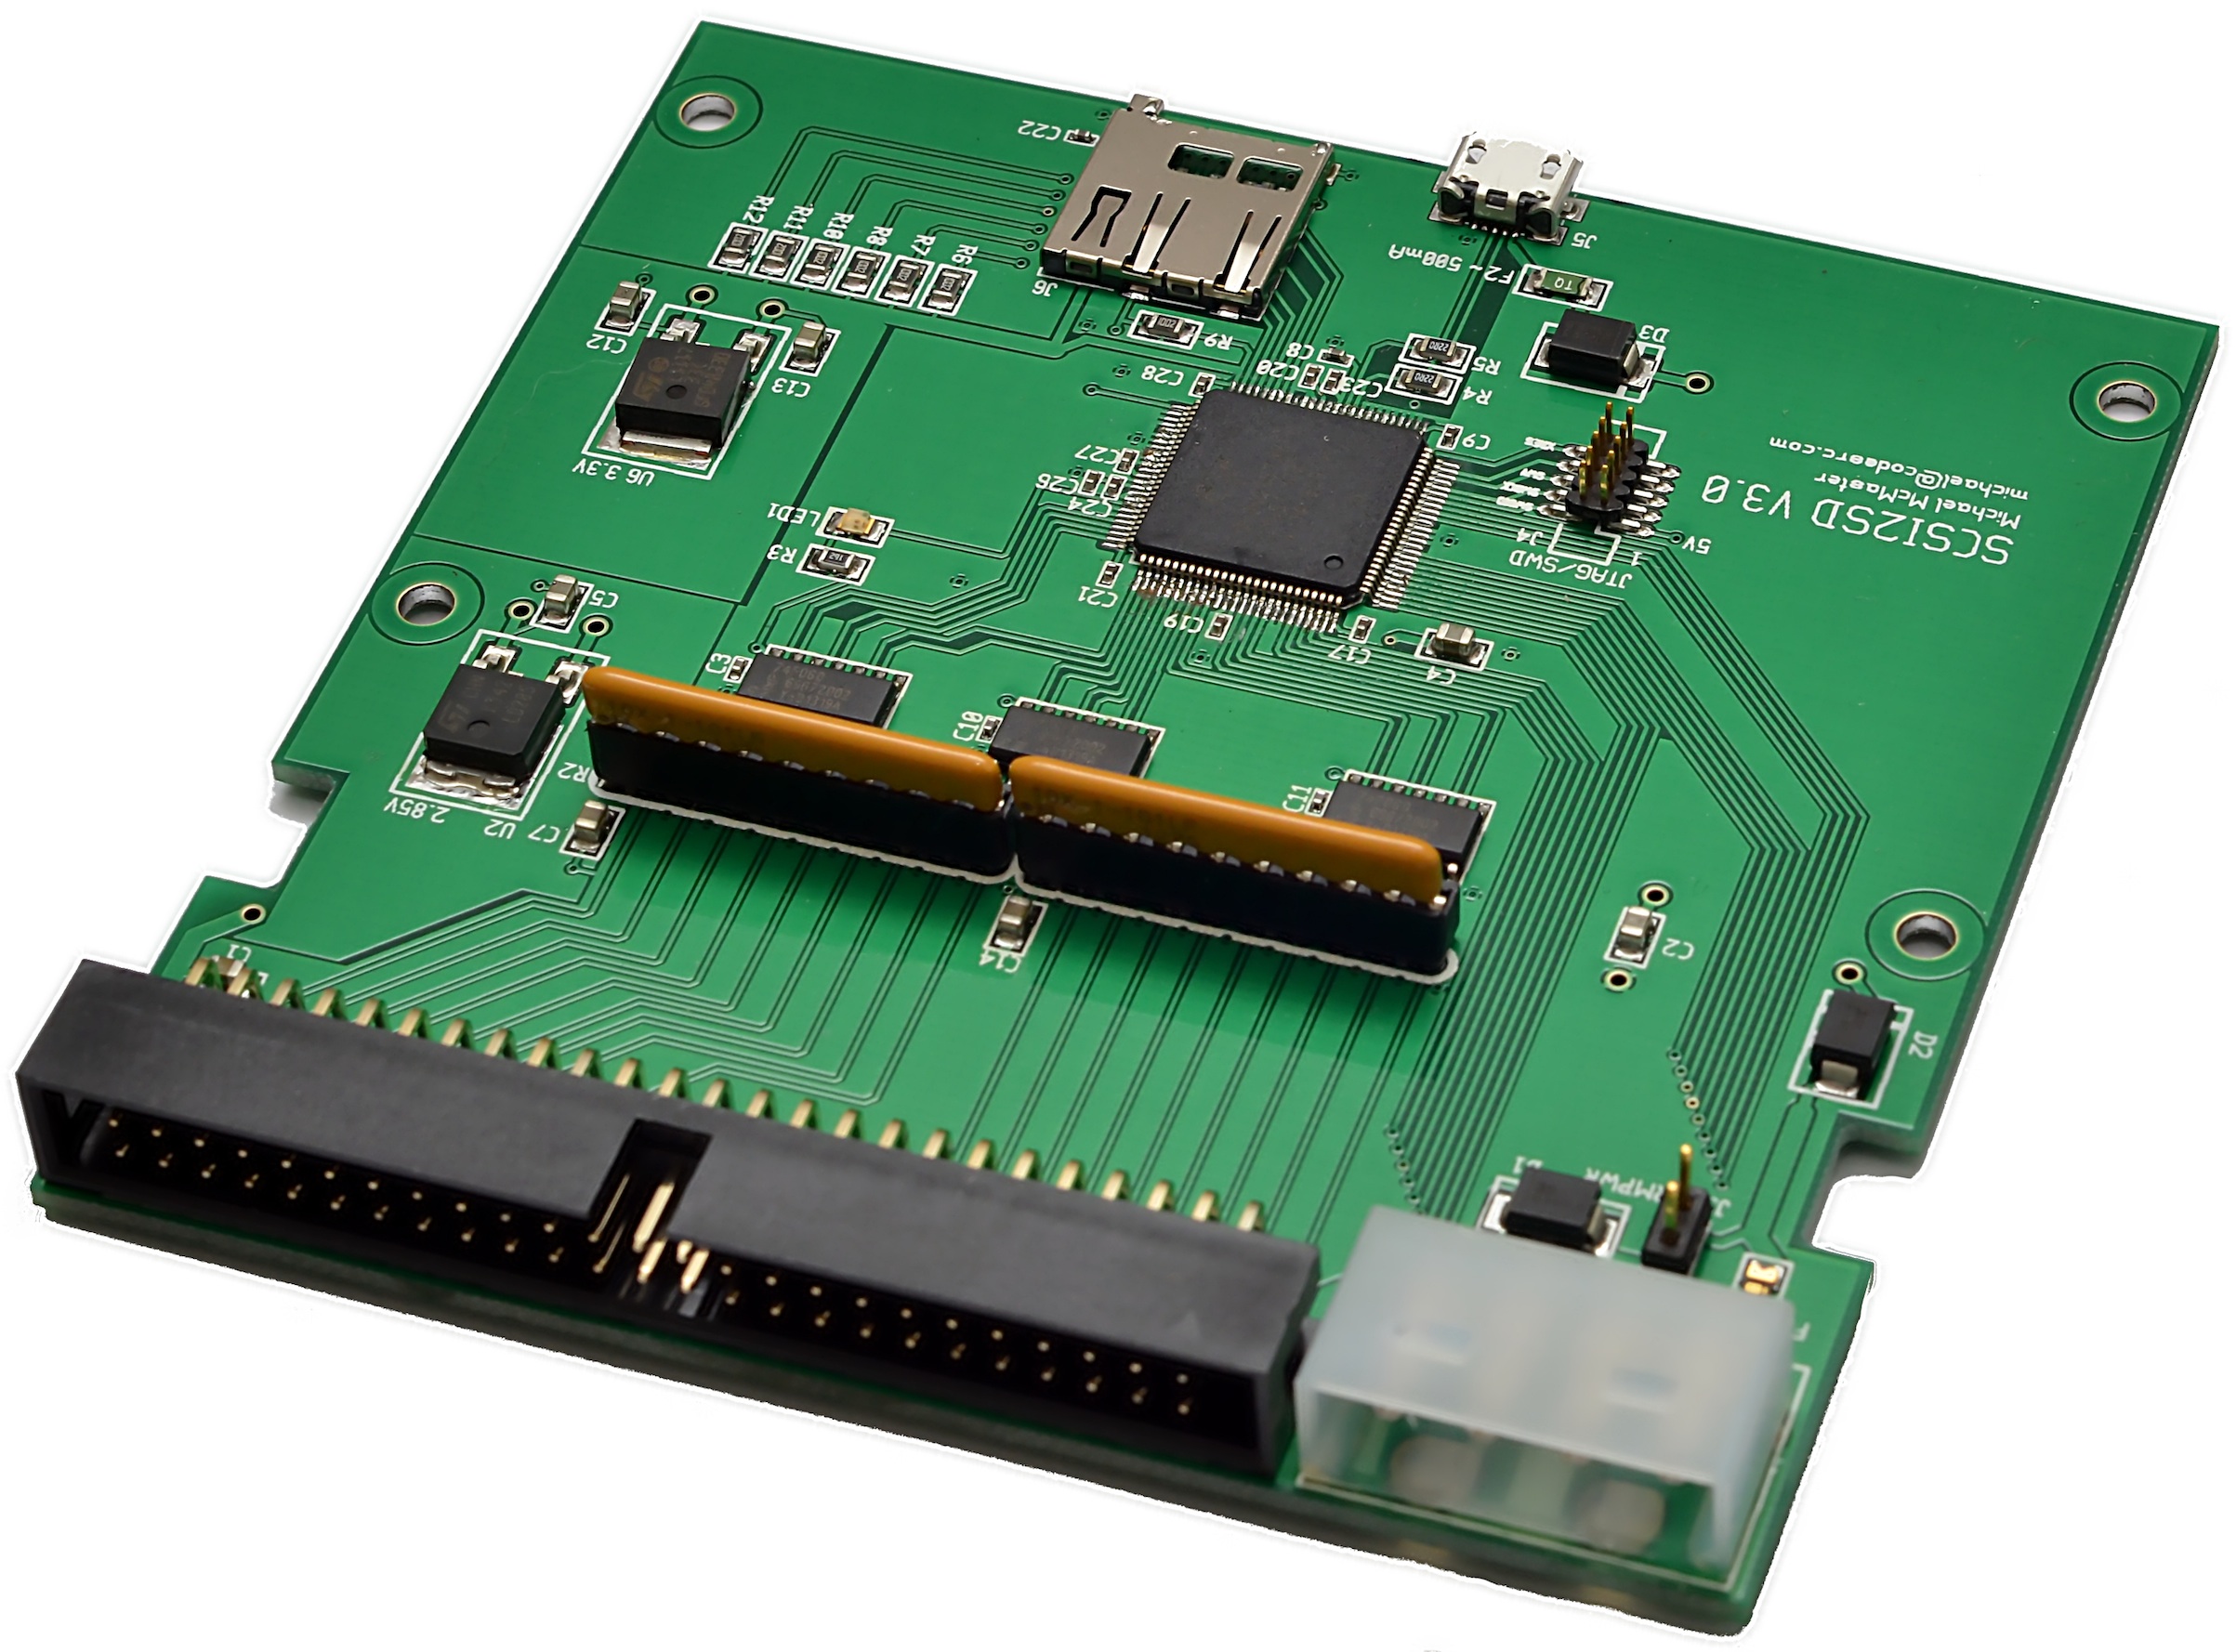
Being out of luck I started researching if it would be possible to build an open source version, which can be easily diagnosed and fixed. Doing so I found out that there in fact is one open source SCSI adapter called SCSI2SD.

SCSI2SD_V3.0_plain

SCSI2SD_V3.0_plain


I was bit skeptical in the beginning but then I though that being open source it can be debugged and fixed if it needs to be. So I immediately ordered one.

Once it arrived, I plugged it in, applied the image to the card and BAM! It worked! The system booted fully and worked flawlessly!

Atari Unix System V – Boot Sequence from Antoni Sawicki on Vimeo.


Over time SCSI2SD proven stable and flawless. One feature that Mac users will appreciate:

--apple Set the vendor, product ID and revision fields to simulate an
        apple-suppled disk. Provides support for the Apple Drive Setup
        utility.

In the next article I will write about my first steps in the system post boot and then bringing it to a more or less usable state. Stay tuned!

Atari System V UNIX Saga – Part I – Intro

(note this is a guest post from tenox)

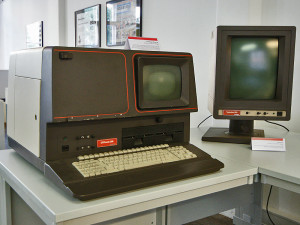
SONY DSCA long long ago, my father had a printing business. An emerging technology called Desktop Publishing (DTP) was just taking to the mainstream. I have been involved in migration from Linotronic typesetting machines (see above) to more modern and GUI driven Atari TT with Calamus. Those were fun times. Long story short, I became an avid fan of Atari. Unfortunately as time progressed, Ataris got in turn obsoleted by Macs with Quark Xpress and Photoshop. I myself started exploring world of Unix and ended up selling my Atari to be able to run Linux. Bit of shame from time perspective as there were plenty of Unix flavors for the Atari: Minix, Linux, NetBSD and MiNT. Unfortunately they were released after I parted with the platform.

Atari System V on Cebit

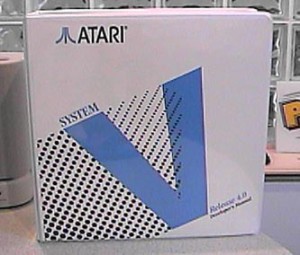
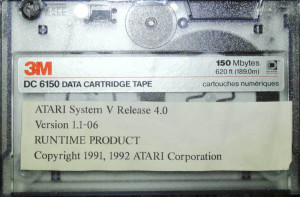
Fast forward 20 years, Atari own UNIX version surfaced the earth. It was originally released in mid 1992 but died shortly after, no one ever heard about it. It has been lost to humanity. Only two good souls had working versions of the system and under pressure of the community finally made disk images of their installations. Some time after a documentation set has been found and digitized. Now I’m in process of trying to restore last existing set of damaged installation tapes. You can find little bit more history of the efforts on this thread.

RUNTIME_PRODUCT-QIC

Out of nostalgia and the fact that Atari TT has been designed as a Unix Workstation, but never got a chance to play with it in this role, I decided to purchase one for myself. I have turned to Best Electronics who is a local Atari dealer around the corner. They sell Ataris like brand new, assembled from spare or reconditioned parts. I paid a small fortune for it, but I got myself a brand spanking new Atari TT, factory sealed and smelling like new after 20 years. It was fitted with latest motherboard revision, TOS, 1.44 MB FDD, 4 MB ST RAM and 16 MB TT RAM.

tt

I was told to just hook it up to a VGA monitor and viola, it will work. Which it did… except to my utter shock in a whopping resolution of 640×480. It looked absolutely horrible stretched on a 19″ LCD panel. I don’t have any pictures but it looked like this. For games maybe OK but not for Unix or any sensible applications.

Using TTs professionally in DTP I certainly didn’t remember them suffering in the resolution department. So what was I doing wrong? Aha! In the old days we used to use special high resolution VME graphic cards.  So I went to search for one on eBay and Atari Forums. These obviously proven to be impossible to find… obviously. Additionally I learned that Atari UNIX does not support any of these as they required special TOS/NVDI drivers. In order to run ASV X11 with a decent resolution, one needs a special high resolution monitor called either TTM 194 or 195. These were “professional” 19″ monitors specifically for DTP work. They worked with the built-in graphics card in a special black and white mode at 1280×960, which is actually decent even in modern standards. In a fact we did have these monitors at the printing shop.

Unfortunately these are very old, bulky CRTs and weight 50 lbs. My wife would kill me if I brought one home and even if she didn’t I would hate having one of these on my desk. So why won’t the “TT High” mode work on a standard VGA LCD which normally supports 1280×1024? Well back in a day VGA standard didn’t support such resolutions and Atari had to make the monochrome monitors using ECL signal similar to old SUN/3 and HP monitors. Higher resolution modes were only added later by VESA BIOS extensions.

Researching the topic a lot of people were actually looking for an ECL to VGA signal converter but one did not exist. Some managed to use old EIZO CRTs with ECL support and with decent results, but still these are 50 lbs CRTs and I wanted to run ASV on a LCD panel. An adapter to convert ECL signal to a real VGA has actually been tried before but with rather awful results. Something had to be done!

TenoxVGA was born. And this will be covered in the next post… 😉