While I had posted endlessly about this particular computer, as someone that I had long desired as a kid, overall, the PS/2 model 60 is an underwhelming machine, with an exceptionally high price tag. Many other fans of other 80s 16-bit computers, were able to augment their weak processors with faster 16bit CPUs, and even 32bit processors. As it turns out, the IBM PS/2 also had options:
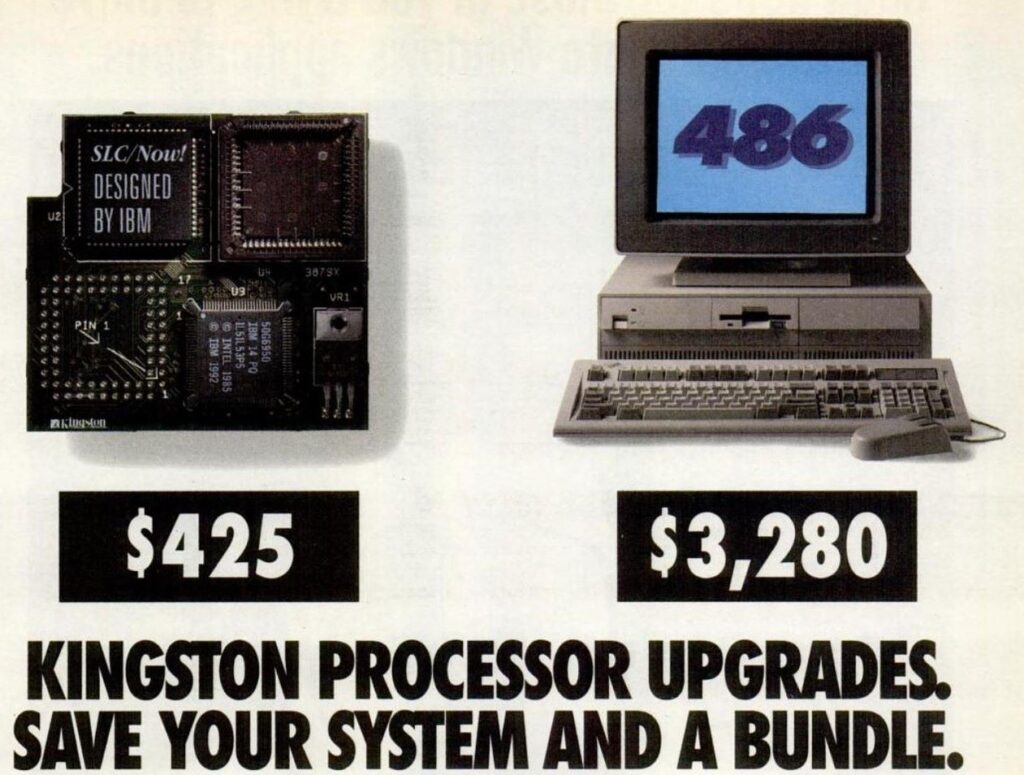
On the one hand, I have to imagine that if you could afford a $10,000+ 286 in 1987 you probably would have upgraded to something else in the last 5 years. The Kingston upgrade heralds from 1993, and well that 10Mhz 286 is pretty much borderline useless for productivity. I’m not even going to talk about gaming! DooM is right around the corner being released at the end of the year, and how on earth can you justify this monster of a machine at your desk?
So let’s unpack this little doodad!
Installation
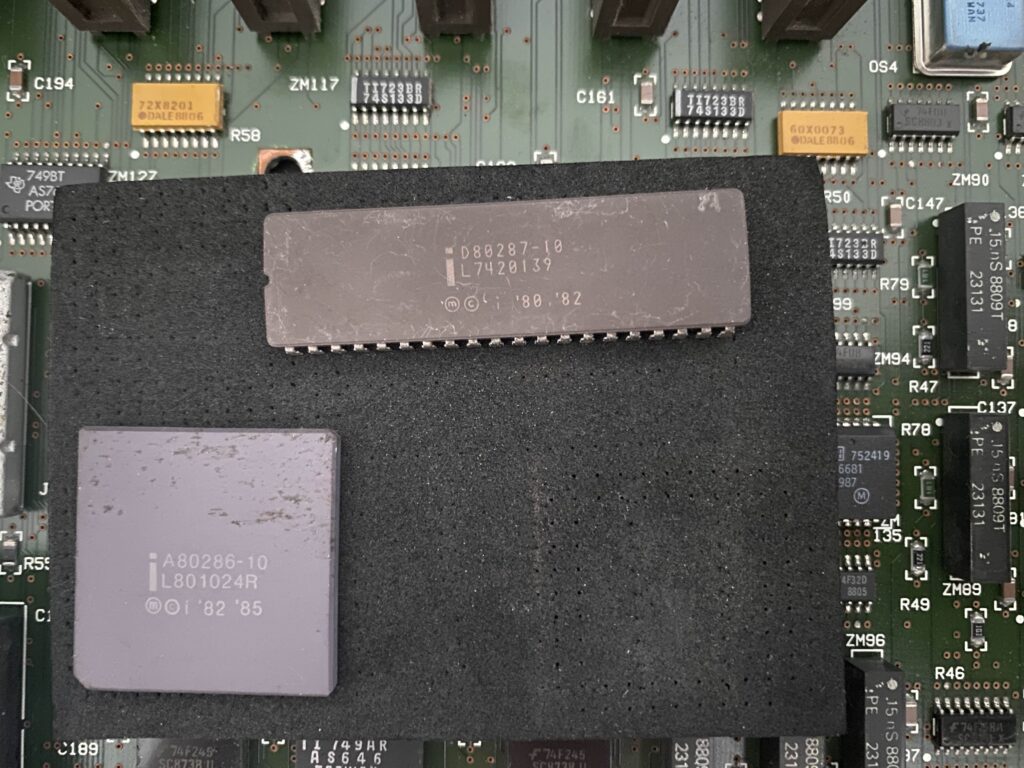
The first step in the manual says you need to extract your main processor, and maths co-processor if you have one installed. The FPU’s are so cheap now, it seemed crazy to not get one. Although the only thing more bizarre is that considering the asking price of the PS/2 model 60, is that the FPU was even considered optional. This was a serious business machine afterall!
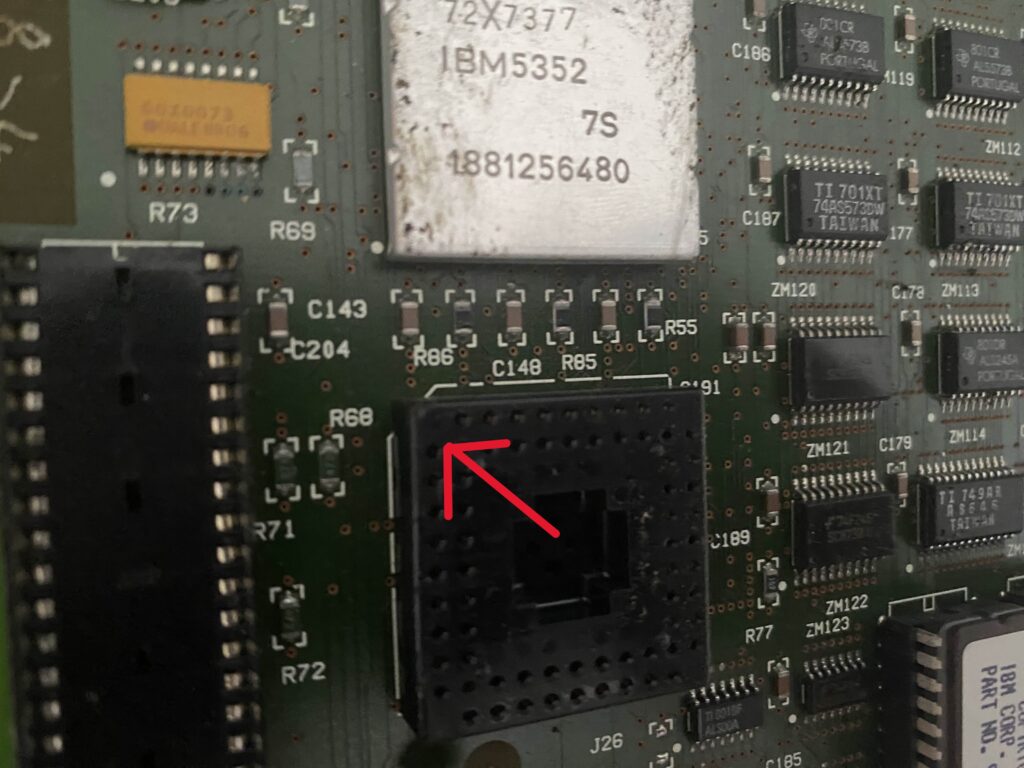
With the processor extracted, the next big task is to identify pin 1. Looking from the top it’s impossible to see, but rotating the board around it’s easier to see the indentation that they left on the board to denote pin 1. Unfortunately, the socket they used has no visible indication, and Intel had not learned the importance of keying parts yet, making incorrect insertion impossible.
With pin 1 identified, it’s now time to gently insert the upgrade module.
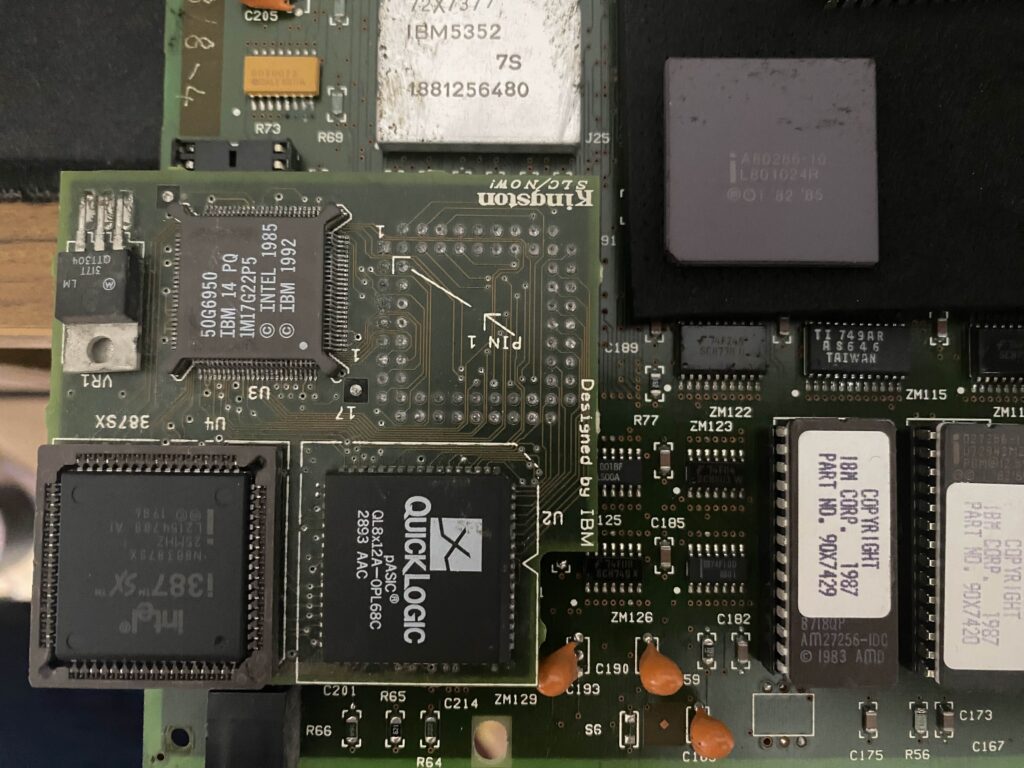
I had also purchased the 80387sx 25Mhz math coprocessor. Combining this with the IBM IBM 486SLC2-50 (50G6950) should give a rather 486 like experience. And keeping with 80s tradition all the chips point in various directions making this look like a mess.
Physical installation is as simple as that, with the module socketed we are go for power on!
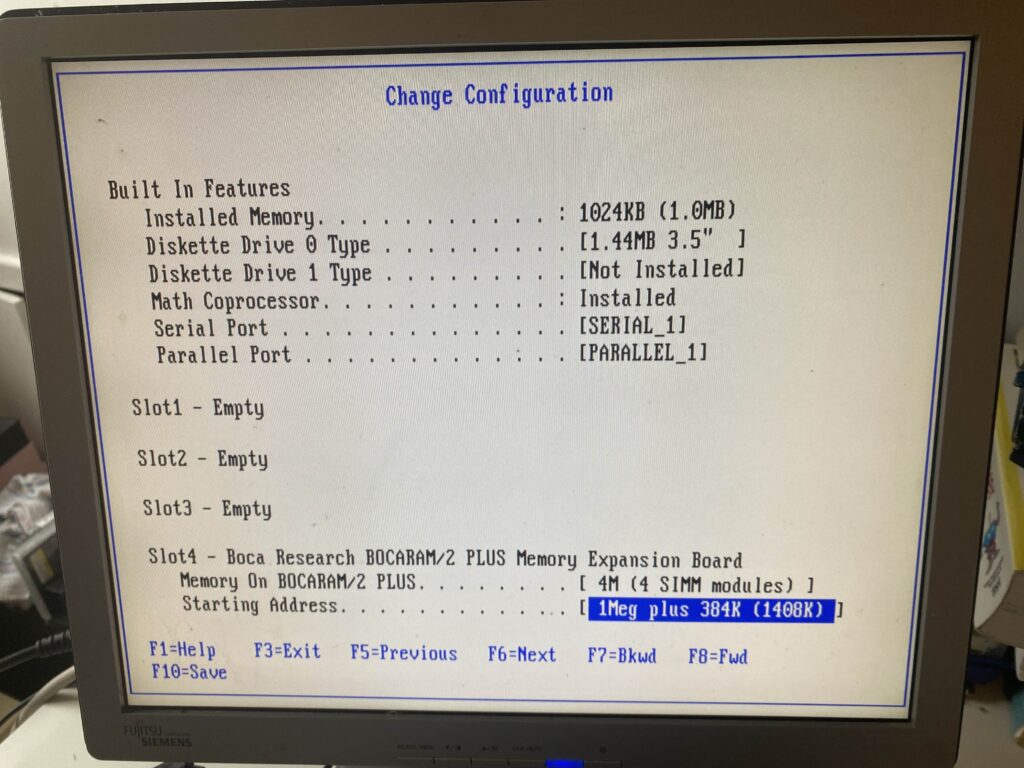
Since this is the model 60, that means I’m still using that BOCARAM/2 card that totally messes up with the BIOS settings, so I have to remove the card, and configure things one card at a time.
But it does work!
Brining up MSD it does indeed show that it is a 486, with built in math coprocessor. I didn’t try it without one, to see if it becomes a 486SX, but I guess it would?
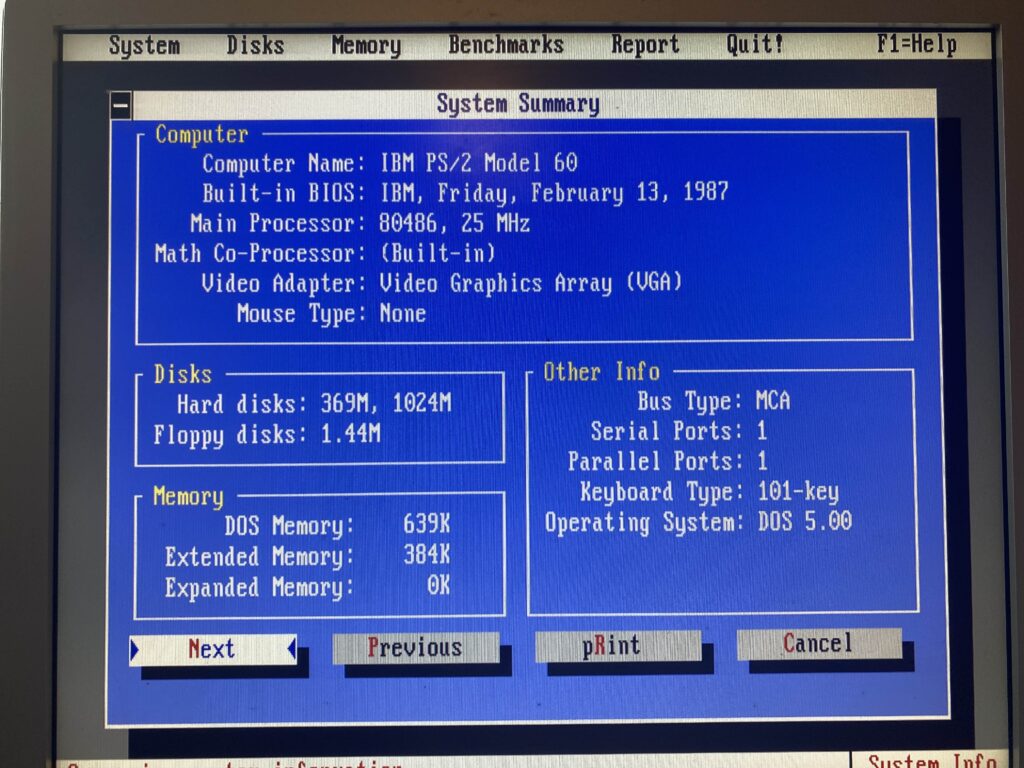
Default performance however…
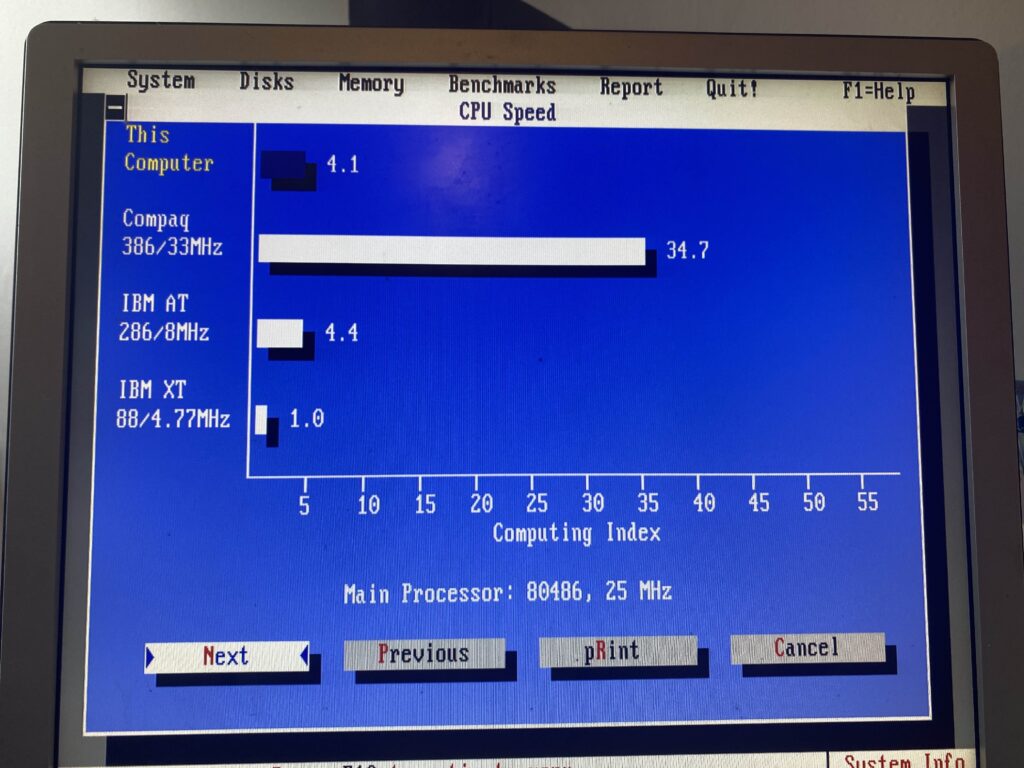
For some reason it felt faster doing the initial memory test. But that was demonstrably false. By default, the upgrade module runs at the original speed, meaning you have 32bit instructions at the 286’s 10Mhz clock. There is an included driver for MS-DOS & OS/2 2.0 GA that will turn on all the fancy features, but that means that it won’t work for Windows NT, or Xenix. SAD.
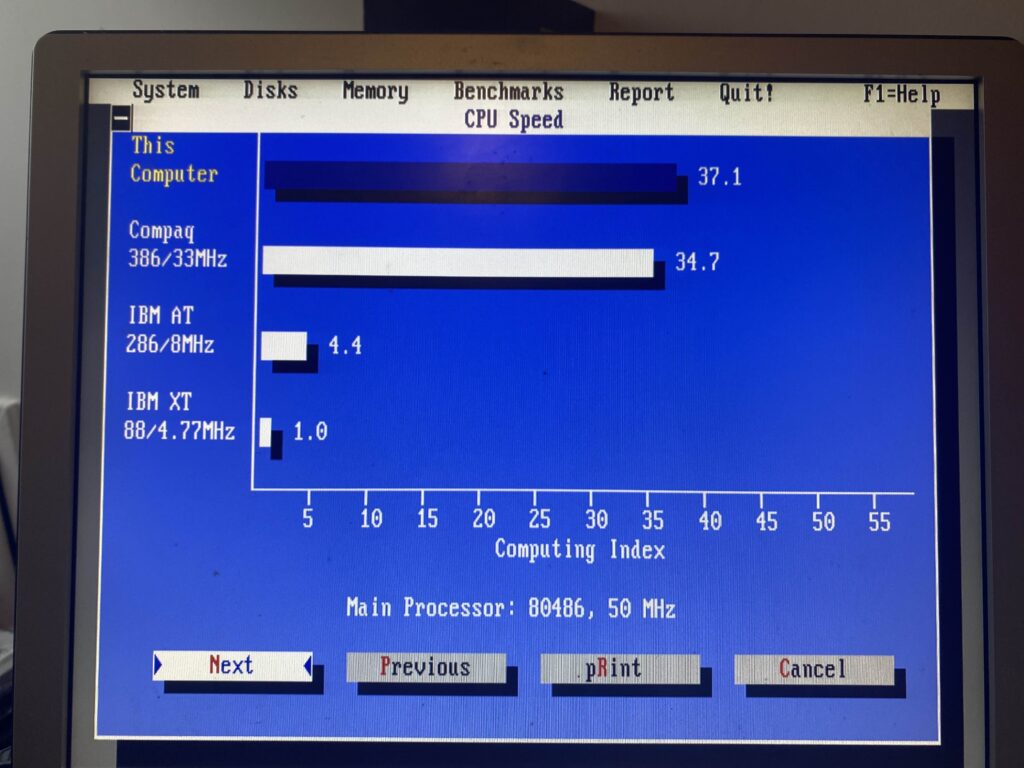
However, with the driver enabled, we are talking 386DX/33 speeds! Making this 2x the speed of the PS/2 Model 80 @16mhz!
And why yes, it runs DooM! Performance is terrible since the memory is all 16bit, and the VGA on the PS/2 model 60/80 motherboards is 8bit, well there is so much performance left behind.
The 32bit port of Sarien to Pharlap 386 v4 /Watcom7 is pretty fast as well!
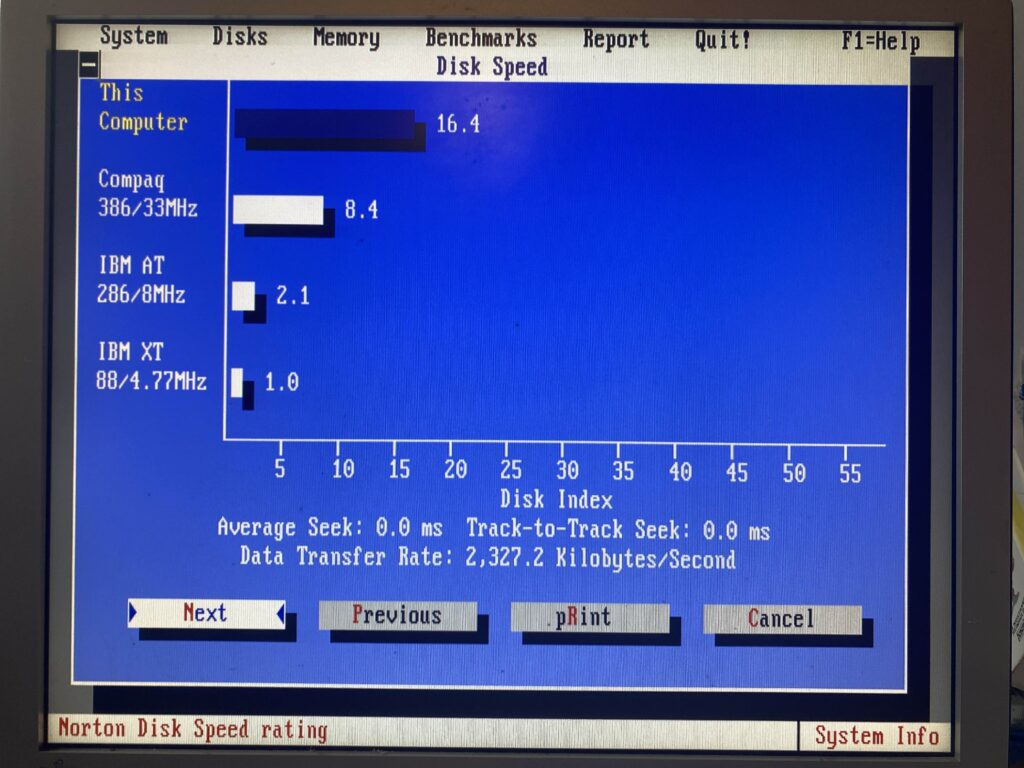
And SCSI remains a winner with the 32bit dumb SCSI card in a 16bit MCA slot, I still get 2,318.9 Kilobytes/Second
The good
The upgrade when compared to a new system is a fantastic bit of value. People had been buying and selling 386sx machines, which are basically full feature 286 machines with the hobbled 16-bit external 386 processors. Into the early 90’s all the rage was faster clocks, internal clock doubling, and yet even more cache. The later PS/2 model 80, running at 25Mhz did include the 82385 cache controller, and soldered on the motherboard cache ram, making it the best of the 80’s.
The bad
There is literally only so much you can do with a 16bit machine, and it being 1993, the Pentium was already shipping it’s 5v 60/66Mhz variant, with the infamous FDIV bug. Over the next year the Pentium would see it’s voltage dropped to 3.3v, and clock speed increased. Good times. The Pentium would drive 64-bit memory access along with faster 33Mhz PCI bus making it an incredible machine. Even a hopped up 286 is vastly outclassed, with its ancient and laughably tiny MFM hard disks, and 16-bit memory/peripheral bus.
If you are hanging onto a computer from 1987 in 1993, odds are you have old software anyways, and this is such an incredibly compelling upgrade for such an old klunker. By default it preserves the 286 speeds on boot if you so need them, but it’s nice having some 32bit POWER.
Although I wouldn’t want to use GCC on a machine this starved of resources, not even in 1993.

