This is a guest post by Friggigatto
I’ve been messing around with SCO Xenix for about 10 years now, and in the process I have been playing with OpenServer 5/6 as well (mostly as a mean to copying big/many files to a Xenix VM: I’d just create an ISO file, mount that in OpenServer, then share the Xenix HD with OSR5 and copy the files over); however, I never got around to use SCO Unix.
A while ago I decided to change this, but it took many tries to get to install everything, especially the Development System; so, when I eventually managed, I decided to do a writeup of what I did (and part of what stumbling blocks I encountered along the way).This is the “first episode”, which should give you enough info to install SCO OpenDesktop 3.0 as found on WinWorld or on archive.org, and the ODT Server 3.0 version from BetaArchive. ODT is nothing else than SCO Unix 4.2 bundled with X11 and TCP/IP (while on Xenix these are separate products).
Installing SCO ODT, floppy version
The secret to installing the 4.2 floppy version was to use the updated N1 boot diskette (SLS uod429a from SCO). Once you have it, the installation process is quite straightforward and self-documenting, especially if you are used to the slightly more convoluted Xenix install. This version can even be installed in VMWare.
The serial/activation is included in the release files; create a VM with an hard drive <2gb, during the setup process select “Floppy” as the install media, a “quick” bad track scan type and then simply confirm every step. You will be asked to insert all the disks in order, and the only challenge should be surviving the mind-numbing boredom of handling more than 40 floppies.
Unfortunately, the network and graphics card are not supported on VMWare (I suggest to boot the first time in single-user mode and disable the GUI from starting automatically with “scologin disable”), so it’s a good idea to install on 86box instead.
While we are at it, we can even spare ourselves some of the boredom by using the CD version instead.
Installing SCO ODT, CD version
For the ODT CD version, I looked up at what SCSI devices are supported (mostly by running ‘strings’ on the kernel inside the boot floppy image, looking at the device driver names and comparing them with those of OpenServer 6), and created a machine on the latest unstable 86box build (3.0.0.2983) like this:
- i486-socket 2 and 3: [i420EX] ASUS-PVI-486AP4 (many other boards work as well, but faster CPUs/machines would give me issues… more on this later)
- Intel i486SX 33mhz + 487SX
- 32 Mb RAM
- Serial Logitech mouse, 3buttons
- Video: ISA16 Orchid Farenheit 1280 [note for the setup: the emulated bios is 2.0 – supports 1024×768@256 colors]
- SCSI controller: aha-154xA
Address 0x330, IRQ 11, DMA 5
Host ID 0
BIOS C800H - SCSI cdrom
Controller 0, ID 5 - IDE hard drive, <2Gb, non-LBA (check the BIOS settings)
- If you want Ethernet, use WD8013EBT (drivers are included)
IRQ3 address 240
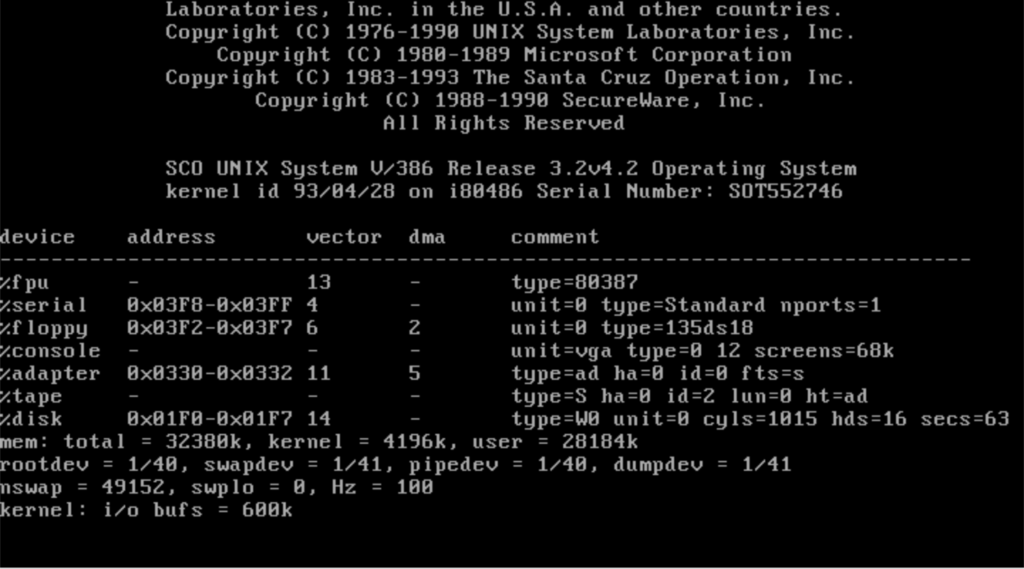
The OpenServer release I found on BetaArchive was missing the N2 disk, but the one from the floppy release works fine. The process is simple: boot from N1, the SCSI adapter should be recognized by the kernel (a line that starts with “%adapter” and then the IRQ settings etc.), and so should be the disk drive (%disk):

You can use the same serial as for the floppy release, but this time indicate “SCSI CD-ROM” as the install media, and it should install fine. You should however deselect the DOS Services, as Unix will crash after the first reboot while trying to install them.
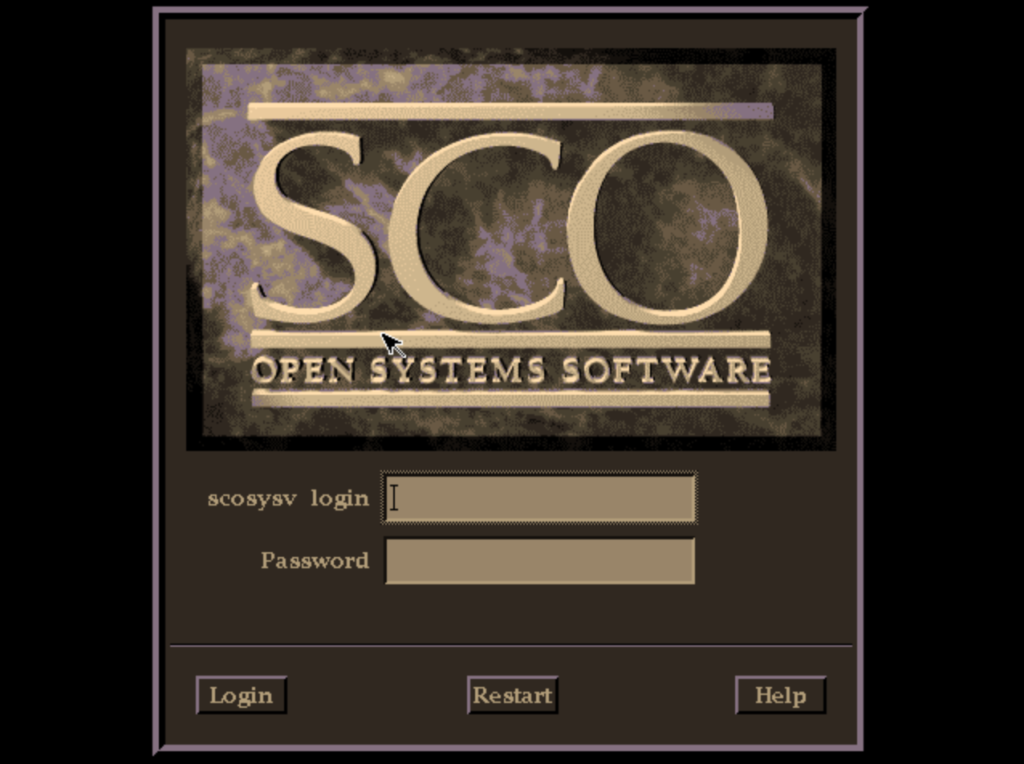
Once the installation is complete and the system restarted, it will greet you with this very dramatic login screen (and ironic too: SCO and Open Systems in the same logo) and its pastel-colored UI:
Running on faster machines
The 33 mhz CPU is surely not a beast by today’s standards, and the emulated system feels sluggish enough also under ODT; however, switching to a faster CPU would crash the system. Luckily, SCO’s former support website (I created a mirror of the tech articles on archive.org) has a solution for this: we can modify a driver to avoid kernel panics on quick systems. After booting into single-user mode, we can run
# cd /etc/conf/pack.d/pit
# cp Driver.o Driver.orig
# _fst -w Driver.o
* spinwait+2D?w F989 FEE2
* $q
# cd /etc/conf/cf.d
# ./link_unix -y
Finally we can safely reboot, this time with a better CPU. The fastest machine I could test is a Socket 5 (i430NX Gigabyte GA-586IP) Pentium MMX Overdrive 200Mhz. When a faster system is selected (e.g. those based on Socket 7), the mouse stops registering the vertical axis.
In the next post, we’ll see how to install ODT with the development system.


Oh hey! I’m pretty sure that copy of OpenDesktop from BetaArchive was uploaded by me. I think there was a post in the BA forum about getting this to work a few months ago. Good to see a writeup of the whole process though.
cool. part 2 is where the real fun starts, and Ill put it up tomorrow.
Hey Ian,
thanks for uploading the copy in the first place! Yes, I did post the short solution to BA first 🙂
Seeing part two of your writeup reminds me: that CD copy of OpenDesktop 3 was found in a box that contained a copy of the development system. When I get a chance I’ll check the version, but it’s probably the one intended to go along with that OpenDesktop CD. Unfortunately it’s on QIC tape (the full size kind), and I don’t have a tape drive for dumping that.
I’m sure we could arrange for somebody with a working drive to dump the content
Turns out I was incorrect. It was not the Development System, but was in fact the Network System. Not actually sure what that gets you. Based on the manuals included, maybe NFS and IPX/SPX support?
it still could be useful!
SCO networking does work with VMware Player, Workstation, ESX etc if you use the pnt AMD PCNET family driver from the v3.4 LLI driver disk.
You may have amend the VMX file to change the ethernet.virtualDev entry to “vlance”.
Performance is variable, seemingly dependent on the underlying physical hardware. I get about 8MB/s on an old Core2 Duo based laptop and less than 0.5MB/s on my Ryzen 3600 based desktop. YMMV
I am having issues with the uod429a.Z file. How are you moving this to a floppy? I can’t seem to find a program that can unzip the archive.
I just use gzip.
gzip -dc uod429a.Z > uod429a.vfd
for what it’s worth some MD5’s
811614f760f3449a8d8d2aae6b991840 uod429a.vfd

764ed4f8c06421cef57dfccb9e15904b uod429a.Z