That’s right, the ADB is usable enough now to type and move the mouse, meaning that OS X Server can now be installed within Qemu!
It’s incredibly slow, and the mouse is incredibly jumpy, but it’s actually running!
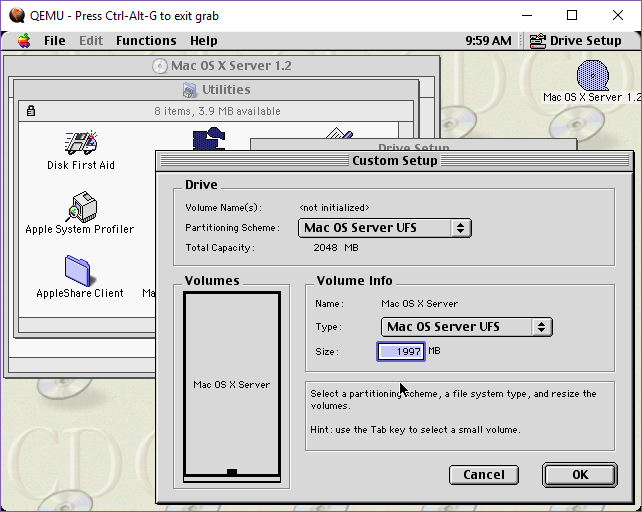
Basically, like A/UX, you boot up into MacOS to partition the drive.
qemu-system-ppc-screamer.exe -L pc-bios -m 256 -M mac99 -prom-env “boot-args=-v” -prom-env “auto-boot?=true” -prom-env “vga-ndrv?=true” -hda 2GB.vmdk -cdrom “Mac OS X Server 1.2, MOSX_Booter.iso” -sdl -device usb-mouse -device adb-keyboard -boot d
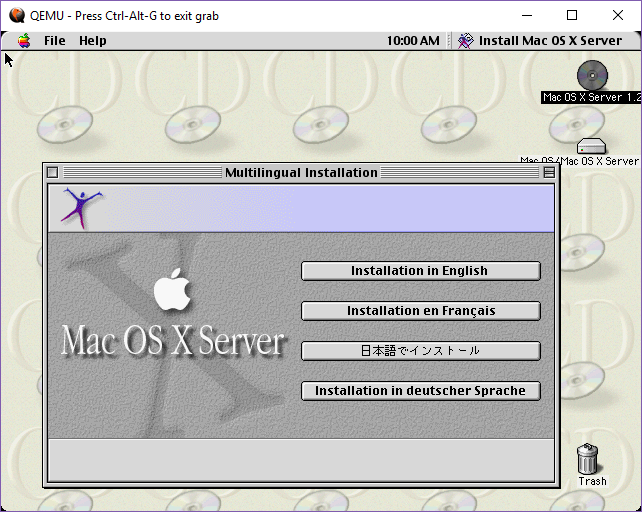
And then kick off the installer:
Which really isn’t much to do, other than tagging the partition, and prepping the machine to reboot.
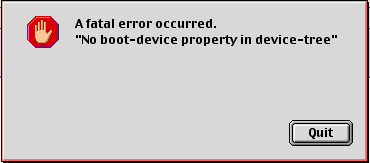
Qemu doesn’t emulate the NVRAM, so it’ll complete with this ‘non fatal’ ‘fatal error’
After that, boot into the OS X Server kernel, and continue the install:
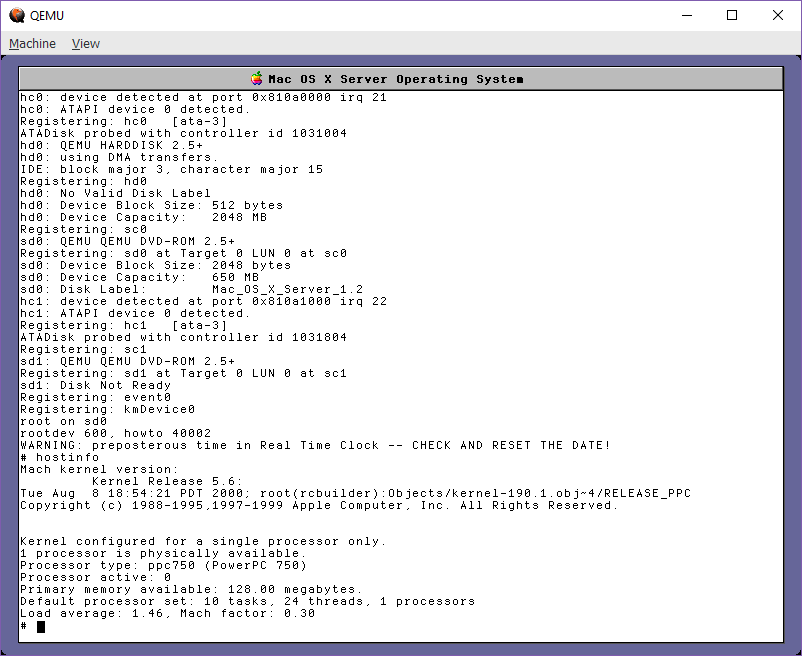
qemu-system-ppc.exe -L pc-bios -prom-env “boot-args=-v rd=sd0″ -drive file=2GB.vmdk,index=1,format=vmdk,media=disk -M g3beige -cpu g3 -drive file=”Mac OS X Server 1.2, MOSX_Booter.iso”,index=0,format=raw,media=cdrom -prom-env “boot-device=cd:9,\\:tbxi” -m 256 -net none
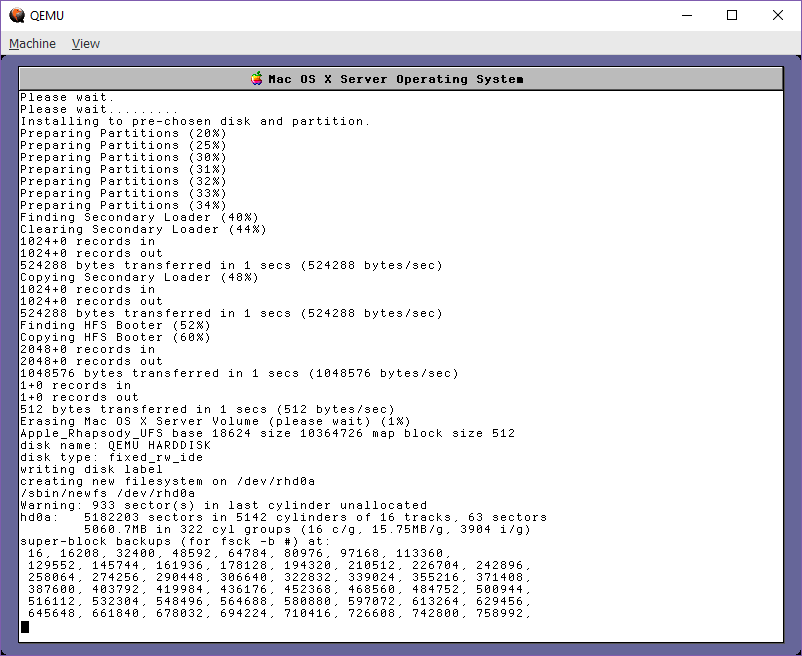
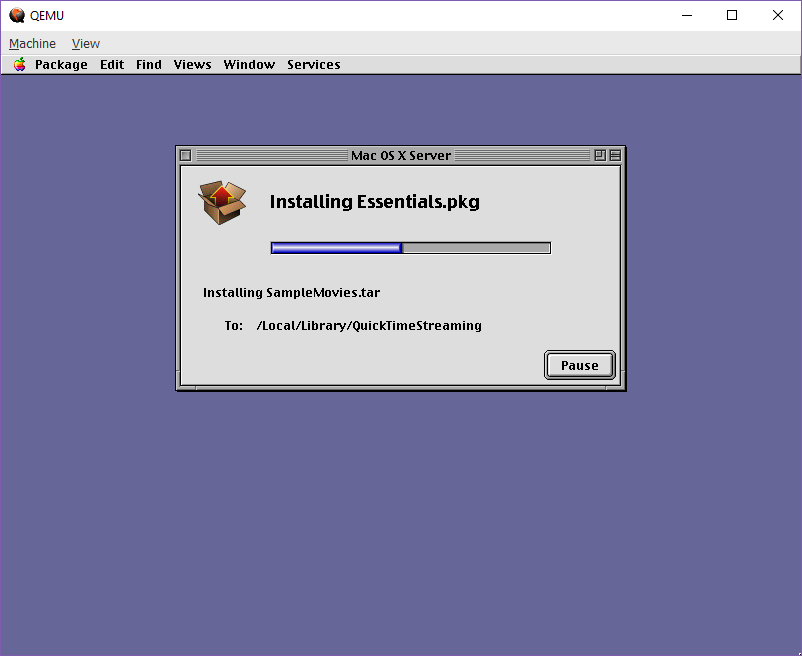
It will then format the disk, and copy over the base operating system. After that it’s time to shutdown, and reboot the VM. I couldn’t figure out a pure hard disk boot, but again using the CD-ROM, you can just tell it to pull the root from the hard disk.
qemu-system-ppc.exe -L pc-bios -prom-env “boot-args=-v rd=hd0″ -drive file=2GB.vmdk,index=1,format=vmdk,media=disk -M g3beige -cpu g3 -drive file=”Mac OS X Server 1.2, MOSX_Booter.iso”,index=0,format=raw,media=cdrom -prom-env “boot-device=cd:9,\\:tbxi” -m 256 -net none
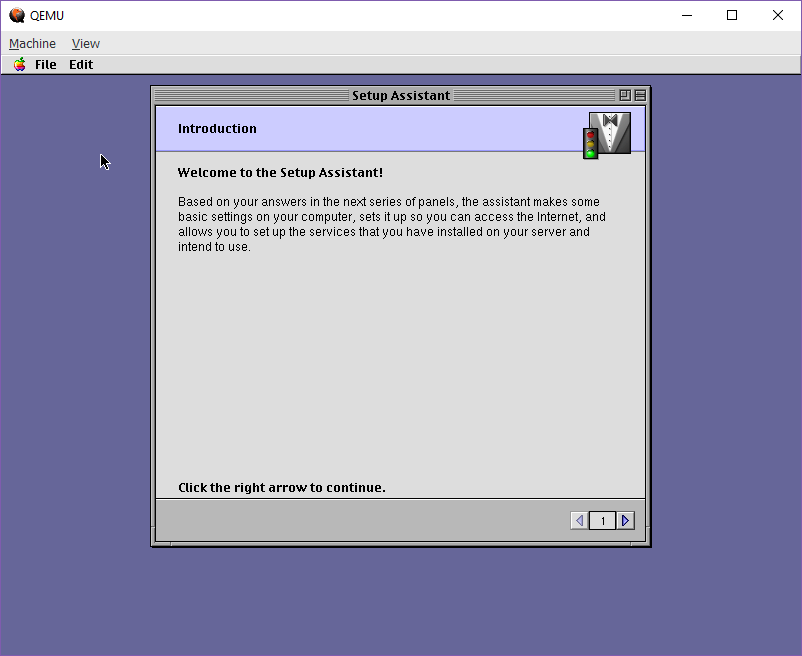
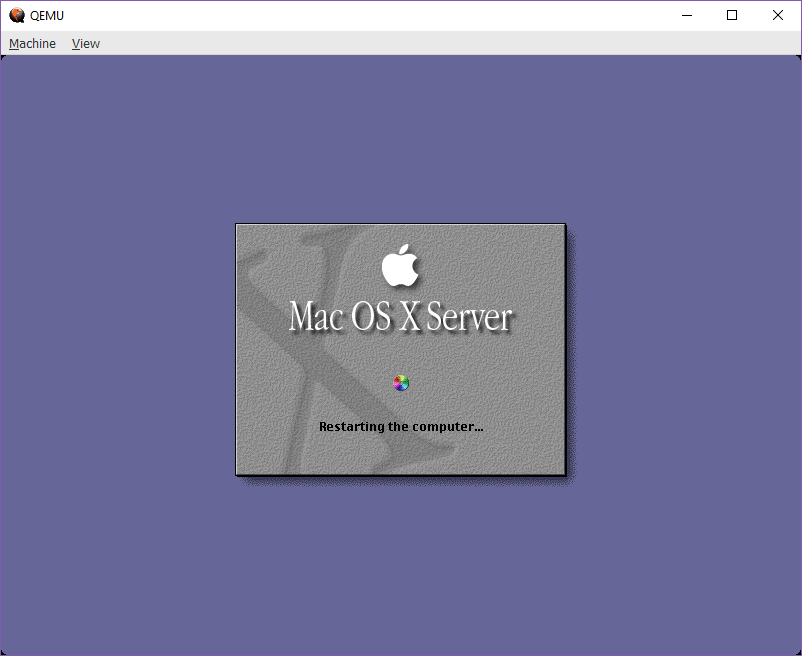
And after this, it’ll want to reboot again. Launch it up and now we get the initial setup
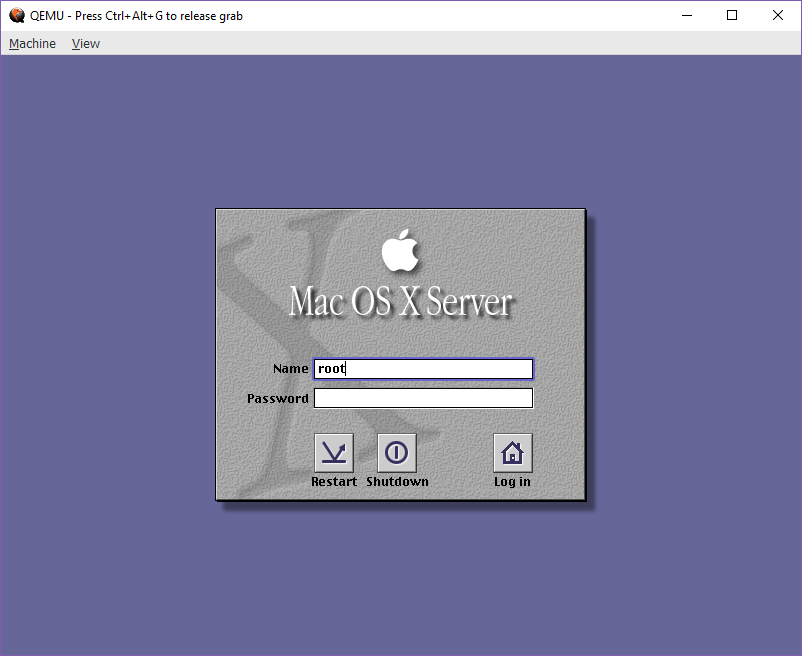
And with that out of the way, we can logon!
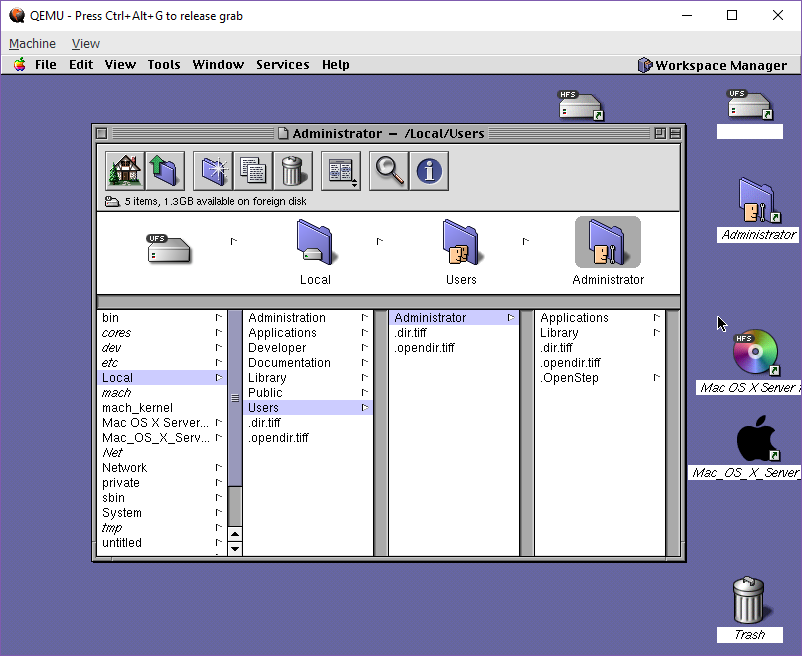
And after a while, it’ll load up the desktop
As mentioned above, the mouse is incredibly jittery. Doing anything graphical is very difficult. But here we are, running OS X/Rhapsody for the PowerPC!
Because the mouse is VERY jumpy at the moment, Im going to make some pre-configured disk images available because running the disk tool under OS 9 is a major pain. The first image has only been partitioned, while the second has completed the ‘text mode setup’, aka a minimal install.
And that’s it for now!

Hey Neozeed,
I seem to have the same CD as you, but in the second stage of installation when using -prom-env “boot-device=cd:9,\\:tbxi” to boot, I’m getting the dreaded “No valid state” error.
Oddly, OpenBIOS states “Trying hd:,\\:tbxi” which indicates to me that it’s trying to access the HD instead of the CD for the EFI. I tried changing the flag ordering:
Putting -prom-env “boot-device=cd:9,\\:tbxi” before -prom-env “boot-args=-v rd=sd0” just changes the error to “No valid state has been set by load or init-program”.
I’m re-installing right now… sigh the crazy mouse makes setting up the disk in OS 9 a real chore, but after an hour I got it partitioned…
There is a newer branch update for the mac99/G3beige over here: https://www.emaculation.com/forum/viewtopic.php?f=34&t=9028
and I’m on the ‘text’ mode 2nd phase right now…
qemu-system-ppc.exe -L pc-bios -prom-env “boot-args=-v rd=sd0” -drive file=2GB.vmdk,index=1,format=vmdk,media=disk -M g3beige -cpu g3 -drive file=MacOSXServer1.2MOSX_Booter.iso,index=0,format=raw,media=cdrom -prom-env “boot-device=cd:9,\\:tbxi” -m 256 -net none -g 800x600x32
Figured out my problem… just in case anyone else is using non-Windows to boot, my problem (and probably has been for years) was that cd:9,\\:tbxi tells BASH to escape the second \, becoming cd:9,\:tbxi — which obviously won’t work.
So changing that parameter to cd:9:\\\\:tbxi does the trick!
This needs to be up-voted!! Thanks!
I don’t know why you was partitioning the disk for a hour. mouse worked almost perfectly in OS 9 part of the installer.
It took half an hour to get the mouse to click the right buttons. Hopefully since I’ve written this, there has been improvements and corrections in the emulation.
Thahks for finally witing about >Mac OS X Server 1.0 installs on Qemu – Virtually Fun <Liked it!
Might anyone still have the “osx12-os9-post-phase1.7z” file? I’m getting stuck on the next step at this screen:
https://i.imgur.com/ETN0mms.png
I’m using the guide from here:
https://www.emaculation.com/forum/viewtopic.php?f=34&t=9845&p=60734#p60734
use a browser. read the 404 page. follow the instructions. its always been there.
I’d like to find out more? I’d care to find out
more details.
No network support right? because in https://wiki.qemu.org/Documentation/Platforms/PowerPC#Description;
said version 1.2v3 dont support network.
1.2v3 supports network, but the one which QEMU doesn’t emulate.
Of course they all have network support, OS X 1.0 was my daily driver back in ’99.
It would have been a bit hard to work on networks without it.
Hi neozeed,
I’m installing on a Mac Pro Mojave 10.14.5, using the latest build from Cat_7 24-04-2019
Qemu-4.0-OSX-24-04-2019.zip. The -device usb-mouse and -device add-keyboard don’t work.
I’m using a wireless mouse and keyboard on this machine.
Any thoughts?
Much appreciated …
It’s adb, not add.
Your host peripherals don’t matter at all, as long as they are working.
I have one Mac left somewhere, I can maybe try, it’s a 2014 I think so it may still work.
What are your full flags?