That’s right, the impossible (or so it would have seemed years ago) is done. Qemu 0.14.0‘s floppy controller is good enough to install Xenix, although it needs a little help…
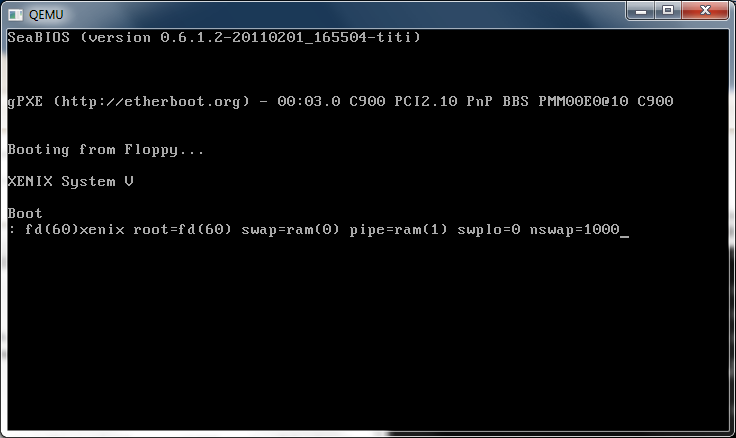
You see, booting up by default you get this:
But after going to this page, I had an idea. You see the fd(64) ties into /dev/fd0, however the specific 3 1/2″ high density diskette device id is 60.
So let’s change the default boot strings from:
fd(64)xenix root=fd(64) swap=ram(0) pipe=ram(1) swplo=0 nswap=1000 ronly
into:
fd(60)xenix root=fd(60) swap=ram(0) pipe=ram(1) swplo=0 nswap=1000 ronly
I’ve created a 200MB IDE disk, remembering that Xenix didn’t like big disks, which is why so many people failed installs on actual PC’s.
qemu-img.exe create -f qcow2 xenix.disk 200M
Formatting ‘xenix.disk’, fmt=qcow2 size=209715200 encryption=off cluster_size=0
So let’s boot up Qemu like this:
qemu.exe -L pc-bios -m 16 -hda xenix.disk -fda n1 -no-fd-bootchk
Looks, good, let’s boot!
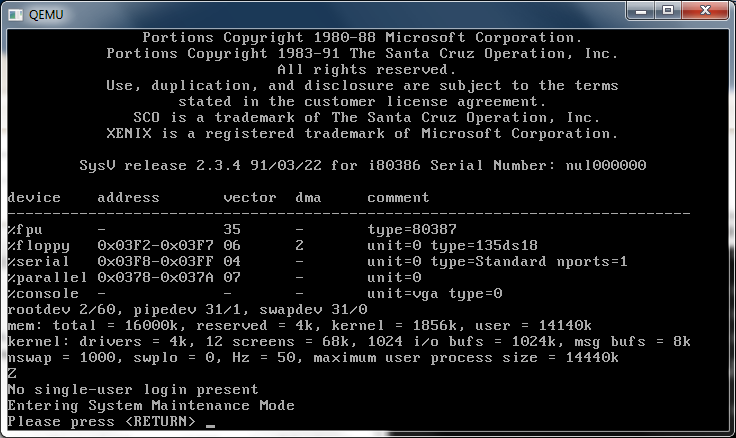
Whats this? Are we actually going to install?! This is amazing!
So let’s go through with the install!
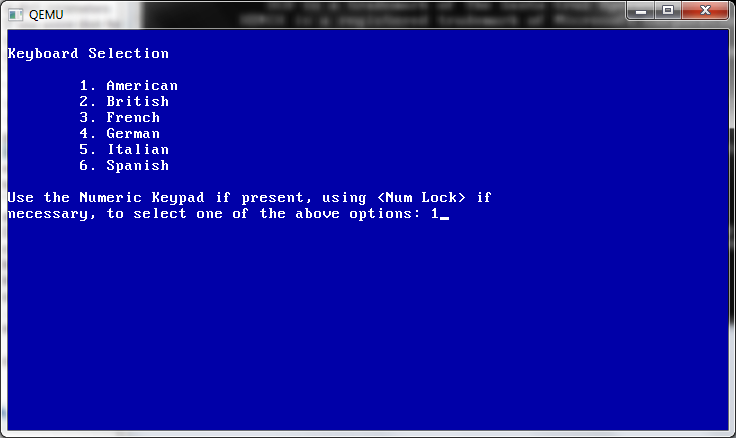
I’m going to select the American keyboard. Maybe you want something different?
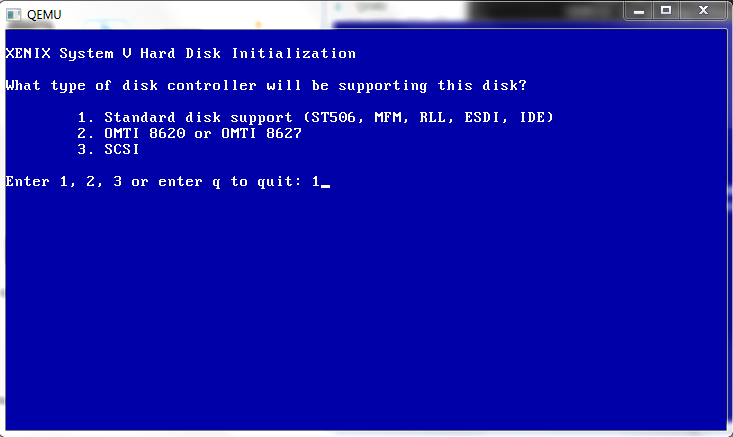
Next we select the standard IDE controller.
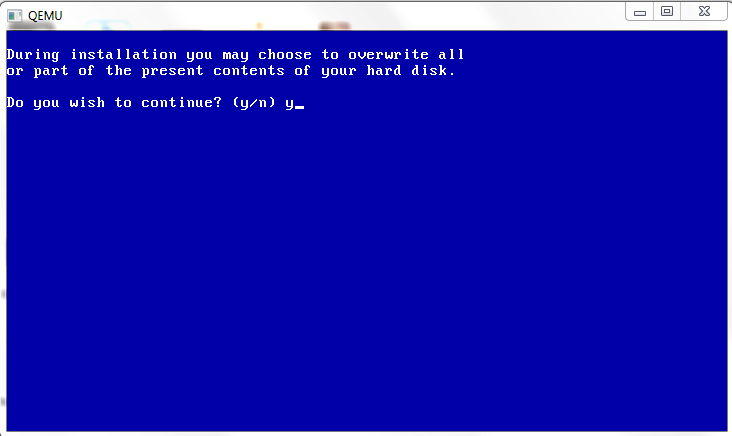
It’s a VM so go ahead and overwrite my empty disk…
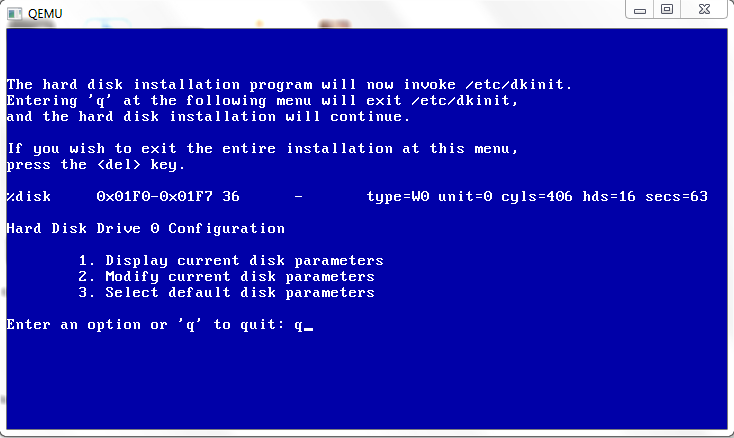 And this shows that it sees my 200MB IDE disk correctly. I guess you could play with larger disk images and verify that these results look sane. I recall that if you pick something too big, this part will give some exotic error like this:
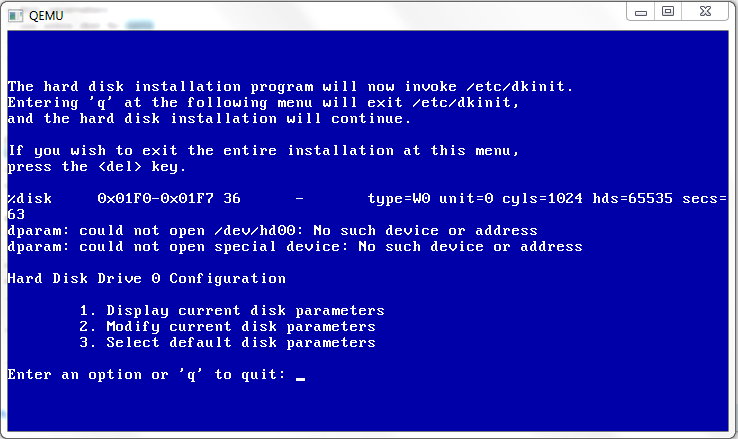
dparam: could not open /dev/hd00: No such device or address ???
dparam: could not open special device: No such device or address ???
Ouch!
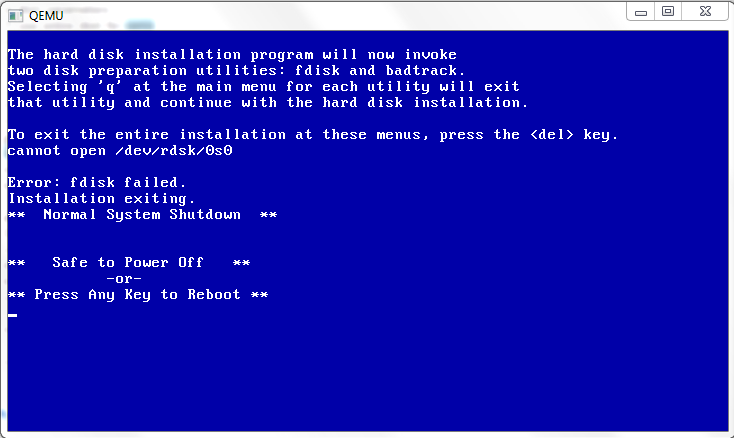
And blammo. This is why we use a small disk!
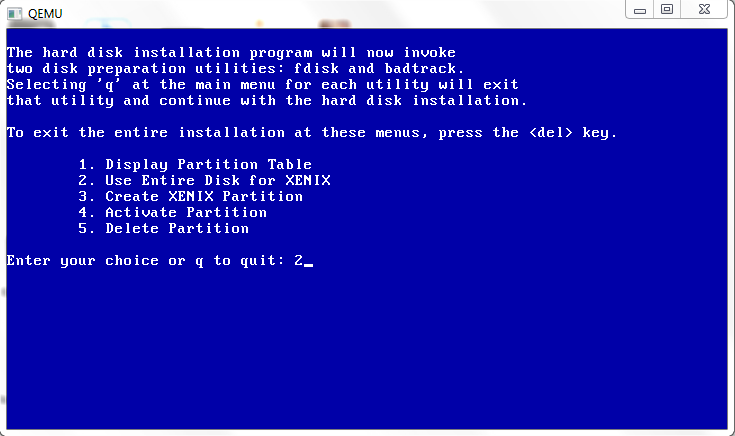
I’m not even entertaining dual booting in a VM, so we go all the way here.
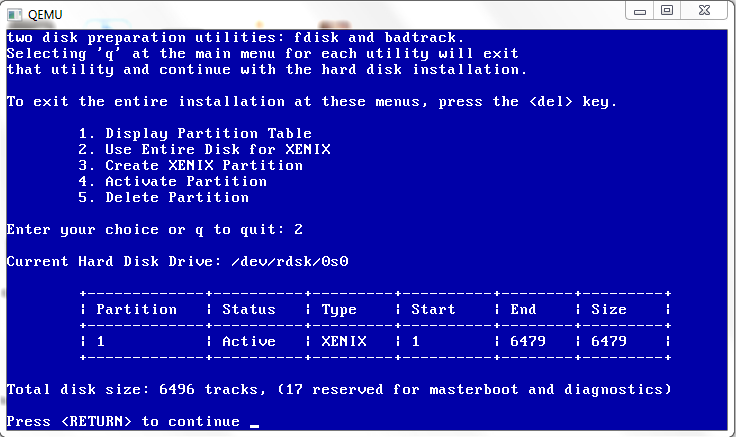
Looks good!
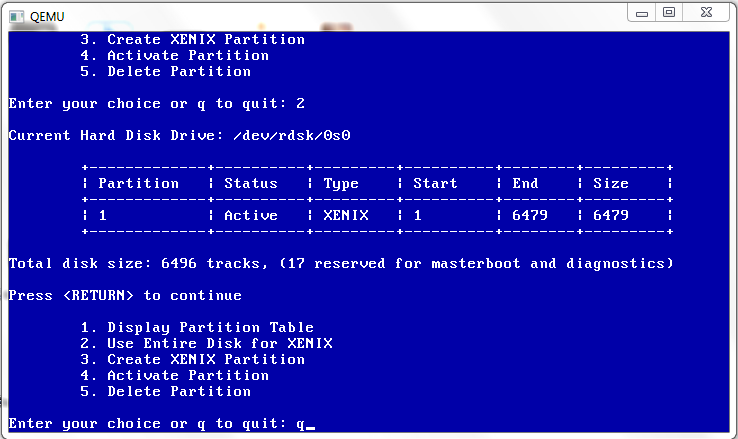
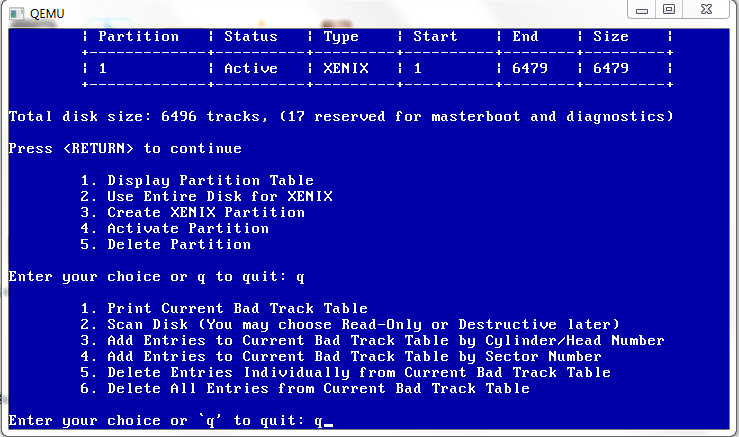
And we quit as this is just fine.
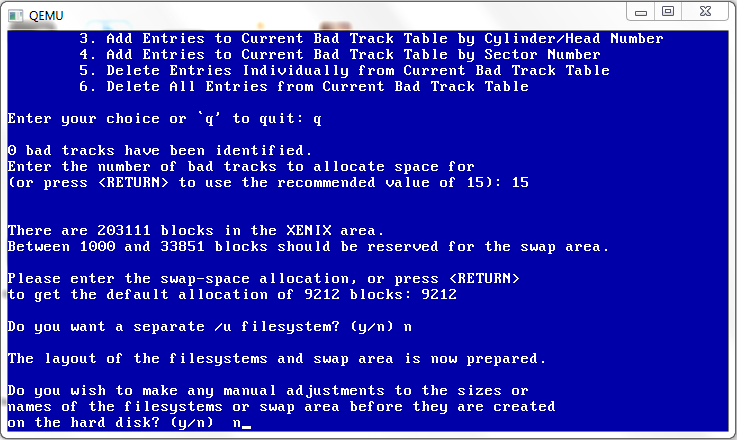
Our little virtual disk won’t have any bad sectors so we quit.
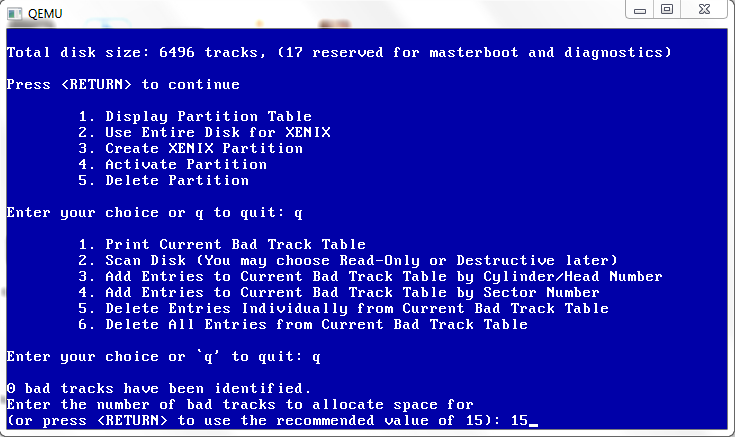
Ok, ok, Xenix wants *SOME* tracks, so I let it have the ‘suggested’ 15. Maybe it’ll feel better about it.
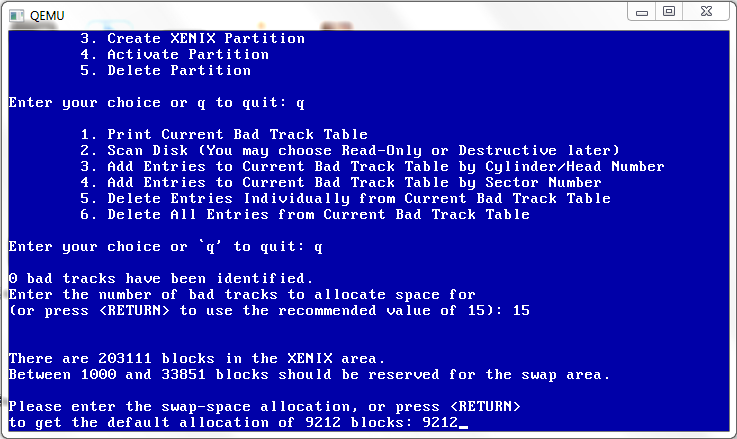
And again I’m going with some default swap space.
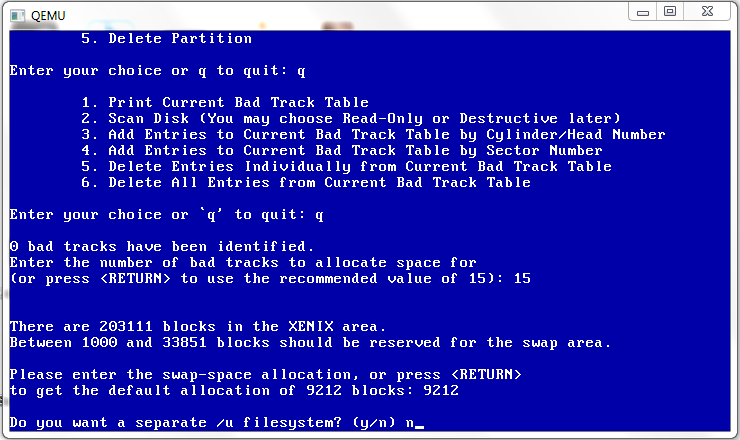
And I’m going to use a big filesystem, no separate /u filesystem.
Everything is fine, no changes.
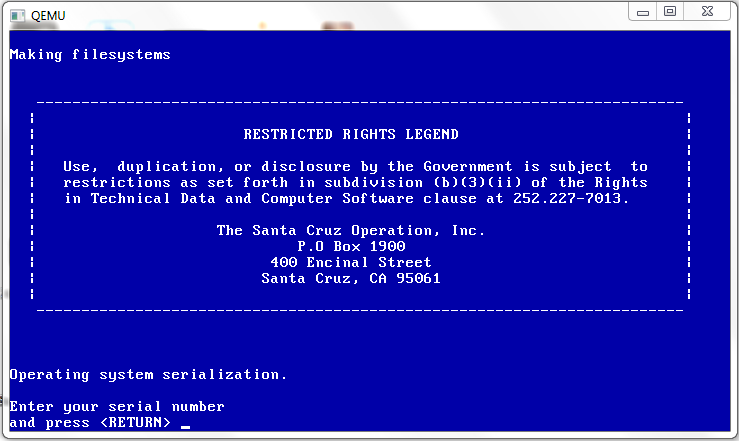
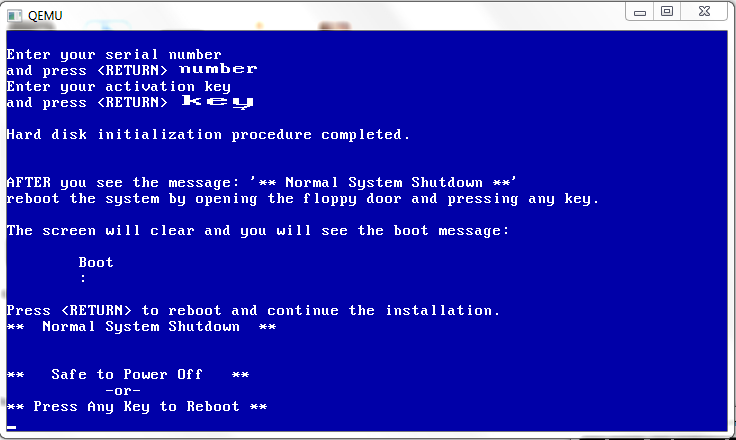
Then it’ll make the filesystem which will take a minute or so, then prompt for the serial number.
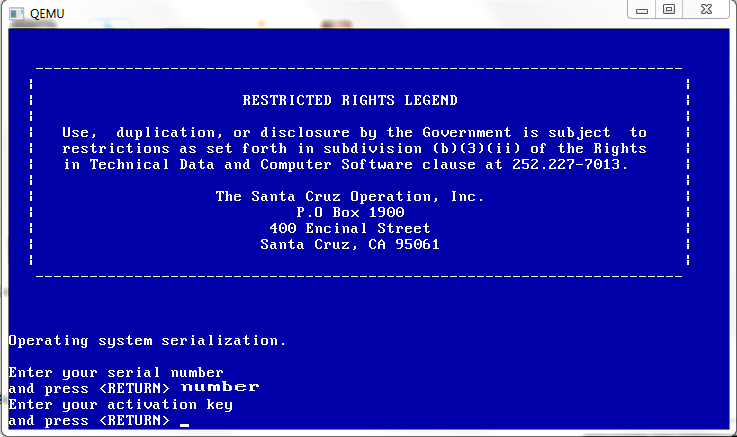
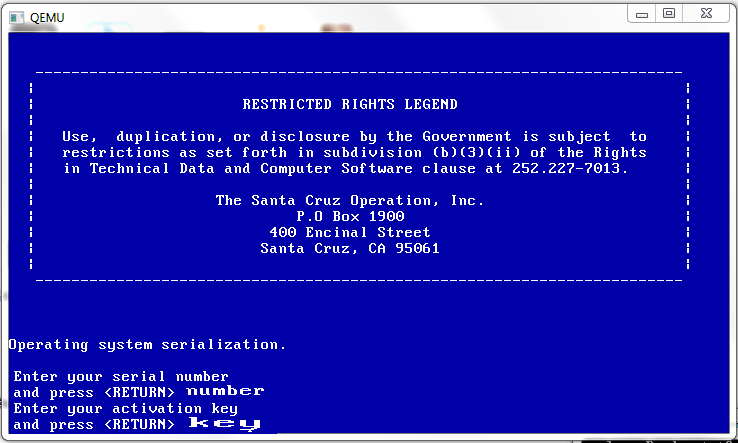
And then the activation key.
Now we are done with preparing the hard disk, so you can stop Qemu.
I’m going to continue this in part two.

Hello,
thanks very much for this very nice tutorial! But I can’t get make it working on my LINUX system. I have downloaded Xenix system from http://vetusware.com/download/Xenix%202.3.4/?id=4317 (not the same place from where you have get a copy of Xenix,right?). But I have problems:
1 – there’s no any .disk file in there
2 – when I run N1.IMG, I get error message: “no bootable device”
3 – the -L pc-bios commad-line-options give a error message: pc-bios.bin not found.
I’m using the same version of QEMU and BIOS of this tutorial. Currently I’m a 32-bit machine/intel on OpenSUSE operating system.
How can I fix this?
I really hope that you still see the new messages in this blog. 🙂
(sorry for my bad english,isn’t my native language)
I made the .disk file. you may need to tell qemu to blindly boot the disk images as they predate the concept of a boot checksum.
–no-fd-bootchk
or something like that.