Internet Explorer 10 test drive.

That’s right, Internet Explorer 10.

Yes they did just release 9, but they are already working on version 10! So right now you can download the ‘test drive’ version of Internet Explorer 10 right here. And if you are on Windows I’d recommend it for the ability of the test drive to quickly change rendering engines.

Holding down the alt key, and pressing 5,7,8,9,0 will let you choose IE 5-10. But notice how IE 6.0 is left out? I wonder if this has anything to do with it?

At any rate, I loaded up a Windows NT 4.0 VM with IE 5.5, and precoded to install IE 6.0 out of solidarity.

Thankfully they haven’t pulled the plug on new IE 6 installs. Yet.

So rest assured you can load up IE6, and hit MSN for your daily Paris Hilton fix. Which initially I was about to joke about and.. well. There you go. Like some things, neither one of them will go away.

So what is useful about being able to quickly shift rendering engines? Well if you still have any Virtual Server 2005 installs, is that you have to admin them from Internet Explorer, and IE 8 and beyond have broken the admin interface like this:

Which makes it impossible to select anything from a drop down list, like ISO’s, networks disks etc..

But now with this version of IE10 you can quickly known it down to IE 7, or 5 and get…

The interface the way it was meant. And it’s far easier to navigate with alt keys a native app, then something in a VM.

It’s been a boring day

My package from Germany finally arrived…!

And it contains Phar Lap 386 versions 4.1 and 5.0!

But something arrived in the mail. So I spent 2 hours cleaning things up and fighting with Watcom getting a skeleton verison of Doom to build. It’s finally running. Now to do some keyboard/video stuff.

Maybe more later though. But I may have to bench them some how Dos4G/W vs Phar Lap 386…. I donno.

Installing Xenix 286 on Qemu 0.14.0

For all the 286 fans, which… I never understand, good news, it turns out that using the same method for installing Xenix 386 works on Qemu 0.14.0!

Booting up a kernel on a 1.2MB floppy disk image I get this:

Notice that the device is fd096ds15, which then corresponds to 2,52 for the major minor. Armed with this information you can install happily. And enjoy your segmentation, and SMLH memory models. Ugh.

I still say the 80286 was the worst thing to mainstream IT.

So I’ll leave you with this gem, from tenox..
MICROSOFT STRIKES GOLD.

Migrating Windows 2000 servers to Proxmox/VE

I’m not going to get into the a super amount of detail here… Maybe the next server I do, but not right now. The mergeide registry addition didn’t work for me. Maybe it’s because this was an old server that was converted to VMWare?

It was Windows NT 4.0 when it was physical, then it was converted to VMWare 2.x back when that was new, then upgraded to Windows 2000, then migrated across to VMWare 3.x where it sat dormant. However it now needed to be brought back to life, so the first step was to remove the old VMWare tools. And that proved to be an episode on it’s own (make copies of all your VMWare Tools ISO’s!!).

Once that was squared away, I kind of expected to load mergeide.reg, then shut down SQL Server, fire up SelfImage, and transfer away. But I was instead greeted with a BSOD, the infamous *** STOP: 0x0000007B (0x818B51B0, 0xC00000010, 0x00000000,0x00000000) INACCESSIBLE_BOOT_DEVICE

So I tried manually adding in the IDE drivers, and then using BartPE to quickly copy the c:\winnt\system32\config\system* files. Well that didn’t work either.

Much to my luck, Proxmox/VE includes SCSI emulation, because it’s based on KVM which in turn uses the hardware framework from Qemu. So it can use the sym_895a.sys driver from LSI which can be downloaded from here. So within Windows 2000, on VMWare I was able to load up the LSI/SYM scsi driver (which hides in the miniport directory on the zip file).

With the driver loaded, I shut down the VM yet again, booted back up with BartPE, and re-copied over the system registry files (c:\winnt\system32\config\system*) along with the scsi driver (c:\winnt\system32\drivers\sym_895a.sys). Now with those in place, I could then finally reset the VM on Proxmox/VE and get this….

So in the end it is finally transfered, I used the ‘pcnet’ Ethernet adapter to maintain the same NIC drivers. So far all seems pretty snappy with it.

VMWare ESX 2.5 on Qemu 0.14.0

Ok this is going to sound crazy but here we go!

Today I’m migrating this old SQL 7/Windows 2000 database server from VMWare ESX 3.5 to Proxmox VE. However this server started out on a VMWare ESX 2.5 server. And in the subsequent years had been decommissioned , and never updated but rather just copied onto the 3.5 cluster as we decommissioned the 2.5 cluster. At least I figured disk space was cheap enough we should keep the old VMs that “we will never need again” because.. Eventually someone will panic, and realize they need it again.

In the first step of doing so I needed to remove the old version of VMWare tools. But the catch is, this old version requires you to have the msi package handy to remove it. Well isn’t that a fun little catch. And you’ll find all kinds of ideas on what to do now that you don’t have your original “VMWare Tools.msi”. And more importantly you’ll now realize that you should have not only saved your old ISOs of ESX, but you should have also pulled out the tools ISOs and saved them as well.

Luckily I did save the software keys thought! Although I suspect that is also somewhere on their website, but they make it a chore to find the old stuff.. At any rate with 30 minutes of searching I finally came across the last version of 2.5, ESX Server 2.5.5 Build 57619.

Now it would seem that the VMWare tools are kept in an RPM file. Which is going to be a major pita for me to extract on Windows so I decided to take the more insane route, and install ESX on Qemu!

First I create a 5GB IDE disk to boot VMWare ESX server off, and a 10GB SCSI disk for the vmfs.

qemu-img.exe create -f raw esx25.disk 5G
Formatting ‘esx25.disk’, fmt=raw size=5368709120

qemu-img.exe create -f qcow2 esx-scsi.disk 10G
Formatting ‘esx-scsi.disk’, fmt=qcow2 size=10737418240 encryption=off cluster_size=0

With the disks created, I then fire up Qemu like this:

qemu-system-x86_64 -cpu Opteron_G2 -L pc-bios -m 512 -hda esx25.disk -drive file=esx-scsi.disk,if=scsi,bus=0,unit=0 -option-rom 8xx_64.rom -net nic,model=e1000 -net user -net nic,model=e1000 -redir tcp:8088::80 -redir tcp:8022::22 -redir tcp:8433::443 -cdrom \install\esx-2.5.5-57619.iso -boot d

This pulls in a few things, the SCSI configuration along with the AMD CPU type configuration that I’ve touched on previously.

qemu 0.14.0 ESX 2.5 boot

And away we go!

ESX 2.5 install

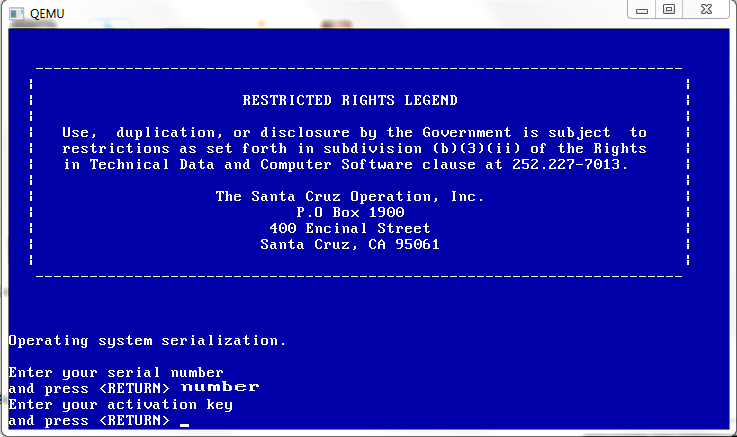
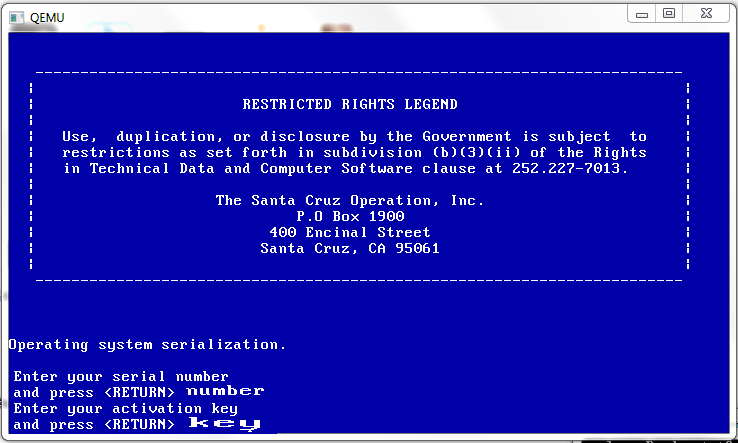
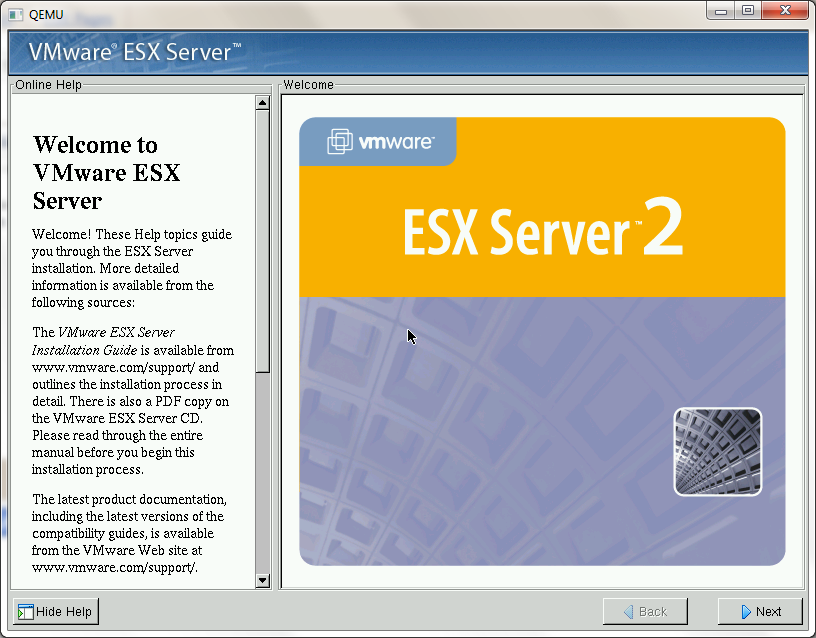
And Qemu should easily boot the graphical installer.
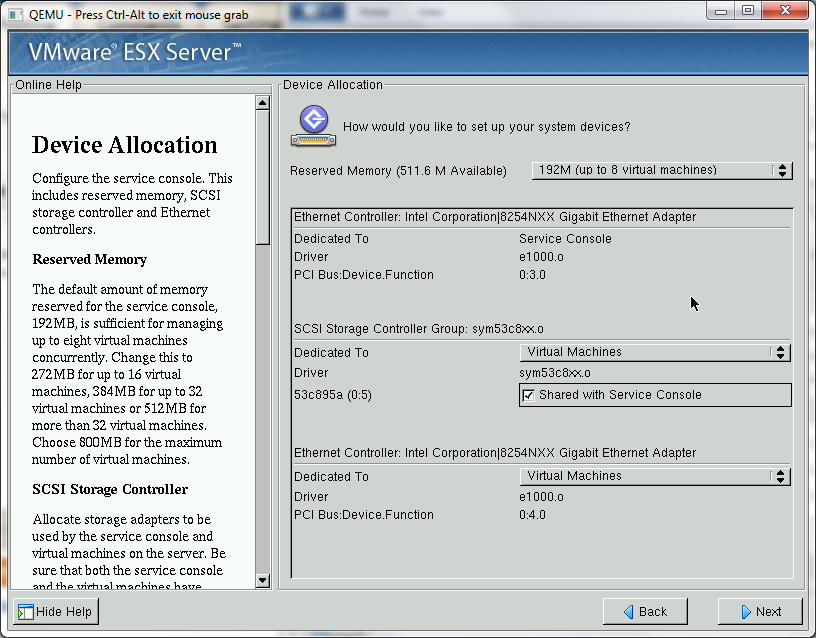
ESX 2.5 system

So using my configuration, I dedicate one Ethernet card to ESX, another to the guests, and share the SCSI adapter between the console and the guests…
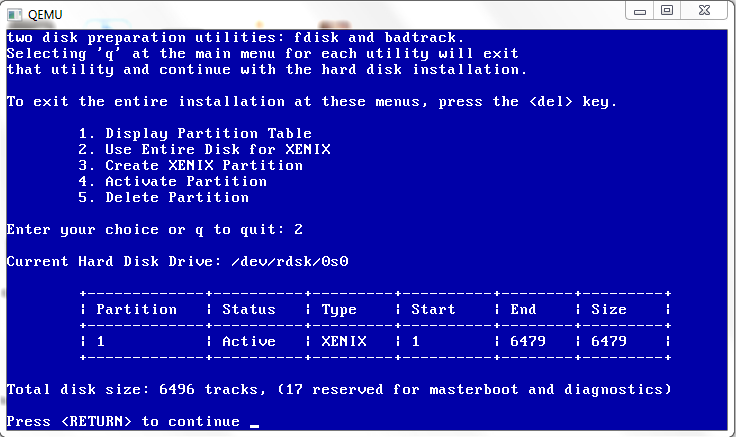
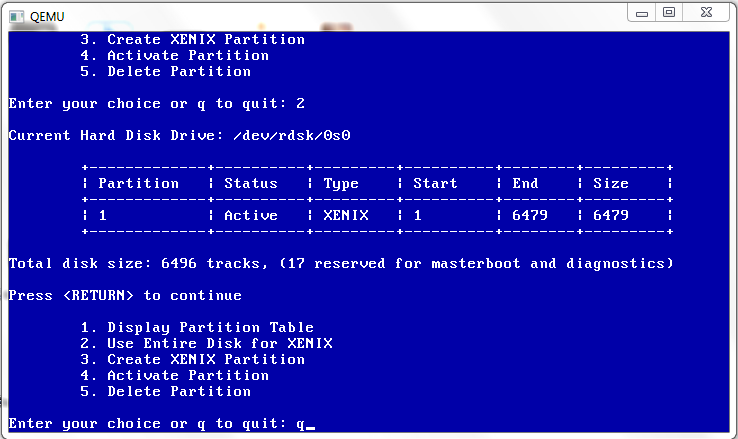
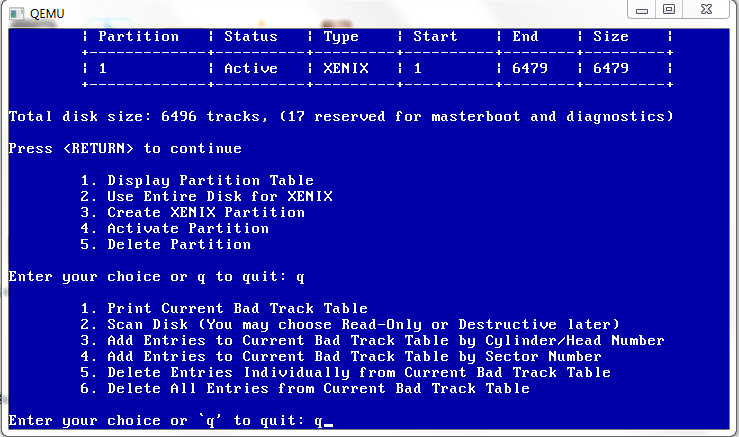
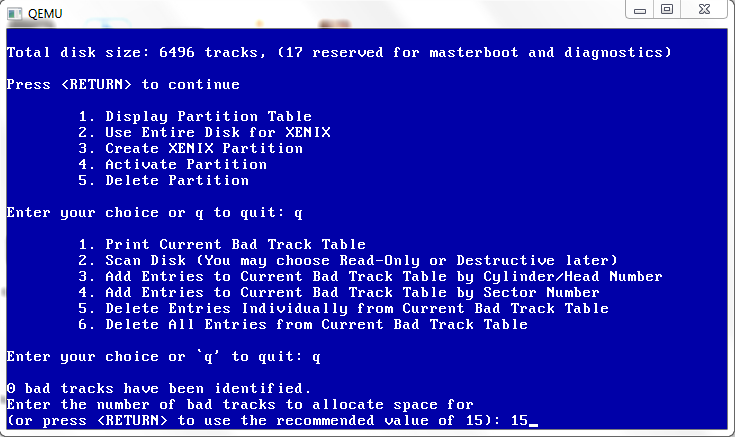
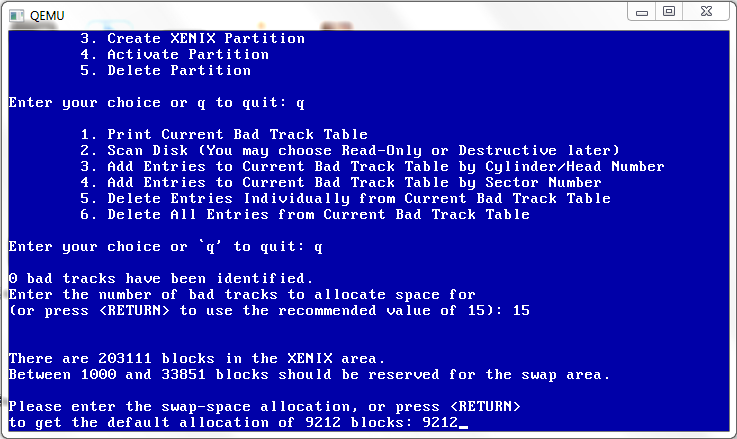
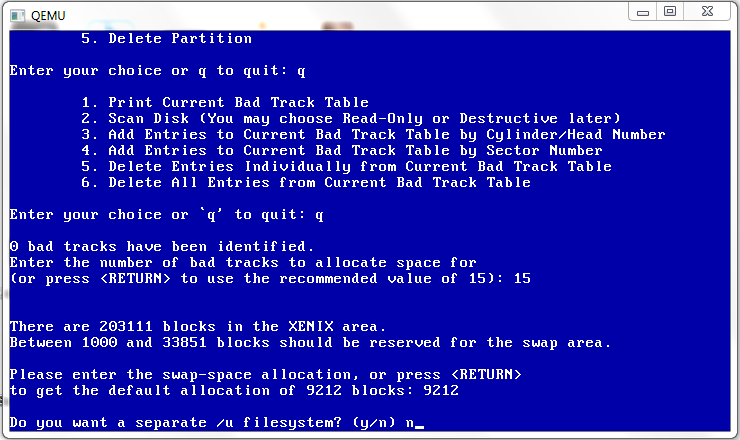
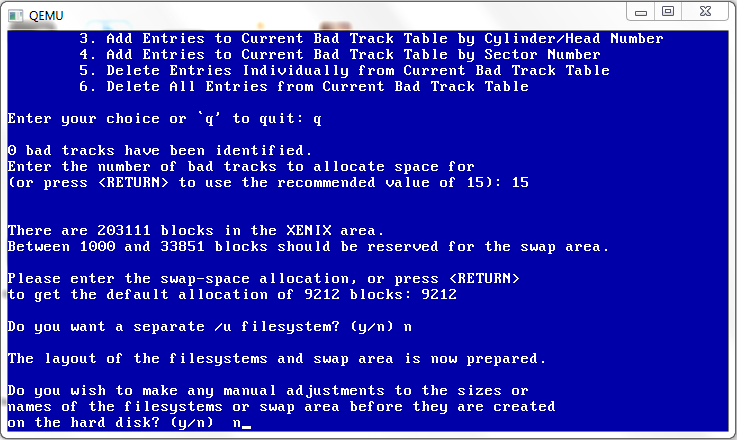
ESX 2.5 partitions

And when it comes to the partitioning, I simply extended the root partition to the rest of the drive, and setup vmfs2 on the SCSI disk. I’m not even thinking about clustering, I’m primarily after the extensions.
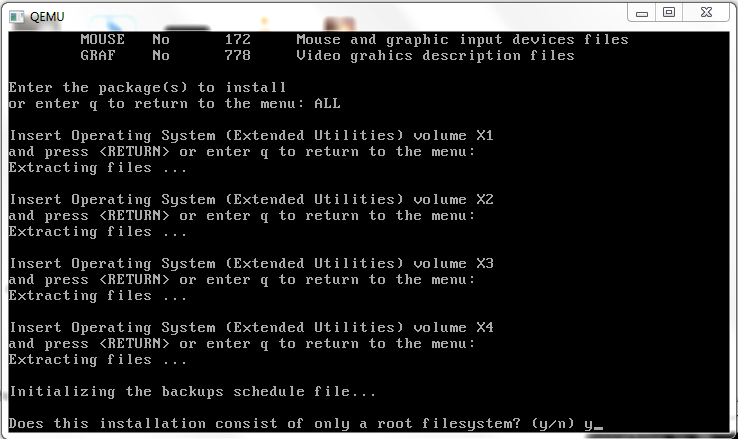
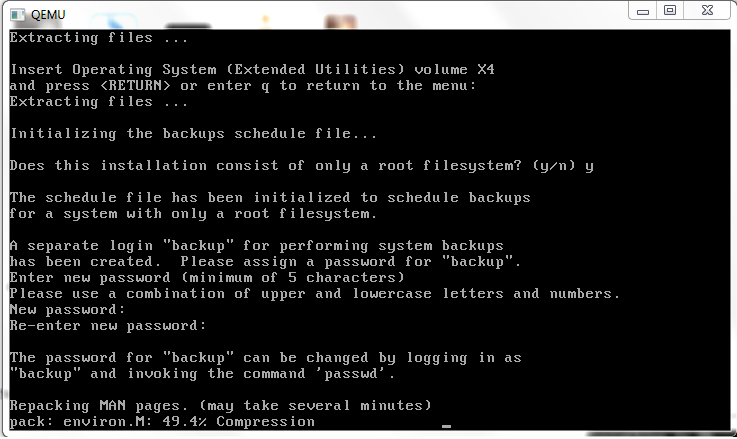
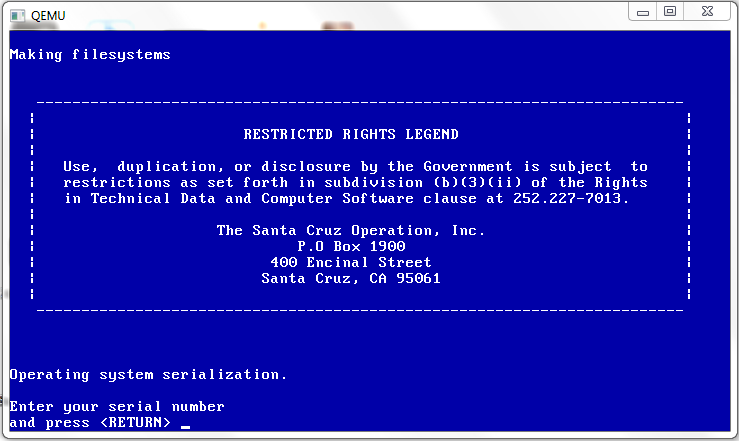
installing

Installation takes about 20 minutes. It is just the way it is. The pegasus cimom for linux takes forever, along with the provider-esx package. I have no idea why, it’s probably thousands of little files or something crazy like that. But be patient, it’ll install.
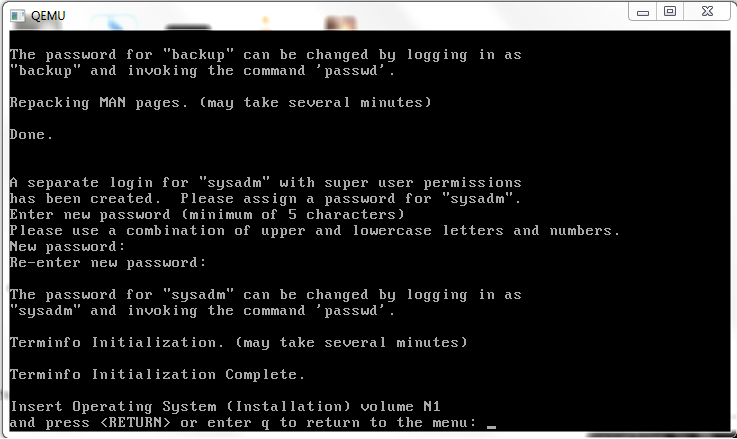
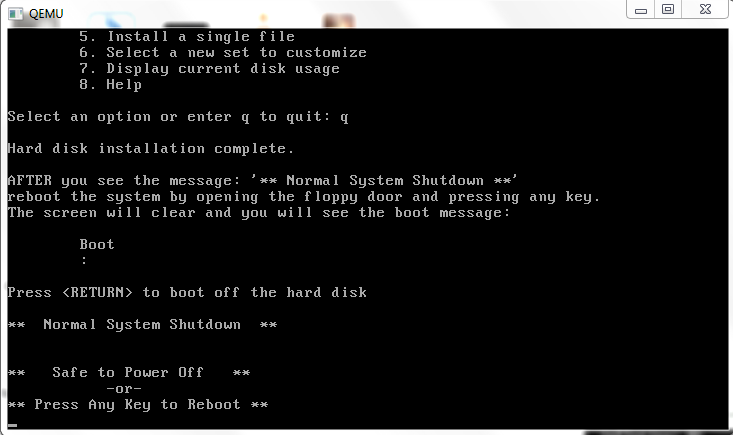
ESX 2.5 installed

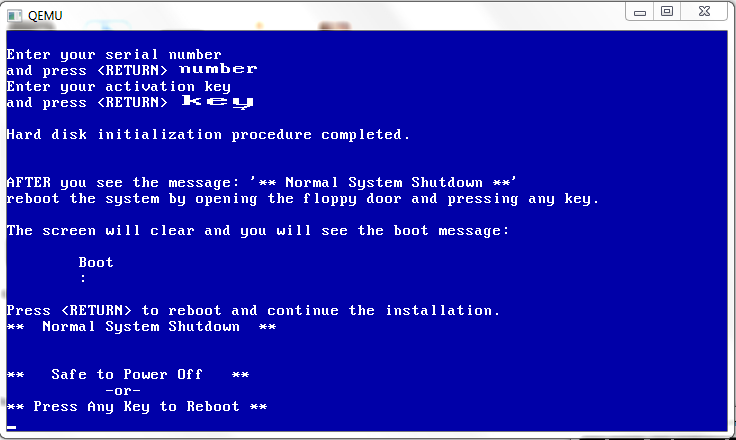
And there we go, a successful installation!

Now VMWare will want to reboot, I just kill Qemu, and then launch it booting off the IDE harddisk (-boot c).

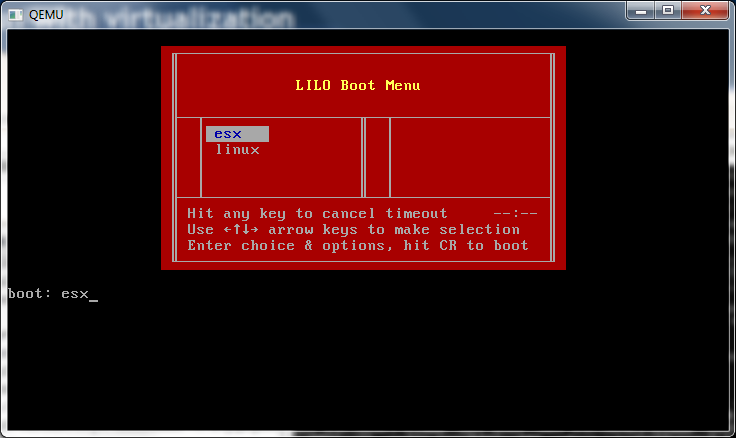
ESX 2.5 boot options

Now we get an ESX and Linux boot menu. I’m feeling brave, so let’s try to boot ESX!

vmkernel loading..

It’s loading…

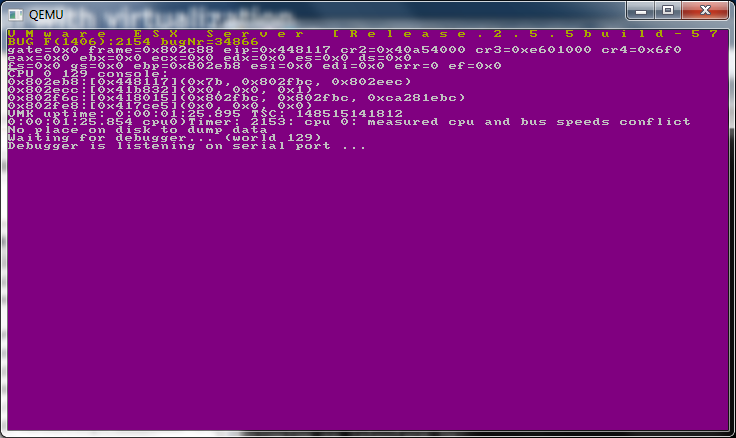
Purple screen of death

And it panics. Bug 1406:2154 BugNr=34866
“measured cpu and bus speeds conflict”

Oh well. But we can boot into Linux, and scp out the extensions! Which do hide in /usr/lib/vmware/isoimages/windows.iso . So it’s not a total loss. I did notice on VMWare Fusion there was a setting for ESX, perhaps I can run ESX 2.5.5 on my Mac? Perhaps, but I’ll try that for later.

Now with the ISO finally in hand, I put it in my VM, and tell it to uninstall the extensions, I provide it with the VMWare Tools.msi and I get…

The file VMWare Tools.msi is not a valid installation package for the product VMware Tools.
Try to find the installation package ‘VMware Tools.msi’ in a folder from which you can install VMware Tools.

However the ISO did offer a chance to ‘upgrade’ my apparently older 2.5 extensions. So I did that, rebooted, then with a matching level ISO I was able to remove them. Wow was that convoluted! If anything I guess we’ve found out you want to hold onto these extension CD’s not matter what.. You never know if someone comes in with an old VM, or if you had a decommissioned VM that suddenly has to be brought back to life, it’s best to have these handy to get them back into shape. Just because your setup is all ‘complete’ it doesn’t stop people from throwing you curve balls.

Windows 2008 & Proxmox VE

Just a quick tip to people running Windows 2008 under Proxmox/VE (I know this applies to the amd64 x86_64 version probably i386 as well) sometimes when you reboot it’ll come up and crash saying that there is no available hard disks. Then it’ll go into recovery mode and … somehow claim you have no hard disks.

Turn the VM OFF.

Wait a few seconds.

Turn the VM ON.

I had this issue after installing antivirus software in the VM, but I guess there is other things that may set it off. Anyways after a shutdown, power cycle of the VM it’ll boot back up.

That’s it!

Installing Xenix on Qemu 0.14.0 part two.

Ok, we left off from part one, having prepared the hard disk. Now we are going to boot off the hard disk like this:

qemu.exe -L pc-bios -m 16 -hda xenix.disk -fda b1


xenix2 1 (1)Now if we go ahead and try to install normally it’ll fail like this:

xenix2 2 (1)


Which isn’t good at all.

xenix2 3 (2)

Instead, what we are going to do is hit the delete key breaking us to an install shell.

xenix2 4

So at the shell, we are going to fix the install/rinstall devices to force them to the 3 1/2″ high density diskette like this:

cd /dev
ln -f fd0135ds18 install
ln -f rfd0135ds18 rinstall
cd /
. /.profile

xenix2 5

Now we can proceed with the install, and since diskette B1 is already in the drive, we just hit enter. Once the B diskette is copied, the install script will prompt for a root password.

xenix2 6

Now it’s time to pick a timezone, and yes, I’m in North America.

xenix2 7

In EST.

xenix2 8

And sadly, yes we do DST. (*NOTE being this old, you can bet the offsets are all wrong for DST, I’m sure there is some deal to update the files, but I’m not sure of it off hand. But it’d be nice to update the timezone stuff for 4.2BSD as well).

xenix2 9

Let’s continue with the install.

xenix2 10

And let’s finish the operating system install.

xenix2 11

Now we’ll need the X1 diskette…

So far we’ve not needed to swap diskettes live under Qemu, but I thought I’d remind people that it’s a simple matter of hitting ctrl+alt+2 to bring up the Qemu console, then typing in:

change floppy0 x1

To verify you’ve even done this correctly, you can issue a “info block” command, and you should now see the floppy0 device referencing the x1 file.

Once you are done, you can switch back by hitting ctrl+alt+1

We are going to install one or more…

All of them as a matter of fact.

I’m going to fast forward a little here, and process all the X diskettes… there isn’t much to see here, it’ll prompt for a diskette, mount it in the qemu console, and switch back and proceed.

Yes this is a root only install, KISS (Keep it simple stupid) as they say.

Now it’ll prompt for the backup user password, then start to compress man pages. Needless to say on a fast computer this takes mere seconds… Not so back in the day on a 386!

Now it’ll prompt for the sysadm password, generate the termcap, then it’s time to swap series to the N series diskettes..

Now onward to N2.

Time to license & activate the system. Again.

Ok we are done.

And there we go, Xenix is installed!

A quick reboot, and we are ready to go!

So looking back, we’ve just done the impossible, we’ve installed Xenix on Qemu.

Installing Xenix on Qemu 0.14.0

That’s right, the impossible (or so it would have seemed years ago) is done. Qemu 0.14.0‘s floppy controller is good enough to install Xenix, although it needs a little help…

You see, booting up by default you get this:

The 'Z' boot error.

The ‘Z’ boot error.

But after going to this page, I had an idea. You see the fd(64) ties into /dev/fd0, however the specific 3 1/2″ high density diskette device id is 60.

So let’s change the default boot strings from:

fd(64)xenix root=fd(64) swap=ram(0) pipe=ram(1) swplo=0 nswap=1000 ronly

into:

fd(60)xenix root=fd(60) swap=ram(0) pipe=ram(1) swplo=0 nswap=1000 ronly

I’ve created a 200MB IDE disk, remembering that Xenix didn’t like big disks, which is why so many people failed installs on actual PC’s.

qemu-img.exe create -f qcow2 xenix.disk 200M
Formatting ‘xenix.disk’, fmt=qcow2 size=209715200 encryption=off cluster_size=0

So let’s boot up Qemu like this:

qemu.exe -L pc-bios -m 16 -hda xenix.disk -fda n1 -no-fd-bootchk

After putting in the manual flags..

After putting in the manual flags..

Looks, good, let’s boot!

Hello!

Hello!

Whats this? Are we actually going to install?! This is amazing!

So let’s go through with the install!

xenix 3

I’m going to select the American keyboard. Maybe you want something different?

xenix 4

Next we select the standard IDE controller.

xenix 5

It’s a VM so go ahead and overwrite my empty disk…

xenix 6And this shows that it sees my 200MB IDE disk correctly. I guess you could play with larger disk images and verify that these results look sane. I recall that if you pick something too big, this part will give some exotic error like this:

dparam: could not open /dev/hd00: No such device or address ??? dparam: could not open special device: No such device or address ???

dparam: could not open /dev/hd00: No such device or address ???
dparam: could not open special device: No such device or address ???

Ouch!

Cannot open /dev/rdsk/0s0!! Error: fdisk failed. !! Installtion exiting ??

Cannot open /dev/rdsk/0s0!!
Error: fdisk failed. !!
Installtion exiting ??

And blammo. This is why we use a small disk!

xenix 7

I’m not even entertaining dual booting in a VM, so we go all the way here.

xenix 8

Looks good!

xenix 9

And we quit as this is just fine.

xenix 10

Our little virtual disk won’t have any bad sectors so we quit.

xenix 11

Ok, ok, Xenix wants *SOME* tracks, so I let it have the ‘suggested’ 15. Maybe it’ll feel better about it.

xenix 12

And again I’m going with some default swap space.

xenix 13

And I’m going to use a big filesystem, no separate /u filesystem.

xenix 14

Everything is fine, no changes.

xenix 15

Then it’ll make the filesystem which will take a minute or so, then prompt for the serial number.

xenix 16

And then the activation key.

xenix 17

Now we are done with preparing the hard disk, so you can stop Qemu.

xenix 18

I’m going to continue this in part two.

Qemu 0.14 PowerPC & Debian.

So I got this request about running Mono on the PowerPC. As it stands right now I don’t have a PowerPC box in my home to test, so I thought I’d turn to Qemu & Debian.

Qemu 0.14.0 PowerPC Debian boot

Qemu 0.14.0 PowerPC Debian boot

And yes, it surprisingly boots!

I opted for the network install, as I didn’t even know if it would work. But not only did the 32bit version of Linux for the PPC boot up, but the 64bit did as well! The flags were a little involved to get going, but it went something like this for the 32bit version:

qemu-system-ppc.exe -m 512 -boot d -hda debian-ppc.qcow2 -L pc-bios -M mac99 -net nic,model=pcnet -net user -cdrom debian-6.0.1a-powerpc-netinst.iso -boot d

And for the 64bit version:

qemu-system-ppc64.exe -L pc-bios -m 512 -hda ppc64.qcow2 -net nic,model=pcnet -net user -cdrom debian-6.0.1a-powerpc-netinst.iso -boot d

And then it’s a matter of waiting… Maybe I should have just torrented the install DVDs or something.. 😐

Qemu 0.14.0 PowerPC Debian install 33%

Qemu 0.14.0 PowerPC Debian install 33%

But booting from the hard disk produces a:

openbios panic: Unexpected exception 704

So close. Perhaps the macintosh machine type I select means the boot type isn’t PReP like for OpenBIOS to find?

I’ve also been told you can find various pre-built images here.

Programming with paintbrush.

(click to see it in action!)

Well you see, everything you type is stored in binary, right? And what we see depends on how programs interpret the binary stream. So sure it’s got a BMP header, the data payload can easily contain… text! It’s a real simple version of Steganography, mixed in with some c++.

Ok, it’s not emulation but it’s very cool!