
With the textmode setup complete, it’s time to do the graphical setup of Windows NT 4.0
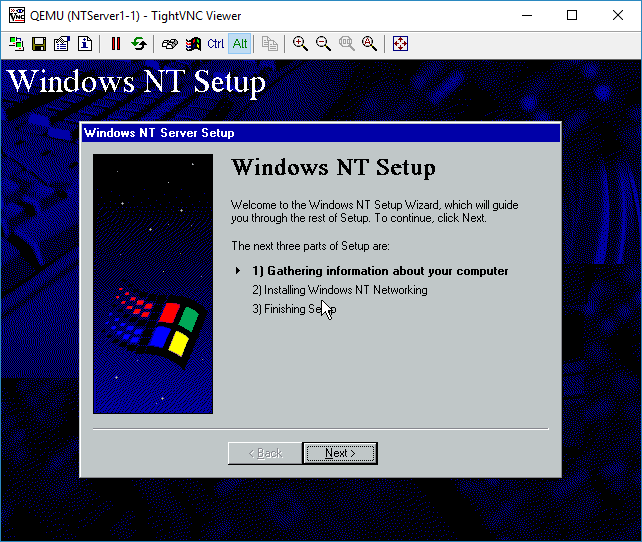 Next
Next
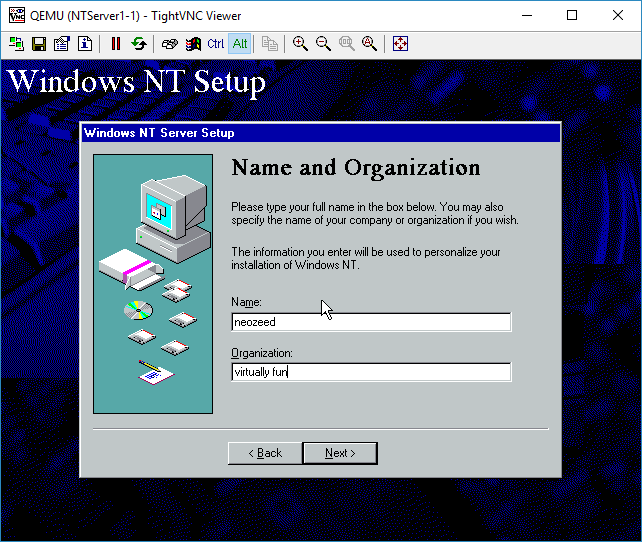 You can use any name/org
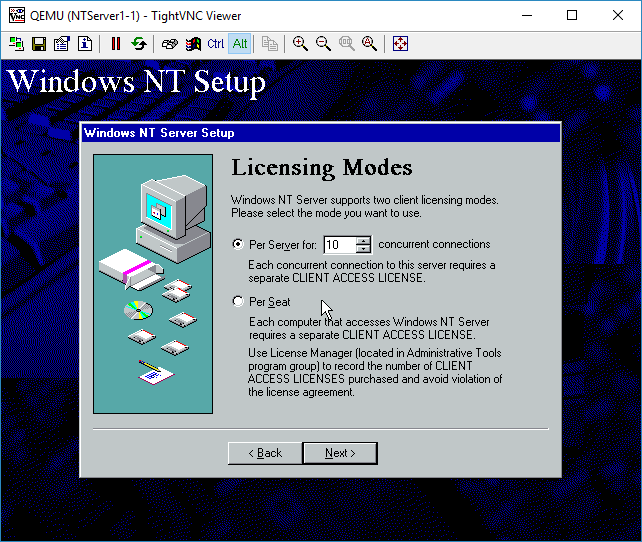 Select how many licenses you have for your NT Server.
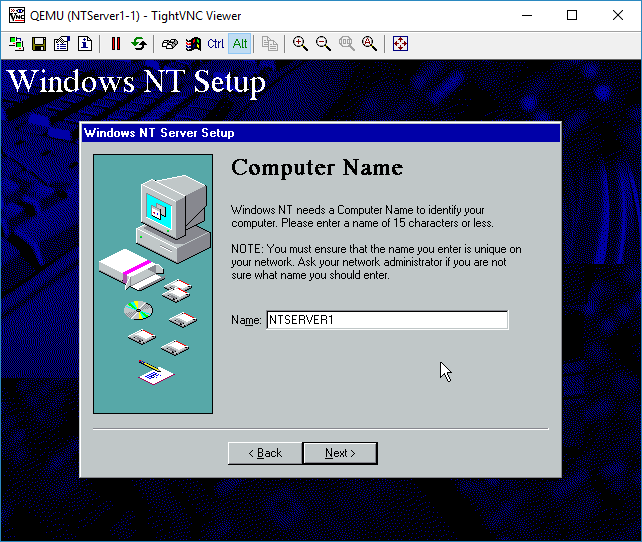 Give the server a name
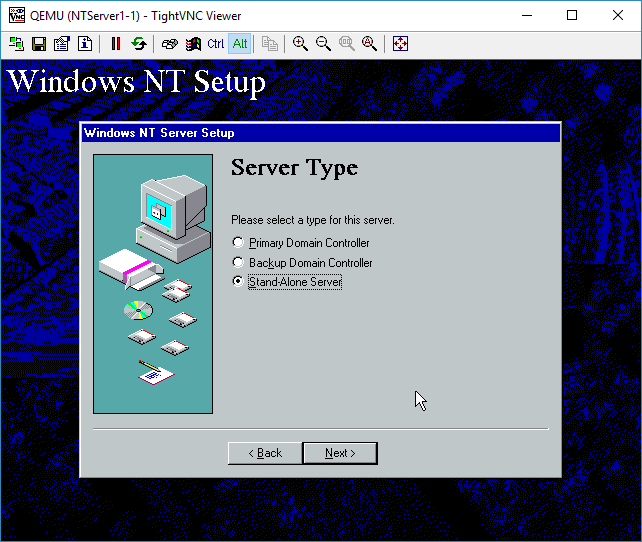 I’m not going to build a domain, so a stand alone server is fine.
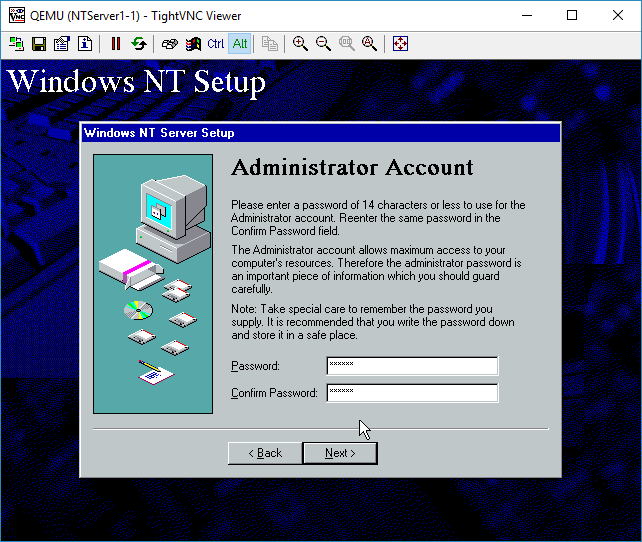 You can give the Administrator account a password if you so desire.
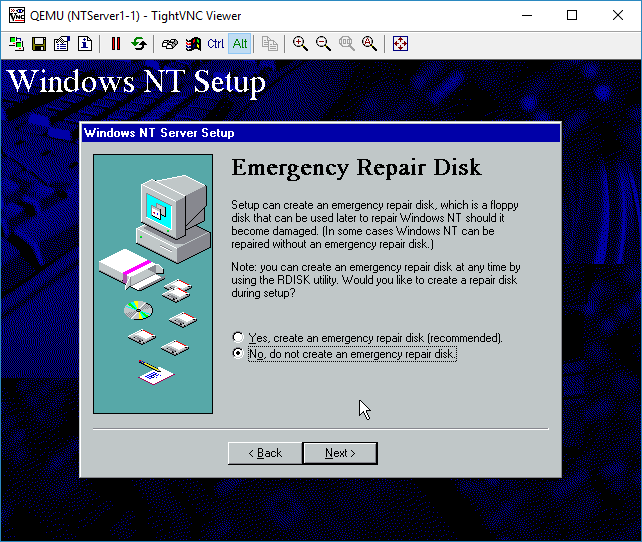 I don’t need any emergency repair disk, as this server is the epitome of disposable.
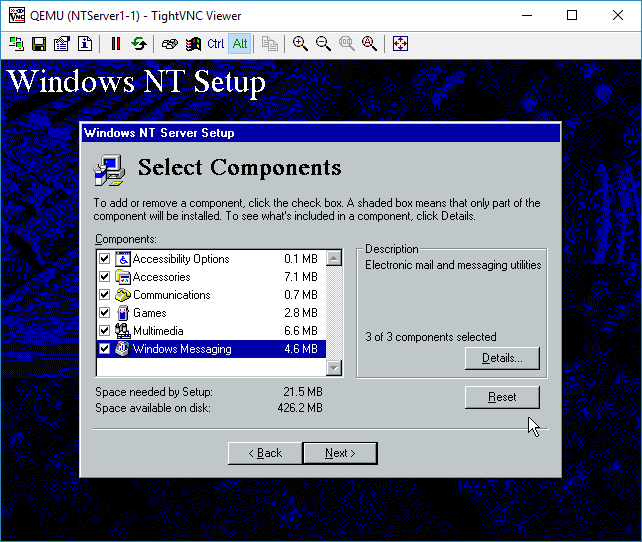 I added all the components. Again for this test it really doesn’t matter.
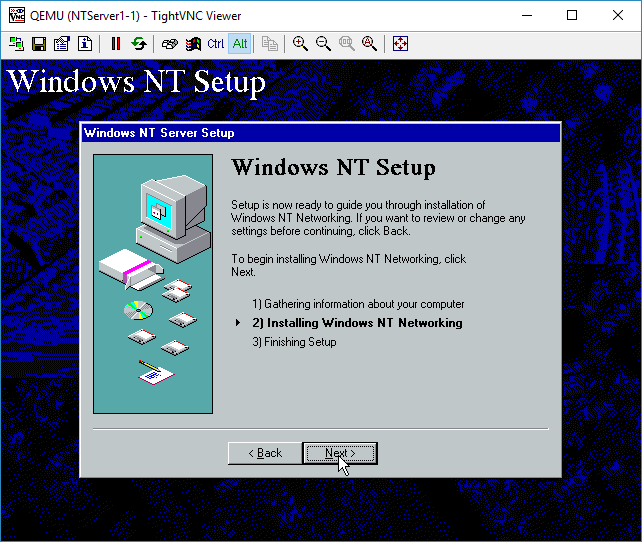
Configure the networking
Now for the fun part, we are going to configure the networking.
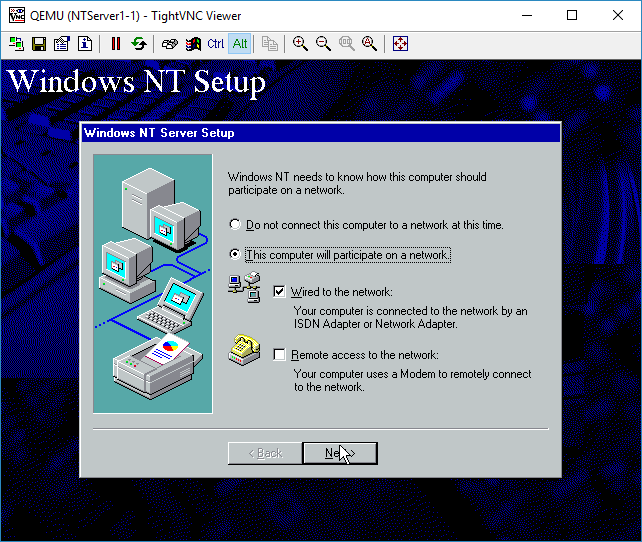 I’m sticking to ‘wired’ networking. I’ll save RAS for another lifetime.
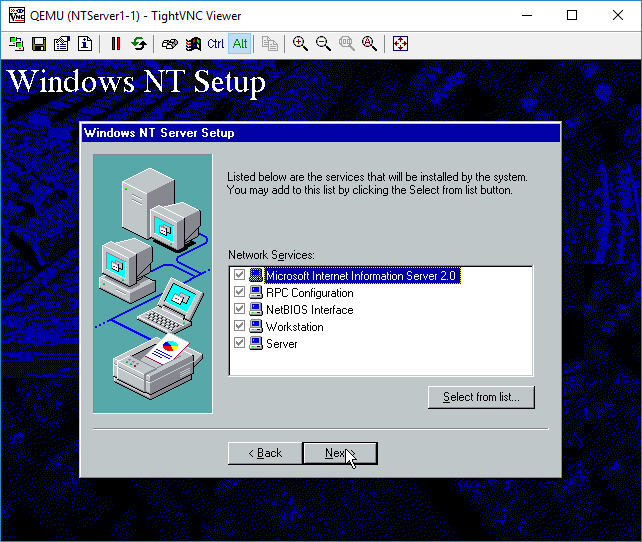
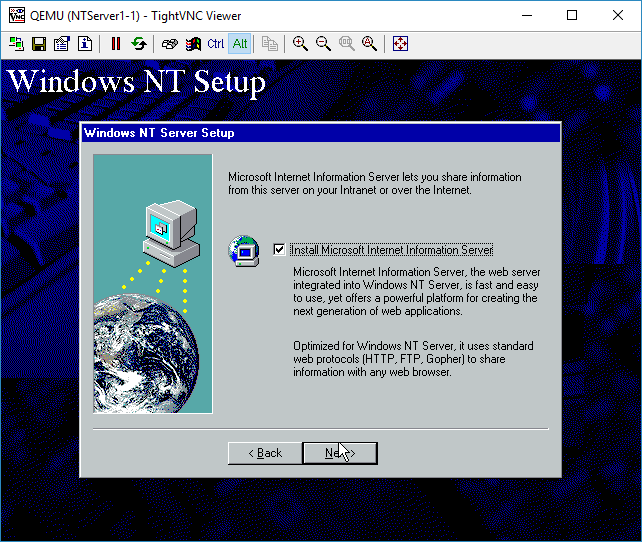 Everyone wants to be a webserver. Sure why not.
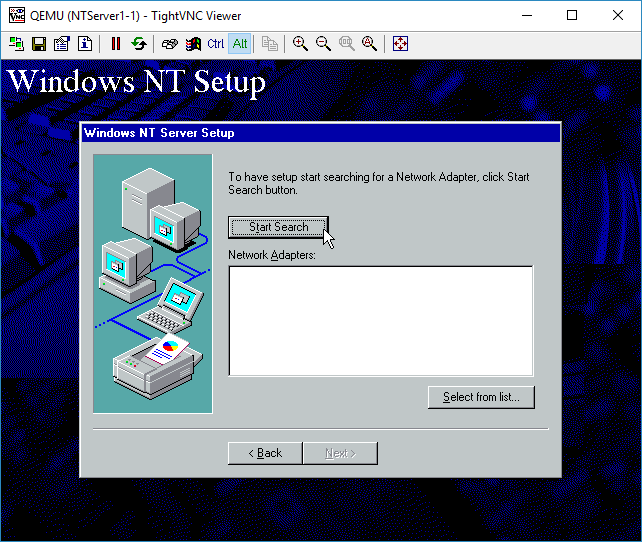 You can either manually select a NIC, or just let it auto-detect. We are going to auto-detect it though.

And it’ll correctly identify the AMD PCNet card.
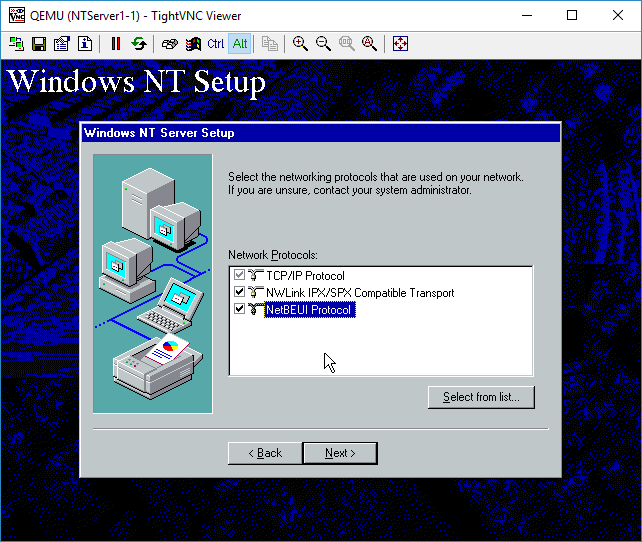 I selected all the protocols available. I didn’t bother adding other ones like AppleTalk.
 Next..
 Next
Next
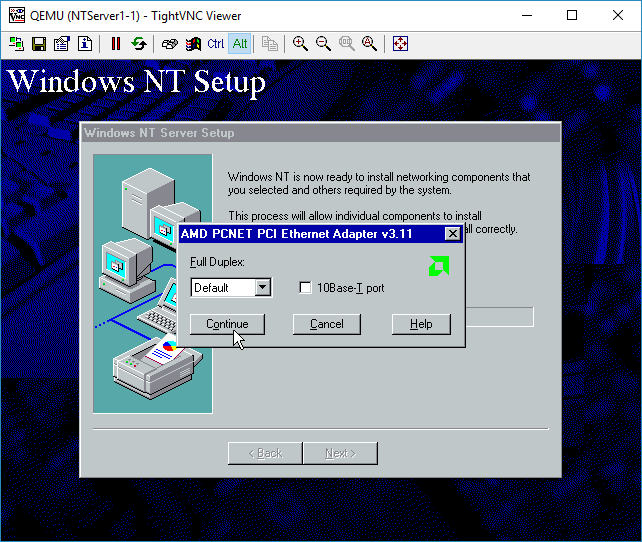 It’ll prompt for the media type and duplex. The card isn’t real and it’ll work fine no matter what. I just leave the options alone.
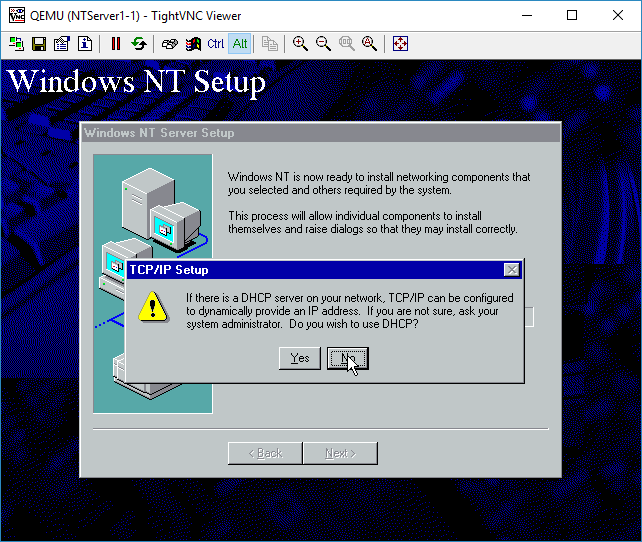 Our network doesn’t have any DHCP server. Since we are plugged into a simple hub. DHCP requests will fail. Let’s give it a static address. For Advanced people, yes you could wireshark on the wire to observe the DHCP. We will touch on how to do that later, as I just want to get NT installed .
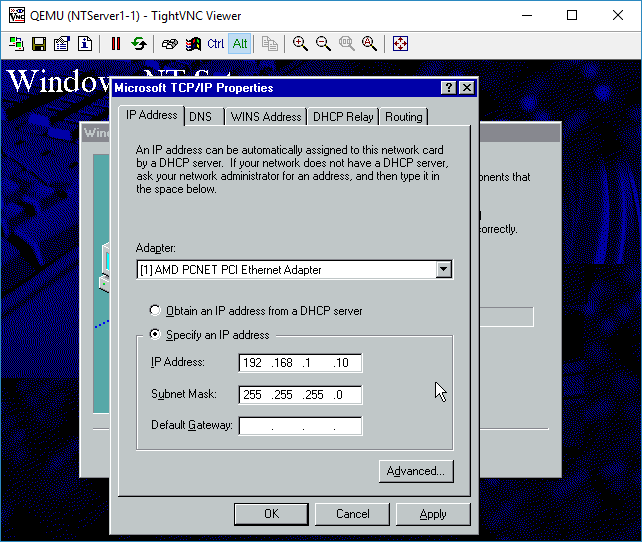 There is no need for a gateway.
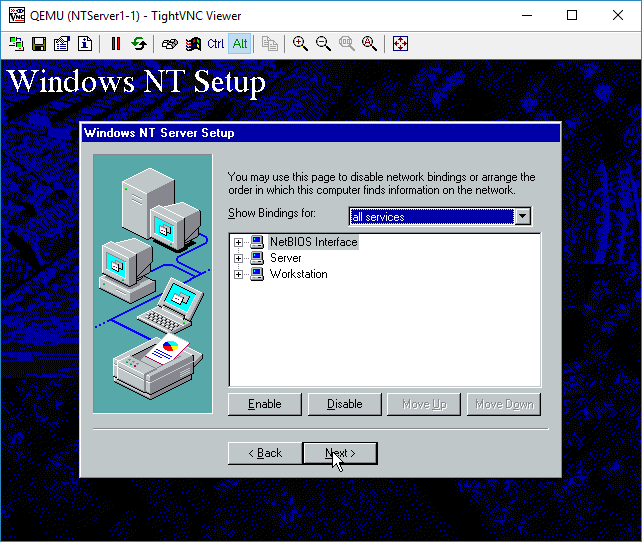 We don’t have any bindings that need adjusting, so you can just hit Next
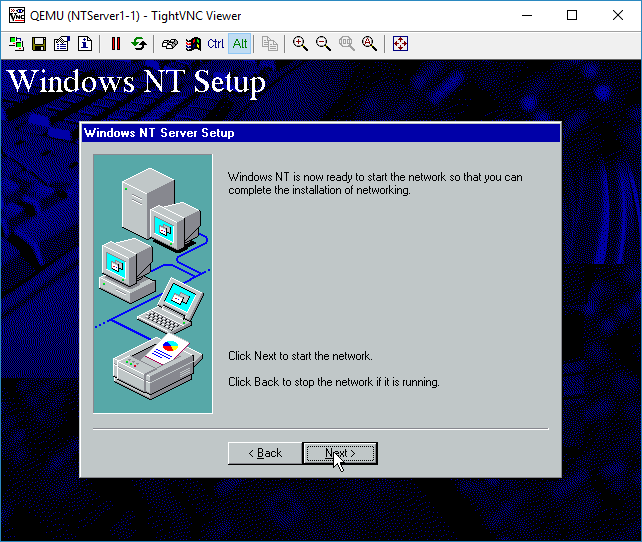 And Next again
 Again, no domain, so run in workgroup mode.
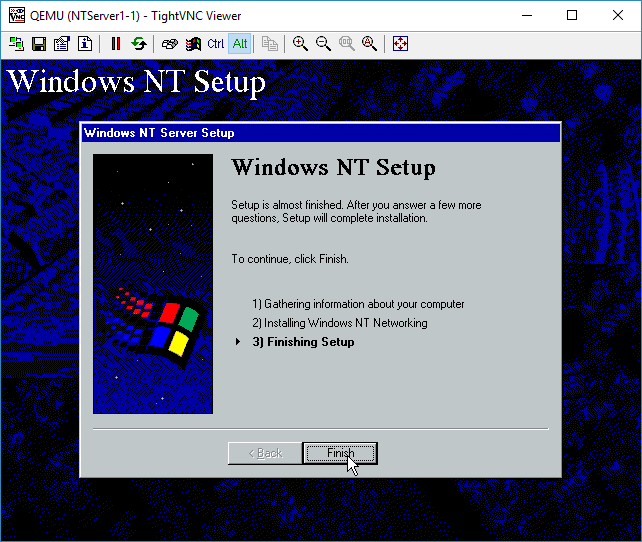 Finish, although it’s far from over.
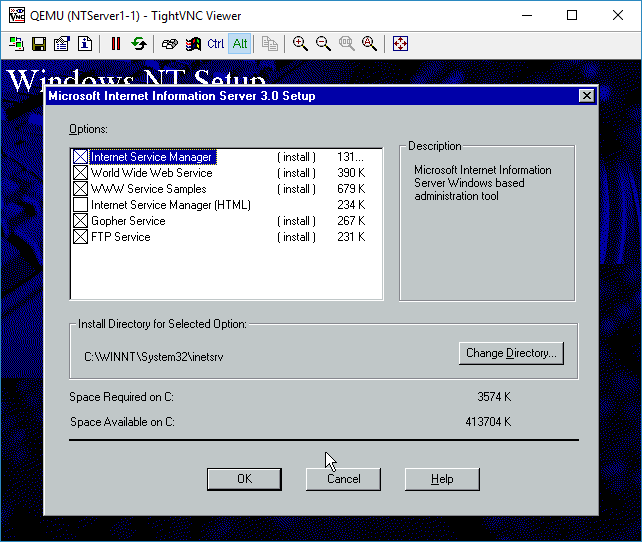 IIS components to install. I just hit OK for the defaults.
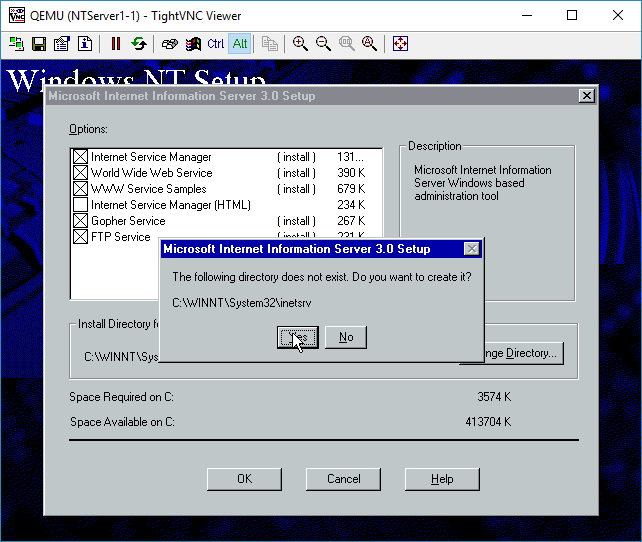 Confirm the creation of the directory
 And the child directories
 And creating the IIS child directories
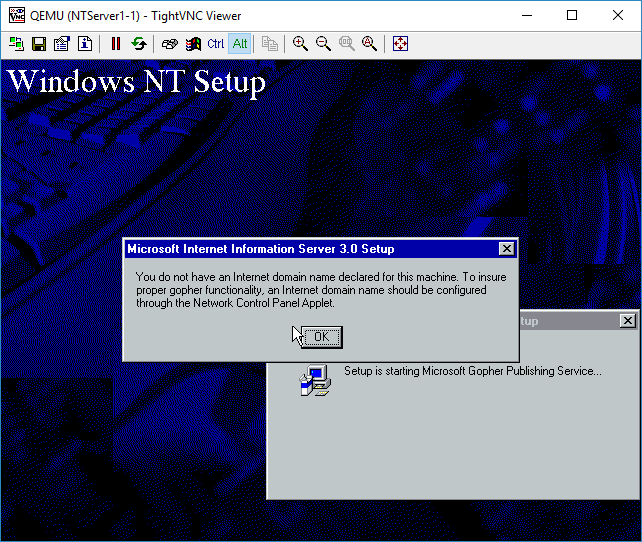 Gopher isn’t happy without a domain name, but I don’t care.
 Select your timezone. Or don’t. This is from 1996, so many of the timezones are no-longer correct. Just as DST has changed so many times. But it really doesn’t matter yet again.
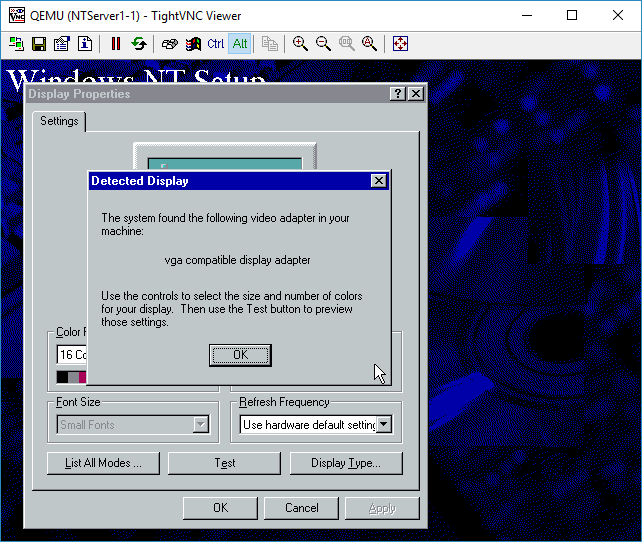 The display adapter is SVGA compatible.
 Move the resolution slider to 800×600
Then hit OK. It’ll want to test the resolution
 Everything looks good
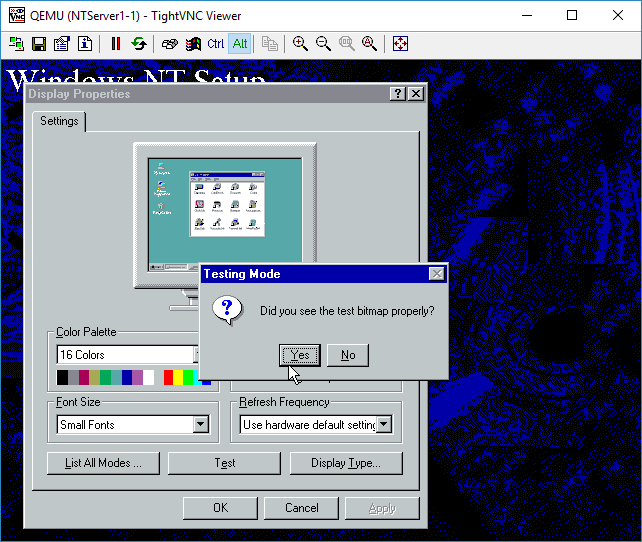 YES I saw the bitmap
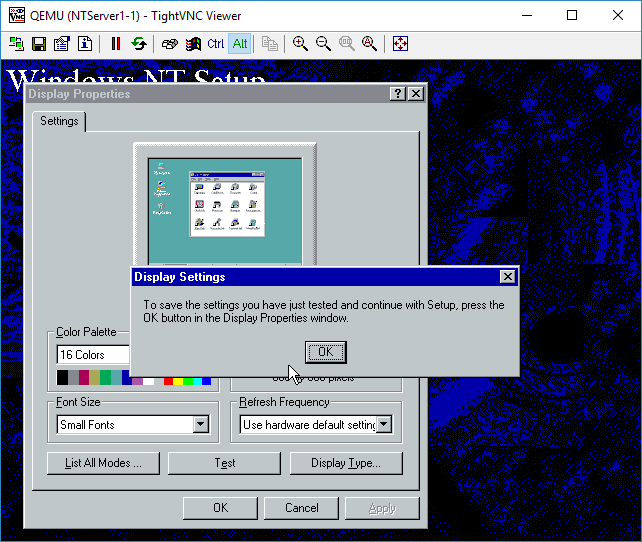 OK
OK
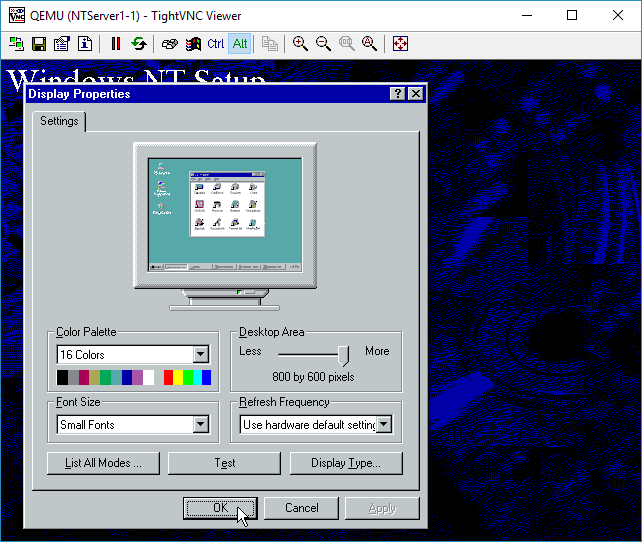 OK to accept the display at 800×600
 Files will finally start to copy
 And now we can finally restart are computer.
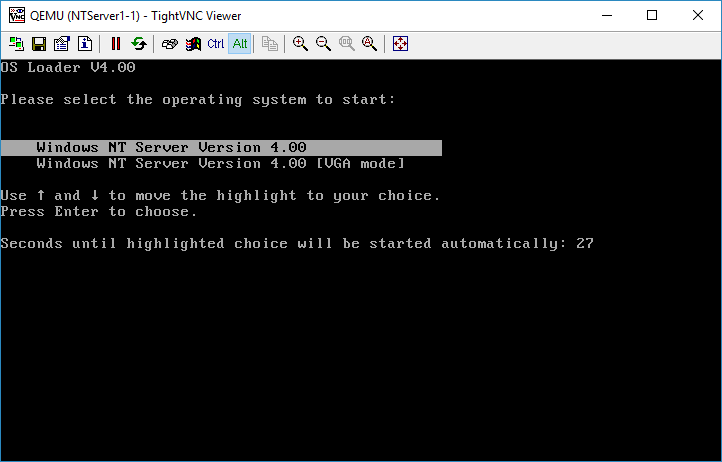 By default the NT Loader will wait for 30 seconds. You can hit enter to get it to load right away or wait.